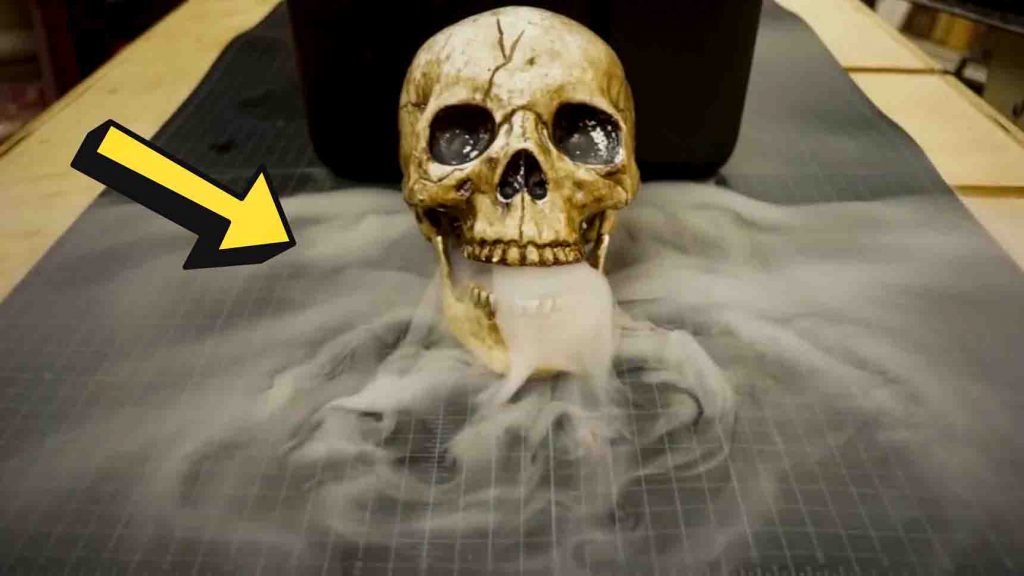
The spooky season is here; it’s time to put up your decorations for this year! This DIY fog chiller from Wicked Makers on Youtube is an easy project you can make that only takes less than an hour. The materials for this project are also pretty simple and inexpensive, and you probably already have them around your house. This project will definitely add a lot of character to your Halloween decorations!
Materials:
- plastic storage bin
- chicken wire
- black spray paint
- silicone
- screws and washers (any size)
- PVC pipe (any size)
- drain plug (optional)
Directions:
Step 1
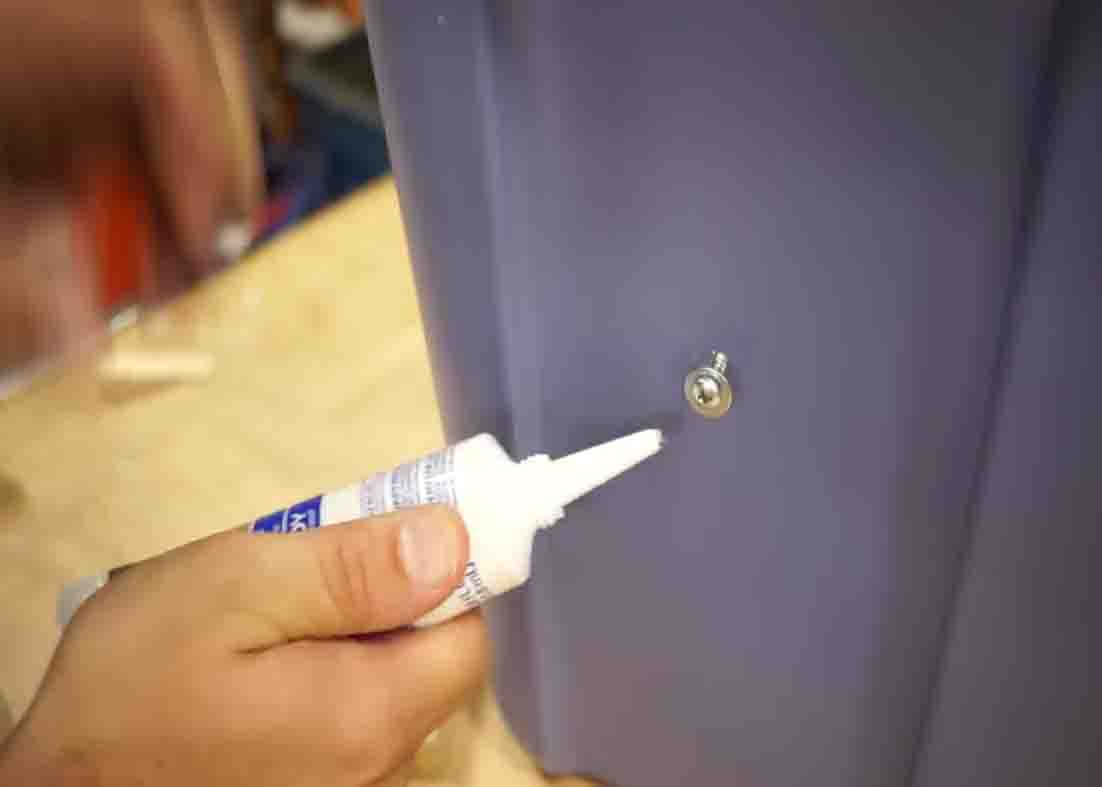
Start by drilling the input and output holes into the side of your storage container at the same diameter as your PVC pipe. Next, measure roughly halfway up the container and made a bunch of marks around the outside, then drill a small pilot hole in each of those marks. Take the screws and a single washer and put a little bit of silicone around the hole so that it’s airtight and screw all the way in. After this, install a plug for convenience so that you can easily drain out the melted ice water throughout the night. Next, start working on the plumbing. Put the PVC pipes roughly together, then make a mark a little bit below the top of the container, then cut it. After cutting it, do a dry fit of everything. Next, cut 4 pcs. 1/2″ rings from the cutout piece and cut a little slit in them, then stretch those around the pieces to use as clamps. To hold everything together, use a few dots of hot glue.
[social_warfare]
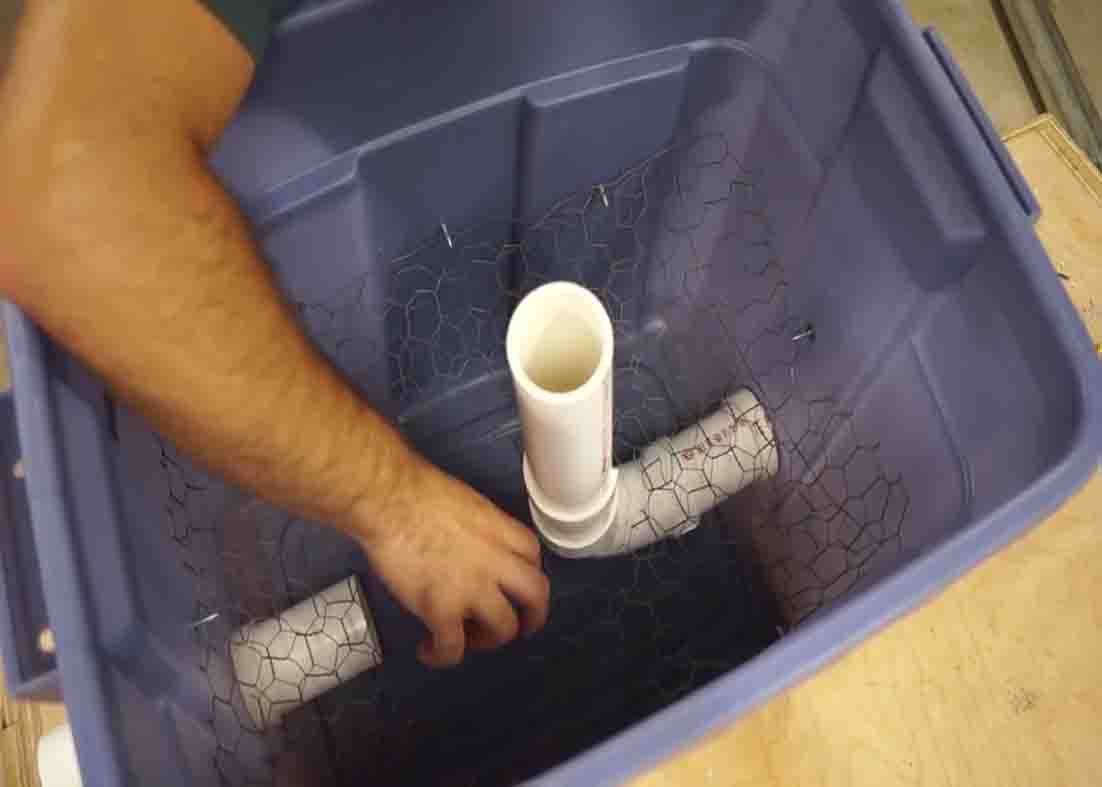
Step 2
After this, you can now put the input tube through the hole and put the adapter on the outside, then the output tube gets slid into place, the clamps hold it in, then use a little bit of hot glue to hold it in place as well as to seal up all of the air gaps. Next, take a piece of chicken wire and cut it to size. This is going to get installed inside to hold up the ice. Cut it a little bit bigger, then trim it to fit, then stuff it inside. Take it out again and cut another piece of chicken wire. This is going to add strength that’s also going to offset the holes in the chicken wire so that the ice can’t fall through. After this, put it back in and use the screws you installed earlier to hold up the chicken wire. For the top, use some hot glue and put some foam around the edges of the container to try and create more of an airtight seal. Now, you can paint this to your liking and your fog chiller is now finished.
DIY Fog Chiller For Halloween