11. Textured Heart Canvas
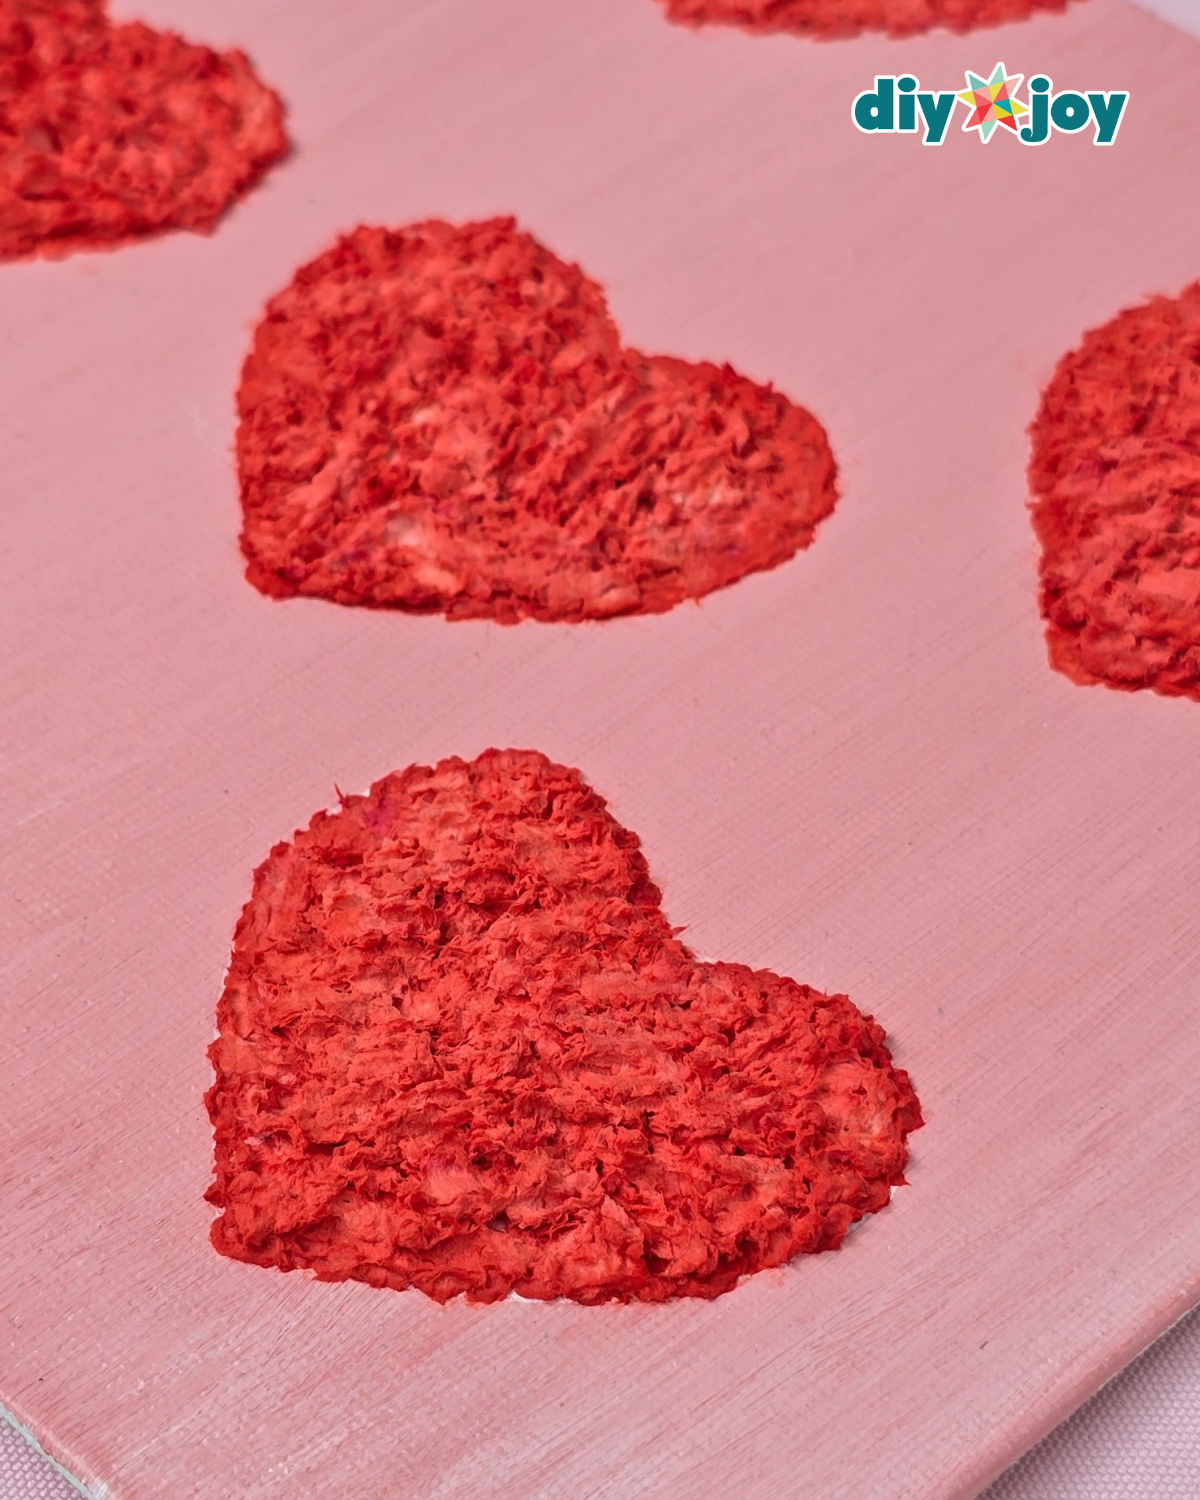
A textured heart canvas is wall art for renters that needs no holes at all, since it leans on a shelf or hangs from a removable hook. Paint the canvas pink and let it dry, then sketch hearts lightly in pencil. Soak torn tissue paper in water, squeeze it out, tear it smaller and mix in glue and red paint to make a paper mache paste. Pack it into each heart for a raised, textured look. Smaller, more even tissue bits give a smoother finish. Keep layers thin so it dries faster.
Get the full tutorial at DIY JOY.
12. Faux Marble Table DIY

A faux marble table gets the marble look for around $10 with marble contact paper, and it peels right off if the mood changes. Clean the surface with a damp cloth and let it dry. Cut the paper to size with about an inch extra all around, using the grid on the backing as a guide. Peel back one edge, press it on and wrap the edge over, then smooth the rest down with a small towel to push out bubbles. A removable glass top, like on a laptop table, makes it extra easy.
Get the full tutorial at Syl and Sam.
13. Wood Hanging Noteboard

A wood hanging note board keeps quick notes and cards in one place instead of lost around the house. Cut a scrap board to size and stain the front and sides dark walnut, leaving it unsealed for a rougher, rustic look. Once it’s dry, wrap twine tightly around the board at angles, gluing and stapling the ends on the back. Notes and photos slip right under the twine. Add a single hook to the back, or hang it from a removable strip rated for the weight, and it’s rental ready.
Get the full tutorial at Southern Whim.
14. Photo Frame Magnets

Photo frame magnets let renters show off favorite photos on the fridge with zero wall damage. Melt crystal clear hot glue sticks into a puddle on a silicone mat or parchment paper and press a chilled wax seal stamp in to make an ornate little frame. A 15W glue gun helps avoid bubbles, and wiping the stamp between uses keeps the glue from sticking. Paint the frames gold, tuck in tiny printed photos and glue a magnet to the back. They make sweet gifts too.
Get the full tutorial at DIY JOY.
15. DIY Spring Twig Centerpiece

A spring twig centerpiece is ready in about the time it takes spray paint to dry. Grab a branch from the yard, give it a coat of glossy spray paint in a bright color like turquoise and let it dry fully. Clip on a faux bird and settle a little nest into the branches (a dot of hot glue holds it more securely). Set it in a mason jar or lay it across a table or console. No holes, no hardware, just a fresh pop of color for any rental.
Get the full tutorial at DIY Show Off.