6. DIY Pallet Wood Sign

A DIY pallet wood sign brings big wall decor to a rental for the price of free pallets and paint. Separate the pallet boards (sawing through the nails is much quicker than prying), lay them out to size and nail two boards vertically across the back to hold them together. Cut a lettering stencil from cardstock, tape it in place and paint the words in white with a yellow accent. Wrap wire around the back boards to hang it. It’s heavy, so a sturdy picture hook or leaning it on a dresser works well.
Get the full tutorial at Blooming Homestead.
7. Repurposed Horseshoe and Chunk of Wood Votives

Repurposed horseshoe votives turn a rough chunk of wood and two old horseshoes into a rustic candle holder that sits on a table or mantel. No walls involved at all. Clean the wood and horseshoes, then drill five shallow holes along the top sized for votive glasses. Nail a horseshoe to each end so they become the feet. Sand the rough edges and brush on a matte protective finish before adding the candles. Dress it with greenery and it doubles as a country wedding centerpiece.
Get the full tutorial at Simply Country Life.
8. Leaning Storage Mirror Tutorial

A leaning storage mirror is a full length mirror with a wide wood frame that hinges open to reveal hidden storage for jewelry, keys or a leash. It leans instead of hanging, which makes it ideal for renters. Cut 1×2 and 1×6 boards with mitered corners, build a shallow box on a 1/4 inch plywood back and set a 16×60 inch mirror into the frame with mirror adhesive. Four butt hinges join frame to box. Plan on about 4 hours and $70, and an accurate miter cut for tight corners.
Get the full tutorial at Build Basic.
9. Light Bulb Mini Planters
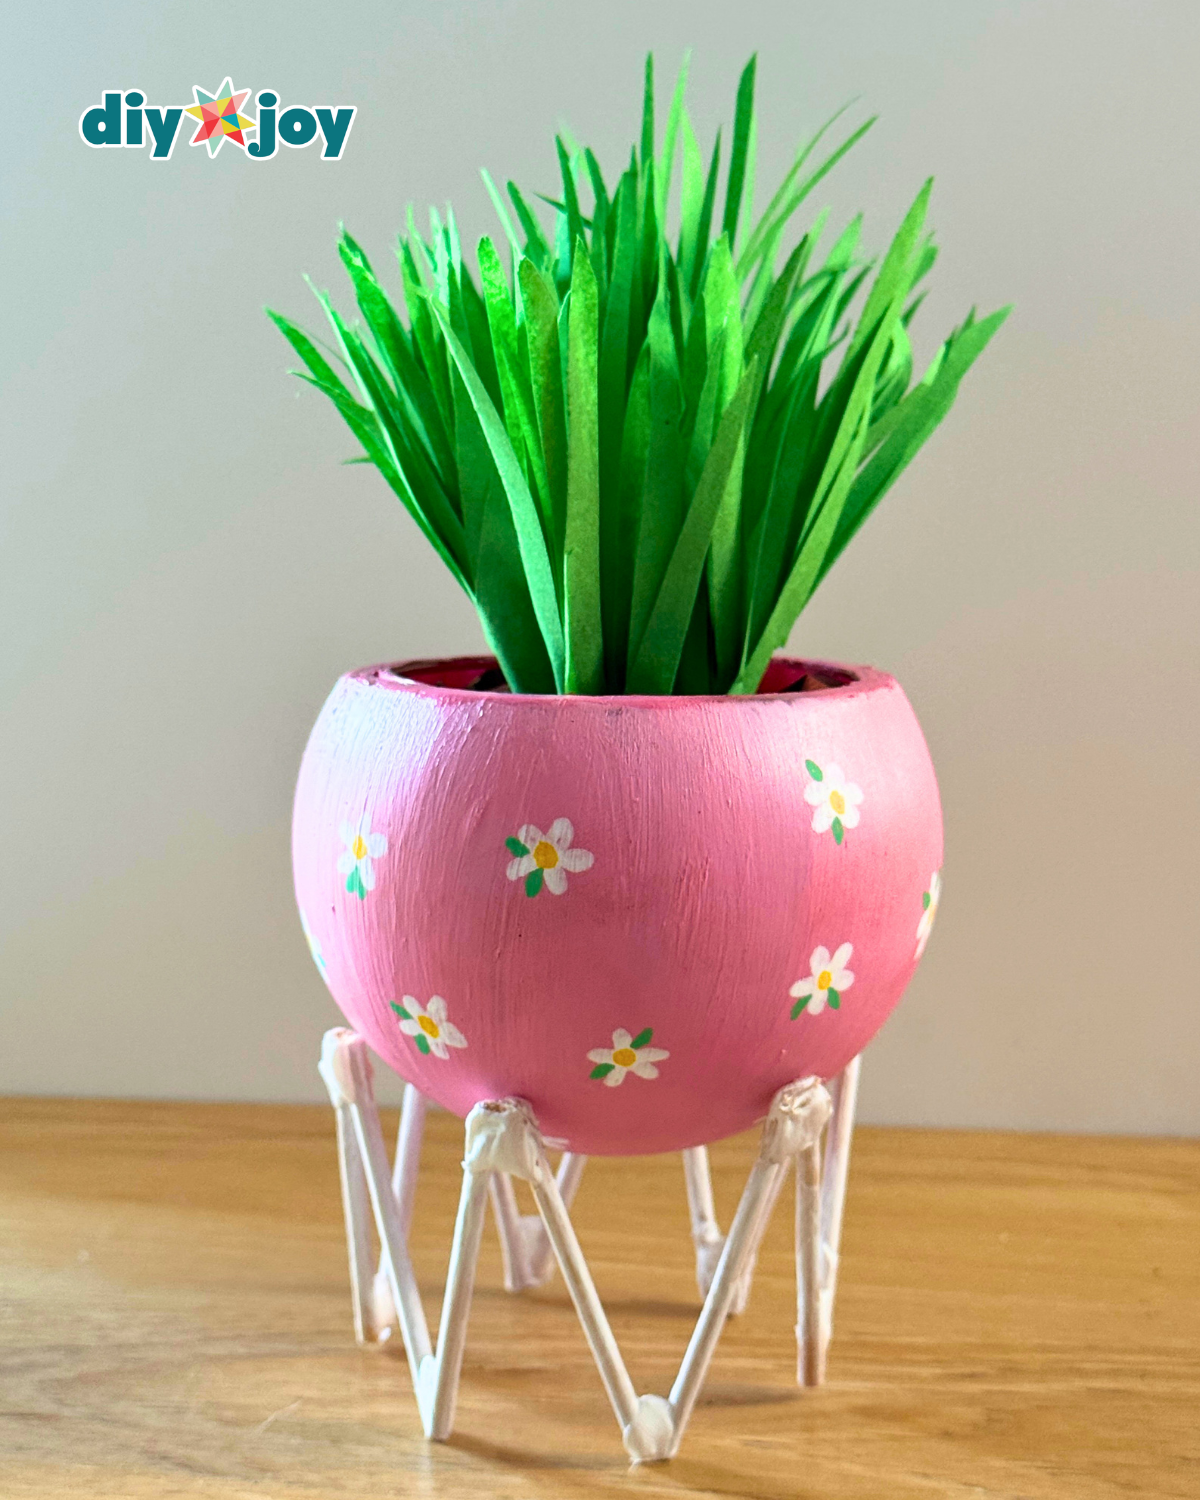
Light bulb mini planters bring a little greenery to a rental windowsill or shelf without taking up space or leaving a mark. Carefully separate the glass from the bulb base and sand the opening smooth. Paint the glass, add a second coat if needed, and draw tiny flowers with POSCA pens. Hot glue pairs of short sticks into A shapes and join them in a ring for a stand. Fold and fringe green paper into grass to fill it, so there’s nothing to water. A clever upcycle for a burned out bulb.
Get the full tutorial at DIY JOY.
10. Starched Fabric Wall Treatment Tutorial

A starched fabric wall gives renters the look of wallpaper with none of the commitment. Liquid starch is rolled onto the back of the fabric with a small sponge roller, then the fabric is smoothed onto the wall and trimmed with a sharp craft knife. When it’s time to move, it peels right off and the starch washes away with water. Two tips: add an extra six inches of length, since wet starch shrinks fabric, and get a helper, because soaked fabric is heavy.
Get the full tutorial at Sincerely, Sara D..