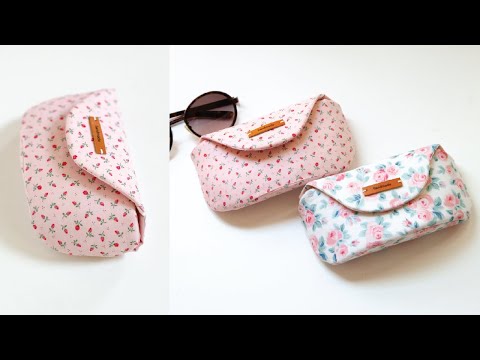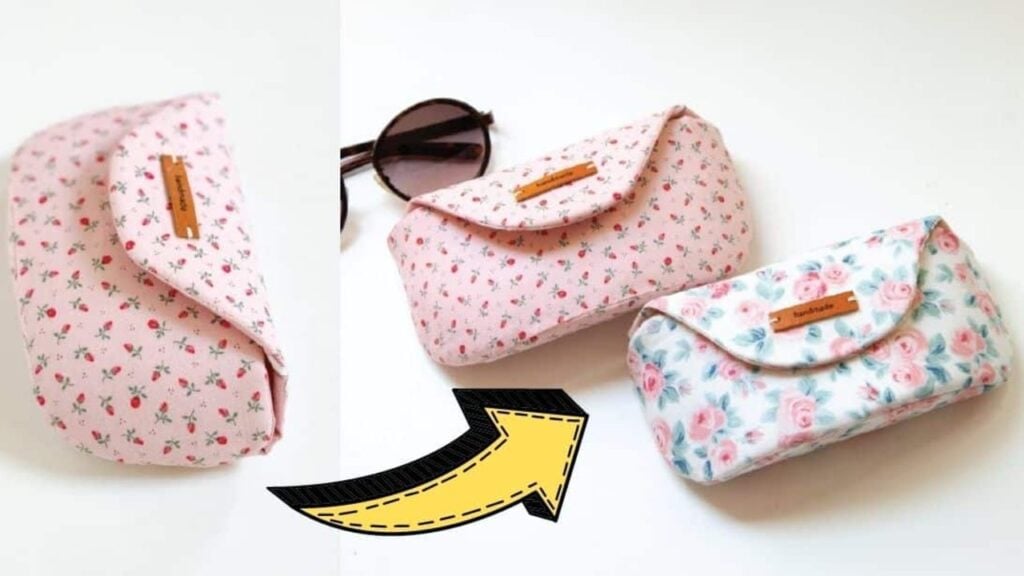
This sewing project by Minki Kim on YouTube looks super pretty and is very sturdy as well. This has a finished size of 6½” wide * 3½” high * 1½” deep which can fit a variety of sunglasses or reading glasses. Try making a couple of these now, you’ll love it!
Materials:
- Quilting cotton for the exterior: Fat eighth (9*22 inches)
- Quilting cotton for lining: Fat eighth (9*22 inches)
- Foam stabilizer: Fat eighth (9’’ x 22’’) (23’’ x 56cm)
- Fusible webbing: Fat quarter
- ½ inch Magnetic Button
- Marking pen
- Clips
- Scissors
- Sewing machine
- Iron
- Pattern (click here to be redirected to the pdf pattern)
Directions:
Step 1
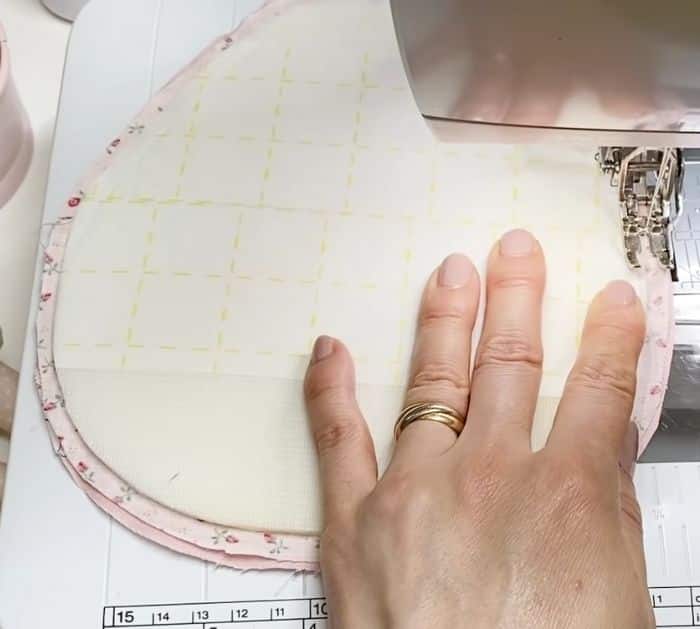
Download and print the pattern by visiting this link. After printing the pattern, cut them out accordingly. Grab the fusible web and fuse it on both sides of the foam stabilizer, peel off the backing paper, then attach it on the wrong side of the 2 exterior fabrics, and press them nicely. Place the large paper template on top of the larger foam stabilizer fused in the exterior fabric, then trace the mark on both sides of the template onto each side of the fabric. Grab the lining fabric and stack them together with their right sides facing, and clip them around the upper area, then repeat this on the rectangular pieces as well. Sew them together starting from the mark on the side and ending on the mark located on the other side.
[social_warfare]
Step 2
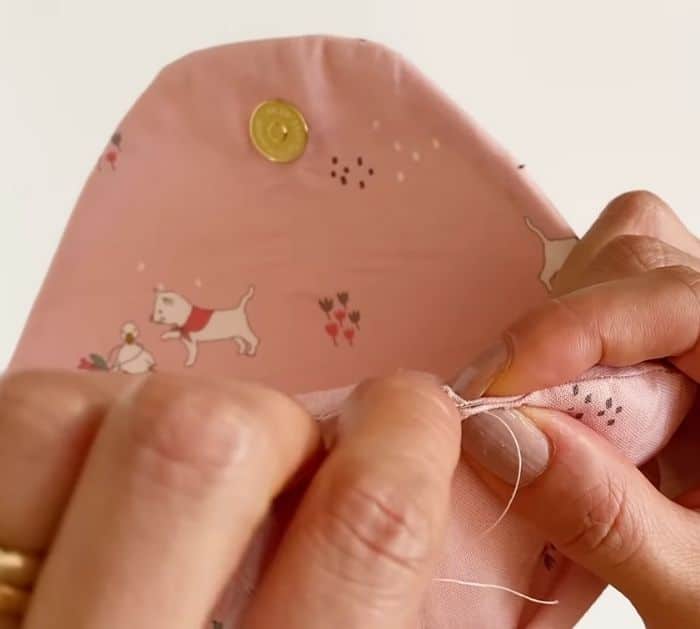
Sew the rectangular piece as well but only on the upper half, then press the fabric pieces nicely. Now start assembling the exterior panels. Fold both of the exterior panels in half to find their midpoint, then mark. Match their marked midpoints together with their right sides facing, then clip them around in place, and then sew them together. Sew the lining fabric together as well leaving a gap at the top center for turning. Once done sewing, turn it right side out, then mark at the flap where you want the magnetic button to be installed, then notch the mark, and place the magnetic button. Sew the gap on the lining fabric close, then tuck it inside nicely, and give it a good press.
*All image credit belongs to Minki Kim via YouTube. Follow and subscribe to her channel for more!
DIY Cute Sunglasses Case Sewing Tutorial