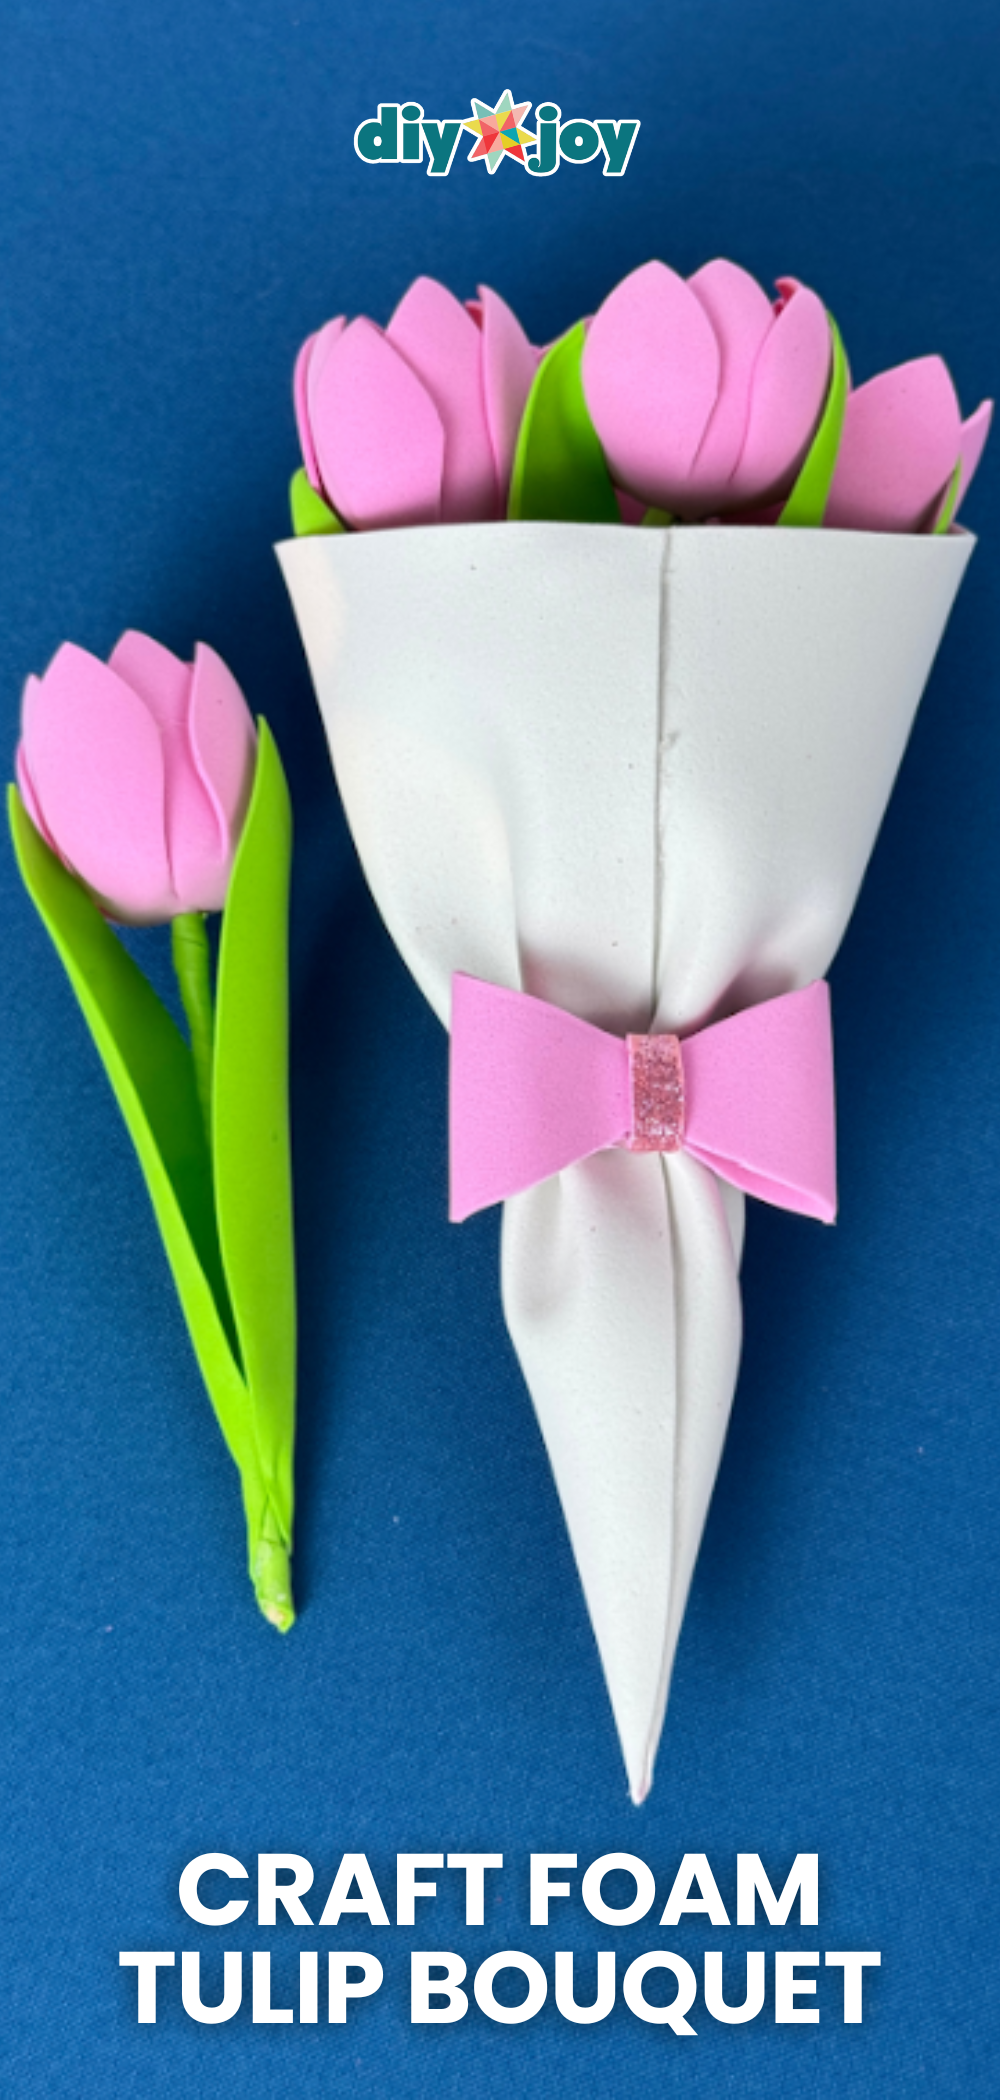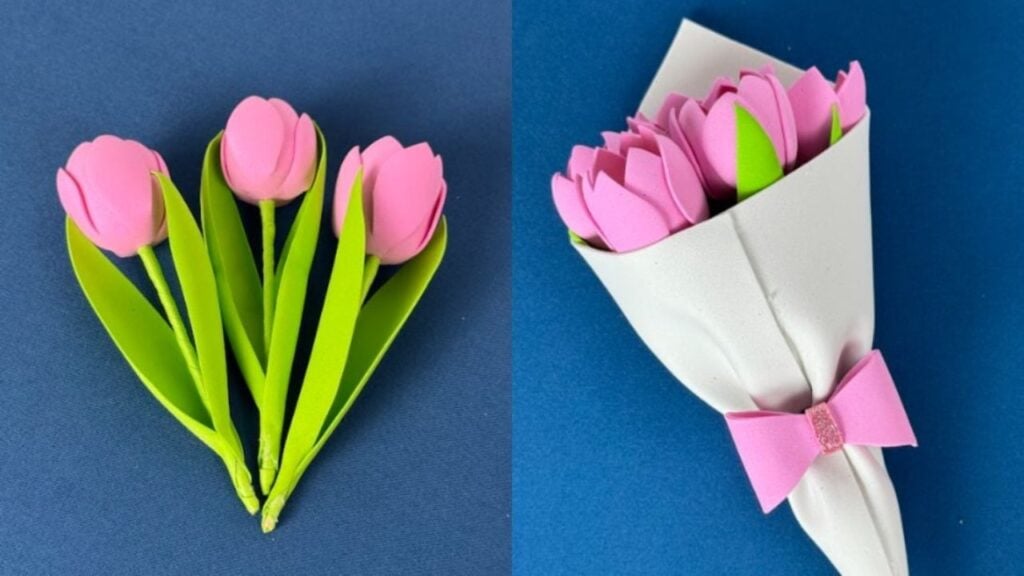
I’ve always loved tulips, but fresh ones don’t last nearly as long as I’d like. That’s why making a DIY Craft Foam Tulip Bouquet is such a great alternative—you get the same look without worrying about them fading after a few days. Using craft foam, you can create soft, colorful tulips that stay beautiful for as long as you want, and the process is simple enough for beginners to enjoy.
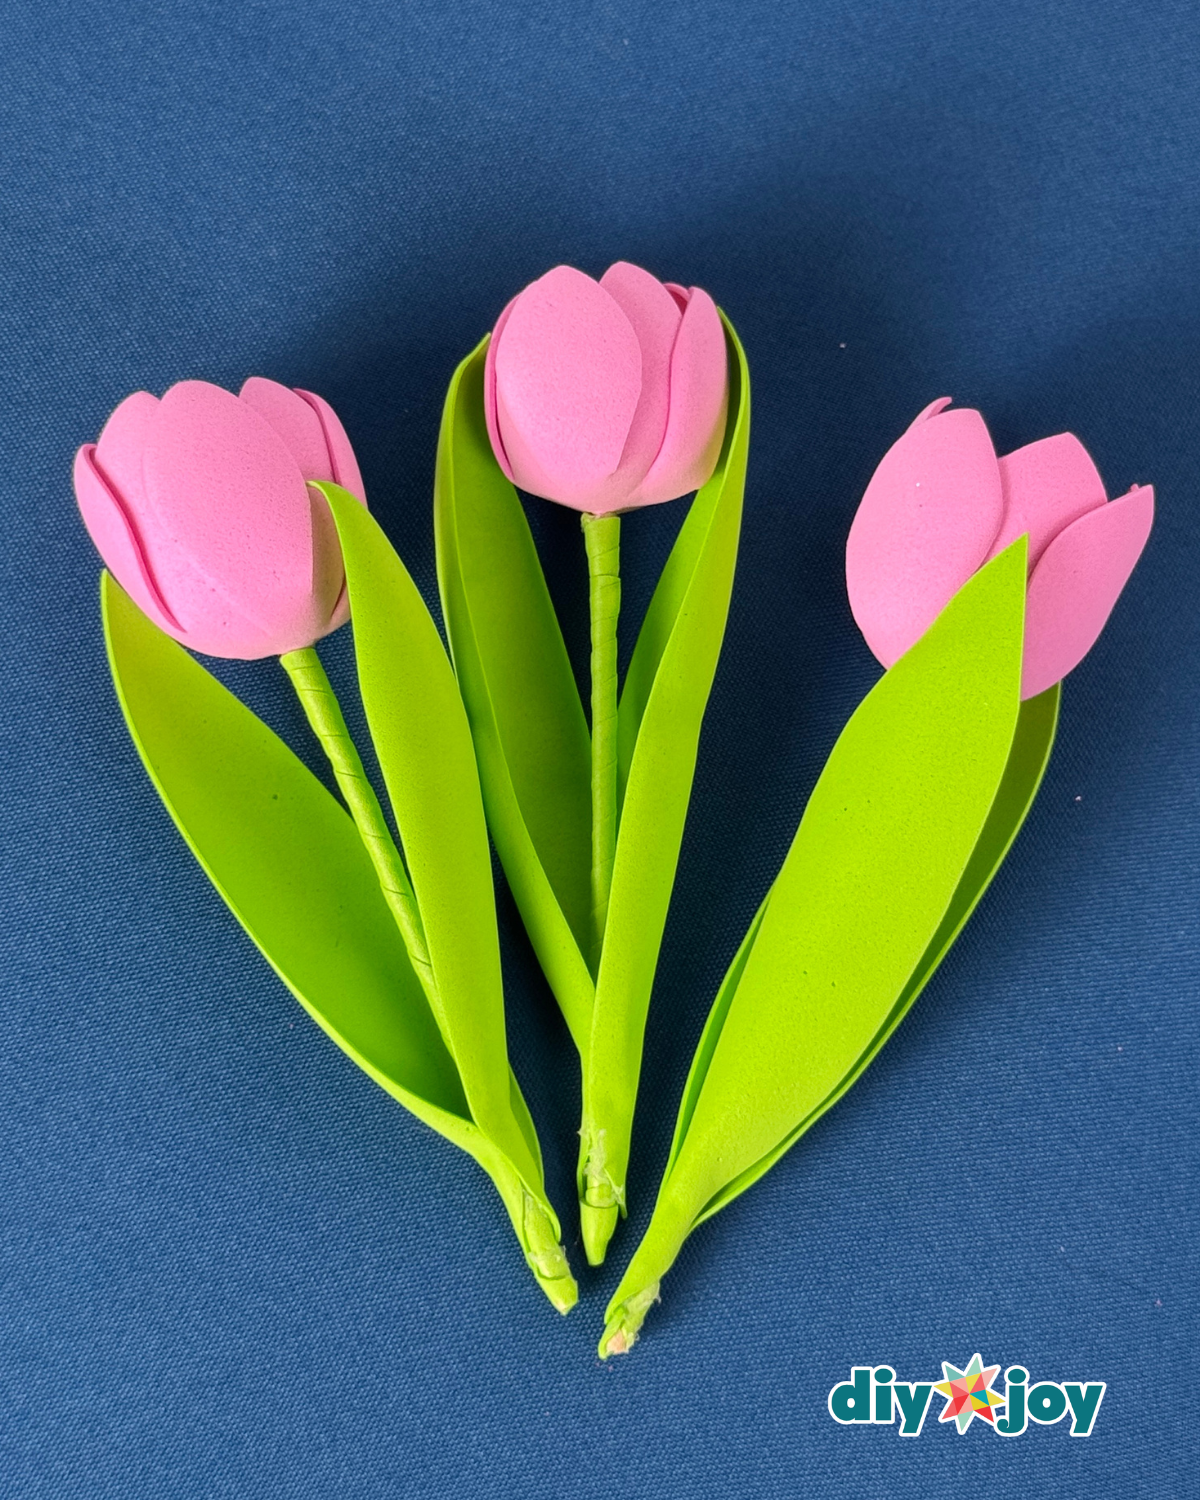
What makes this project so enjoyable is how easy and relaxing it is to put together. You can take your time shaping each petal and assembling your bouquet, whether you’re crafting on your own or making it a fun activity with kids or friends. It’s one of those easy DIY projects that doesn’t feel overwhelming but still gives you a polished, handmade result.
Here’s another cute craft idea to try :
How to Make a Frangipani Using Craft Foam

Have you seen our TikTok & Instagram yet?
Our viral videos are super popular and fun to watch. Here’s the craft foam tulip bouquet TikTok, but the YouTube video is also at the bottom of this post so you can watch the full tutorial. Links below for all our socials. Follow and be the first to see our latest crafts. ⬇️
This foam tulip bouquet is also incredibly versatile. You can use it as a centerpiece, give it as a thoughtful handmade gift, or create one just in time for spring or Easter. Since it’s made from durable materials, it lasts much longer than real flowers, making it a practical option you can reuse again and again.
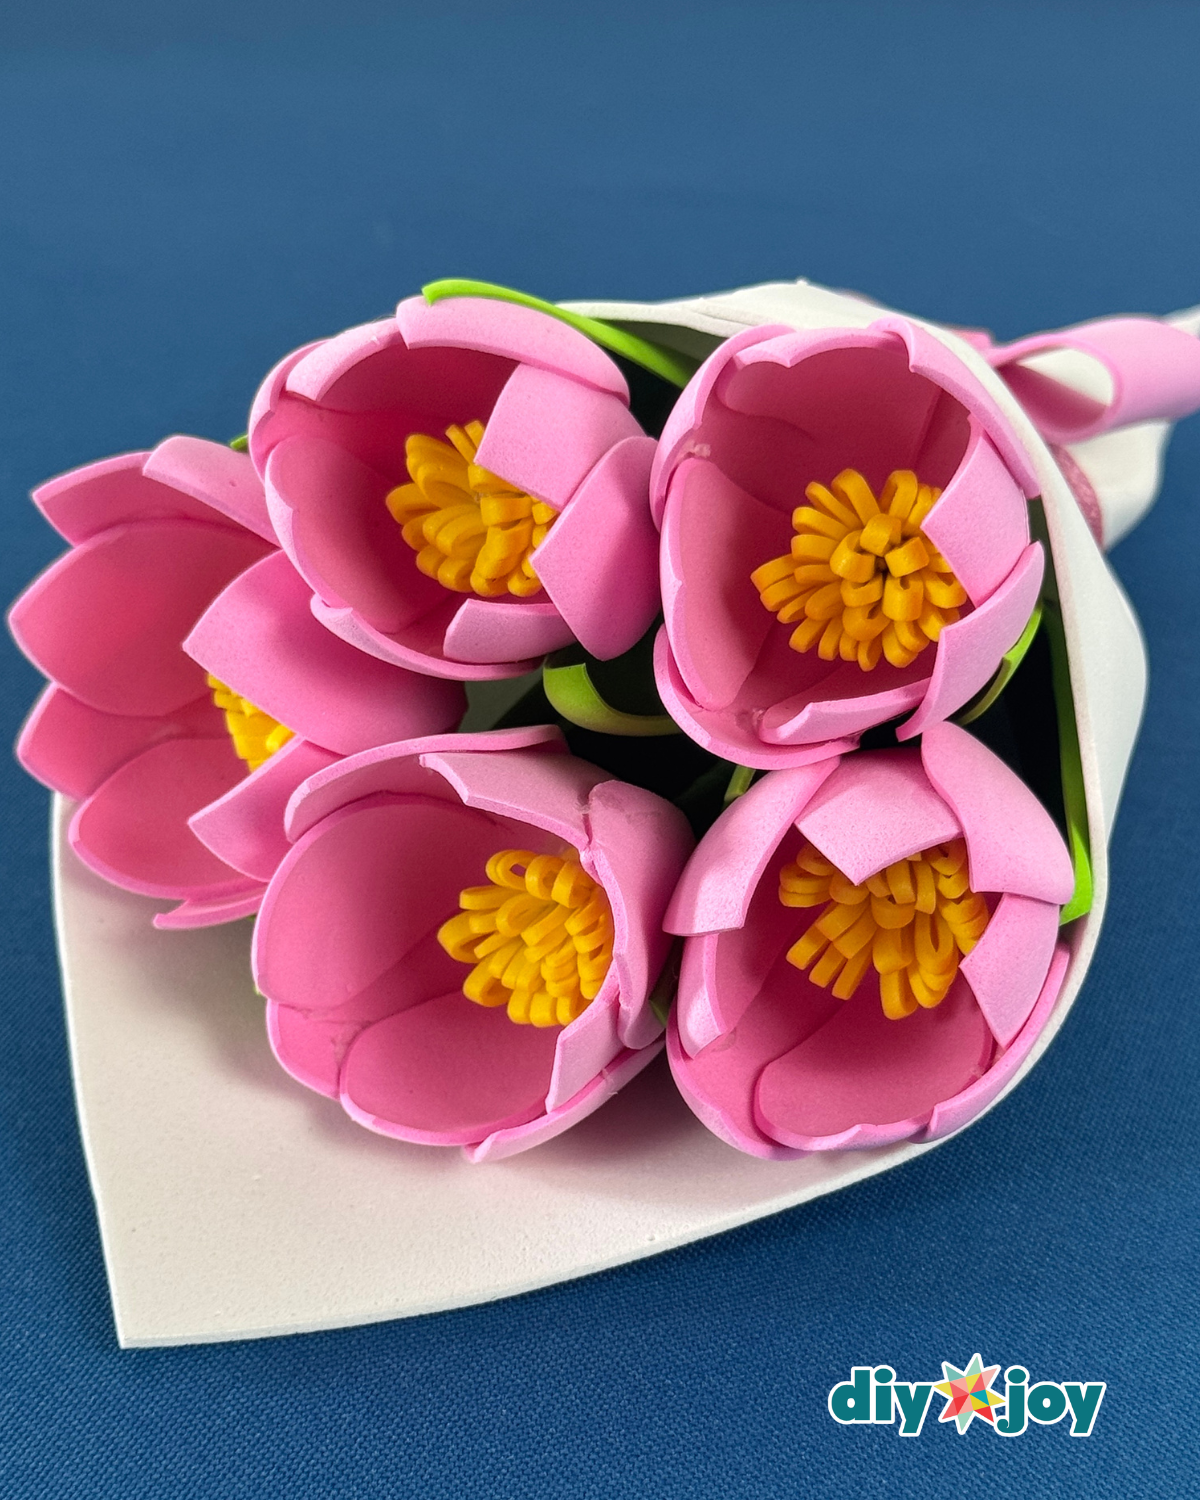
If you’re looking for a creative way to make your own flowers without the upkeep, this DIY tulip bouquet is a perfect choice. It’s budget-friendly, beginner-friendly, and a fun way to turn simple materials into something you’ll actually use and enjoy.
How to Make a Tulip Bouquet
Step 1: Prepare the Foam Base
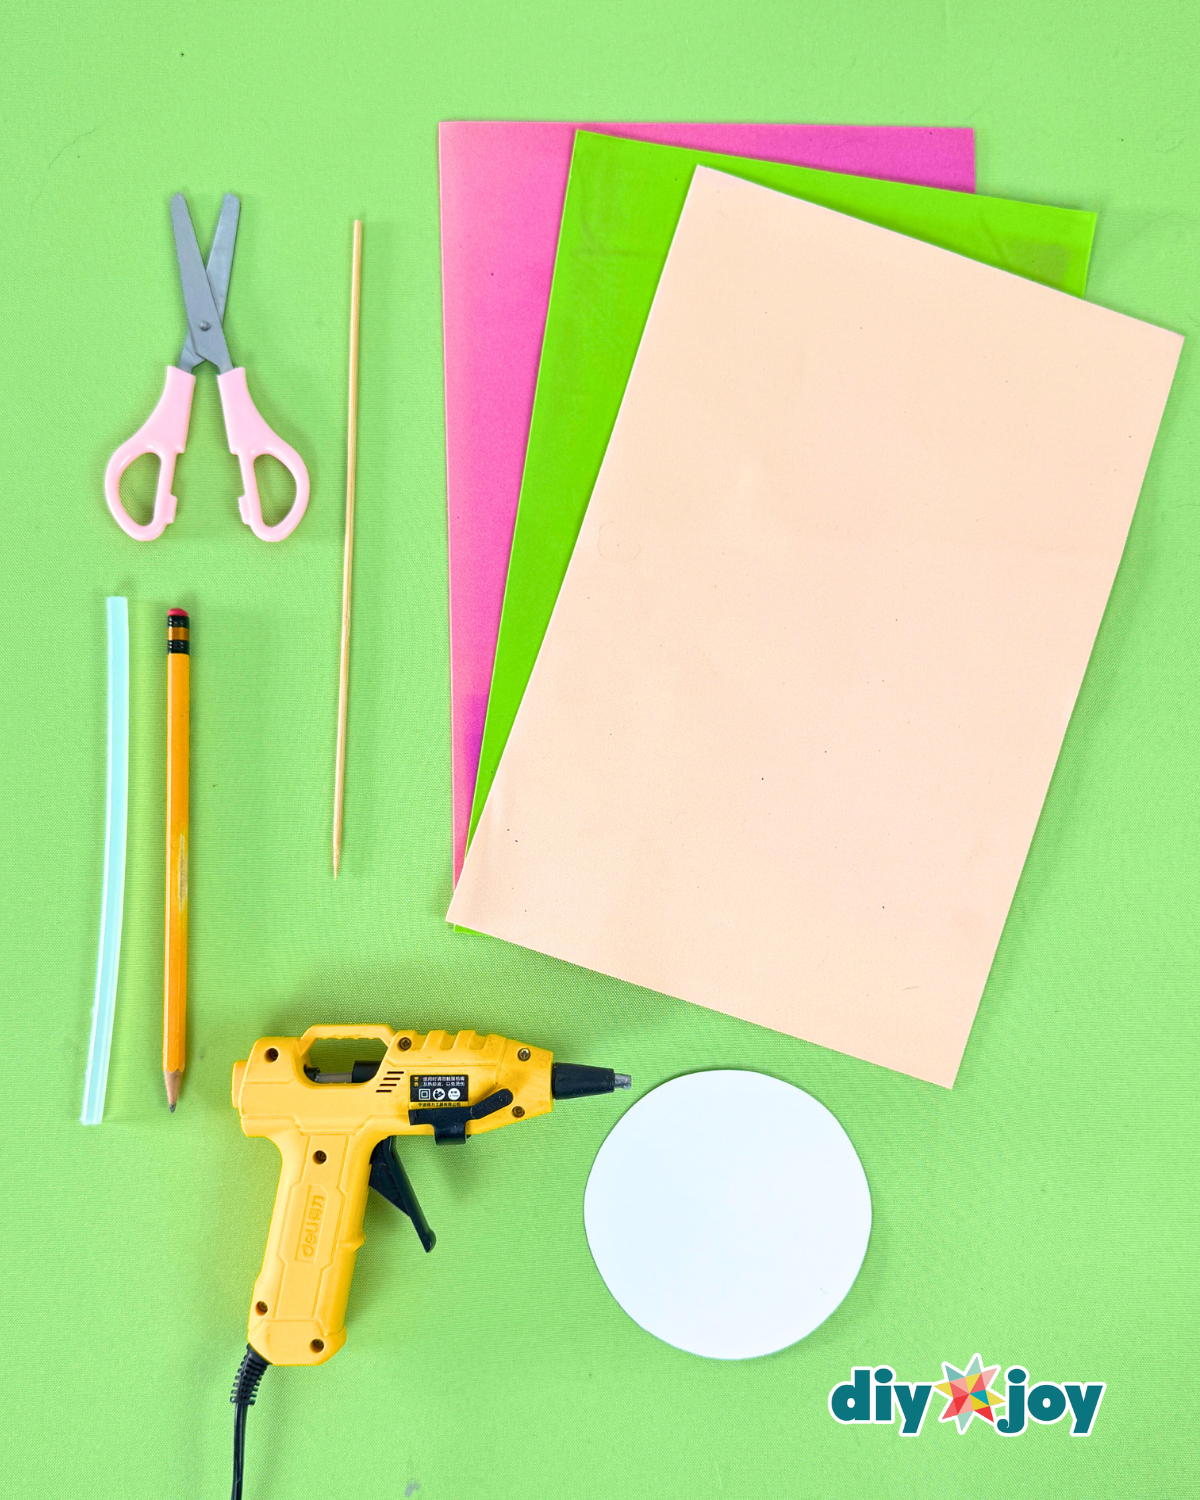
Trace a round object onto a 4×4-inch foam sheet to create the base shape. Carefully cut out the circle using scissors or a craft knife. Next, use a stick or similar tool to draw four lines across the foam, ensuring all lines meet at the center to create a guideline for the petals.
Step 2: Shape the Petals
Cut along each guideline line from the edge toward the center, stopping just before reaching the middle. Then, draw a curved petal shape on the outer edge of each section. Once all petals are drawn, carefully cut along the curved lines to create the individual petals, giving the flower its shape.
Step 3: Curl the Petals
Place each foam petal on a heated iron carefully, allowing the heat to slightly shrink and curl the foam. This will give the petals a natural, rounded shape and add dimension to the flower.
Step 4: Create the Flower Center
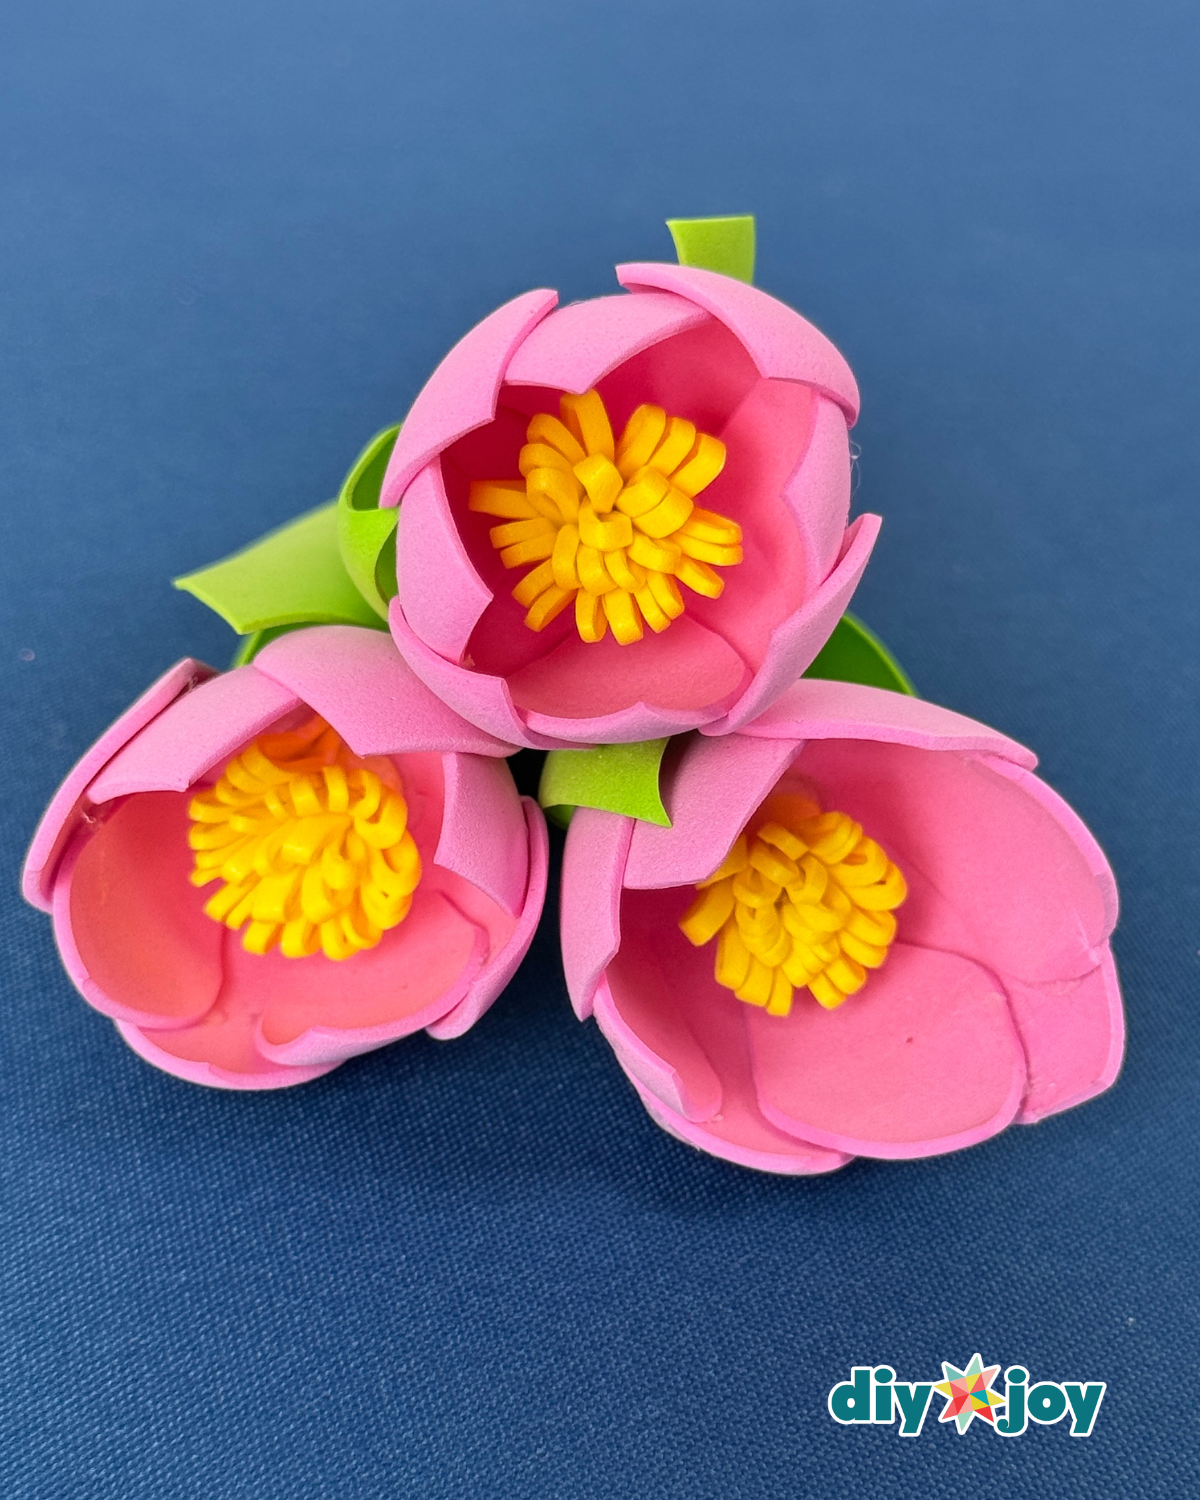
Cut a 1×1-inch square piece of EVA foam and fold it in half. Secure the top edges together with a small amount of hot glue. Make thin cuts along the folded edge to create fringe, then carefully start rolling the foam to form the flower center. Once rolled to the end, secure it with hot glue and place it in the middle of the assembled petals to complete the flower.
Step 5: Assemble the Tulip
Apply a small amount of hot glue to the bottom of the flower’s center, then insert the stick to create the stem. Next, apply another small amount of hot glue to the base of the flower’s center and slide the tulip petal onto the stick, positioning the flower center in the middle. Press gently to ensure the flower center and petals are securely attached to the stem.
Step 6: Glue the Petals Together
Apply a small amount of hot glue to both sides of one petal. Attach the next two petals beside it, pressing gently to secure them in place. Continue this process, gluing and arranging each petal, until all the petals are attached and the flower is fully formed.
Step 7: Create the Stem and Leaves
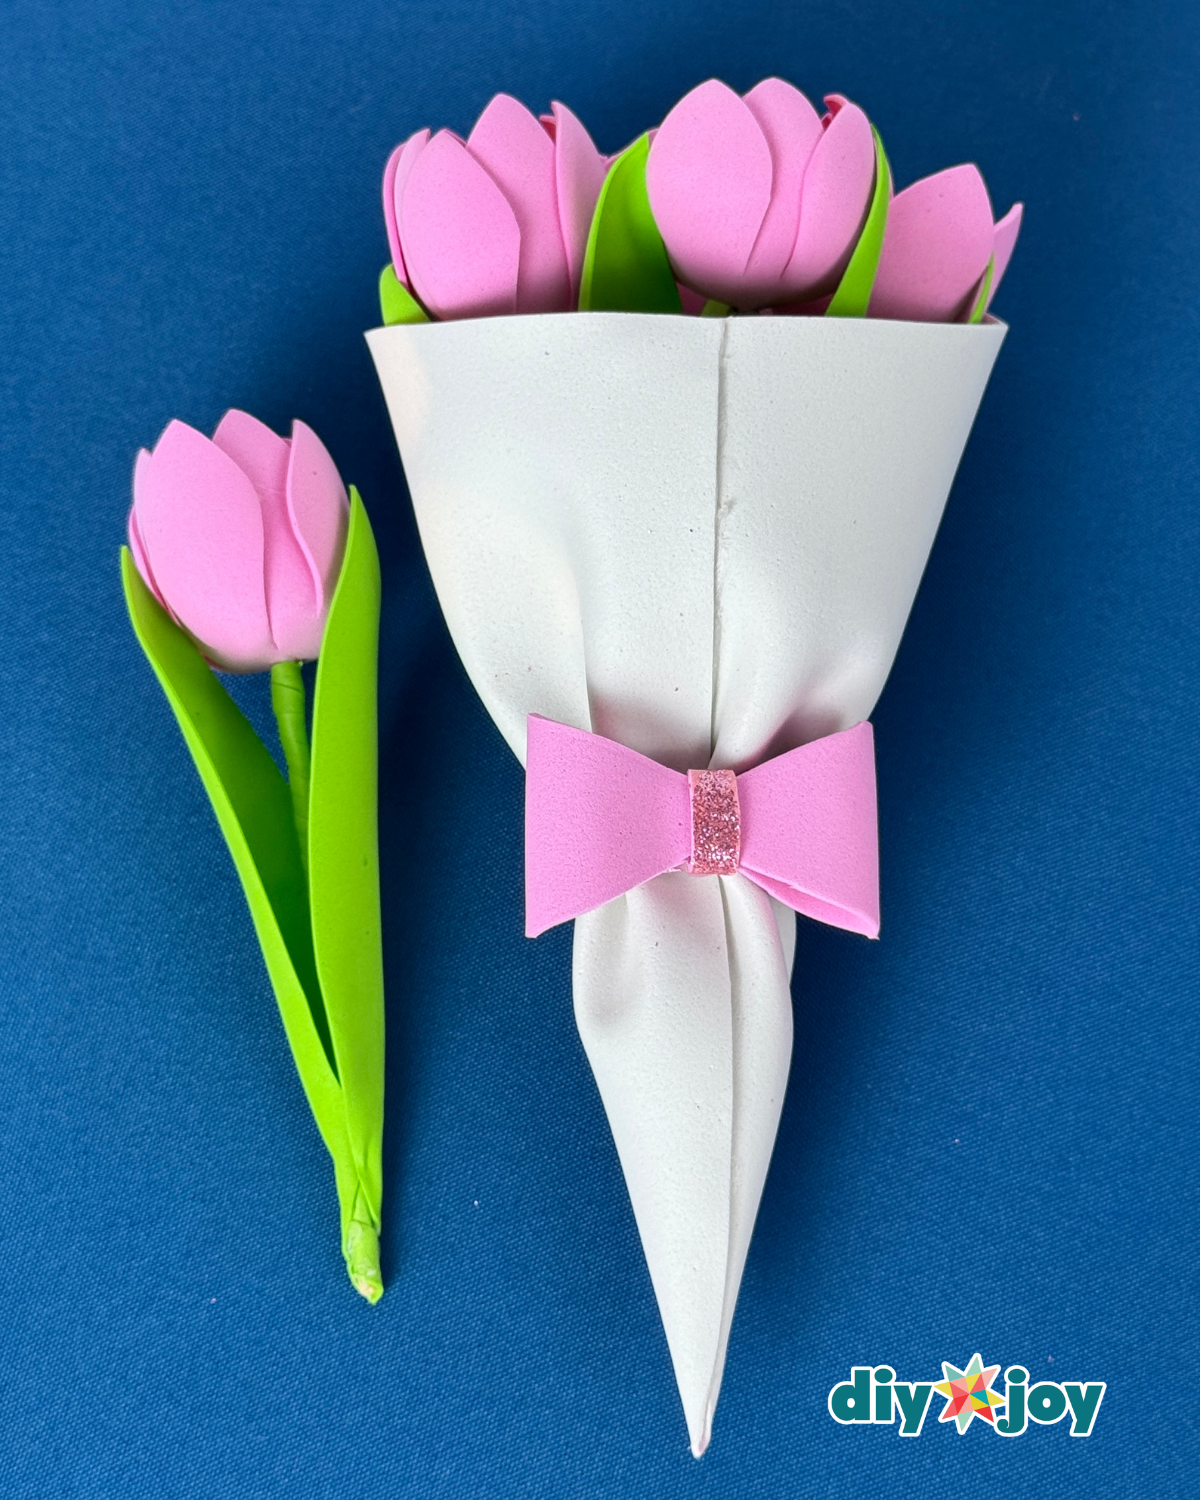
Cover the stick with green EVA foam. Draw two leaf shapes on green EVA foam and carefully cut them out. Place the leaves on a heated iron until they shrink slightly, then gently bend and shape them to create a natural curve. Attach the leaves to the stem using a small amount of hot glue, positioning them as desired to complete the foam tulip flower.
Pro Tips
- Play with color combination – Mix soft pastels for a spring feel or go bold with bright colors to make your bouquet stand out.
- Make it gift-ready – Tie your finished bouquet with ribbon or wrap it in kraft paper to instantly turn it into a thoughtful handmade gift.
DIYJoy Viral Crafts




*If you love this craft, then visit our official website, follow our Facebook page, and subscribe to our YouTube channel for more!
DIY Craft Foam Tulip Bouquet