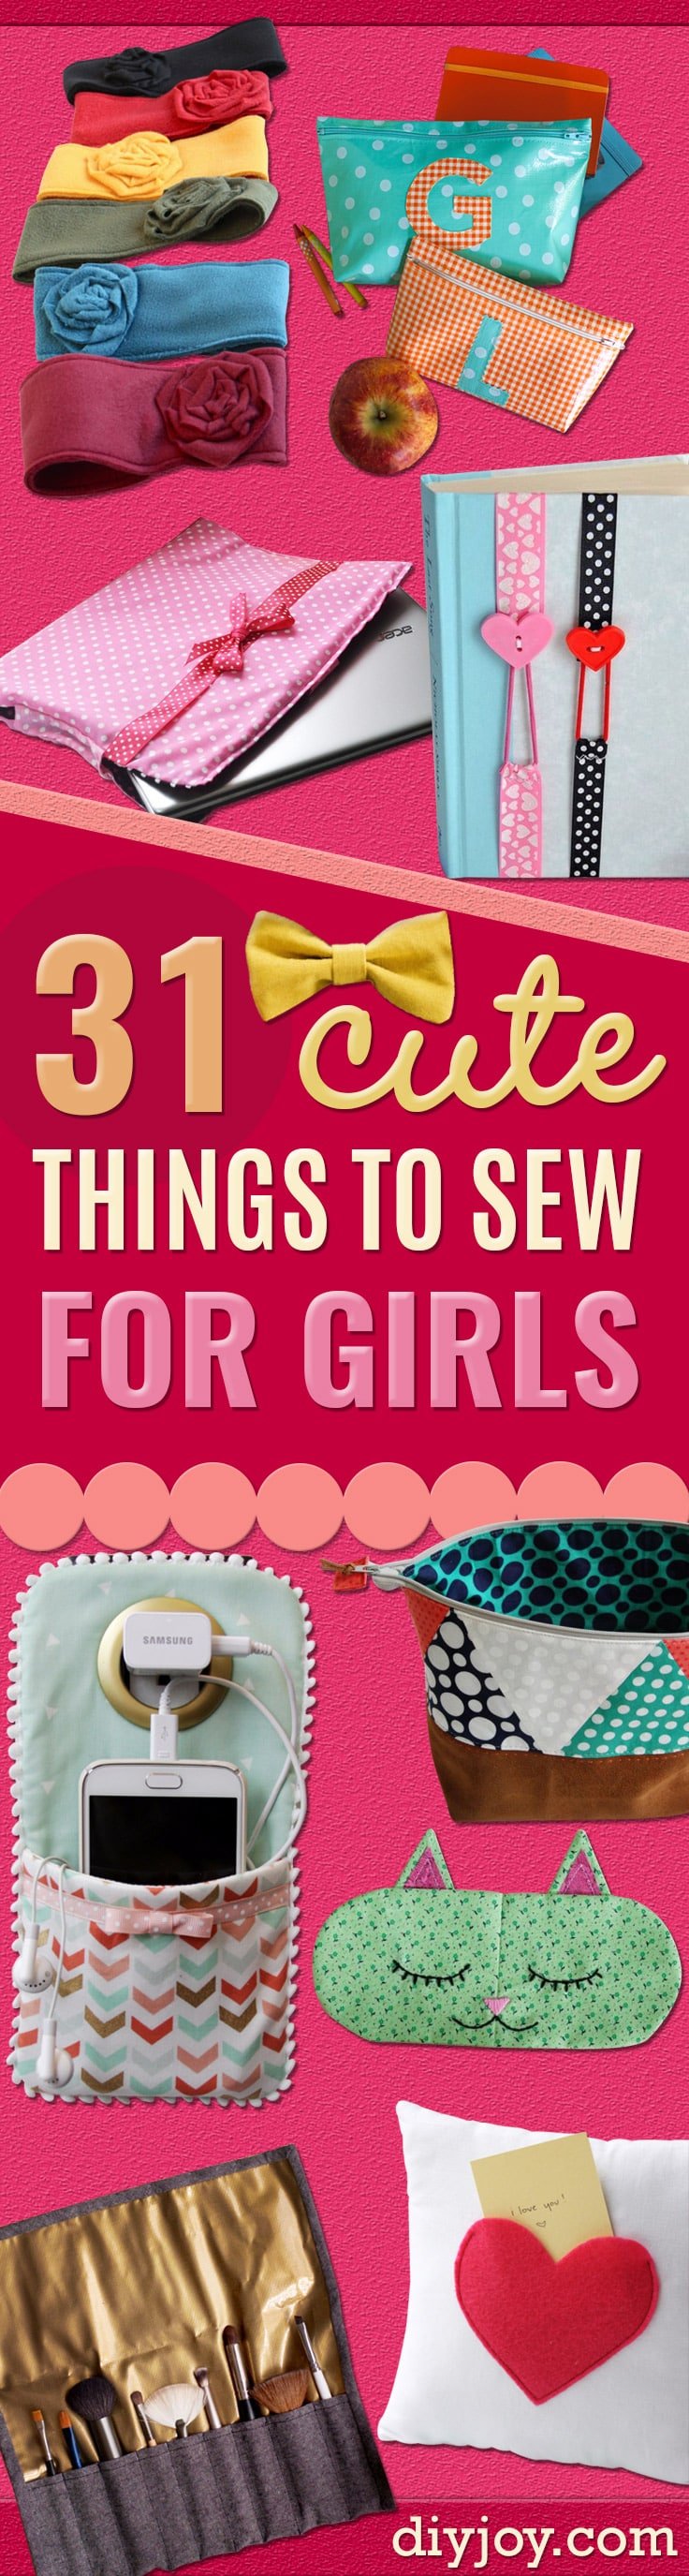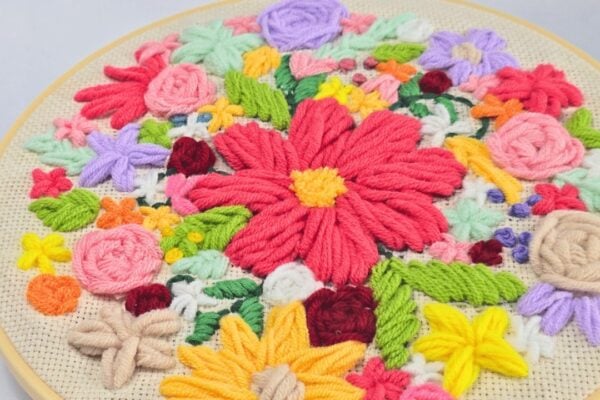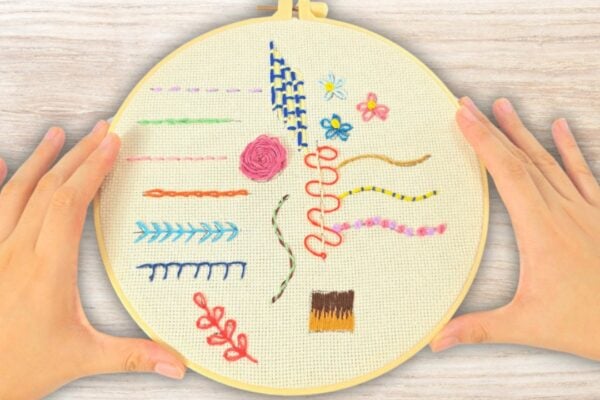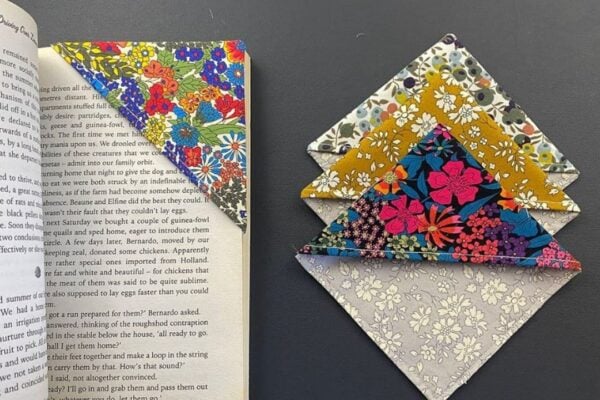
Sewing for a girl is the one gift category where the handmade version genuinely beats the bought one, because you get to pick the fabric. These 25 cute sewing projects for girls run from a ten minute infinity scarf to a padded laptop sleeve, and most of them use less than half a yard. There are zipper pouches with her initial on the front, a pillow with a hidden pocket for notes, ear warmers that cost about a dollar twenty-five each, key fobs and fabric hearts out of the scrap bin, and a macaron coin purse. Pick by skill level rather than by cuteness: the bookmarks and the headbands are hand sewn in minutes, the tote bags and cases want a machine and an afternoon.
25 Sewing Projects to Make for Girls
1. DIY Laptop Sleeves
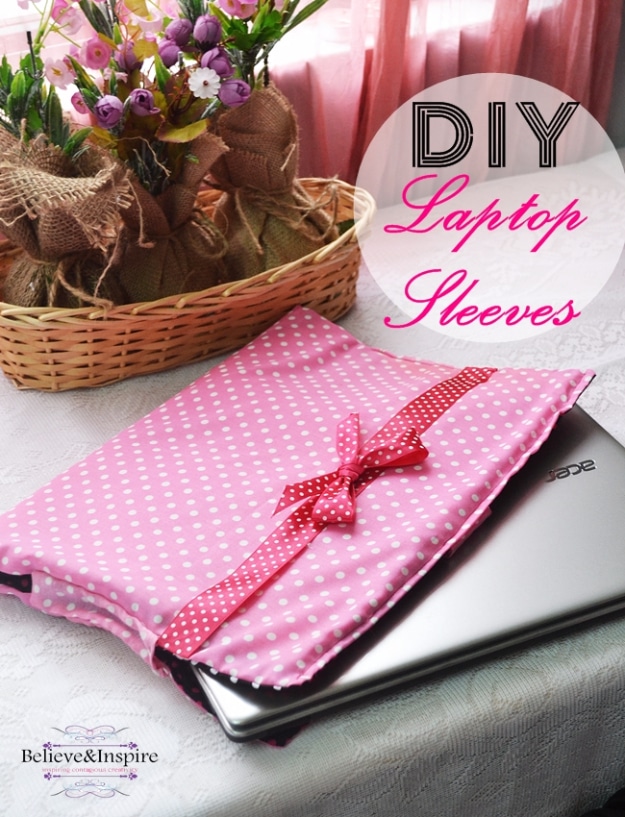
Measure your laptop and add two inches. Hers was fourteen by nine, so she cut exterior and lining at sixteen by twenty, plus a four and a half inch square for the flap and two narrow strips for the sides. The foam goes onto the wrong side of the lining, the exterior and lining are sewn together on three sides like a pillowcase and turned out, then the flap and its button close the top. The two narrow strips fold in on all four edges and are stitched down the sides, which is what turns a flat envelope into something with depth.
Get the full tutorial at Sew Some Stuff.
2. DIY Monogrammed Zipper Bags
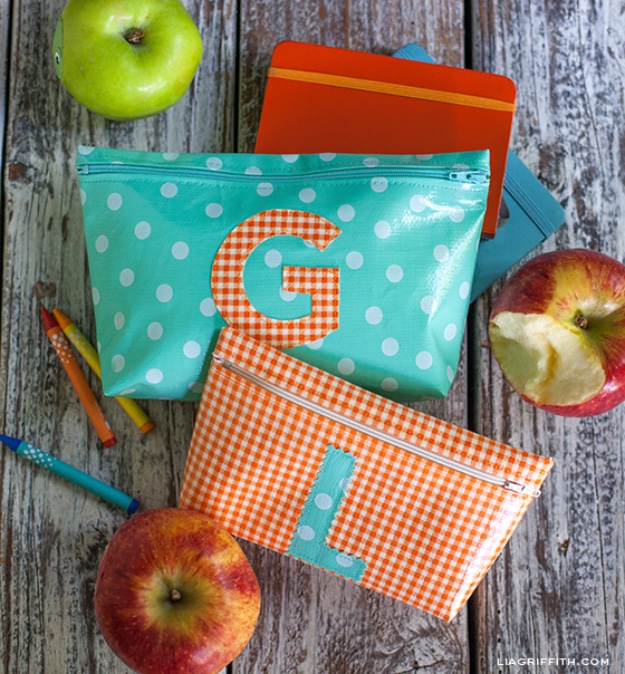
Seven seams, and the material choice is what makes it a school bag rather than a pretty one. Oilcloth wipes clean, which matters for something that lives at the bottom of a backpack with a leaking glue stick, and it does not fray, so the monogram letter can be cut from a contrasting oilcloth and topstitched straight on with no turned edge. The sizing rule is worth stealing for any pouch: start from the full width of the zipper including its fabric tape ends, then make the bag whatever depth you like. An alphabet template comes with it.
Get the full tutorial at Lia Griffith.
3. DIY Boot Socks
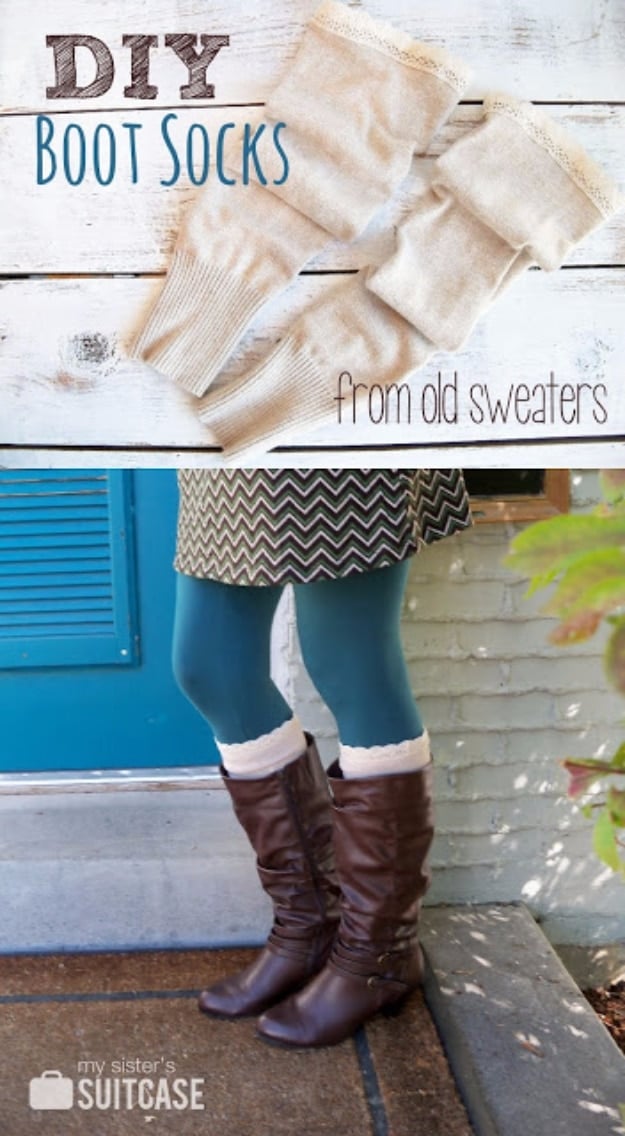
Cut the sleeve off an old sweater beyond the shoulder seam and the cut edge becomes the top of the sock, trimmed with crochet lace or ribbon so nothing has to be hemmed. She made three pairs from two sweaters out of the giveaway pile and one thrift shop find, and spent under ten dollars on the lot. Knit rolls rather than unravels once the trim is stitched over the raw edge. Cut long for a pair that folds into a cuff above the boot, shorter for a plain band, and a ruffle of ribbon makes the third pair look nothing like the first two.
Get the full tutorial at Holly of My Sister's Suitcase, guest posting at Infarrantly Creative.
4. Easy Fabric Hearts Sewing Tutorial
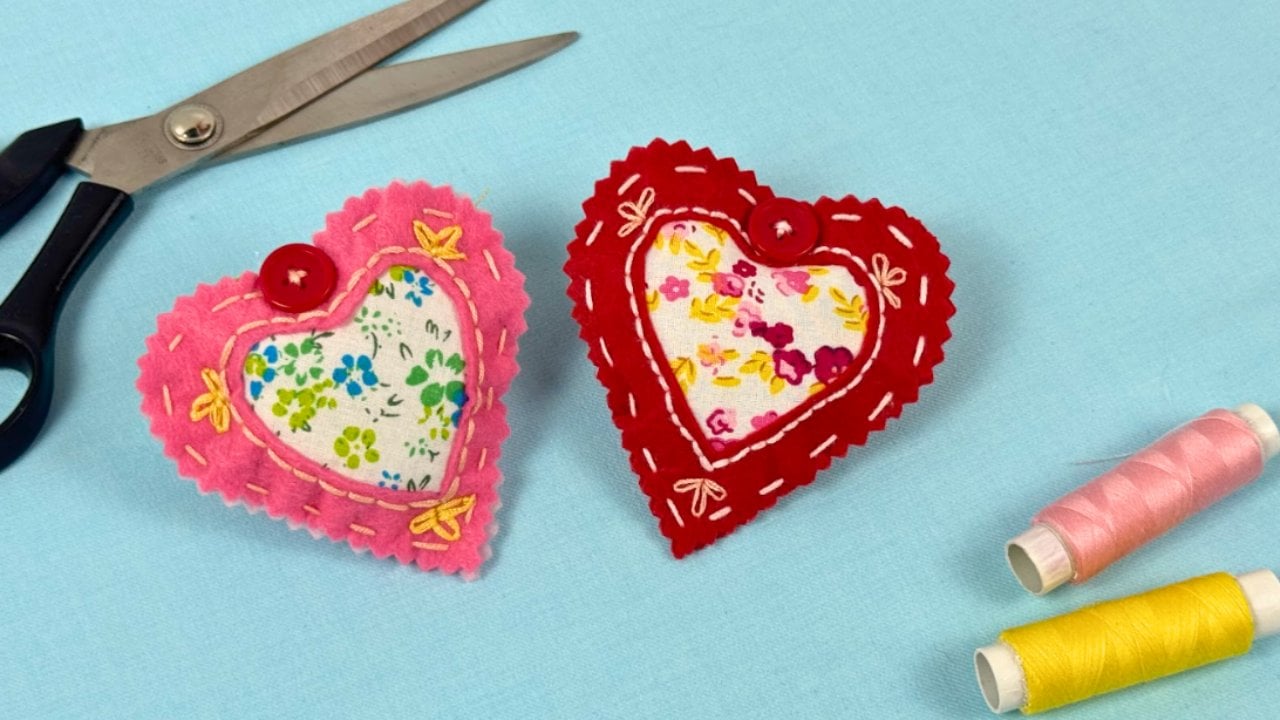
No machine, which is the point, and no perfection either. Cut two hearts from felt, lay a smaller shape of printed cotton on the front, and work a blanket stitch round the outside in a contrasting thread, leaving a gap to stuff and closing it as you come back round. Straight stitches and lazy daisies around the applique are where the personality goes, and a button in the middle finishes it. Fill one with dried lavender for a drawer, make them small for keychains and bag charms, or run a loop of thread through the top to hang one.
Get the full tutorial at DIY Joy.
5. Secret Pocket Pillow
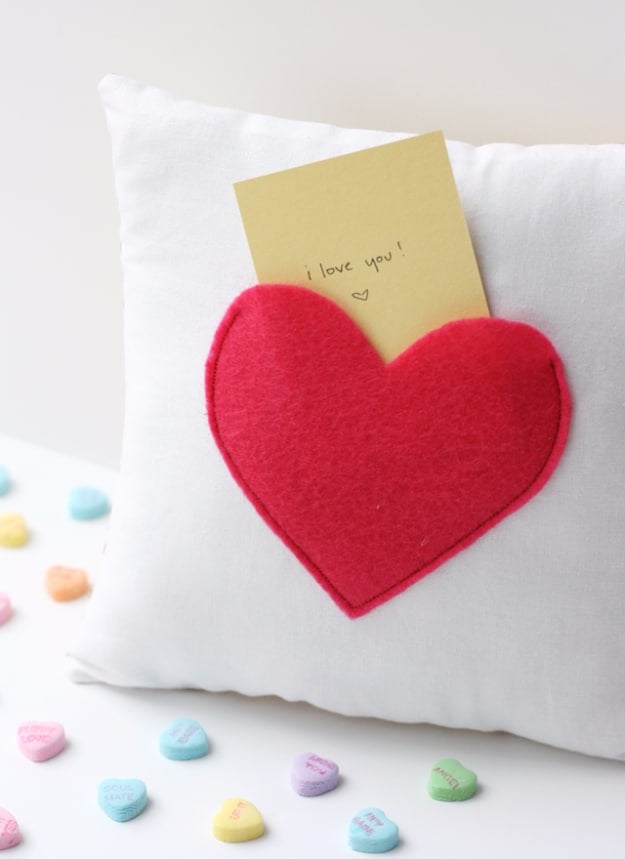
The trick is one line of stitching that stops short. Cut a felt heart, stitch it onto the pillow front close to the edge but only from a little above halfway down each side, and the top of the heart stays open as a pocket. After that it is an ordinary cushion: two nine inch squares right sides together, half inch seam allowance, sew all four sides leaving a gap, clip the corners, press the seams open before you turn it, stuff hard into the corners, then ladder stitch the gap shut. Cut a felt tooth instead of a heart and it is a tooth fairy pillow.
Get the full tutorial at Michael Ann Made, guest posting at See Kate Sew.
6. Water Resistant Phone Pouch
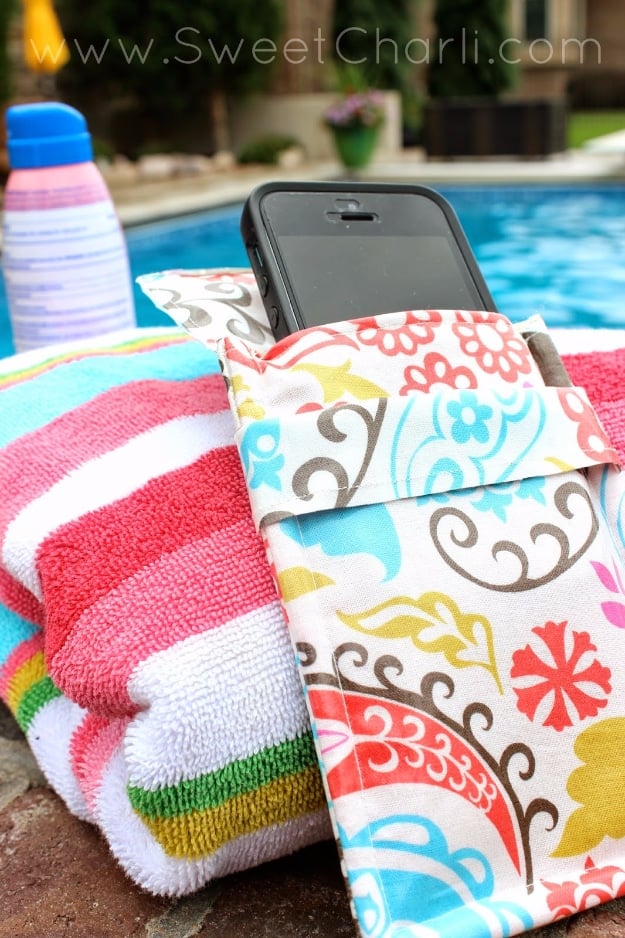
Oil cloth outside and felt inside, which is the pairing that makes it splash proof and still soft against a screen. Two pieces of each, cut two and a half inches wider than your phone and an inch and a half longer, so an iPhone sized pouch lands around five by six and a half inches. Sew each oil cloth piece to a felt piece along the top, fold right side out and topstitch, then put the two pairs together with the oil cloth facing and sew down the sides and across the bottom. The flap and the little belt strip that holds it shut go on last.
Get the full tutorial at Kami Watson, formerly Sweet Charli.
7. Ipad Sleeve
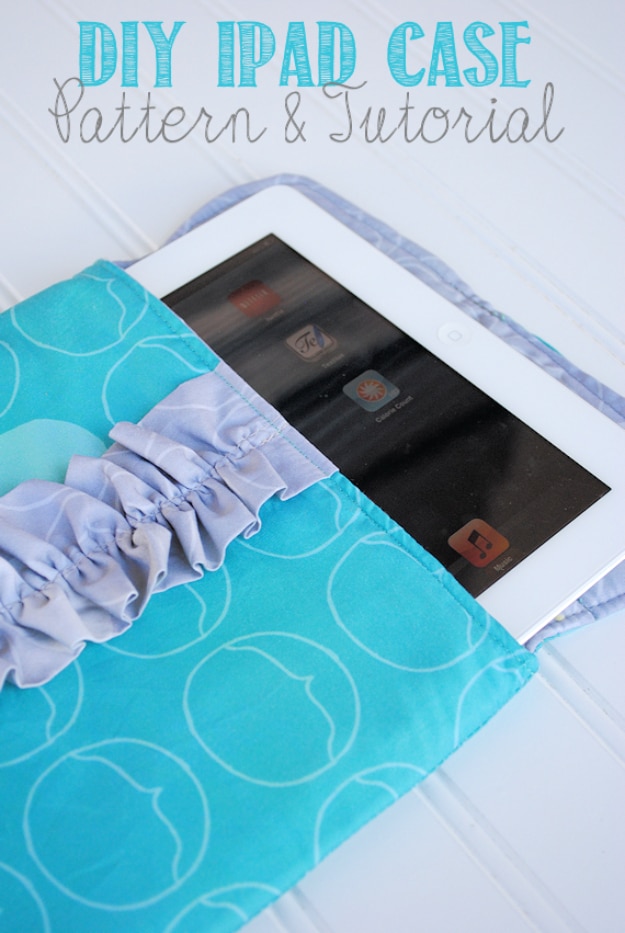
Half a yard each of two coordinating cottons and half a yard of fusible fleece, cut into a nine by eleven piece and a nine by fifteen piece from each of the three. The long piece wraps round and becomes the back and the flap. Before anything else goes together, put the velcro on, because once the fleece is fused and the layers are joined you cannot reach the spot. The ruffle is one forty-five inch strip, basted down the middle and gathered on the bobbin thread. Fuse the fleece to the inner pieces only, so the outside stays crisp.
Get the full tutorial at Crazy Little Projects.
8. DIY Macaron Coin Purse
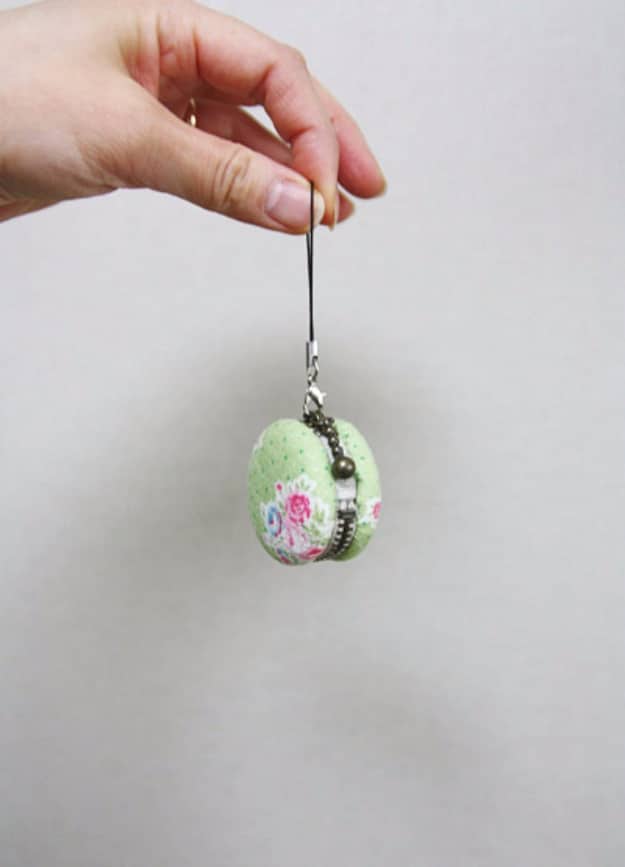
Genuinely tiny, hanging from a wrist strap between two fingers in the photograph, a pale green shell with a rosebud print and a beaded rim where the filling would be. A macaron purse is two padded circles with a zip curving around between them, and the whole illusion depends on the depth of that zip band reading as the ganache layer. It holds a couple of coins, a hair tie and nothing else, which is the charm of it. Good with a heavier cotton or a quilted scrap, because a floppy fabric makes a sad flat biscuit.
Get the full tutorial at Handmadiya.
9. Fleece Ear Warmers
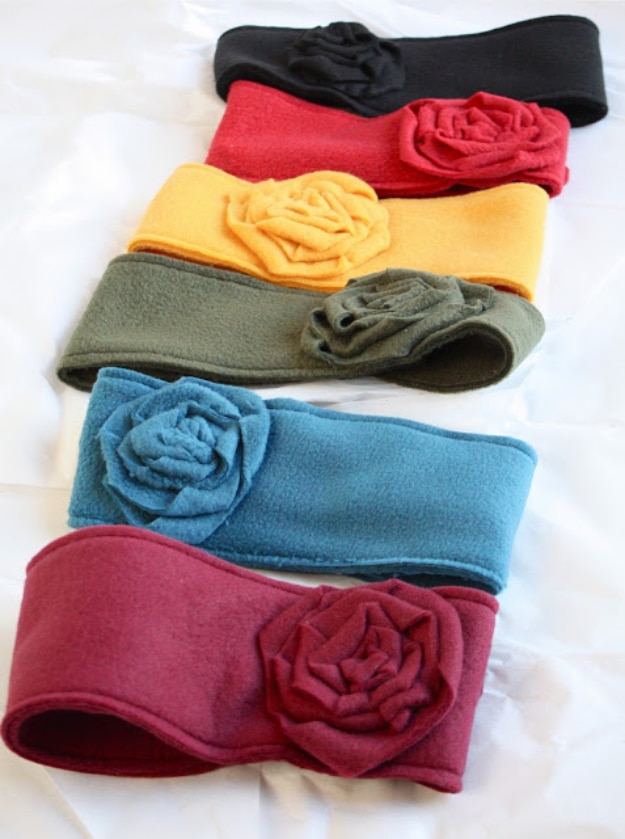
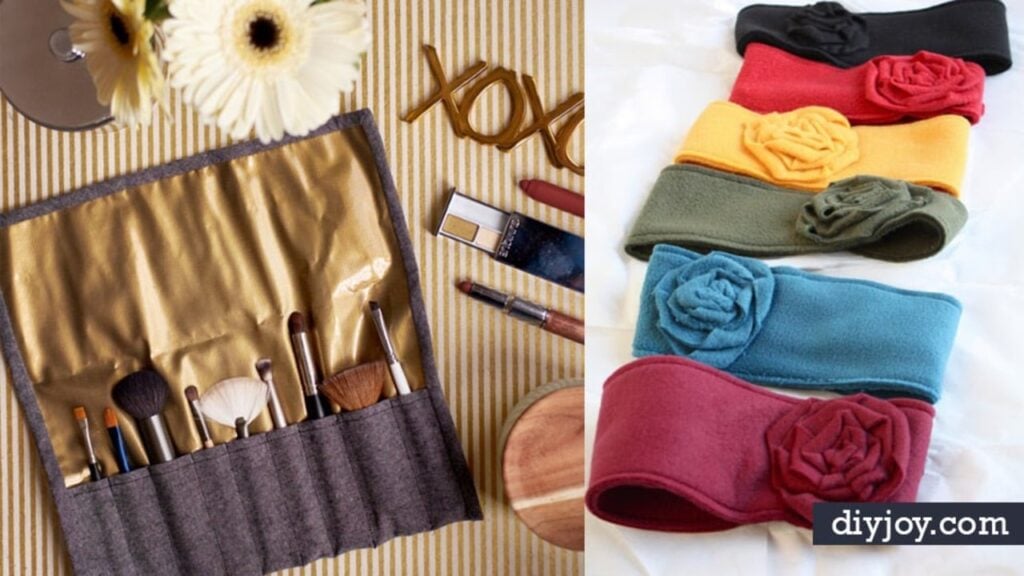
About a dollar twenty-five each and twenty minutes each, which is the reason to make six rather than one. Two layers of fleece sewn together with the edges left raw, because fleece does not fray, so there is no hemming on the entire project. The ends are rounded and joined with two buttons instead of a seam, so the same band fits an adult and a child. A rolled fleece rosette on the side is the only decoration and it goes on last. Knitted ear warmers look lovely and let the wind straight through; this is the fix for that.
Get the full tutorial at Kalleen at Second Street.
10. Free Camper Zipper Pouch Pattern
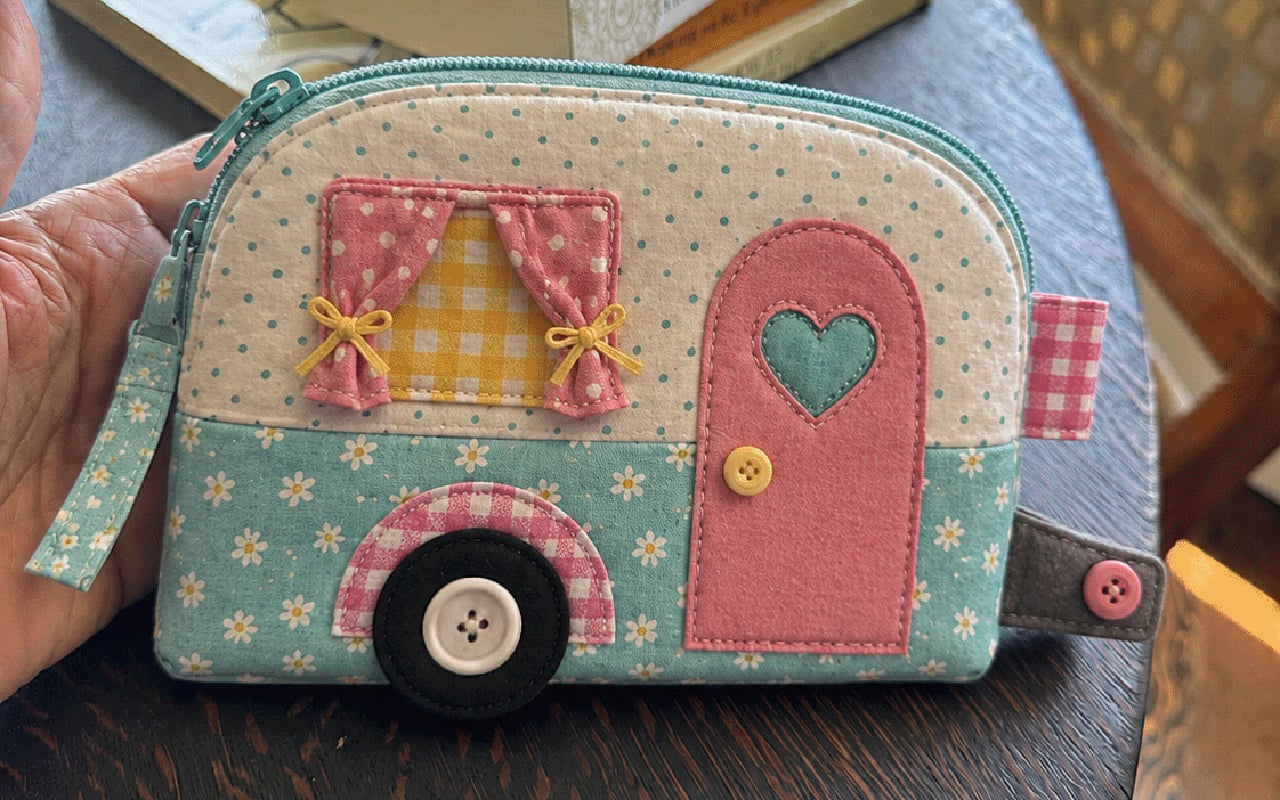
A boxed zipper pouch that finishes about 7.25 inches wide by 6 tall with a 3.25 inch boxed base, built from a printable pattern you download and print at 100 percent, with a one inch calibration square to check against. The body pieces from two fabrics, a print up top and a solid band along the bottom, then the fun part is all fusible applique: an arched door with a heart window and a button handle, a gingham window with tie-back curtains, a felt wheel on a big button hub, and a little stitched hitch caught in the side seam. Straight stitching and one zipper install.
Get the full tutorial at DIY Joy.
11. DIY Iphone Wallet
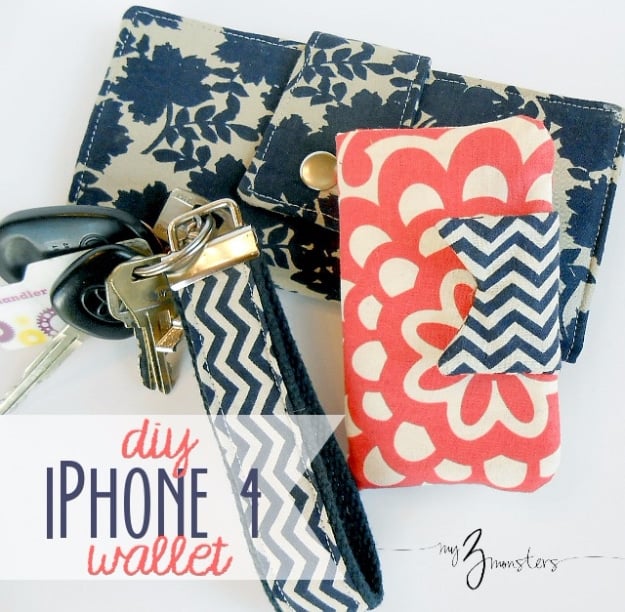
The clever part is that it is built around a cheap plastic phone case, glued in with E6000, so the phone snaps in and out and the camera stays usable without taking anything apart. Outside that it is a quarter yard of main fabric, scraps for the flap, a magnetic purse snap from the craft store and some embroidery floss. Apply the snap early, following the packet, to the flap and the exterior layer before the wallet is assembled. Card slots and a slot for a folded note go in the body. The pattern took her three attempts to get right.
Get the full tutorial at My 3 Monsters.
12. Pretty Little Key Fob
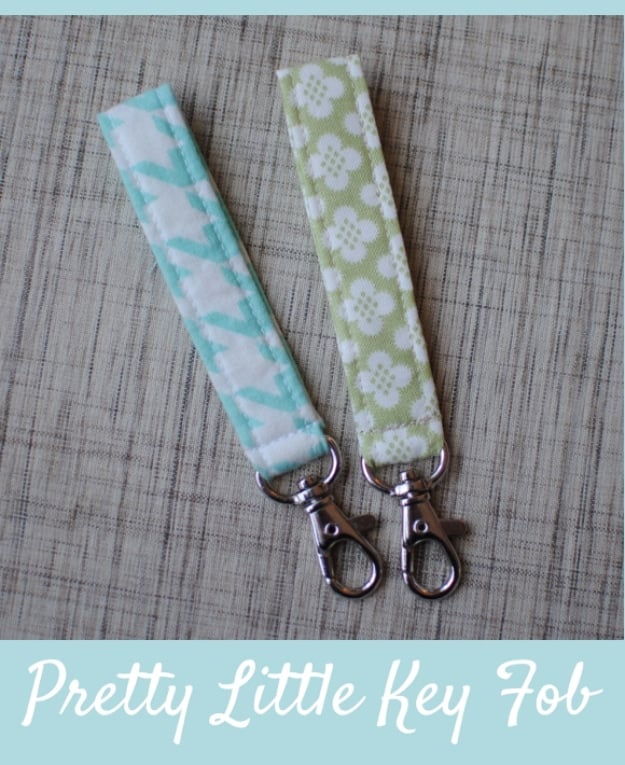
A two inch by eight inch strip of the pretty fabric and a three quarter inch by nine inch strip of flannel, and that is the whole cut list. Sew the outer strip into a tube down the long side with a quarter inch seam, turn it right side out and press it with the seam running down the center of the back. Then thread the flannel through the tube with a safety pin, which is what gives a key fob its body without any interfacing at all. Feed the swivel clip on, tuck the raw end into the folded opening and stitch it closed.
Get the full tutorial at Clover and Violet.
13. DIY Make Up Brush Case
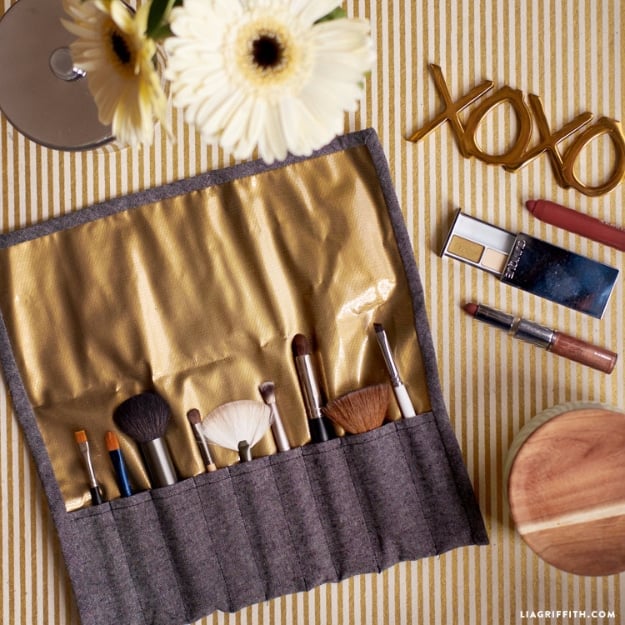
A roll rather than a bag, which is why every brush comes out clean instead of shedding into the bottom of a pouch. Woven linen outside and gold oilcloth inside, and the oilcloth is the functional choice: it wipes, so a leaking mascara is a cloth rather than a replacement. The pockets are stitched in individually, so you set each width to the brush that goes in it and the case fits your own kit instead of a generic one. The edges are finished with bias tape, and an iron-on “brushes” in gold script goes on last.
Get the full tutorial at Lia Griffith.
14. DIY Infinity Scarf
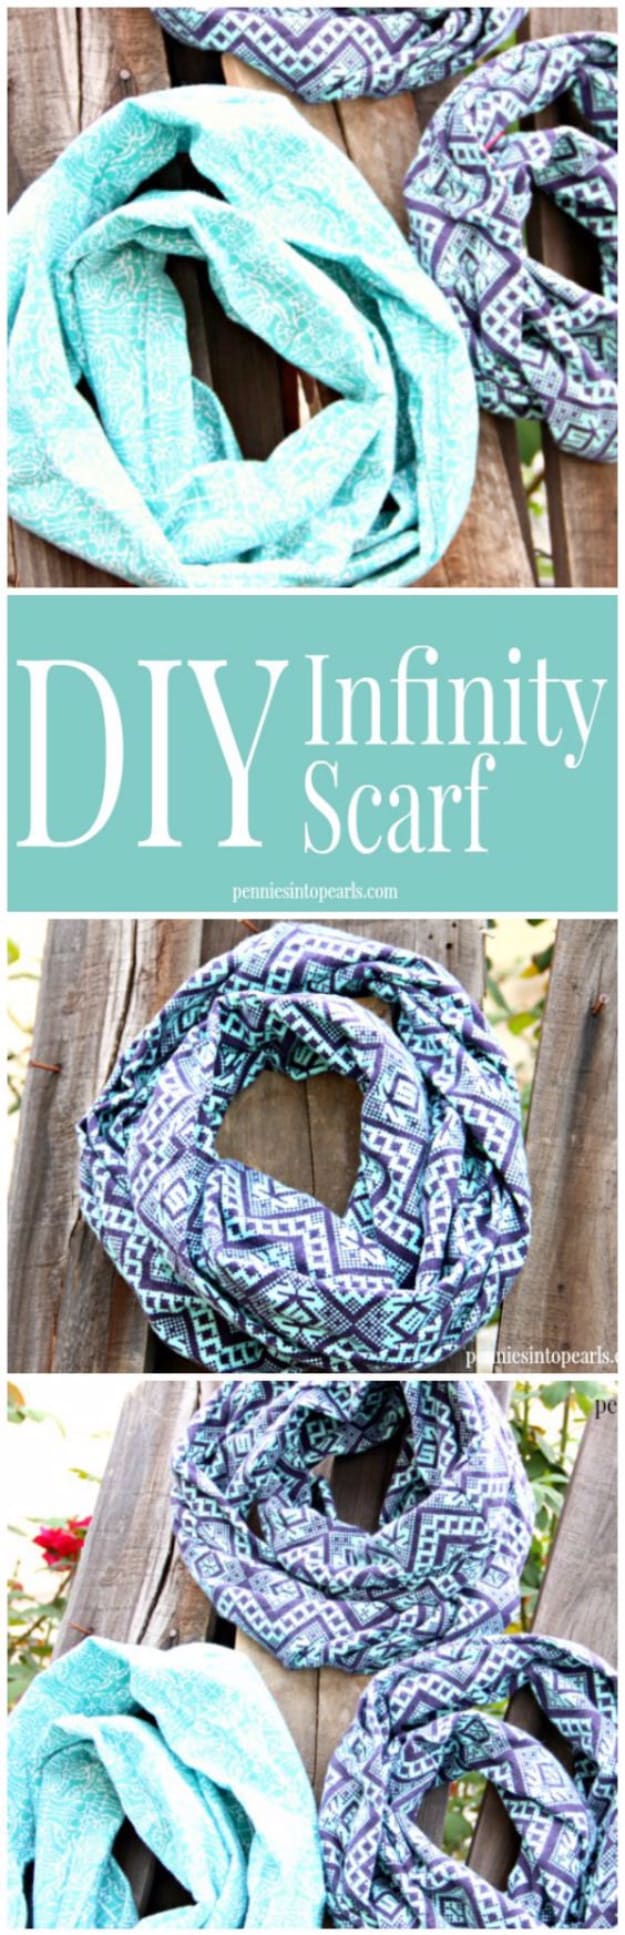
Ten minutes and one straight seam, and a yard and a half of fabric makes two scarves, not one. She uses flannel or fleece on purpose, because both come off the bolt with edges that do not need hemming, so the only sewing is the seam that joins the loop. Her own costing is honest and worth repeating: flannel bought on a Black Friday sale at under two dollars a yard put each finished scarf at about a dollar fifty. If you can sew a straight line you can do this, and if you cannot, it is the project to learn on.
Get the full tutorial at Pennies Into Pearls.
15. Easy Tote Bag
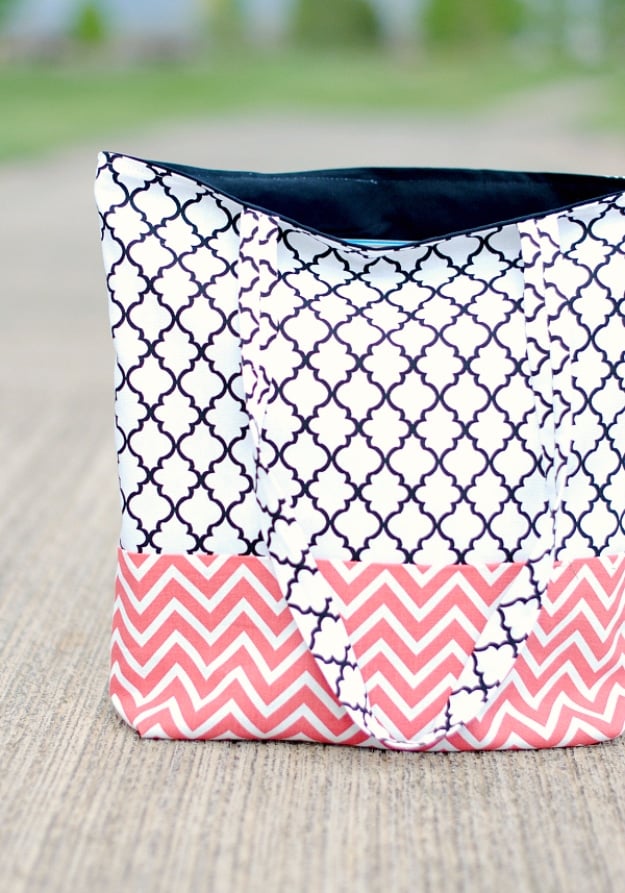
A third of a yard of canvas or duck plus the coordinating cottons, lined, with a contrast band across the bottom and a third fabric inside, and the whole thing is straight stitch lines. That is the pitch and it holds: there is no curve, no zip and no hardware anywhere on it, so a beginner gets a finished bag out of one two hour session rather than a half-done project in a drawer. Three fabrics means you can make five that all look different. There is a video as well as written and printable instructions, and a newer version with an outside pocket.
Get the full tutorial at Crazy Little Projects.
16. DIY Make Up Organizer
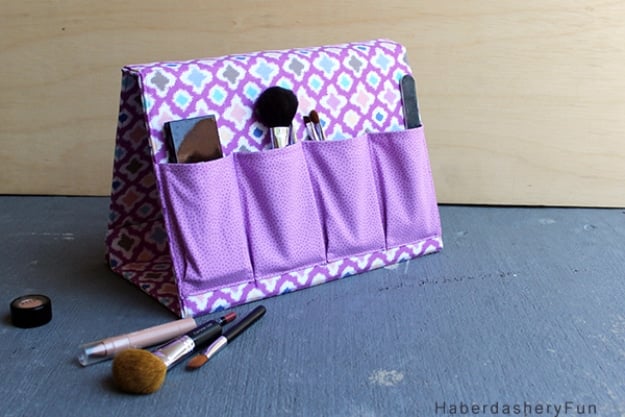
It is a fabric binder that folds into an A shape and stands up on a counter, with four pockets down the front, and the reason it stands at all is Pellon Peltex 71F, a single sided fusible ultra firm stabilizer, cut into eight rectangles that act as the panels. The cut list is exact: four 13 by 9 sides, two 13 by 1.25 tops, two 13 by 6 bases, two 13 by 1.5 bottom flaps. Leave a scant eighth of an inch between the interior pieces so it can fold. A second layer of Deco Fuse under each panel if you want it stiffer.
Get the full tutorial at Haberdashery Fun.
17. Ribbon Bookmarks
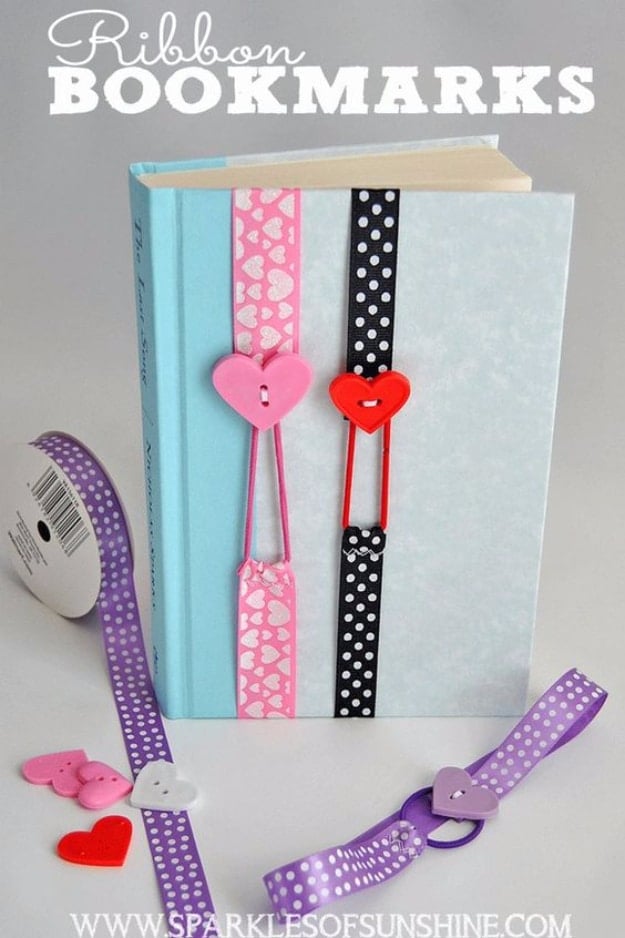
Eighteen inches of decorative ribbon at least half an inch wide, an elastic hair band and a button, and it can be hand sewn or machine sewn. Fold one end over a quarter inch, fold again and stitch across, and repeat at the other end, catching the hair band in the second fold before you close it. Then sew a button to the free end. It wraps around the outside of the book and the elastic hooks over the button, so the marker never slides out and never damages a page. Measure round a big book first and add length for anything hardback.
Get the full tutorial at Sparkles of Sunshine.
18. Braided Fabric Statement Bracelet
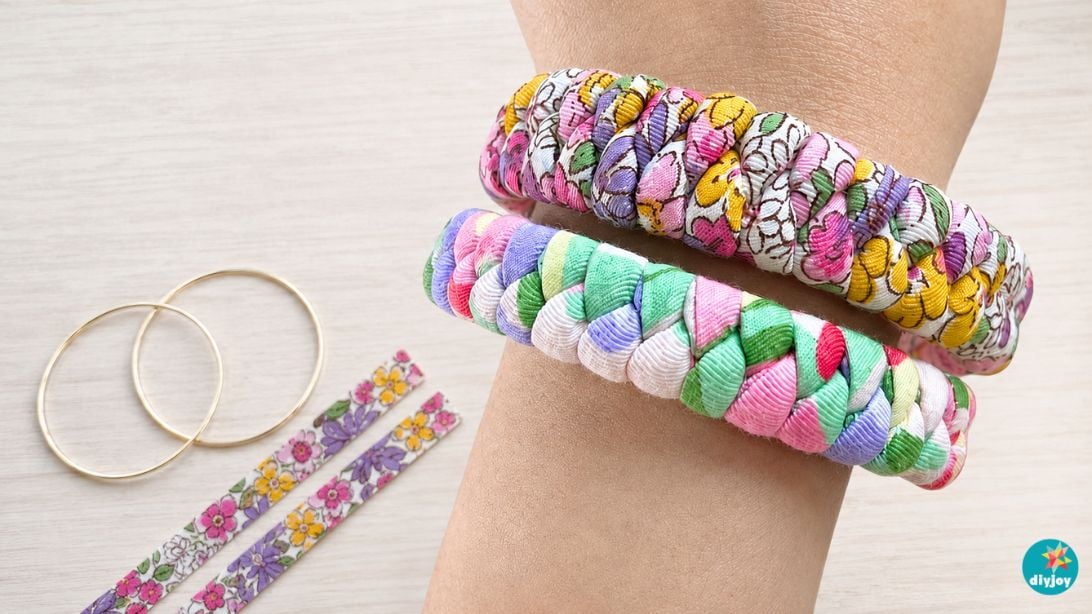
Old bangles are the frame, so the bracelet keeps its shape and slides straight on. Cut a strip about one inch by fifty-five inches, fold it lengthwise, press, and sew along the edge with a roughly one fifth inch seam allowance to make a long tube. Turn the tube right side out with a loop turner, hooking the latch onto the fabric at the far end and drawing it back through. Then braid the filled tube around the bangle so the plait covers the metal completely. No machine at hand, hand sew the tube instead and keep the stitches tight.
Get the full tutorial at DIY Joy.
19. Easy DIY Nylon Headbands
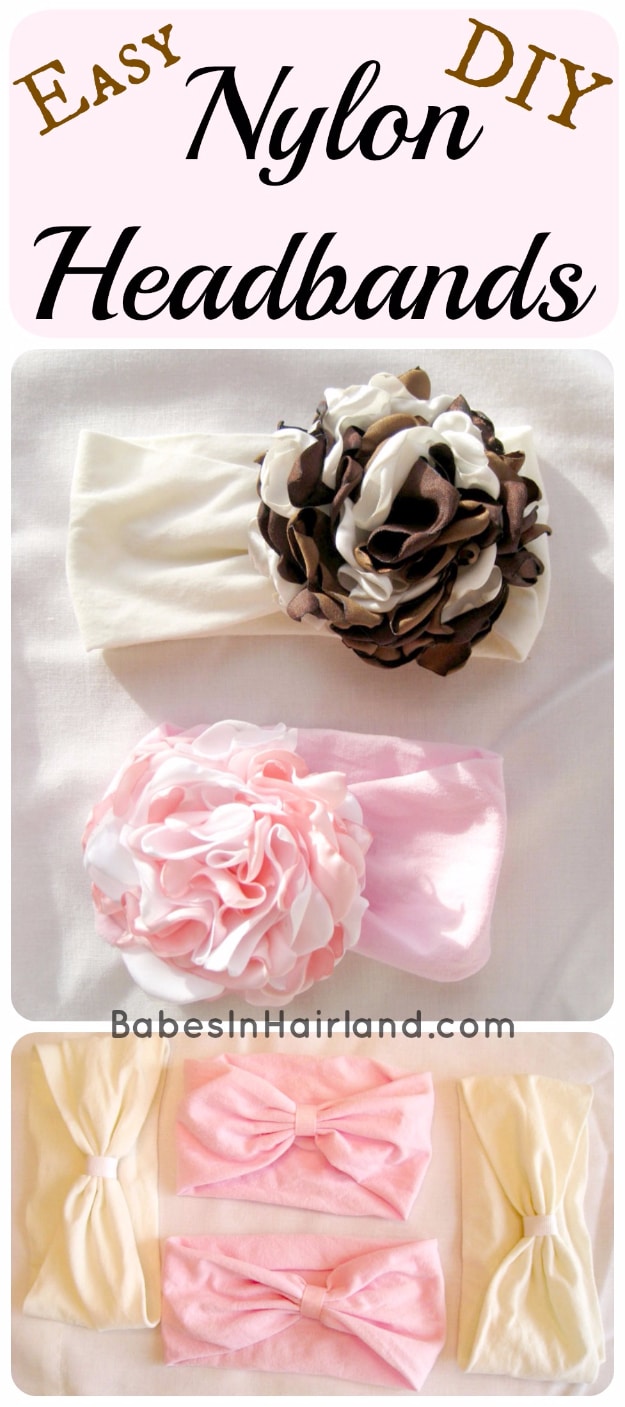
The band is a leg of a pair of tights or a knee high nylon, which is why it stretches without ever digging in. Cut below the thick elastic at the top and cut the toe seam off, then trim to size, about thirteen inches from a sixteen inch leg. Overlap the two ends by at least half an inch, running stitch across the width, then pull the thread to cinch the middle into a bunch and wrap the thread tightly round that bunch several times before tying off. Stitch a second row a quarter inch away if you are worried. A flower hides the join.
Get the full tutorial at Babes In Hairland.
20. DIY Hat Scarf And Mittens
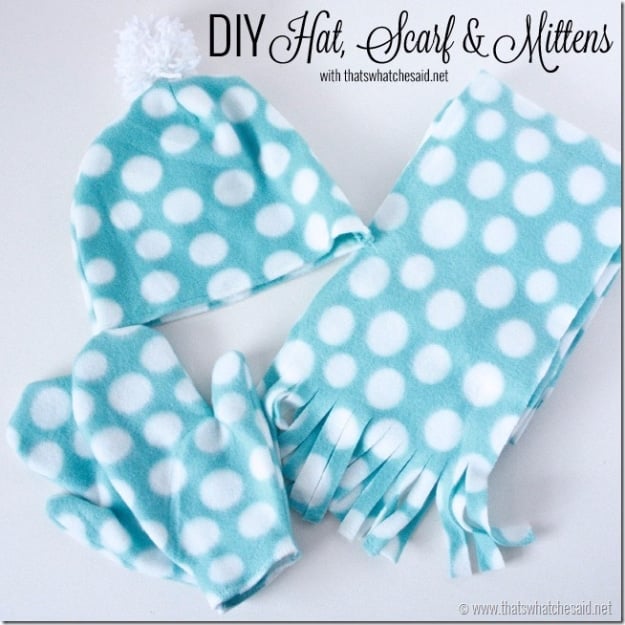
Two thirds of a yard of fleece makes all three, and hers came off a remnant rack. For the mittens, trace round your hand leaving almost an inch of width, hem the two wrong-side edges, then put right sides together and sew round the outside. For the hat, measure your head, halve it and add seam allowance for the straight edge, cut two pieces, snip a one inch V at the top of each and sew it up as a dart, then join the pieces leaving a gap at the crown for the pom pom. The scarf is a rectangle with the ends snipped into fringe.
Get the full tutorial at That's What Che Said.
21. Polka Dot Pouch
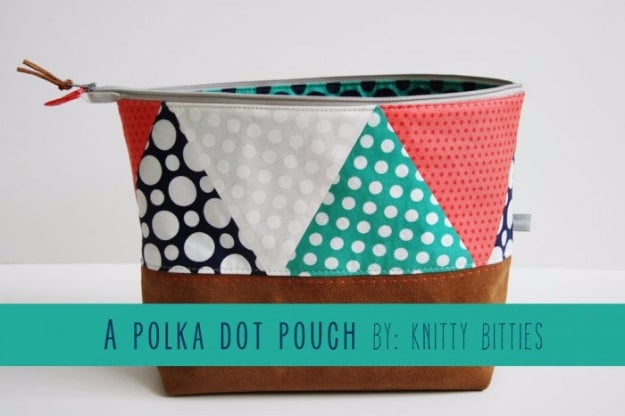
The triangle top comes from four fat quarters, a 7.5 by 18 strip cut from each and then subcut into equilateral triangles using the 60 degree line on a cutting mat. Each top piece takes four full triangles and two halves. The bottom is suede leather, and the trick worth stealing is how she marked it: a leather needle in the machine, stitch length four, no thread, run along the edge to punch a row of guide holes, then hand stitch through them with three strands of embroidery floss. Polyester thread for the actual leather seams, since leather oils eat cotton.
Get the full tutorial at Andrea of Knitty Bitties, guest posting at Polka Dot Chair.
22. Easy DIY Phone Charger Holder
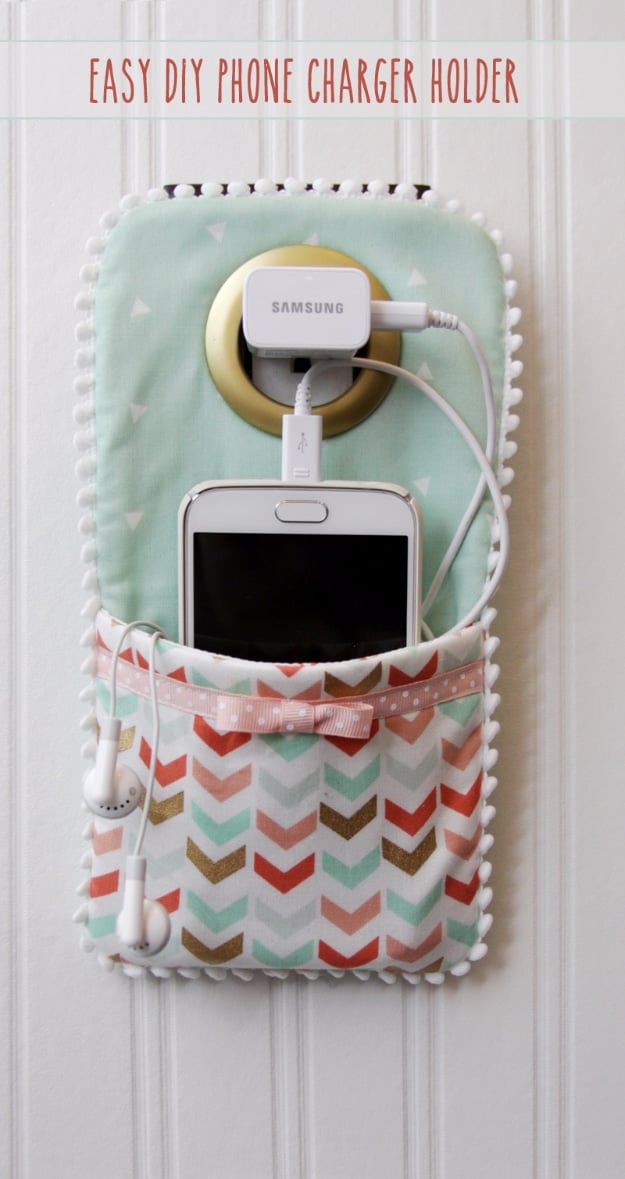
Cut two main pieces 10.5 by 6 and two pocket pieces 7 inches across the top, 6 across the bottom and 5 tall, plus fusible fleece for one of each. Fuse the fleece to the fronts, sew the pocket pieces together along the top edge only, turn and press, then add ribbon 3/8 inch down from that edge. Pom pom trim goes round the outside and a plastic curtain grommet at the top takes the plug. About thirty minutes. Her own warning matters: do not hang it off the charger, put a command hook beside the outlet and hang it there instead.
Get the full tutorial at Flamingo Toes.
23. Easy DIY Fruit Embroidered Tote Bag
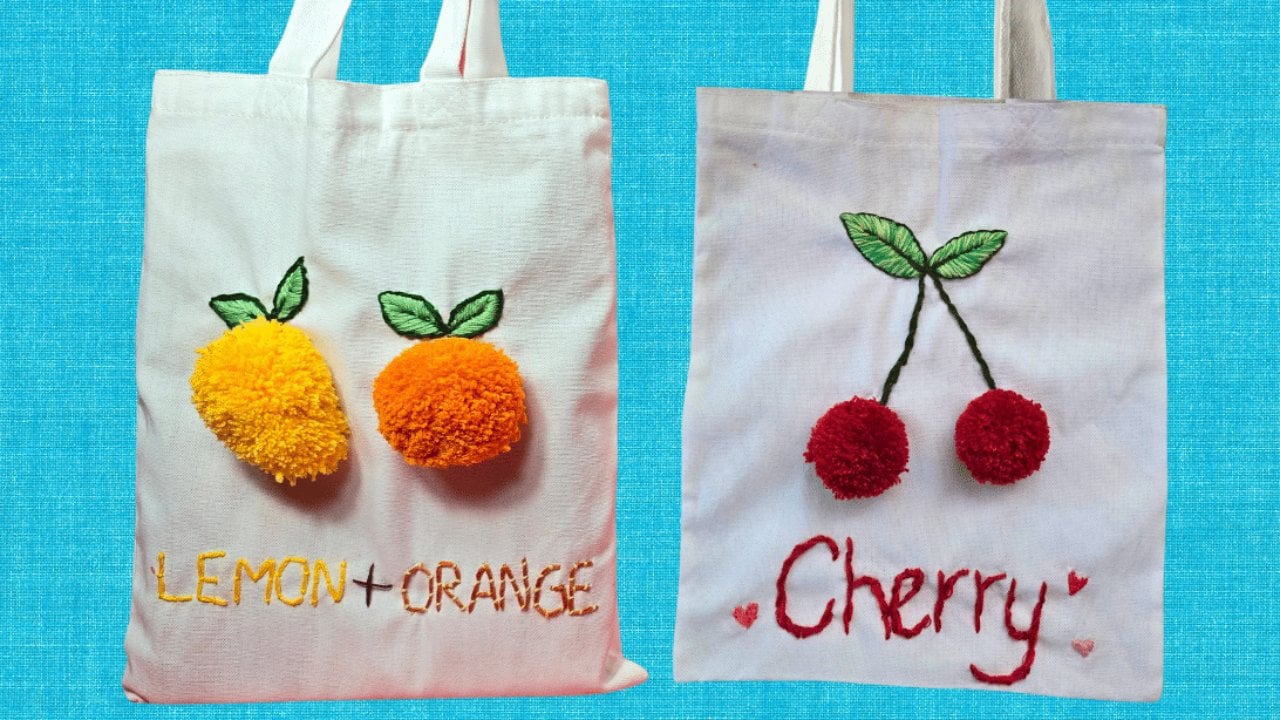
Two crafts at once, embroidery and pom poms, on a plain canvas tote. Draw the design straight onto the bag, then outline it with a backstitch, work the cherry stems in stem stitch and fill the leaves with satin stitch. The pom poms are the fruit: wrap yarn around three fingers about a hundred times, tie the loops tightly through the middle, cut through the loops and roll it into a ball. Embroider the lettering, then hot glue a pom pom onto the end of each stem. Two colors of thread combined in the needle gives a much richer line.
Get the full tutorial at DIY Joy.
24. Eye Glass Case
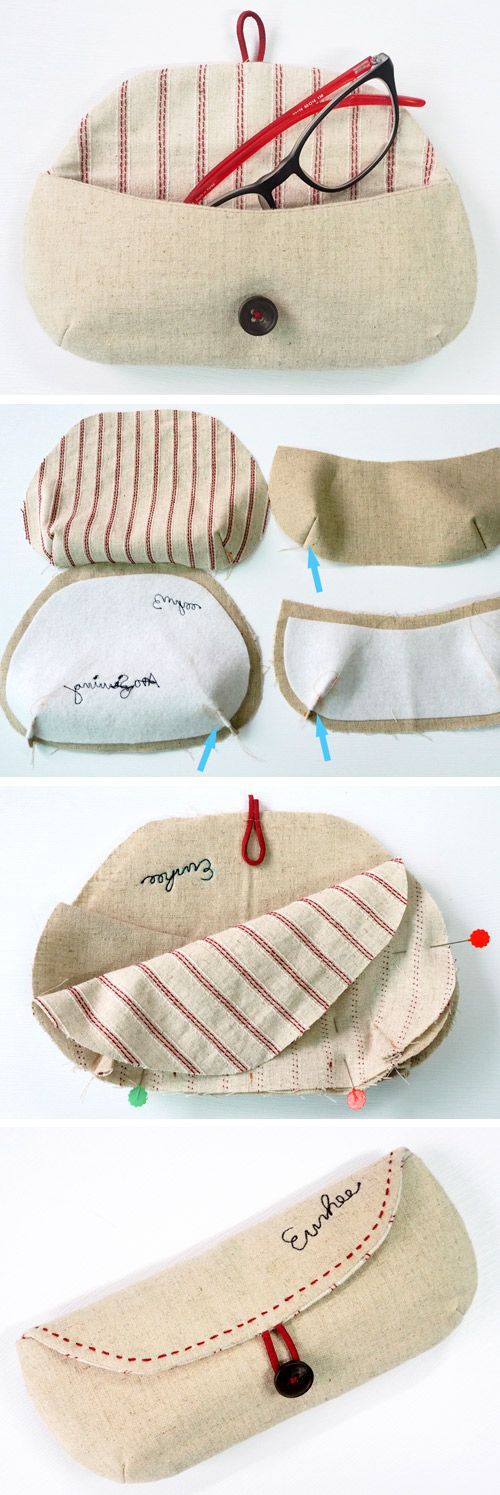
A four panel step collage, and the shape is the interesting part: a soft flat case in natural linen with a red ticking stripe lining, shaped like a long rounded pillow, closed with a single dark button on a loop and finished with a line of red running stitch along the flap edge. It is two curved outer pieces and two linings, joined so the lining rolls to the outside as the flap. Interfacing or a layer of wadding is what keeps a pair of glasses safe in a handbag, and it is the only thing separating this from a soft envelope.
Get the full tutorial at Free-Tutorial.net.
25. DIY Denim Flower Bracelet
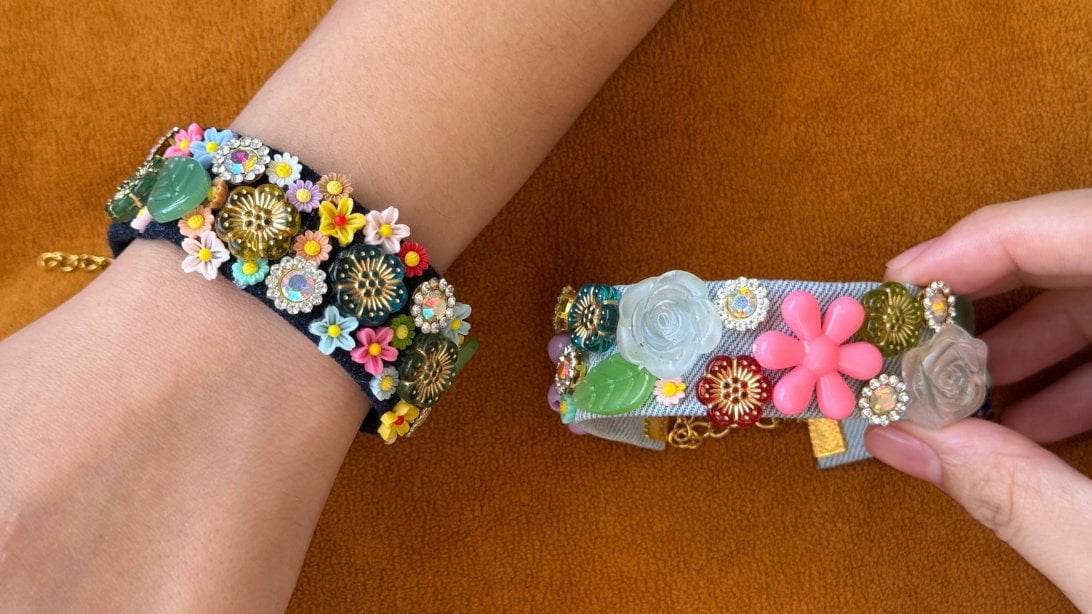
Old jeans and the button jar, finally earning their keep. Lay the denim flat on a cutting mat and cut a strip to whatever length and width you want, remembering both long edges fold inward to the center, so allow for that in the width. Fold the top edge in, fold the bottom edge in, run double sided tape underneath both and press along the whole strip. Then arrange your beads, buttons, rhinestones and flowers along it and sew each one on. Crimps, a length of chain and a lobster clasp at the ends. There is no pattern and no right arrangement.
Get the full tutorial at DIY Joy.