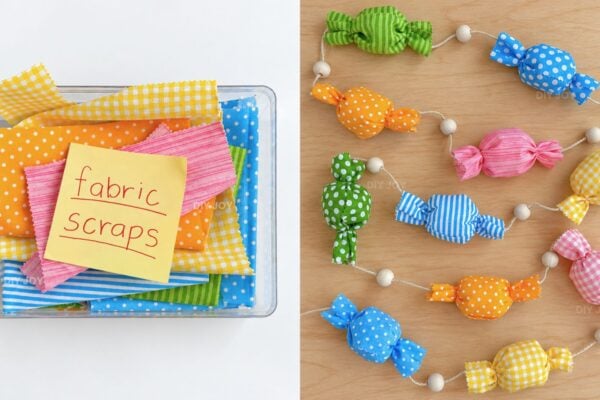
New bedding costs a small fortune, and a handmade pillowcase gives the whole bed a fresh look for the price of about a yard of fabric. These 30 DIY pillowcases cover just about every style, from simple to elegant and cozy to playful. Most are sewn from quilting cotton with the burrito method, where the main fabric gets rolled up inside the cuff, stitched in one seam and pulled right side out (it feels like a magic trick the first time). French seams then hide every raw edge inside, so no serger is needed and plenty of these come together in under 30 minutes. There are silk and flannel versions, a seersucker cuff that dresses up a store bought set, a Dumbledore quote case, fur and fleece options, and a few no sew ideas, too. One tip before cutting: measure the pillows first, because “standard” sizes vary from brand to brand.
30 DIY Pillowcases
1. Pillowcase DIY with Striped Pompom Trim

Rows of black pompom trim turn a plain white linen pillow cover into something that looks straight out of a boutique. The cover is an envelope style, cut 19 by 19 inches for a 20 inch insert so it fits snug and looks extra fluffy. Trim gets stitched across the front in sets of three rows with 3 inch gaps between, and a zipper foot keeps the pompoms from tangling under the needle. One yard of fabric and about 10 yards of trim make one cover (use a coupon, trim adds up fast).
Get the full tutorial at themakerista.
2. Dumbledore Quote Pillow Case

Harry Potter fans, this one has your name on it. Gold heat transfer vinyl spells out “Words are our most inexhaustible source of magic” across a black envelope pillowcase, and the sewing is just two straight lines. The fabric is cut to the pillow size by twice the pillow size plus 4 inches, so a 17 inch pillow takes a 17 by 38 inch piece. A cutting machine cuts the quote from a free design file, then an iron presses it on. Remember to mirror the design before cutting so the words read the right way.
Get the full tutorial at raegunramblings.
3. Reversible Pillowcase

Two pillowcases in one: floral on one side, polka dots on the other, flip it whenever the mood changes. Each side starts as a 27 by 42 inch rectangle of quilting cotton, sewn into a case with quarter inch seams. One case then tucks inside the other, the folded edges get matched up and a strip of lace is stitched around the opening. Prewash both fabrics first, because two cottons can shrink at different rates and leave the finished case all wonky. Imagine Thanksgiving on one side and Christmas on the other.
Get the full tutorial at tidbits-cami.
4. DIY Watercolor Pillowcase

No sewing at all for this one, just paint, water and a store bought pillowcase. Acrylic or fabric paint (not actual watercolors) gets thinned with water, and the more water, the softer the color. A sheet of cardboard slides inside the case so nothing bleeds through to the back. Wall or tile stencils and a dabbing sponge help colors melt into each other, then the case dries overnight. Test the mix on a fabric scrap first, since adding more color later is easy and taking it away is not.
Get the full tutorial at teendiy.
5. Easy Way To Sew A Pillowcase

Cutting this pillowcase takes longer than sewing it. A body, a contrast band and a skinny strip of ribbon trim come together in three easy steps, and it’s a sweet one to make in holiday prints as a gift for kids. A serger makes it speedy, but no serger is needed, since French seams do the same job of hiding raw edges. Plan on 1 yard for the body and half a yard for the band, or 1 1/4 yards if the print runs sideways across the fabric.
Get the full tutorial at polkadotchair.
6. DIY Fur Pillow Cases

Fur pillows are everywhere in stores, but most don’t have a removable cover, and anything this fluffy needs a wash now and then. These cases start with an inexpensive faux sheepskin rug, which makes one medium and one small cover. The fur front is cut to the pillow size and backed with two hemmed panels of white upholstery fabric that overlap envelope style. Cut the fur with small snips from the back so the scissors don’t trim off the long hairs on the front.
Get the full tutorial at Sew Bake Decorate.
7. 15 Minute Pillowcase With French Seams

Fifteen minutes, three fabrics and not one raw edge in sight. This method came from a quilting group, and it uses a 27 inch strip for the main body, a 2.5 inch strip for the thin accent and a 12 inch strip for the wide band, each cut across the width of the fabric. French seams encase every edge, so the inside looks as neat as the outside without a serger. A pair in seasonal fabrics makes a lovely gift, or a thoughtful set for overnight guests to take home.
Get the full tutorial at thecottagemama.
8. Easy DIY Pillow Case

Bright, cheerful and about half an hour from start to finish, this is the pillowcase to sew on day one of learning. It’s all straight lines and simple stitches, and a great way to use up a fabric stash. The script print here is part of a movement of sewists making upbeat pillowcases for children fighting cancer, so one batch can brighten a hospital stay. A step by step video walks through every seam, which makes it easy to sew along.
Get the full tutorial at DIY JOY.
9. No Sew Pillow Case – DIY

One piece of fabric and zero stitches. The pillow sits in the middle of the fabric, the long sides wrap around it lengthwise, and the ends fold into triangles that cross over the front. Those ends then tie into a big knot and tuck in. The green and white stripe shown here looks like a wrapped gift on the bed, which is a pretty fun way to change a room for a holiday. As a guide, the fabric needs to be about three times as long as the pillow.
Get the full tutorial at alldaychic.
10. DIY Personalized Pillow Case

Plastic sheet protectors and an inkjet printer are the secret behind these personalized pillow cases. A design prints onto the plastic, the wet ink gets pressed onto a cotton pillowcase with a gift card, and it transfers like magic. The pair here says “Goodnight Homie”, but any pet name or family saying works, and “To the moon and back” would be darling in a kid’s room. The one trick that matters is to reverse the image before printing, or the words come out backwards.
Get the full tutorial at designertrapped.
11. DIY Embroidered Tassel Pillow Case

Fair warning: this one is about 10 hours of stitching, but it’s the cozy, in front of the TV kind. A plain white pillowcase gets a bold geometric pattern in turquoise embroidery floss, traced in pencil with the border 1.5 inches from the edge. Homemade tassels made by wrapping white floss around a business card hang from each corner, topped with a wooden bead. Keep stitches tight on the back and longer on the front for that full, satin look.
Get the full tutorial at Sew Bake Decorate.
12. Quick Envelope Pillow Case

Got a pile of plain bargain pillows? An envelope pillow case dresses them up in about 15 minutes, and half a yard of fabric covers any pillow 18 inches or smaller. Cut the fabric to the pillow size by twice the pillow size plus 4 inches, hem the two short ends, then fold them in so they overlap in the middle. Two seams across the top and bottom, turn it right side out and it’s done. Mix a few prints and the sofa looks brand new.
Get the full tutorial at raegunramblings.
13. DIY Lace Pillowcase

For that vintage hand crocheted look without learning to crochet, a ready made white pillowcase and a length of lace trim do the trick. About 1.5 yards of lace edges a standard pillowcase (1 1/4 may come up short). The lace gets pinned around the opening with the raw ends folded under, then stitched down in a few minutes. Pick a pillowcase that hangs a little past the end of the pillow so the lace has room to show off.
Get the full tutorial at tidbits-cami.
14. Hexie Pillowcase

Got a stash of tiny florals, ginghams and polka dots? Twenty two little hexagons, each 1 1/4 inches on a side, get stitched into three rows and hand sewn onto a pink polka dot cuff for old world charm. A skinny pink gingham band and a white homespun body finish the front, and an inside flap hides the pillow. This is a wonderful scrap buster, and a stack of them makes a sweet Christmas gift. Note the sizing is for a standard Australian pillow, so measure first.
Get the full tutorial at aspoonfulofsugardesigns.
15. DIY Custom Pillowcases

A cuddly flannel body, a contrast border and a fabric letter appliqué make these custom pillowcases feel made for just one person. Owls, pink chevron and houndstooth flannel are a cheerful mix for a kid’s room. A zigzag stitch sewn on the right side along the seam between border and body reinforces it and adds a pretty detail. They’re easy enough that a whole stack can be done in a couple of hours, which makes them a great Christmas gift, and kids may try to steal them early.
Get the full tutorial at averielane.
16. Envelope Pillow Sham With Flanges
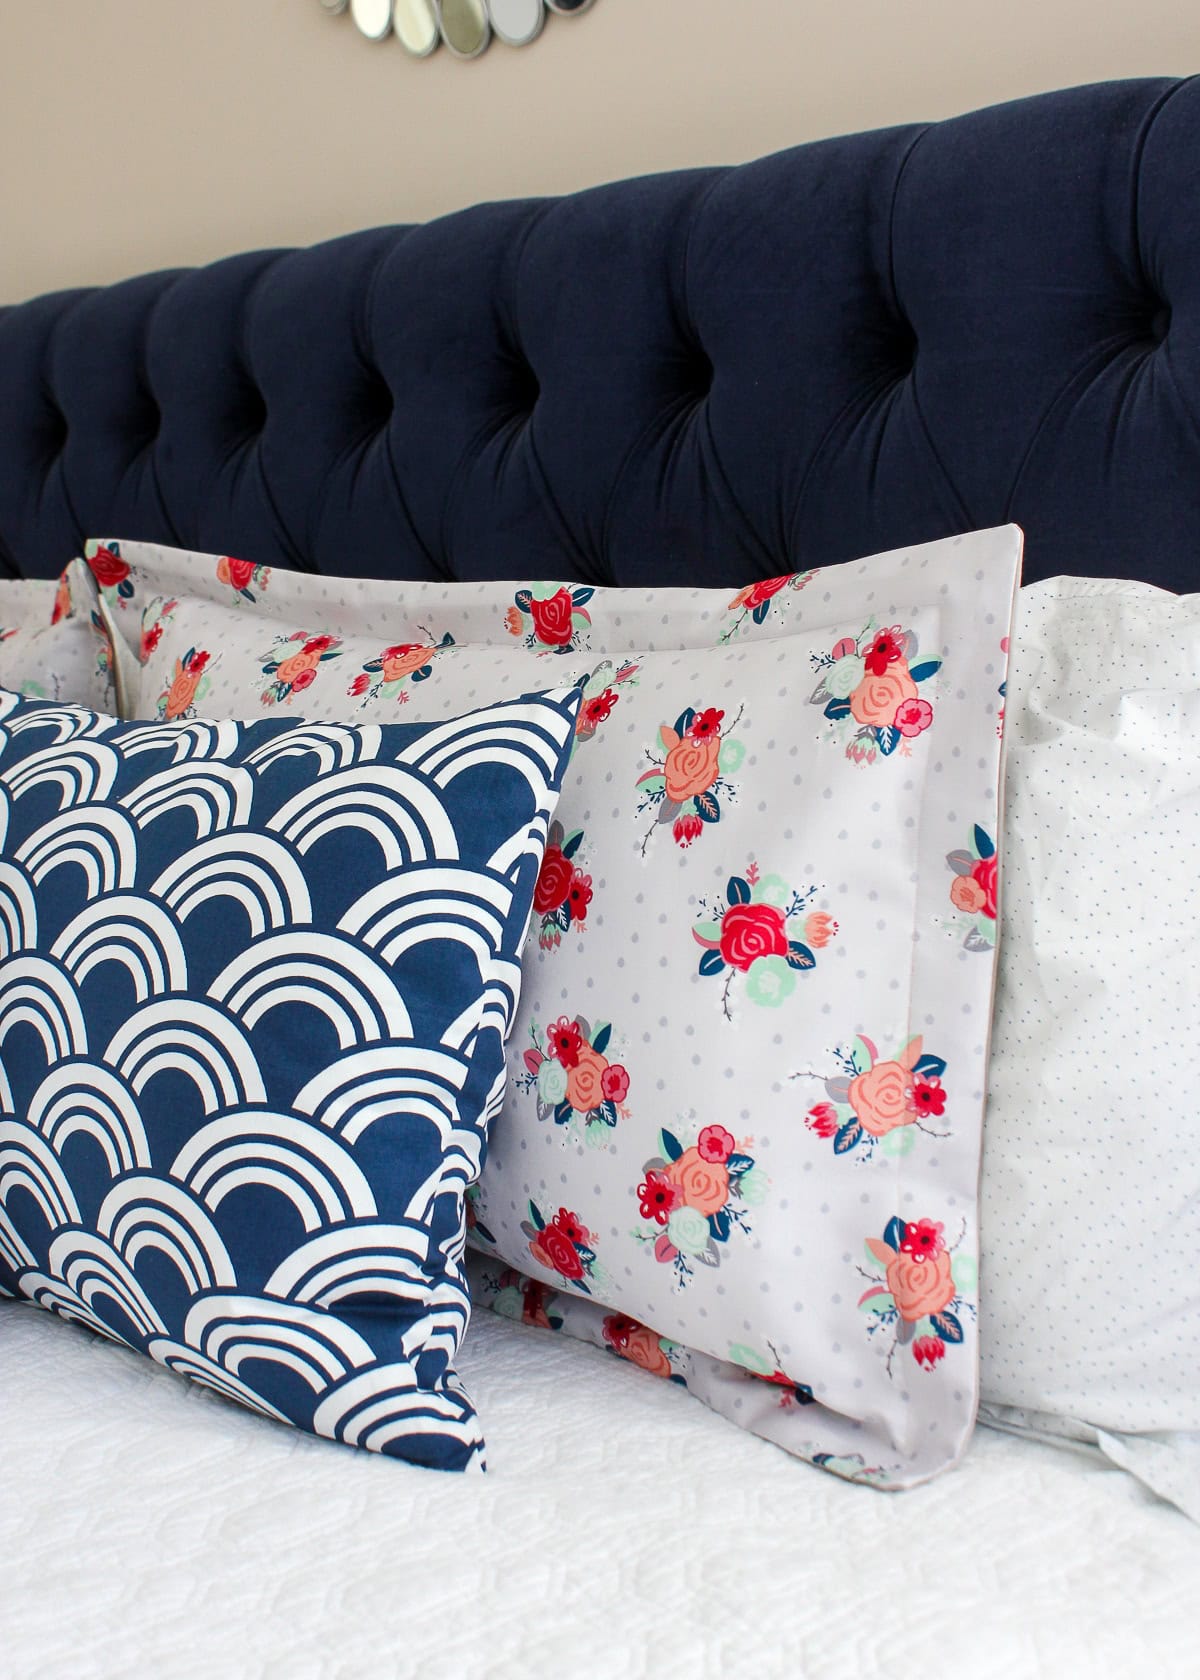
Want the bed to look like it came out of a catalog? This flanged pillow sham does it with no zipper and no buttons. It takes one front piece and two back panels, and the back panels get a double folded hem and overlap in the middle to make an envelope opening. Sew all the way around, clip the corners, turn it right side out, then topstitch a line 2 inches in from the edge to make that crisp flange. Heavier home decor fabric helps the flange stand up (a little interfacing works if yours flops), and the pillow just slides in the back.
Get the full tutorial at The Homes I Have Made.
17. Magic Pillowcase

Just two fabrics, and the whole case rolls up and sews in one seam before it turns right side out like a magic trick. Bright chevron, polka dot, gingham and stripe cottons look cheerful mixed and matched, with each print taking a turn as the body or the cuff. A stack in different combinations means every bed in the house gets its own. These are a great first project for a beginner sewist or a kid learning on a machine.
Get the full tutorial at organizeyourstuffnow.
18. Warm Cozy Flannel Pillowcase

One yard of flannel, one seam down the side, one across the bottom, and that’s a pillowcase. The fabric is already the right size, so the selvages come off and the folded yard gets sewn into a tube. A 5 inch fold at the open end makes a deep hem with the raw edge turned under. Each one takes about 15 minutes, so three are done in under an hour. Since it’s a single fabric, pick a bright, busy flannel print (solids look plain here).
Get the full tutorial at craftsalamode.
19. 5 Minute Pillowcase

Five minutes of sewing (closer to 20 counting the cutting) is all this serger pillowcase takes. Two body pieces are cut 20 1/2 by 26 1/2 inches and two band pieces 10 by 20 1/2 inches. Each band folds in half and gets serged onto a body piece, then the two halves are serged together on three sides. The sunny yellow medallion print shown matches a quilt, which is a darling way to finish a kid’s bed. No serger? French seams on a regular machine work too.
Get the full tutorial at simplesimonandco.
20. Simple 3 Step Fleece Pillowcases

Fleece doesn’t fray, so this pillowcase skips the ironing, double hems and notions entirely. A 40 by 32 inch piece is cut on the fold, a 3 inch hem gets zigzagged along the bottom, then the side and top are sewn with a 3/8 inch seam. That’s about 10 minutes and roughly $5 a case. It’s a perfect first project for kids learning to sew, and a new pillow in a fun fleece case makes a sweet birthday party gift.
Get the full tutorial at gluesticksblog.
21. Bed Pillowcases With Ties

Little fabric ties on the side turn a basic bed pillowcase into something that looks straight from a designer catalog. A 27.5 by 41 inch body, a 4.5 inch band and four 3 by 12 inch strips are all it takes, and a yard covers one standard pillow. The ties are pressed and stitched like skinny bias tape, slipped between the layers and sewn into the band. In buffalo check flannel they’re cozy enough for winter. Short on time? Coordinating ribbon works for the ties.
Get the full tutorial at marymarthamama.
22. DIY Pillowcases

An envelope back makes these throw pillow covers easy to slip on and off, and the math is simple. Add 1 inch to the pillow’s width, then double its length and add 6 inches, so a 14 inch pillow takes a 15 by 34 inch piece. The short ends get a double half inch hem, the fabric folds around the pillow with a 4 inch overlap, and two side seams finish it. A giraffe print and a coral chevron show how fun a mismatched pair can be.
Get the full tutorial at acuriouslychiclife.
23. French Seam Pillowcases DIY

Want pillowcases that look as pretty inside as they do outside? This set uses French seams, so there isn’t a single raw edge hiding in there. Each standard case takes a 27 inch body piece, a 10 inch cuff and a 2.5 inch folded band, all rolled together taco style and sewn in one quarter inch seam before the whole thing pulls right side out. The sides get sewn twice to enclose the seam. Each one takes about 15 minutes, so a matching pair is done in under half an hour.
Get the full tutorial at Smashed Peas & Carrots.
24. How to Make a Pillowcase With an Accent Strip

Love a skinny pop of color between the cuff and the body of a pillowcase? This accent strip version sandwiches bias tape between the main pillowcase piece and the end piece, then everything gets sewn together in one go. A bright fat quarter bundle of spring florals makes the paisley and floral pair shown here. It comes together quickly, and the step by step video walks through every tip, so this is a nice one for a beginner who wants something a little fancier than a plain case.
Get the full tutorial at DIY JOY.
25. Seersucker Pillowcase

Have a plain white sheet set with cuffs that are starting to look tired? This seersucker trim gives store bought pillowcases a crisp designer look. The old cuffs come off with a seam ripper, rick rack gets basted along the opening, and a folded 9 by 41 inch seersucker cuff is stitched right over it. One yard of seersucker covers two standard pillowcases and the top band of a queen sheet, all in an afternoon. Press seersucker straight down so the iron doesn’t flatten the puckers.
Get the full tutorial at Sew4Home.
26. Pillowcase With Contrast Cuff and Trim
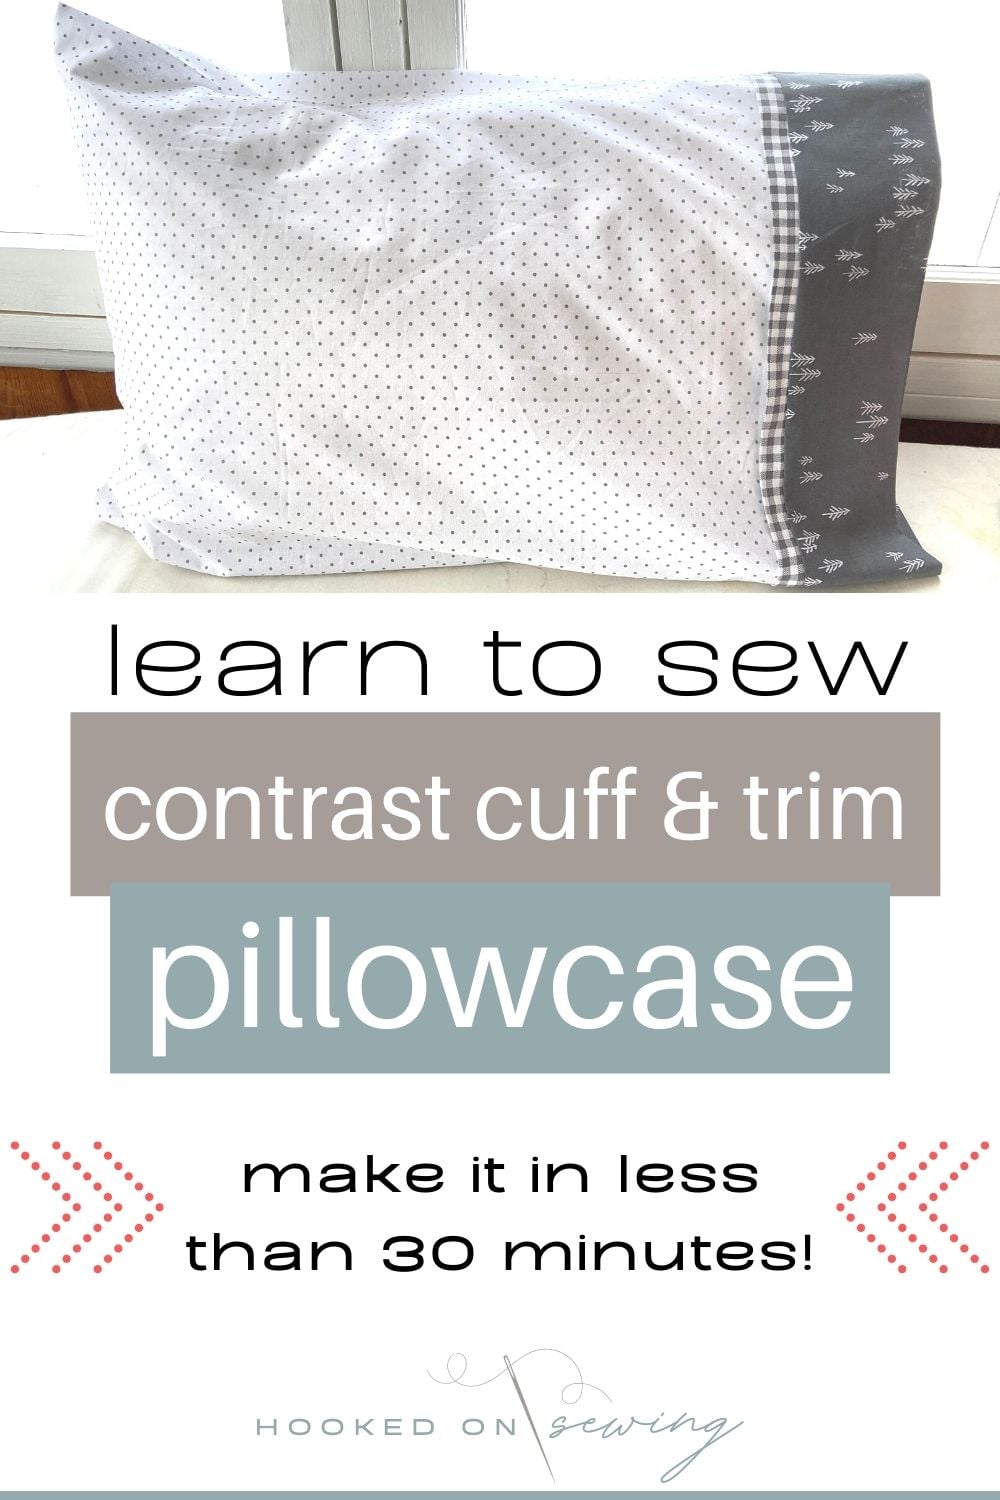
Can’t pick just one fabric? This pillowcase uses three: a main print, a contrast cuff and a skinny folded trim. The cutting chart covers standard, queen and king sizes, and the burrito method does the hard part, with the main fabric rolled up inside the cuff, sewn in one quarter inch seam and turned right side out. It only takes straight stitches, so it’s a great early project, and it’s done in about 30 minutes. The trim is purely decorative, so leave it off for a simpler look.
Get the full tutorial at Hooked on Sewing.
27. DIY Silk Pillowcase
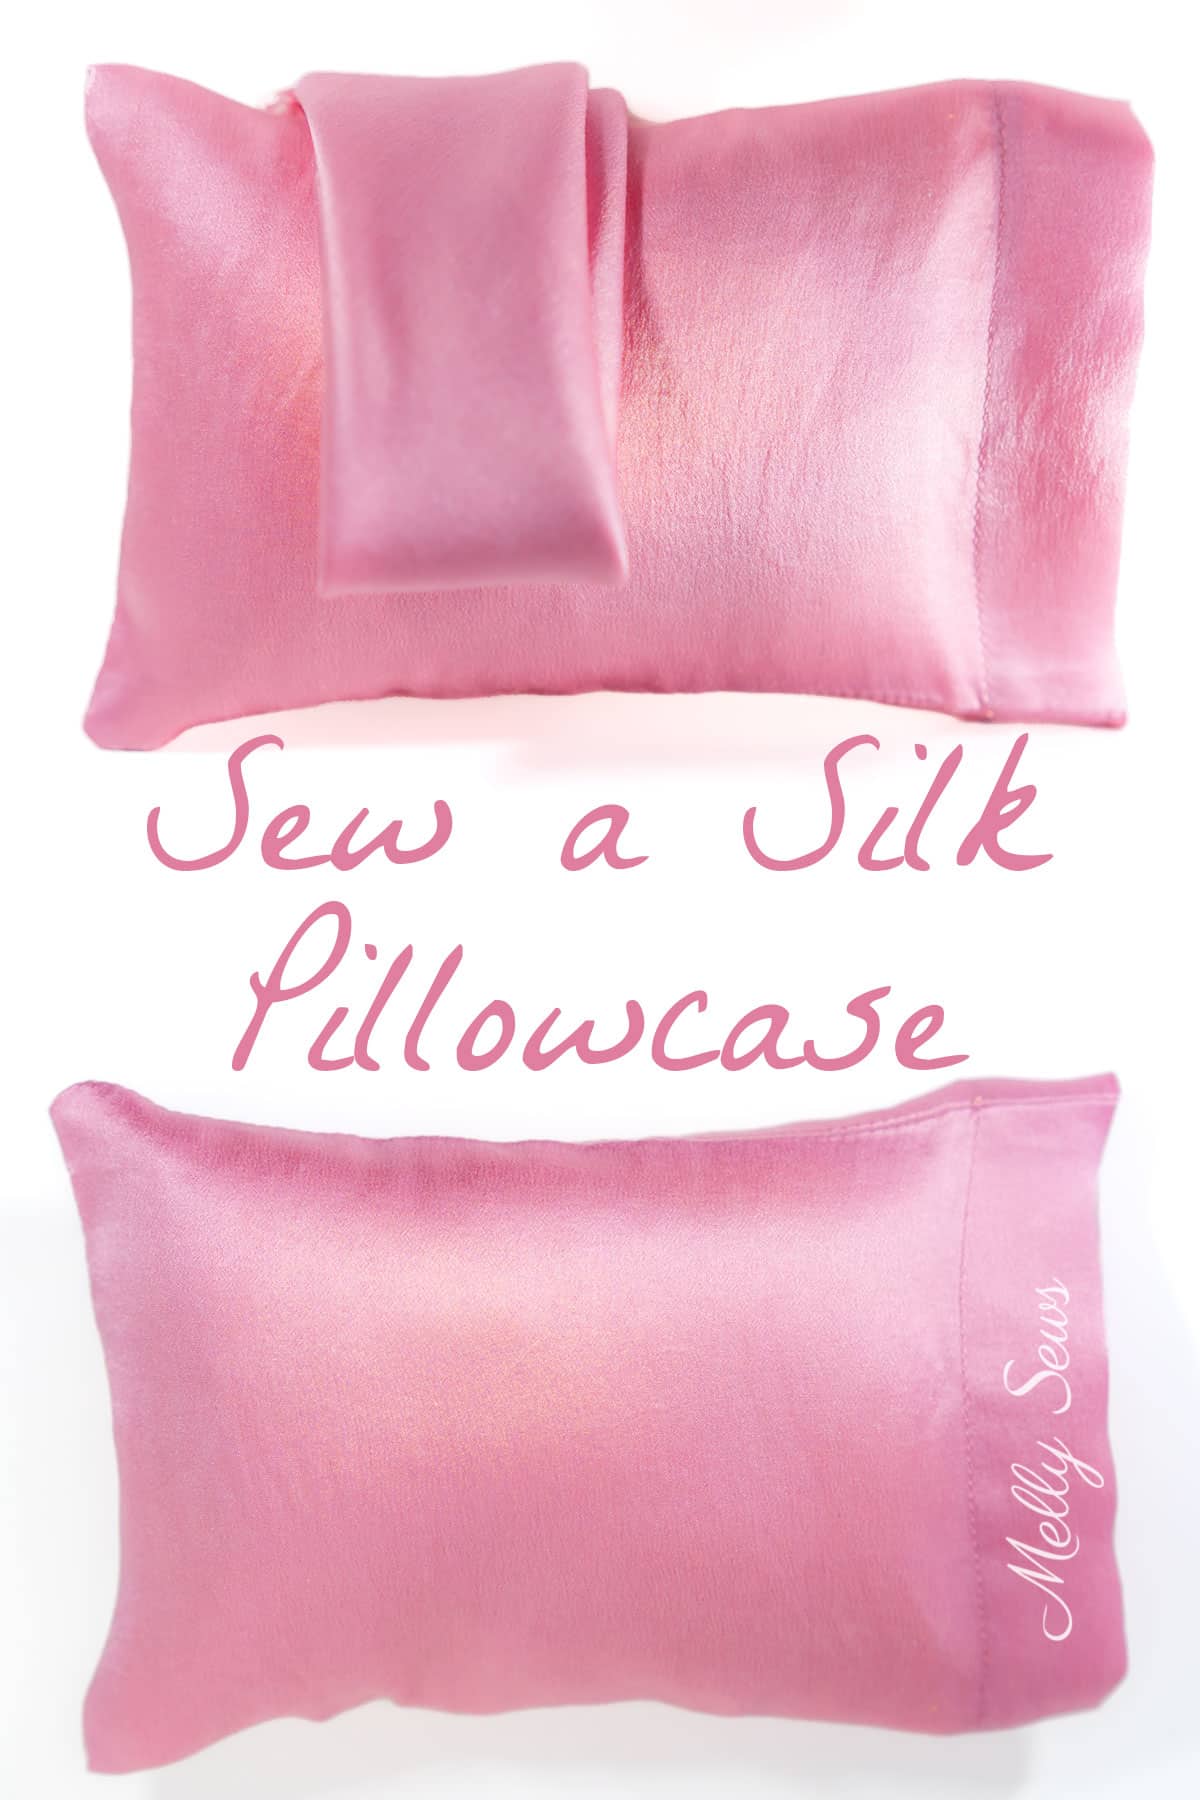
Tired of waking up with frizzy hair? A silk pillowcase is a lovely fix, and making one is far cheaper than buying one. It takes one yard of silk charmeuse or silk satin, a fresh 70/10 microtex needle and fine pins. The fabric is cut to 36 by 42 inches, folded into a deep 4 inch hem, then finished with French seams for a 20 by 31 inch case. Use a dry iron on low heat (water can stain silk), and wash it inside out on delicate.
Get the full tutorial at Melly Sews.
28. How to Sew a Pillowcase Two Ways
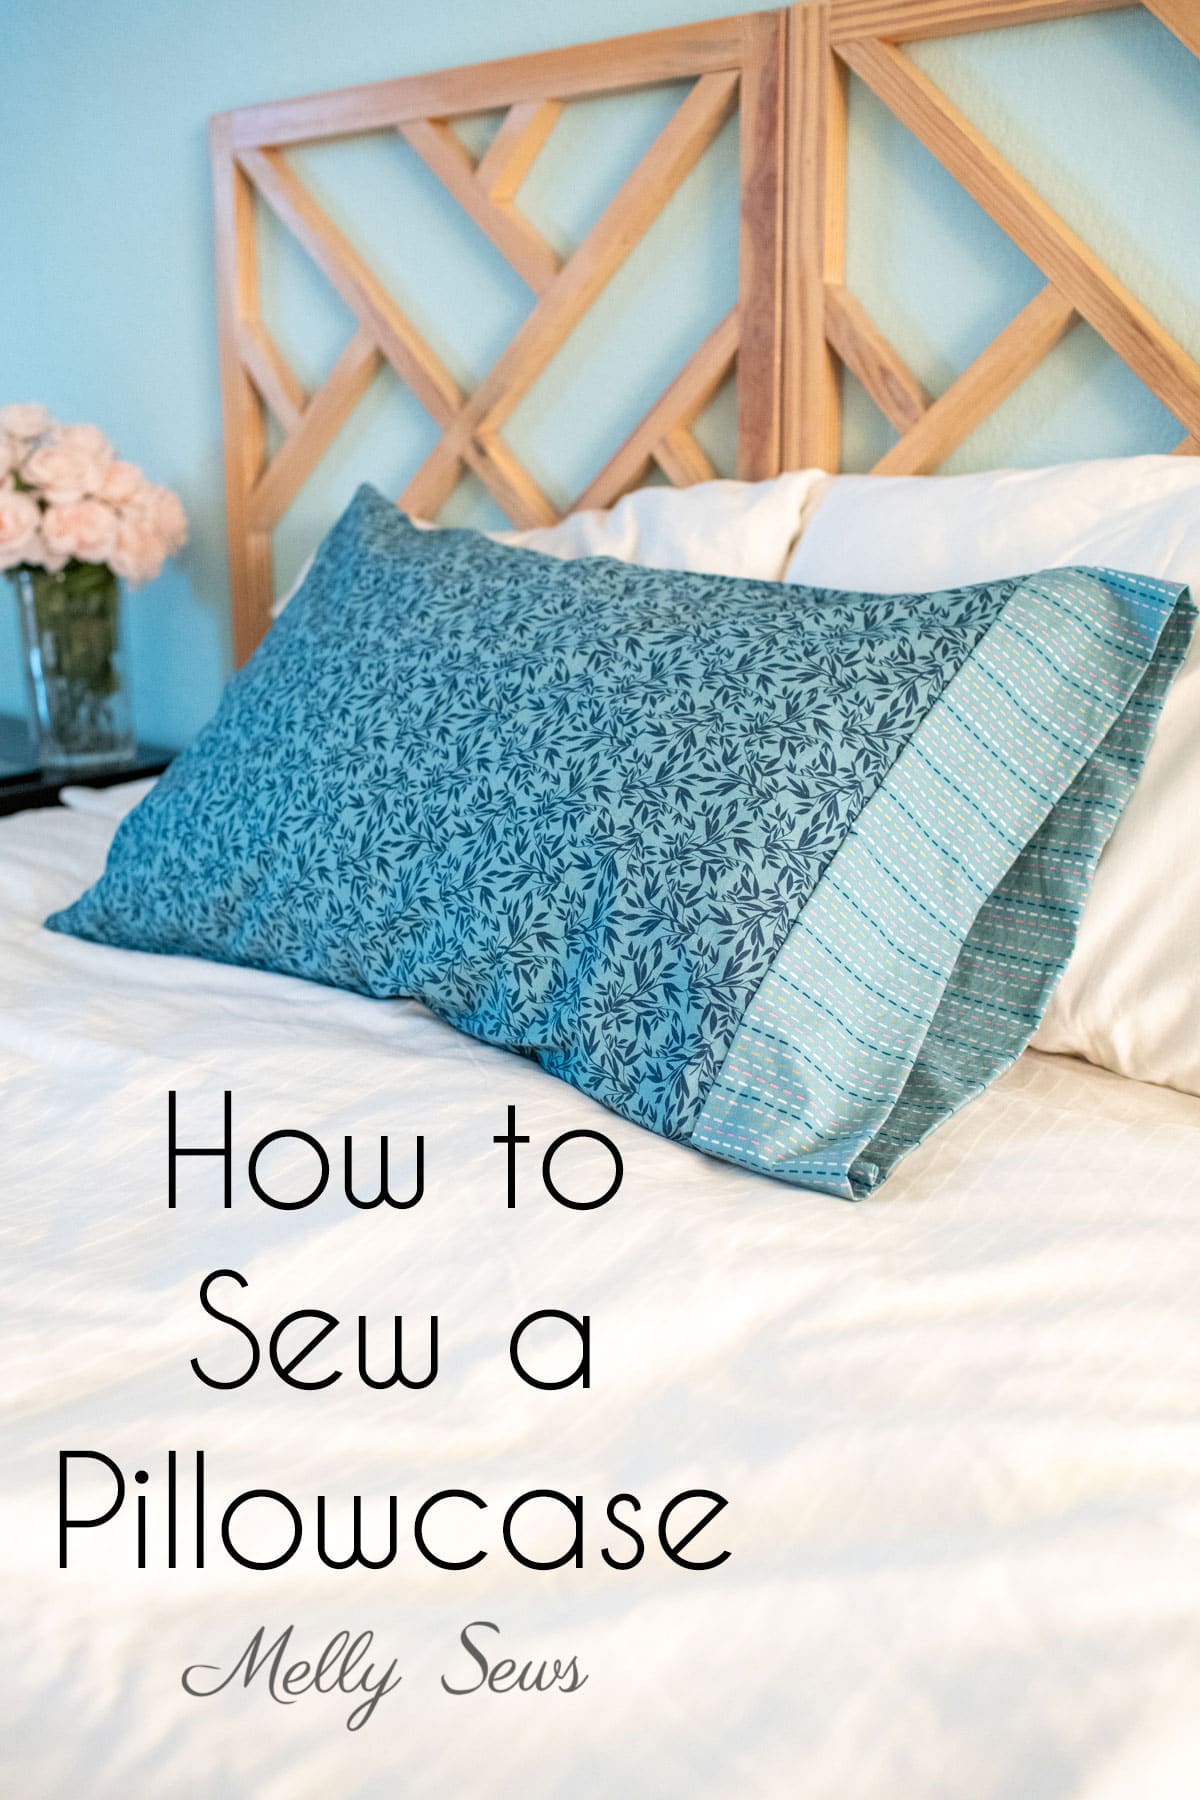
New to sewing? This classic cuffed pillowcase teaches two ways to make one. The first is the burrito method with French seams, using a 42 by 29 inch main piece and a 42 by 9 inch cuff for a 20.5 by 32 inch finished case. The second is a double stitched cuff that works better for directional prints. Every seam is a straight stitch, and one yard of each fabric makes two cases. Measure the pillows at home first, since standard sizes really do vary.
Get the full tutorial at Melly Sews.
29. Burrito Style Pillowcase for Kids
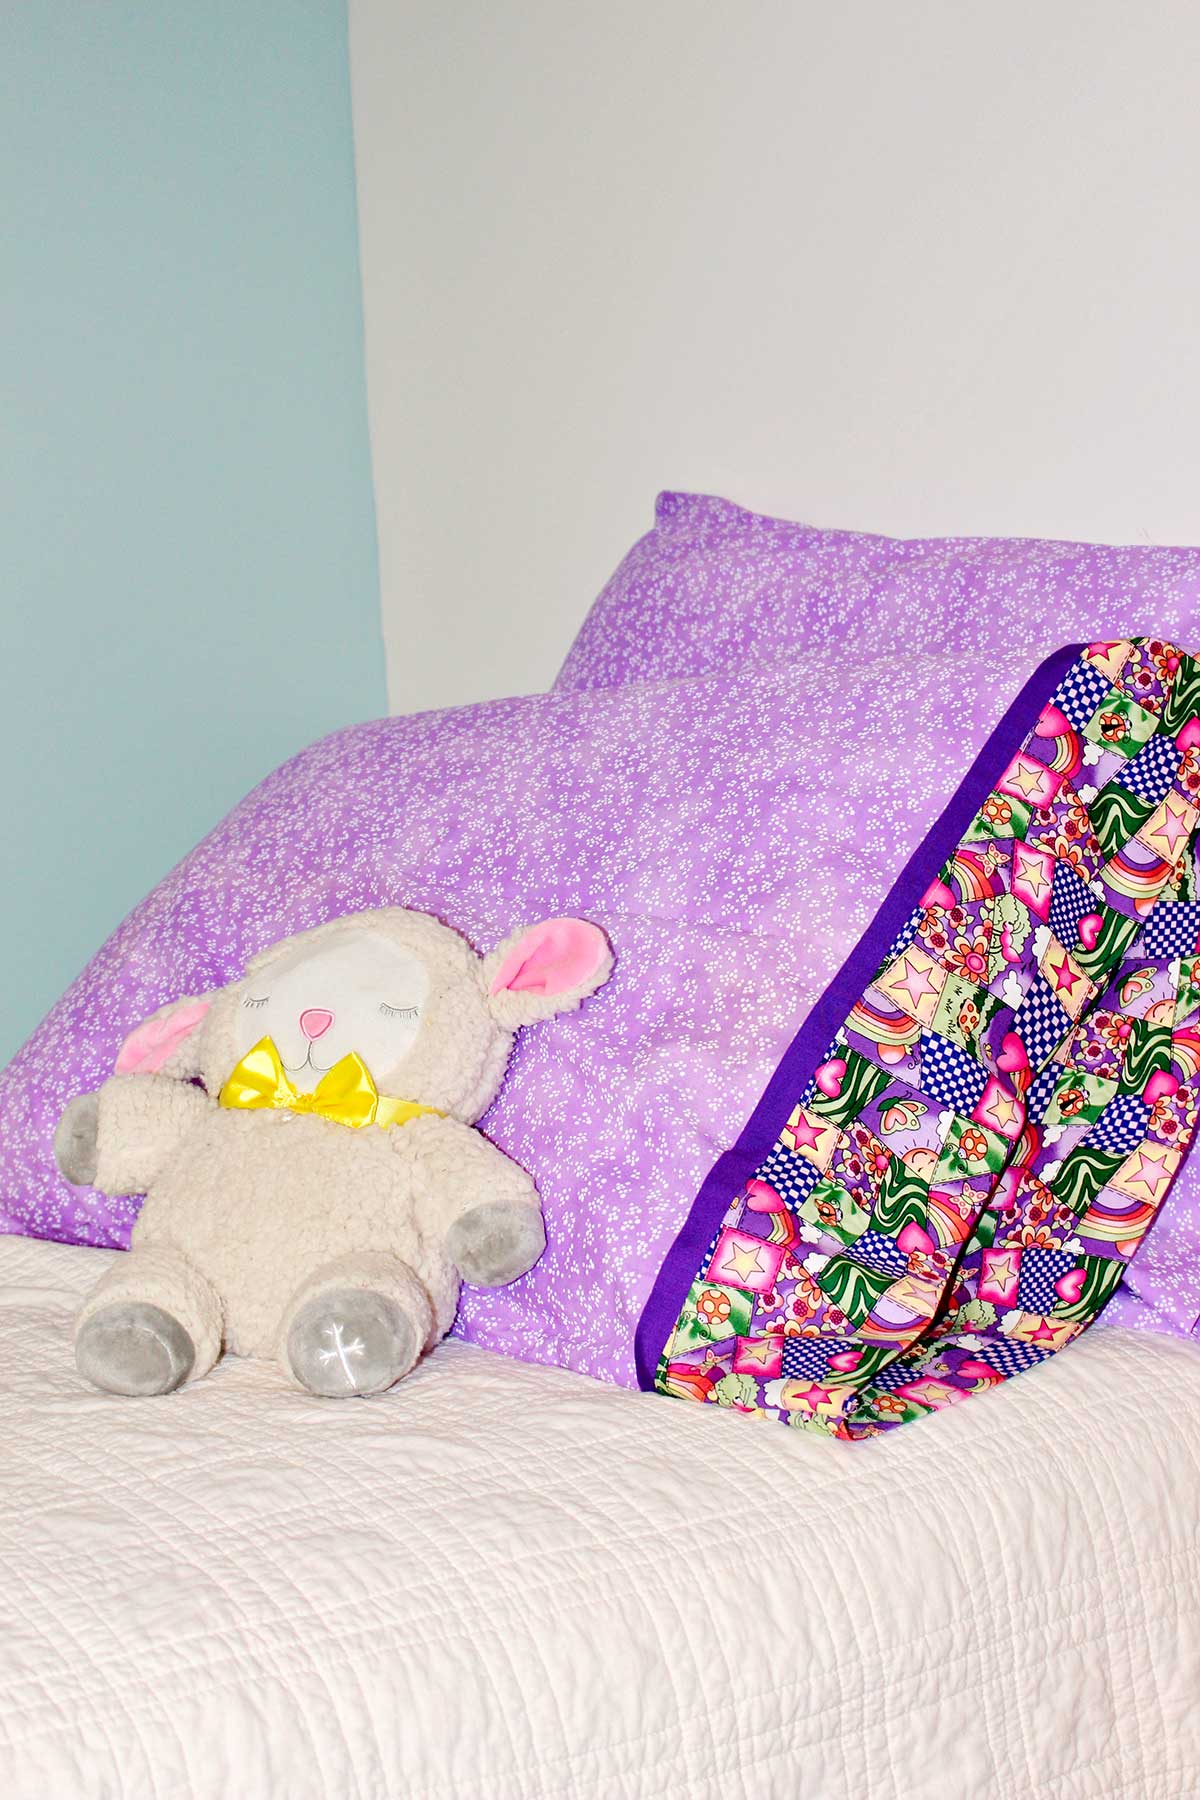
Know a kid who wants to learn to sew? This burrito style pillowcase is a great second project. It takes 24 inches of a main fabric, 12 inches of a cuff fabric and a 2 inch trim strip. The main fabric rolls up inside the cuff, gets one quarter inch seam, then pulls out right side out (it really does look like a burrito). French seams finish the sides with no raw edges. Let kids pick fabrics in their favorite colors, dinosaurs or unicorns included.
Get the full tutorial at Welcome To Nana's.
30. Dress Up a Plain Pillowcase
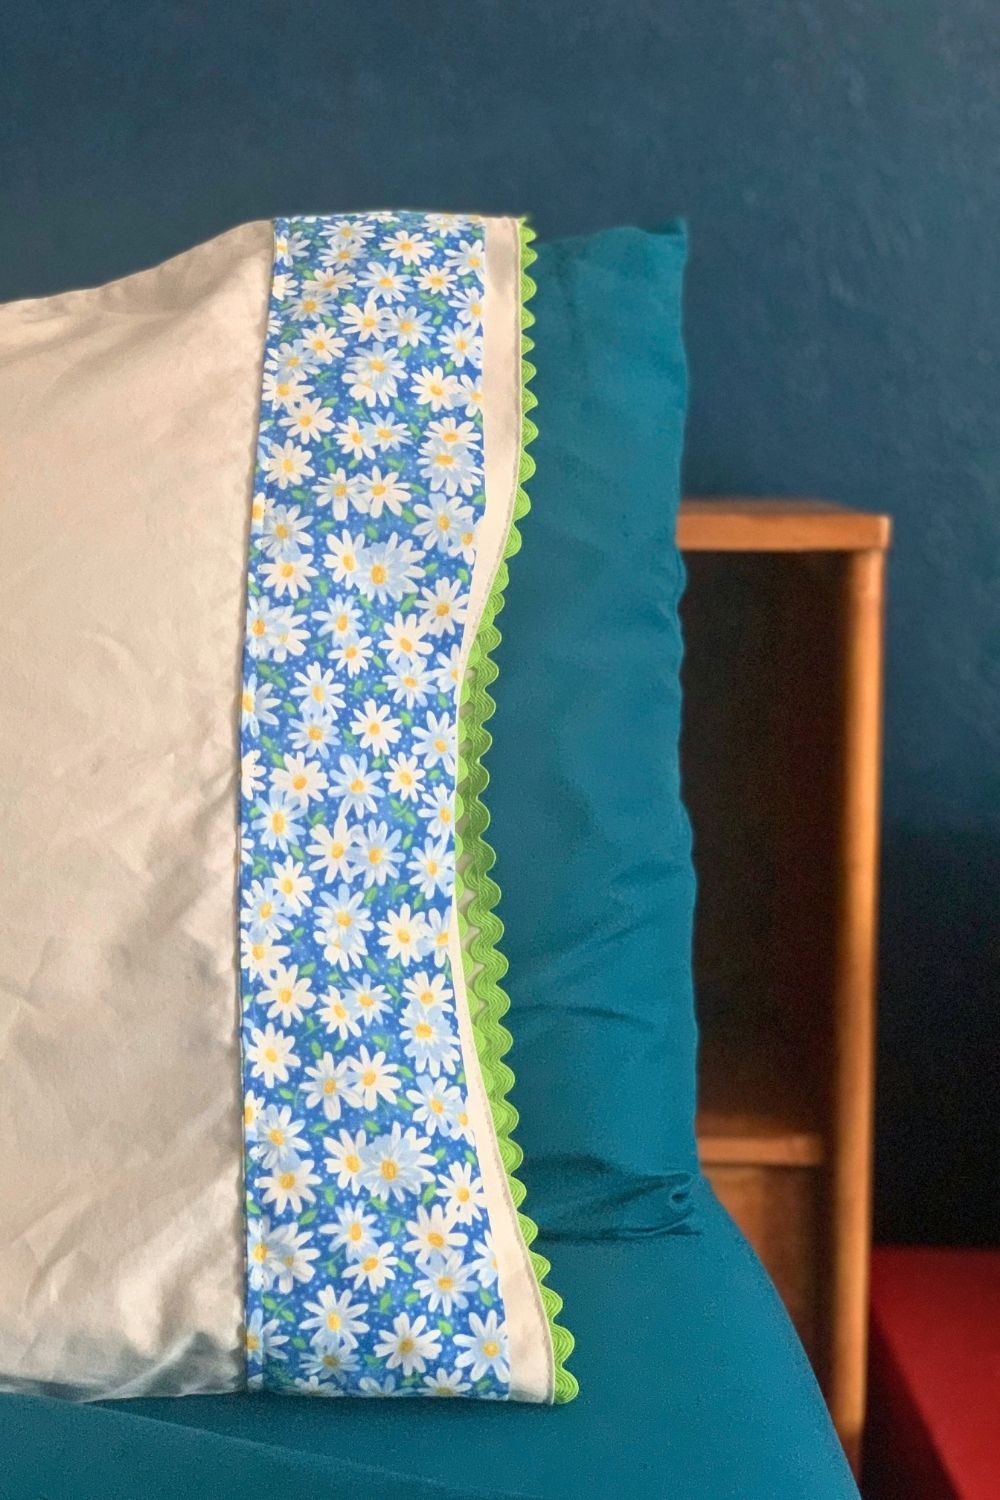
Have a plain white pillowcase that’s a little boring? Give it a cute update with scrap fabric and rick rack. A strip of fabric is sewn into a tube, pressed flat and stitched around the open end so a sliver of the original case still peeks out. Rick rack goes underneath for a scalloped edge. Every stitch is a straight line, so it suits a beginner, and it works by machine or by hand. Mix a few mismatched ones for a cottagecore look.
Get the full tutorial at One Mama's Daily Drama.