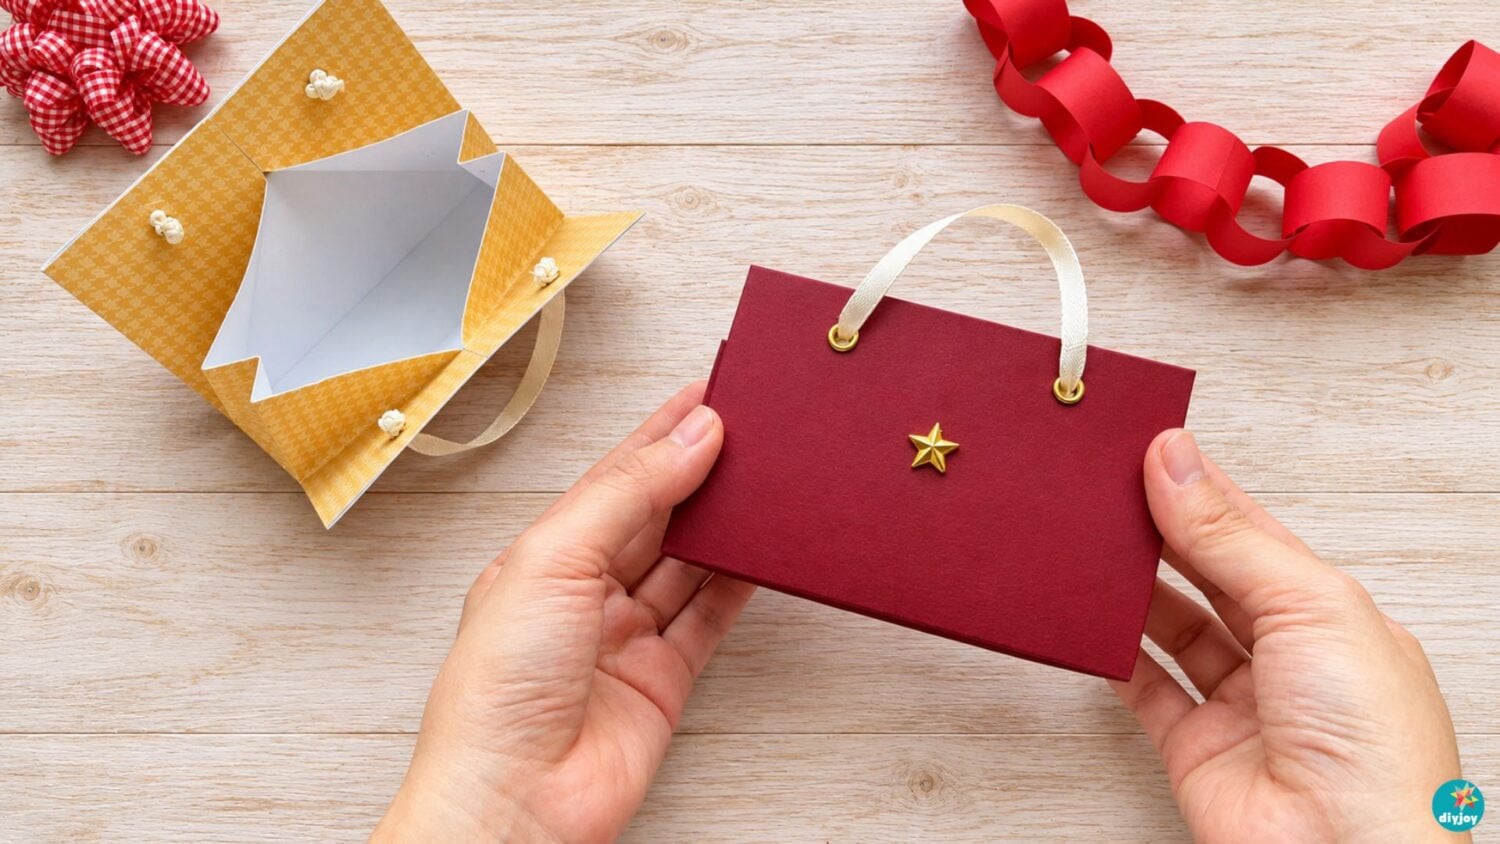
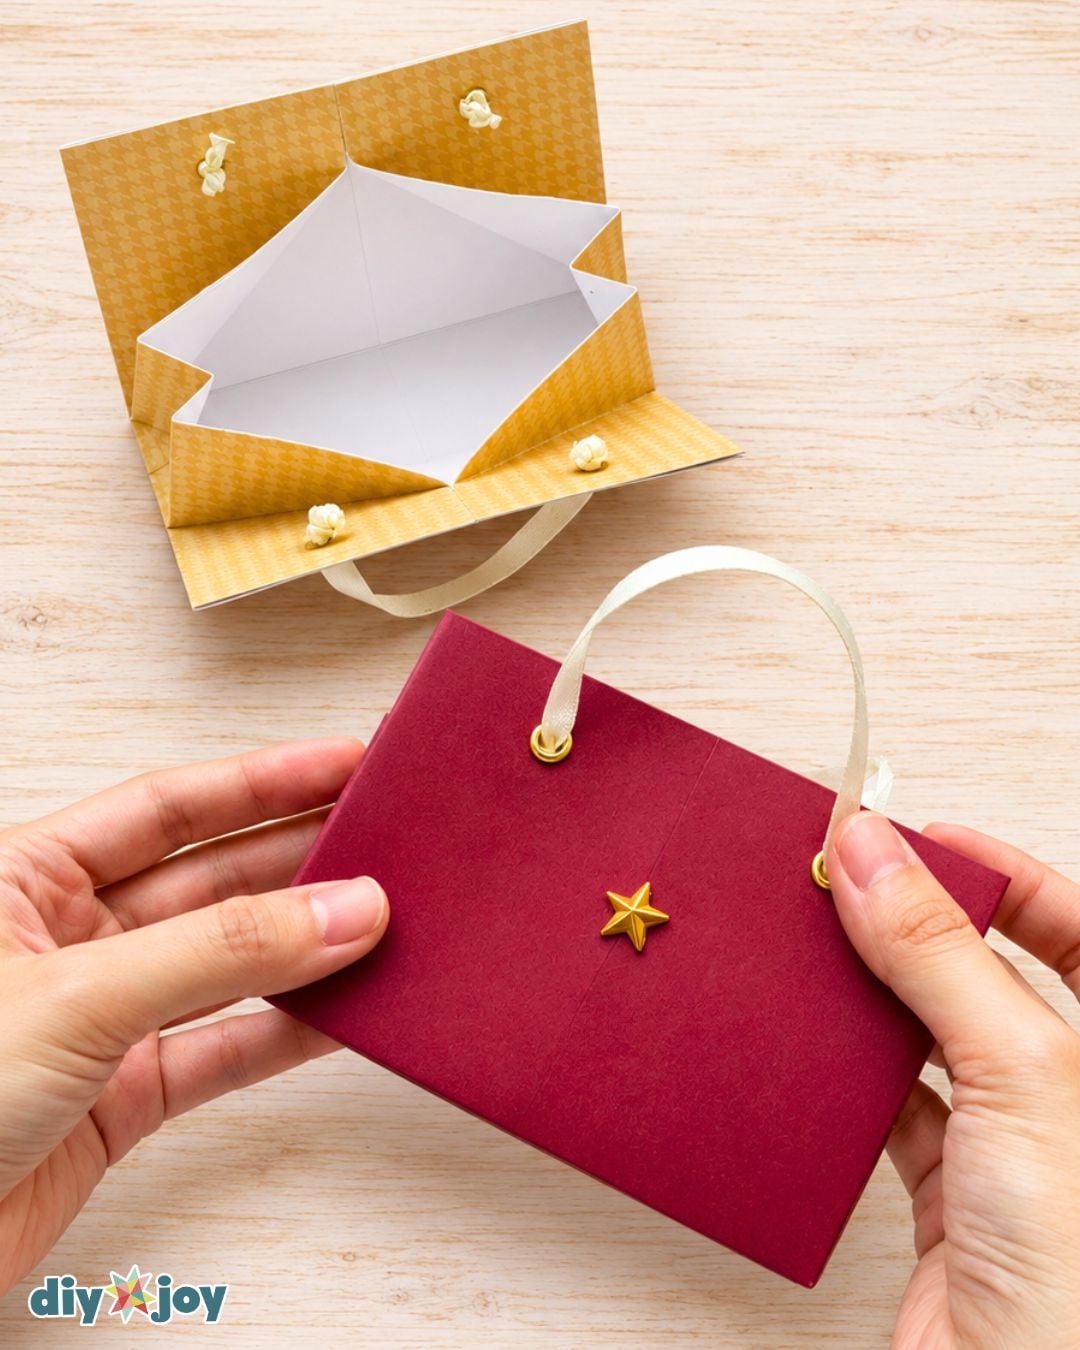
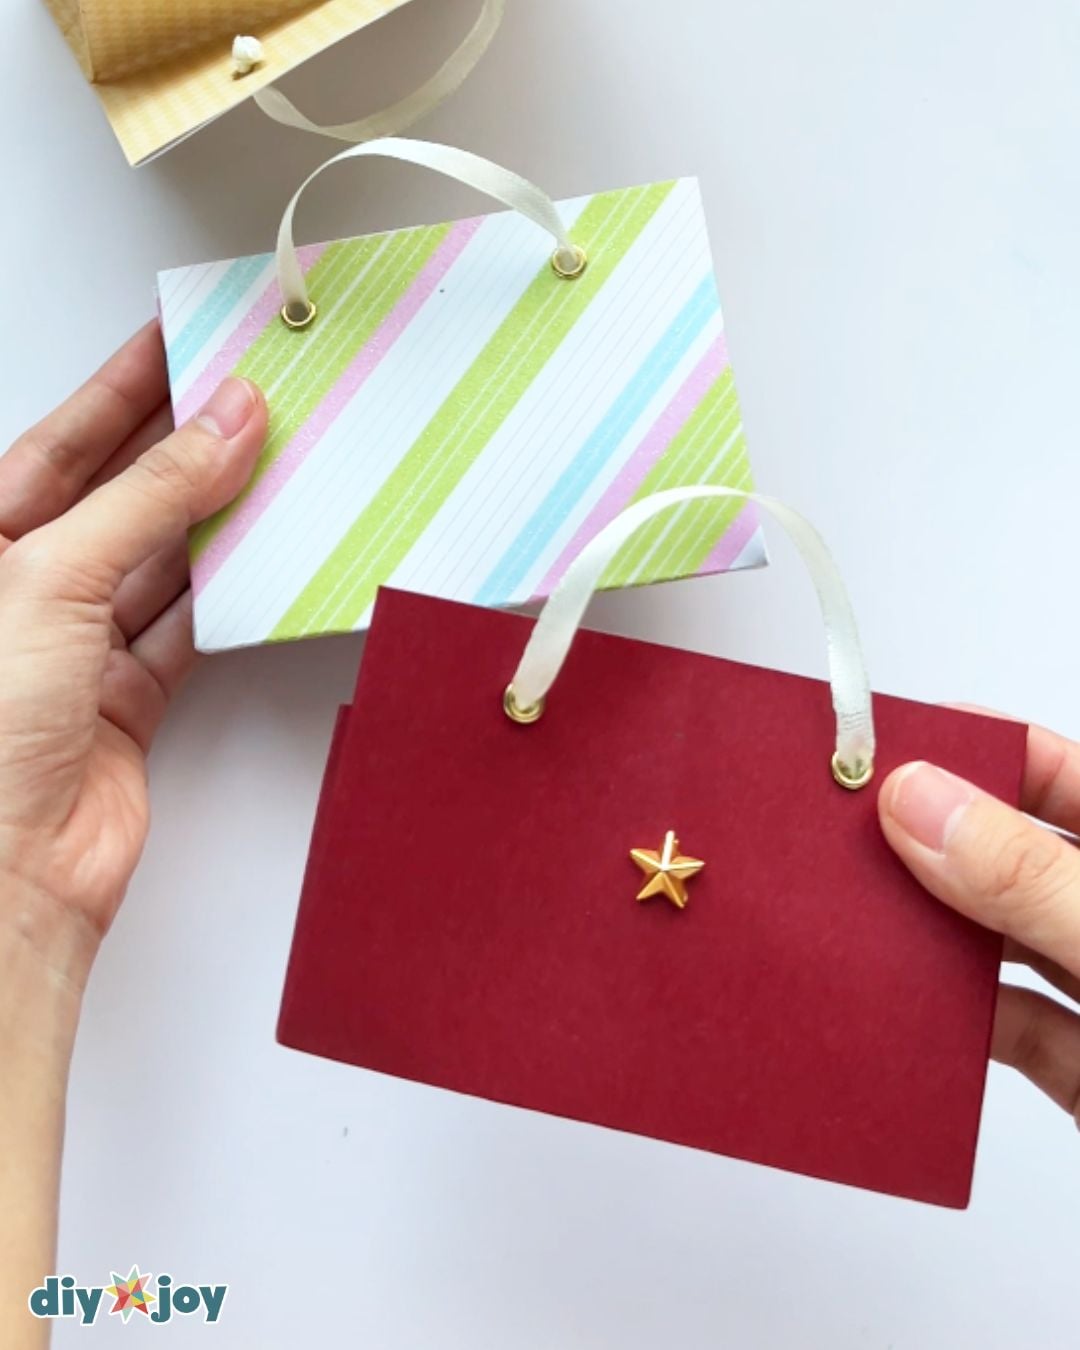
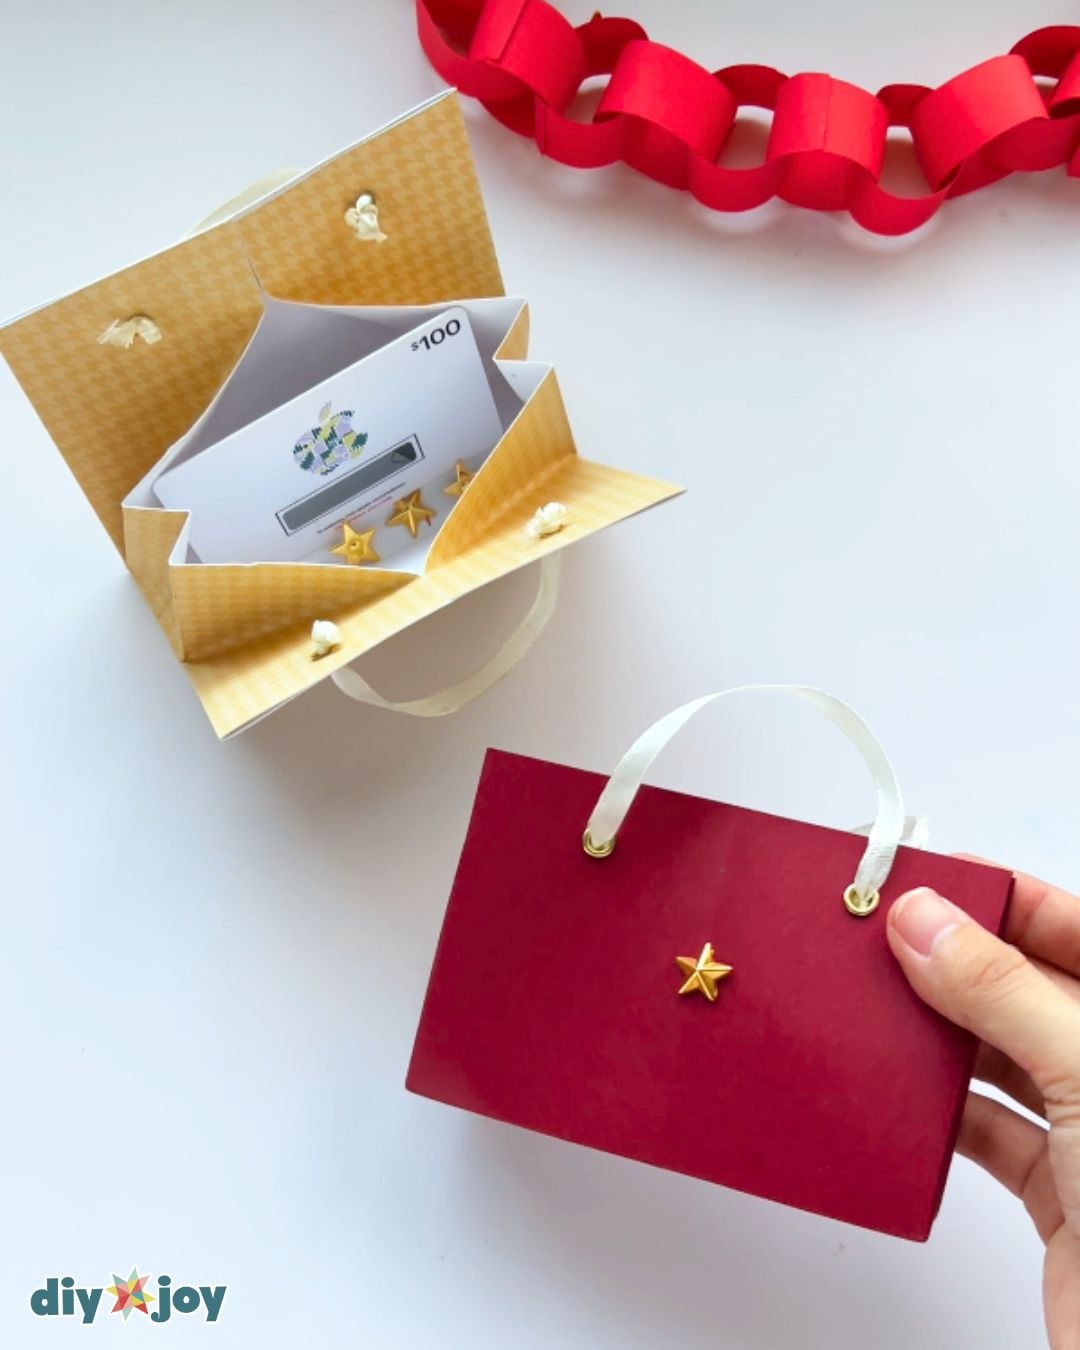
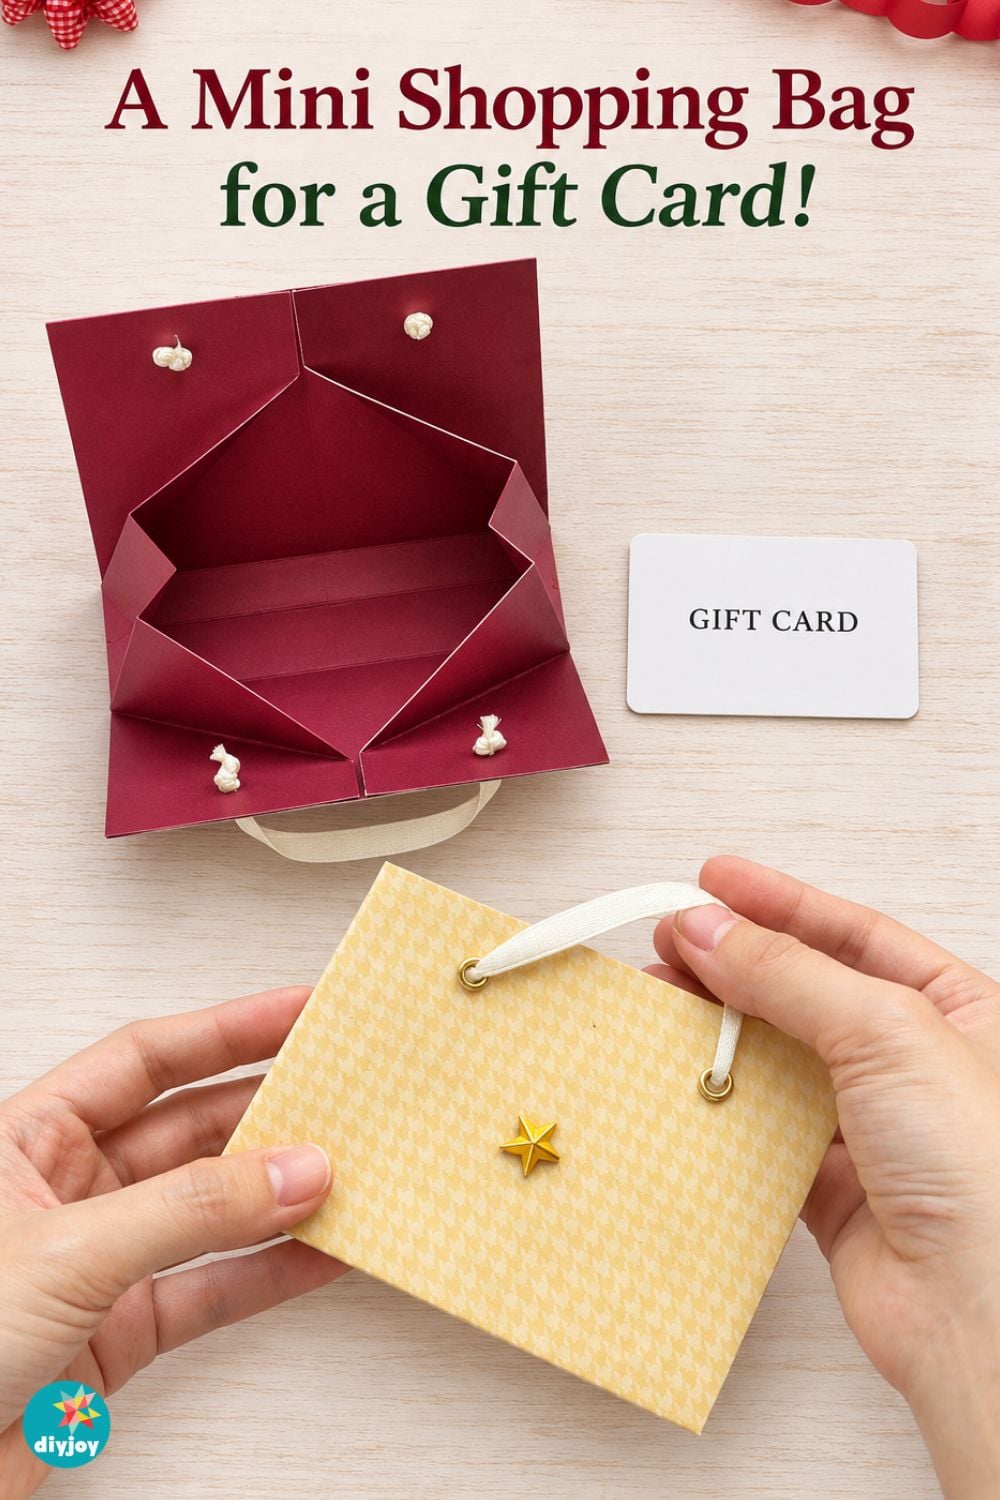
This DIY gift card holder is a cute way to give a gift card at Christmas. Start with one sheet of paper and make a few folds to create a mini shopping bag with sides that open up like the real thing. I added ivory ribbon handles and a tiny gold star to dress mine up for the holidays.
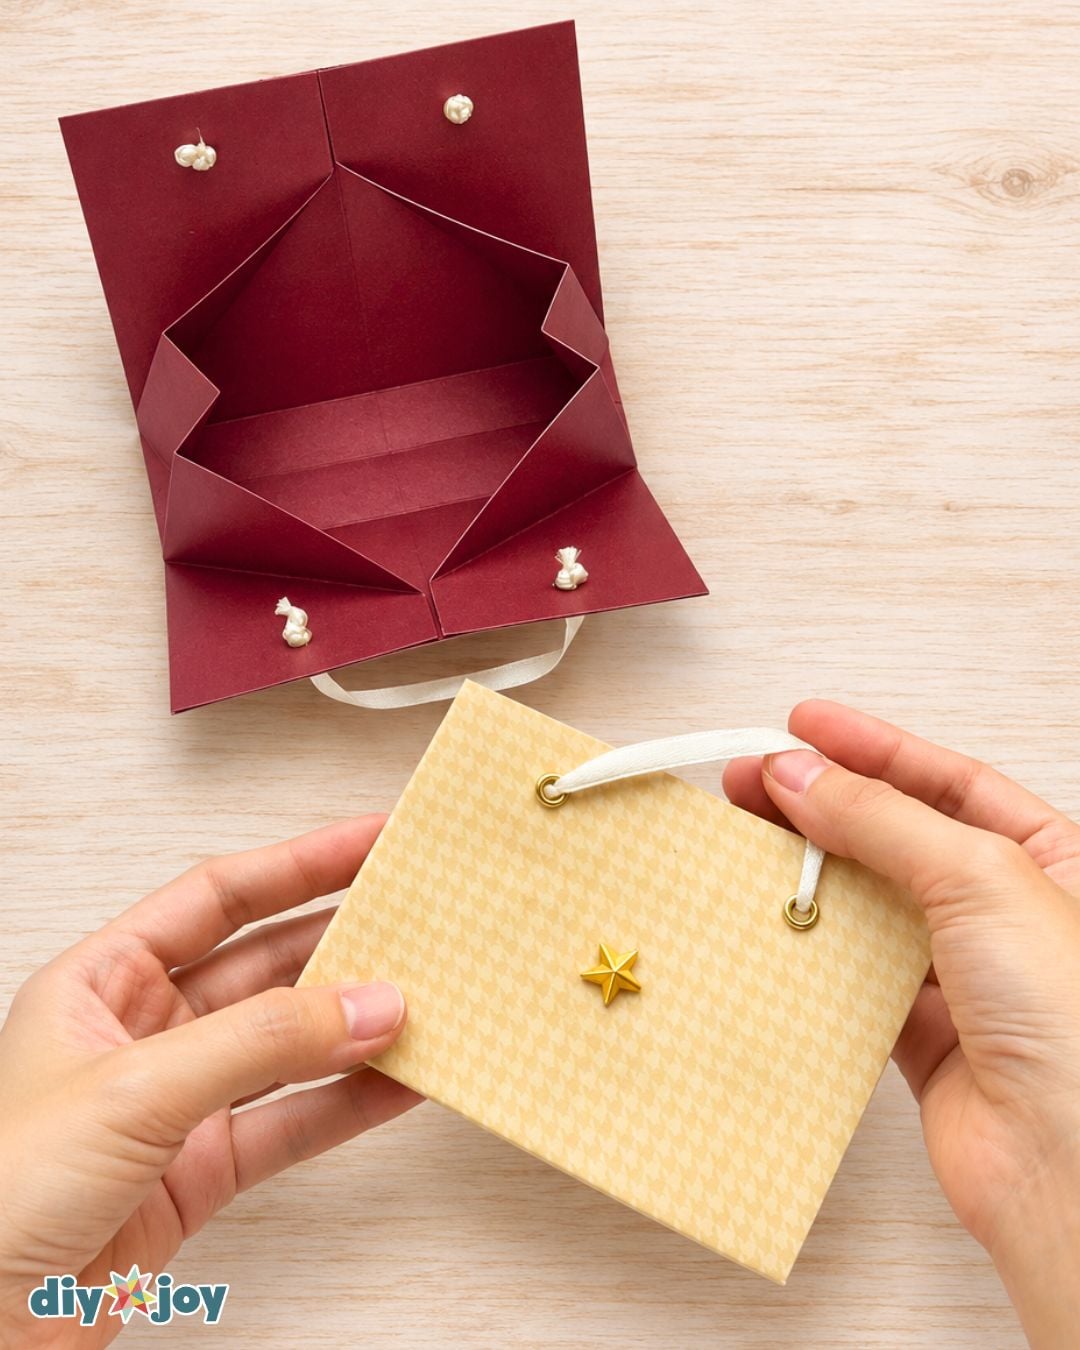
Once you’ve made one, try folding a few more for the Christmas table. Slip a chocolate, a pair of earrings, or a handwritten note inside each one. You can make the same mini origami bags in your party colors for birthday favors, bridal showers, or wedding souvenirs.
DIY Gift Card Holder Supplies
- 9 1/4 x 7 6/8 in Lightweight cardstock or colored paper
- Scissors
- Ribbon
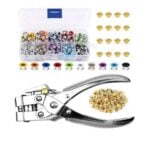
- Eyelet pliers
- Gold eyelet
- Puncher
- Ruler
- Pencil
- Bone folder (optional)
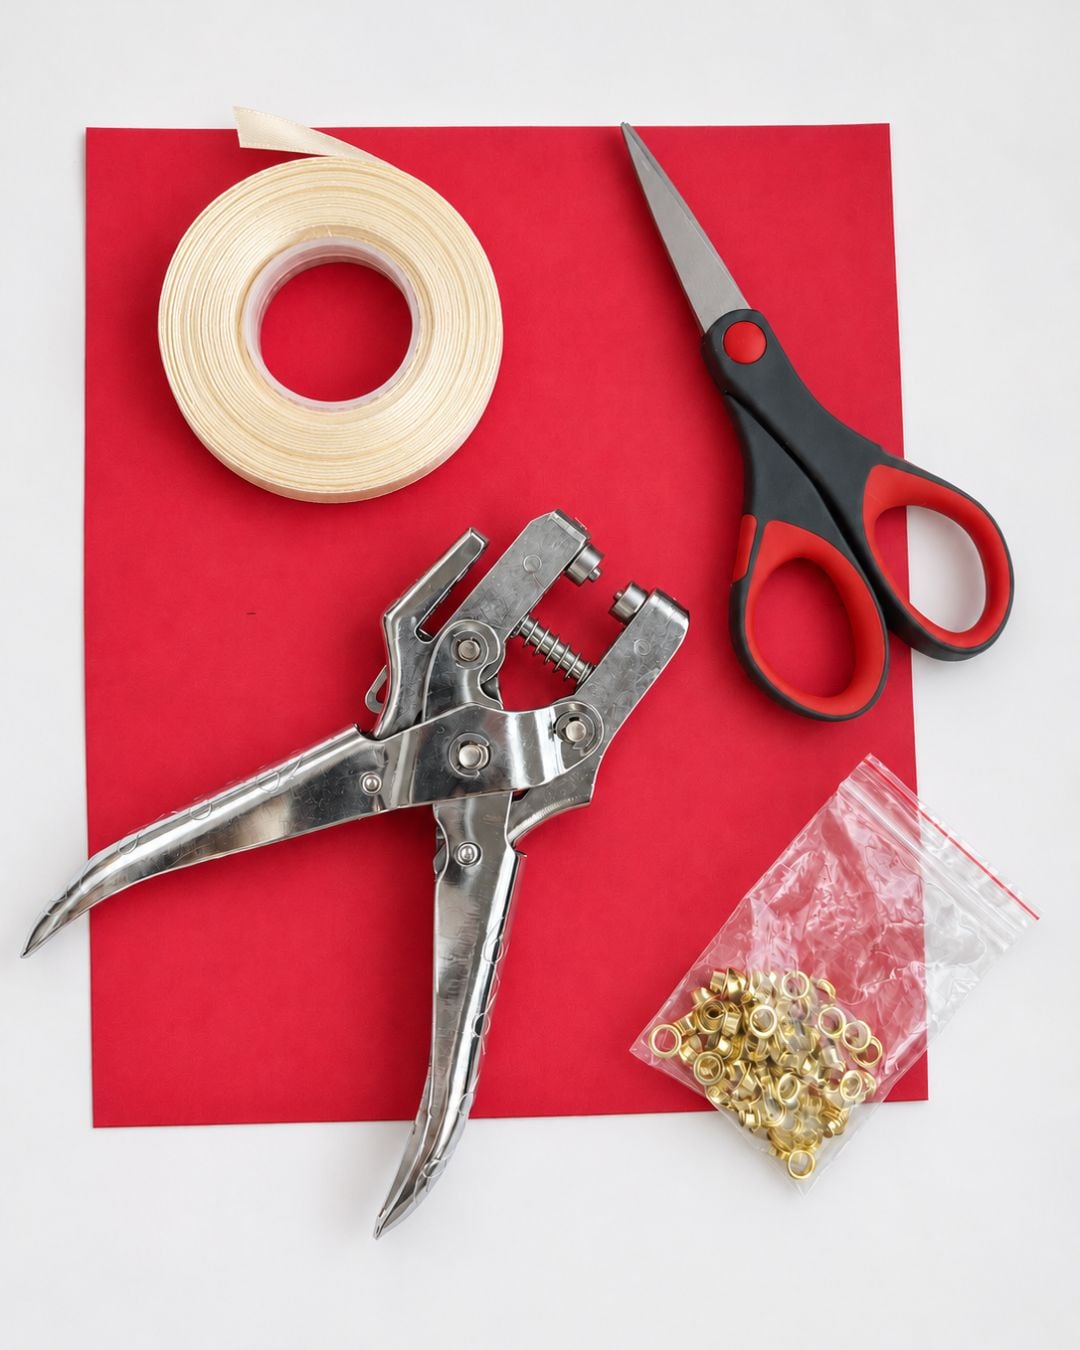
Shop the Supplies
Here are the main supplies we used for this DIY gift card holder, so you can grab the same ones and get straight to crafting.
Cardstock
Ribbon
Eyelet and Eyelet Pliers
*Some of the supply links above are affiliate links. If you buy through them, I earn a small commission at no extra cost to you.
How to Make a Gift Card Holder
Step 1:
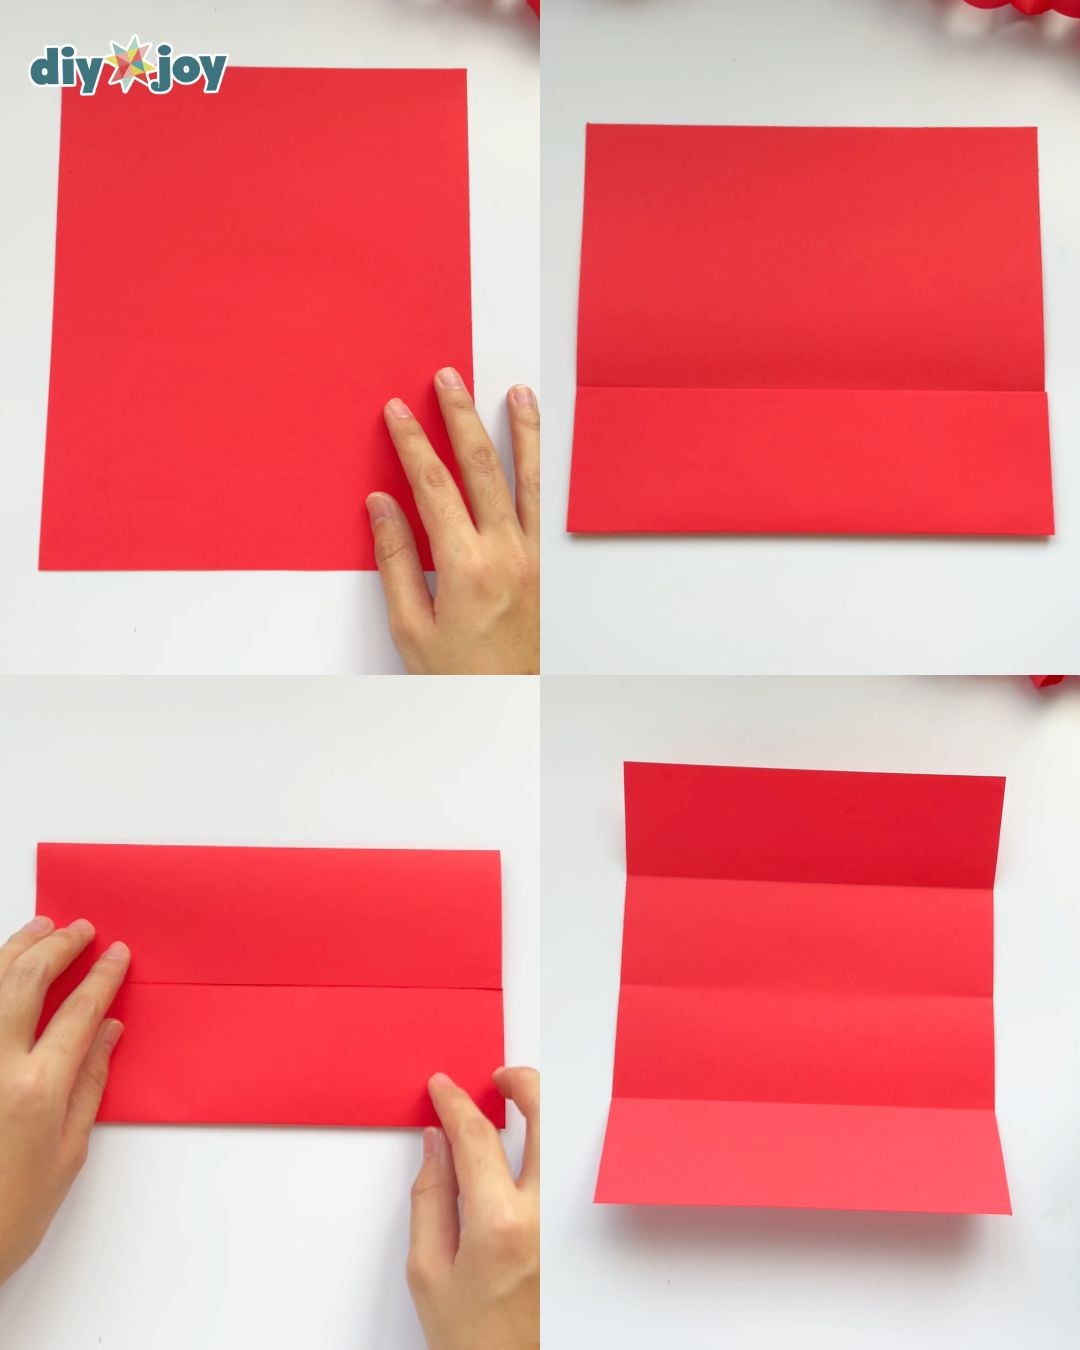
Align the bottom edge of a 9¼ × 7¾-inch sheet of paper with its top edge. Lightly fold the ends to mark the center.
Fold the bottom edge toward the center line.
Fold the top edge toward the center line
Unfold.
Step 2:
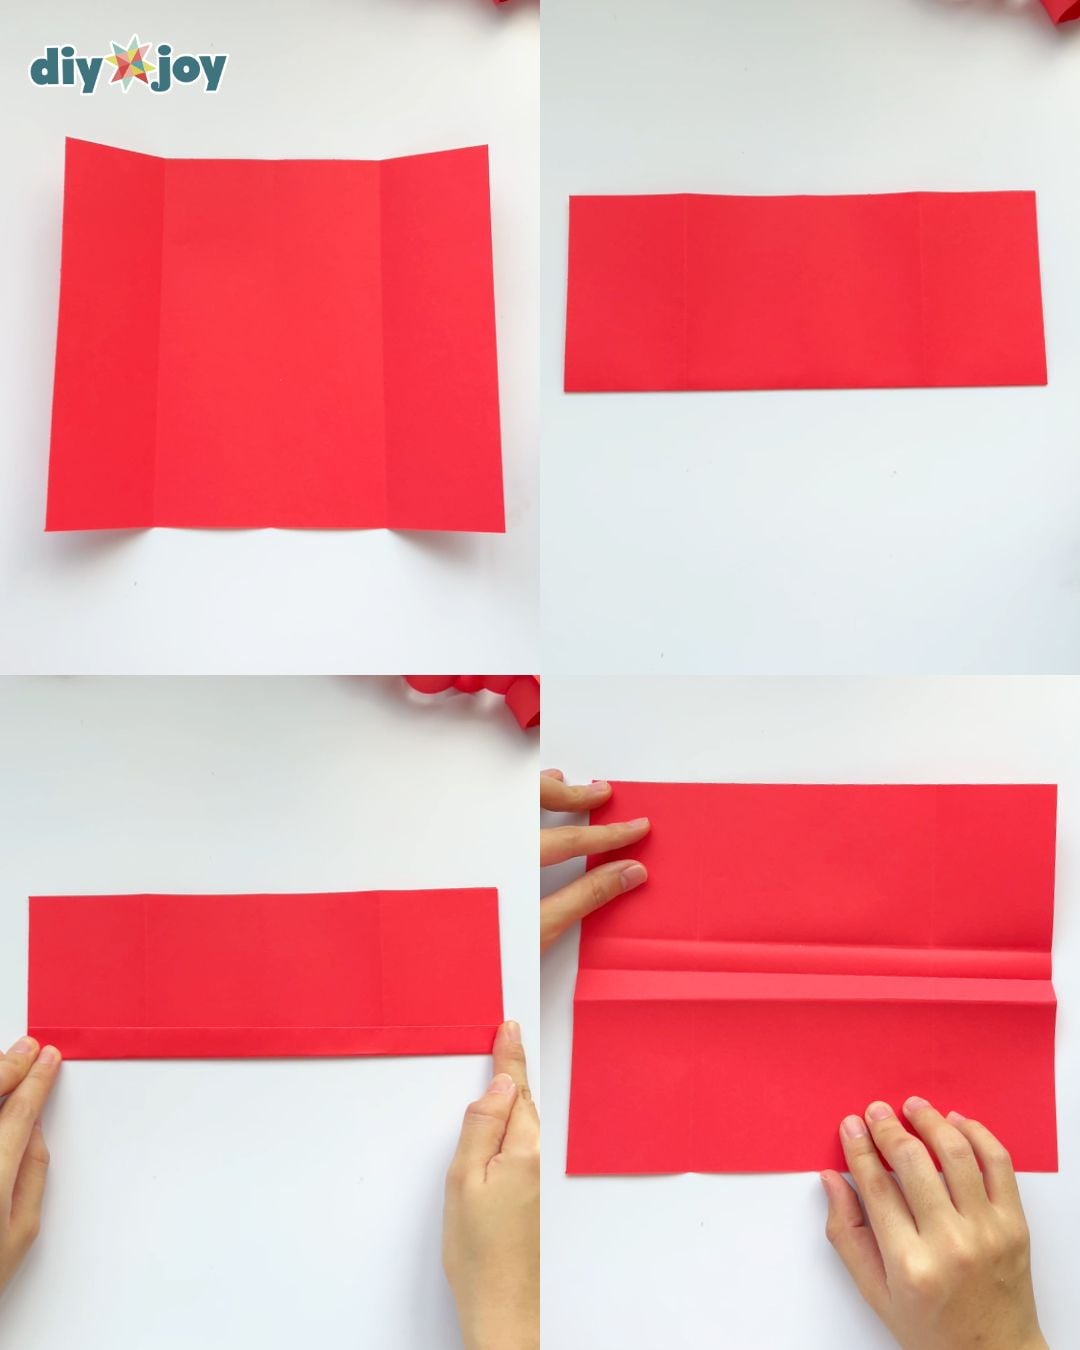
Rotate the paper.
Fold it in half.
Fold 1.5 cm from the folded edge.
Unfold the paper.
Step 3:
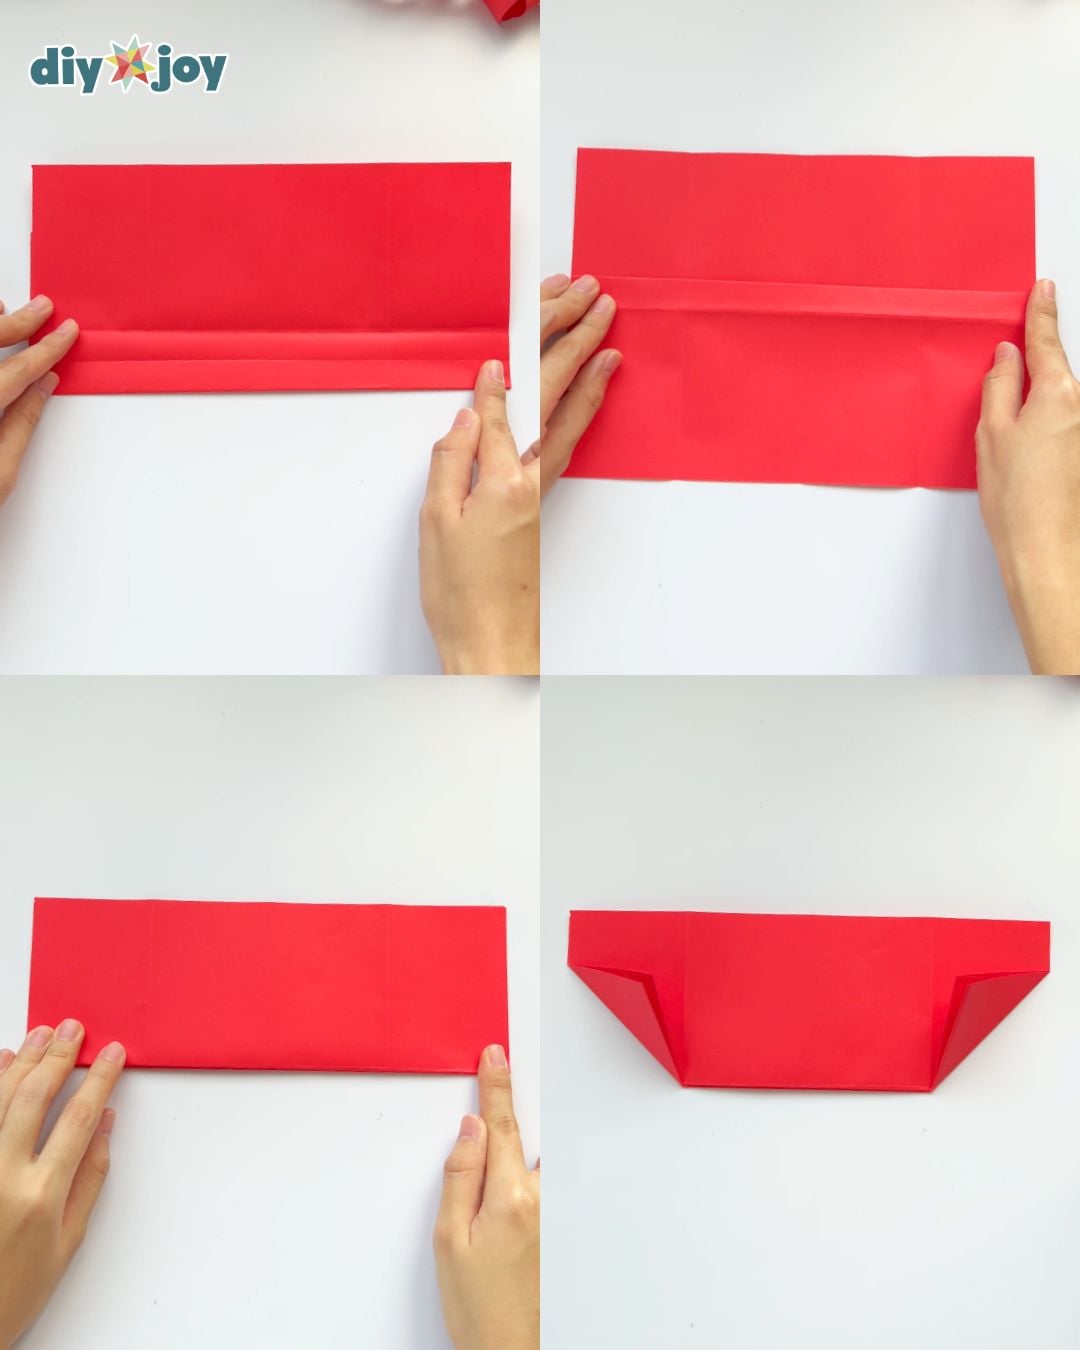
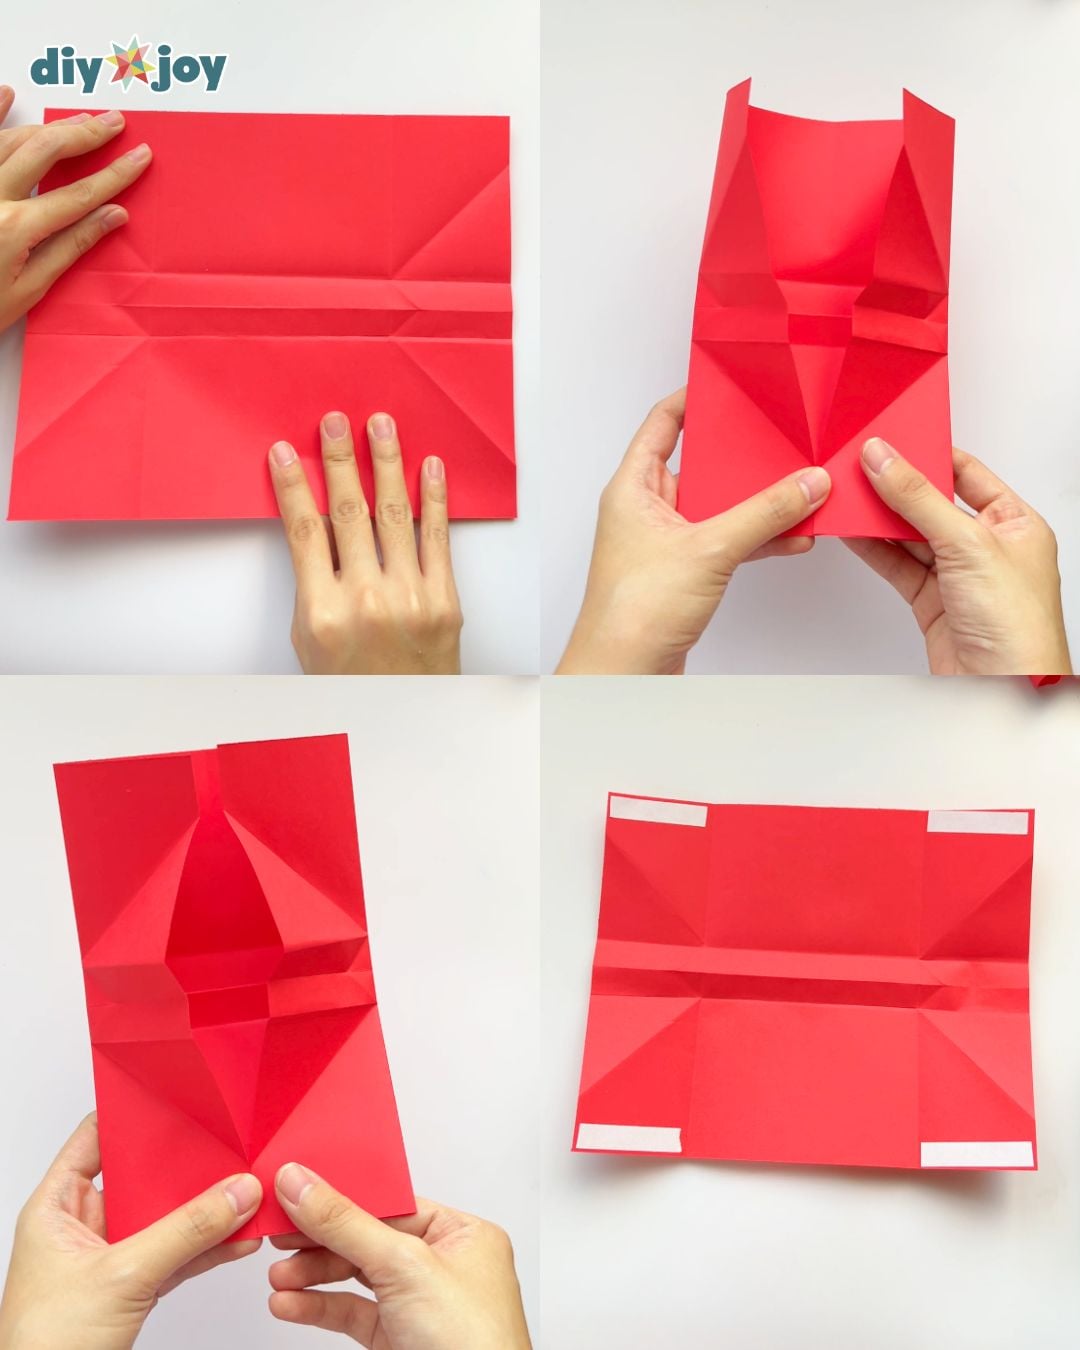
Fold the paper up along the first crease.
Fold it down along the second crease.
Fold it up again along the third crease.
Fold the bottom corners toward the crease lines.
Step 4:
Unfold.
Fold the sides toward the center.
Repeat the folds on the top section to create diagonal creases.
Unfold. Apply double-sided tape to all four corners.
Step 5:
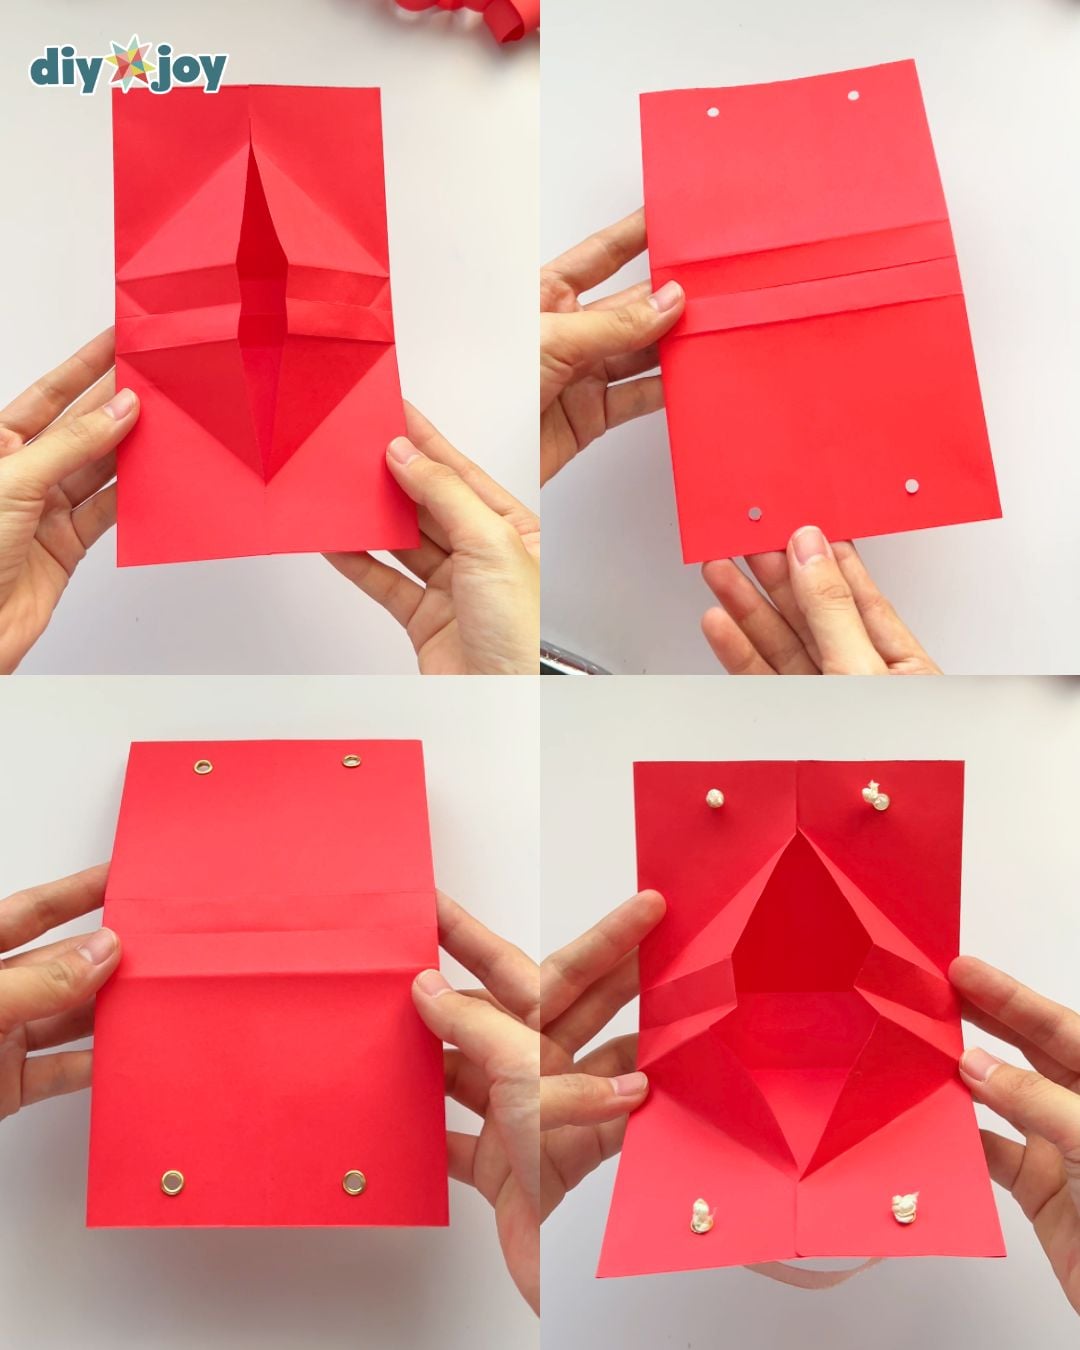
Fold in the sides.
Mark where the handle will go. Punch a hole at each mark.
Insert an eyelet into each hole. Use eyelet pliers to crimp each eyelet in place.
Cut a piece of ribbon, thread the ends through the holes, and tie a knot at each end.
Step 6:
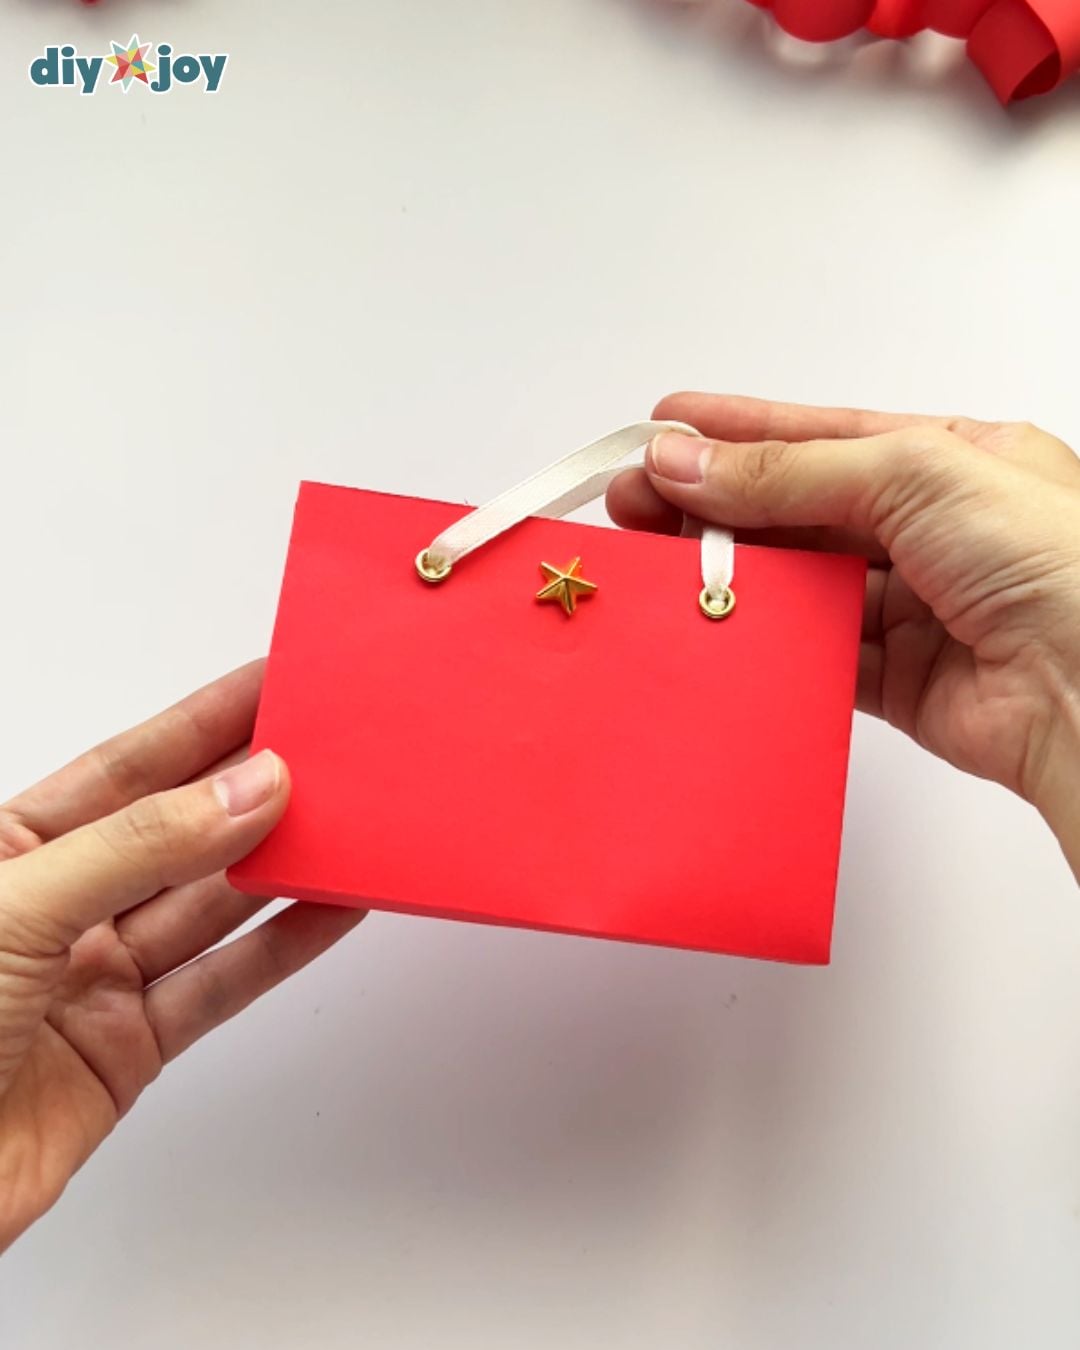
Decorate.

Pro Tips
- Run a bone folder along each fold to give the paper a crisp, clean crease. The back of a metal spoon works just as well.
More Gift Card Holder Ideas and Ways to Use Them
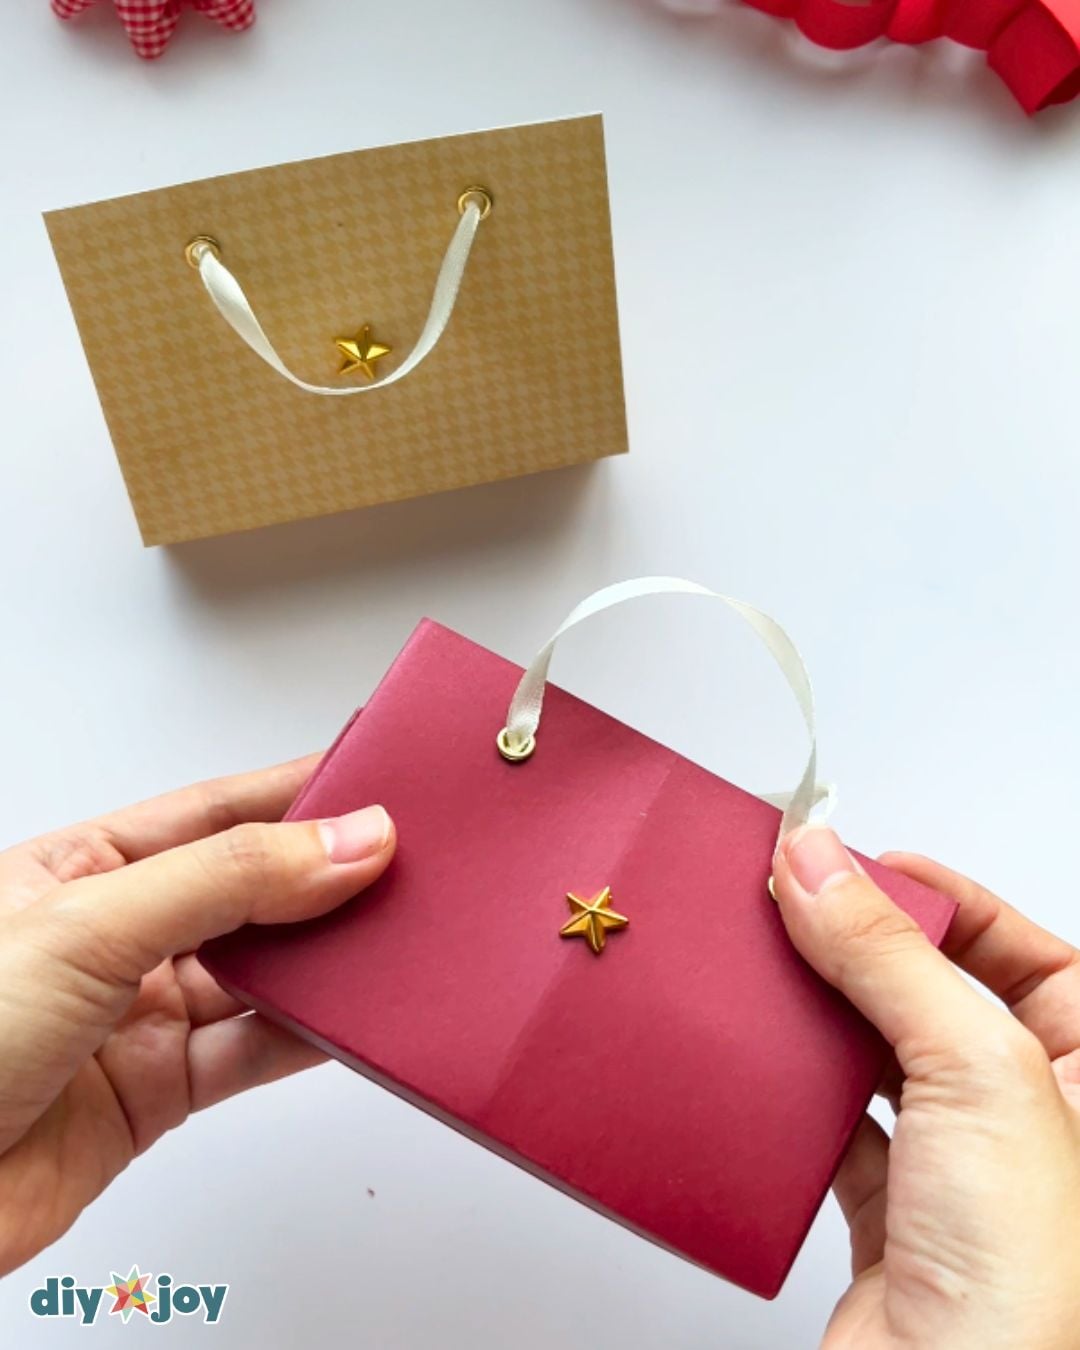
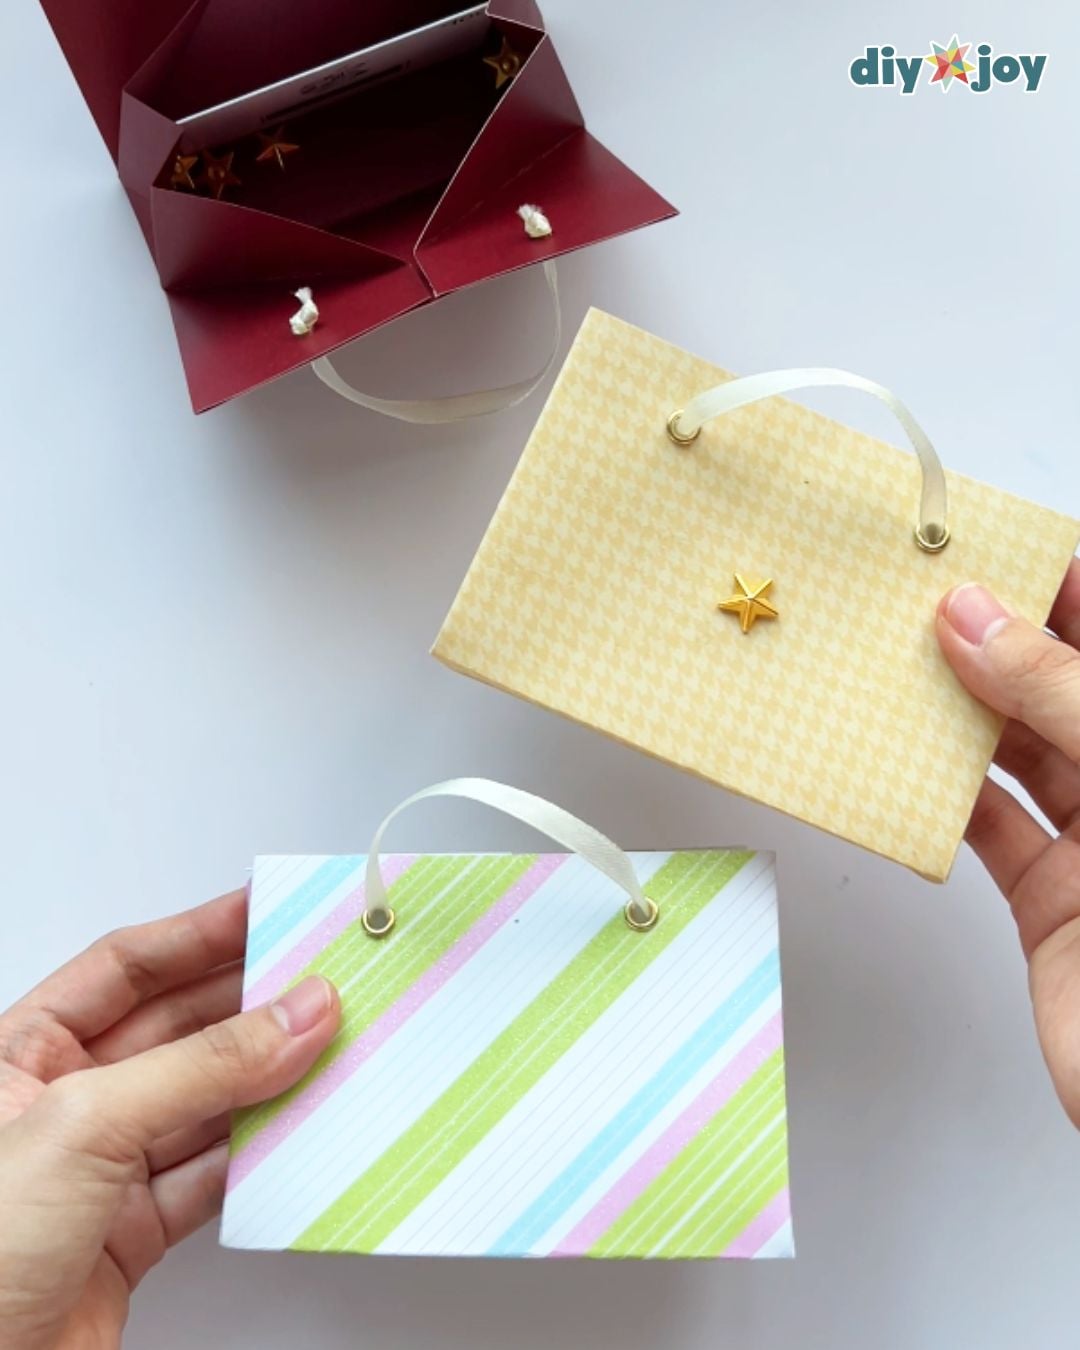
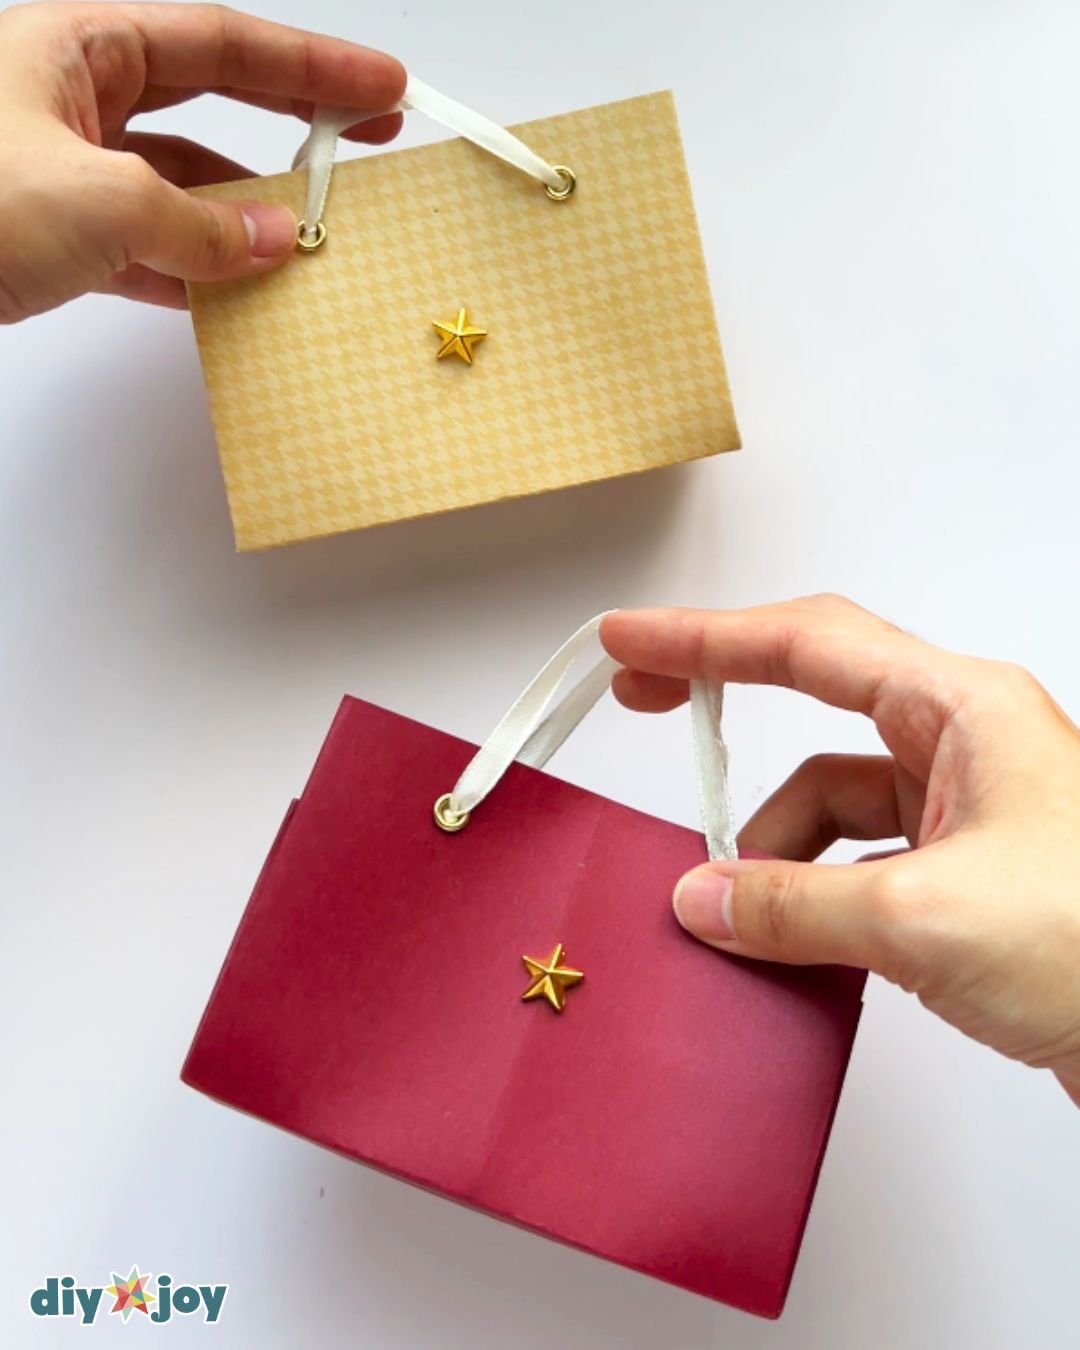
You can make these DIY gift card holders in any color or pattern you like. For Christmas, try leftover gift wrap that matches the presents under your tree or holiday cardstock that gives the mini bags a sturdier shape. A plain paper bag works well if you like a simple kraft-paper look, and printed paper is an easy way to match a party theme.
Once you’ve folded your mini shopping bags, have fun decorating them! Add a few stickers, glue on beads or sequins for a little sparkle, or draw a design by hand. You can also emboss the paper before folding it to give the finished bag some texture. If you’re making a batch, write a name or initials on each one so everyone knows which bag is theirs.
These mini bags can hold small gifts and party favors, too. Tuck in a few wrapped chocolates, a pair of earrings, a handwritten note, or a little keepsake. Pick bright prints for a birthday party, use the bride’s favorite colors for a bridal shower, or add the couple’s initials to make personalized wedding favors.
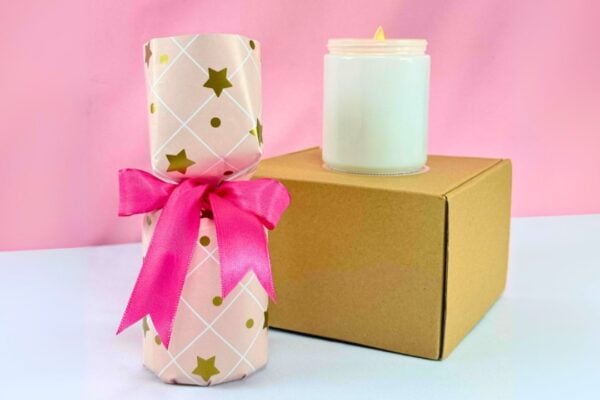
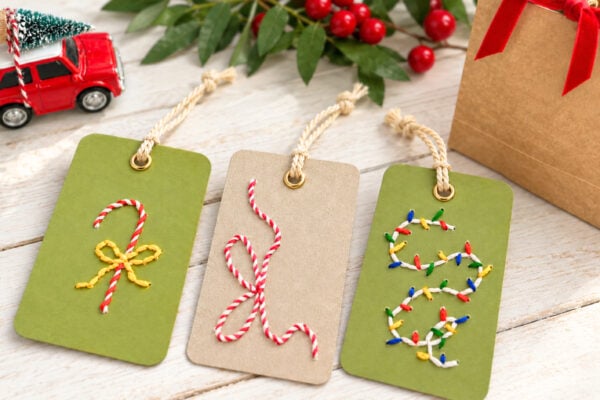
If you’re wrapping a few other gifts, you can stitch a set of embroidered Christmas gift tags, fold a paper candy package for a handful of sweets, or try this easy candle jar gift wrapping hack.
Mini Paper Shopping Bag FAQs
Start with a 9¼ × 7¾-inch sheet of paper. Trim your sheet to size before you begin so you can follow the folds shown in the tutorial.
Scrapbook paper or lightweight cardstock will help the bag hold its shape while still being easy to fold. You can also cut a sheet from a clean kraft paper bag or use leftover wrapping paper. If your wrapping paper is thin, reinforce the handle holes with a small piece of tape on the inside before punching them.
Yes! Reinforce the paper where the handles will go, punch the holes, then thread the ribbon through and knot the ends on the inside. If a knot slips through, make a larger knot or use a smaller hole punch.
Test the folds before peeling the backing off the double-sided tape. Once the corners line up, press firmly where the paper overlaps to secure each corner.
Yes. Start with a larger or smaller rectangle with roughly the same proportions. Try the folds on scrap paper first, then check that your gift fits before cutting your decorative paper or punching the handle holes.
Tuck in a handwritten note, a pair of earrings, a few wrapped chocolates, or a small party favor. Pick paper and ribbon to match the occasion, whether it’s Christmas, a birthday, a bridal shower, or a wedding.
Save this Craft on Pinterest
Roll over the image to get the button.
More DIY Gift Ideas

Paper Crafts
Tips and Hacks
Gift Wrapping