The two very best things about this DIY Bucket Bag is that it is made using canvas from a canvas drop cloth you can buy at any Home Depot and has no closure so it makes a nice bag for shopping, it goes straight from purchase to bag! I couldn’t wait to make one for my shopping needs. I started the project by getting my materials together, 2 pieces of fabric, (one of canvas from your Home Depot Drop Cloth) and (one regular cotton) for border and strap. The sewing instructions are really easy to follow, you just get the pattern link from @SaltyDIY, then you cut your pattern, then cut out your outer fabric layer and stiff canvas drop cloth and start sewing. You can use softer interfacing for a Tote Bag you would just be used for transport, but if you want your tote bag to stand up on the desk as an attractive holder, use heavy fusible interfacing between your canvas and your cotton fabric. The fusible is also an option, but I find these projects go more smoothly and look better with a fusible you can iron right onto the fabric, it becomes a much more durable component to your project.I started by cutting a simple pattern.
Directions:
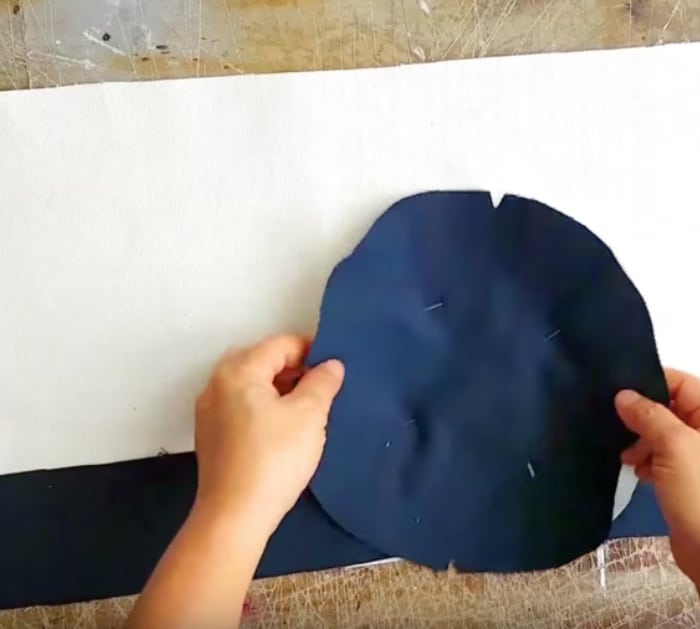
First, cut your pattern out as per instructions in link @SaltyDIY, then cut out fabric accordingly.
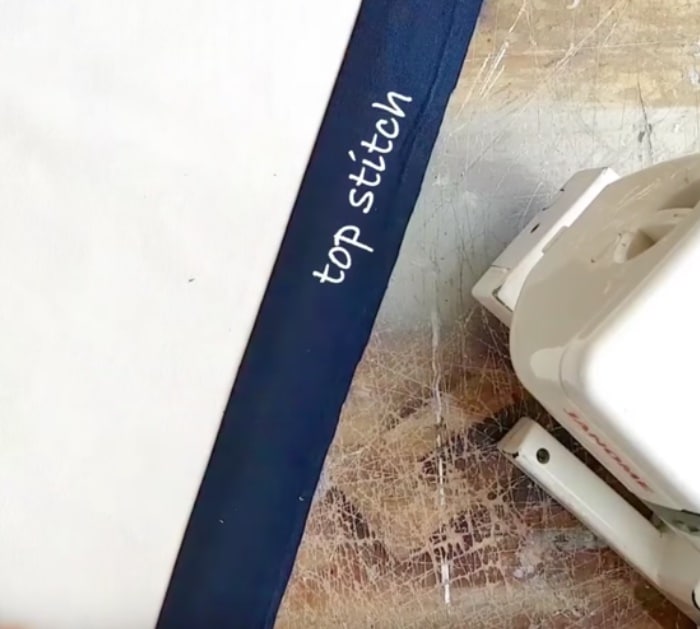
Then stitch down bottom border trim.
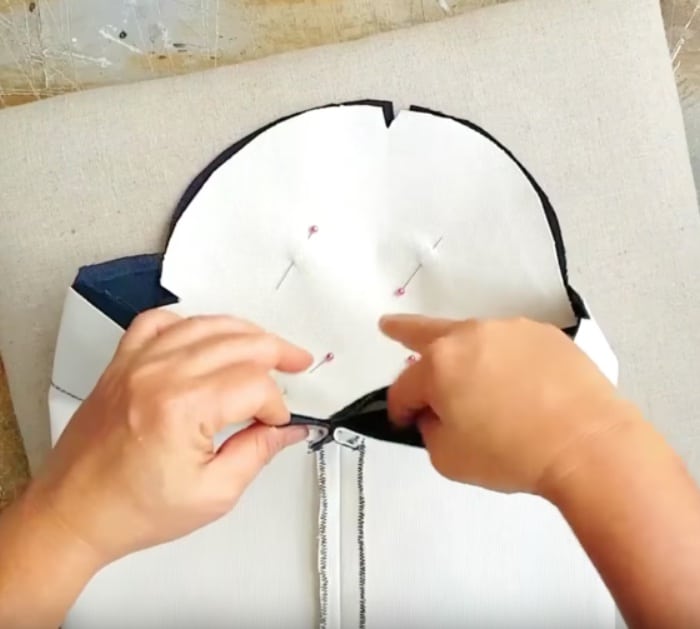
Then sew bag body together, then attach circle (floor of the bag) to the bottom of the bag body and sew.
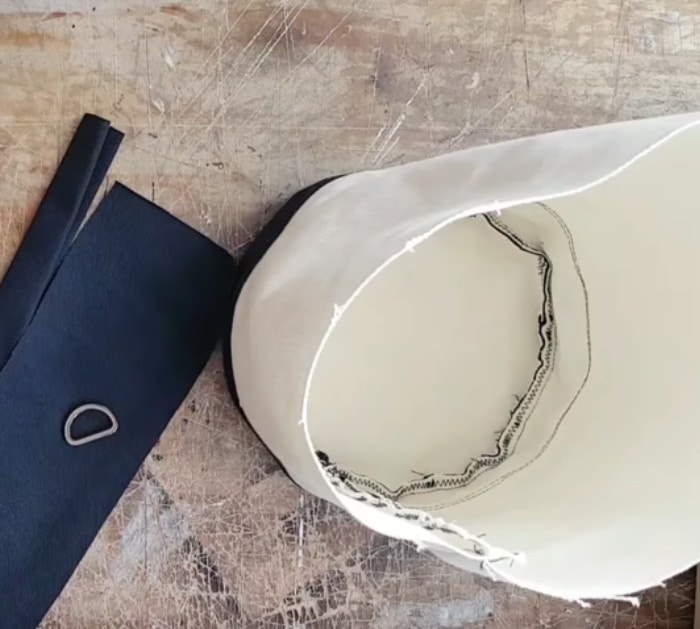
Then your bag will look like the photo below.
Then make and attach your straps and make drawstring liner as per instructions in the video.

This bag is excellent for shopping and really suits all my needs.