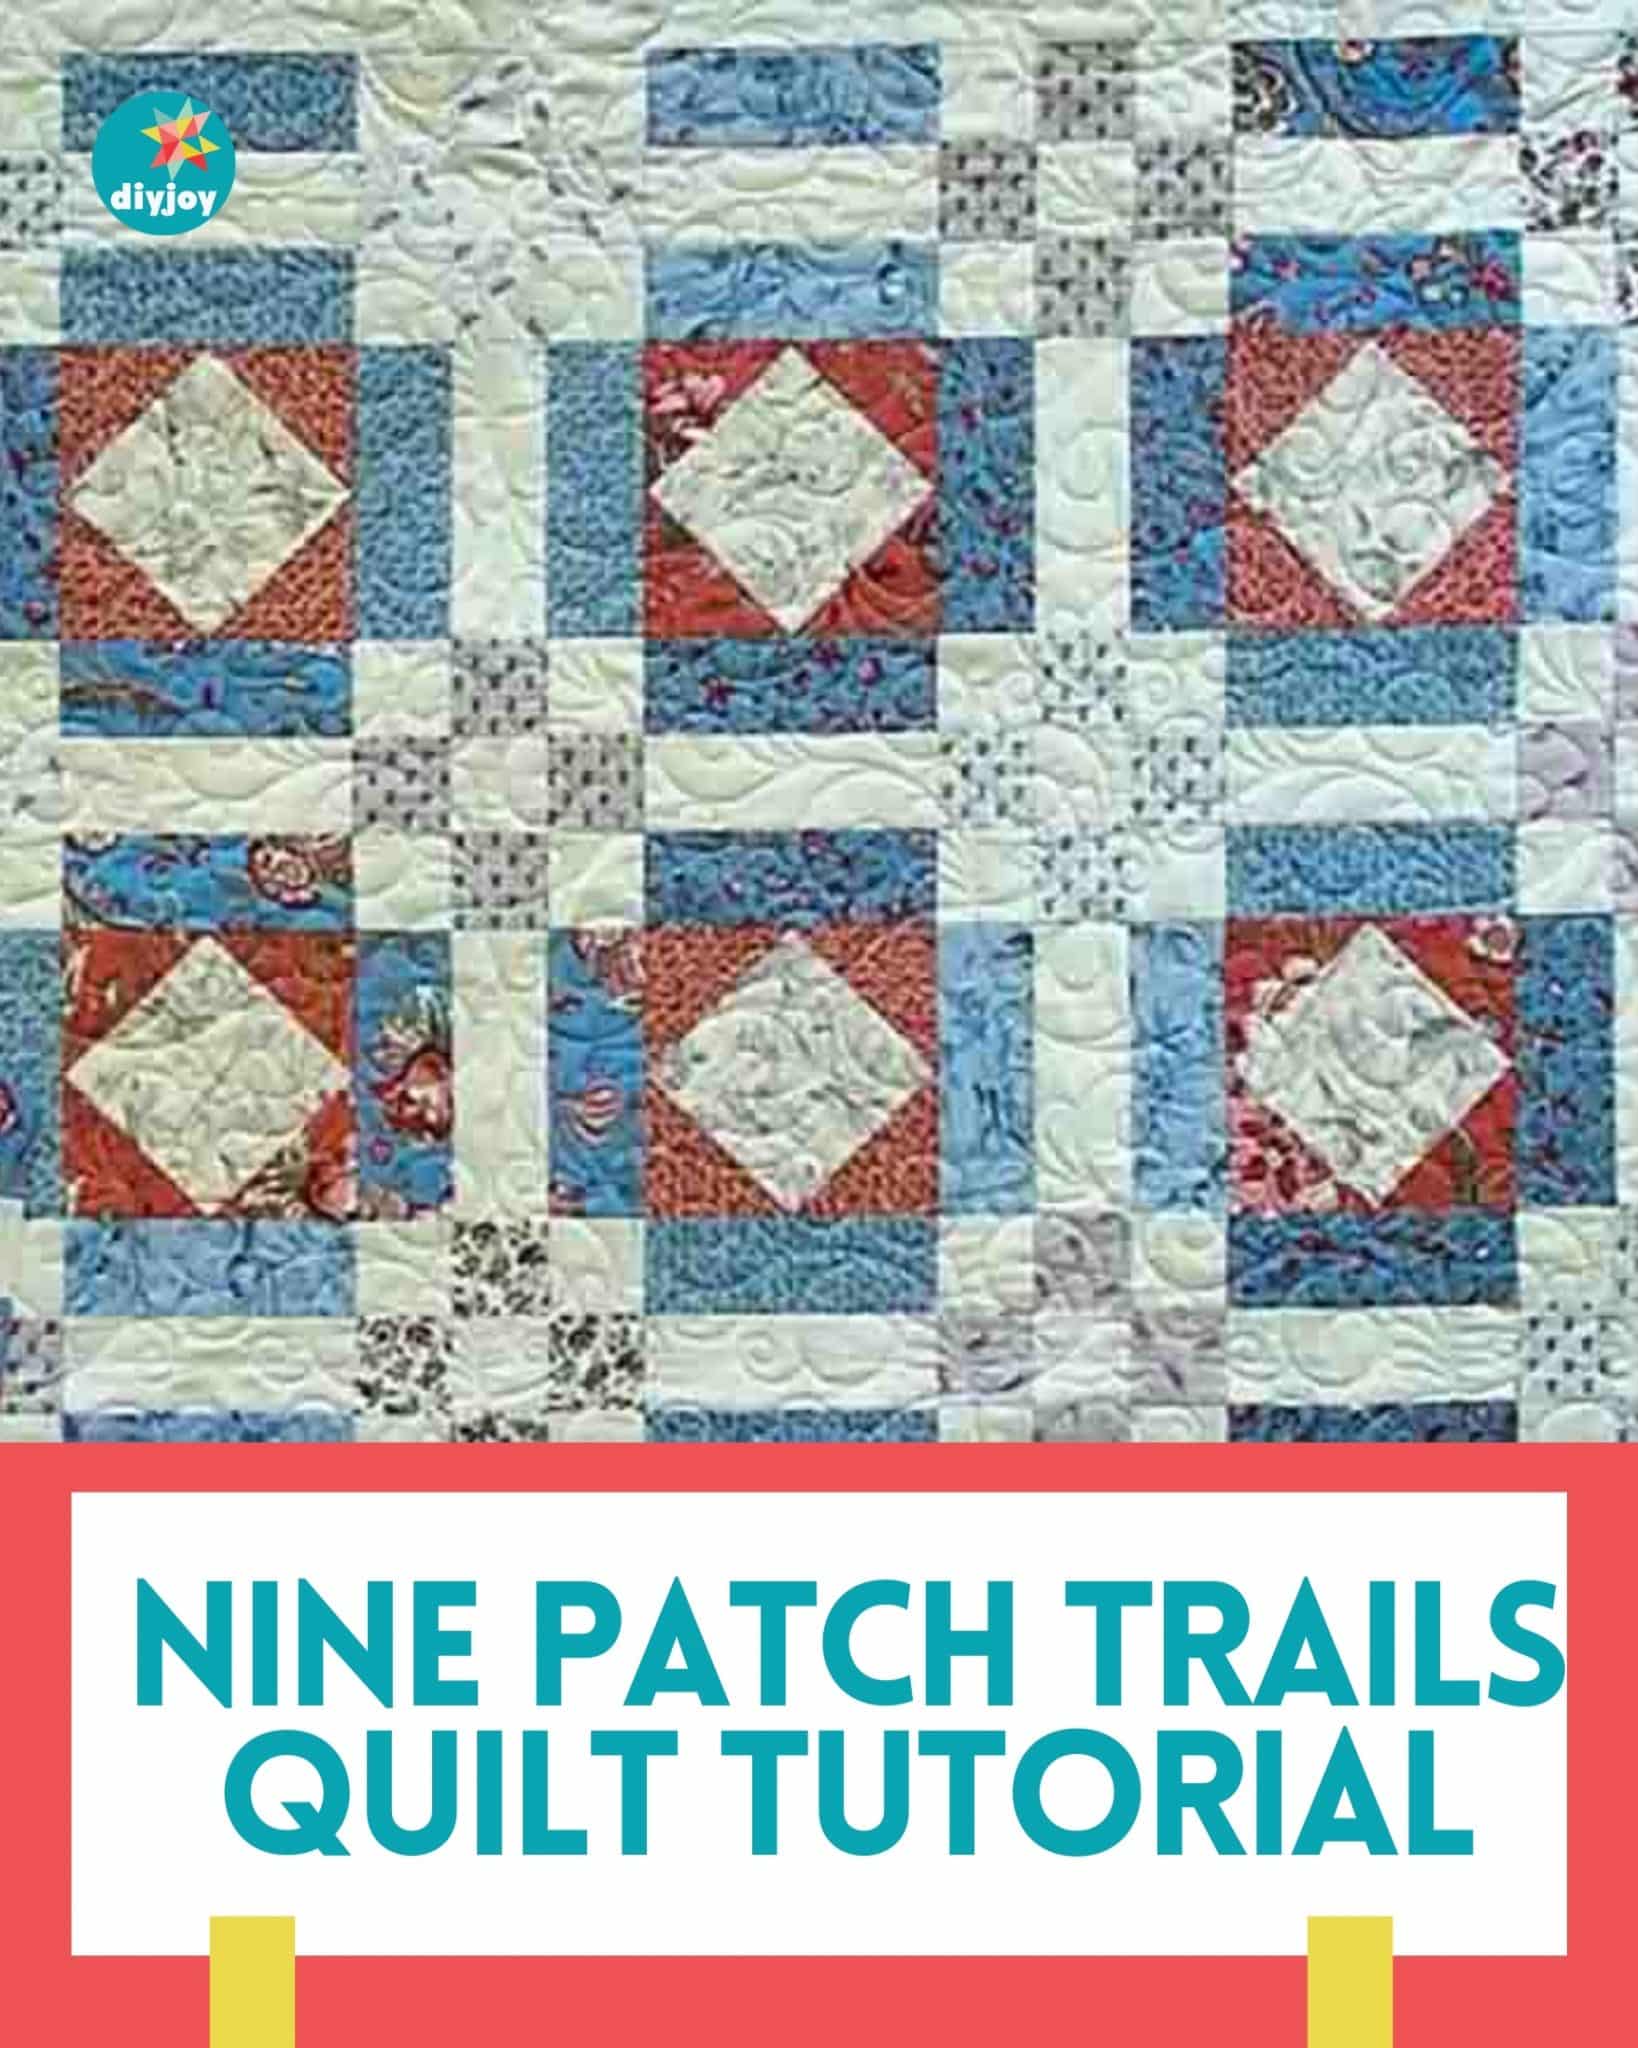
What sets this quilt project from Fat Quarter Shop apart from other quilting projects? The versatility of the nine-patch block serves as the foundation for countless quilt designs. It’s quick, easy, and just perfect if you’re just starting out as a quilter.
RELATED: The Nine Patch Shuffle Quilt Tutorial
Whether you’re a seasoned quilter looking to hone your skills or a novice eager to learn the art of patchwork, this tutorial offers a rewarding and enjoyable quilting experience for crafters of all levels. Watch the video tutorial below to learn the step by step instructions.
Materials:
- click here for the free pattern
2 1/2 yards background & inner borders
- 8 1/2″ x WOF strips (fabric A)
- 25 – 2 1/2″ x 20″ strips (fabric B)
- 7 – 2 1/2″ x WOF strips (fabric C)
five fat quarters
- 4 – 2 1/2″ x 20″ strips from each (20 total; fabric D)
4 – 1/2 yards rail fence blocks
- 4 – 2 1/2″ WOF strips from each (16 total; fabric E)
2 – 5/8 yards square in a square block corners
- 32 – 3 1/2″ squares from each (64 total; fabric F)
1 5/8 yards square in a square block corners & outer borders
- 16 – 6 1/2″ squares (fabric G)
- 7 – 4 1/2″ WOF strips (fabric H)
3/4 yard binding
- 8 – 2 1/2″ x WOF strips (fabric I)
4 1/4 yards backing
Directions:
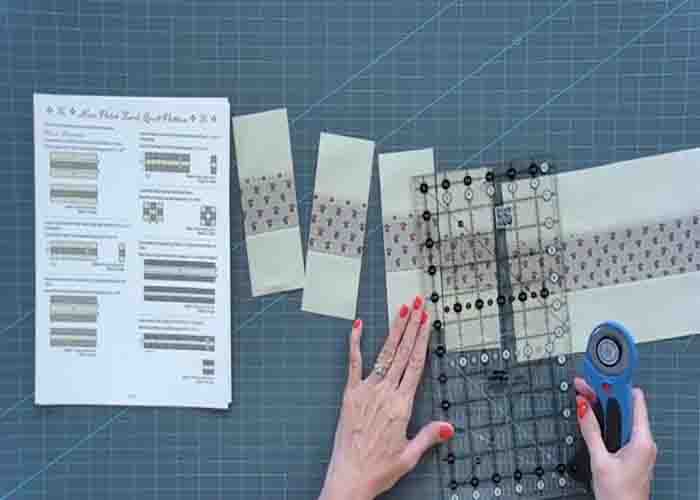
Step 1
To start, cut all the fabric requirements and label them accordingly. Next, make some nine-patch blocks. Take two fabric Bs and a fabric C, lay them out horizontally with the fabric C in the middle, and sew them together. Make two of these, then subcut them into 2 1/2″ increments (you’ll only need five from each piece.) For the inner nine-patch unit, lay two fabric Ds with a fabric B in the middle horizontally, sew them together, then press. Make five from each print. After this, subcut into 2 1/2″ increments (you’ll also only need five from each piece.) Now, put together the inner and the outer units. Take two of the outer units, then one of the inner units, sew these together, then press. Make five from each of the prints.
Step 2
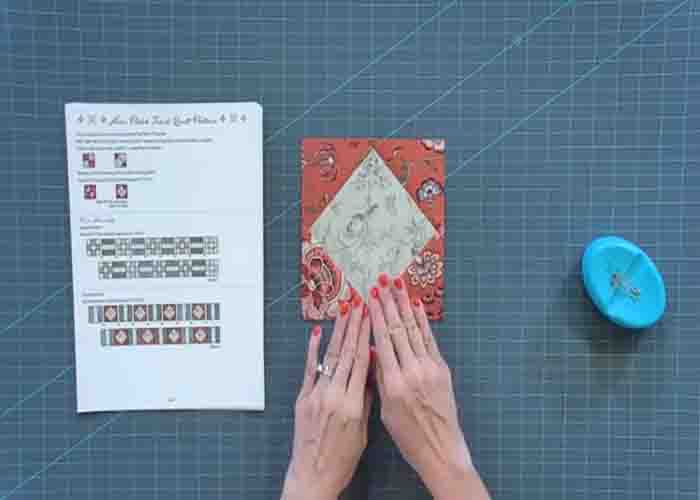
Moving on to the rail fence block. Lay two fabric Es with a fabric A in the middle horizontally. Sew these together and press. After this, subcut them into 6 1/2″ squares. Make ten from each print and this will be your rail fence block. Now, for the square in square block, take a fabric G and four fabric Fs. Line the two fabric Fs on opposing corners, right sides down. Stitch directly on the line, trim a 1/4″ away, and press. Add the remaining squares on the remaining opposing corners and just repeat the process. Make eight from each red print. Now, put the quilt top together.
Step 3
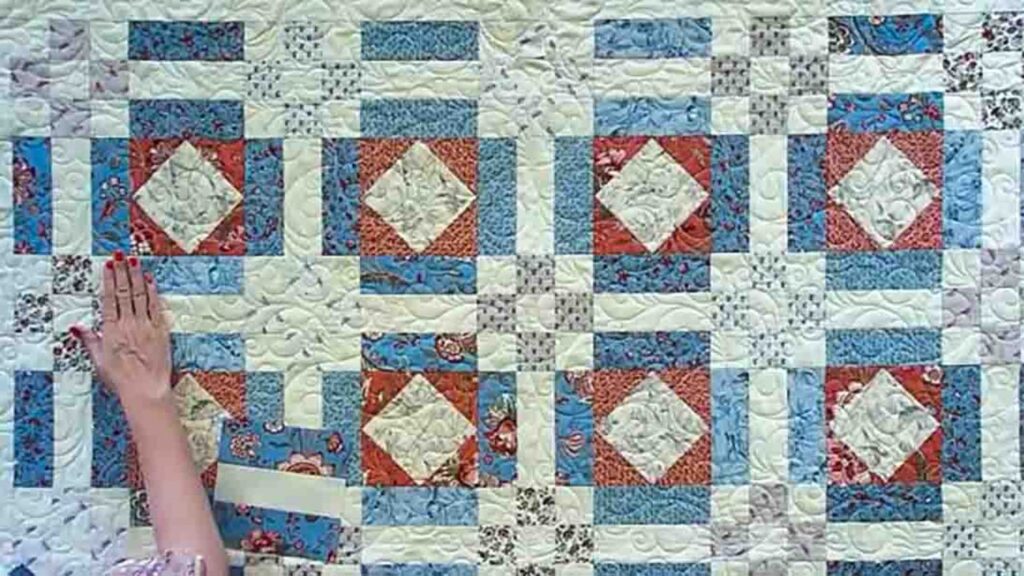
Make two different rows. Lay five nine-patch blocks with rail fence blocks in between. Make a total of five nine-patch rows. For the rail fence row, alternate rail fence blocks that are turned in the other direction and a square and a square block. Put all those rows together to create the quilt top.
Nine Patch Trails Quilt Tutorial with Free Pattern