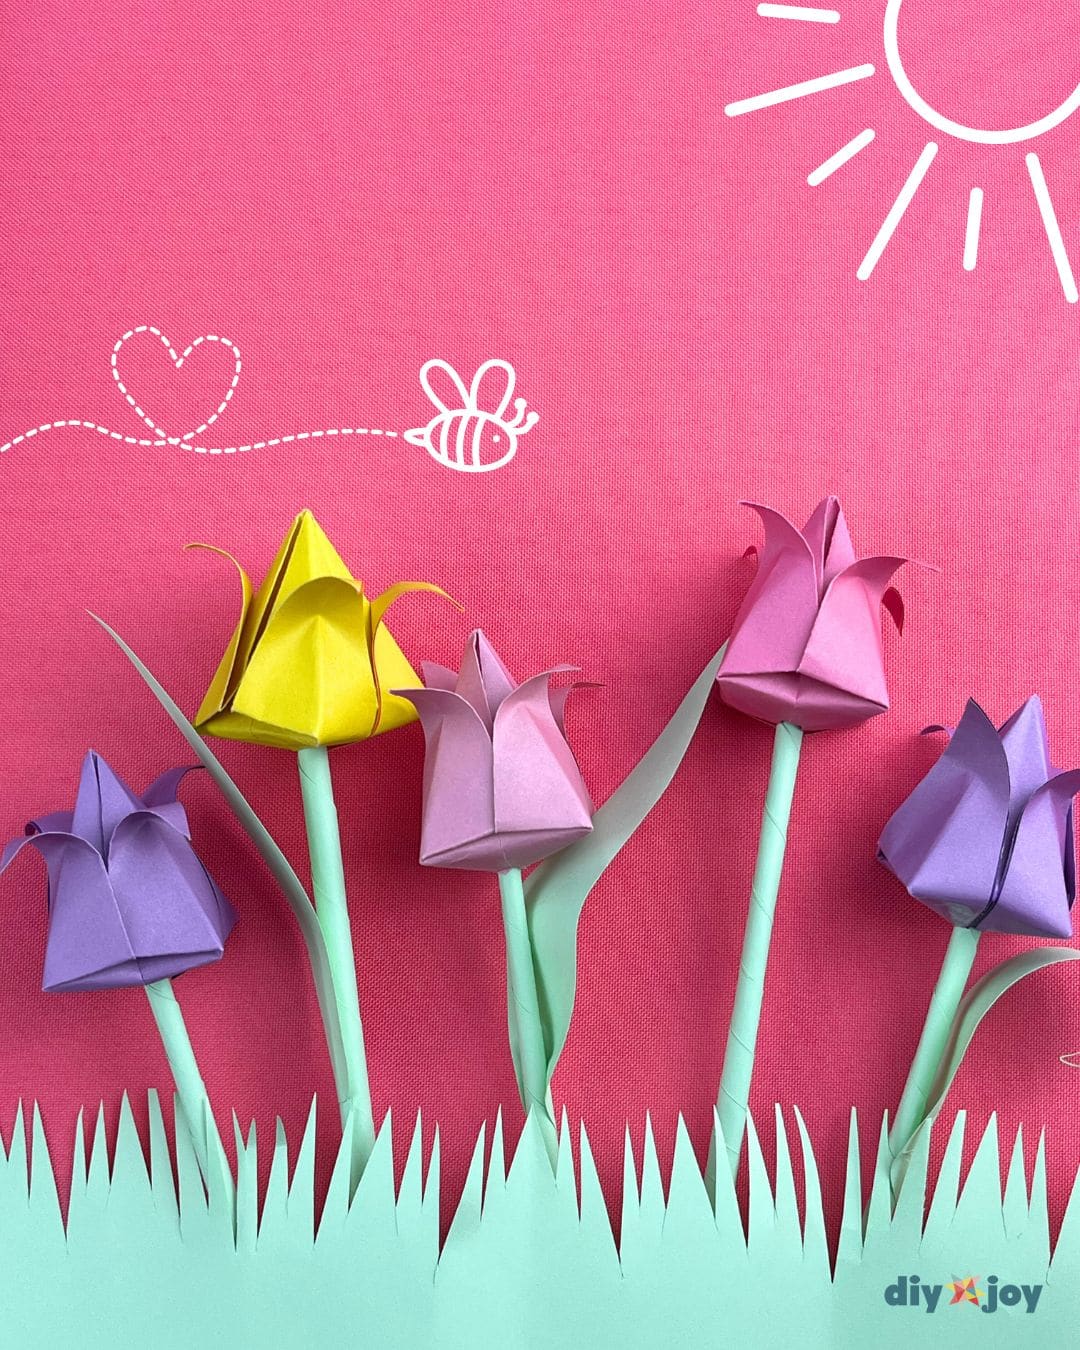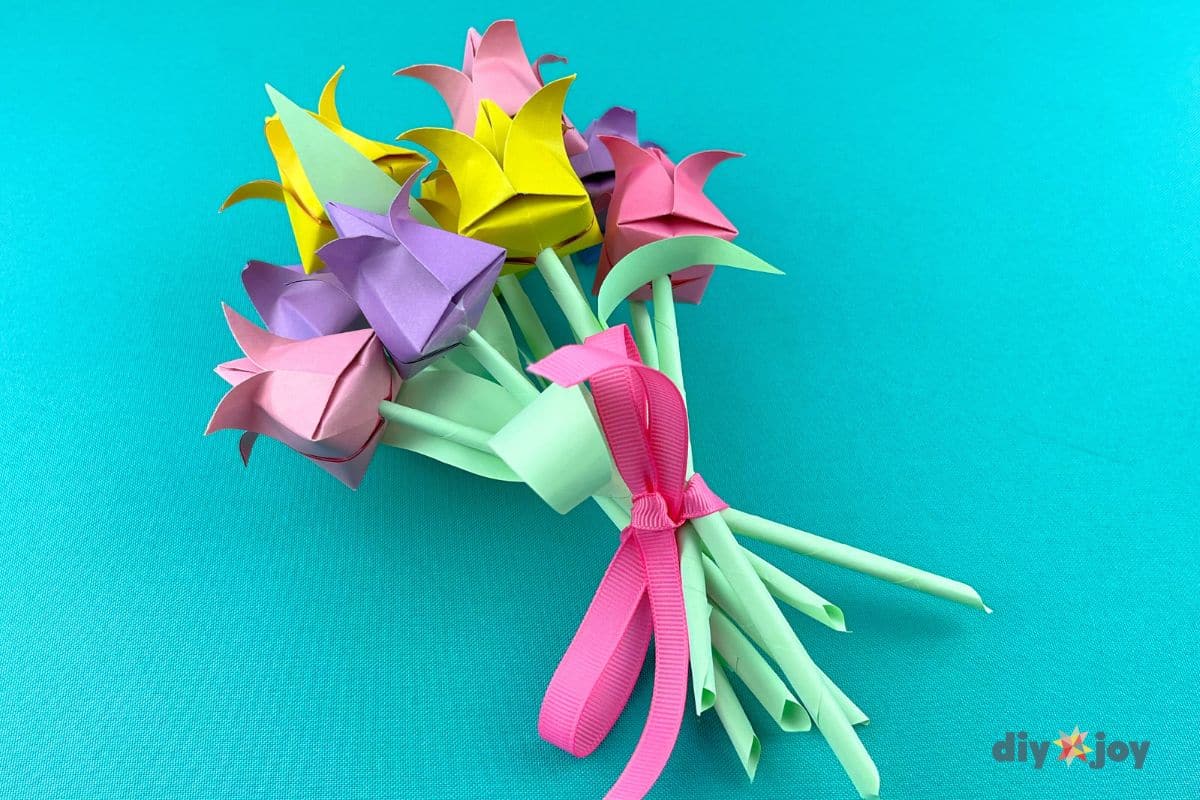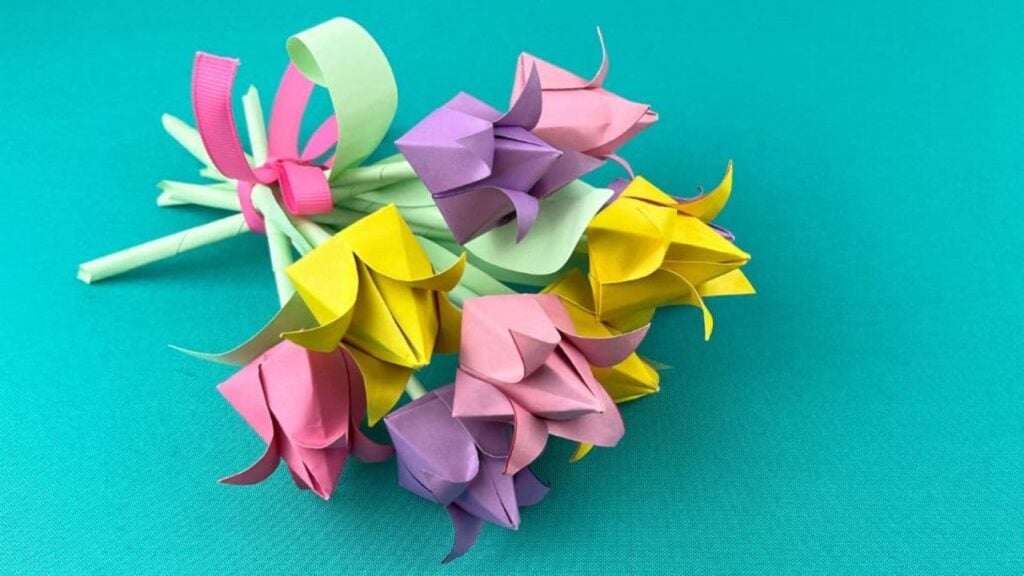
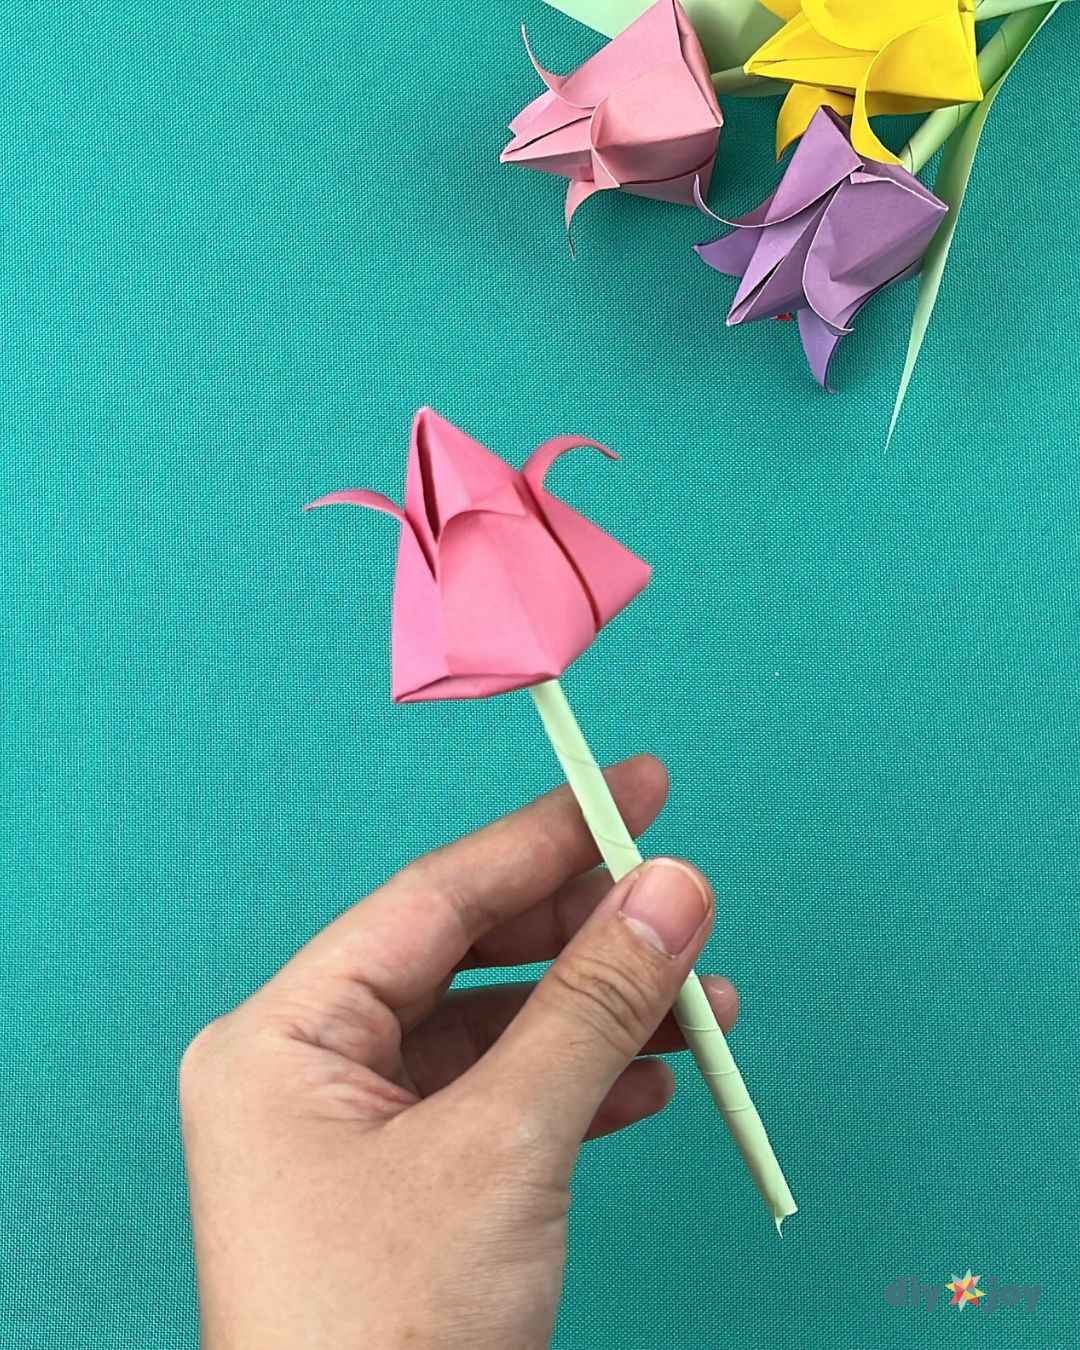
Spring is almost here, and soon, flowers will be blooming everywhere. If you’re looking for a fun spring craft that anyone can enjoy, try making this paper flower bouquet! It’s absolutely gorgeous and perfect for home decorations or handmade gifts for your loved ones. Follow my step-by-step YouTube video tutorial below to learn how to make paper tulips.
RELATED: How to Make An Origami Heart Bookmark
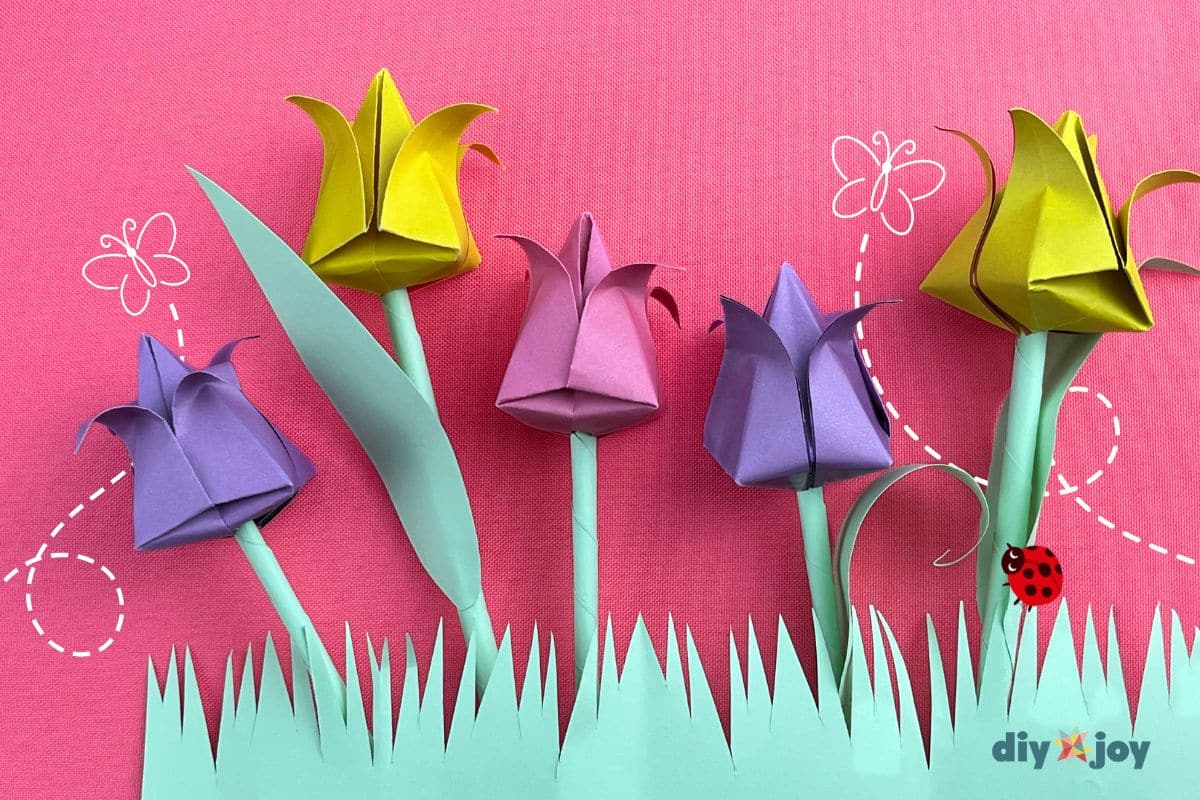
There are no complicated steps, making these paper flowers perfect for beginners! I bet you’ll have as much fun making these paper crafts as I did. It is a great way to pass the time and practice your creativity. Make a variety of DIY paper tulips in different colors to create a beautiful handmade paper flower bouquet.
What is Origami?
Origami, the Japanese art of paper folding, transforms simple sheets of paper into intricate and beautiful designs without the need for cutting or glue. For this particular paper tulip project, however, a small amount of glue and a pair of scissors will be necessary to attach the stems and leaves. Don’t worry–the process is straightforward and as easy as folding paper airplanes.
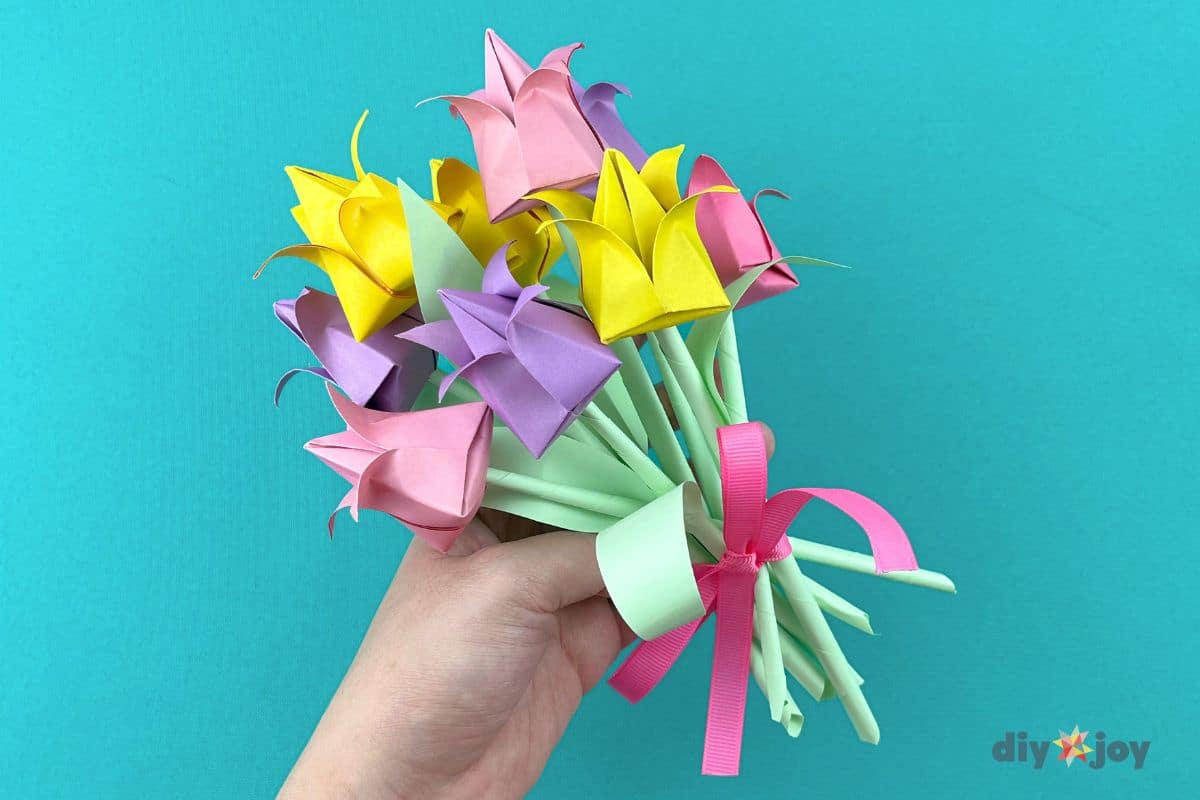
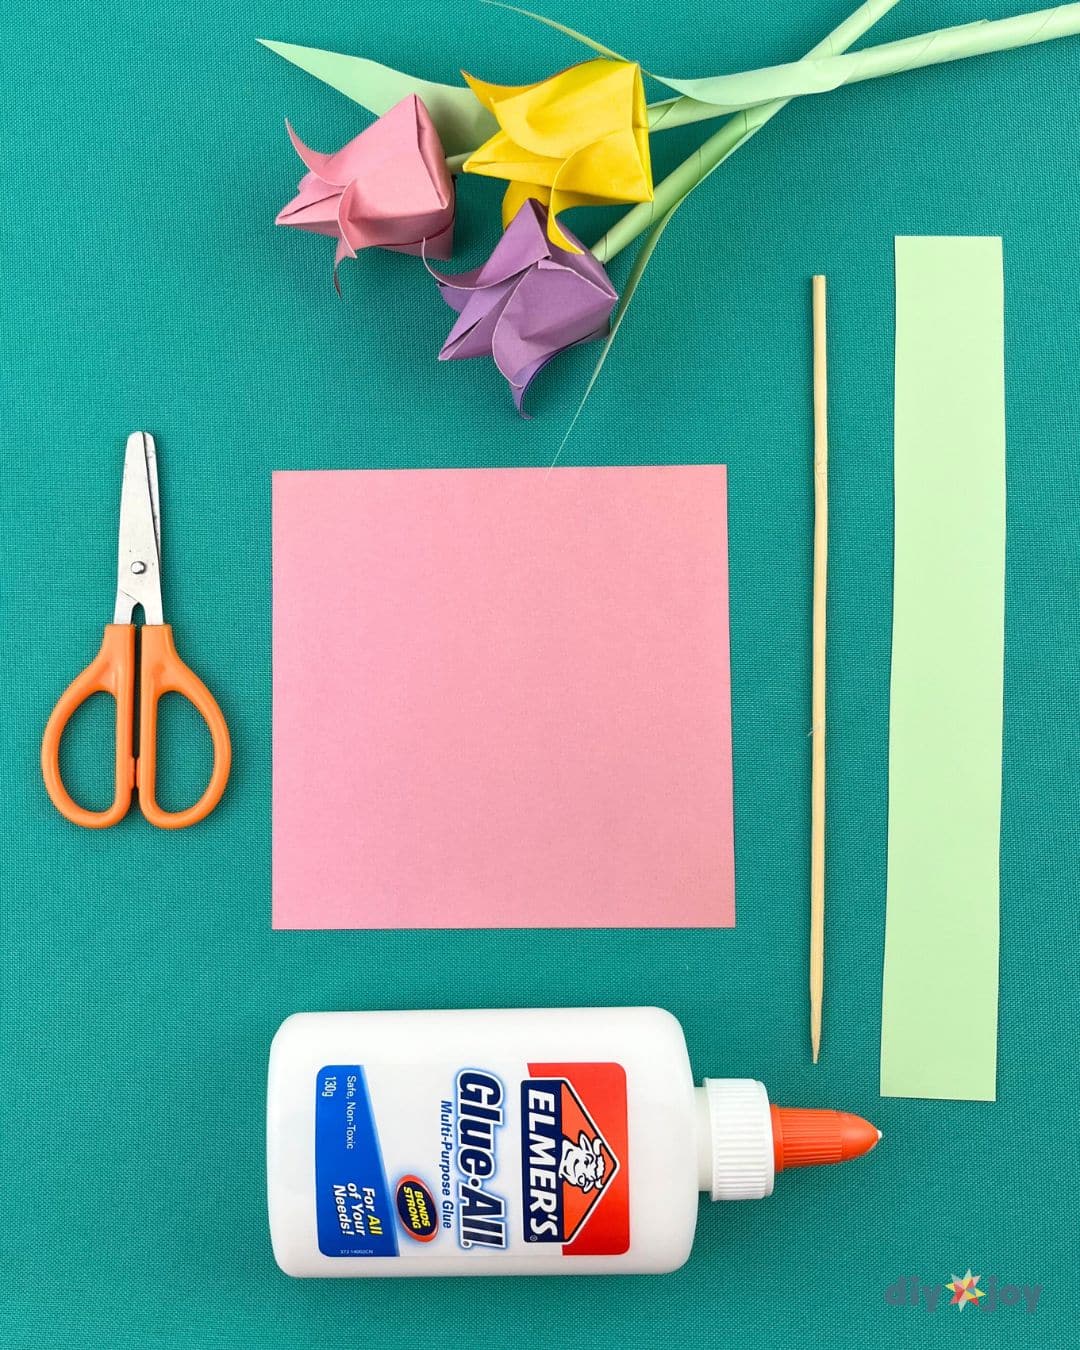
Materials for Paper Tulip
- origami paper
- green colored paper
- skewer
- scissors
- glue
- ribbon (optional)
Note: For a soft, gentle appearance that closely mimics the natural colors of real flowers, I recommend using pastel-colored paper.
How to Make Tulip Flowers Out of Paper
Step 1:
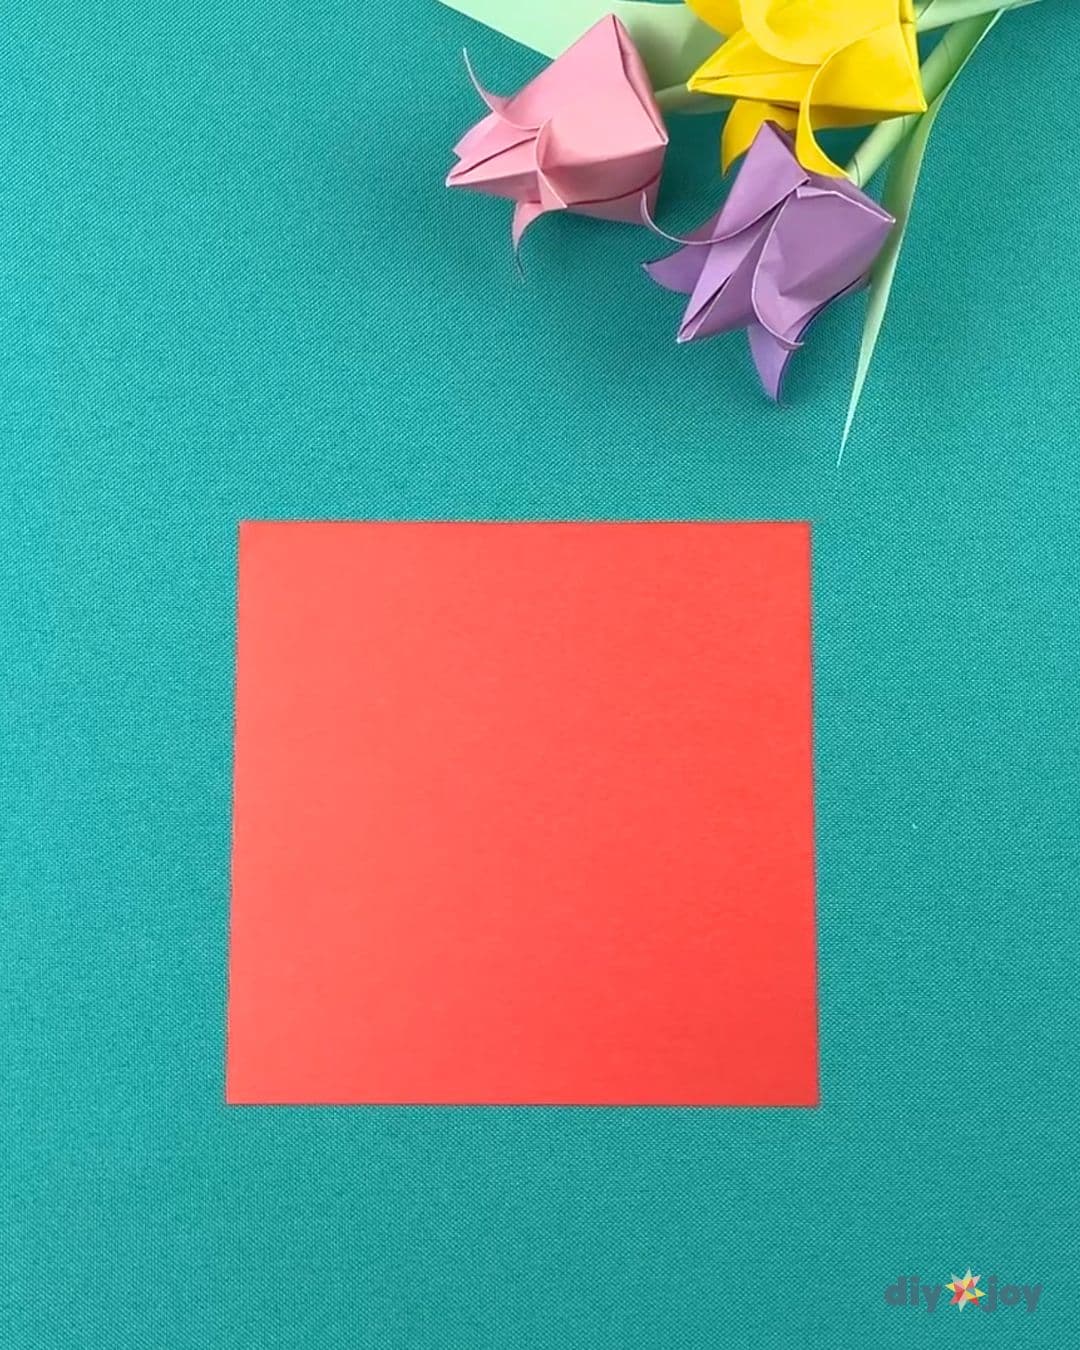
Place an origami paper on a flat surface.
Step 2:
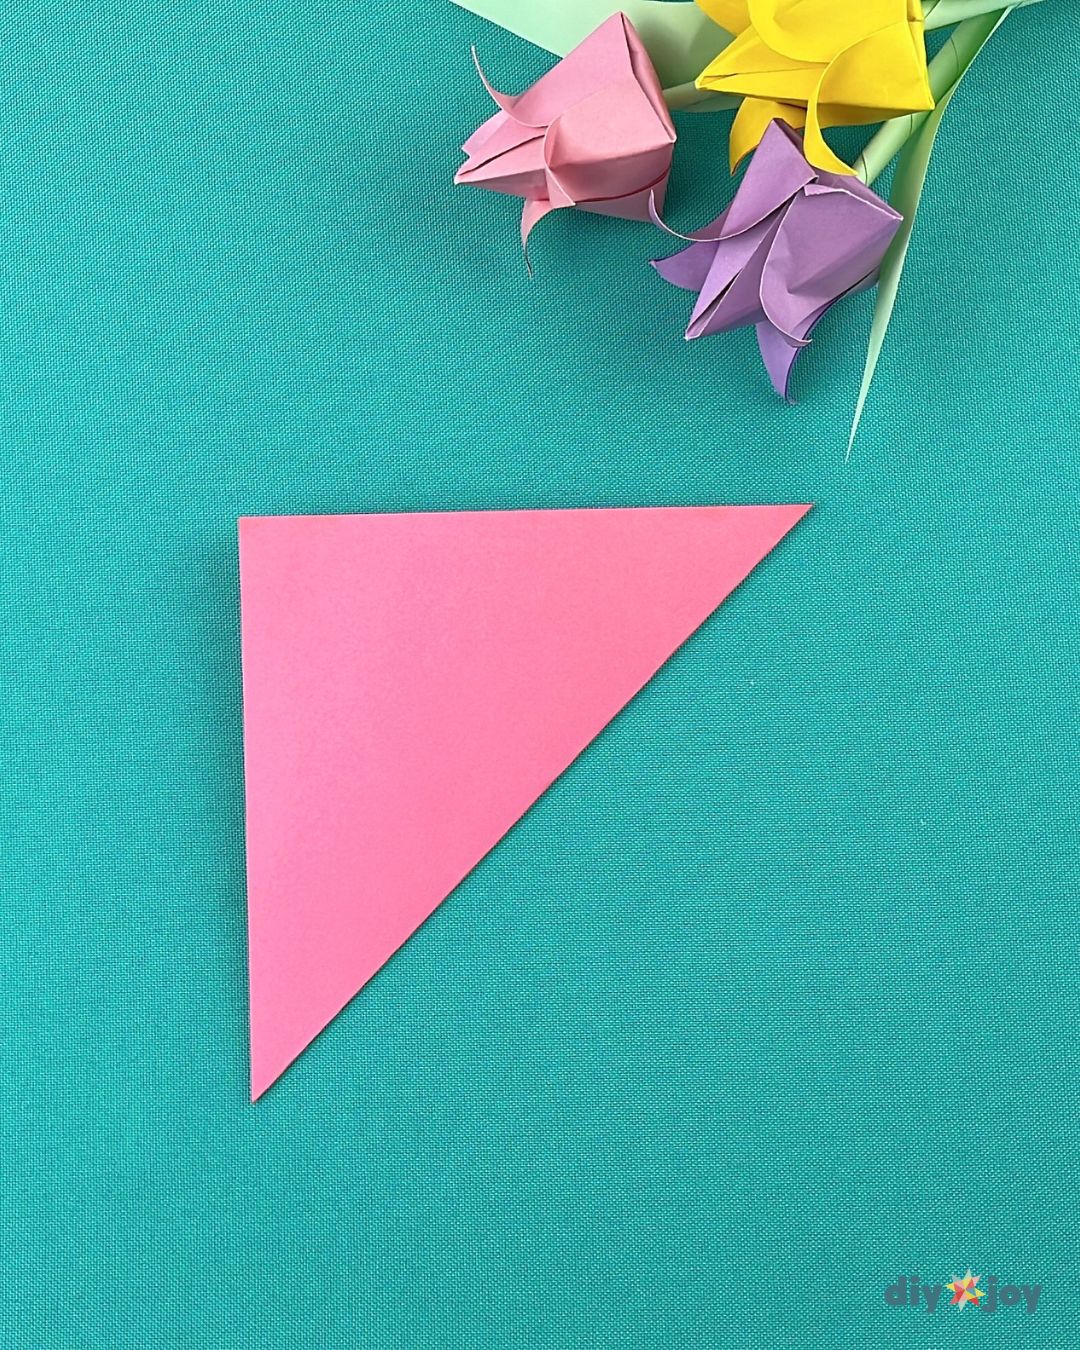
Fold it in half diagonally.
Step 3:
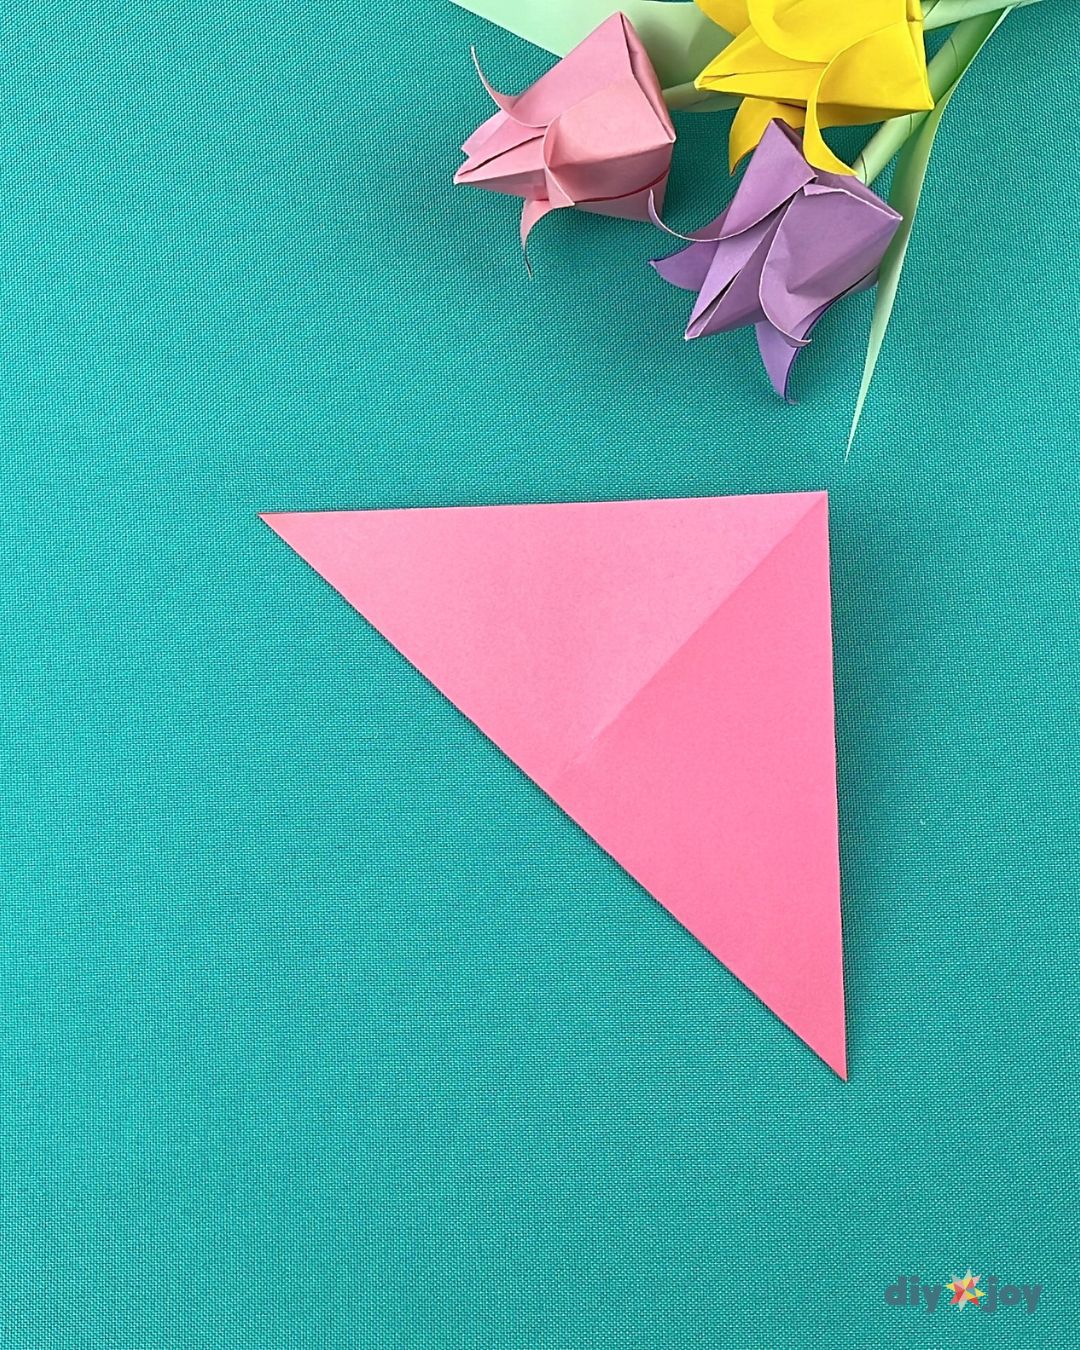
Unfold the paper, then fold it diagonally in the opposite direction.
Step 4:
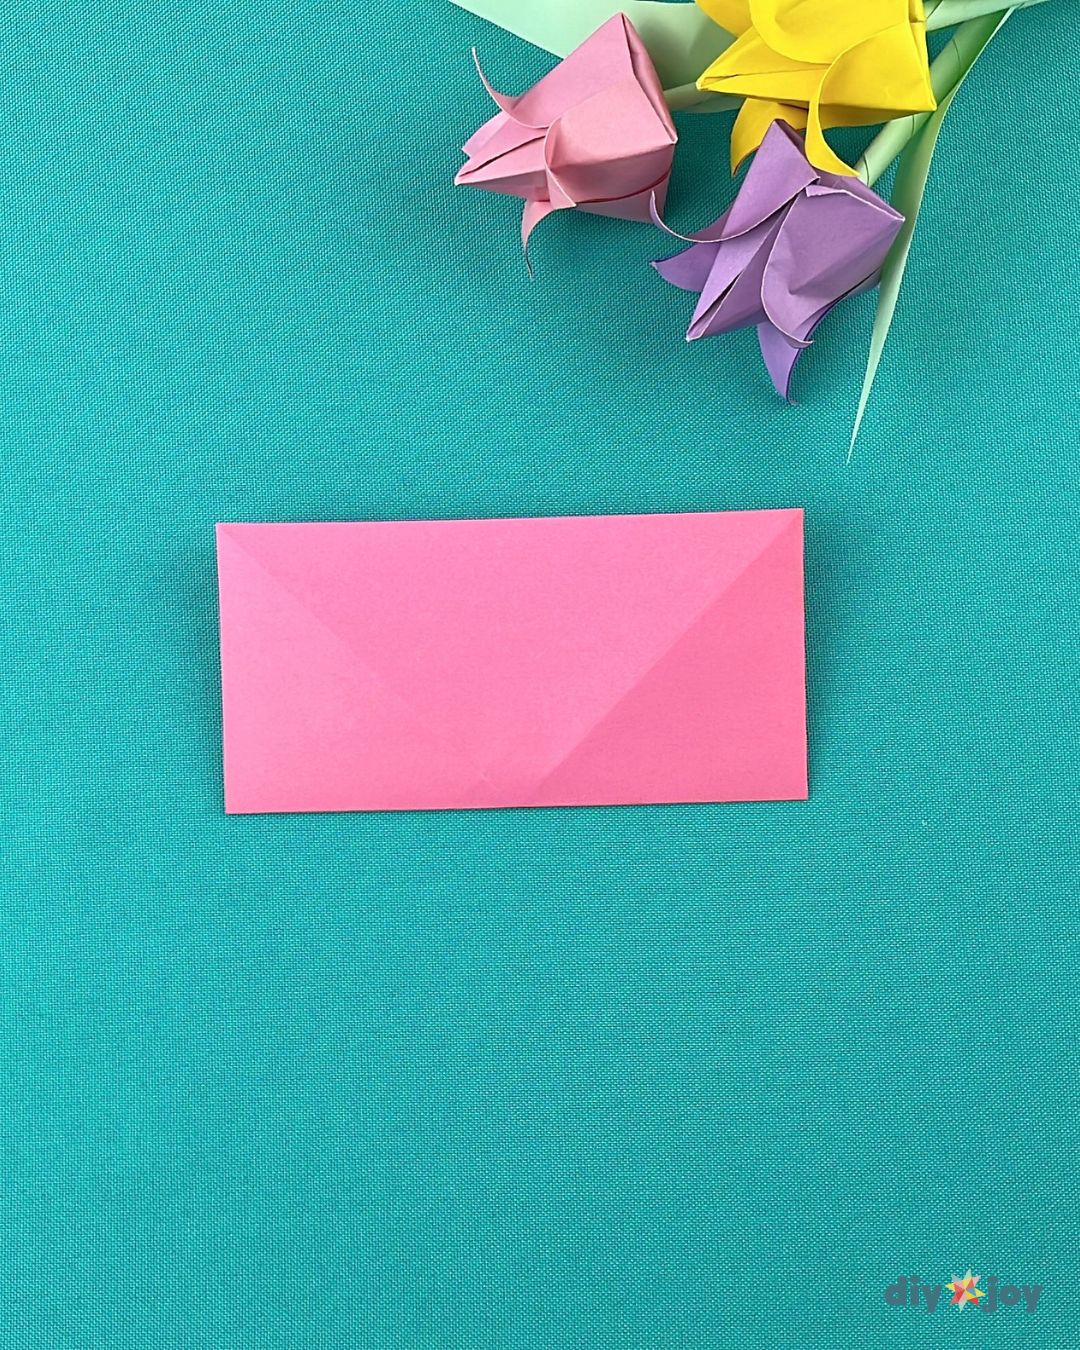
Unfold it, then fold it in half.
Step 5:
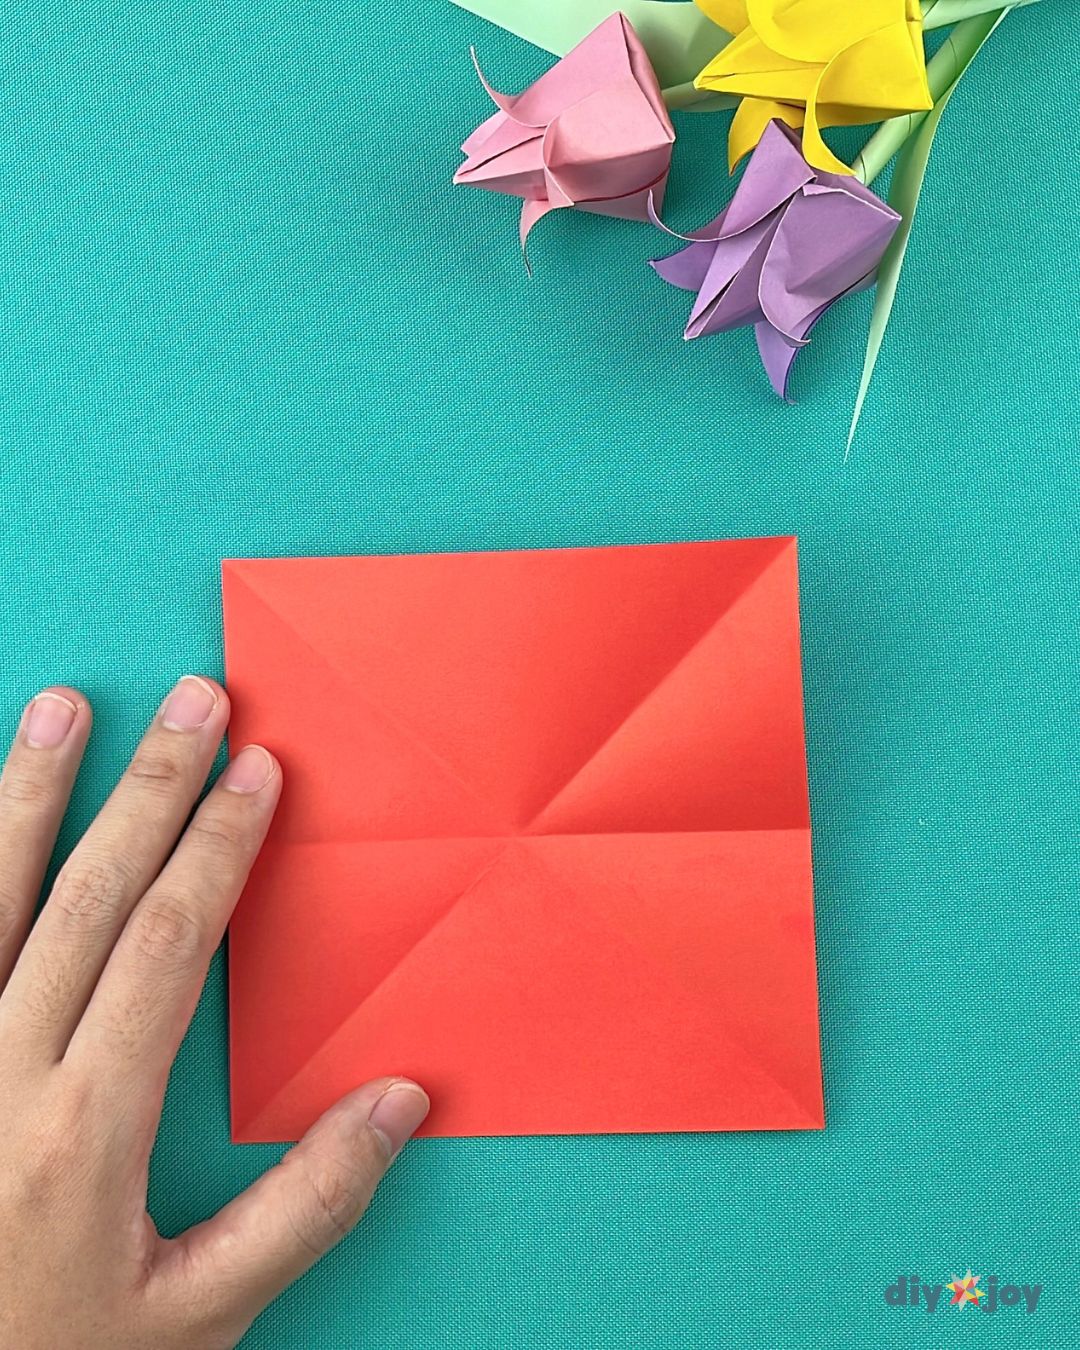
Open the paper. It should look like this.
Step 6:
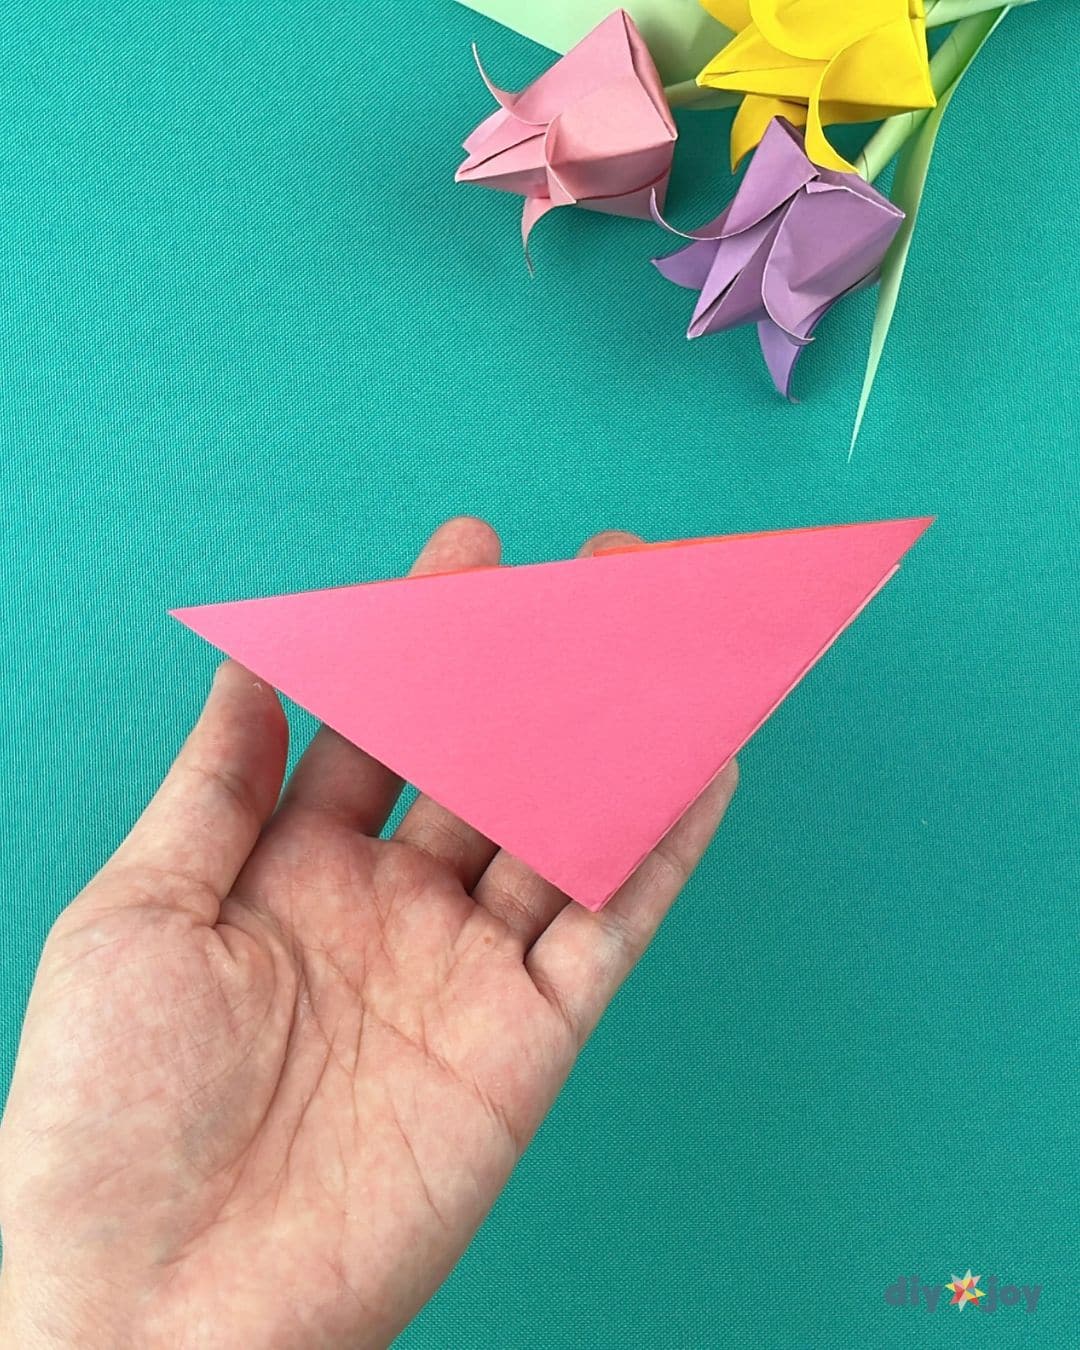
Fold the middle sides toward the center to create a triangle.
Step 7:
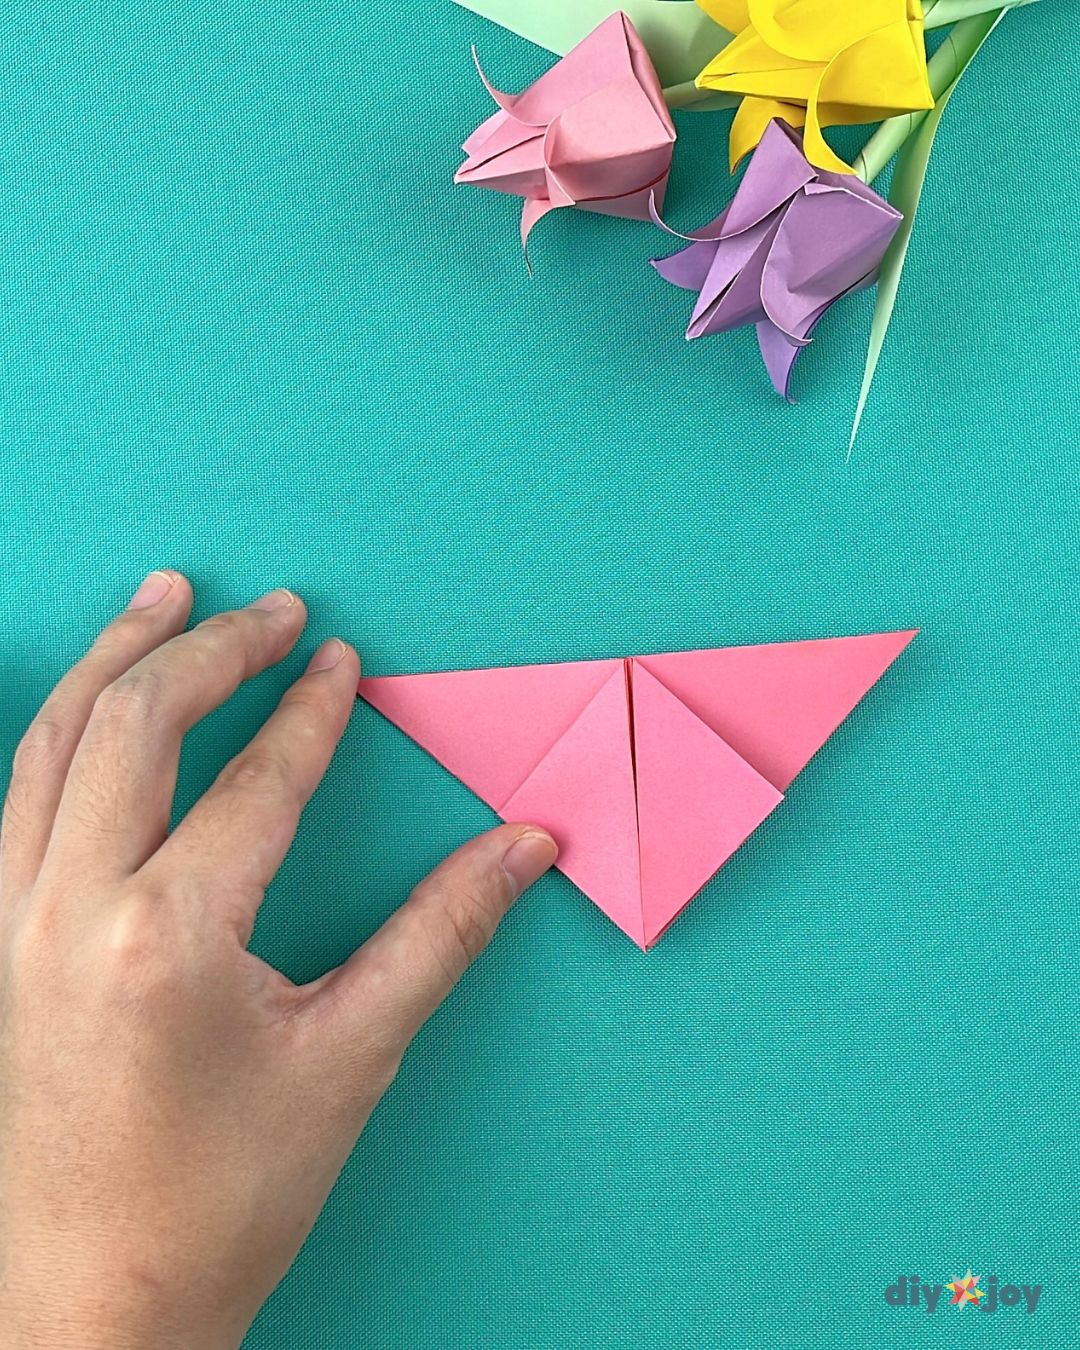
Fold the tips downwards.
Step 8:
Flip, then repeat step 7.
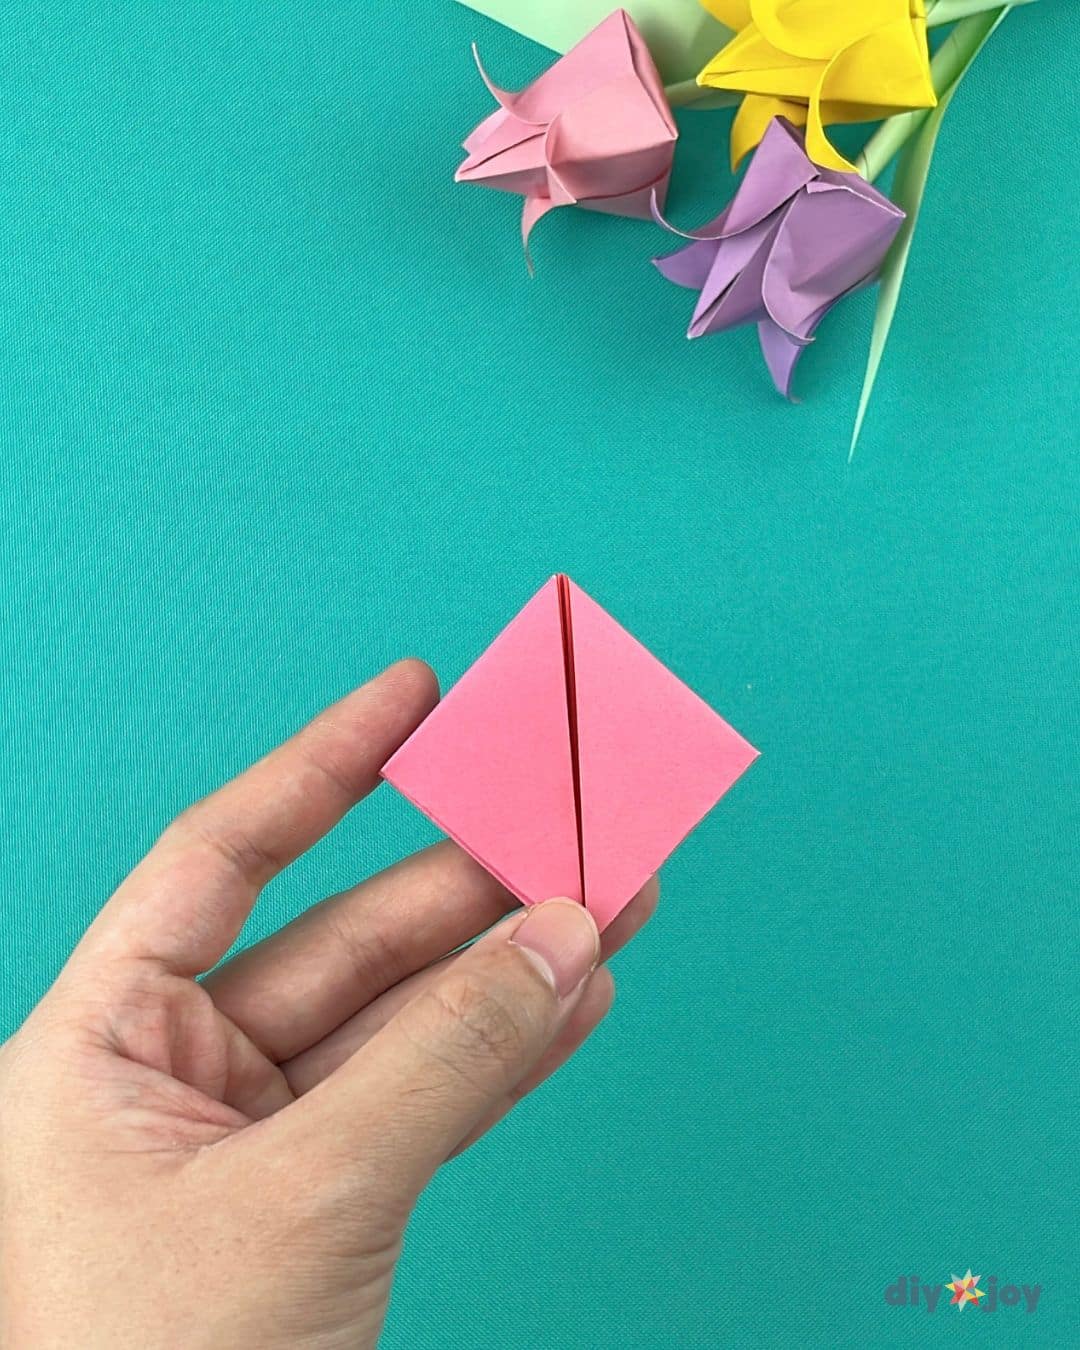
Step 9:
Flip the folds so that the flat sides are showing on both sides.
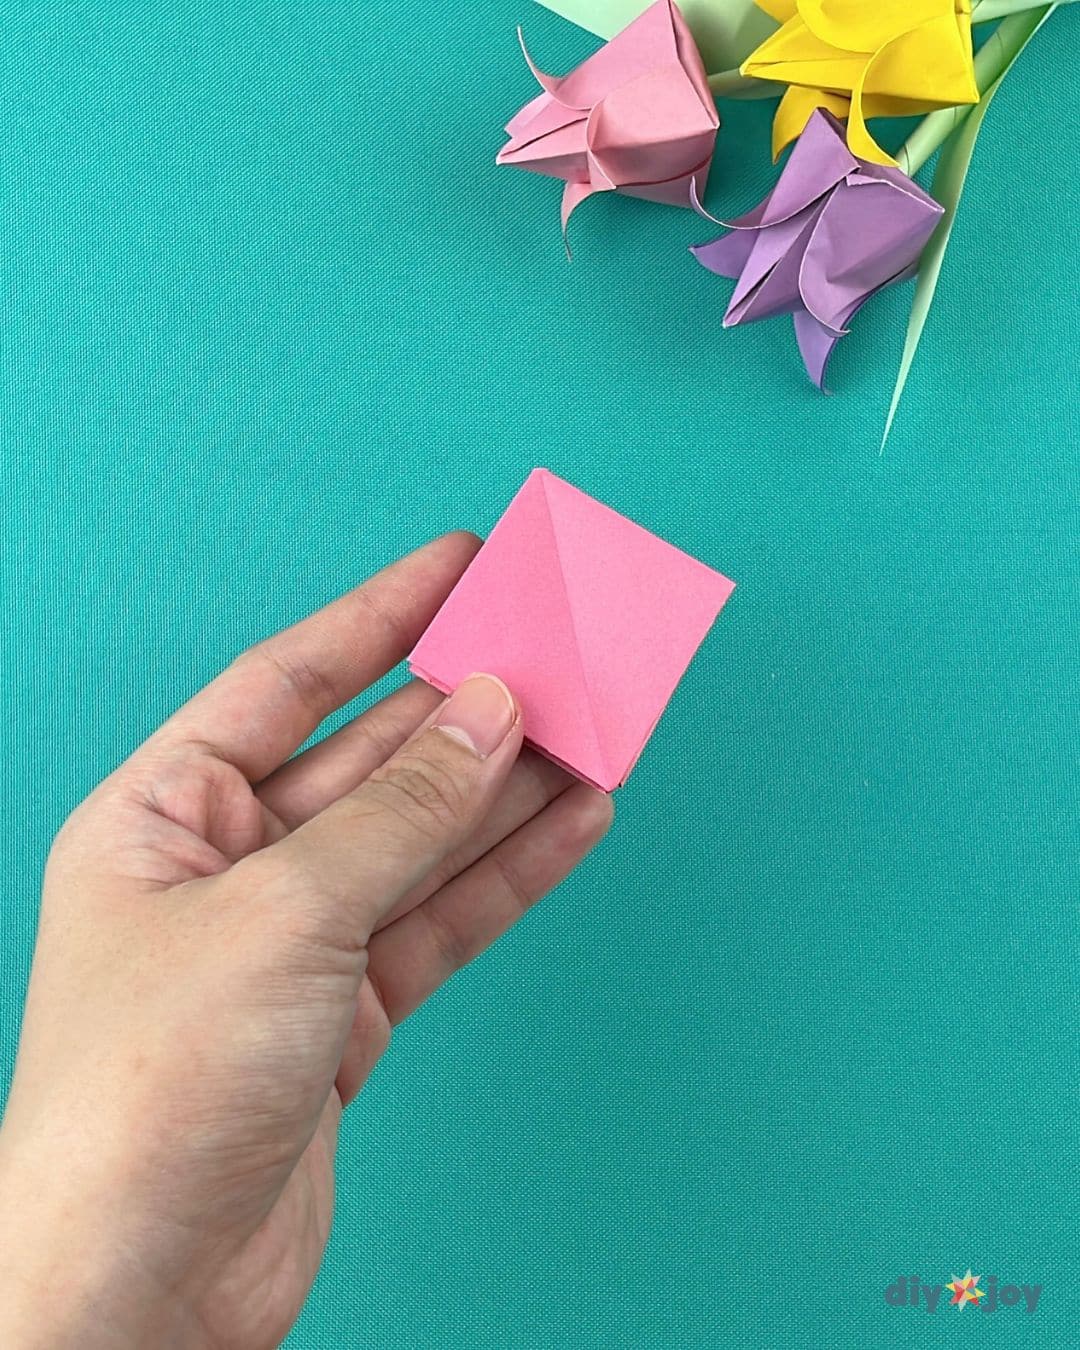
Step 10:
Fold the sides toward the middle as shown in the photo below. Make sure one side overlaps.
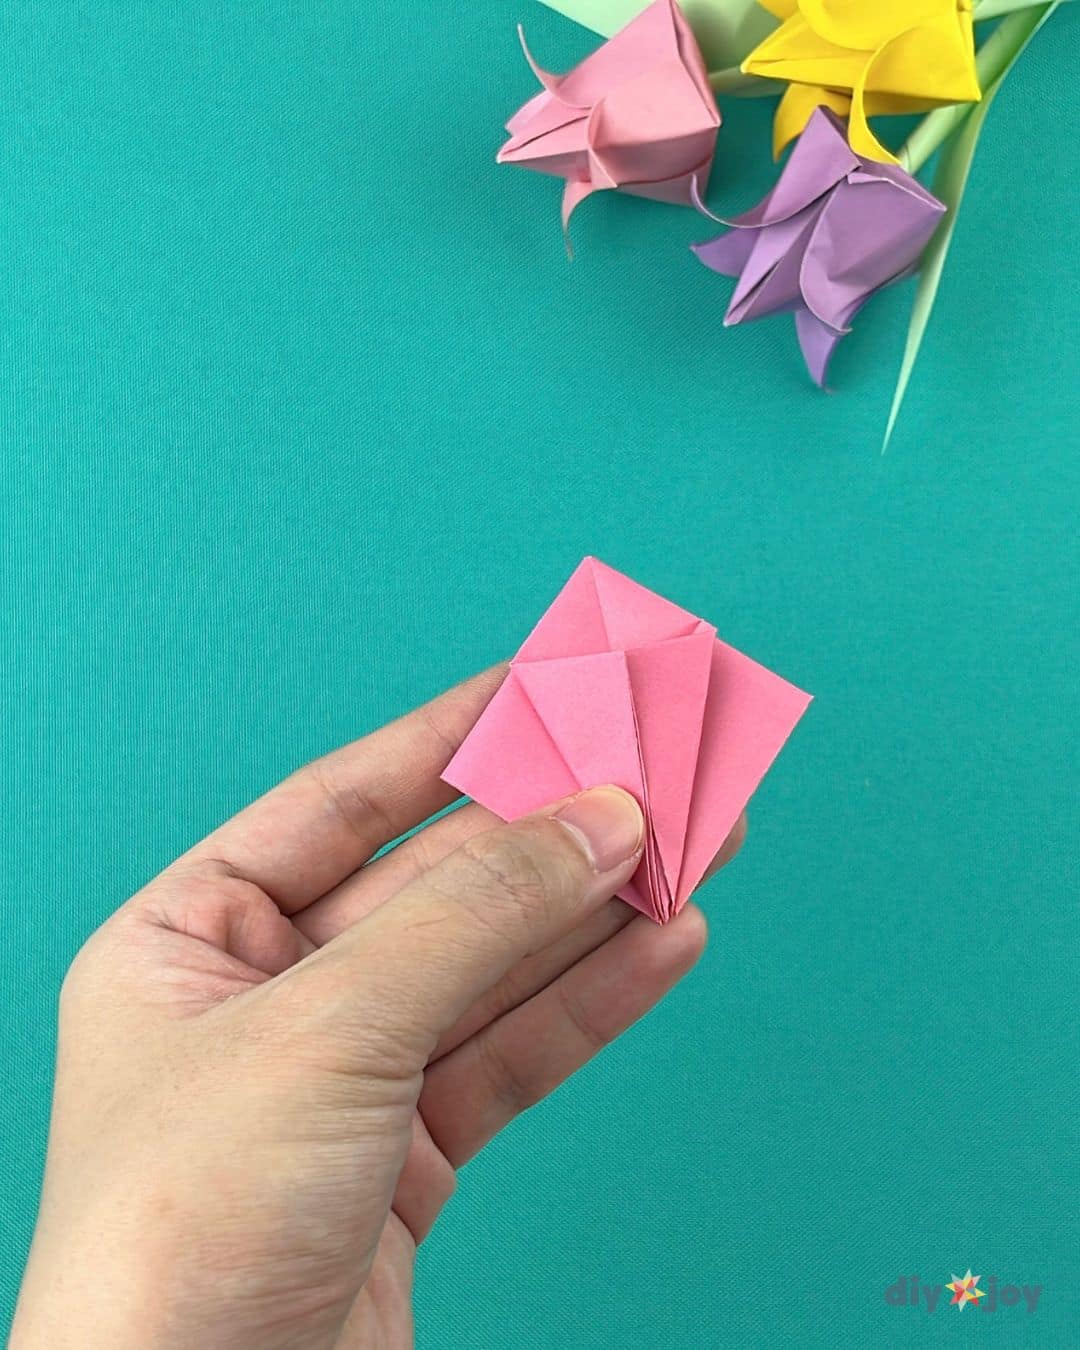
Step 11:
Flip and repeat. It should look like the photo below. Next, cut a very small portion of the tip of the smaller triangle. Make sure it’s not too big or too small.
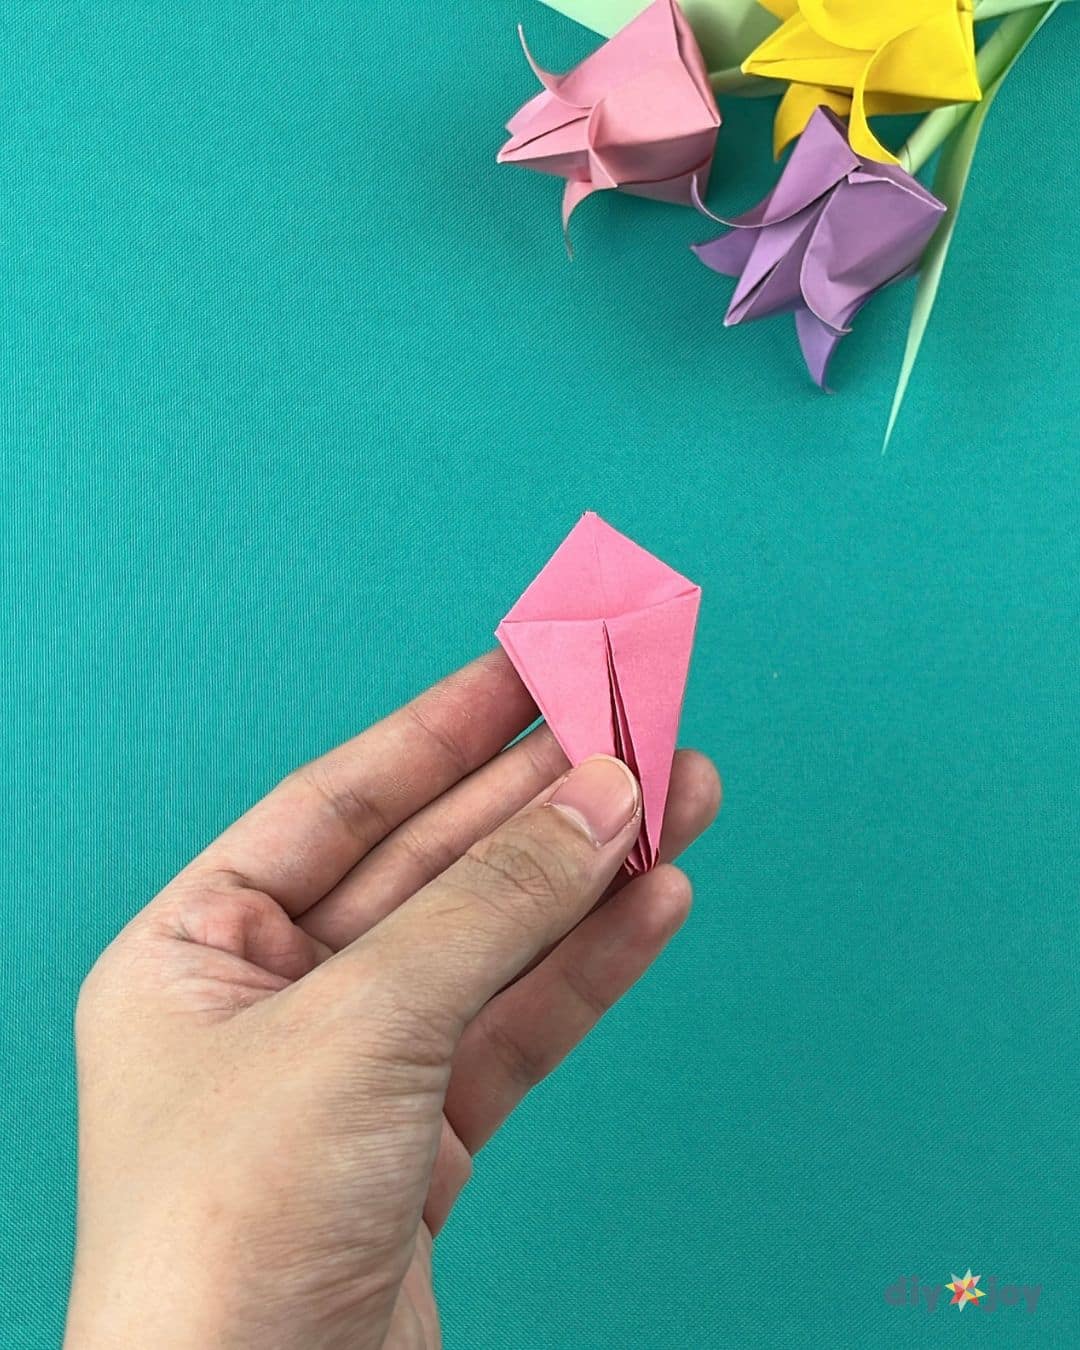
Step 12:
Blow air through the hole.
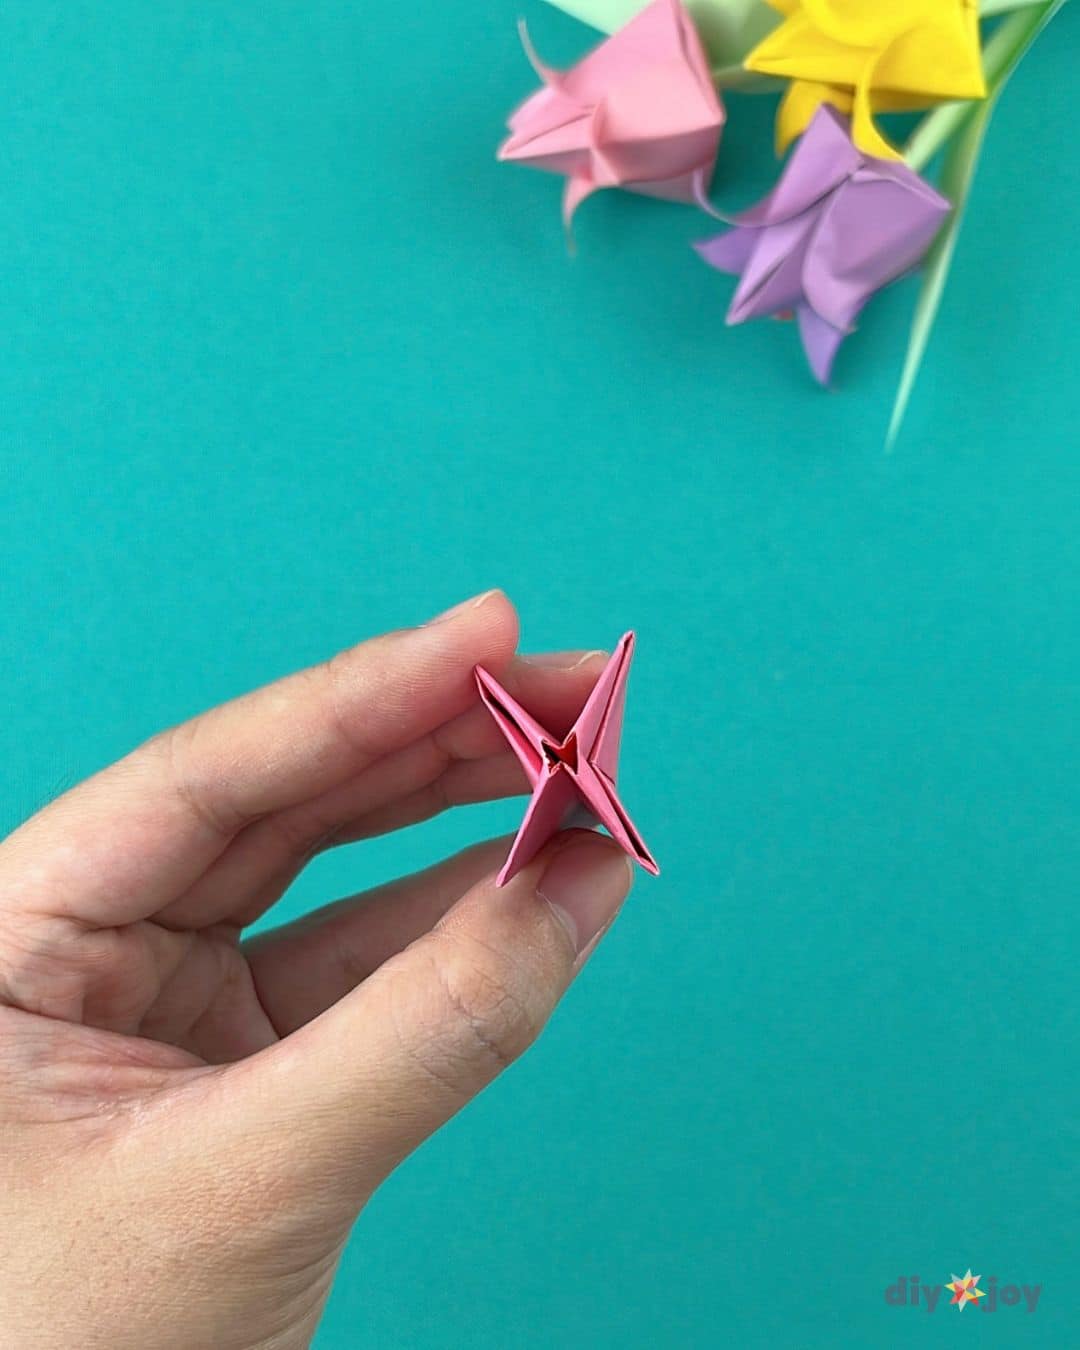
Step 13:
Gently fold the bottom edges.
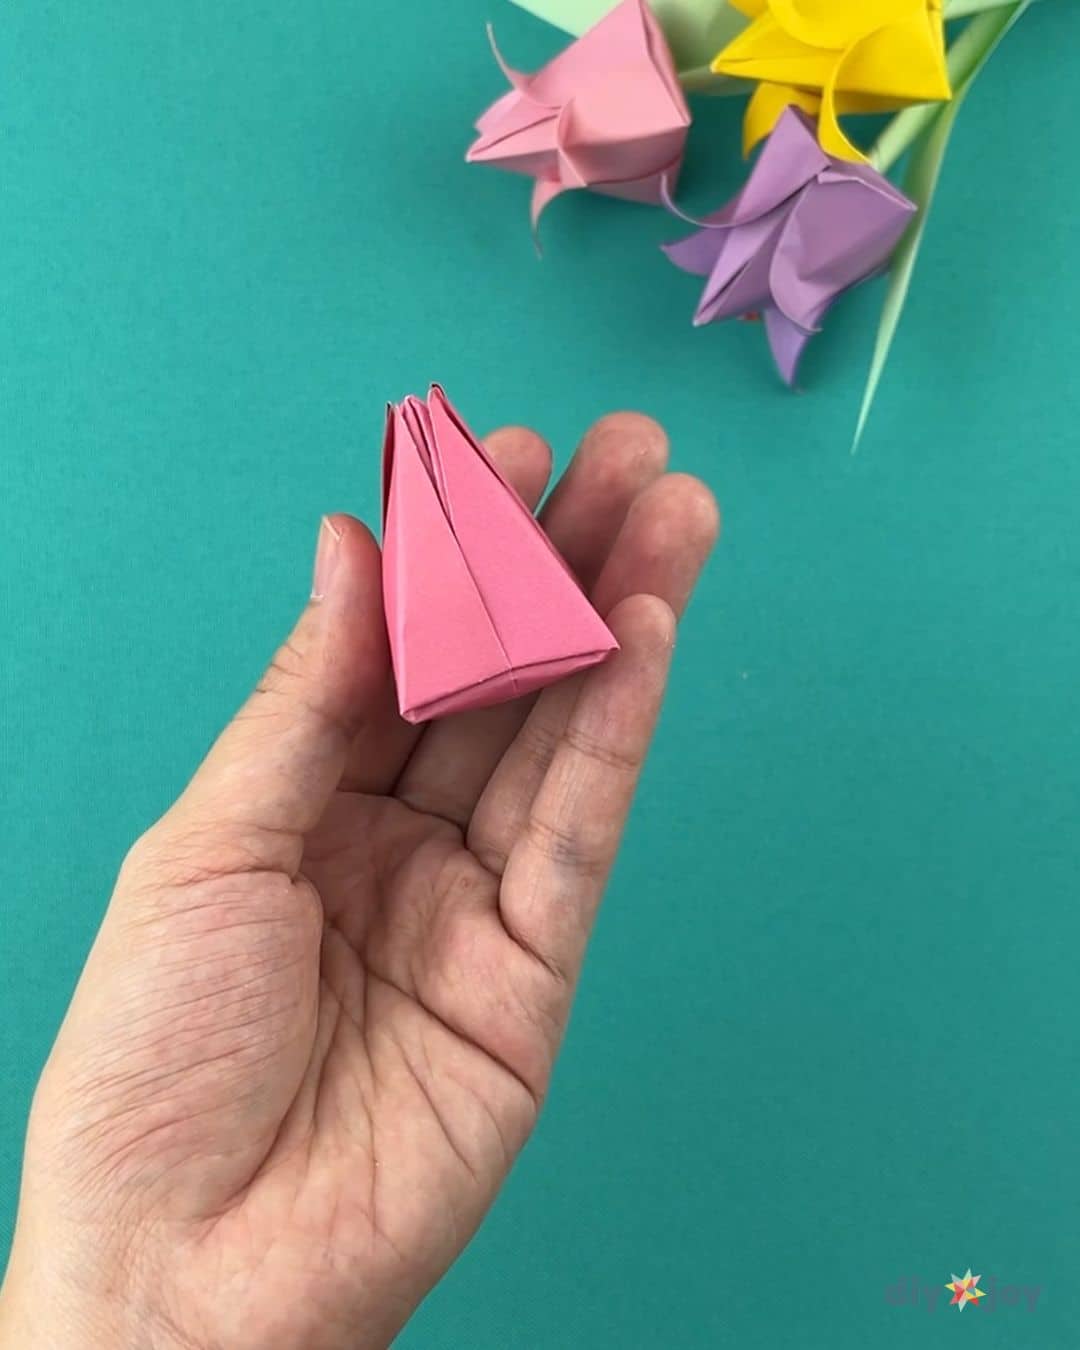
Step 14:
Gently curl the petals. Use a skewer to curl the tips.
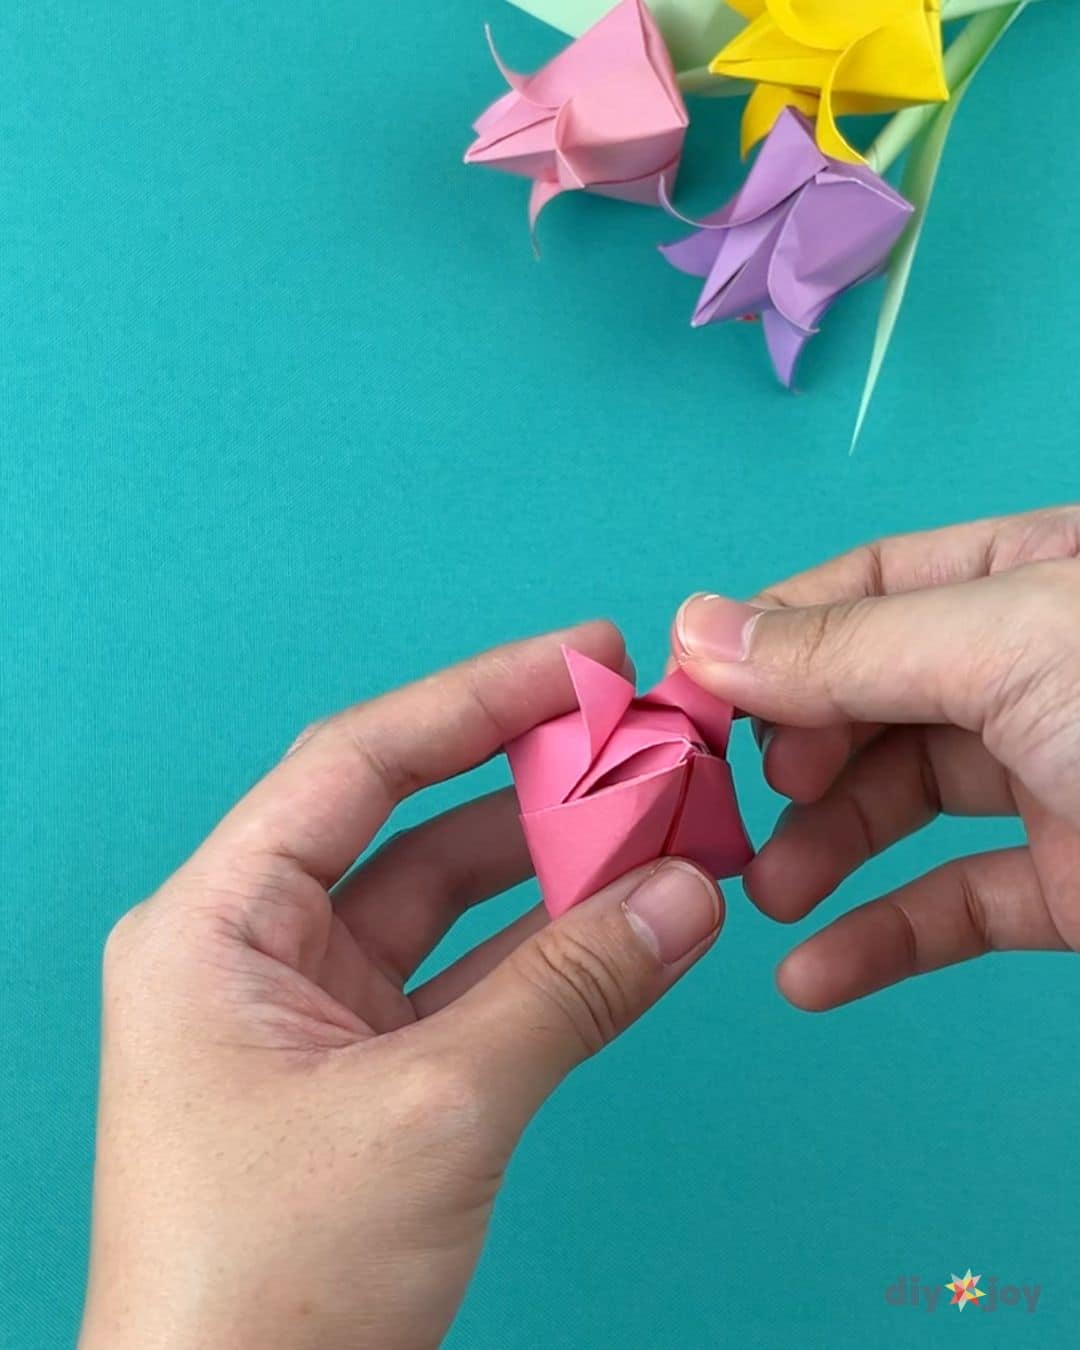
Step 15:
Make the stem by rolling the green paper strip around a skewer. Glue the end.
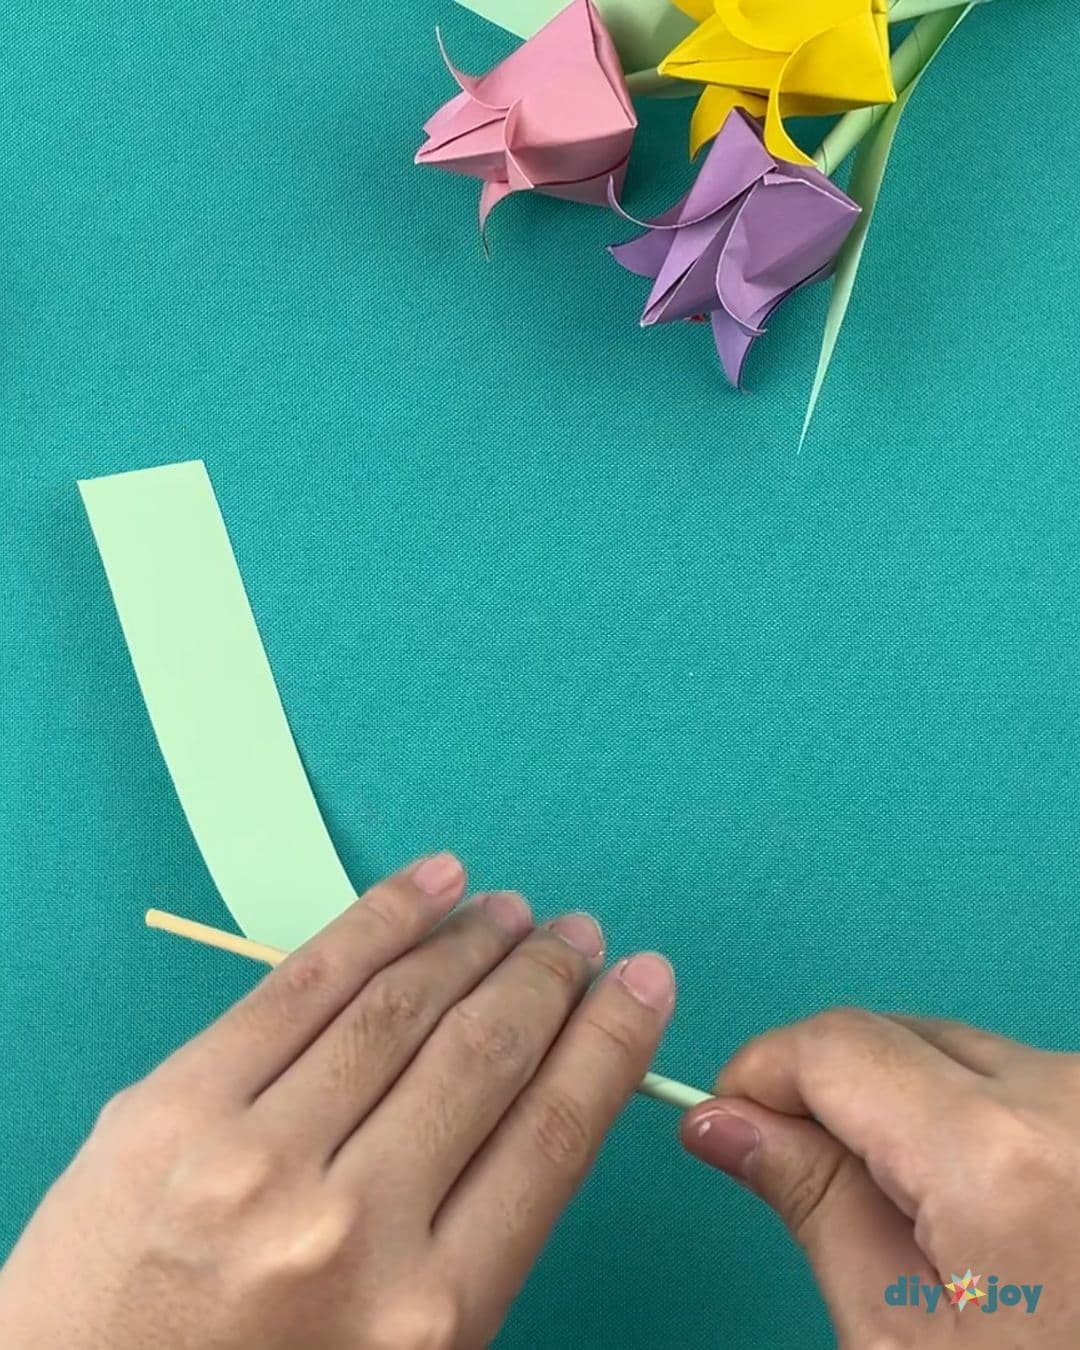
Step 16:
Attach the stem through the hole in the flower.

Folding Tip
For the best results, always make sure your folds are sharp and precise.