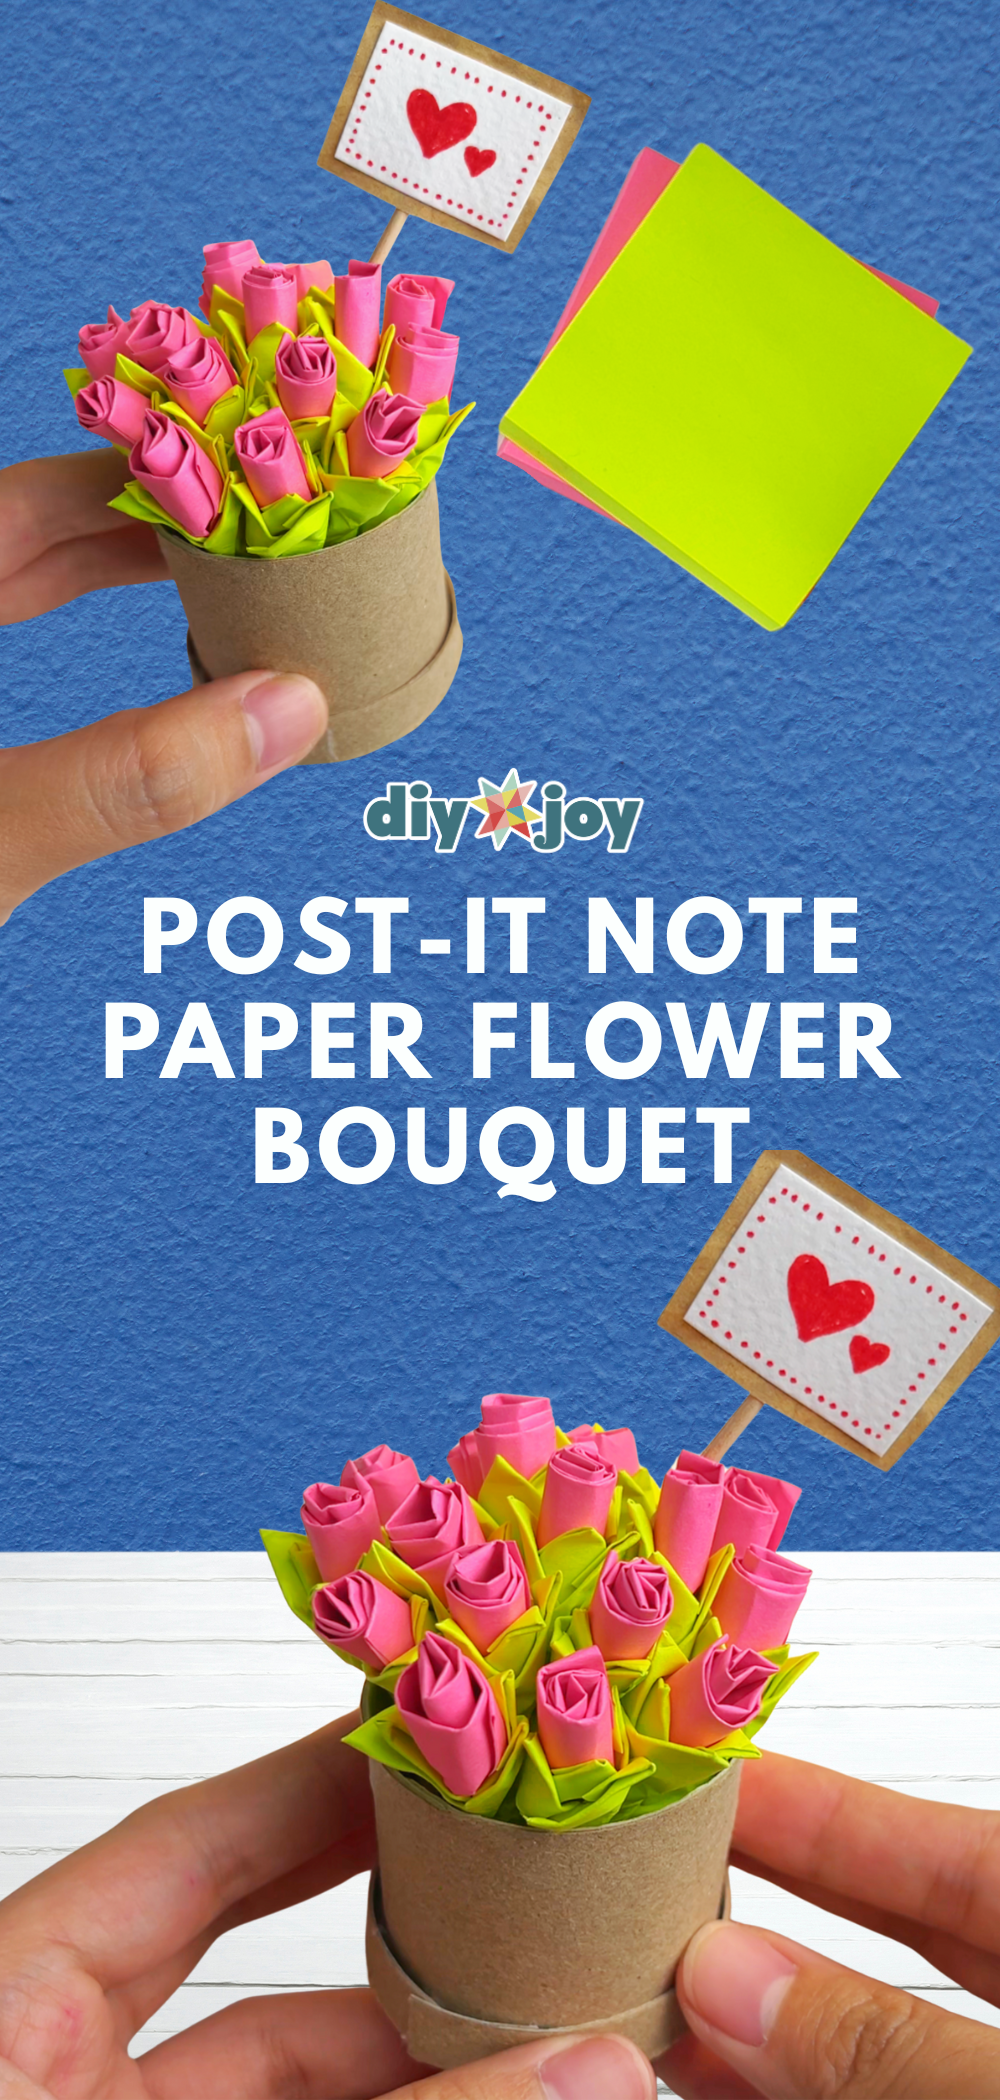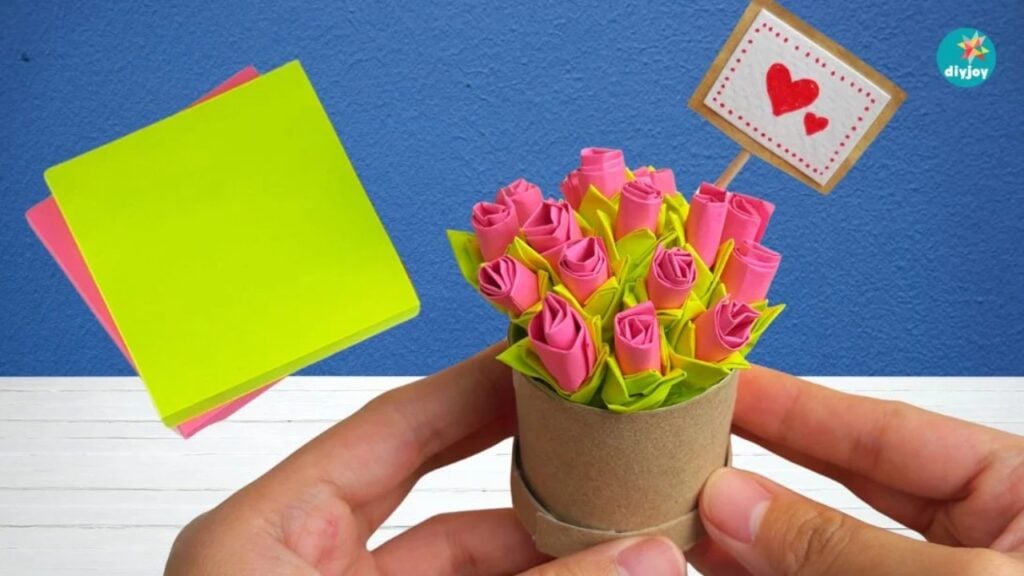
The whole supply list for these paper flowers is a pad of sticky notes, a bit of glue and an empty cardboard tube. That is it. No punches, no templates, no special paper, nothing you have to go out and buy. I rolled a pink sticky note into a rose almost by accident and it turned out better than anything I have made with proper craft paper, so I kept going until there was a whole little bouquet sitting in a trimmed down toilet roll vase on my desk. It is the cutest thing, it costs nothing, and the rolling gets quicker with every flower. Perfect for desk decor or a small handmade gift.
To make paper flowers with Post-it notes, you cut a sticky note into a spiral or a fringed strip, roll it tightly from one end, and let the sticky edge hold the rose closed. Green notes become fringed leaves wrapped around the base. Each flower takes about two minutes, and a full bouquet takes under an hour.
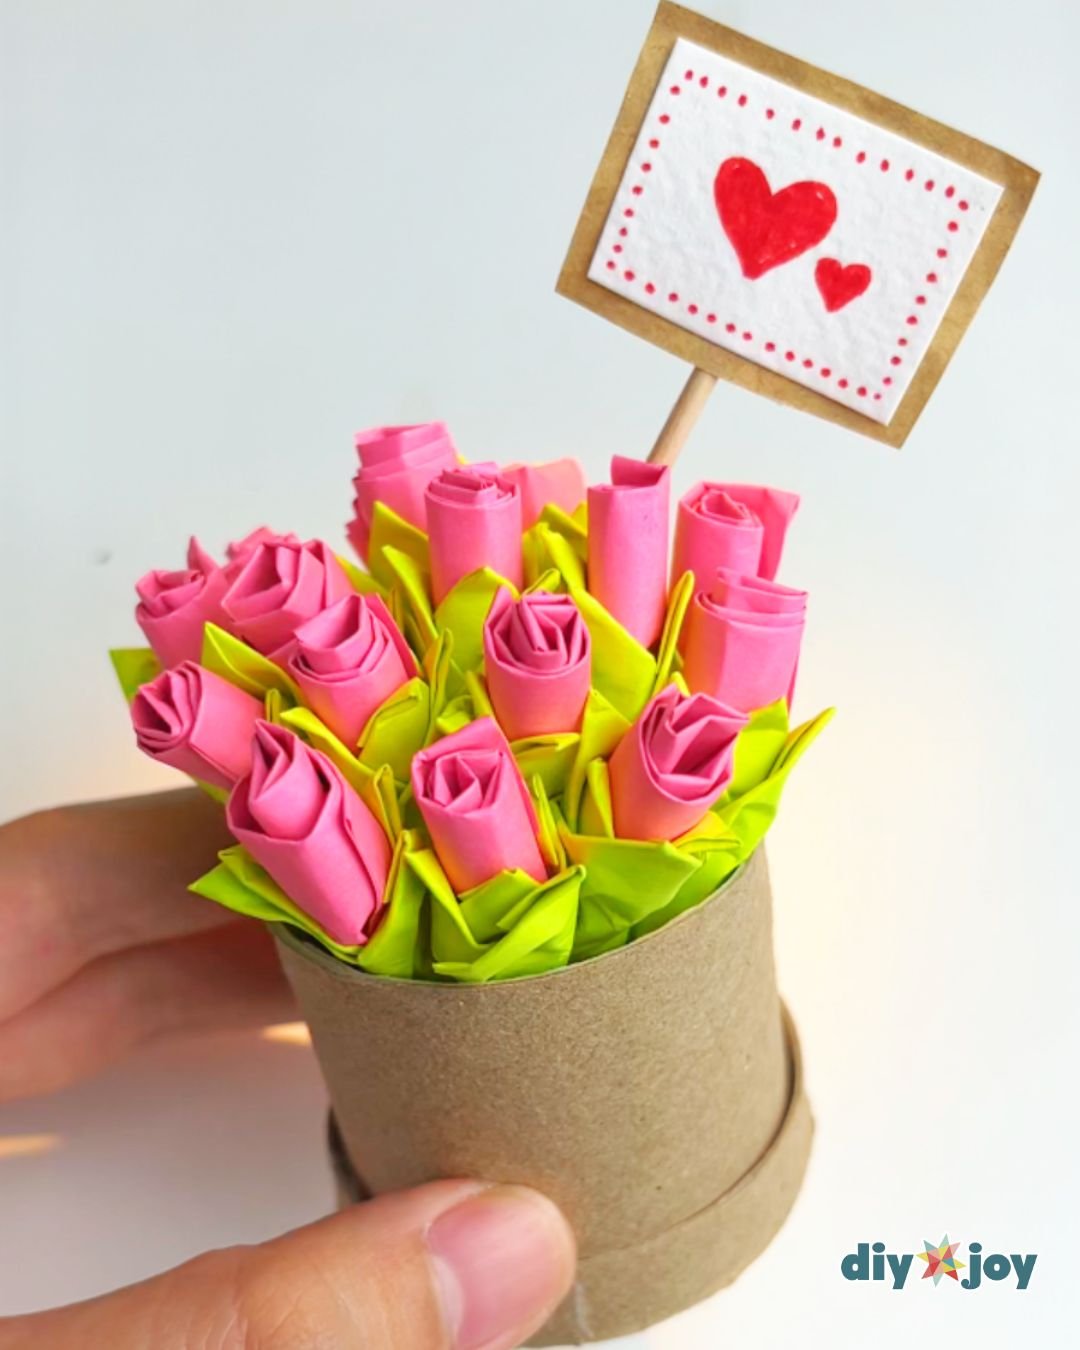
RELATED: Post-It Notes Paper Flowers
If you are overwhelmed with deadlines or a long to-do list, take a few minutes to relax with this cute flower craft. You probably have some sticky notes lying around your desk or tucked in a drawer that you haven’t used for a while. Grab it and follow this easy Post-It Note paper flower tutorial to make paper flowers. It’s super easy and perfect for all skill levels. Even kids can make them! It’s a great choice for kids crafts, art projects, or classroom avtivities.
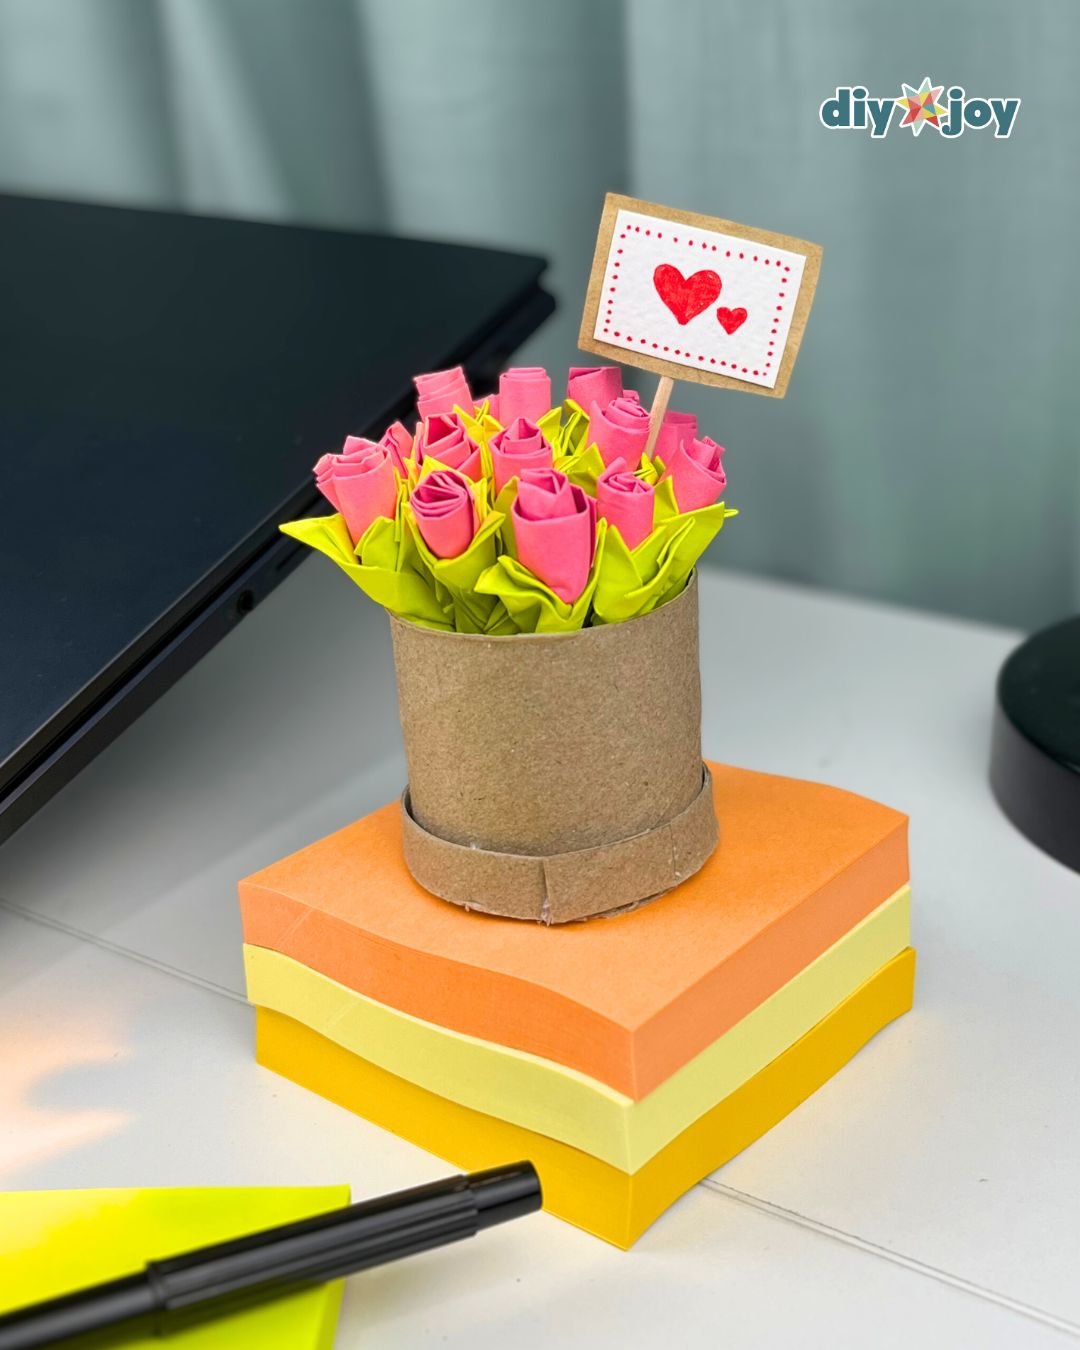
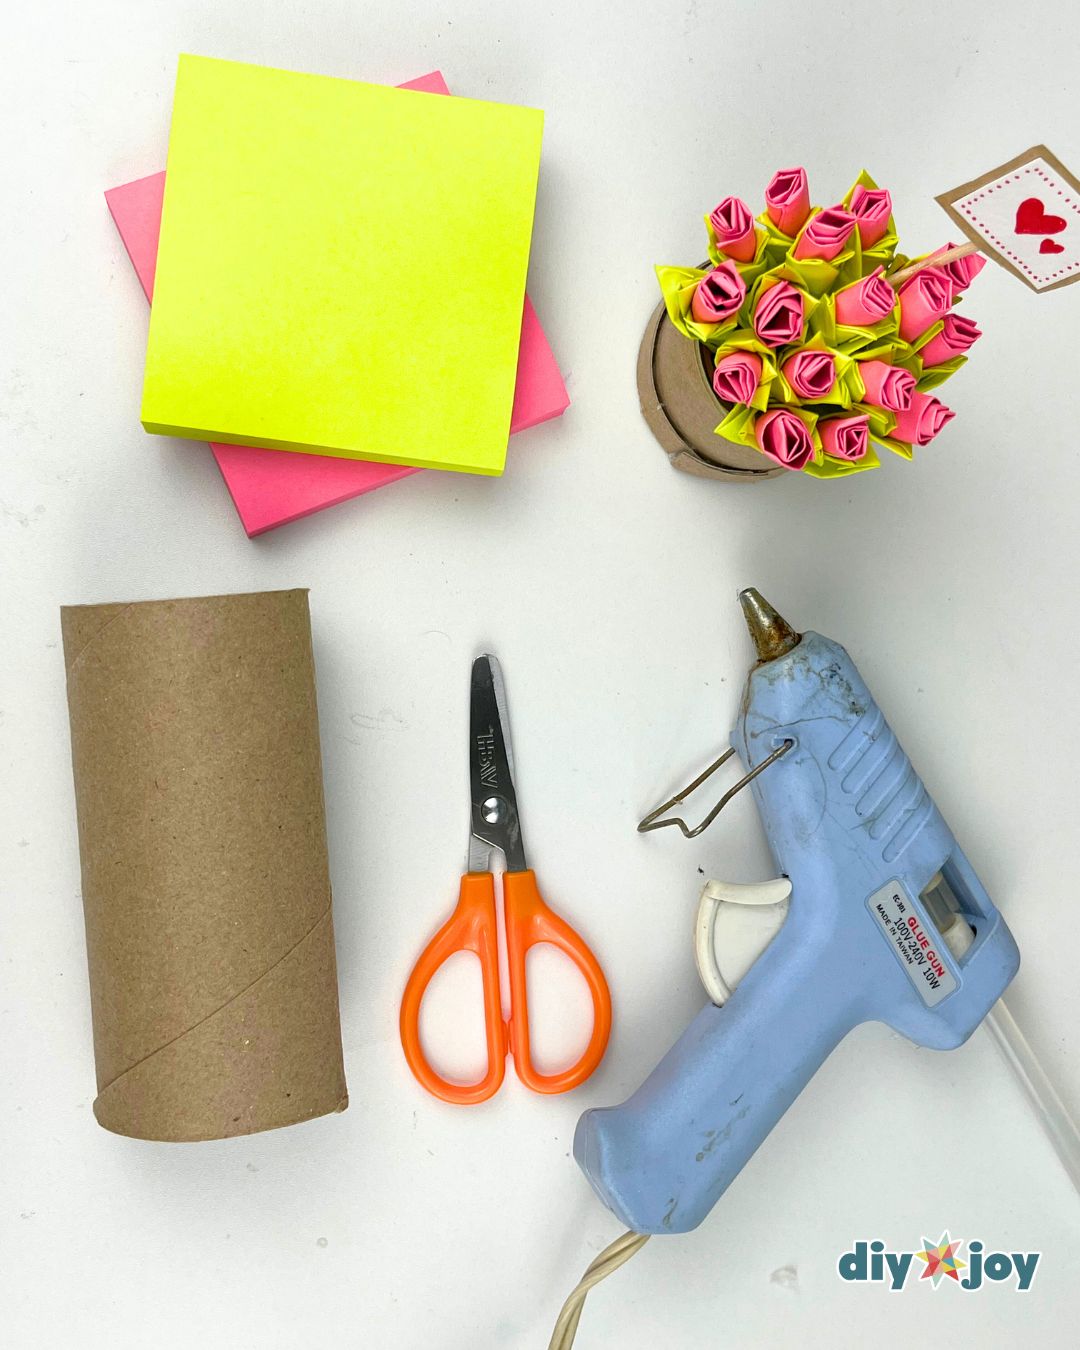
Making this floral bouquet only requires few simple materials. No fancy tools required. You’ll only need sticky notes, a toilet paper roll, a glue gun, a glue stick, and scissors. That’s everything for the full DIY flower bouquet with circle box. But if you just want to make the roses, you’ll only need sticky notes and a pair of scissors. No glue required! I added a small signage to make it even cuter. If you’ are planning to add one too, you’ll need a toothpick, paper, glue, and a marker.
How to Make a Mini Flower Bouquet With Post-It Notes
Sticky notes are a strange thing to make roses out of until you try it. That thin strip of adhesive along the top edge does the work that glue would normally do, so the paper holds itself closed while you roll. That is the whole trick. You are not gluing a flower together, you are letting the note grip itself. Rolling a sticky note into a rose is a small, modern corner of the long tradition of folding paper into shapes, and it uses the same basic idea: a crease is what turns a flat sheet into an object.
You need sticky notes, scissors, a toilet paper roll, a glue gun, and a glue stick for the full bouquet with its little box. If you only want the roses, sticky notes and scissors will get you there. I used pink for the flowers and green for the leaves, but any two colors that read as flower and stem will work.
One thing worth knowing before you start: roll toward the adhesive, not away from it. If you roll the wrong direction the sticky edge ends up buried in the middle where it does nothing, and the flower springs open in your hand. Roll snug at the center and looser as you go out. A rose that is tight all the way through looks like a paper cigar.
In this easy paper flower tutorial, I will show you how to make a paper rose with one of the most common office supply: Post-It Notes (aka sticky notes).
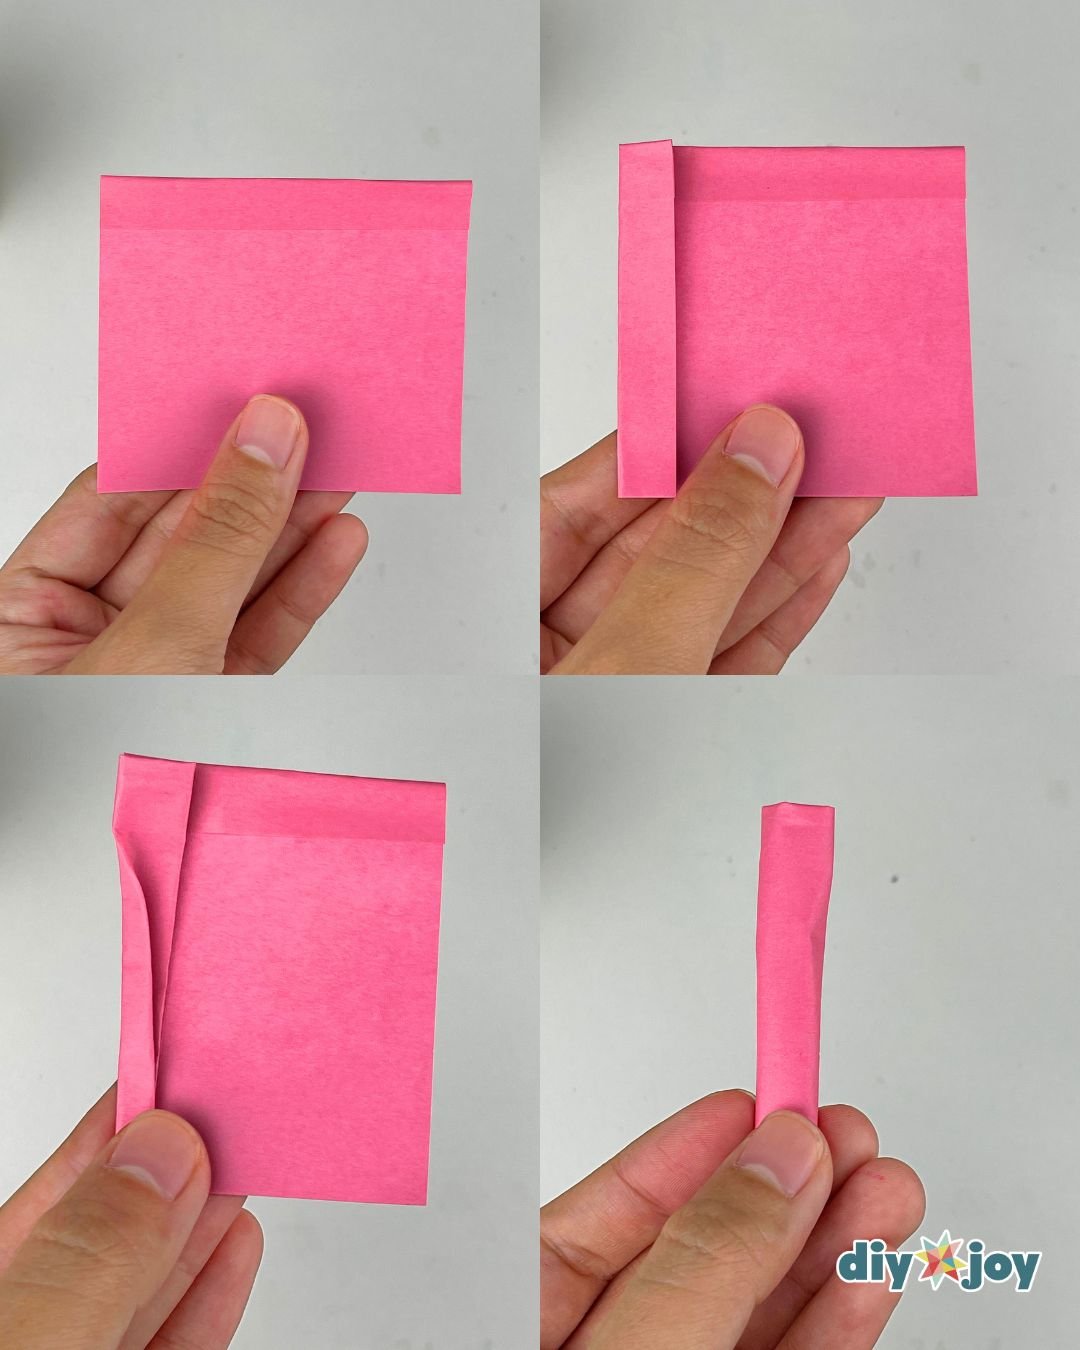
Rolling the pink sticky note
Take a pink sticky note or any color you prefer. Fold the sticky edge about 6/16 inch. Then, fold one side about 7/16 inch. Fold the bottom part of the folded section in half, as shown in the photo below. Once folded, roll the sticky note toward the other end.
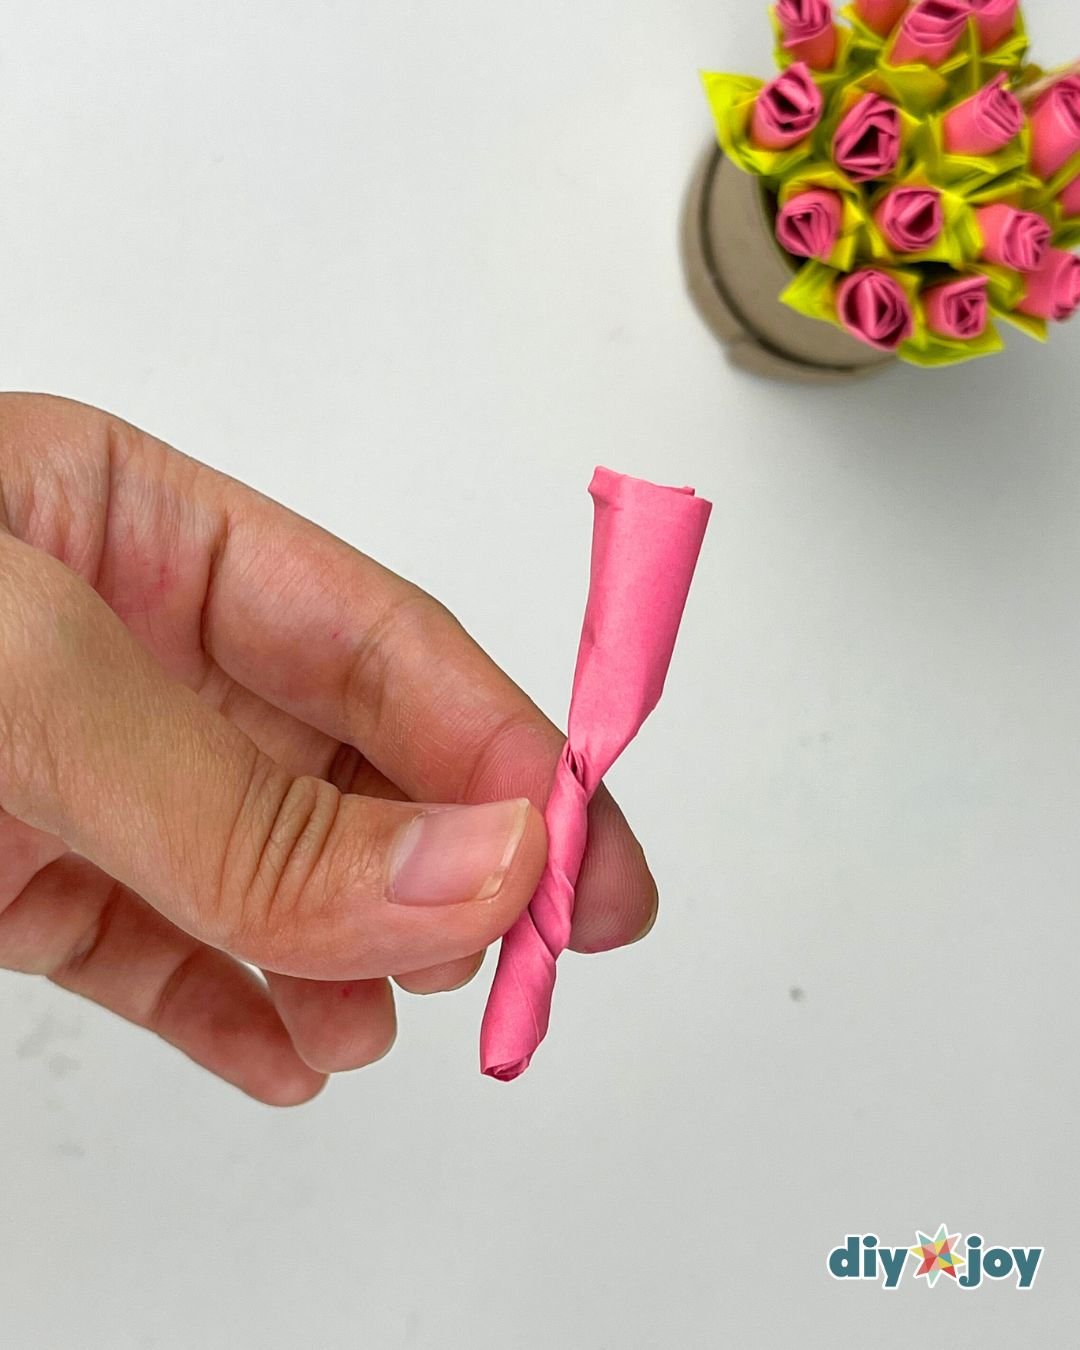
Making the rose
Carefully twist the bottom part to make a rose.
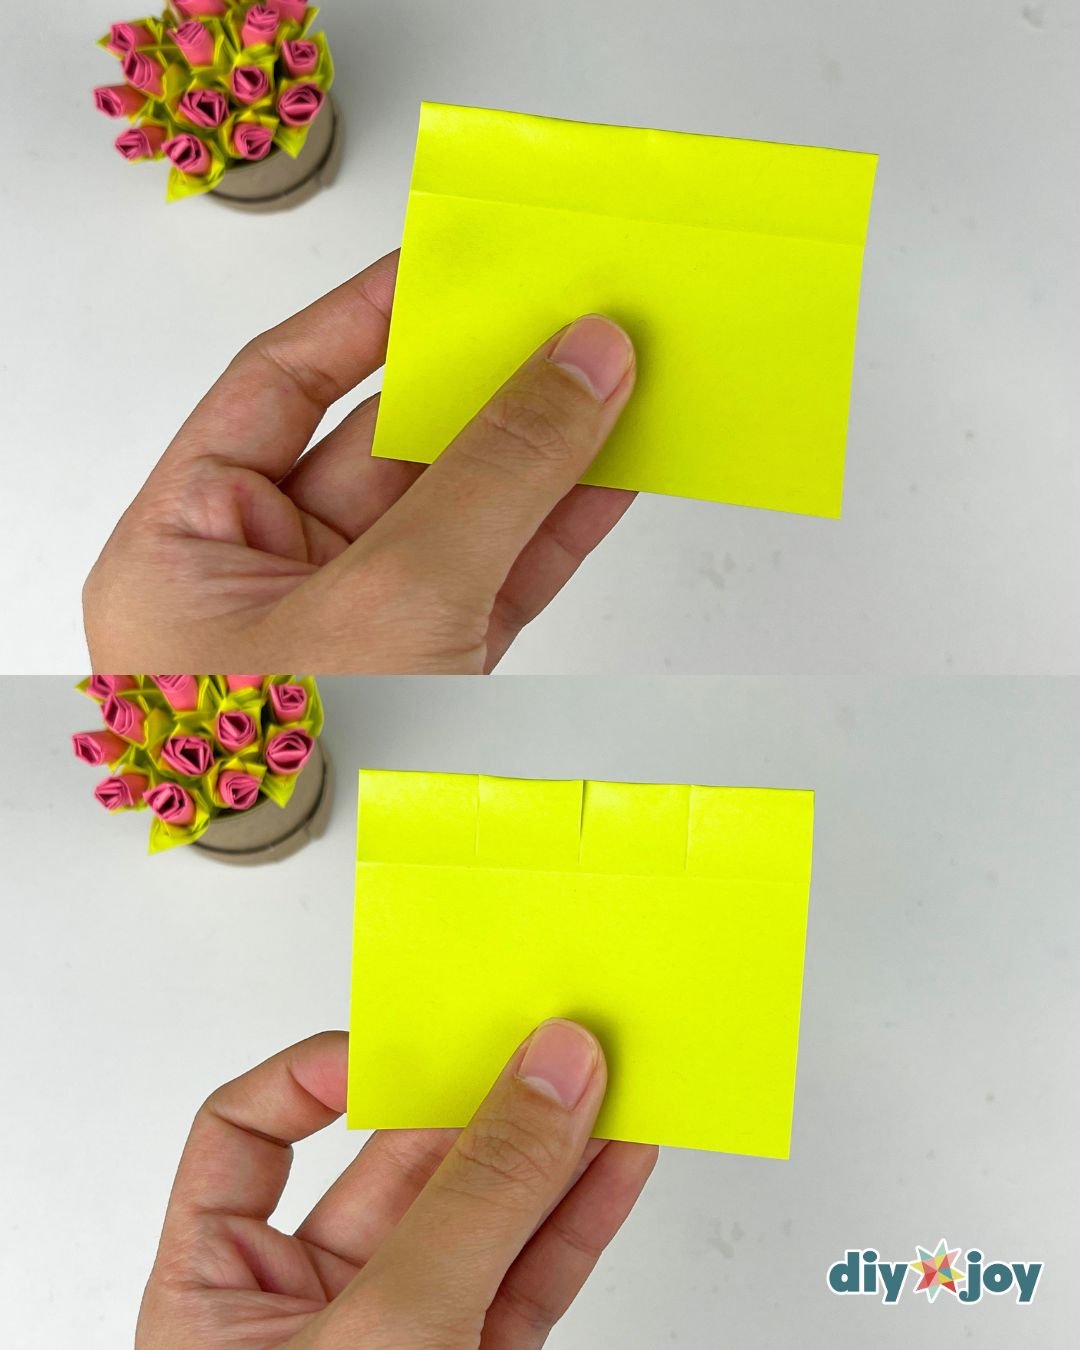
Cutting the green sticky note
Fold the sticky part of the sticky note, then cut that part in four equal parts.
Making the leaves
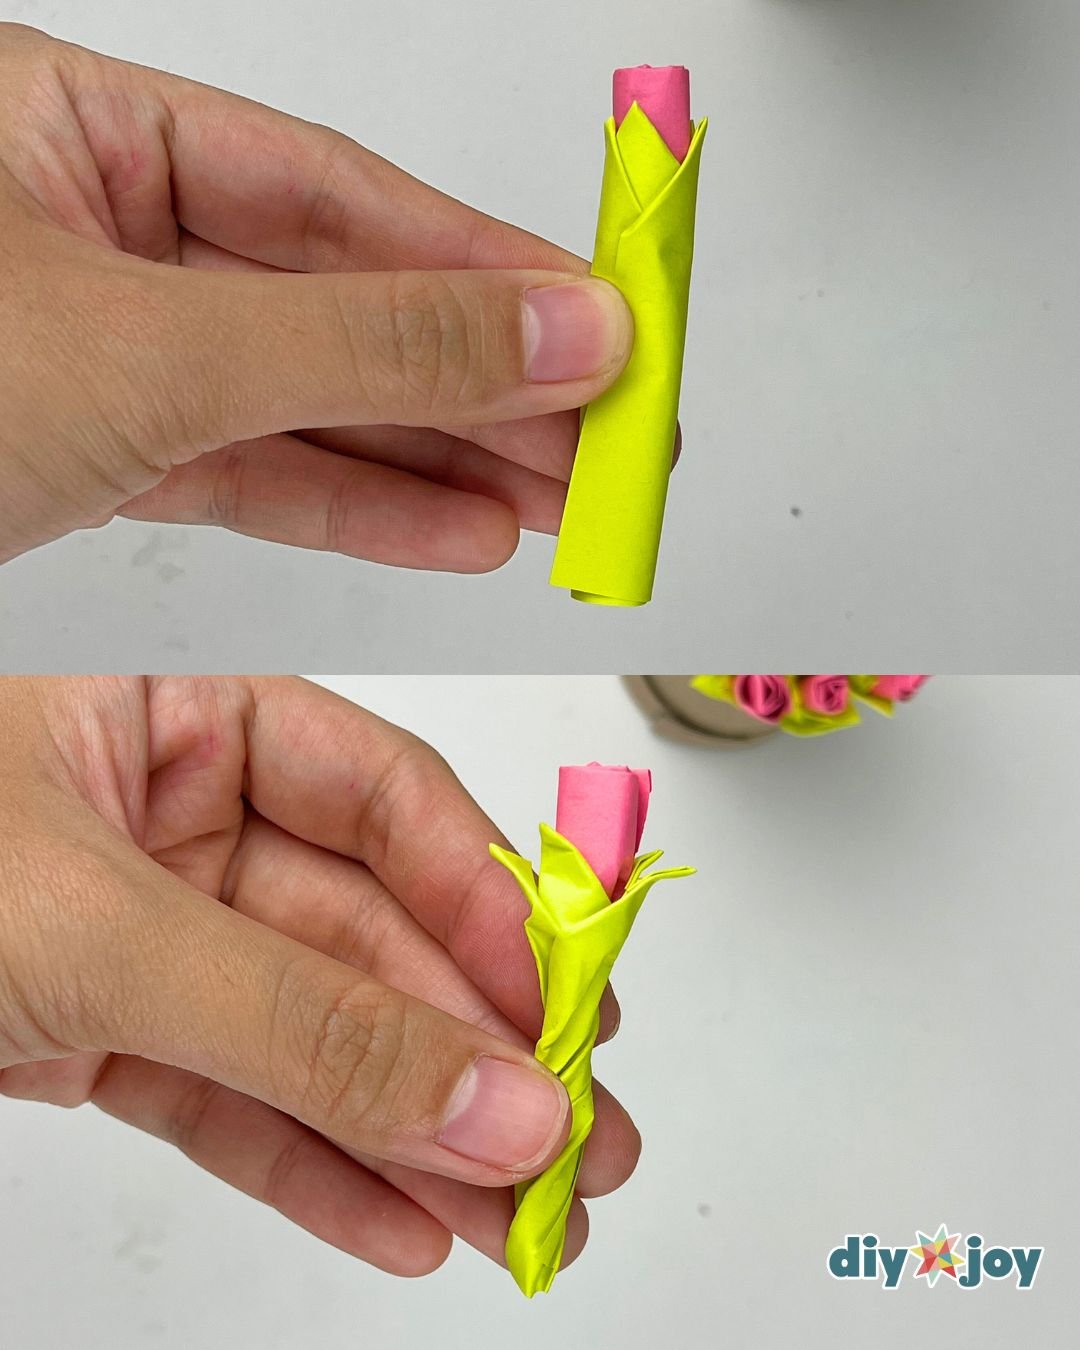
Fold each petal section into a point. Once done, gently place the rose onto the first leaf.
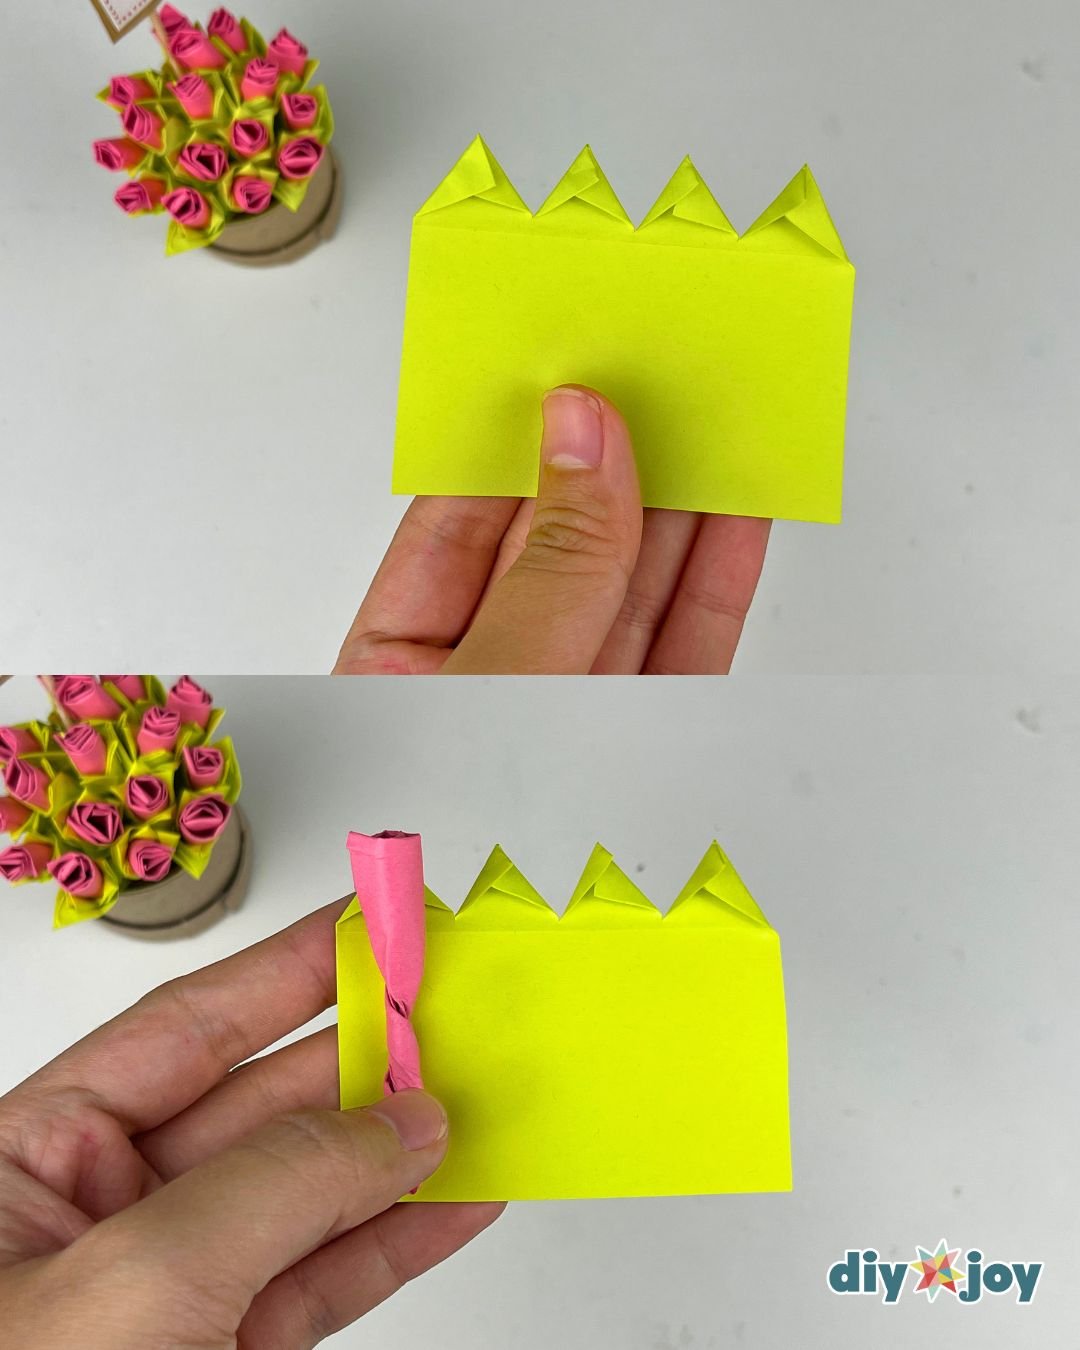
Wrapping the rose
Wrap the green sticky note around the flower, then twist the bottom part. Gently fold the pointed tips outward. Make several more pieces. I made 16 roses.
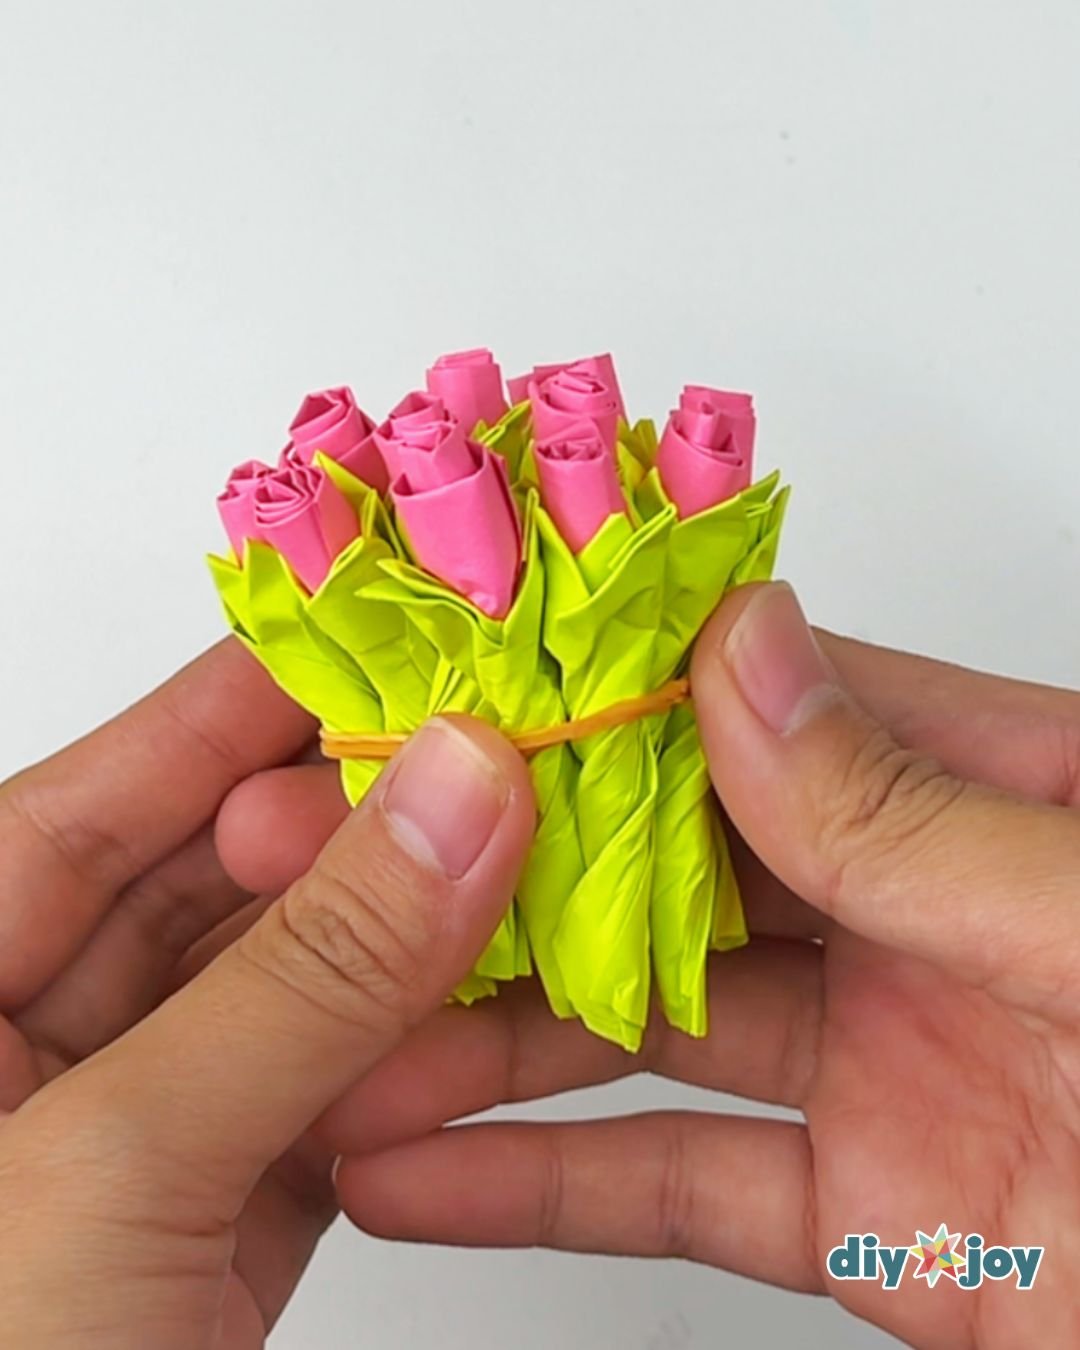
Making the bouquet
Gather the flowers together, then use a rubber band to tie them.
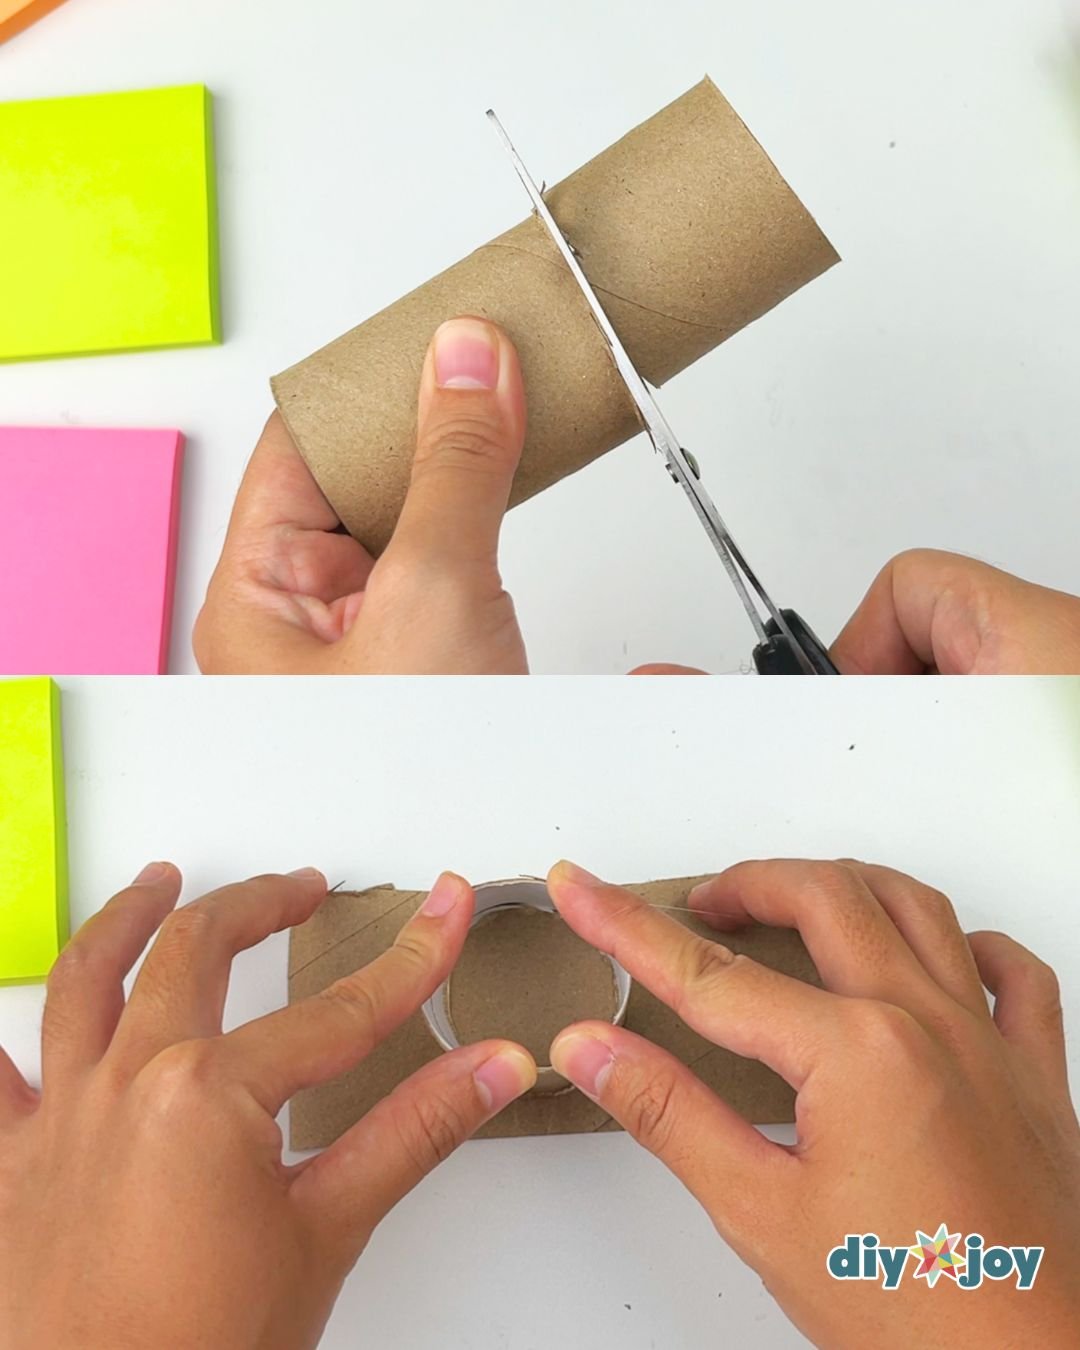
Making the circle box
Measure the length from the bottom of the pink section to the bottom of the green section. Cut the toilet paper roll to that length. Then, cut the longer piece, flatten it, then glue the tube onto the flattened cardboard. Make sure to leave a little bit of space at the bottom.
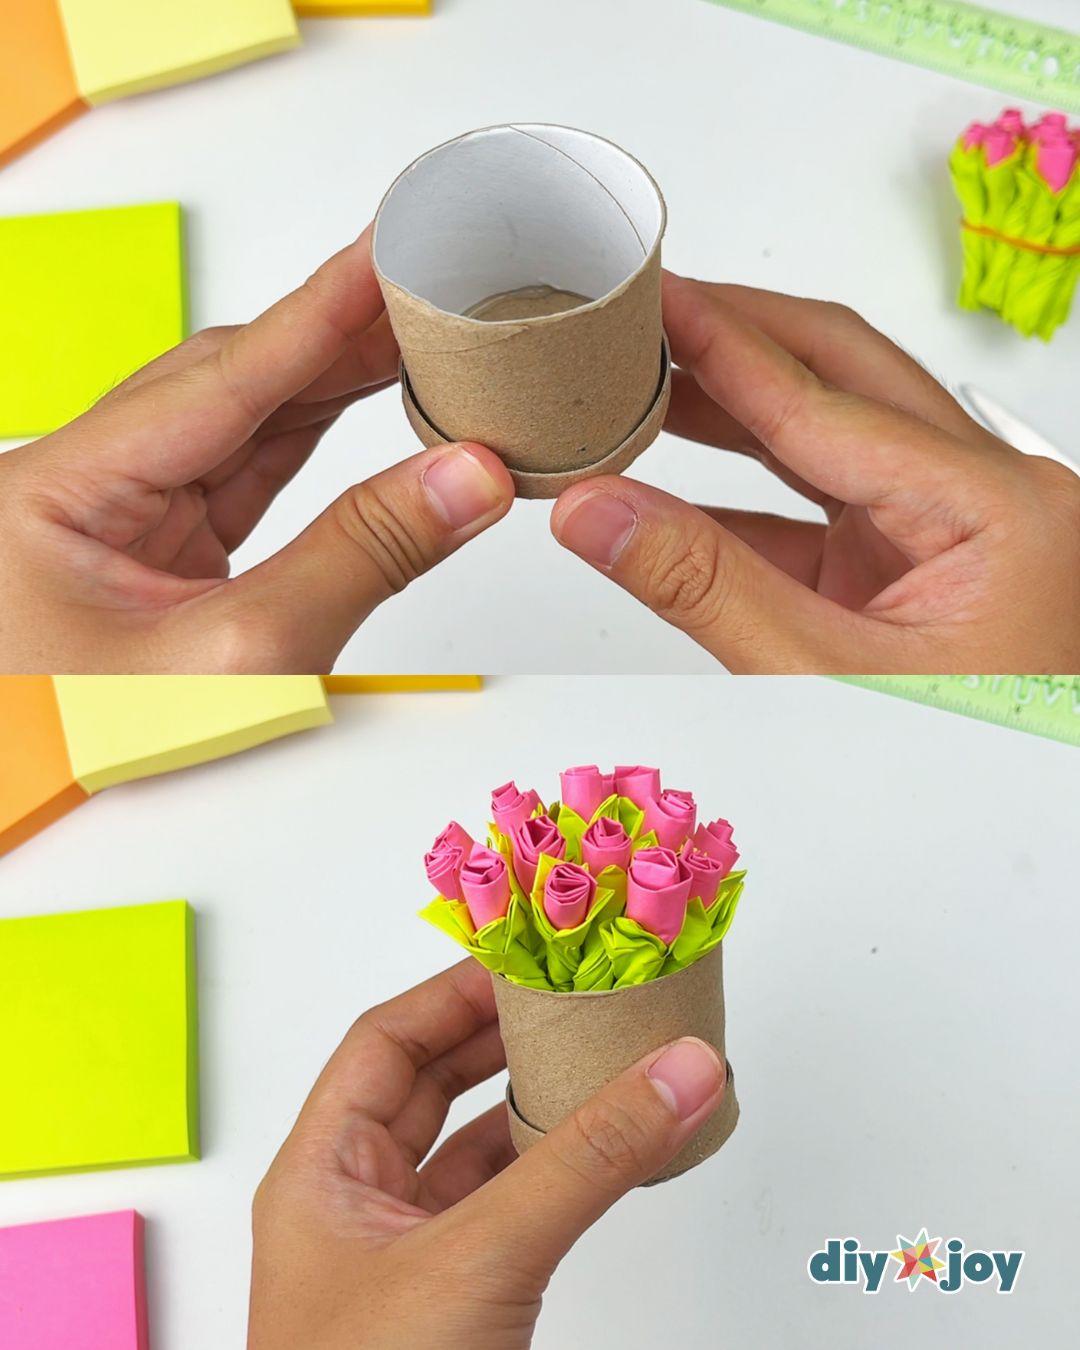
Adding the flowers
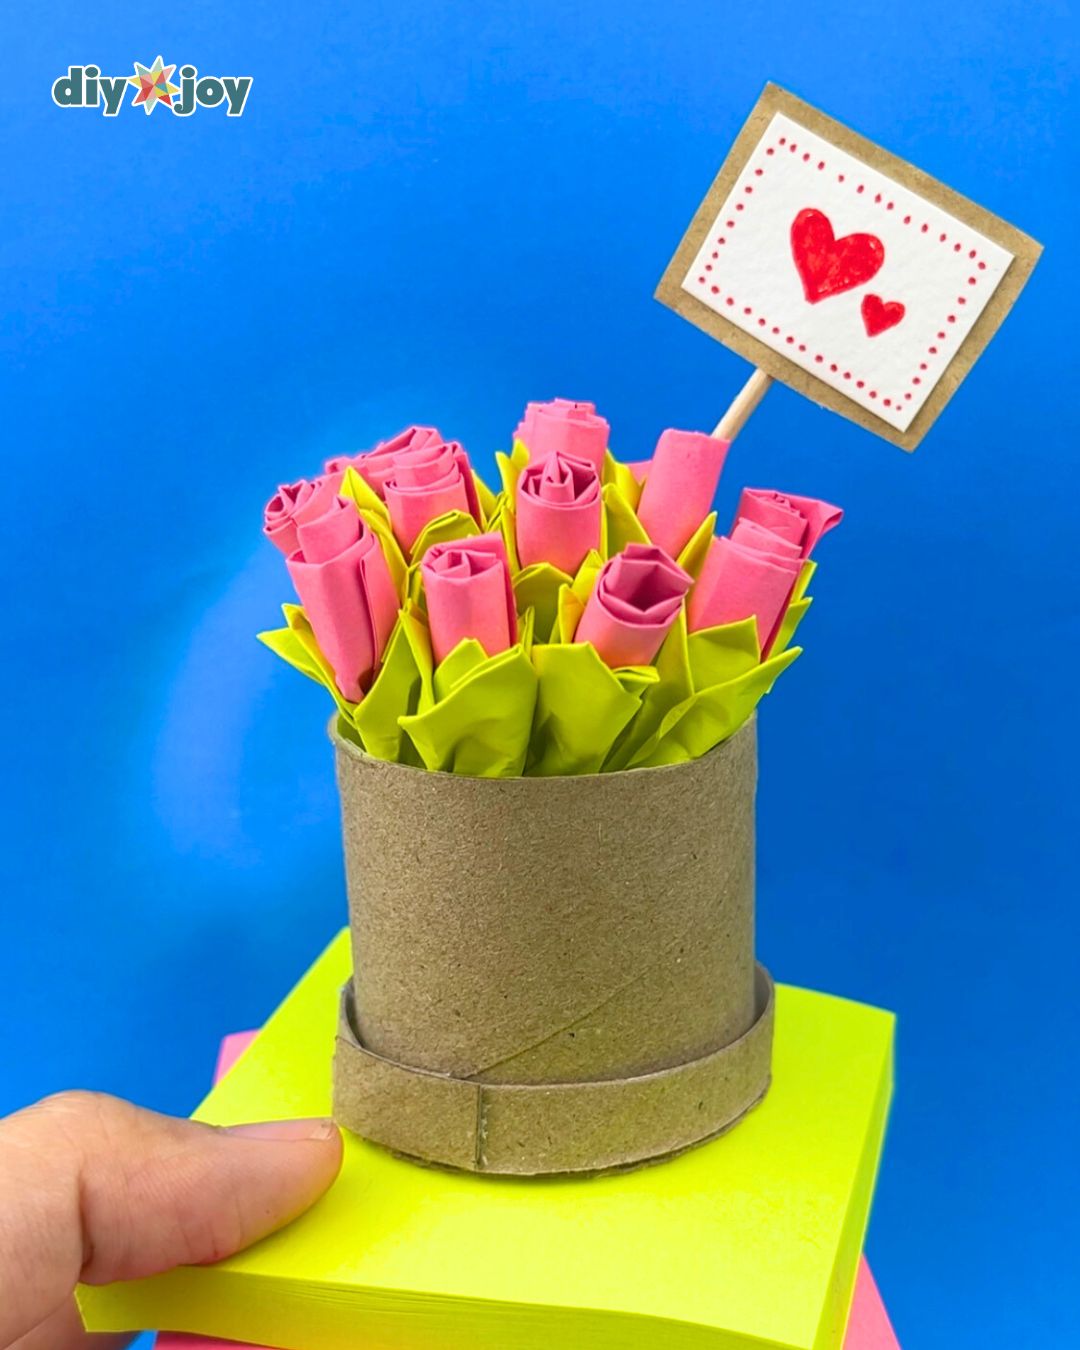
Cut a small strip from the remaining cardboard and glue it to the bottom of the tube. Once done, place the flowers inside.
Decorating
Decorate it however you like. I made this cute heart signage using a toothpick, cardstock, and brown paper.
Creative Ideas and Variation
- Make the flowers in different colors.
- Wrap it in a cute paper instead of using the toilet paper roll to make a flower bouquet.
- Decorate the circle box. You can paint it or add stickers, ribbons, or glitters.

Crafting Tip
Each paper rose doesn’t have to be exactly the same! Have fun crafting.
What Goes Wrong, and How to Fix It
The most common problem is a rose that unwinds a few minutes after you set it down. That almost always means the twist at the base was too gentle. Twist until the paper feels like it has locked, then hold it for a count of five before you let go. The green note wrapped around the bottom is your second line of defense, so pull it snug rather than draping it.
The other one is the leaves. If you cut the green note into four parts without folding the sticky edge first, you get four floppy strips instead of four leaves that hold a point. Fold, then cut. And when you fold the tips outward at the end, go slowly. Sticky note paper creases hard and it does not forgive a fold you want back.
If your bouquet leans in the tube, the fix is usually height, not glue. Cut the roll a little shorter so more of the flower sits above the rim and the weight stays centered.
Substitutions That Actually Work
No sticky notes? Any lightweight paper cut into squares will roll the same way, you just have to add a dab of glue where the adhesive strip would have been. Scrapbook paper, old book pages, and gift wrap all behave well. Avoid cardstock. It is too stiff to roll into a center that small. If you want a softer bloom instead, tissue paper flowers use the same fold-and-fan logic with a completely different look.
The toilet paper roll is not sacred either. A paper towel tube cut down works, and so does any small tube you can flatten a cardboard base onto. If you skip the box entirely, the rubber band bundle is a perfectly good bouquet on its own, and it fits inside a card. For a taller arrangement with stems, paper tulips stand up better than roses do.
No glue gun in the house? A glue stick will hold the flowers and the decorations, but it is not strong enough for the tube-to-base joint. Use tape underneath for that part and nobody will ever see it.
Displaying and Storing Your Sticky Note Bouquet
Paper flowers have one real enemy and it is humidity. Keep the bouquet off a bathroom counter or a windowsill that gets steam, because damp air softens the paper and the roses start to sag open. A desk, a bookshelf, or a bedside table is ideal, and the little cardboard box means it stands anywhere without a vase.
Direct sun will fade the color faster than you expect. Bright pink goes pale in a few months on a sunny sill.
If you are making these ahead for a gift or a classroom, store the finished roses loose in a shallow box rather than stacked in a bag. They crush, and a crushed rose cannot really be re-rolled. I made 16 for this bouquet, which took an evening in front of the TV, and having a few spares meant I could swap out the two that came out lopsided. There are more paper flower projects here if this one goes well.
Frequently Asked Questions
How many sticky notes do I need for one bouquet?
Each flower uses one pink note for the rose and one green note for the leaves and wrap. I made 16 roses for the bouquet you see here, so that is 16 of each color. Buy a pad of each and you will have plenty left over.
Do I have to use a glue gun?
Not for the flowers. The roses need nothing but sticky notes and scissors, because the adhesive strip and the twist at the base hold everything together. The glue gun only comes out for the cardboard tube box, so if you skip the box you can skip the glue gun.
Can kids make these?
Yes, and this is a good one for them. The folding, rolling, and twisting are all hand work with no sharp tools beyond scissors for the green notes. Keep the glue gun as the grown-up job and let them handle the roses and the decorating.
How do I know how tall to cut the toilet paper roll?
Hold the finished bouquet against the roll and measure from the bottom of the pink section down to the bottom of the green section. Cut the tube to that length. It sounds fussy, but it is what keeps the flowers sitting above the rim instead of disappearing into the tube.
Sticky Note Rose Bouquet YouTube Video Tutorial