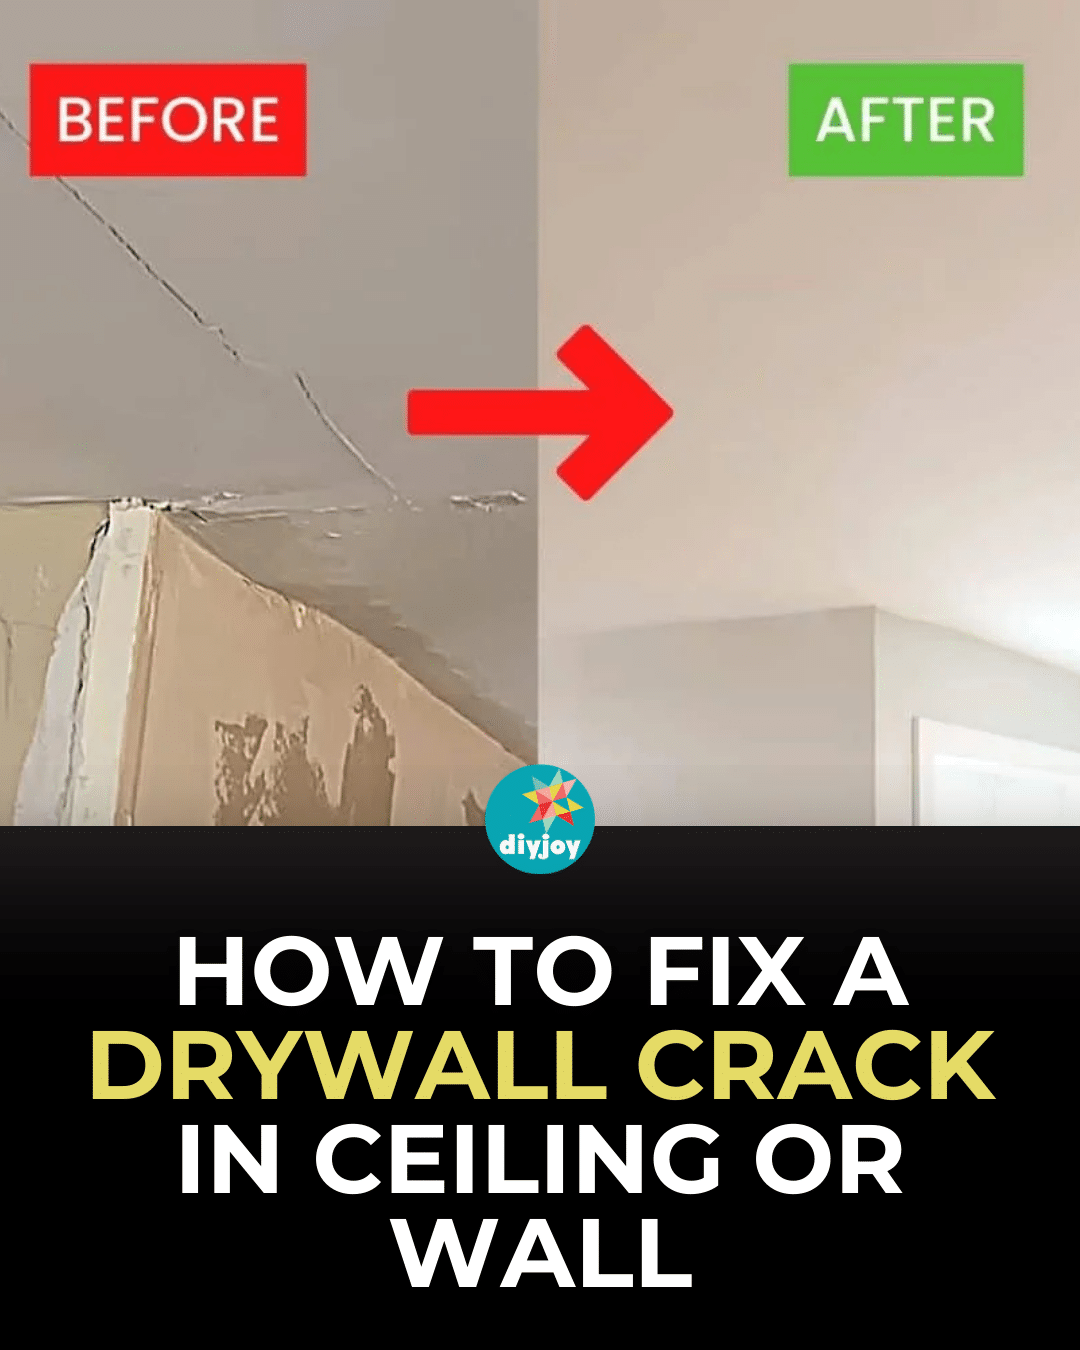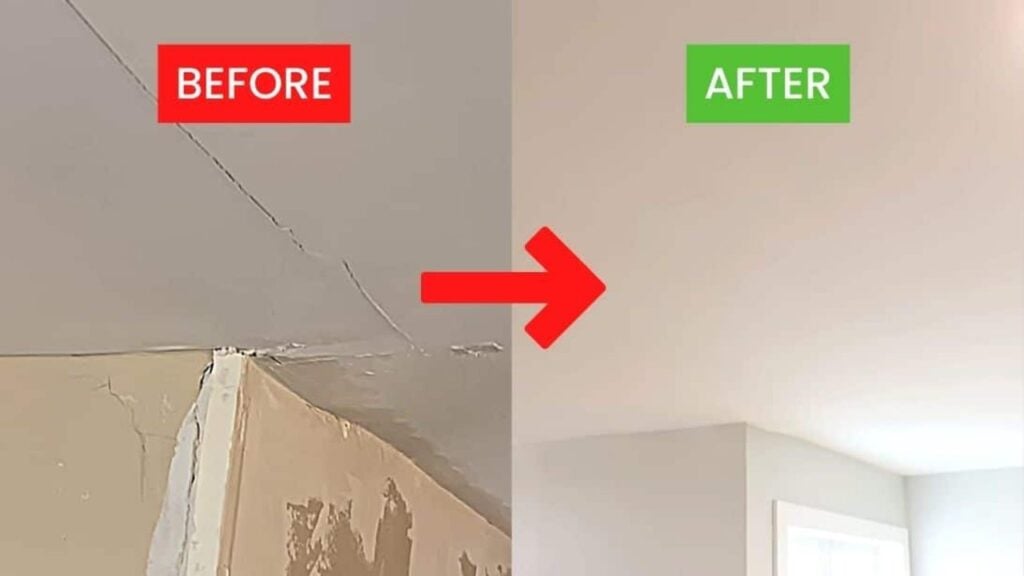
Do you see any cracks in your ceiling or wall? It might be caused by the movement of the trusses due to temperature or humidity. Don’t worry – it’s easy to repair and make it look as good as new. Learn how to fix a drywall crack in the ceiling or wall with this informative tutorial by Komar Project on Youtube.
Materials:
- 5/8″ drywall screws
- power screwdriver
- utility knife
- joint compound
- 6″ trowel
- mesh tape
- sponge
- finishing joint compound
- 8″ and 12″ trowel
- food coloring
- 220-grit orbital sander or sandpaper
- 120-grit sandpaper
- primer
- paint
[social_warfare buttons=”facebook,pinterest,twitter,whatsapp”]
Instructions:
Step 1:
Find where your ceiling joists are. You can use a stud finder and mark where the middle of your joists is. Most of the time the drywall begins to sag to whatever issue you experience.
Step 2:
Drive the 5/8″ screws on both sides of the crack.
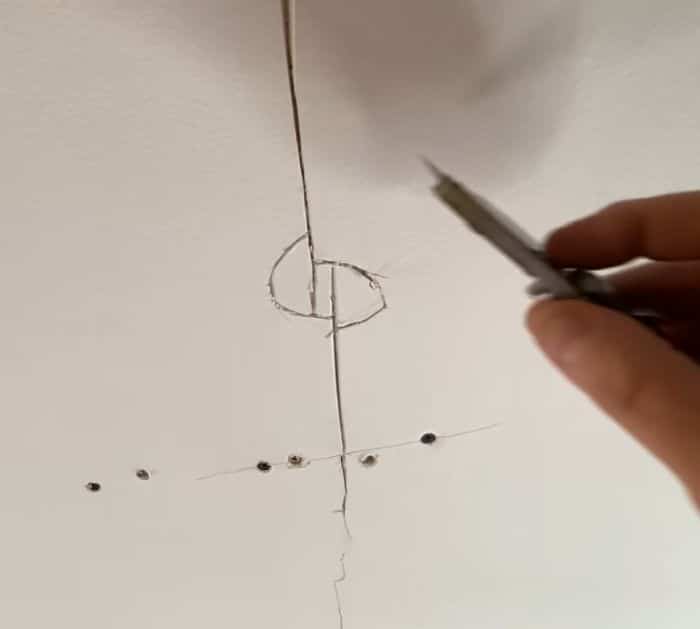
Step 3:
Once the drywall is secured to the joist, open the crack a little further. Use a utility knife to make a v-shaped groove in that crack. If it has two crack endings, make a circle around the end to prevent it from wanting to crack any further. This is just a precaution.
Step 4:
Mix the joint compound with water to a consistency between peanut butter and ketchup.
Step 5:
Get the mixture using a six-inch trowel, and remove about an inch on the ends. Apply it to the crack. Remember that it dries fast. You just want it to be three to four inches wide so that it holds the mesh you’re adding.
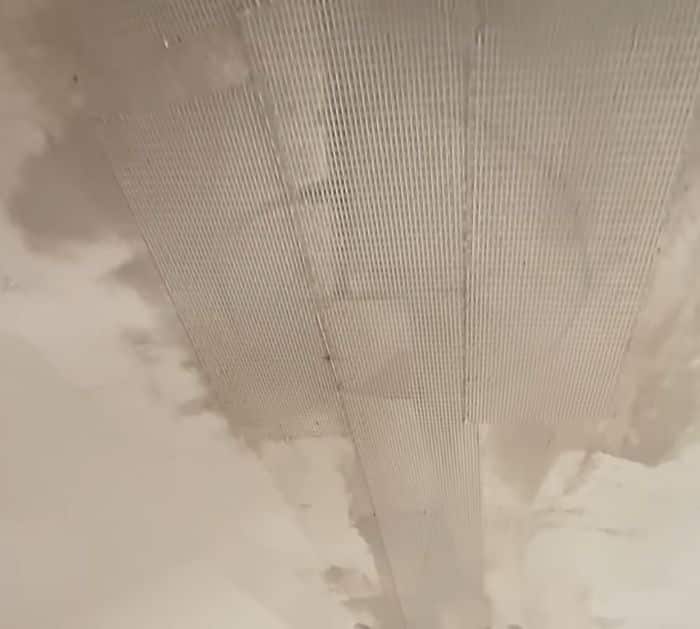
Step 6:
Apply the mesh while the mixture is still wet. Cover it with more joint compound. Make sure to cover all the circles you made and the full length of the crack. To avoid heavy-duty sanding or scraping, wipe it down with a damp sponge before it dries completely.
Step 7:
Add a little drop of food coloring to the finishing compound mixture with water then apply using the 8″ and 12″ trowel. You want to spread it 10 inches in each direction from the crack.
Step 8:
Scrape, then sand it lightly to smoothen it.
Step 9:
Apply the second coat of the finishing compound joint. You want to further it out to make it smooth as possible. Let it dry for 24 hours.
Step 10:
Sand it lightly again with 120 grit sandpaper.
Step 11:
Apply primer, then paint it.
How to Fix a Drywall Crack in Ceiling or Wall