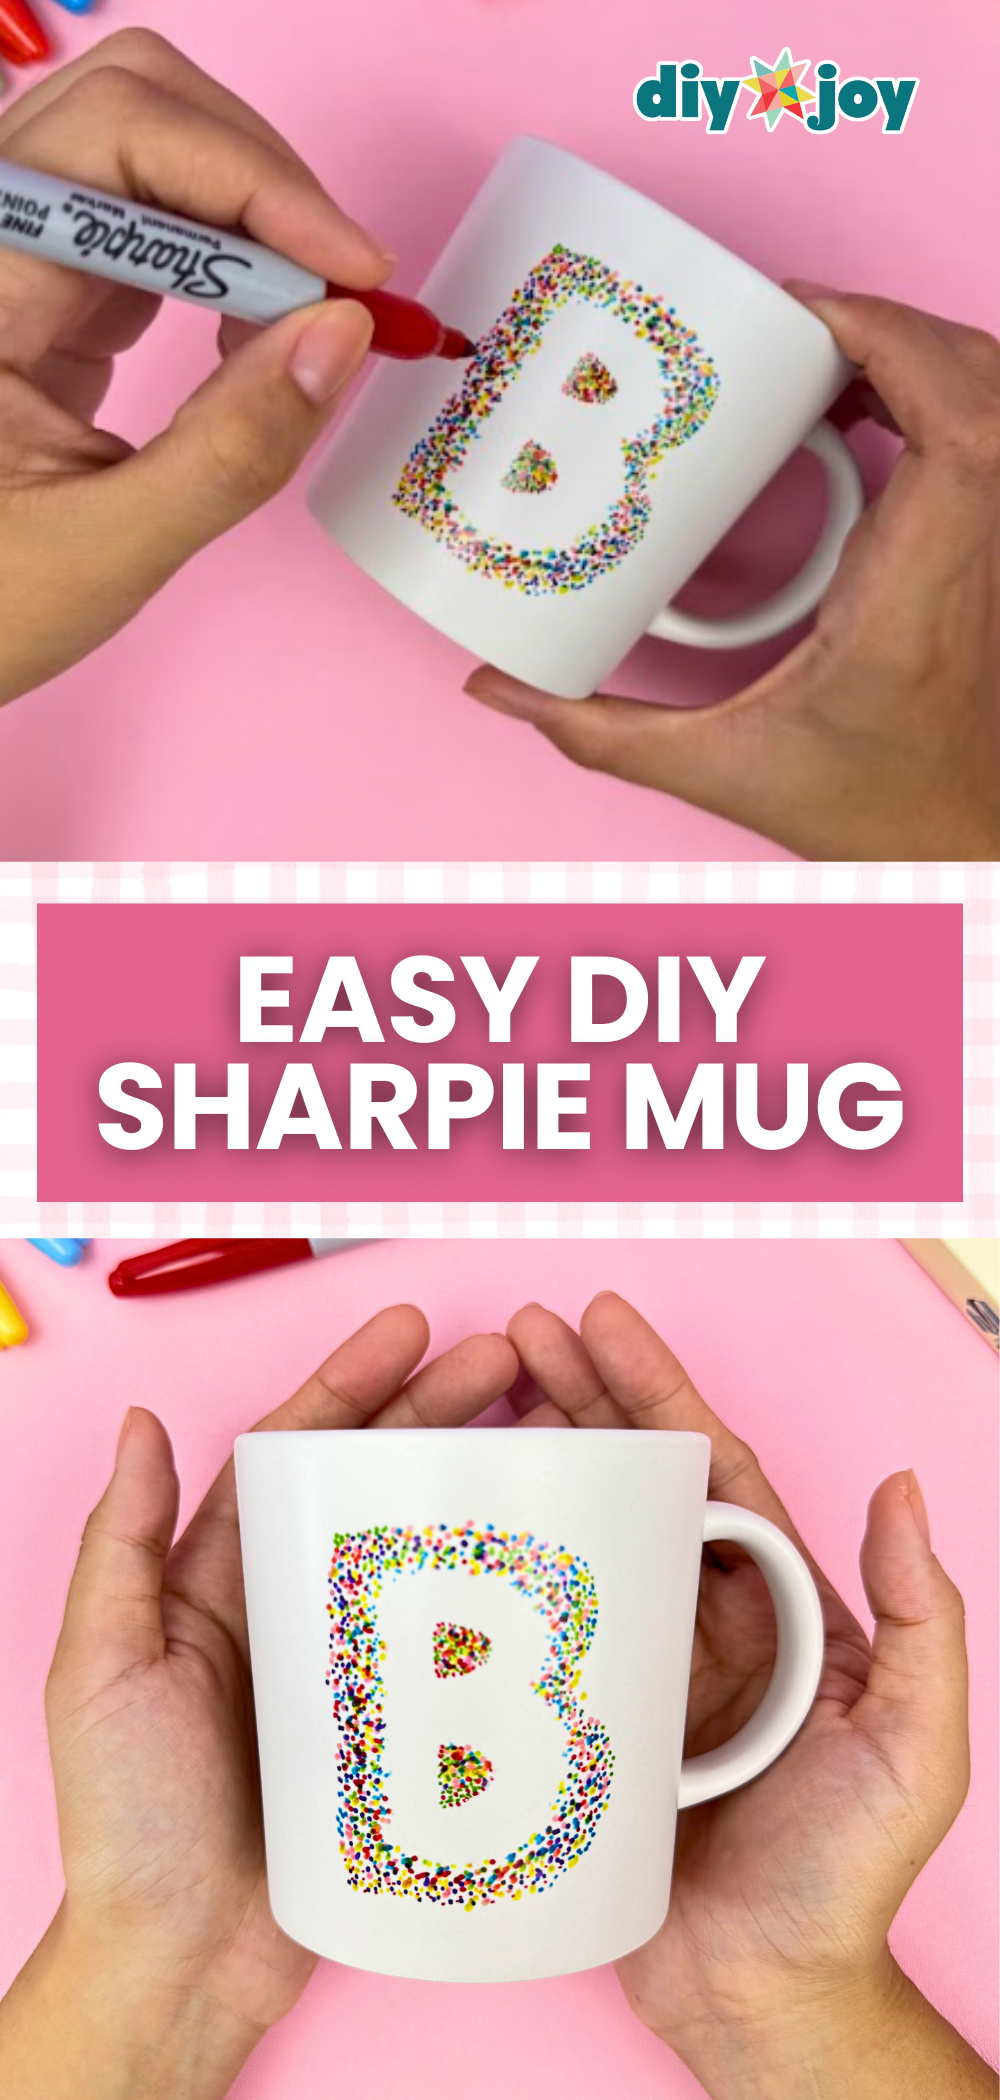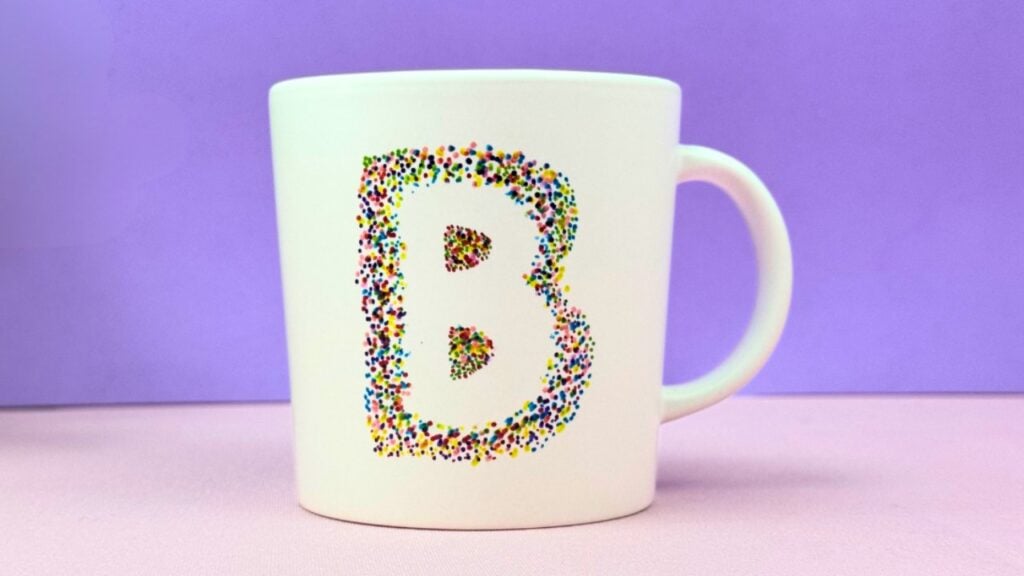
Personalized gifts are always a hit, and what better way to show someone you care than with a DIY customized Sharpie mug featuring a hand-drawn letter pattern? With this project, you can create a mug decorated with any letter you like—perfect for initials, monograms, or even spelling out short words. It’s a simple yet thoughtful way to turn an ordinary mug into a unique handmade gift that feels personal and meaningful.
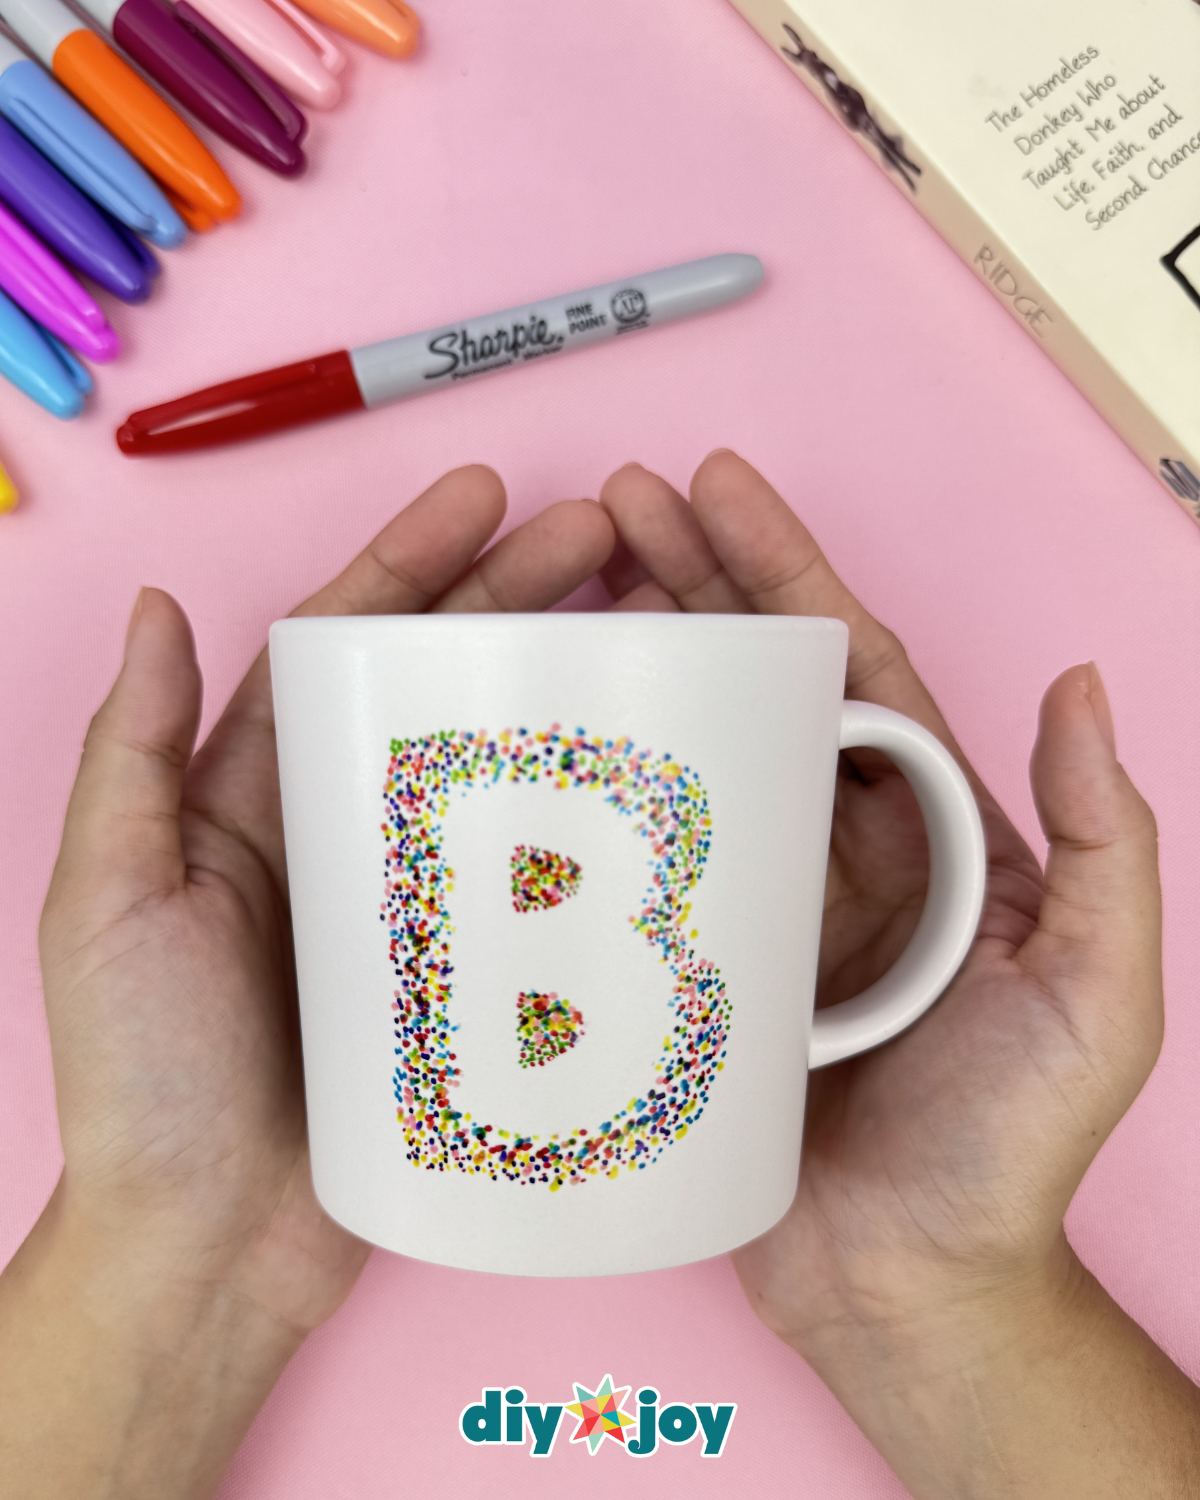
This easy Sharpie mug tutorial is perfect for beginners or anyone looking for a last-minute gift idea. All you need is a plain ceramic mug and a few Sharpies to bring your design to life. Whether you are making it for a friend, family member, or even yourself, this project is a fun and creative way to experiment with lettering and patterns. You can customize the style, size, and placement of the letters, making each mug truly one-of-a-kind.
Here’s another cute craft idea to try :
DIY Customized Mug Using Sharpie

Have you seen our TikTok & Instagram yet?
Our viral videos are super popular and fun to watch. Here’s the Sharpie customized mug TikTok, but the YouTube video is also at the bottom of this post so you can watch the full tutorial. Links below for all our socials. Follow and be the first to see our latest crafts. ⬇️
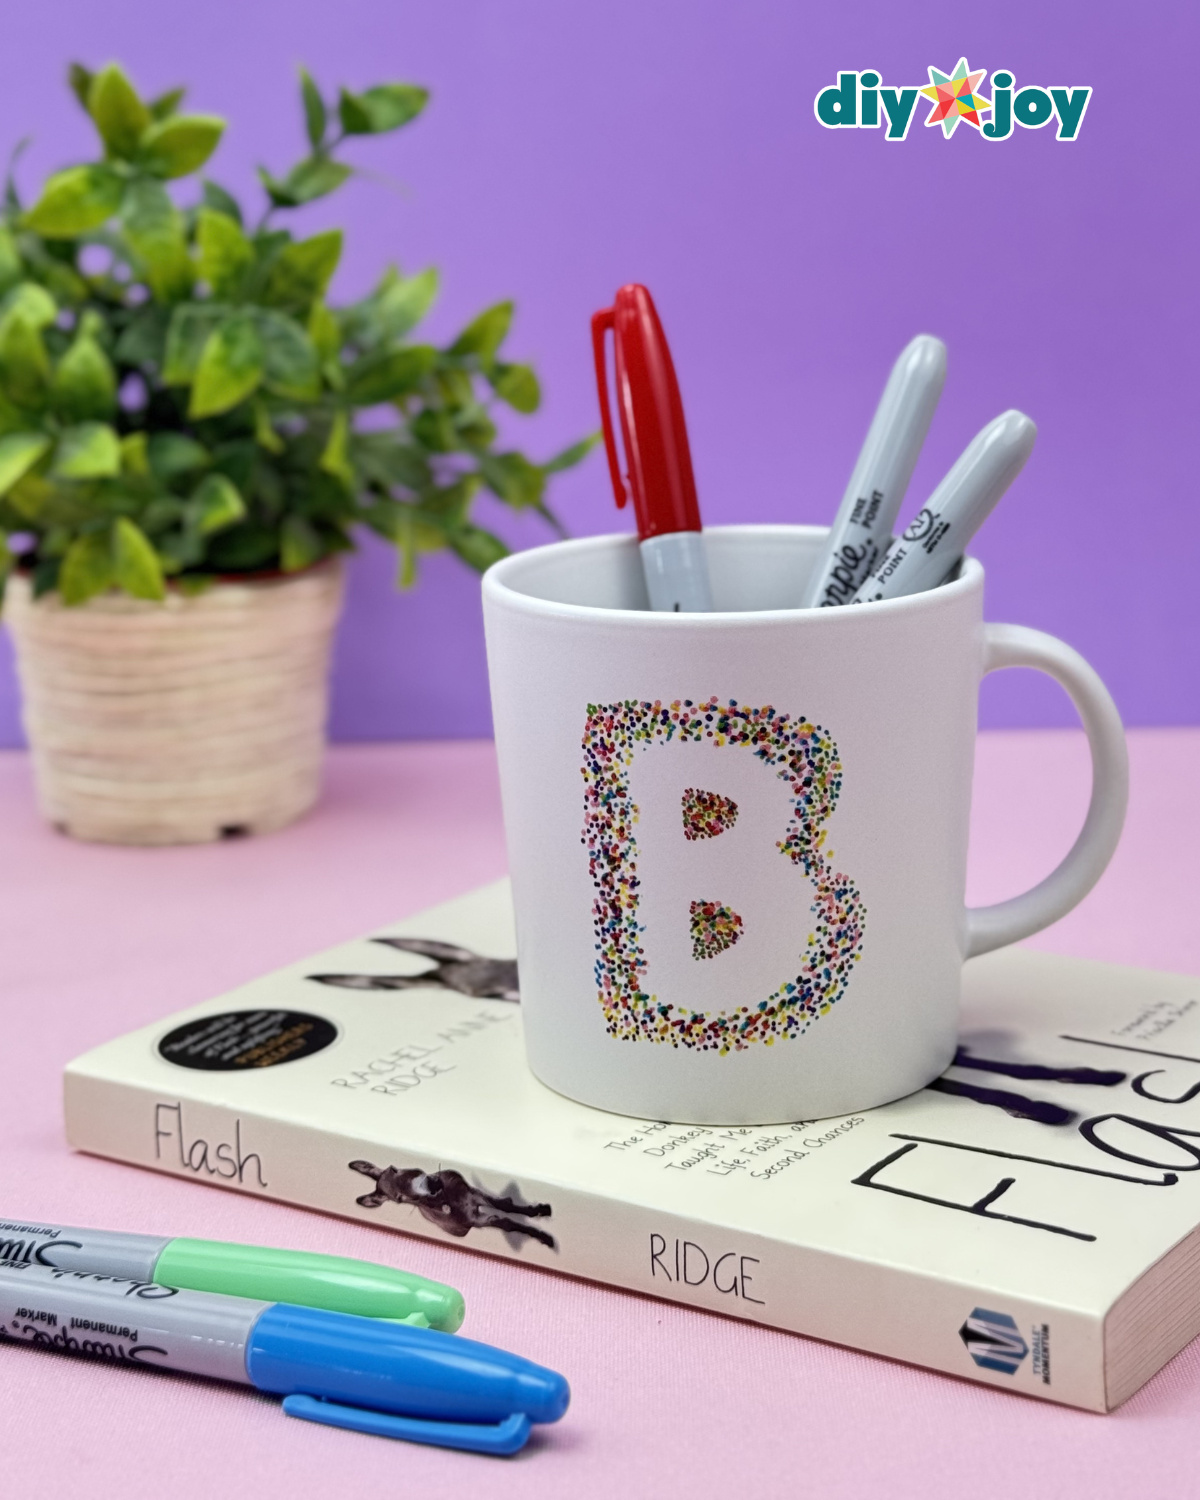
Not only is this a practical gift that your recipient can use every day, but it also doubles as a fun craft activity. You can pair your letter design with doodles, hearts, or simple decorations to make it even more special. Plus, this project works perfectly for occasions like birthdays, Valentine’s Day, or even as a charming personalized keepsake.
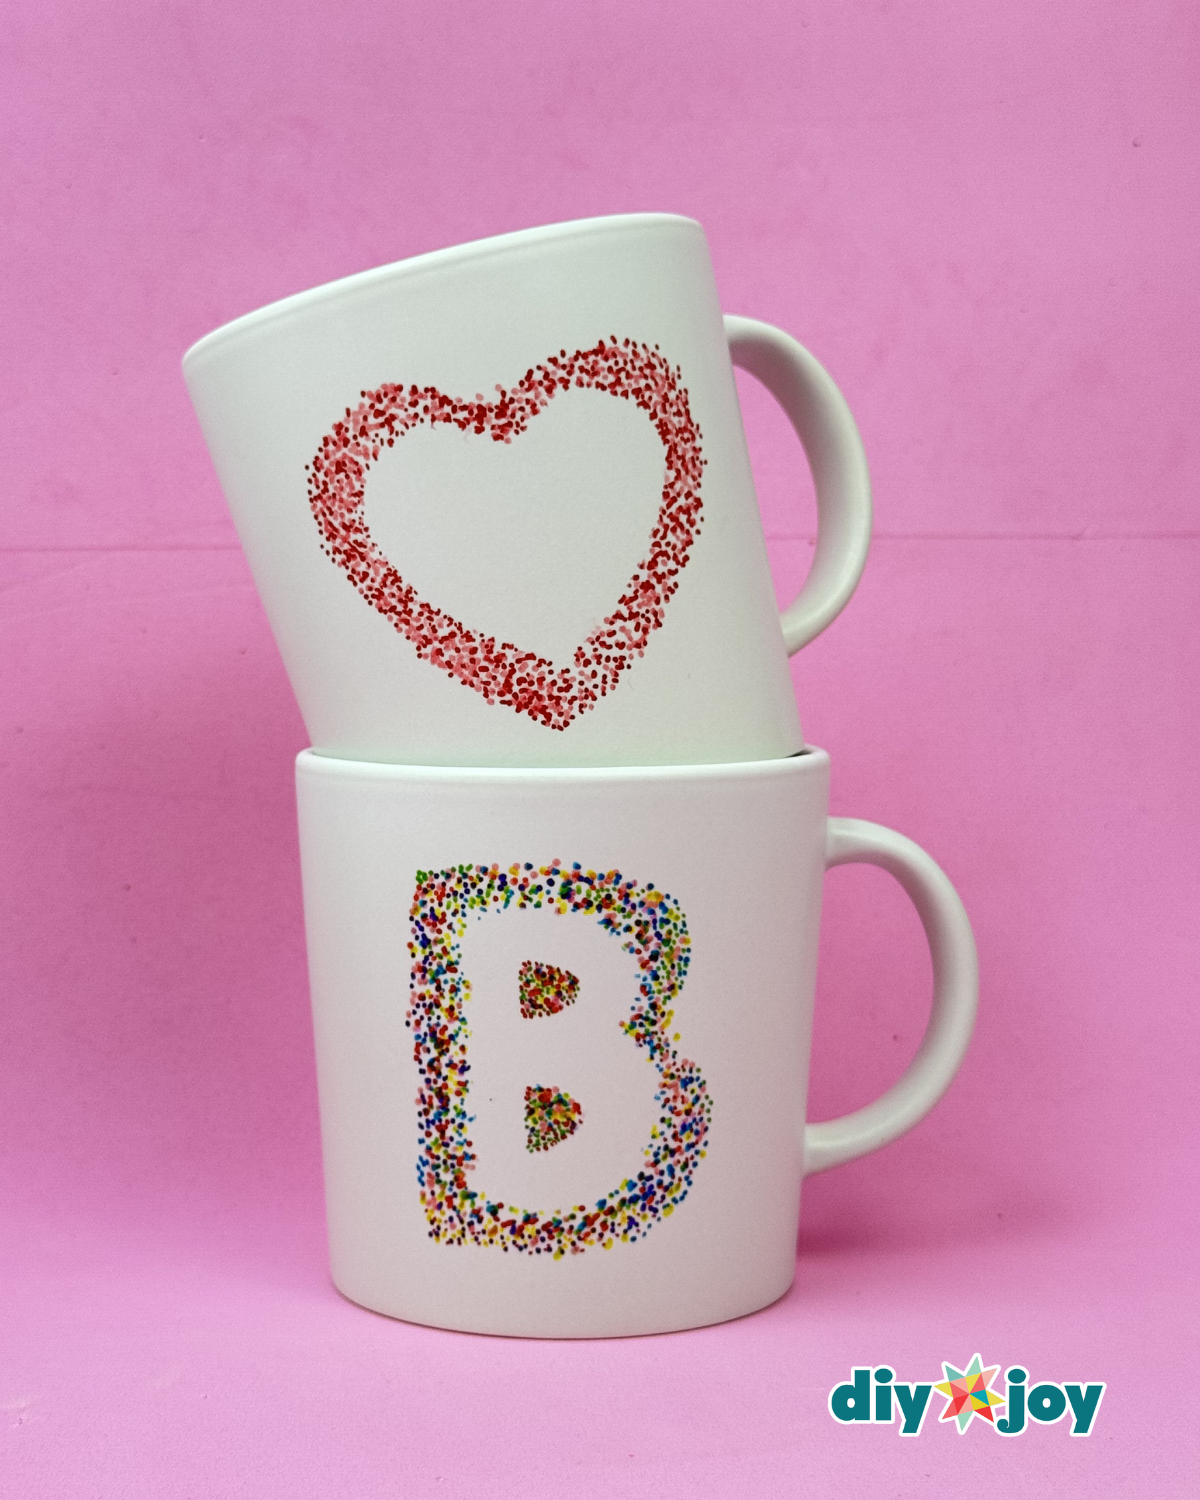
By following the steps below, you can learn a simple trick to create crisp, clean letters that look professional, even if you’re new to Sharpie art. Transform a plain mug into a customized letter mug in just a few minutes and create a memorable, handmade gift that anyone will love.
How to Customize a Letter Mug
Step 1: Prepare the Letter
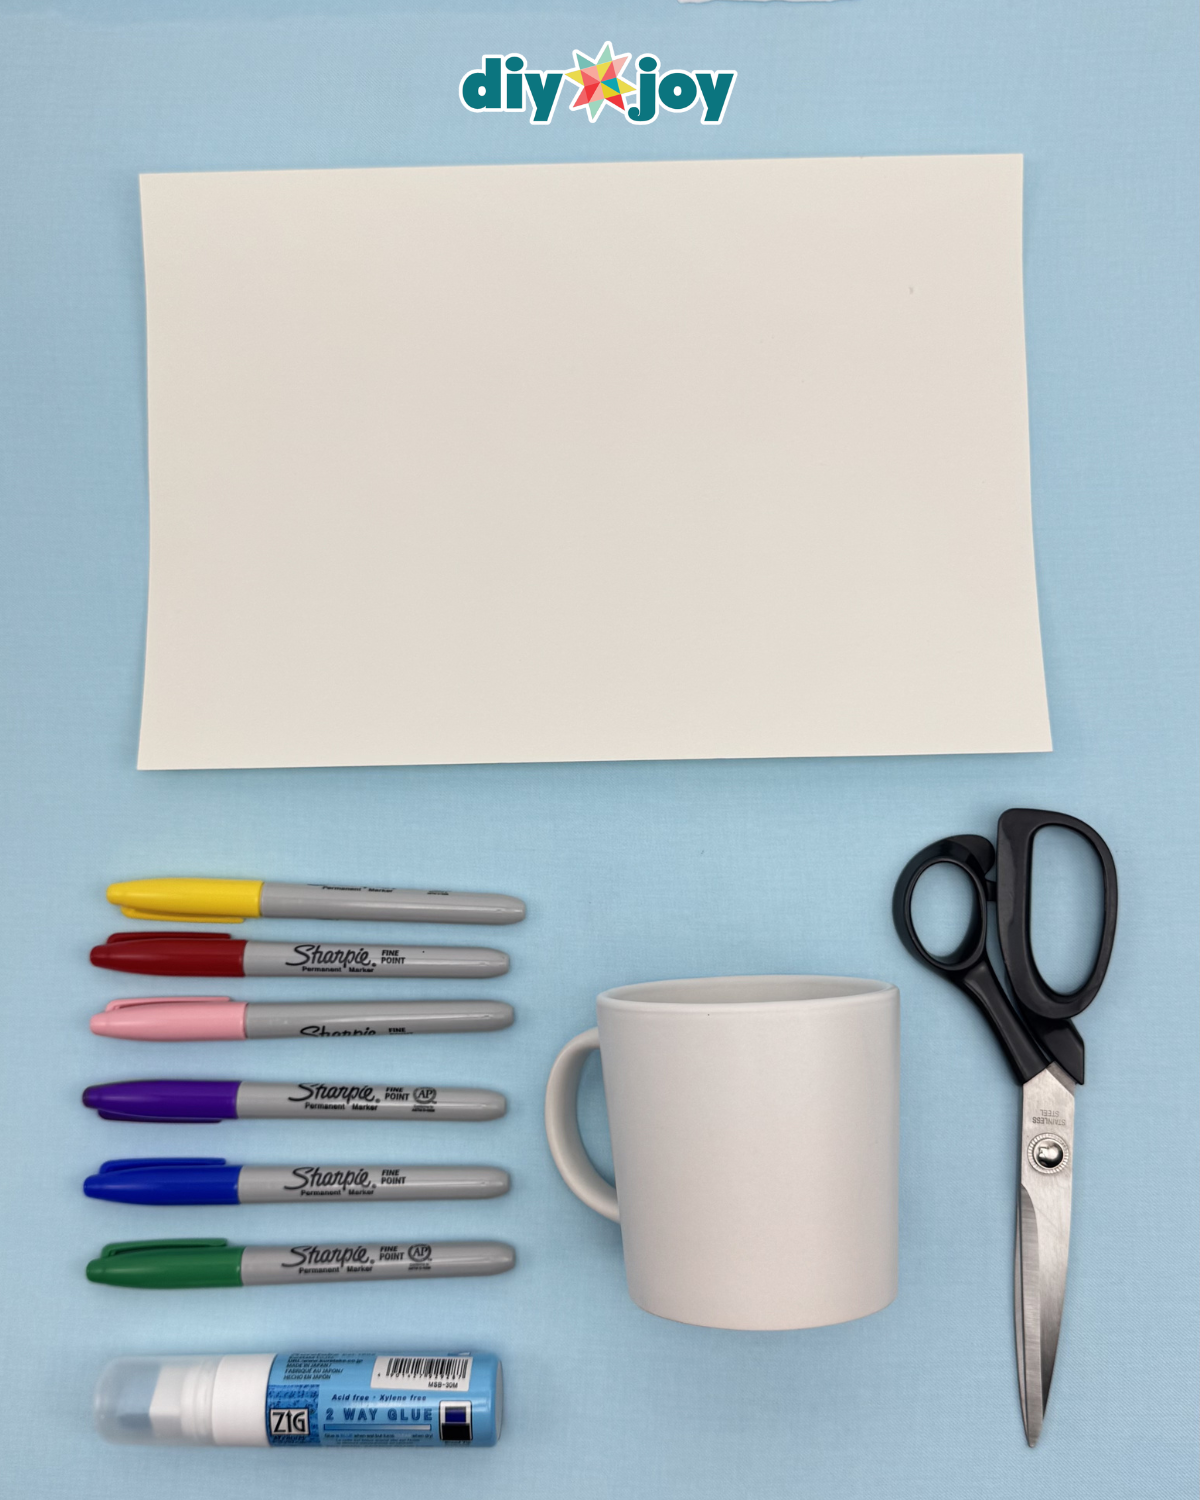
Write the letter you want on a piece of paper and carefully cut it out. Then, cover the back of the letter with zig glue and wait for the glue to dry and turn white.
Step 2: Attach and Dot Around the Letter
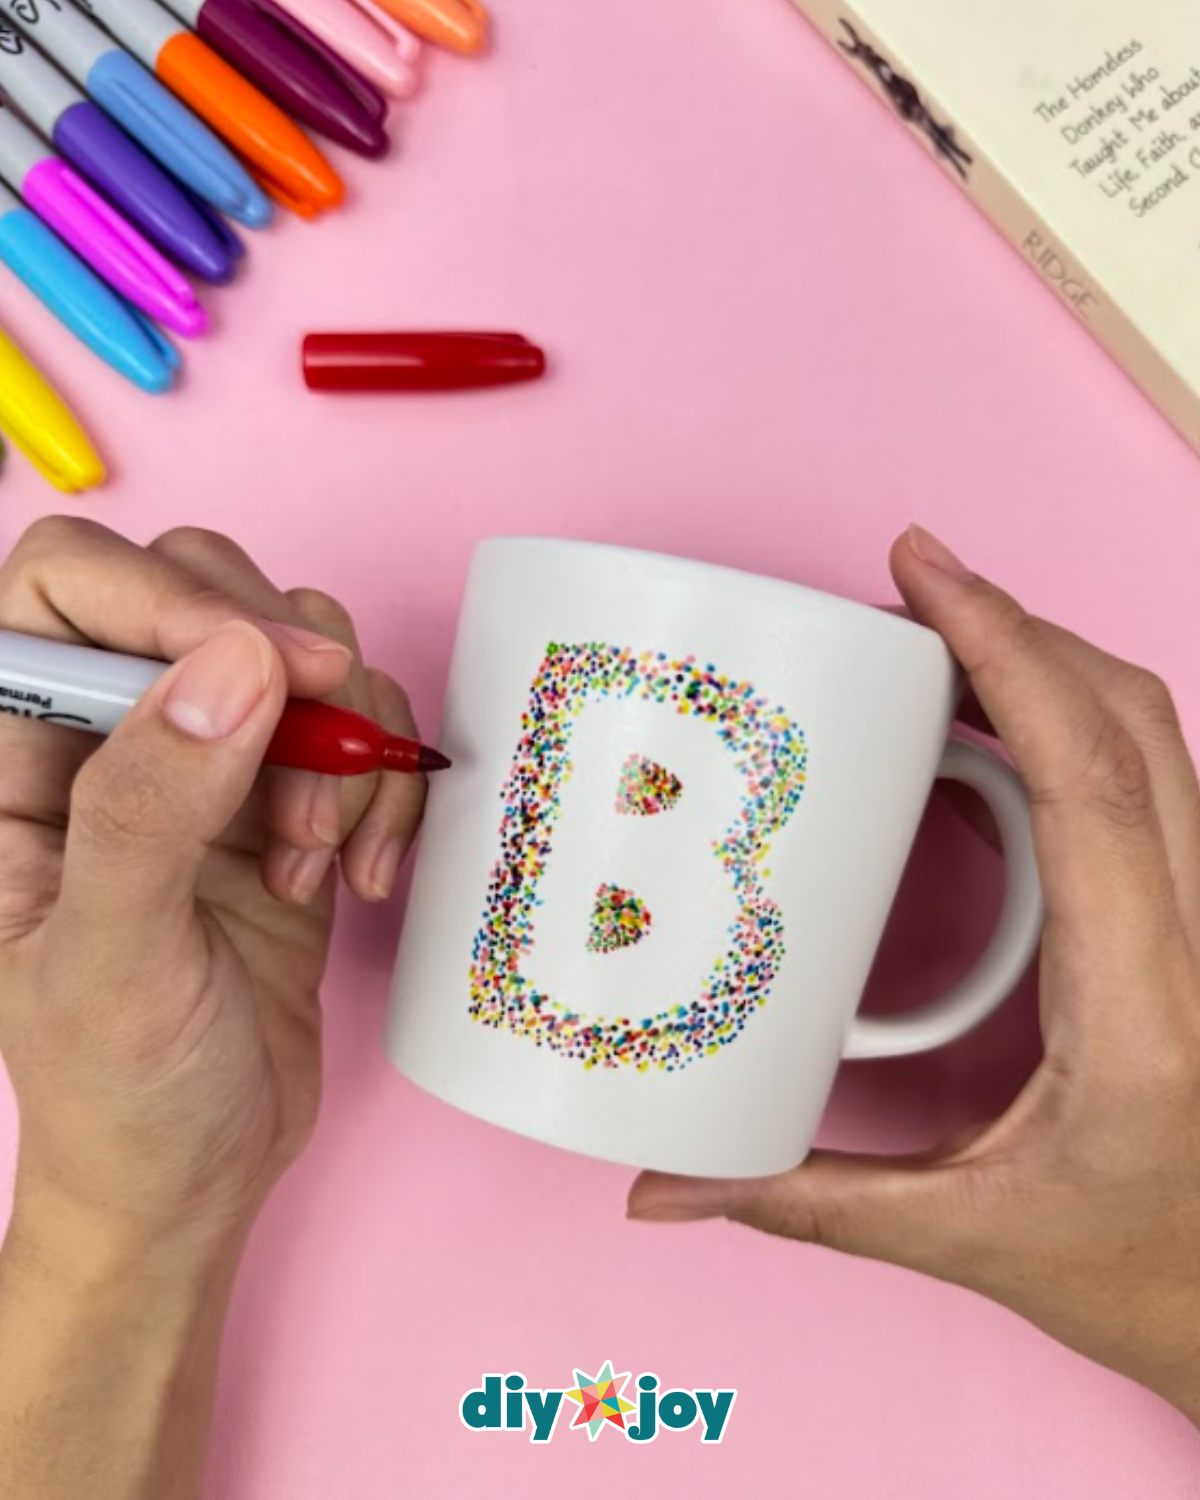
Place the letter in the center of the mug. Using different Sharpie colors, draw dots around the letter to create a decorative design.
Step 3: Remove the Letter
Once the dot design is complete, carefully peel off the letter from the mug.
Pro Tips
Practice on paper first
- Test your lettering style and size on a piece of paper before drawing on the mug. This builds confidence and ensures proportion.
Go slow and steady
- Don’t rush—taking your time while drawing letters makes a big difference in the final look.
Personalize for the recipient
- Use initials, monograms, or short words that mean something special. A little personalization goes a long way!
Viral Crafts on DIYJoy!




*If you love this craft, then visit our official website, follow our Facebook page, and subscribe to our YouTube channel for more!
Easy Customized Sharpie Mug Tutorial