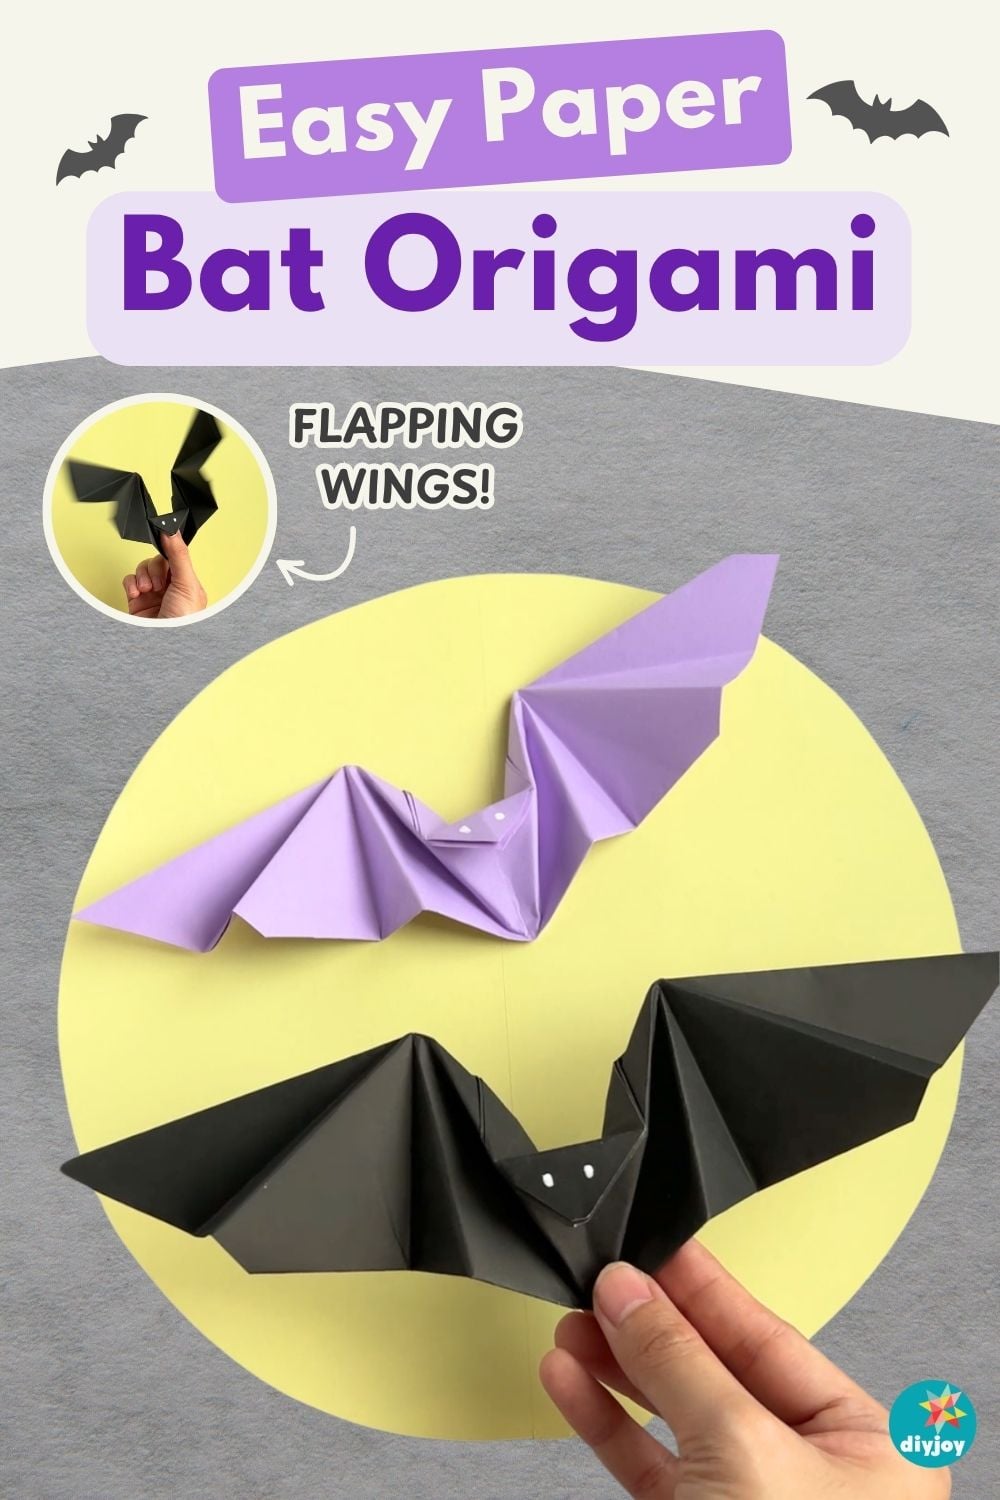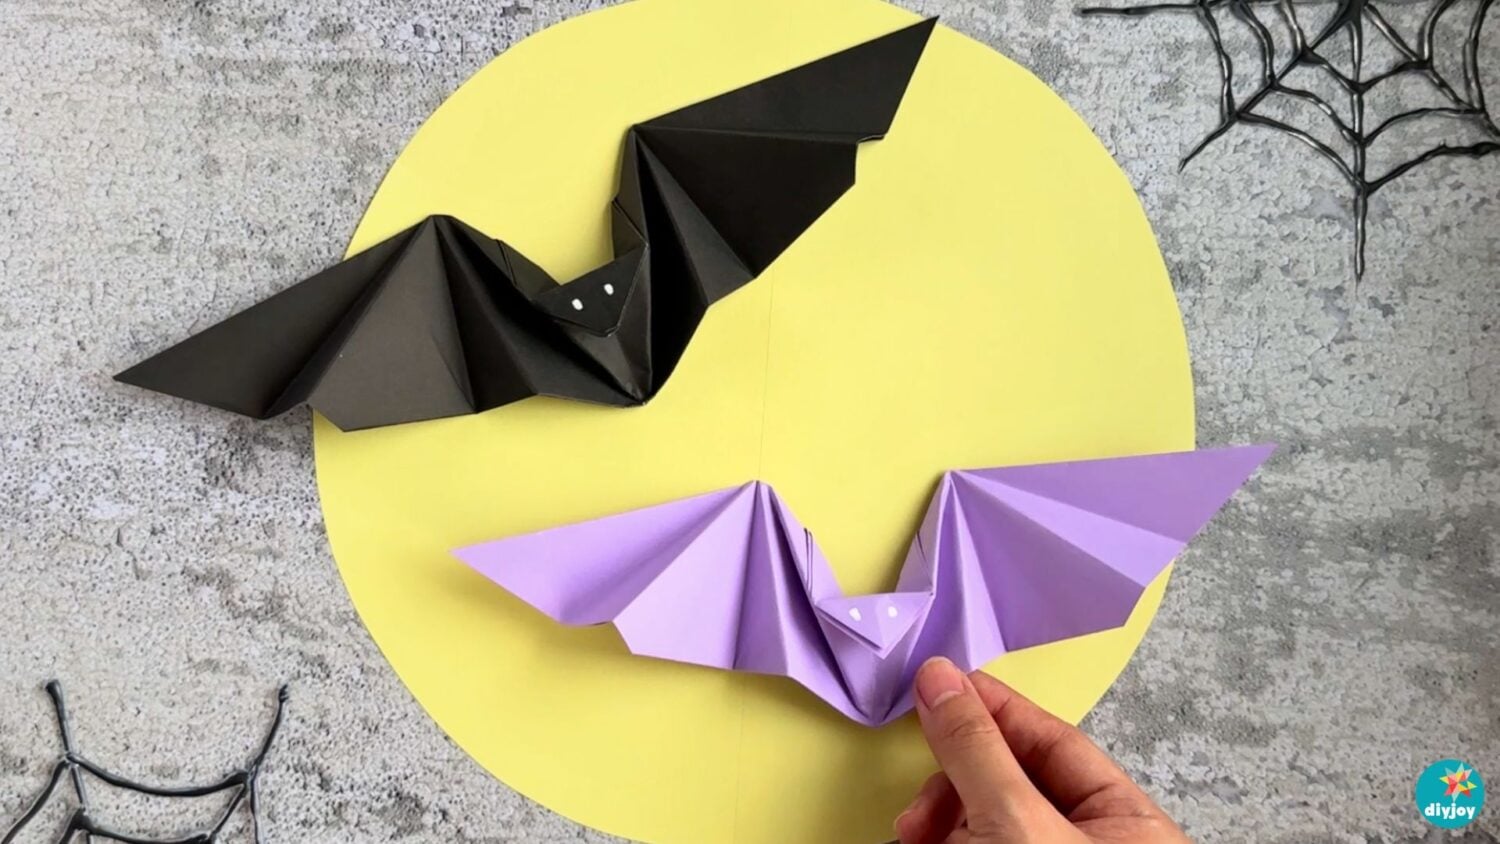
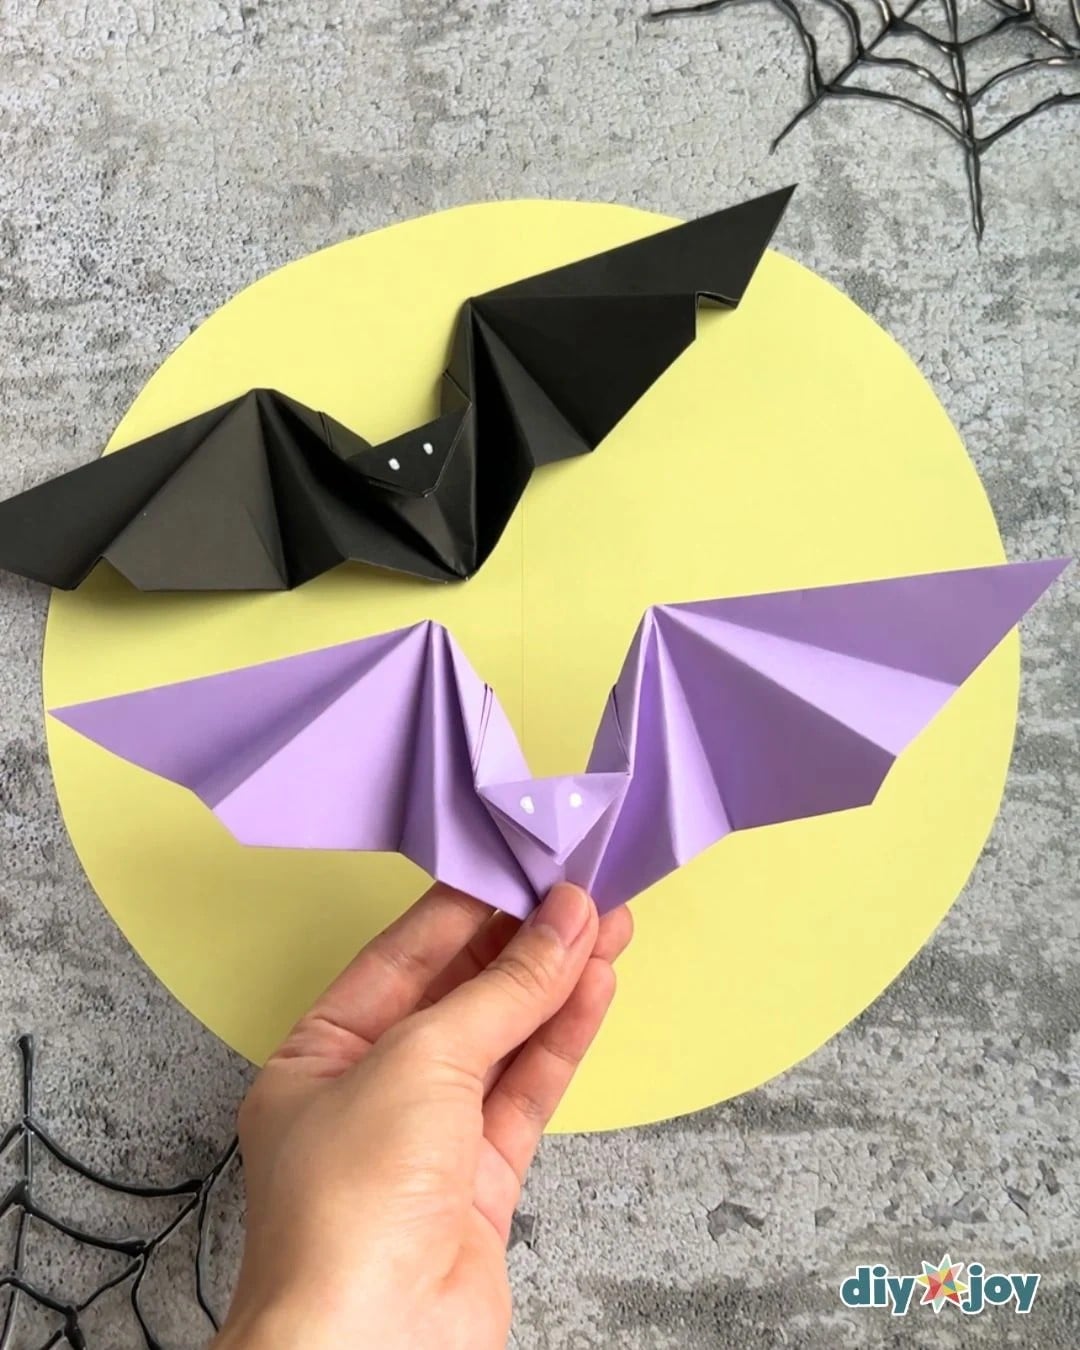
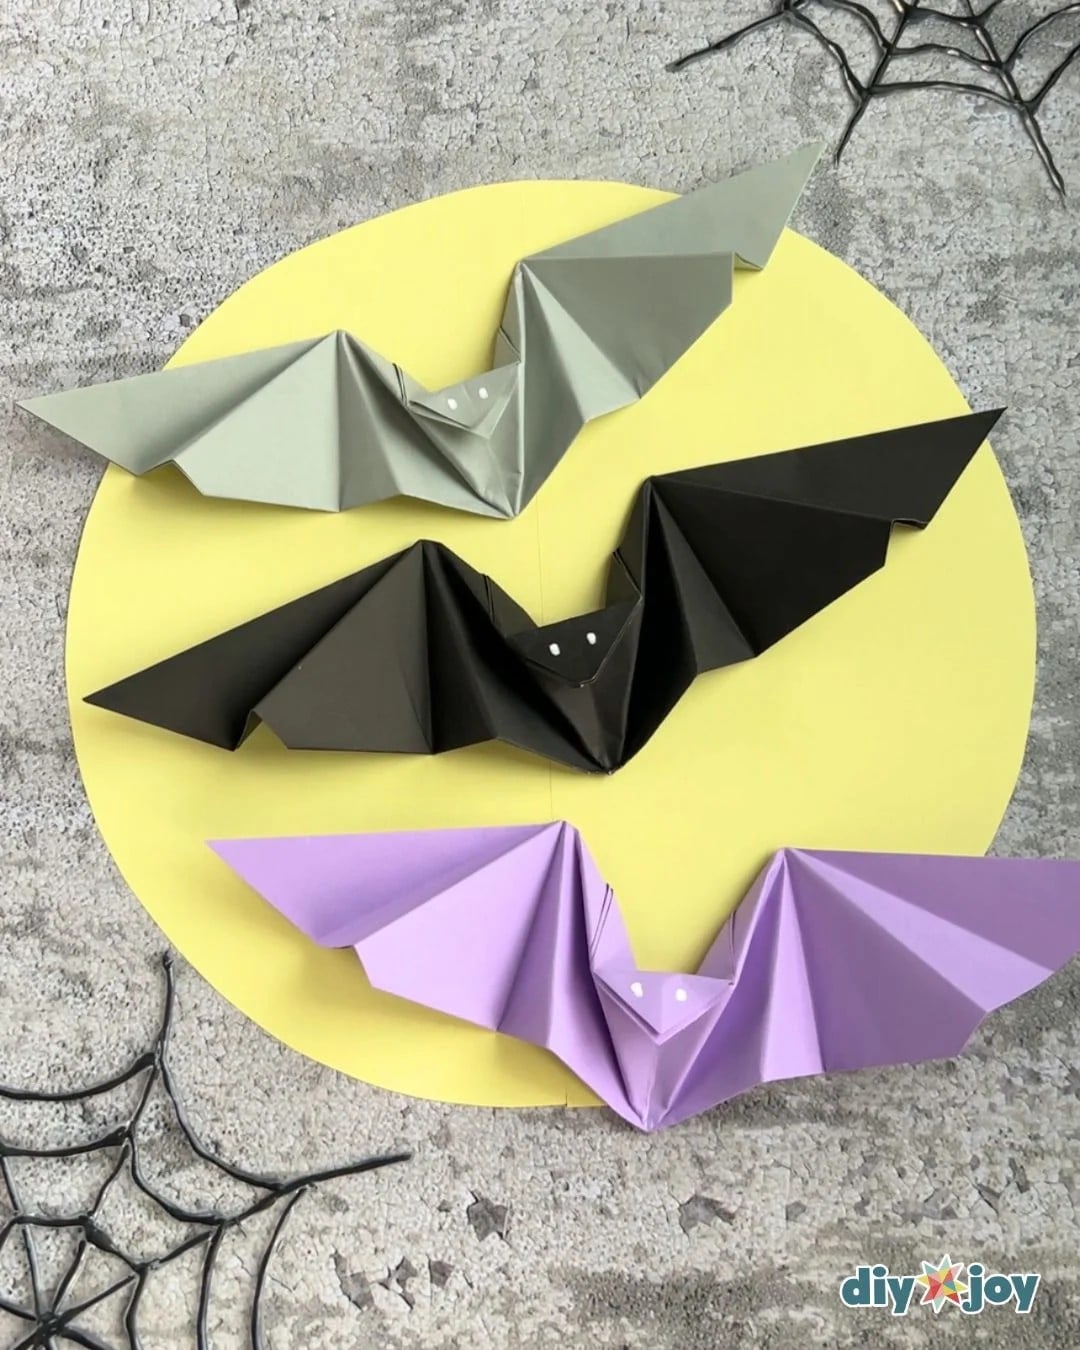
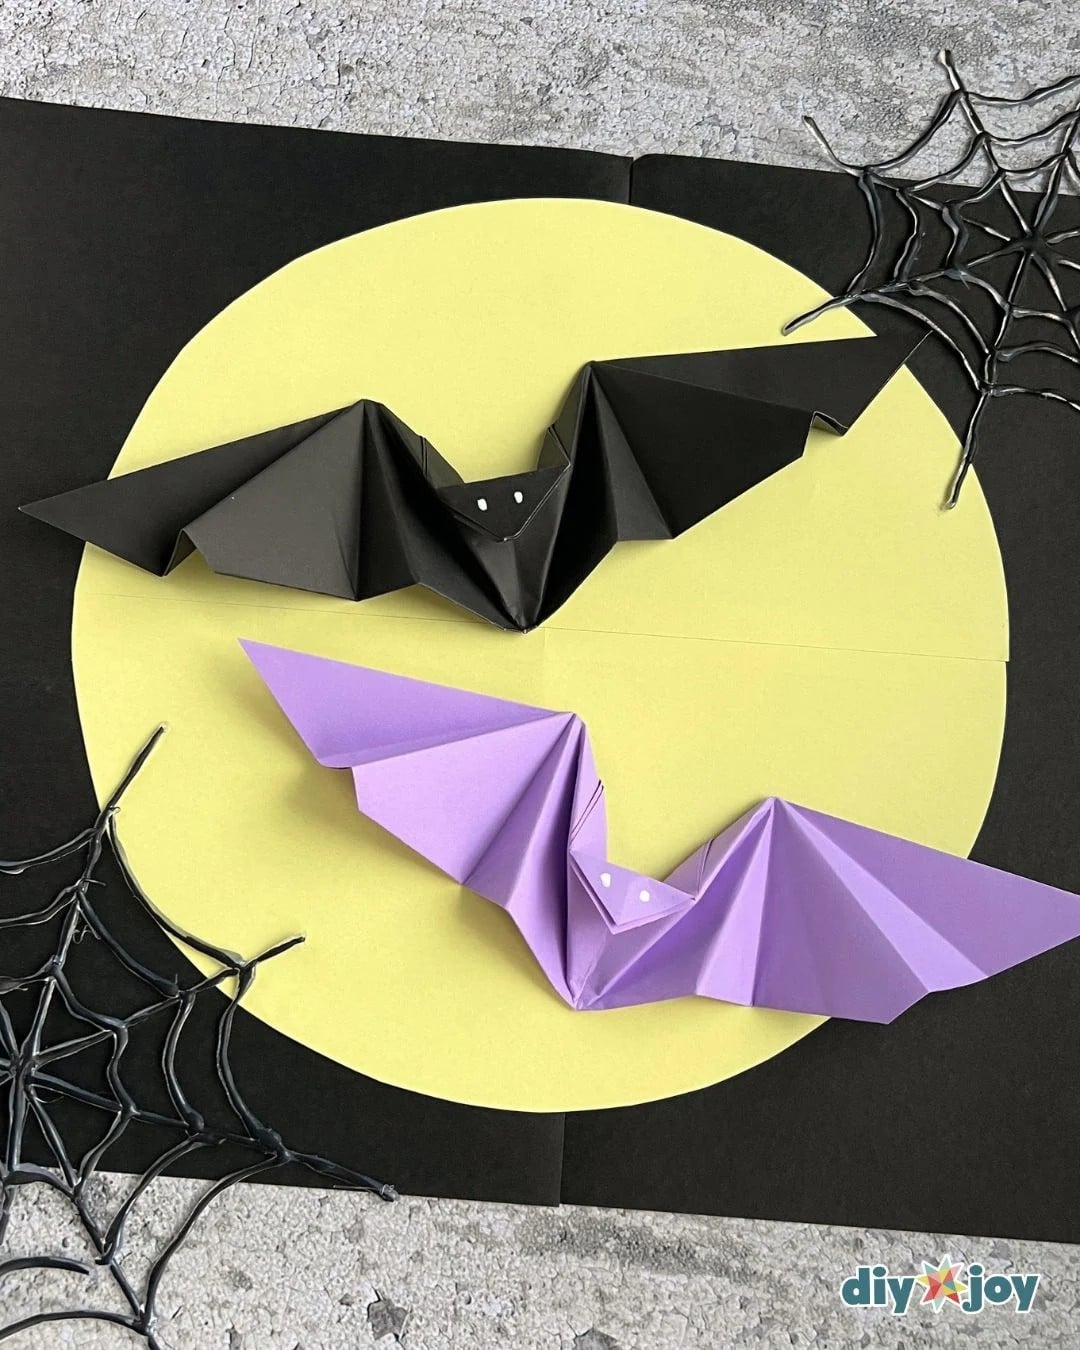
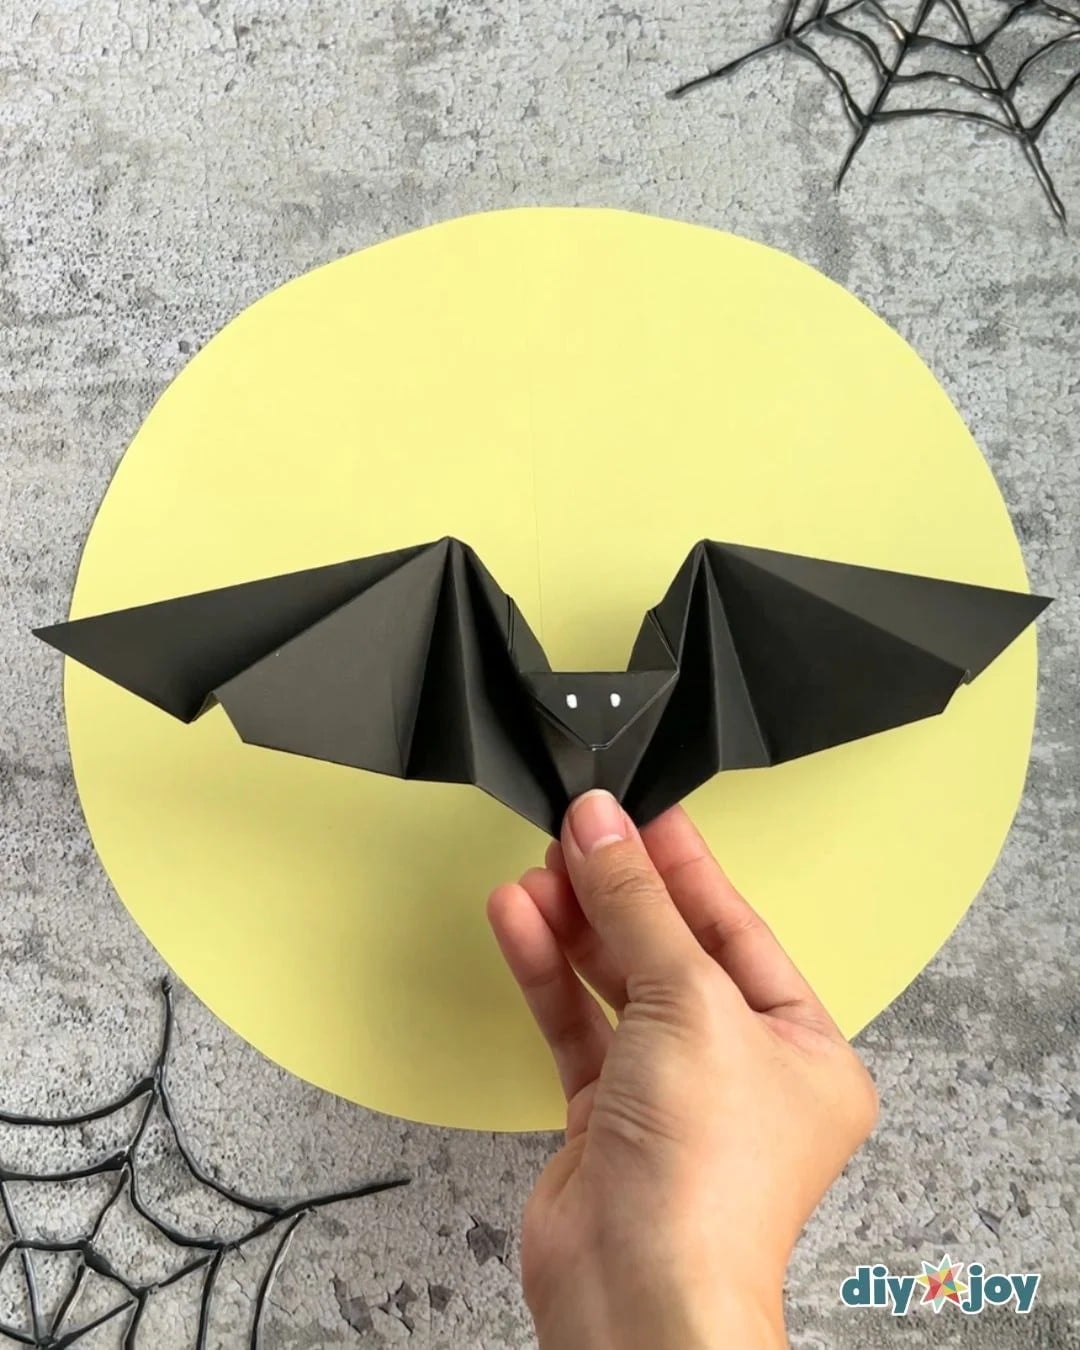
The wings on these Halloween paper bats actually flap. That’s the whole trick: one sheet of paper, no glue and no scissors, folded into an origami bat that moves. I’m the one friends text about paper mache, so it’s humbling that the best paper craft I can hand you this spooky season needs nothing but paper. The kids will out-fold you by the third bat, and a swarm of black ones going up a wall is a free Halloween decoration.
Flapping Bat Video Tutorial
Here’s another easy Halloween DIY:
DIY Halloween Banner Using Toilet Paper Rolls
It may look complicated at first, but trust me, it’s actually easy! Even kids can follow the steps. What I love most about this project is that you only need a sheet of paper. You don’t need glue or even scissors to make the wings flap. It’s simply the magic of paper folding!
Craft Supplies Needed:
- 8.3-in x 8.3-in colored paper (21 cm x 21 cm)
- bone folder (optional)
- paper cutter (optional)
Shop the Supplies
Here are the main supplies we used for this marigold paper flower, so you can grab the same ones and get straight to crafting.
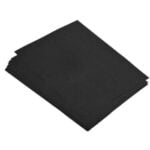
Colored Paper
This paper is the perfect thickness for origami and comes in a variety of colors!
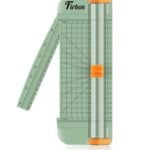
Paper Cutter
Make straight, clean cuts quickly and easily with this paper cutter!
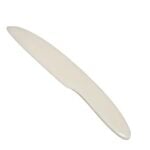
Bone Folder
Get sharp creases with this bone folder! It makes folding this origami project much easier.
*Some of the supply links above are affiliate links. If you buy through them I earn a small commission at no extra cost to you.
Paper Bat Origami Tutorial
Learn how to make a paper bat with this easy step-by-step tutorial. It’s the perfect Halloween craft for kids you can make with just a piece of paper.
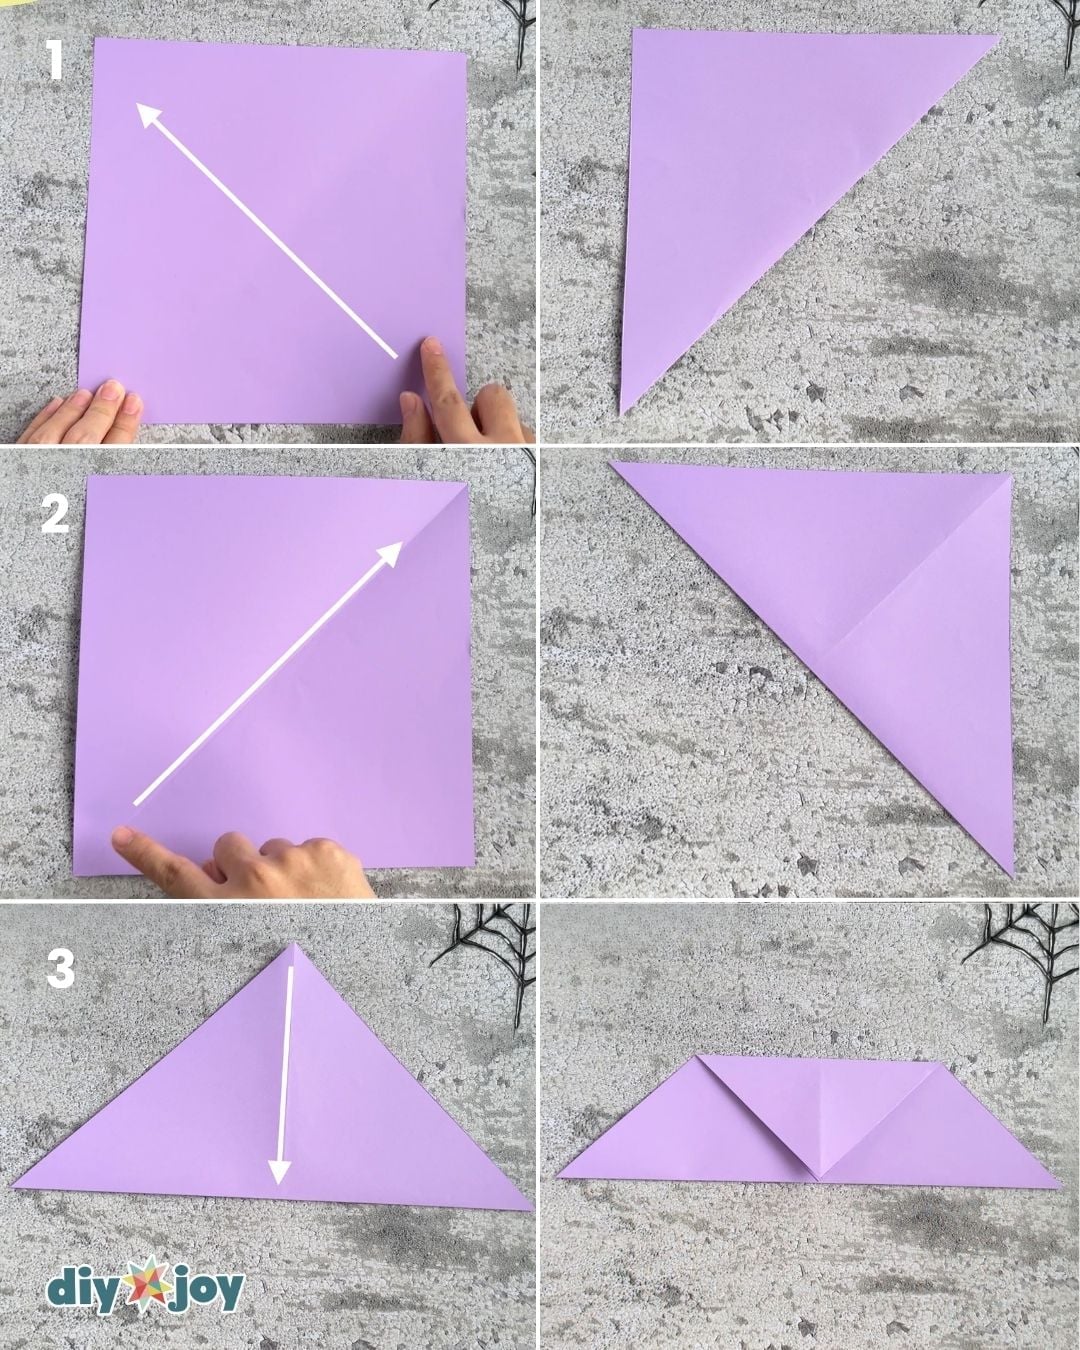
Step 1-3:
Step 1: Fold the paper in half diagonally to make a crease. Unfold.
Step 2: Fold it in half diagonally again in the opposite direction.
Step 3: Rotate the triangle so that the flat edge is closest to you. Fold the tip toward the bottom edge. Unfold.
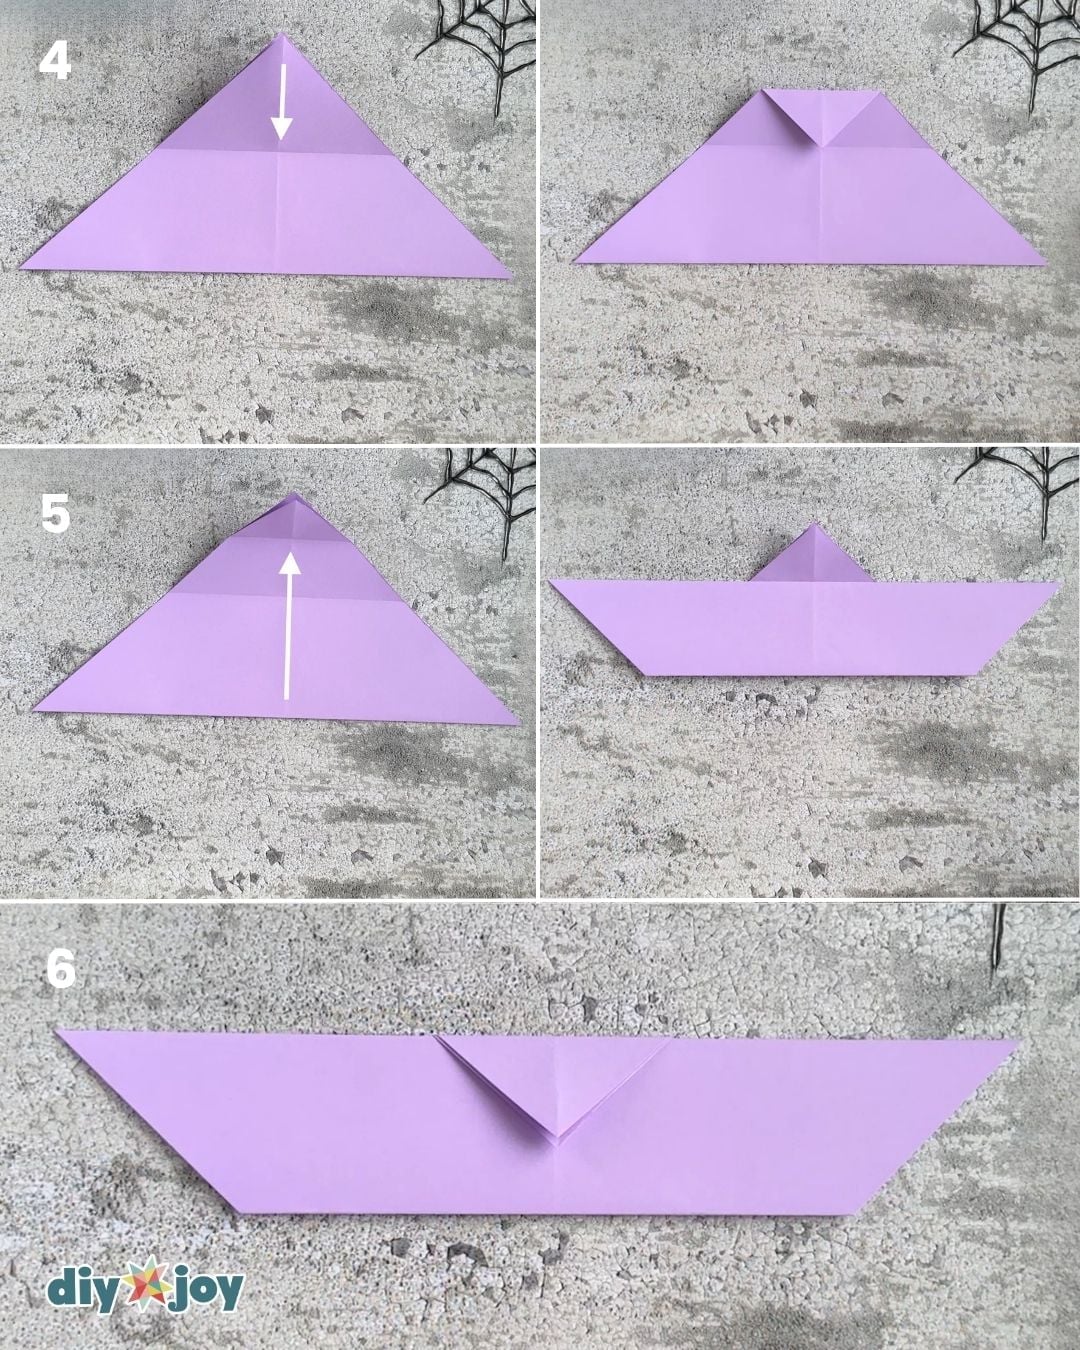
Step 4-6:
Step 4: Fold the tip toward the crease line. Unfold.
Step 5: Fold the bottom edge up to the top crease line.
Step 6: Fold the tip down.
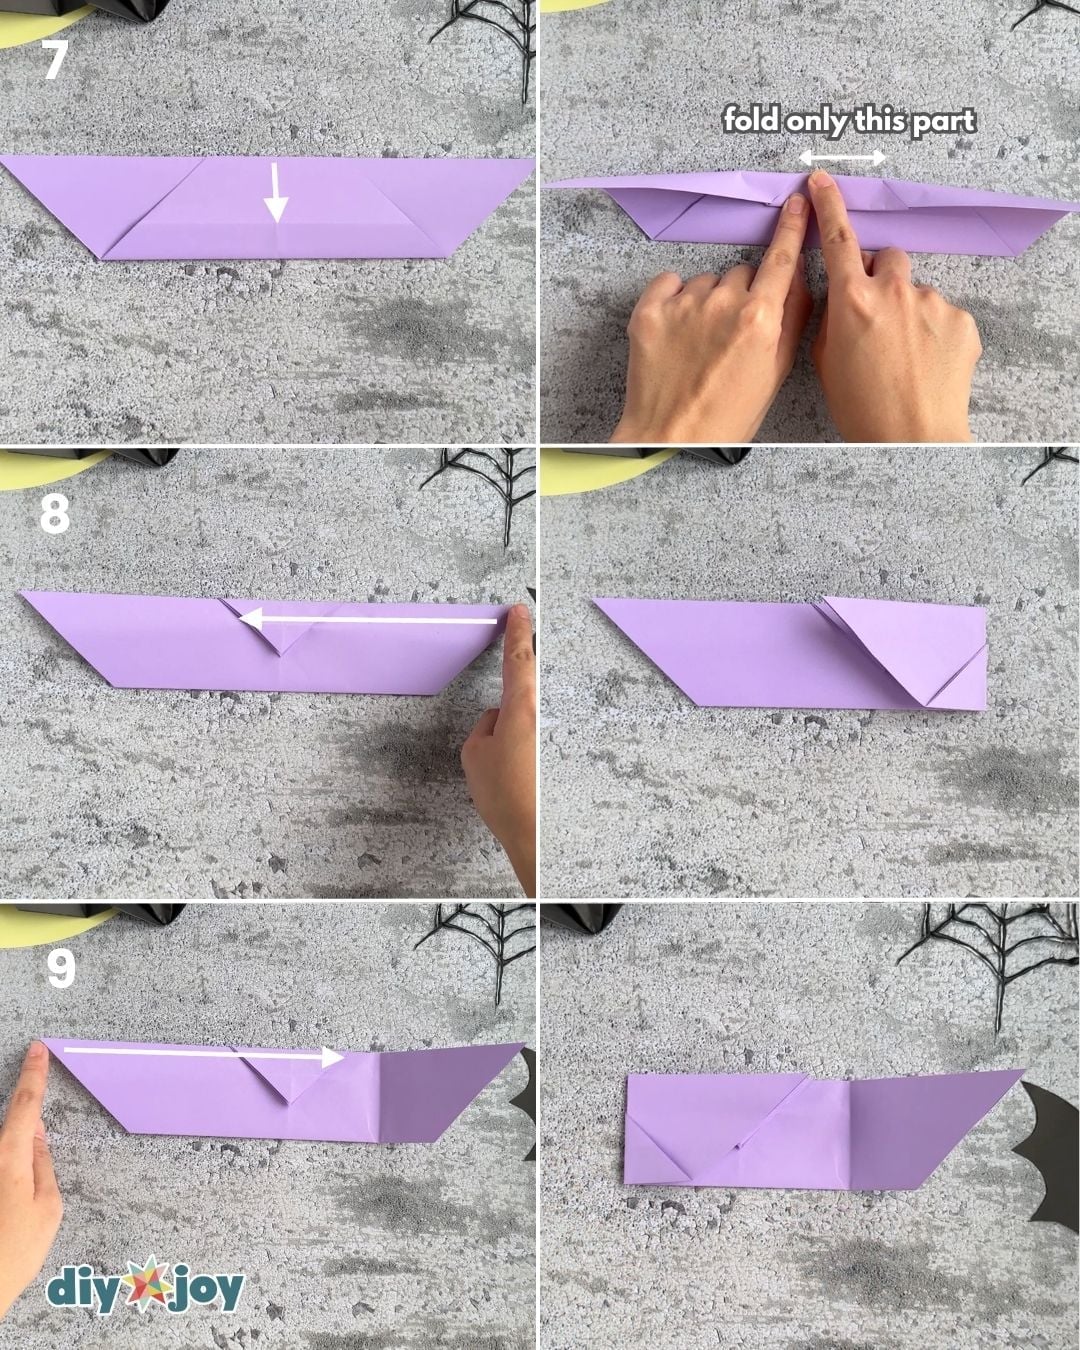
Step 7-9:
Step 7: Fold the middle section of the top edge toward the crease line. Fold only the section shown in the photo below to create a crease. Unfold.
Step 8: Fold the right side toward the left side of the middle triangle. Unfold.
Step 9: Repeat on the other side.
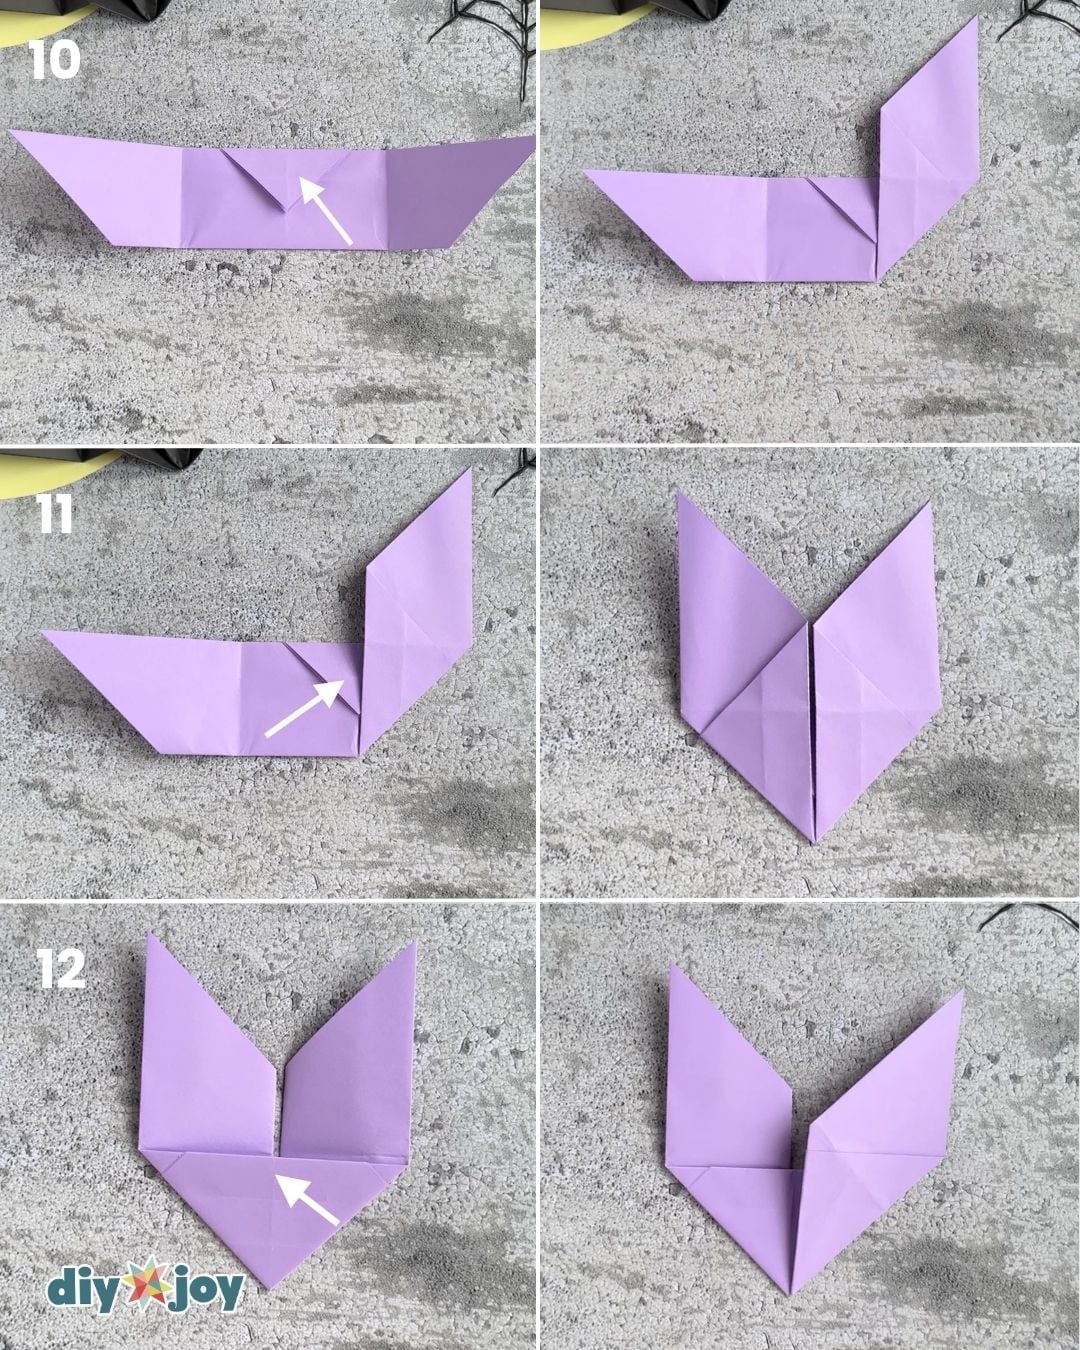
Step 10-12:
Step 10: Fold the bottom-right side toward the center.
Step 11: Repeat on the bottom-left side.
Step 12: Flip the paper over. Fold the right edge of the bottom triangle toward the center line.
Step 13-15:
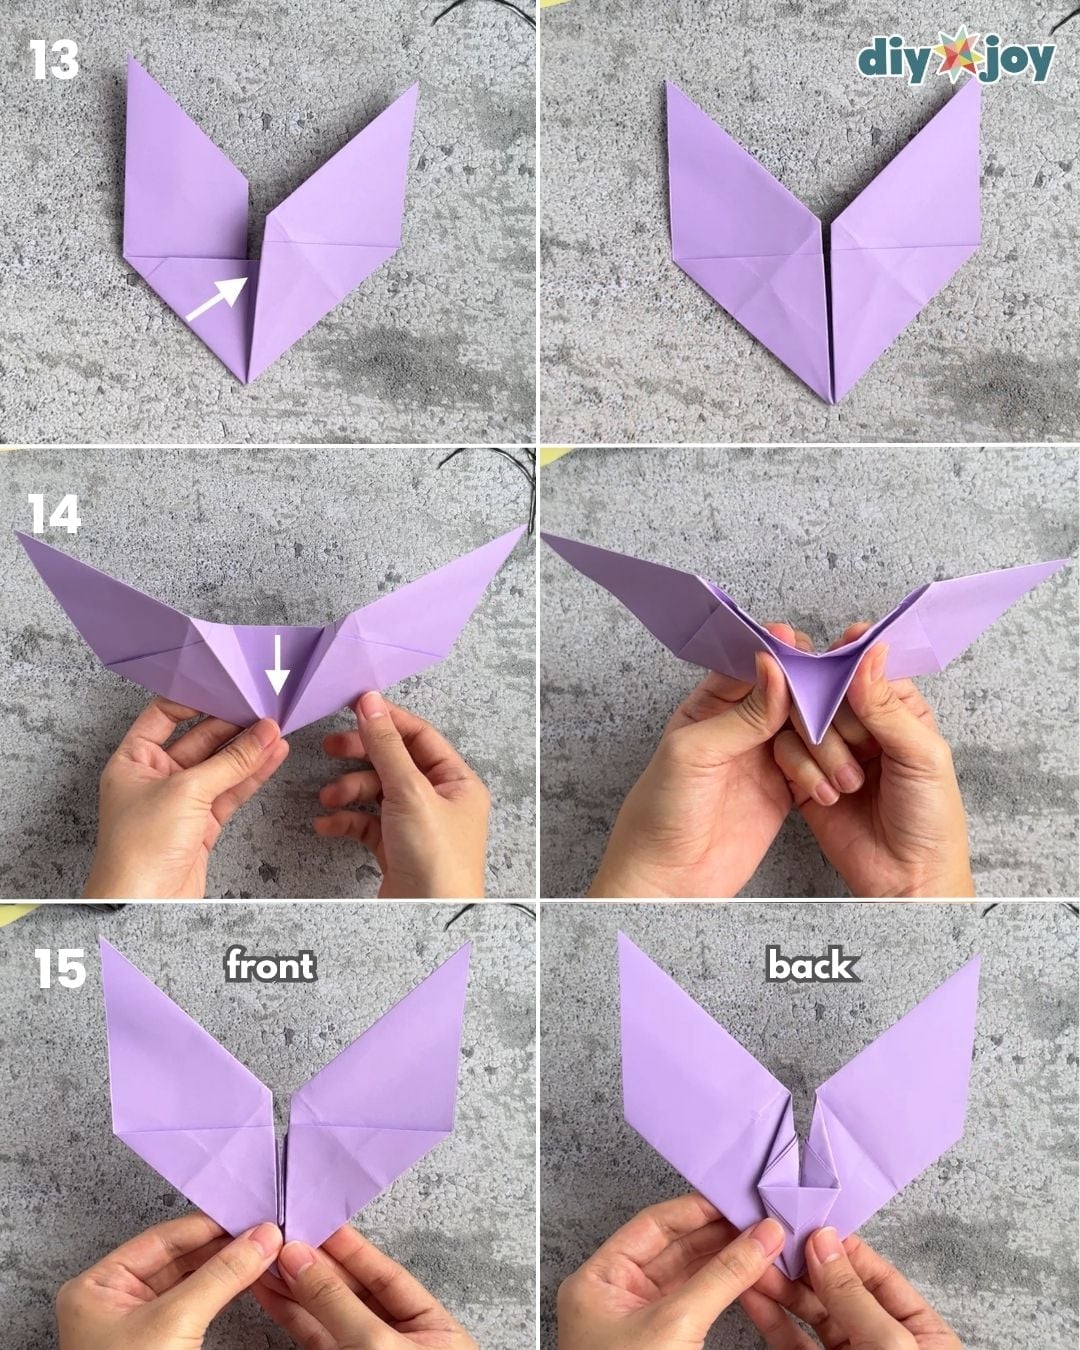
Step 13: Fold the left edge of the bottom triangle toward the center line.
Step 14: Open the paper slightly. Fold the center section inward.
Step 15: Carefully fold the middle section together to close it.
Step 16-18:
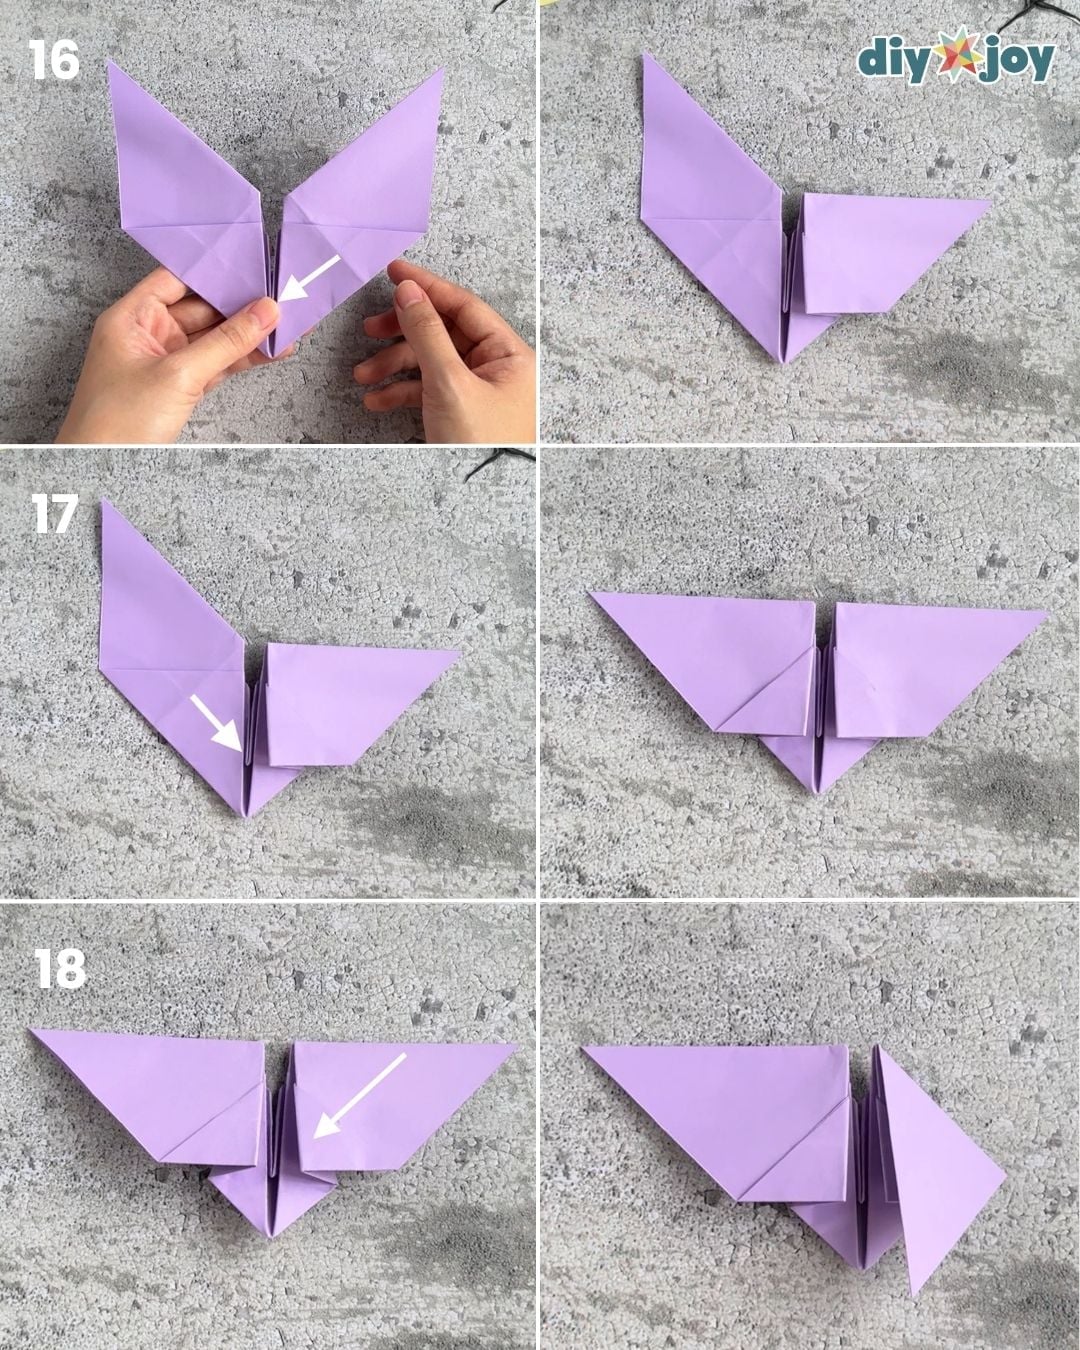
Step 16: Fold the right diagonal crease toward the center line.
Step 17: Repeat Step 16 on the left side.
Step 18: Fold the top-right edge toward the center line.
Step 19-21:
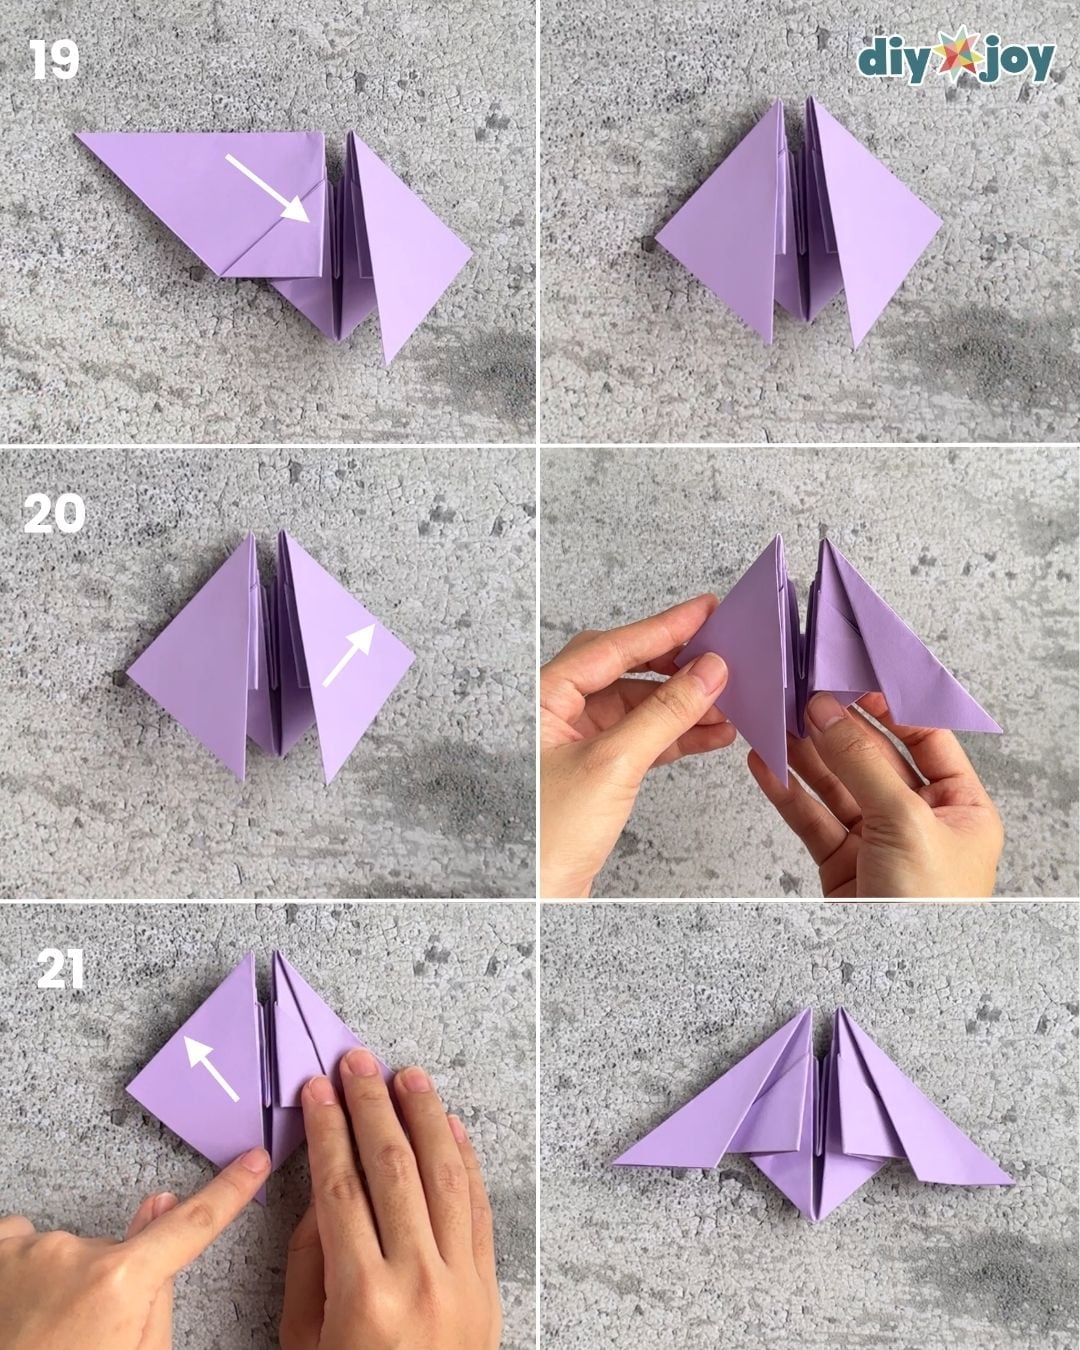
Step 19: Repeat Step 18 on the left side.
Step 20: Fold the right triangle outward in half.
Step 21: Repeat Step 20 with the left triangle.
Step 22-25:
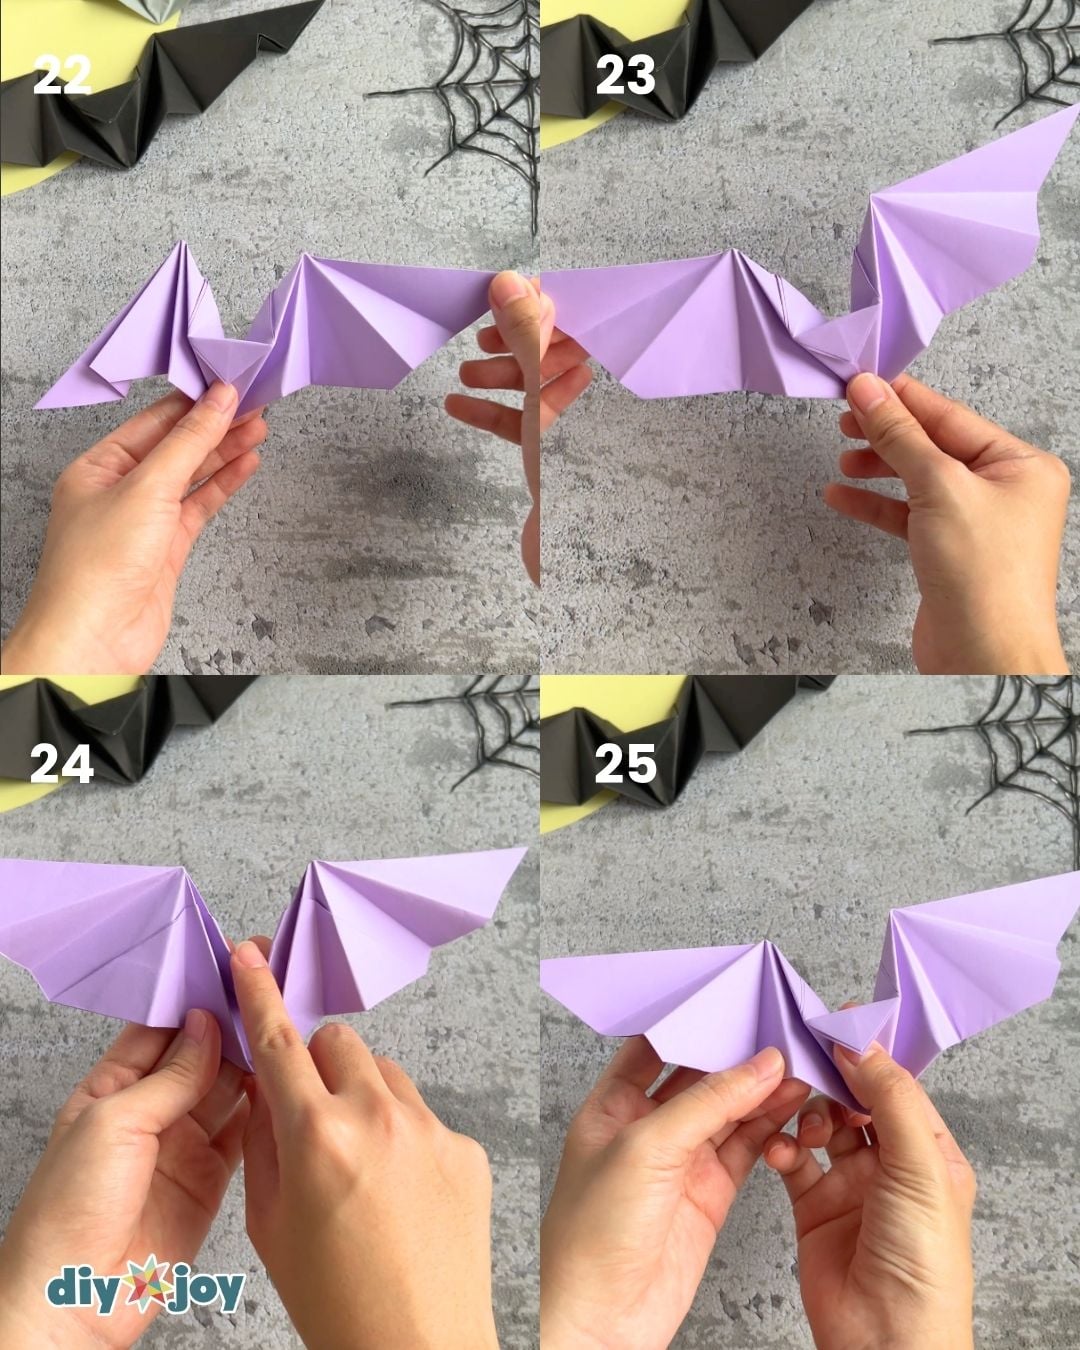
Step 22: Unfold the right wing.
Step 23: Unfold the left wing.
Step 24: Place your index finger against the center of the back.
Step 25: Place your thumb on the center front, just below the flap.
Step 26:
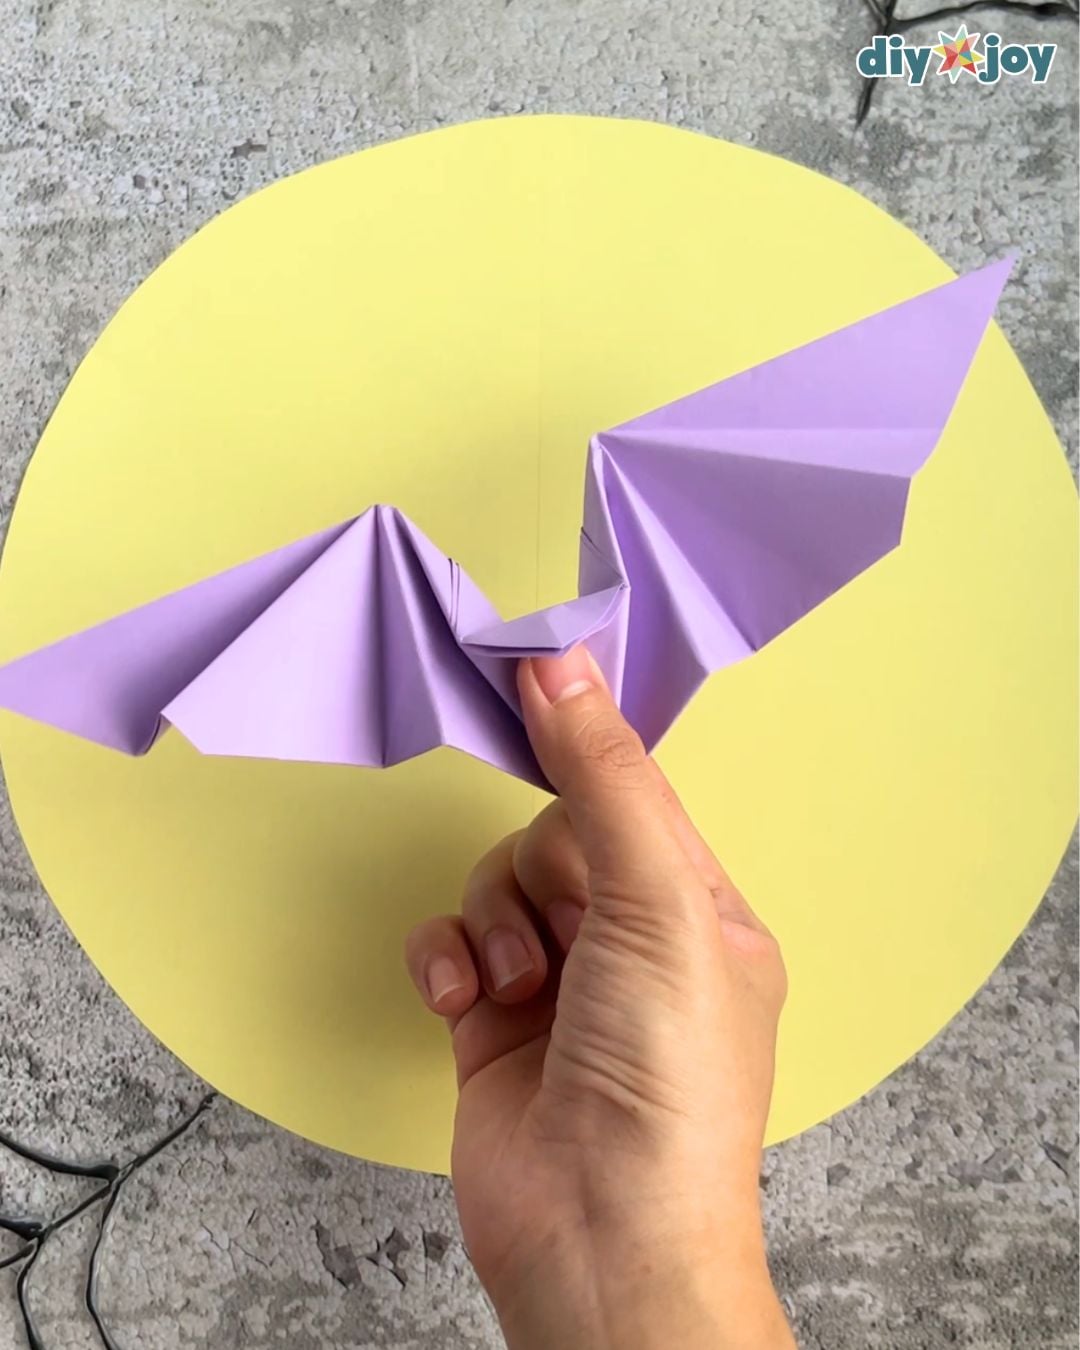
Gently press the folded section on the back with your index finger to make the wings flap. Draw eyes if desired.

Pro Tip
Fold sharp crease lines using your fingernail or a flat plastic tool called a bone folder. Clean folds reduce friction so the paper slides back and forth easily!
FAQs
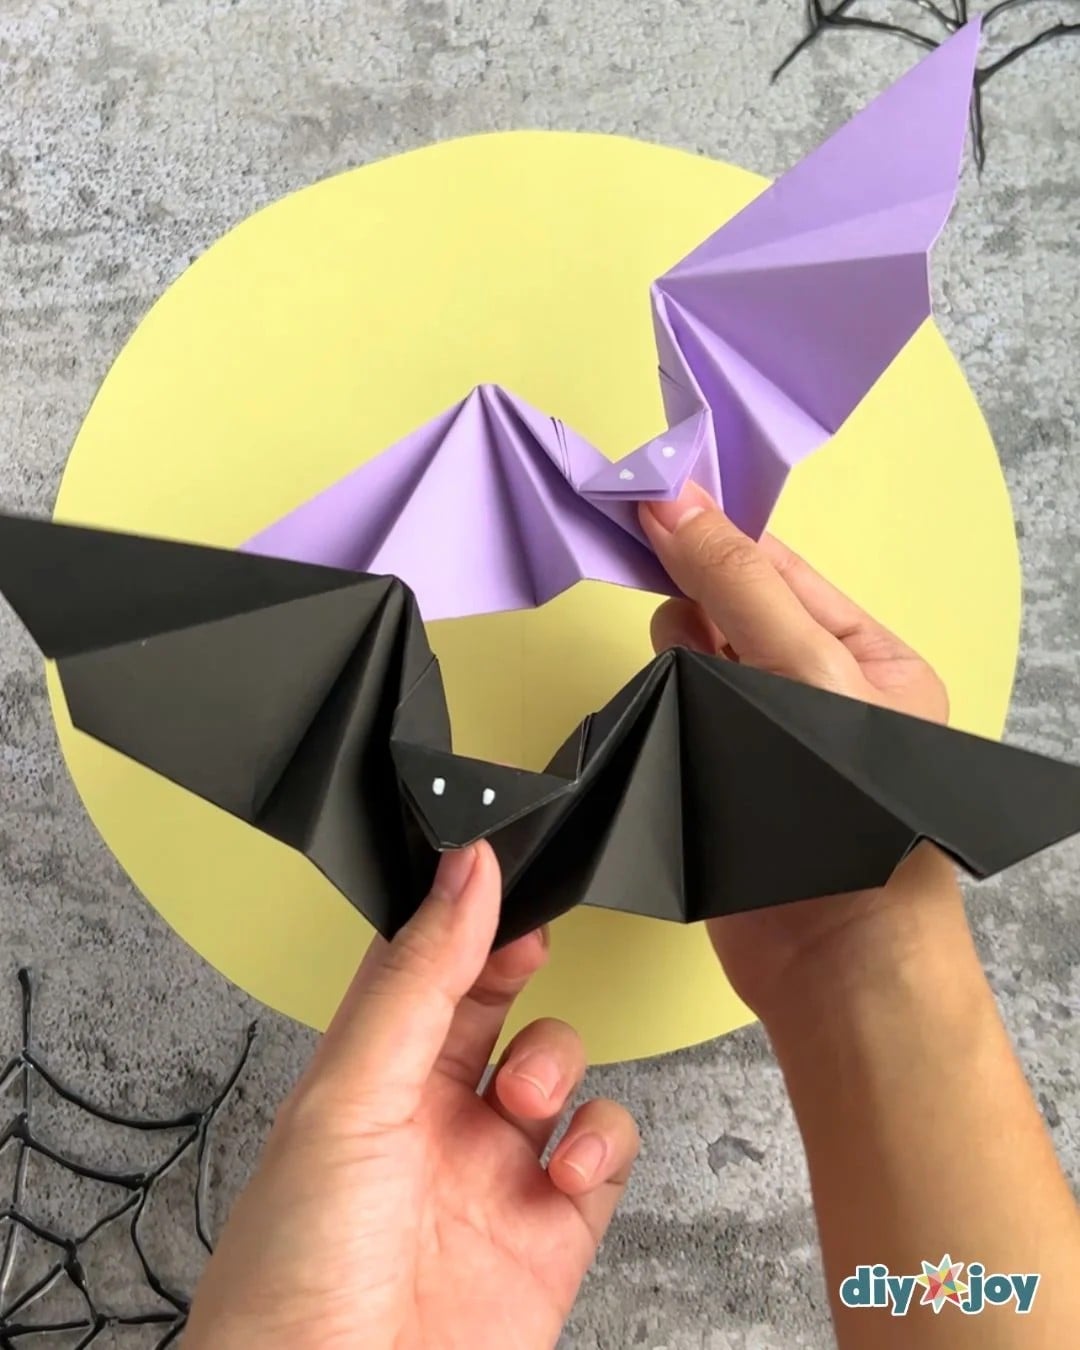
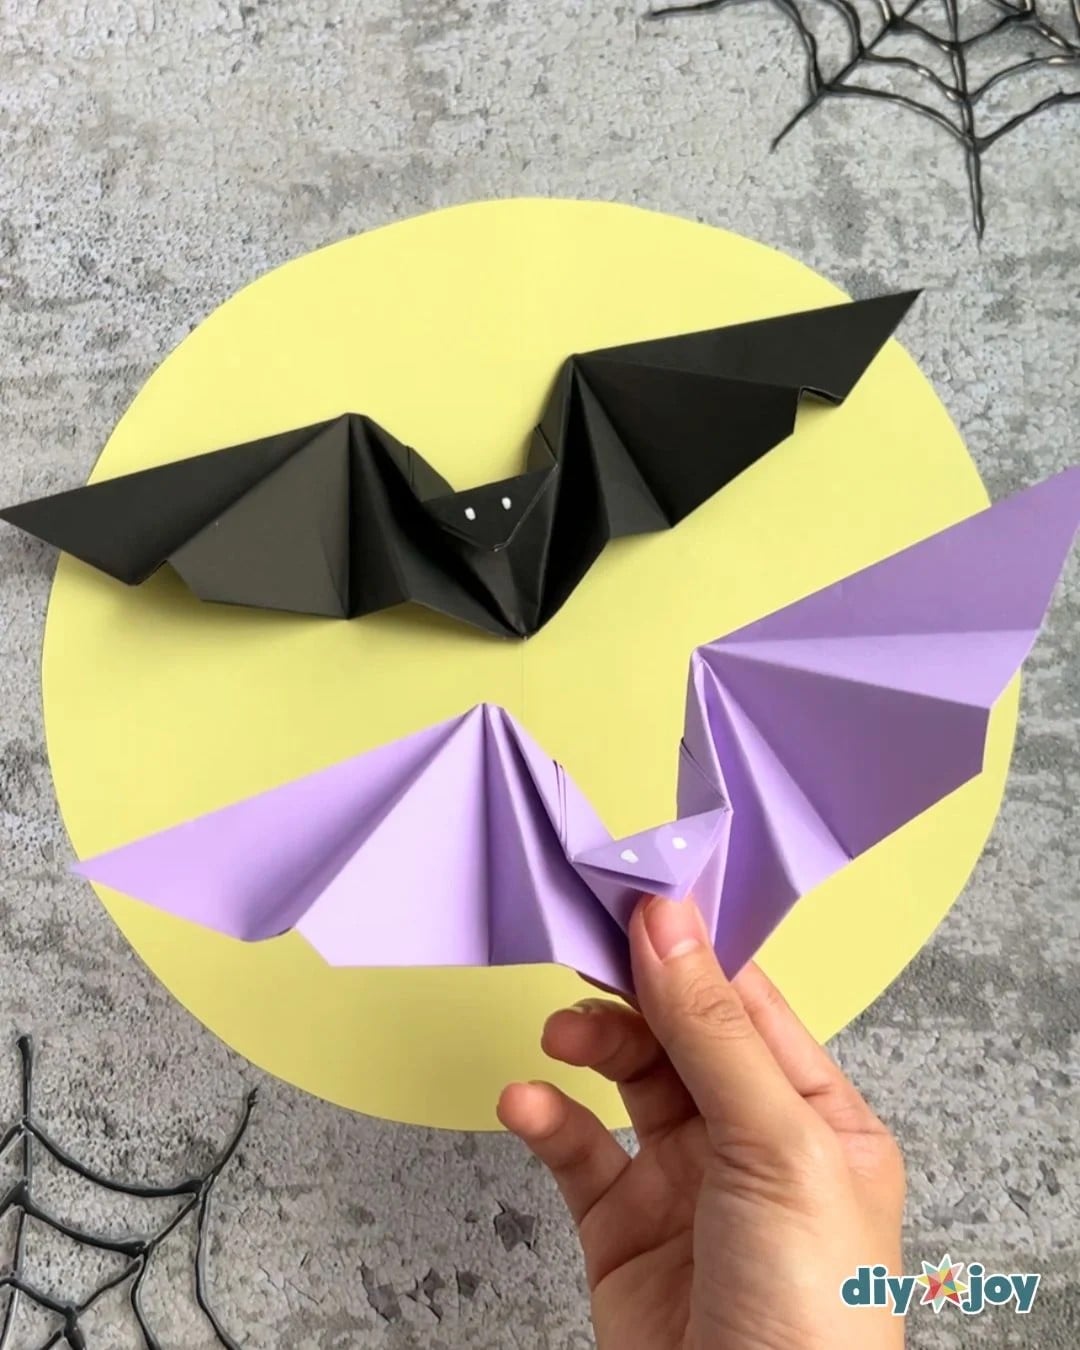
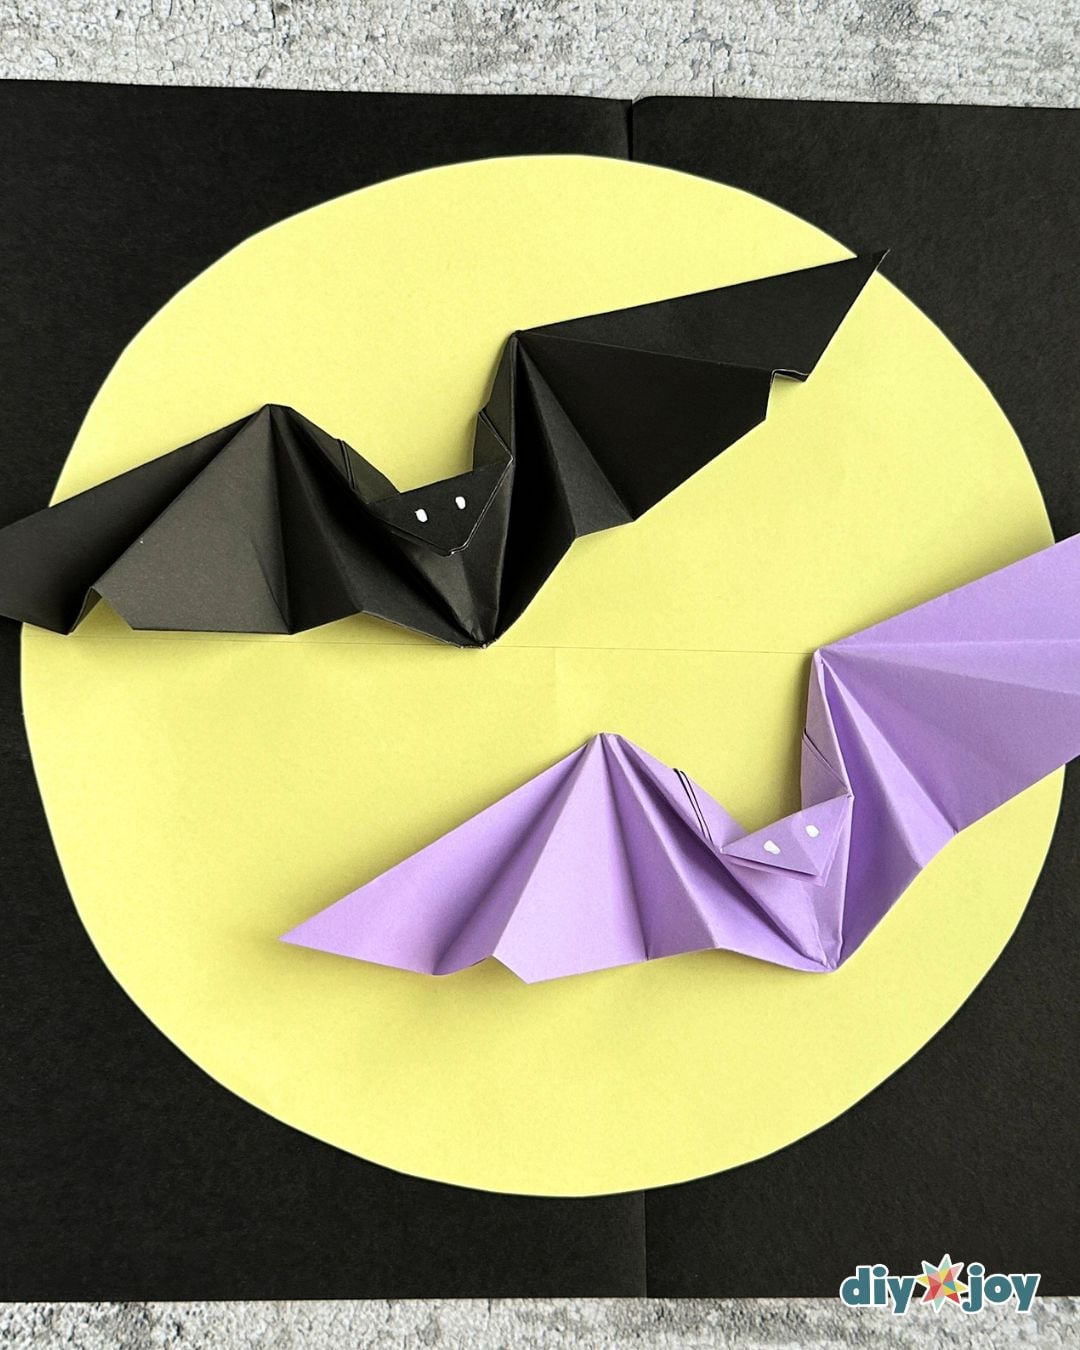
Yes, these origami paper bats are one of the easiest Halloween crafts for kids. There is no glue, no scissors, and no cutting, so little hands can fold along, and the flapping wings feel like a magic trick. Use black paper for classic Halloween bats or bright colors for a friendlier, not-too-spooky look.
You fold a single square of paper into a bat body and wings, then add the crease that lets the wings snap back and forth. The step-by-step photo tutorial above walks you through every fold, and you do not need glue or scissors for any of it.
The ideal paper weight for folding this flapping bat is around 80 GSM, which is roughly the thickness of standard office printer paper or traditional kami (origami paper). This specific weight hits the sweet spot: it provides enough structural integrity to hold the bat’s shape, but remains pliable enough to move freely.
You should strongly avoid using thicker paper, such as cardstock or heavy craft paper, for a few reasons. First, as you overlap folds, thicker paper creates bulky, uneven layers that are difficult to manage. More importantly, heavy paper creates rigid wings that resist movement. The flapping mechanism relies on the paper’s natural flexibility to snap back and forth; if the paper is too thick, the wings will simply lock up and refuse to flap.
The creases are not sharp enough.
To make the wings flap, the folds need to be very flat and tight. You can fix this by pressing down hard on every fold you make. Just slide your thumbnail or the edge of a ruler firmly across the paper to flatten it out.
More Halloween Crafts to Try
Once your bats are flapping, keep the spooky season going. Browse all our easy Halloween crafts, try more easy DIY Halloween decorations, or spin a giant spider web with Saran Wrap. On a budget? These cheap DIY Halloween decorations are packed with quick, kid-friendly ideas.
Save this Craft on Pinterest
Roll over the image to get the button.