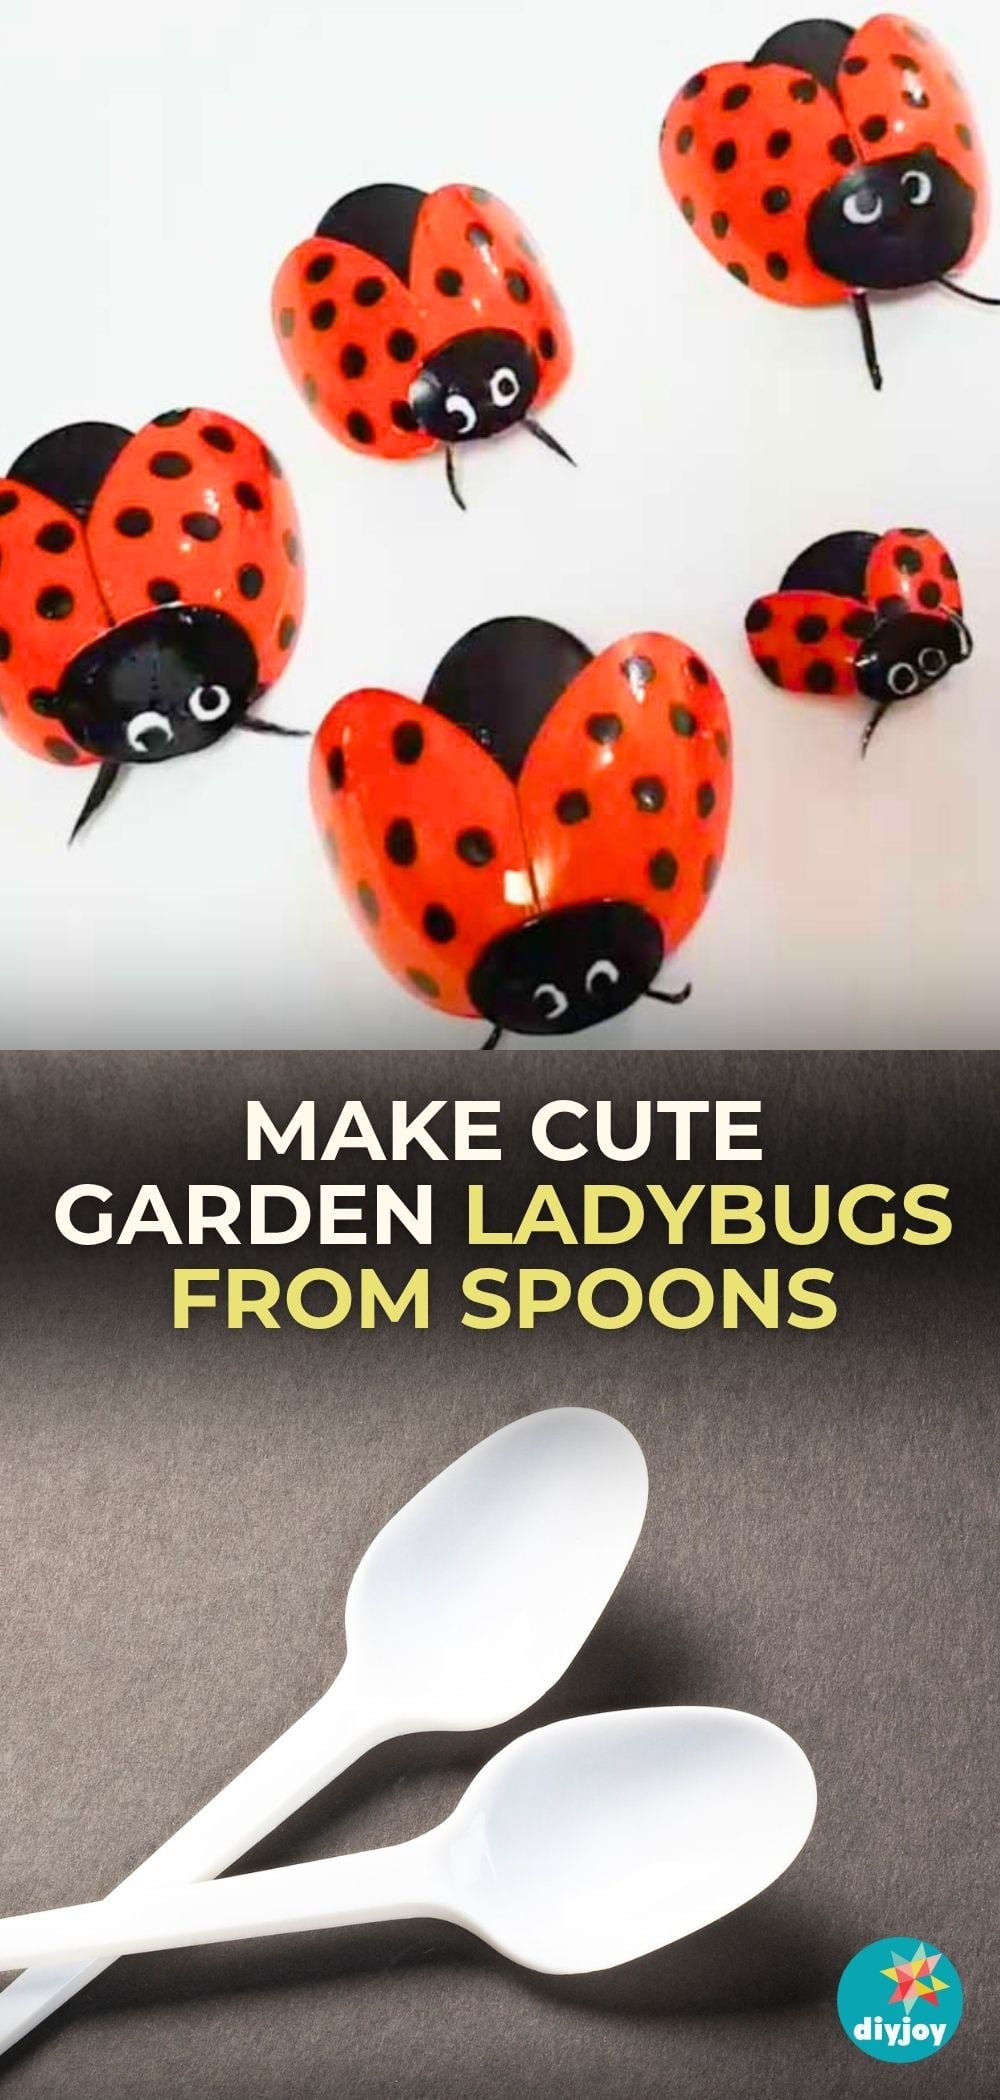
My garden has never looked so cute! These ladybugs would be the perfect budget garden, party, or home decorations for summer. I placed them on top of rocks in my garden and around my patio and they look absolutely adorable.
Materials Needed For This DIY:
- Plastic Spoons
- Paint Pens (red and black)
- Hot Glue Gun
Directions:
Step One
Take out two plastic spoons and color them solid red. Make sure to color the top and bottom of the spoon. Out only have to color in the part you would eat off of.
Step Two
Take out another spoon and color the scoop part front and back with black. Allow the paint to dry for 10 minutes on all the spoons before going on to the details.
Step Three
Cut off the bottom handle part of the spoons so all you have left is the red-colored part.
Step Four
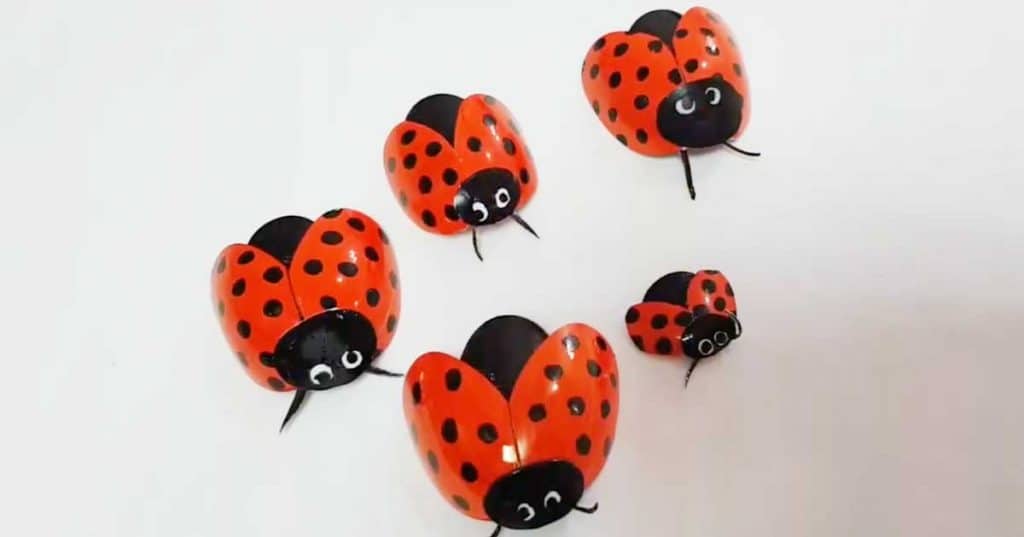
Start drawing the spots onto the ladybug wings with your black paint pen.
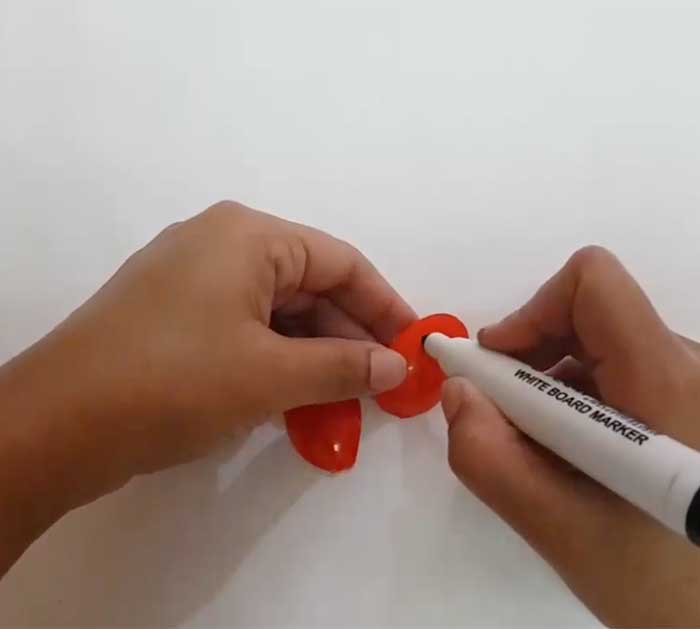
Image by. YouTry Simple Craft via YouTube video.
Step Five
Take another spoon and cut it into a smaller size circle. This will be the head of the ladybug. Color this piece black and left some small white dots for the eyes.
Step Six
Use the extra parts of the spoon and cut tiny strips to create the antennas. Color them black as well.
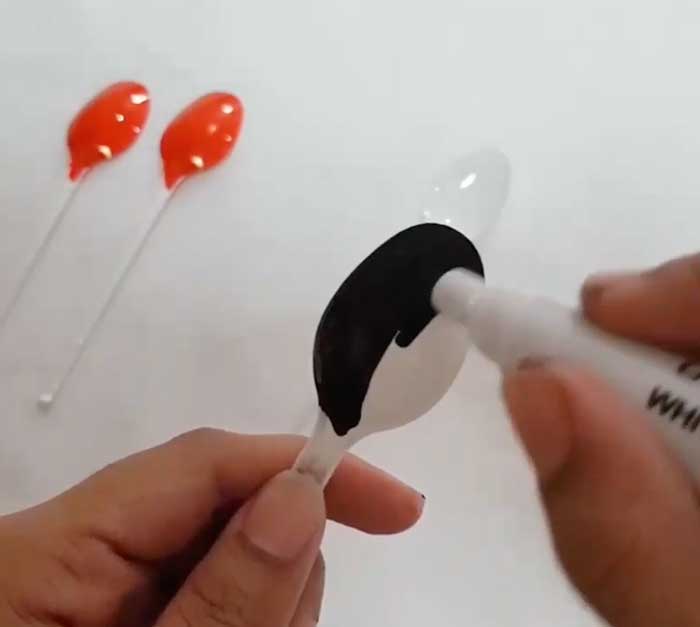
Image by. YouTry Simple Craft via YouTube video.
[social_warfare]
Step Seven
Use the hot glue gun to connect all the pieces of the ladybug. That’s all. You can place these adorable ladybugs anywhere in your house or garden.
DIY Lady Bugs With Plastic Spoons