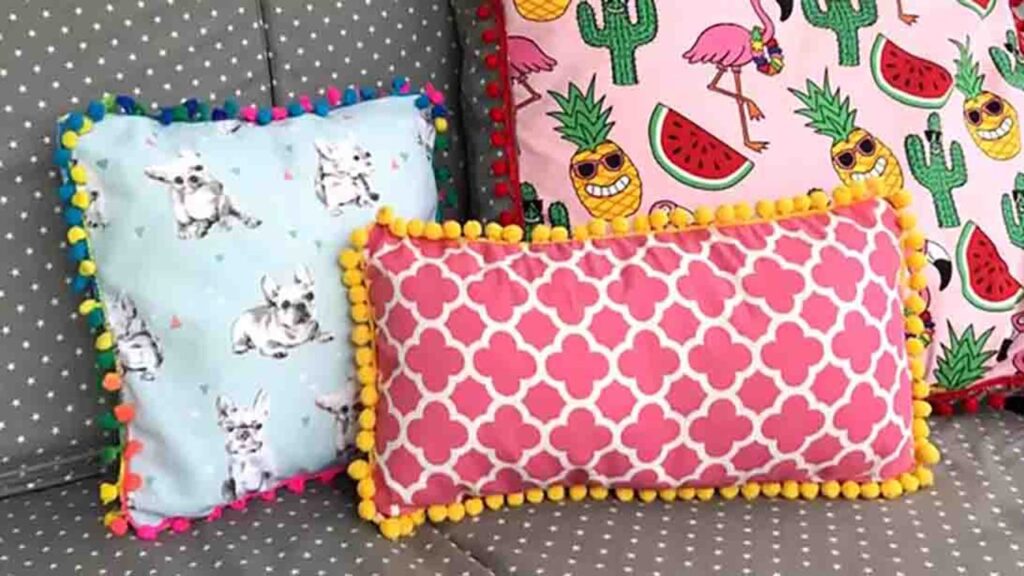
I was looking for a DIY sewing project I could do on the weekend, and I found this cute pompom cushion cover tutorial from Treasurie on Youtube. I tried making one immediately, and I was so in love with the outcome that I made several more. You don’t need to be a sewing expert for this DIY; even I, who doesn’t have much knowledge of sewing, was able to make one. This is also a great sewing project to sell at local craft fairs. Try making one today and see for yourself. Watch the video tutorial below to learn the step by step instructions.
Materials:
- fabric
- pom pom trim
- cushion insert
- regular and zipper foot
- ruler
- scissors
- pins
Directions:
Step 1
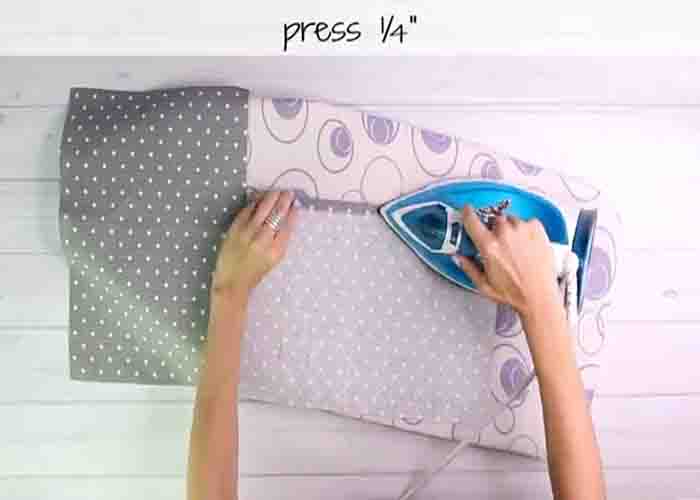
To start, measure your insert and cut one piece for the front (plus 1″ on both width and height) and cut two pieces for the back (plus 1/2″ on the width and 1″ on the height). Next, lay one back piece on the wrong side, and press 1/4″ seam on the long edges, then 3/4″. Repeat it to the other back piece, then sew along the folded seam. Once done, lay the two, wrong side down, then place them overlapping one another by 3″, then sew the edges. Set it aside.
[social_warfare]
Step 2
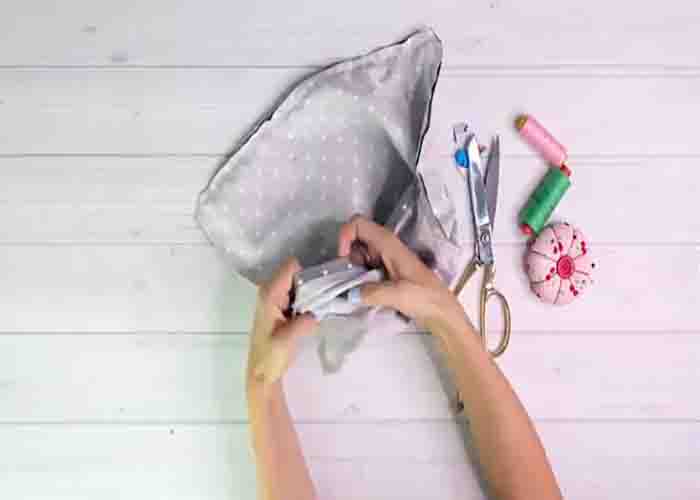
Now, lay the front piece, the wrong side down, and then pin the pom pom trims facing inwards along the edges. After this, sew the edges of the pom pom trim, then cut the excess. Once done, put the two pieces together, with the right sides facing each other. Pin the edges and sew a half-inch seam allowance. Clip the corners, and turn the cover inside out. Press it, then insert the cushion. Your DIY pom pom cushion cover is now finished.
Easy Pom Pom Cushion Cover Tutorial


