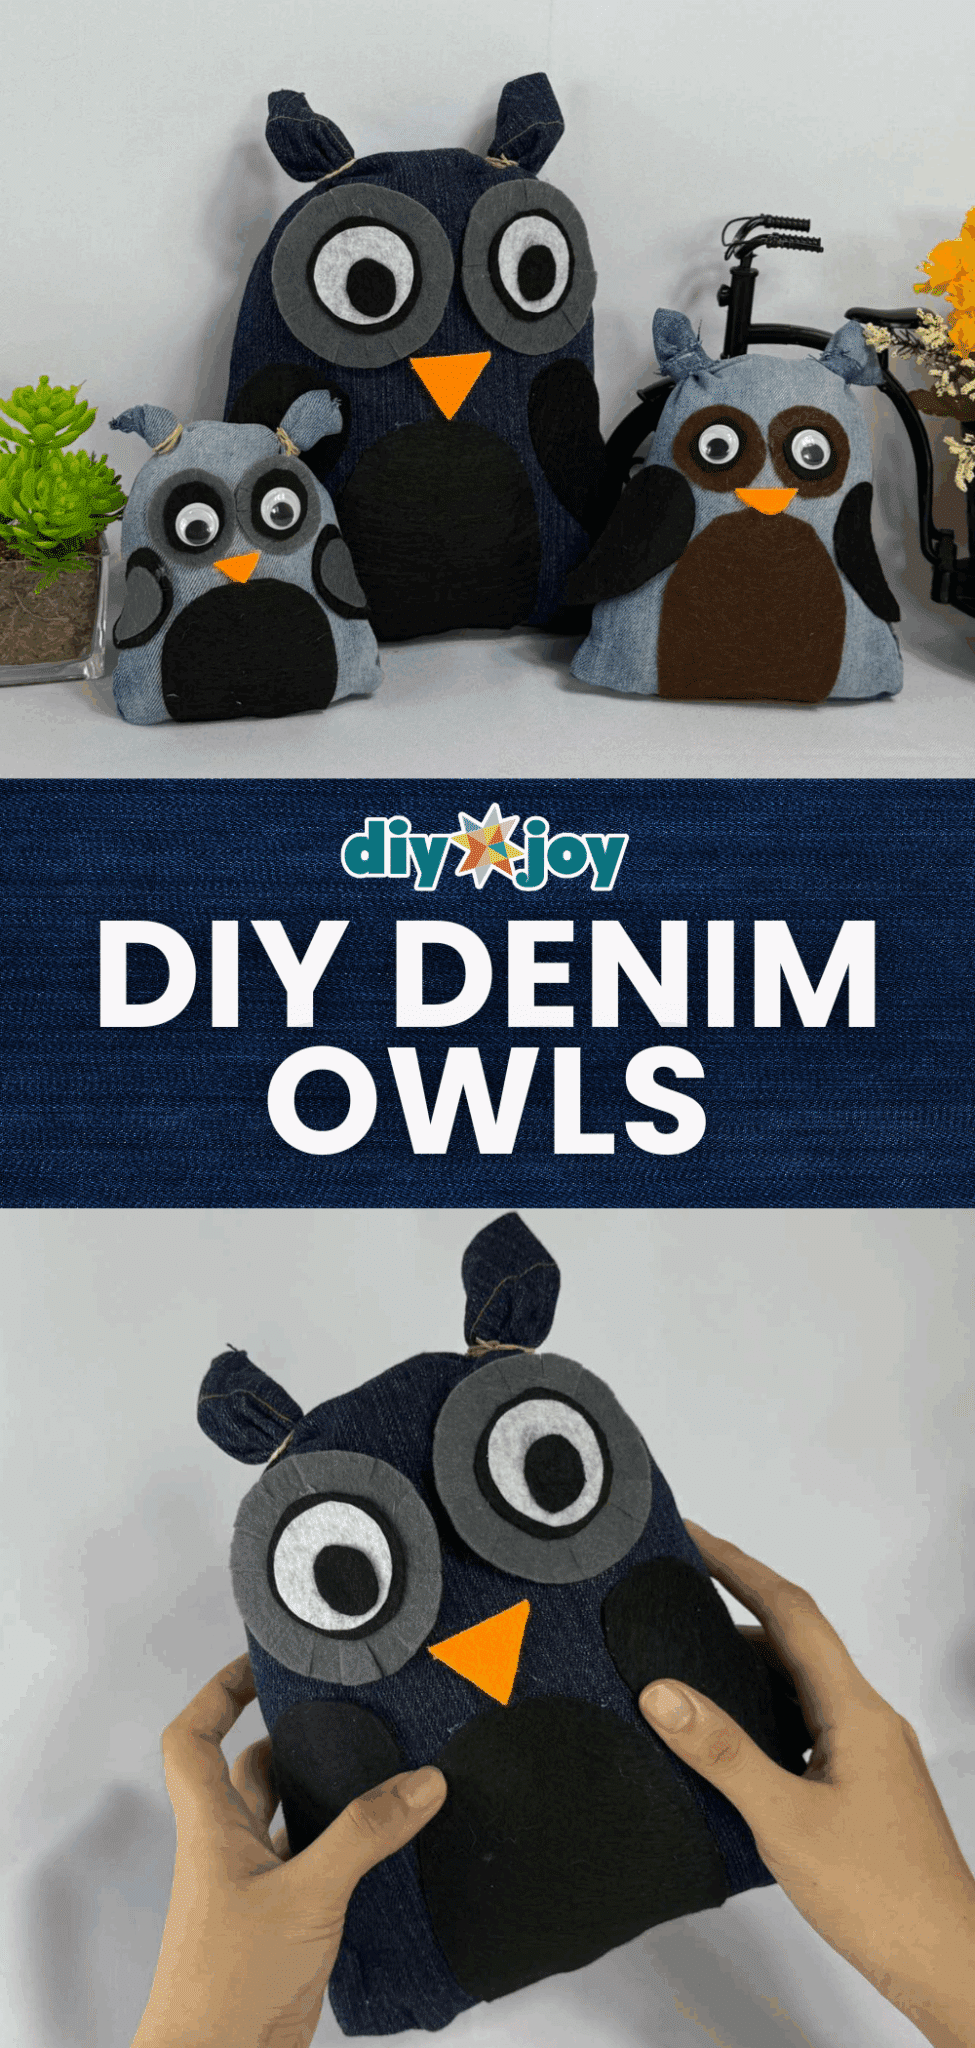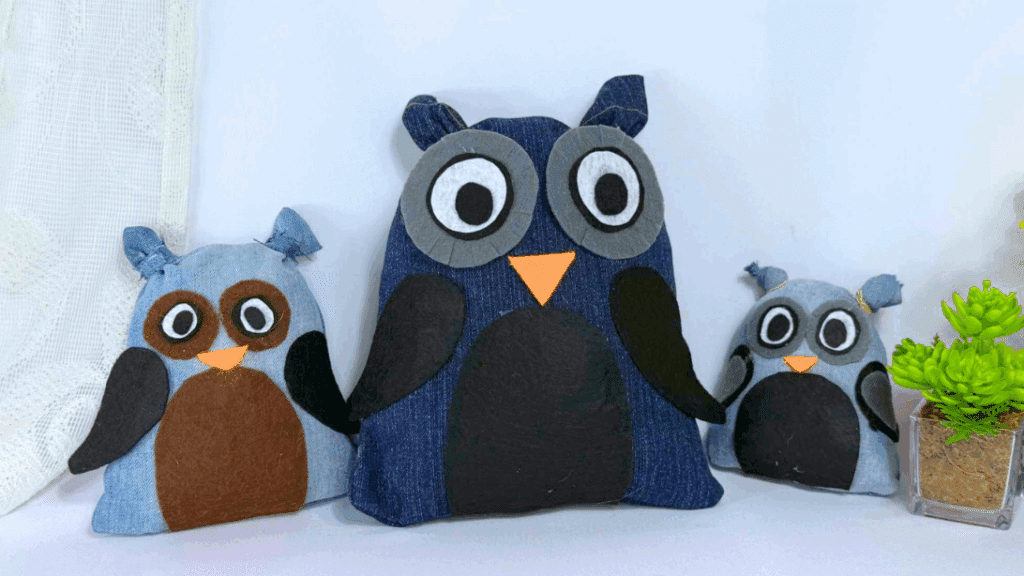
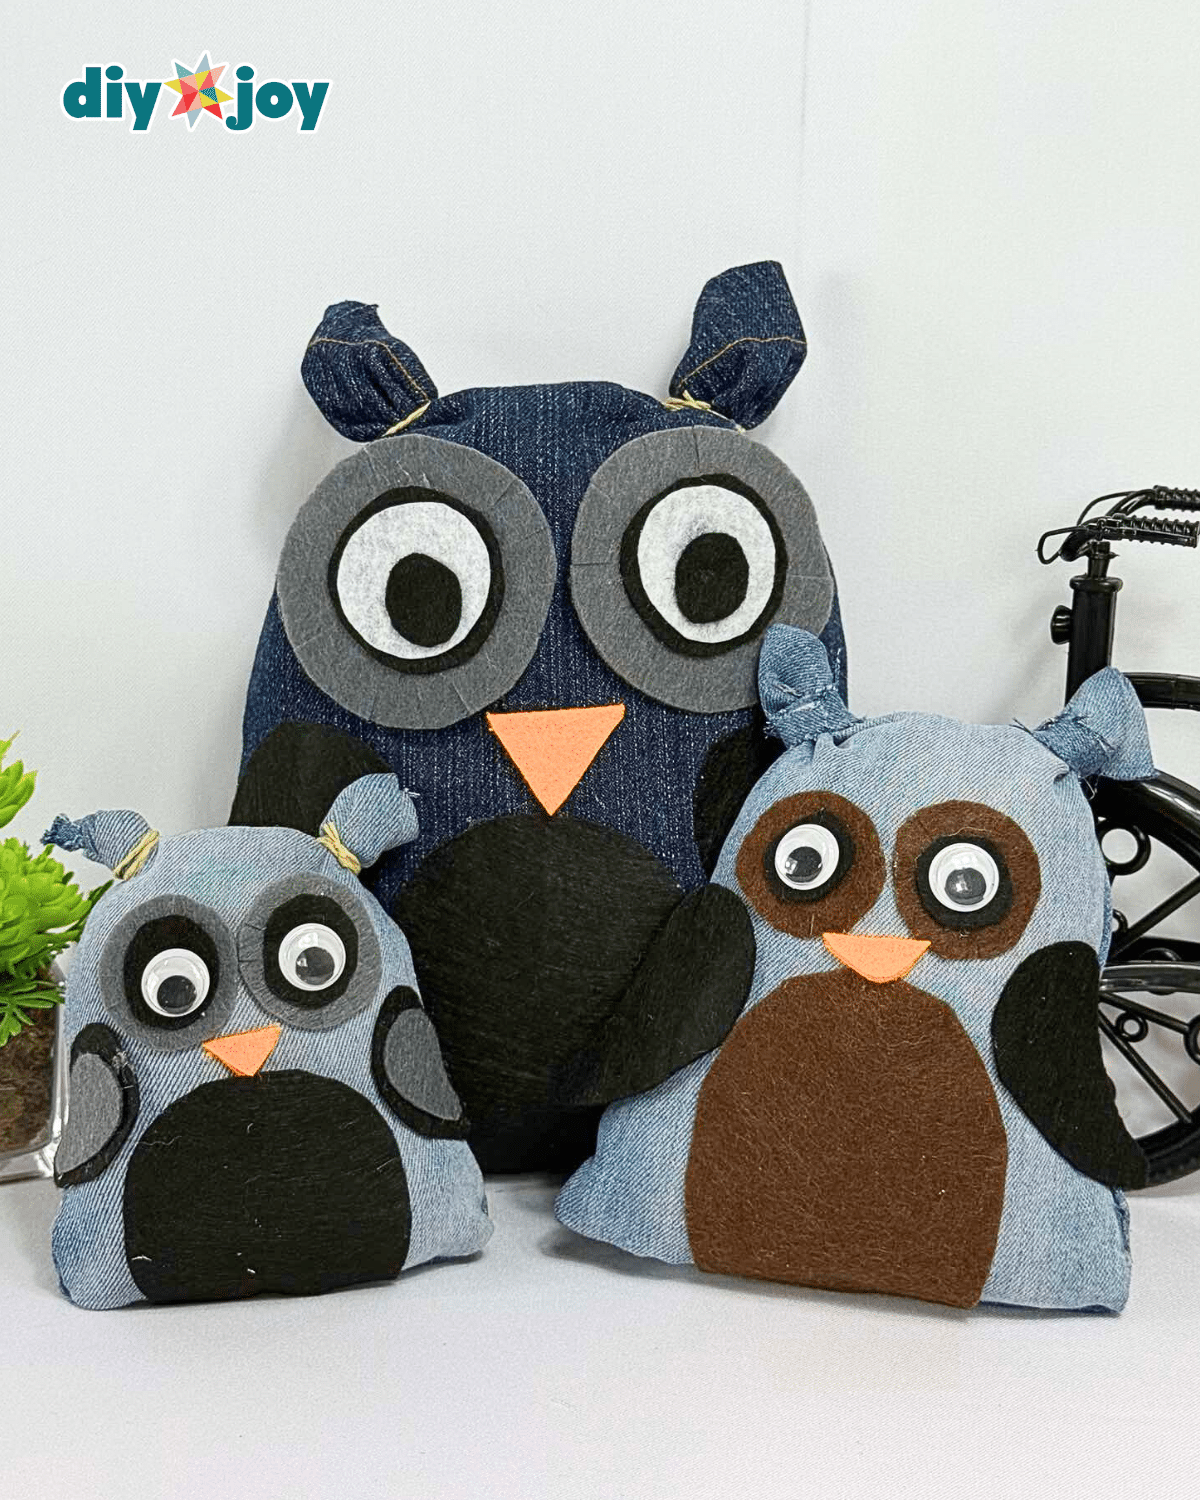
Don’t toss those old jeans just yet—turn them into something irresistibly cute! This DIY denim owl project is a creative way to repurpose worn-out denim into fun, fabric creatures that are as cute as they are eco-friendly. It’s a small project with a big personality, and a great example of how upcycling can be both functional and fun.

One of the best things about making denim owls is how customizable they are. You can play with different washes of denim, add buttons, stitching, or mix in colorful fabric scraps for wings and beaks. Each owl can have its own unique look—quirky, minimalist, or even seasonal. It’s a project that invites creativity without requiring perfection, making it ideal for both casual crafters and DIY pros.
RELATED: Easy DIY Denim Bag
This is also a beginner-friendly project that doesn’t require a sewing machine. You can hand-stitch the details if you want, or you can stick to using fabric glue, even common craft hot glue will work, if you prefer a no-sew route. Whether you’re crafting for home decoration, gifting, or just relaxing on a weekend, these denim owls are a simple, budget-friendly way to get crafty and breathe new life into old clothes.
What You’ll Need for the Denim Owl
How to Make a Denim Owl
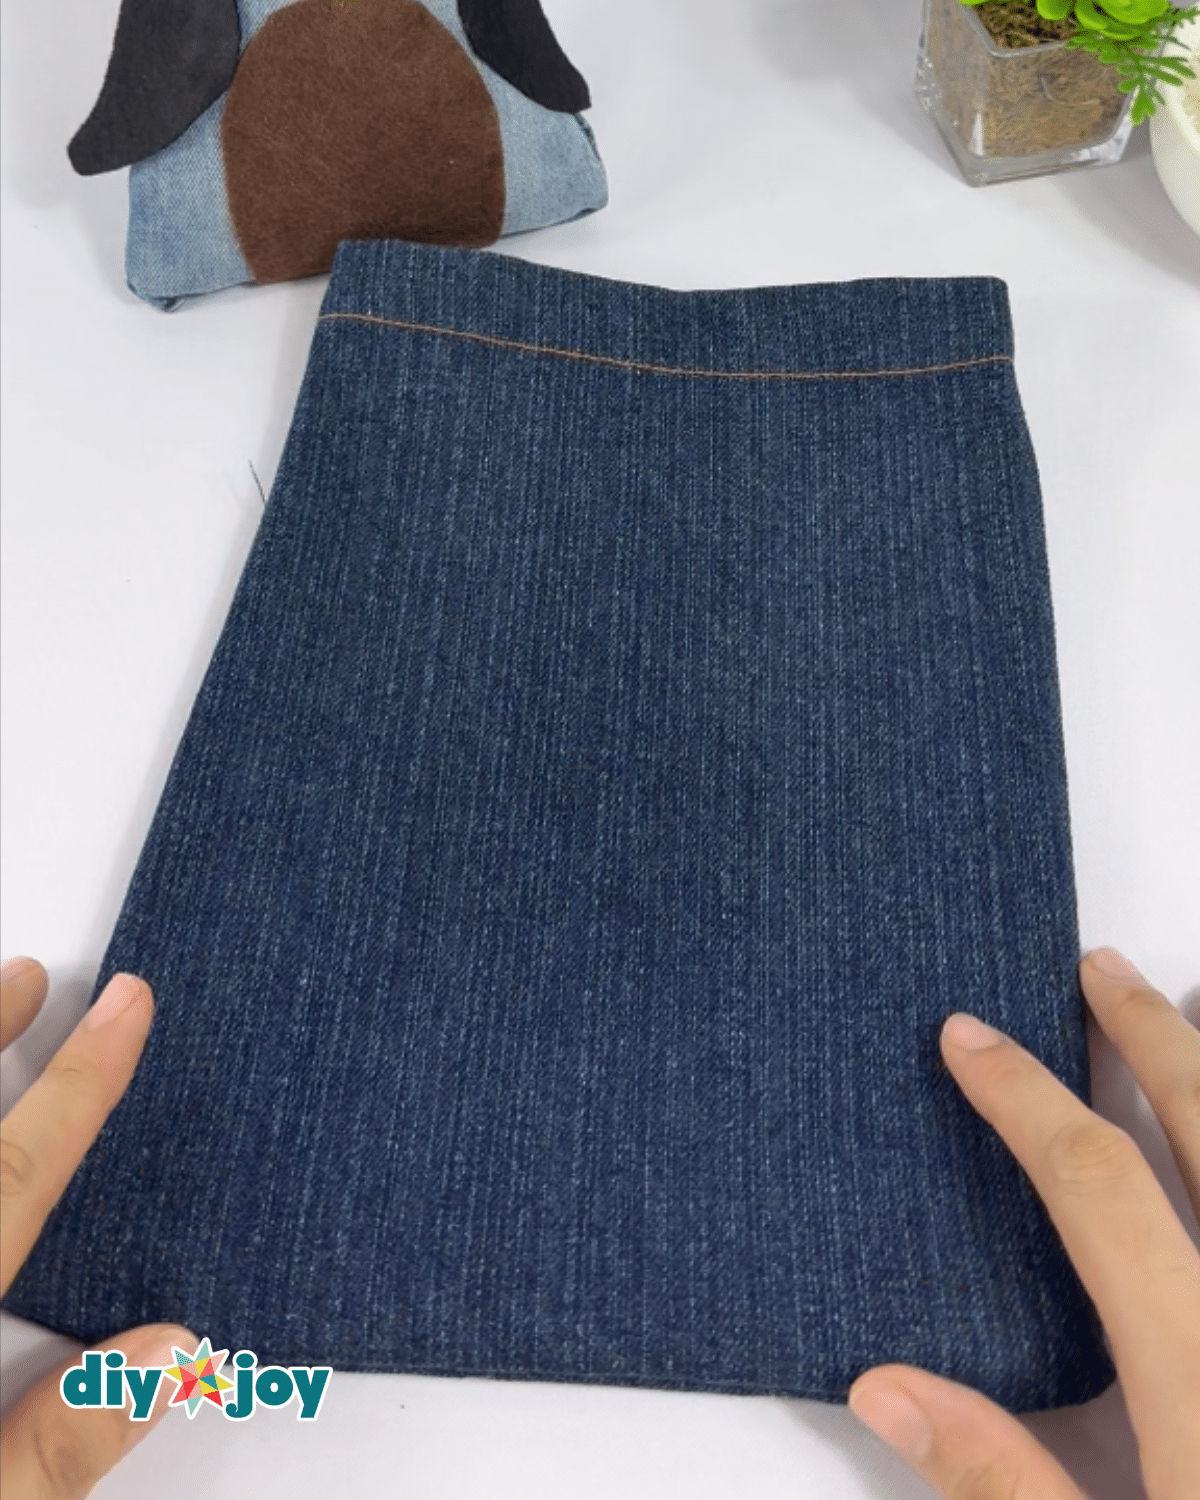
Step 1: Body of the Owl

Cut out the leg part of the jeans, then secure the bottom edge with hot glue, making sure to close the wider end of the jeans.Step 2: Adding the Filling
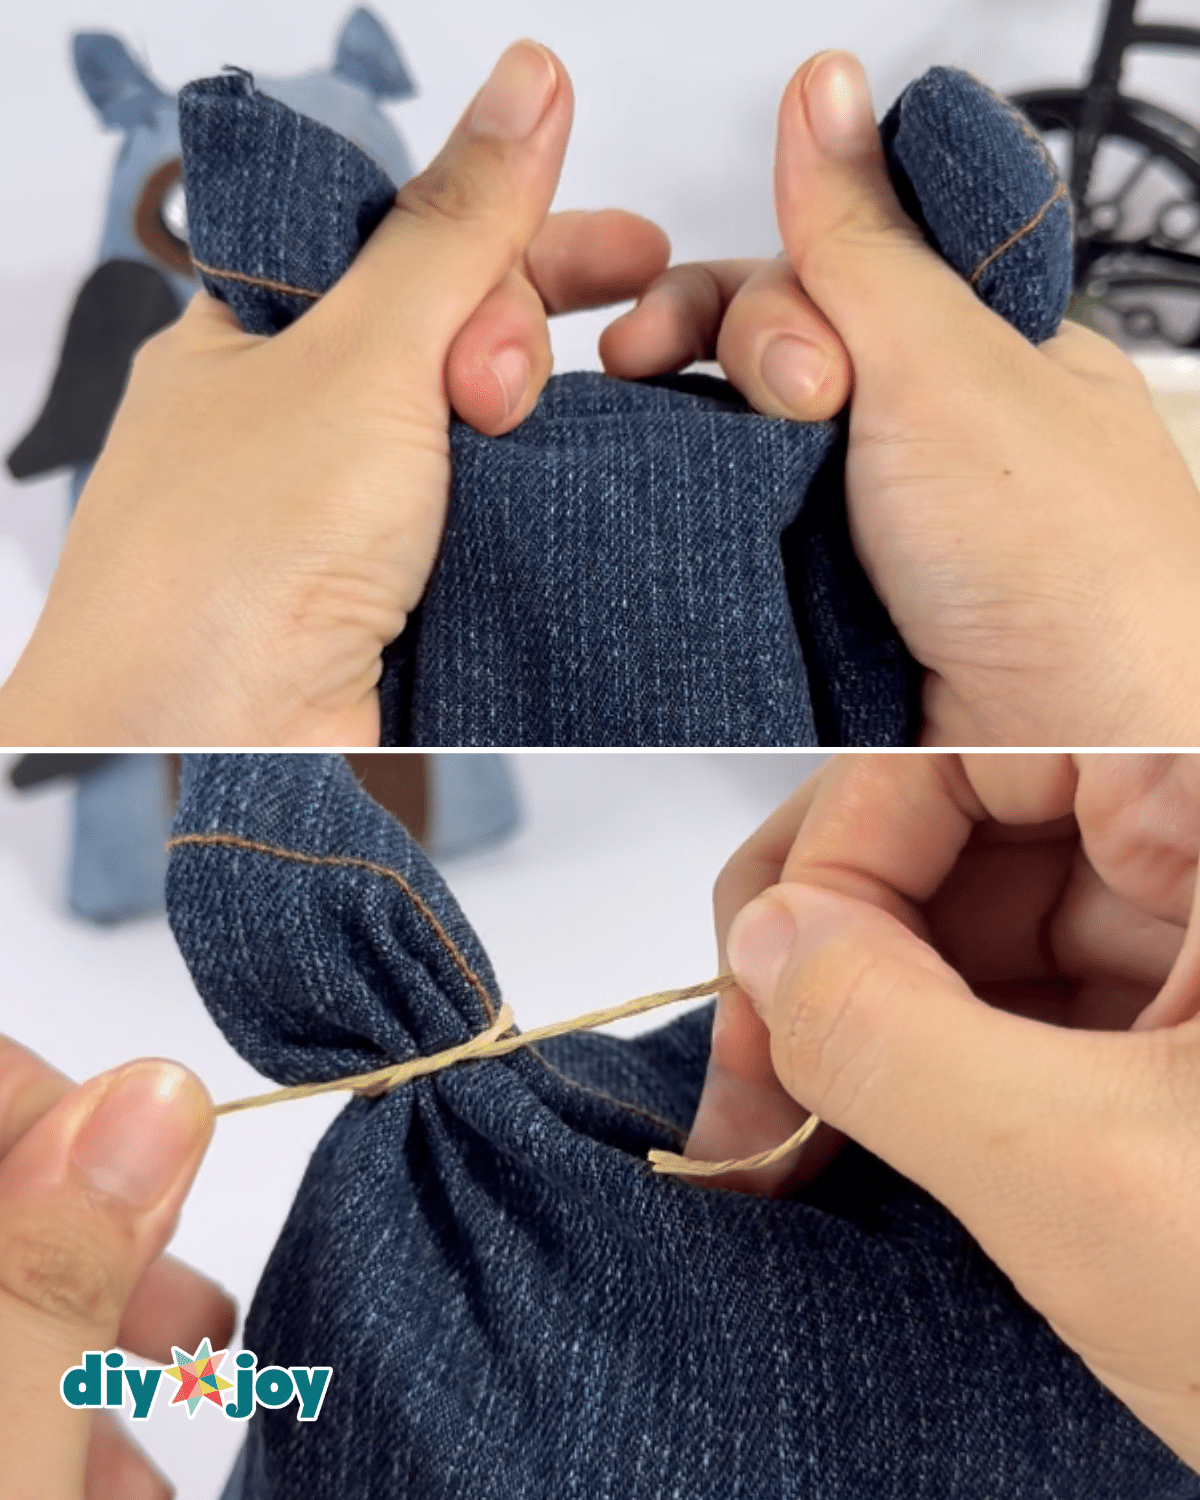
For the owl’s body, you can fill it with either rice or beans, or you can use poly-fill fiberfill for a softer, pillow-like texture. Make sure to leave some space at the top for the ears.Step 3: Shaping the Owl’s Ears
Hold both ends of the jeans at the top, then tie them tightly with a twine or string.Step 4: Making the Owl’s Eyes
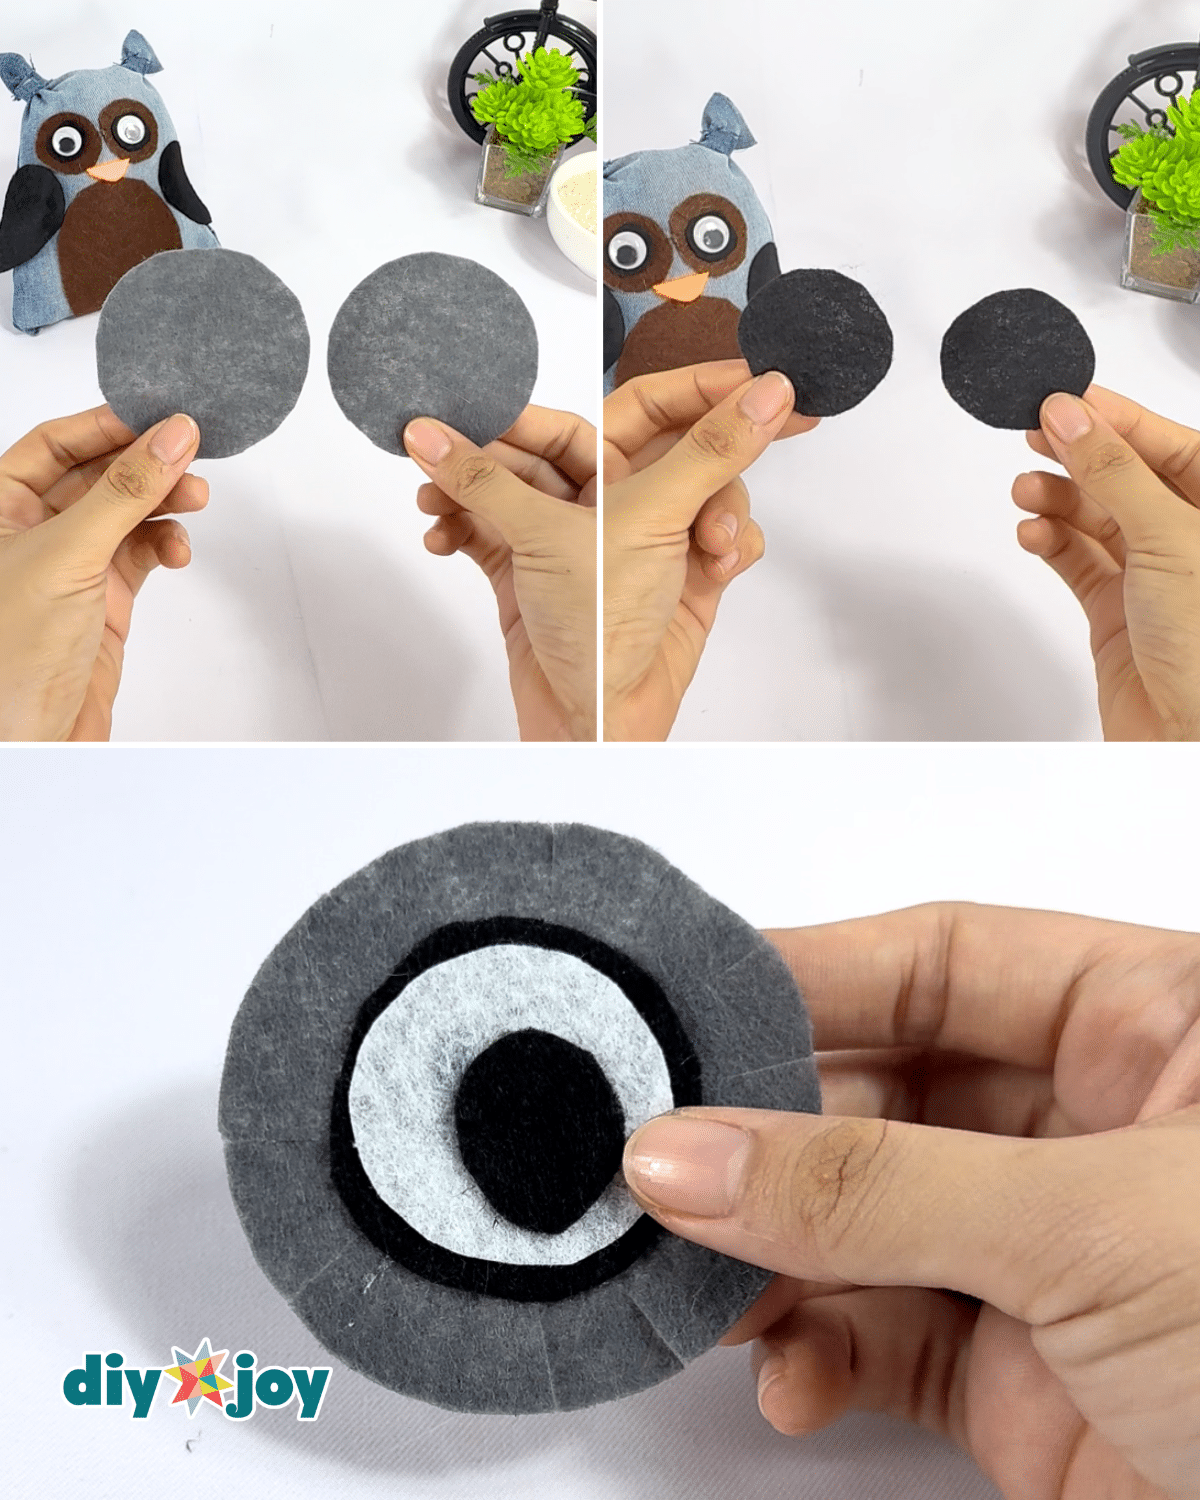
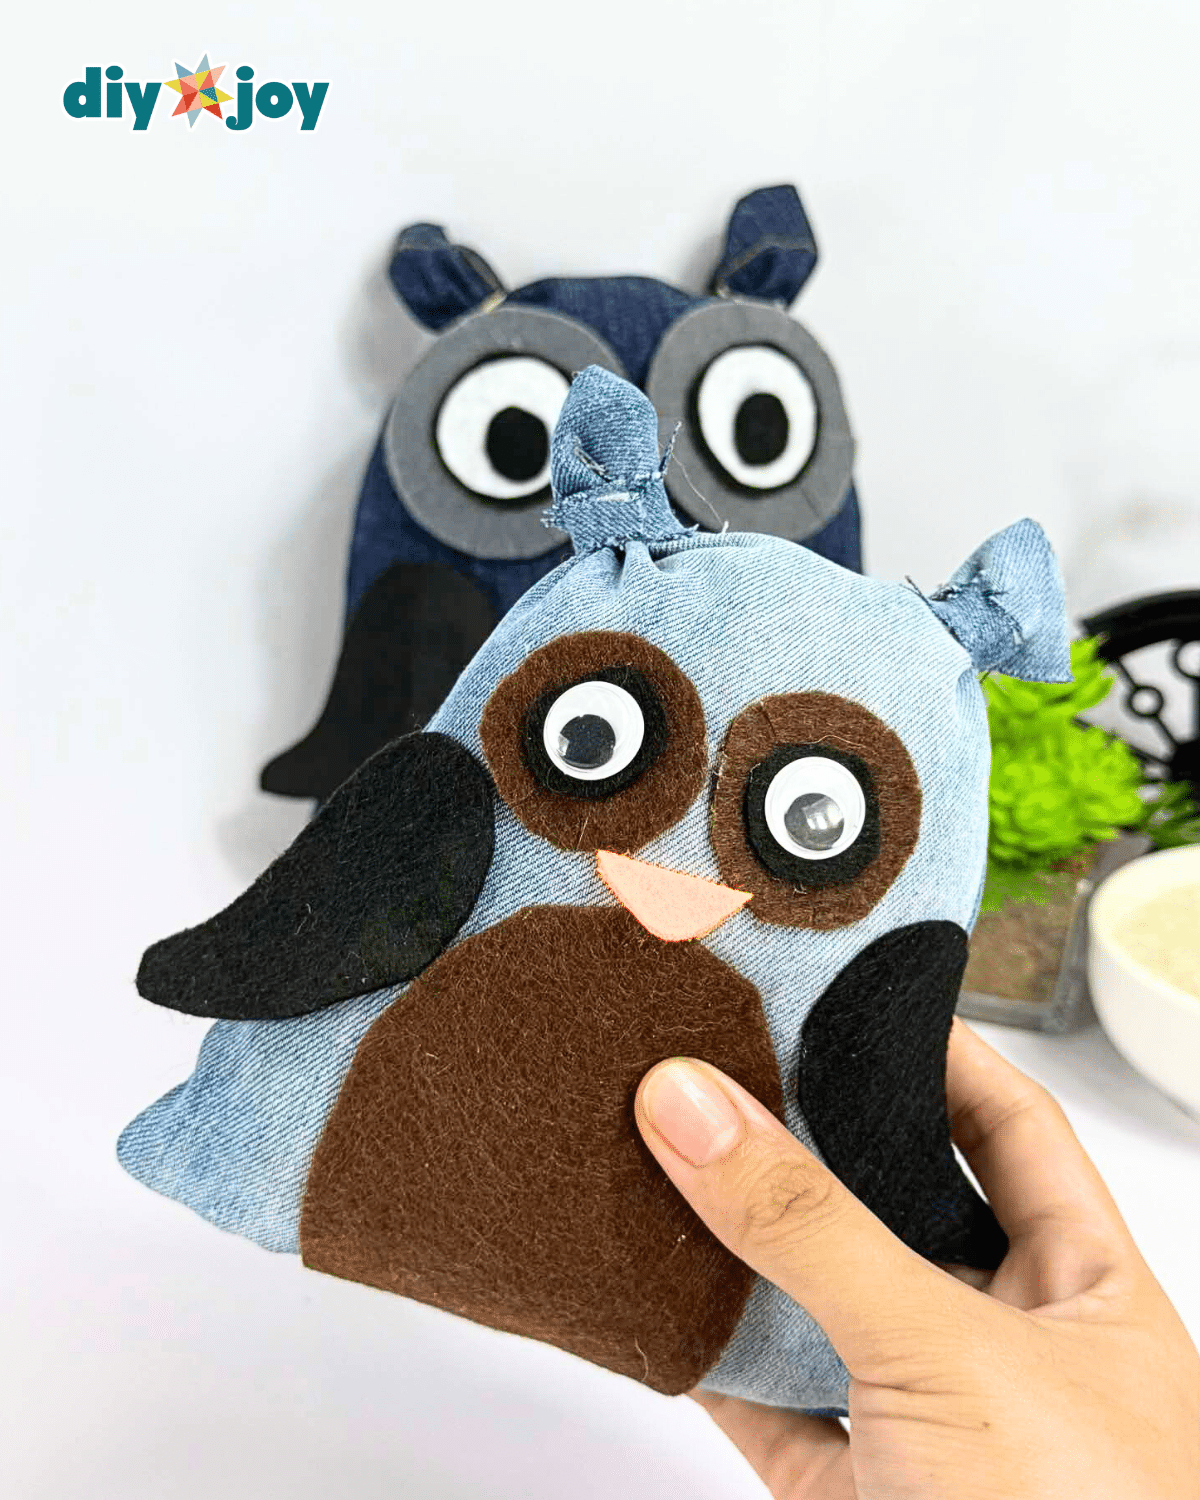
Cut the gray felt into 2 large circles, cut the black felt into 2 smaller circles, cut the white felt into 2 even smaller circles, and 2 smallest black circles. Hot glue the larger black circle into the center of the gray felt circle then cut notches around the gray edges. Attach the white round felt at the center, then adhere the smallest black circle over it and position it however you want.Step 5: Making the Owl’s Belly, Wings, and Beak
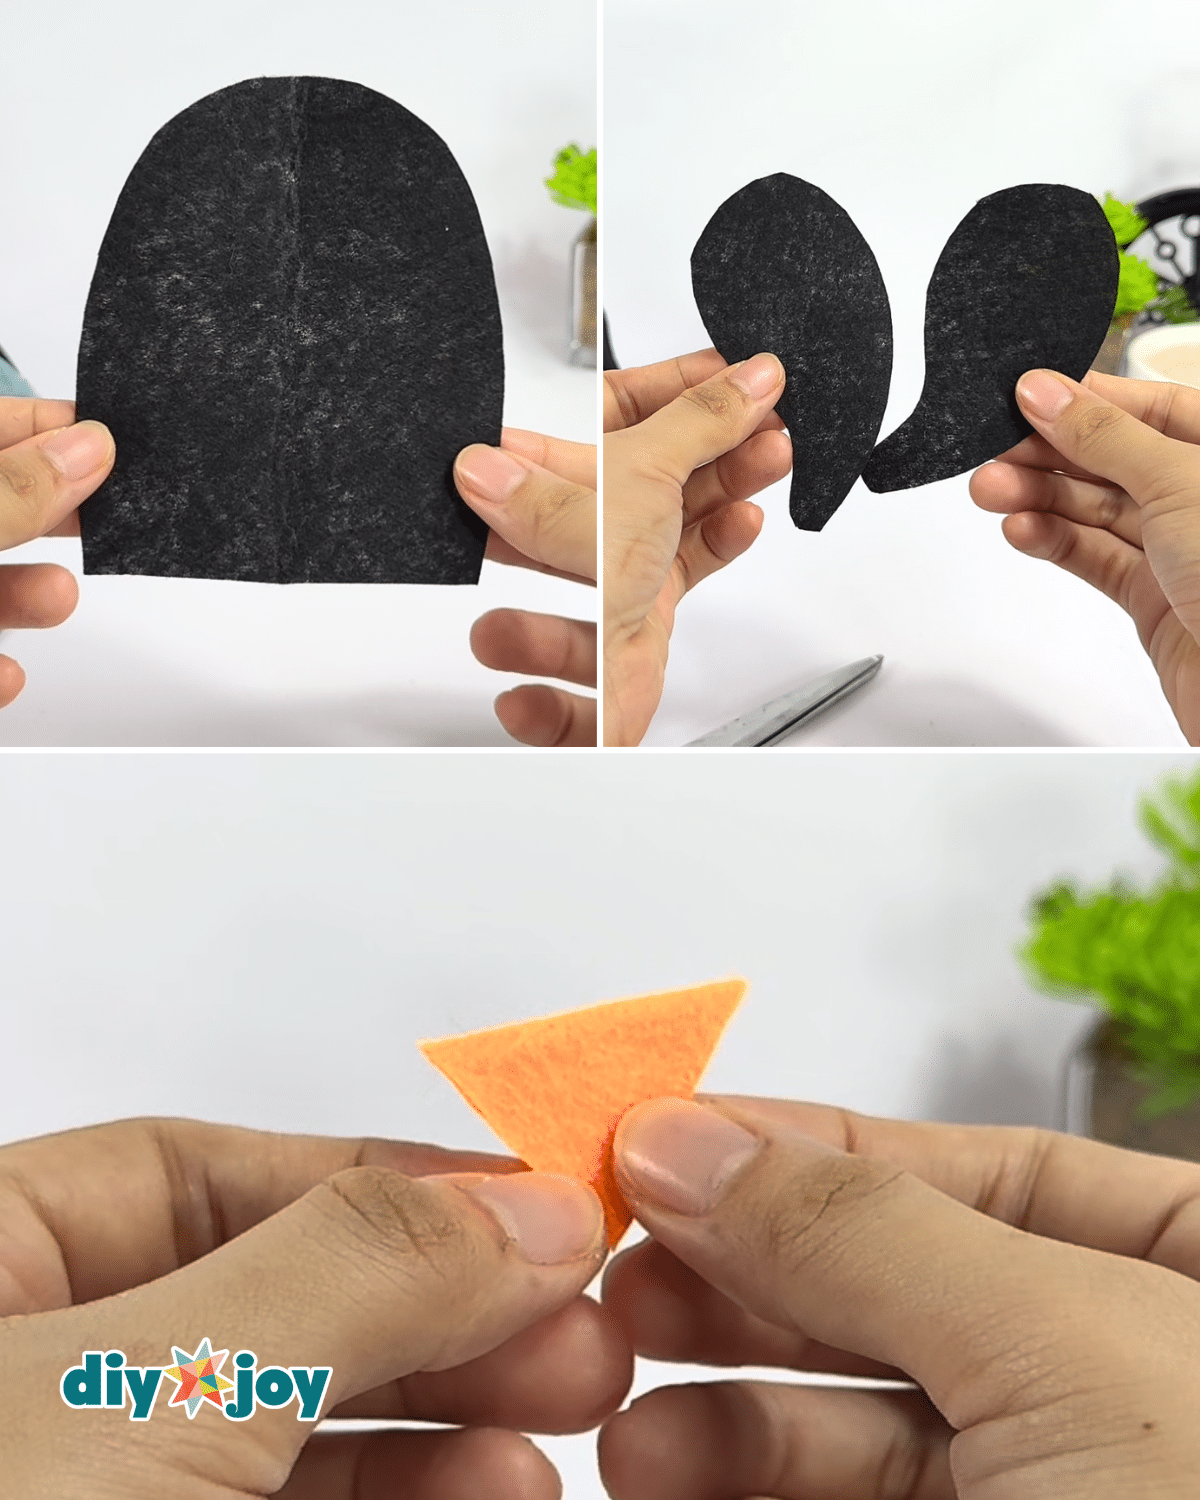
Cut the black felt for the belly, then cut and shape 2 black felt pieces into wings, and choose whatever size or shape you want. Cut a small piece of orange felt for the beak, then fold it in half and shape it into a triangle.Step 6: Assembling the Owl
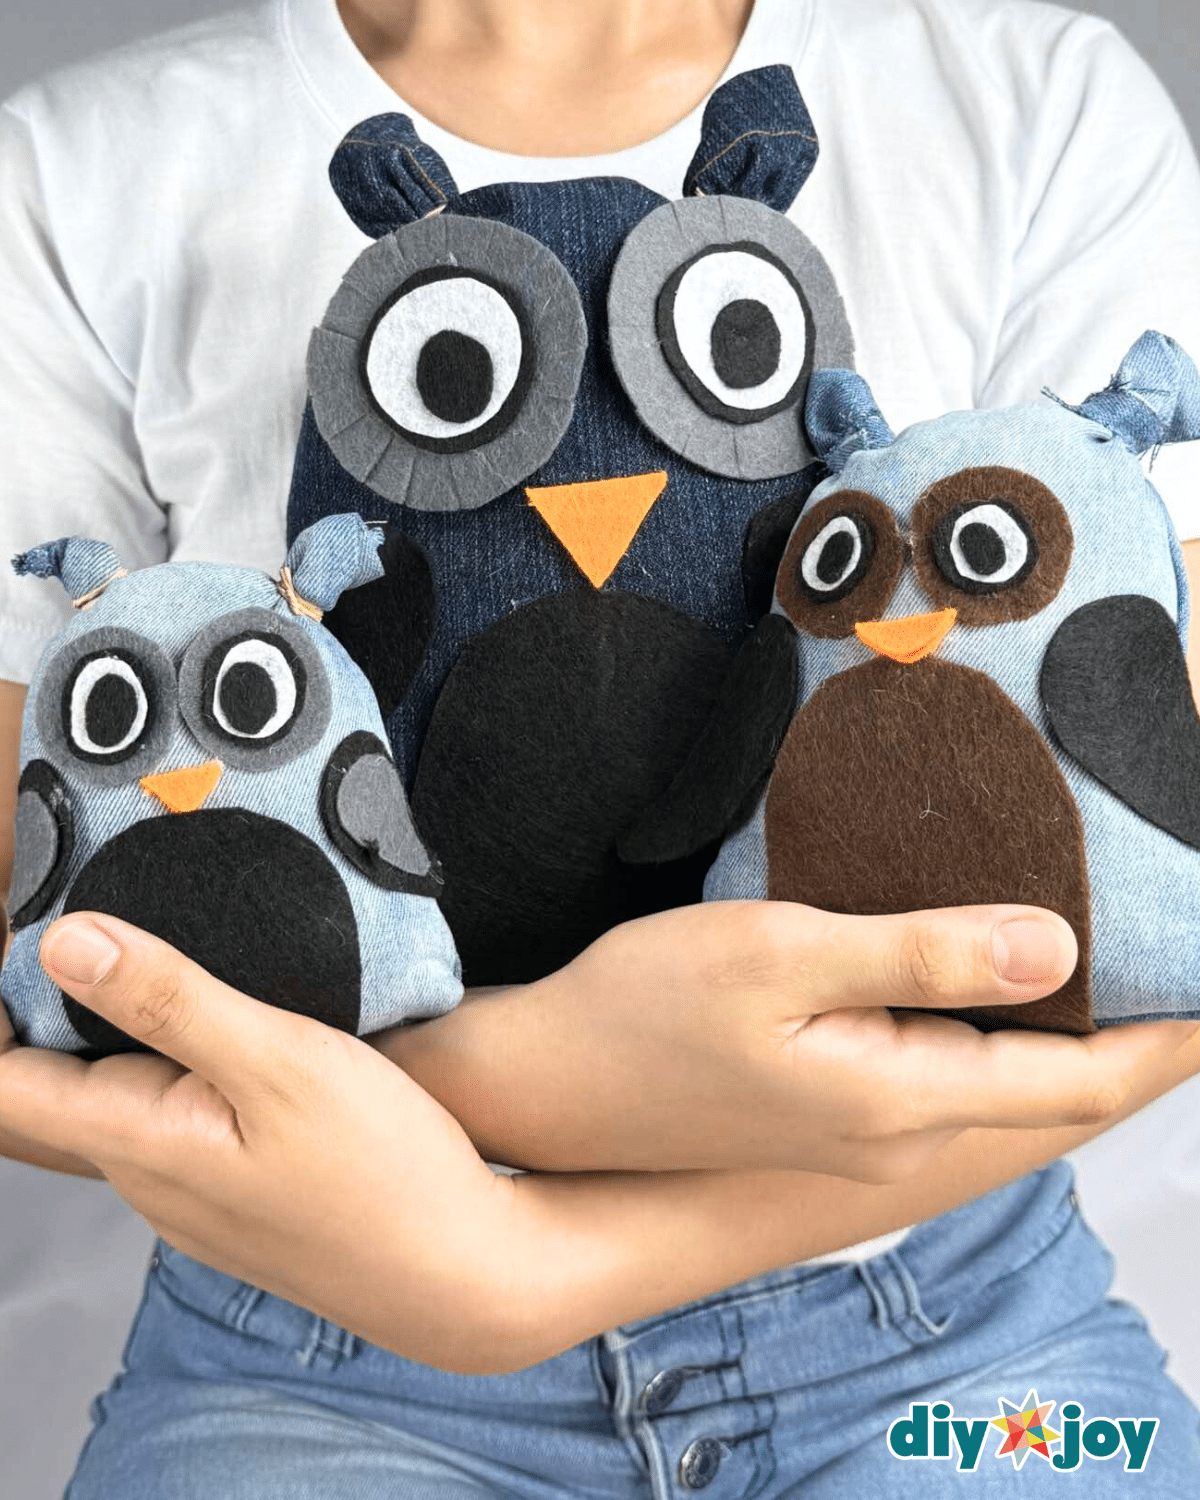
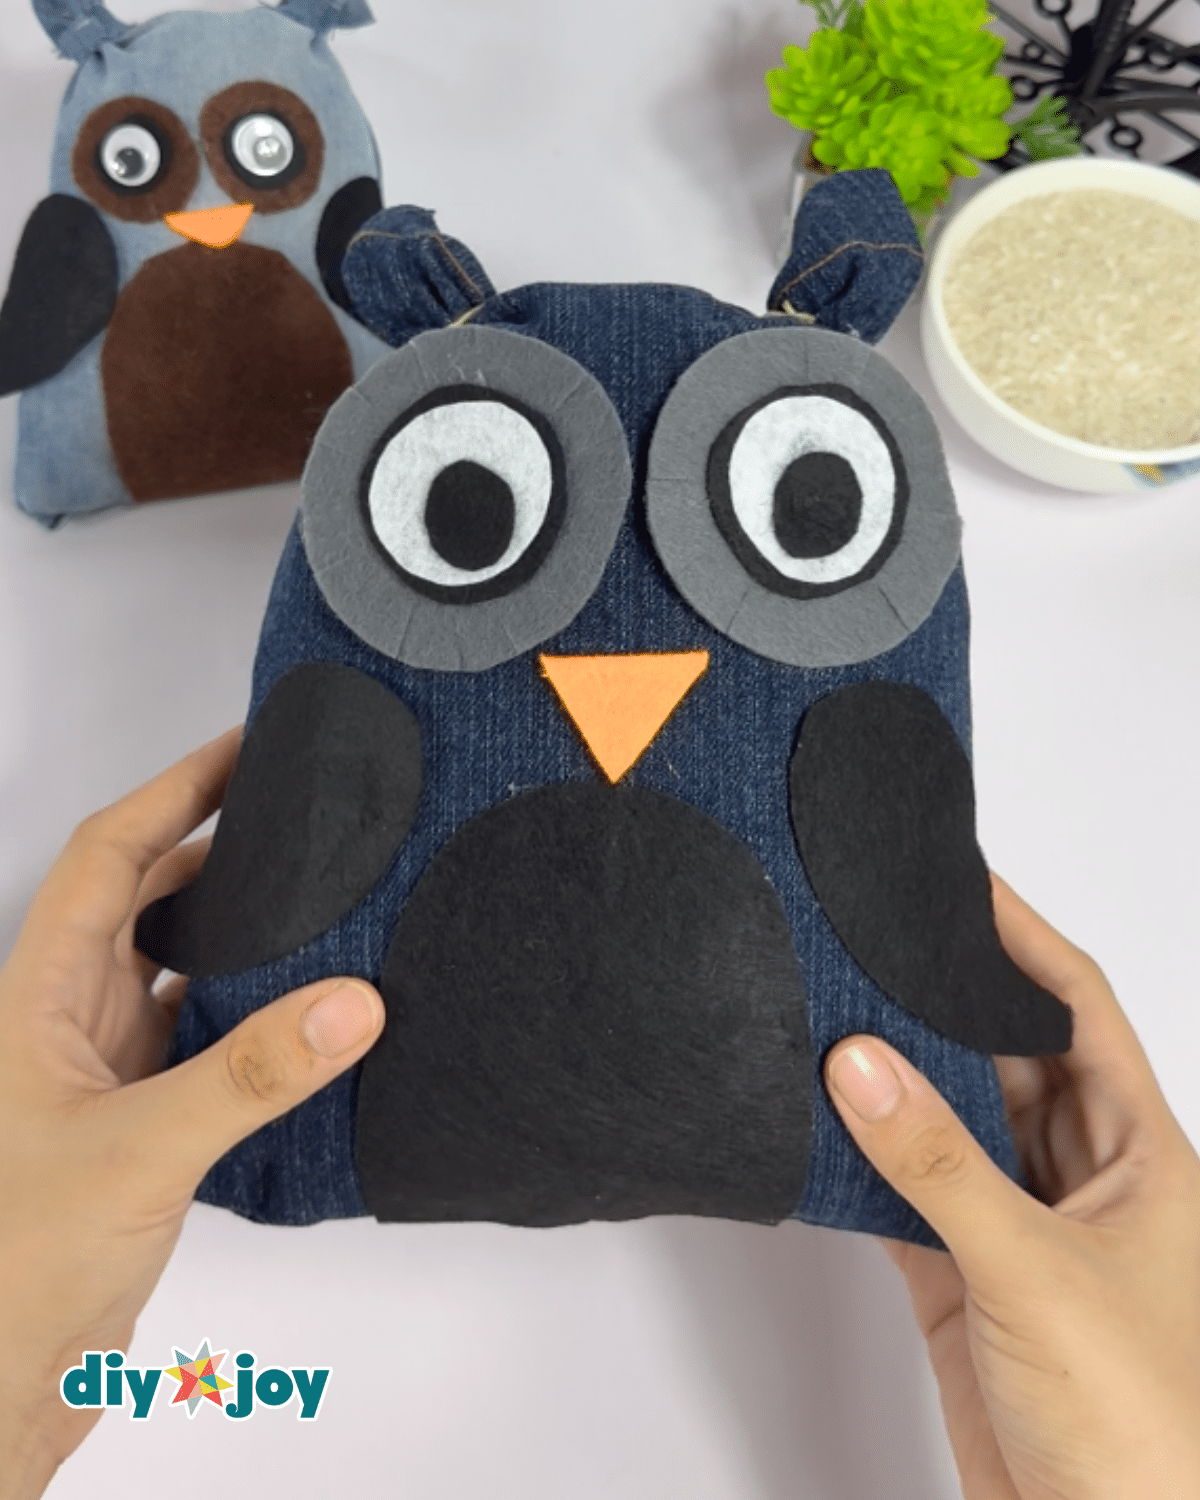
Hot glue the eyes, belly, wings, and beak into the owl’s body as shown in the photo above. Feel free to use it as a reference, or be creative and attach the wings and beak however you want.

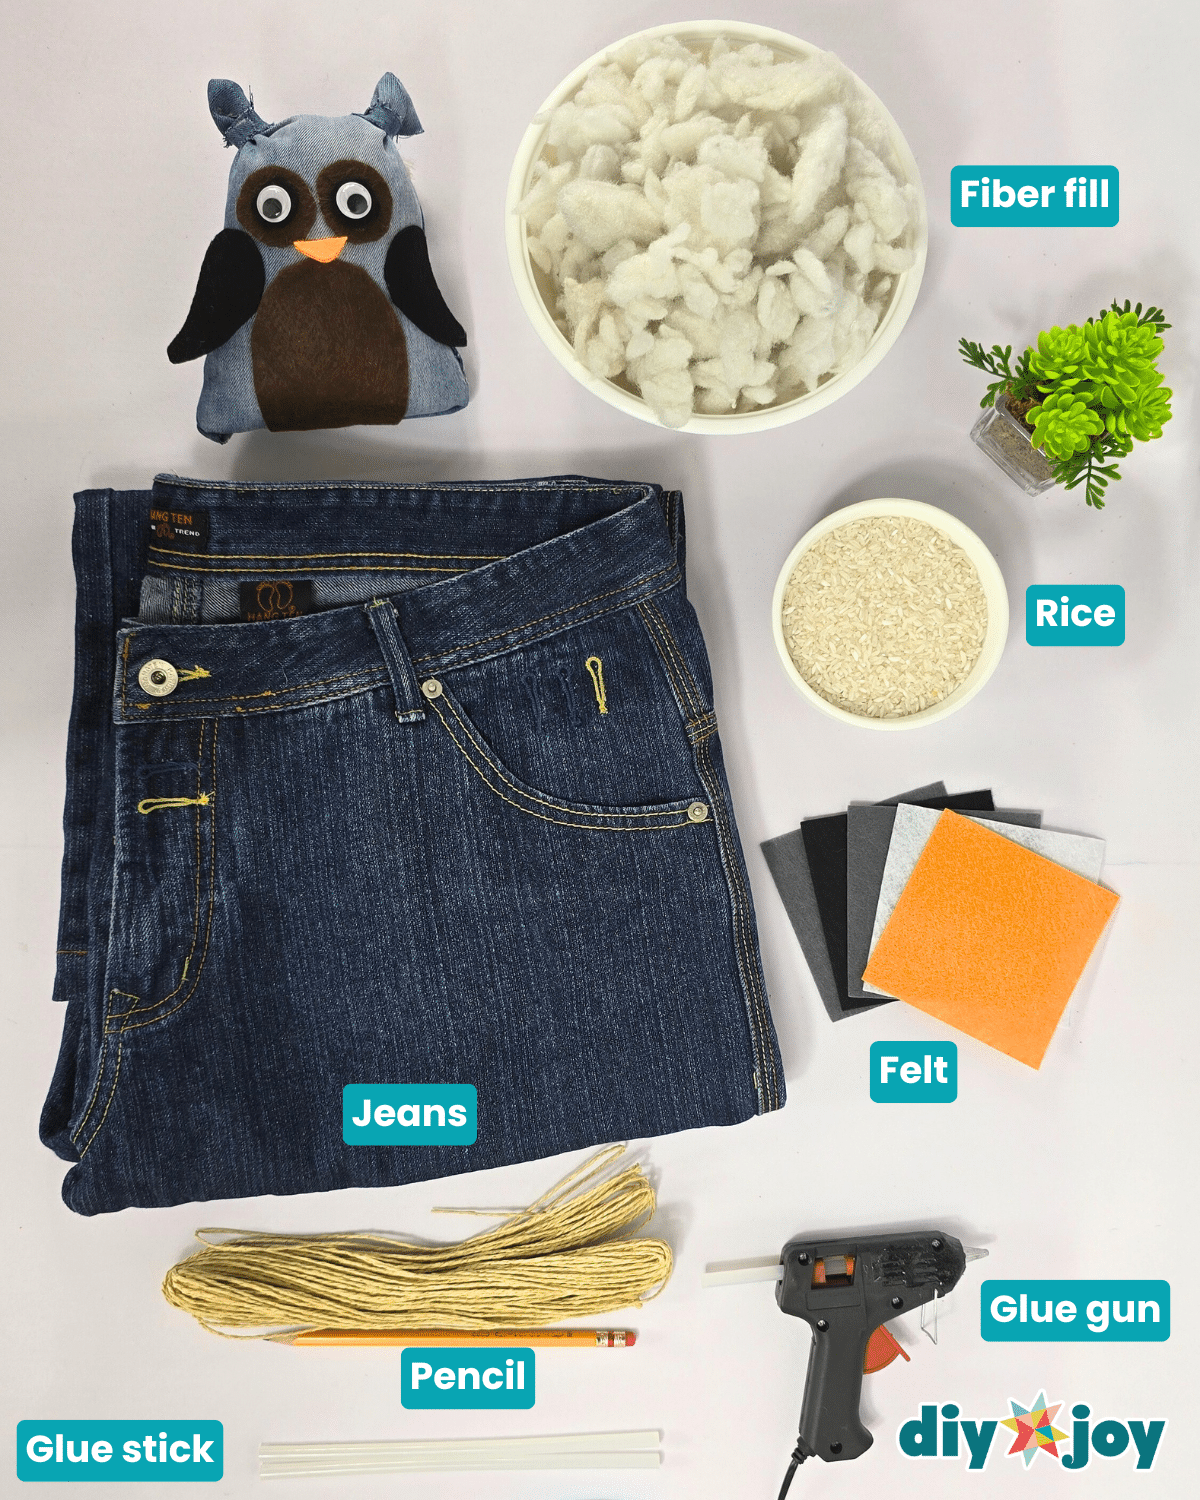
Materials
- Jeans/Denim
- Fiber-fill
- Glue gun
- Glue stick
- Pencil
- Felt
- Rice or Beans, optional
- Twine
![]()
Pro Tip
Choose the right denim
Using different washes (light, dark, black, or even colored denim) adds contrast and makes the owl’s features pop—great for defining wings, eyes, and belly without needing extra fabric.
Alternative for the eyes
If gifting to little kids or using as decor, consider using felt circles instead of buttons to avoid choking hazards—just as cute, but safer and softer!
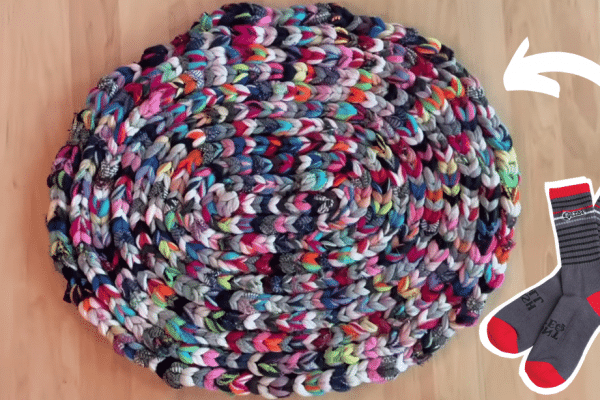
Projects That Went Viral

Crafts

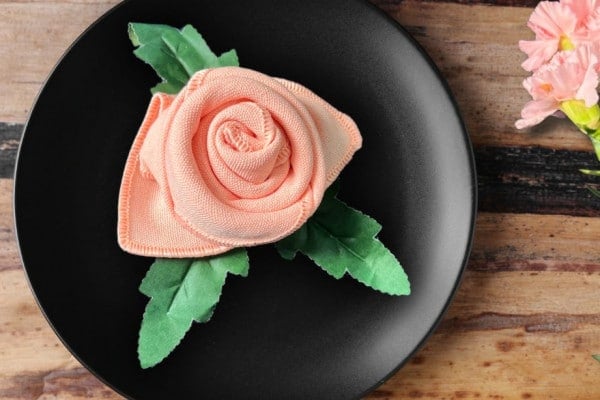
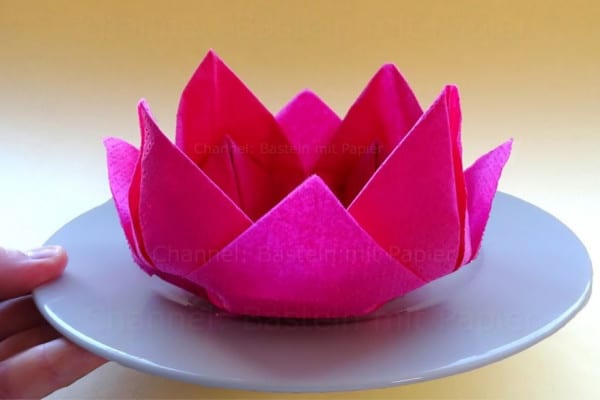
Paper Flowers

Crafts

Paper Flowers
*If you love this craft, then visit our official website, follow our Facebook page, and subscribe to our YouTube channel for more!
Easy No-Sew DIY Denim Owl