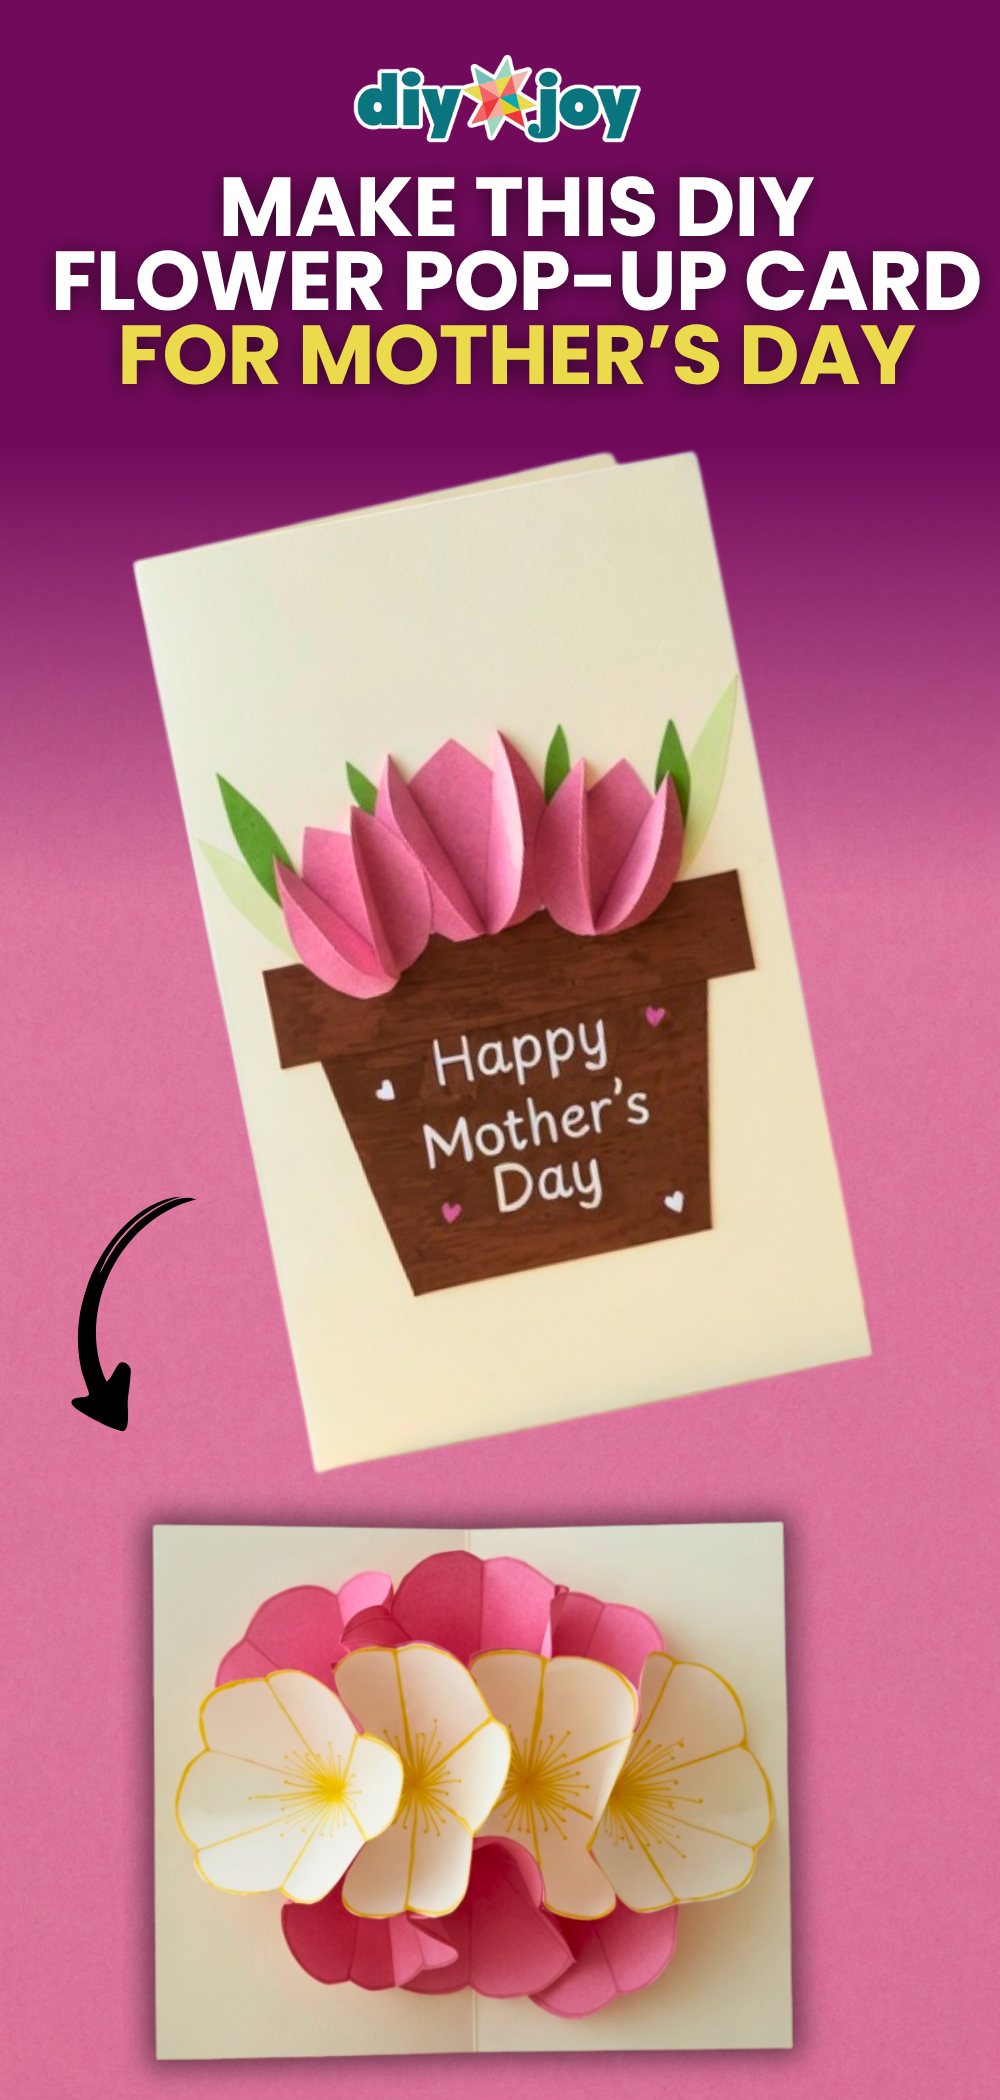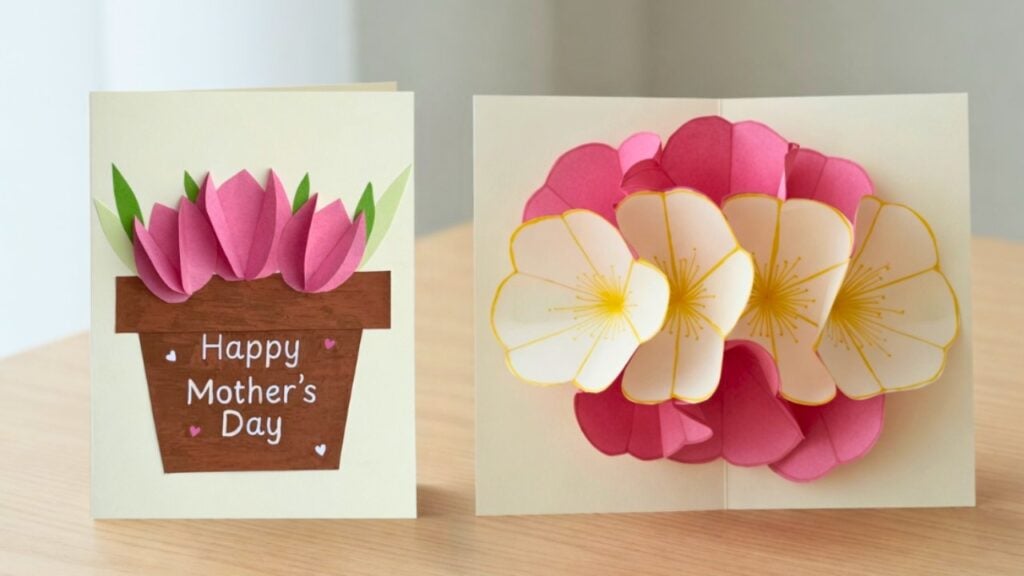
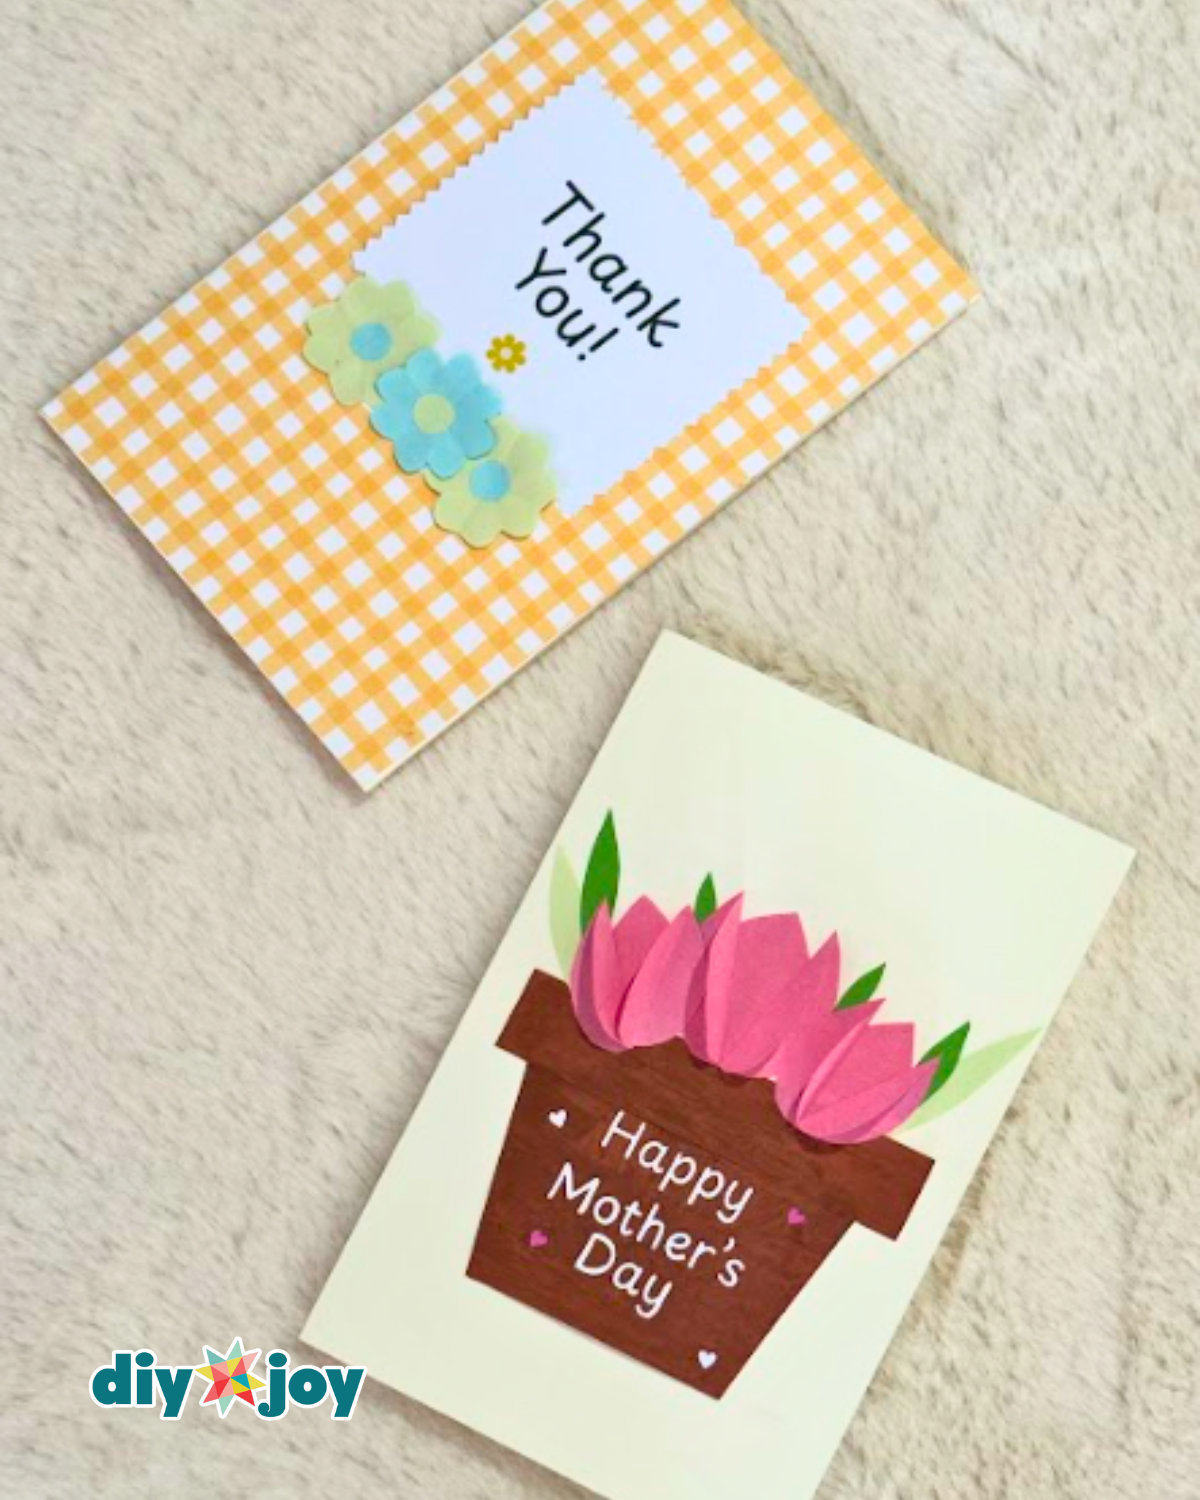
Mother’s Day is the perfect time to slow down and make something personal, and this easy DIY 3D flower pop-up card is a beautiful way to do exactly that. Instead of grabbing a store-bought card, you can create something handmade that feels more thoughtful and meaningful, without needing advanced crafting skills or expensive materials. With just simple paper, glue, and a bit of folding technique, you can turn a flat card into a blooming surprise that opens up in the sweetest way.

This DIY 3D flower pop-up card is beginner-friendly and surprisingly easy to put together, even if you don’t consider yourself “crafty.” It’s a fun project to do at home, whether you’re making it for your mom, grandma, or a mother figure who deserves something extra special. You can customize the colors, flower styles, and message inside, making every card completely unique and personal.
Here’s another cute yarn craft idea to try :
![]()
Have you seen our TikTok & Instagram yet?
Our viral videos are super popular and fun to watch. Here’s the pop-up flower card TikTok, but the YouTube video is also at the bottom of this post so you can watch the full tutorial. Links below for all our socials. Follow and be the first to see our latest crafts. ⬇️
What makes this project even more special is the reaction it gets when opened—the simple pop-up effect instantly brings it to life and makes it feel more heartfelt than anything store-bought. It’s a creative, budget-friendly way to show love while enjoying a relaxing and rewarding craft session.
If you’re ready to make something meaningful and handmade this Mother’s Day, follow the step-by-step instructions below with photos to guide you through each fold and layer.
How to Make a 3D Flower Pop-Up Card
Step 1: Folding the Paper
Cut a 15 cm (6-inch) square from your chosen colored paper. Fold it in half to form a triangle, then fold the triangle in half again. Fold it once more to create a smaller triangle. Refer to the photo and follow the arrows as a guide for each fold.
Step 2: Cutting Out the Flower
Draw a curved line along the wider edge of the folded triangle, then carefully cut along the outline. Unfold the paper to reveal a perfectly shaped flower.
Step 3: Outline and Add Flower Details
Using your chosen Sharpie color, trace along the center crease and outline the outer curved edges of the flower. From the center, draw lines of varying lengths extending outward in each section. Finish by adding small dots at the tips of the lines to create a stamen-like detail.
Step 4: Shape the Flower for a 3D Look
Cut off one petal from the flower. Apply glue to the edge of one petal, then overlap and attach the adjacent petal on top to close the gap and form a 3D shape. Repeat the process to make a total of 7 to 10 flowers.
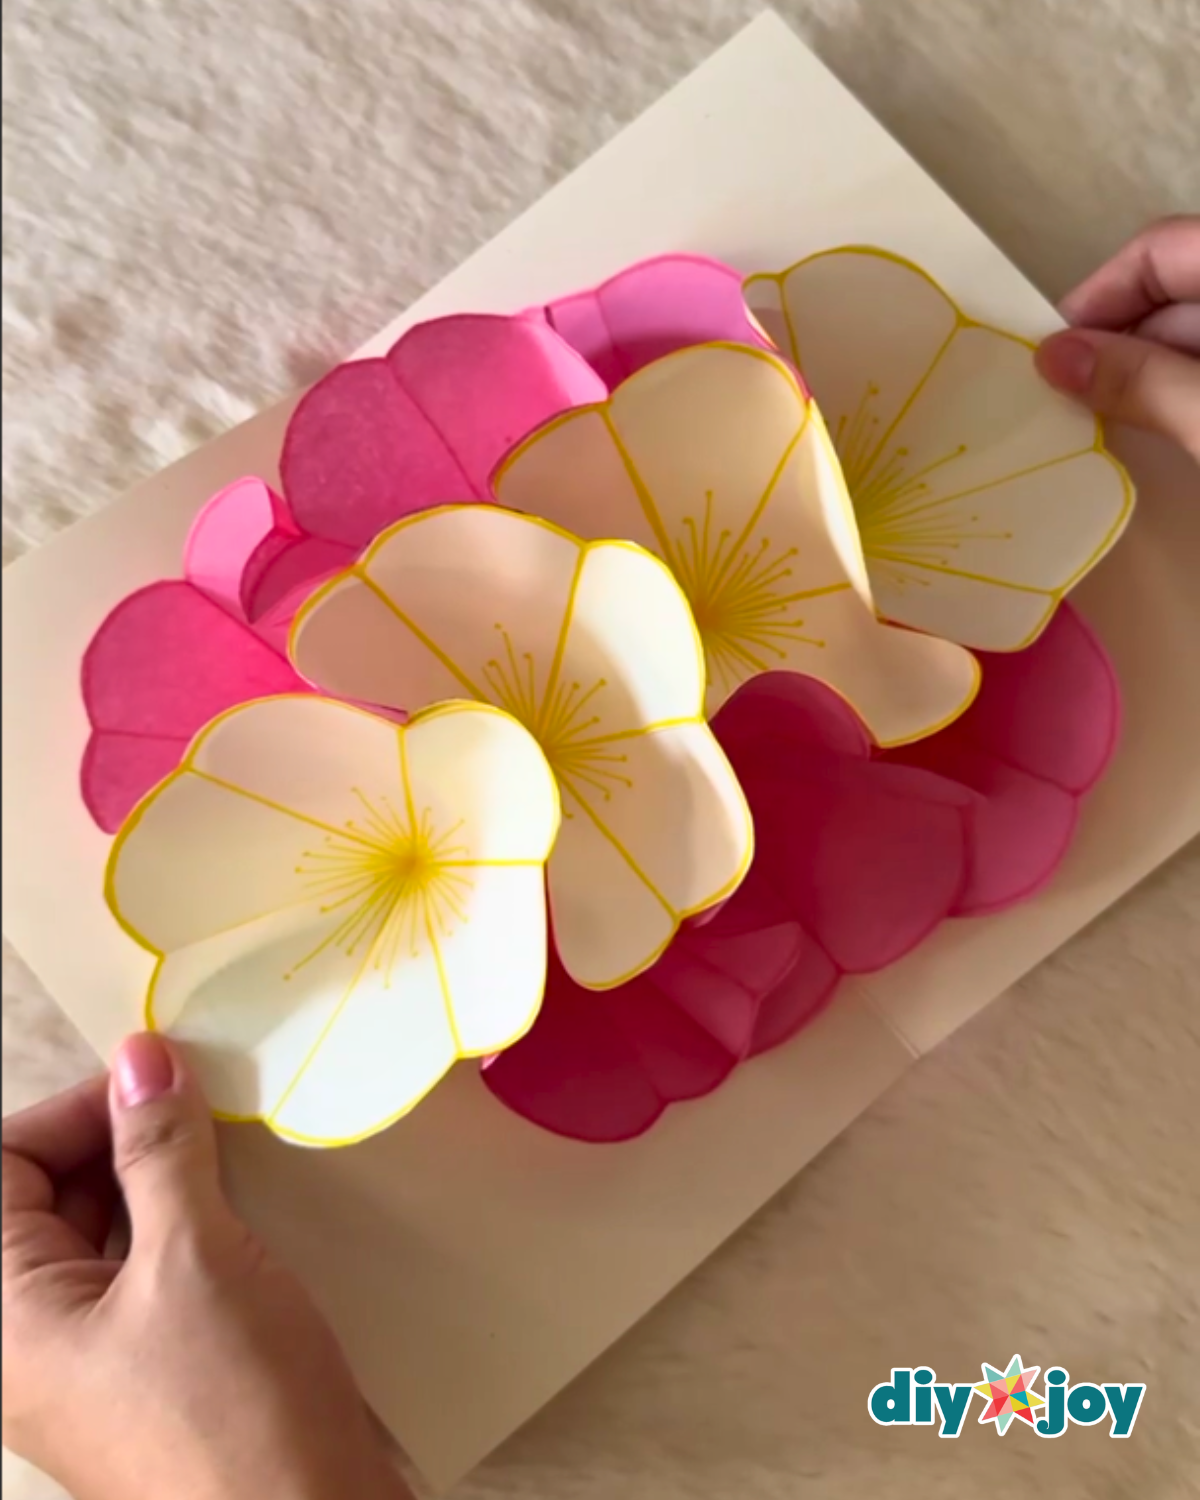
Step 5: Layer and Assemble the Flowers
Fold all your flowers flat and place one horizontally on your work surface. Apply glue to the sections labeled A and B, then attach one flower to each section vertically, making sure the curves are aligned carefully. Next, add glue to sections A, B, and C, then place one flower horizontally on top. Continue by applying glue to sections A, B, C, and D, then attach flowers vertically in pairs (A/B and C/D). Repeat this layering pattern until all your flowers are used. Make sure the final flower is placed horizontally. Refer to the image as a guide for proper gluing and alignment.
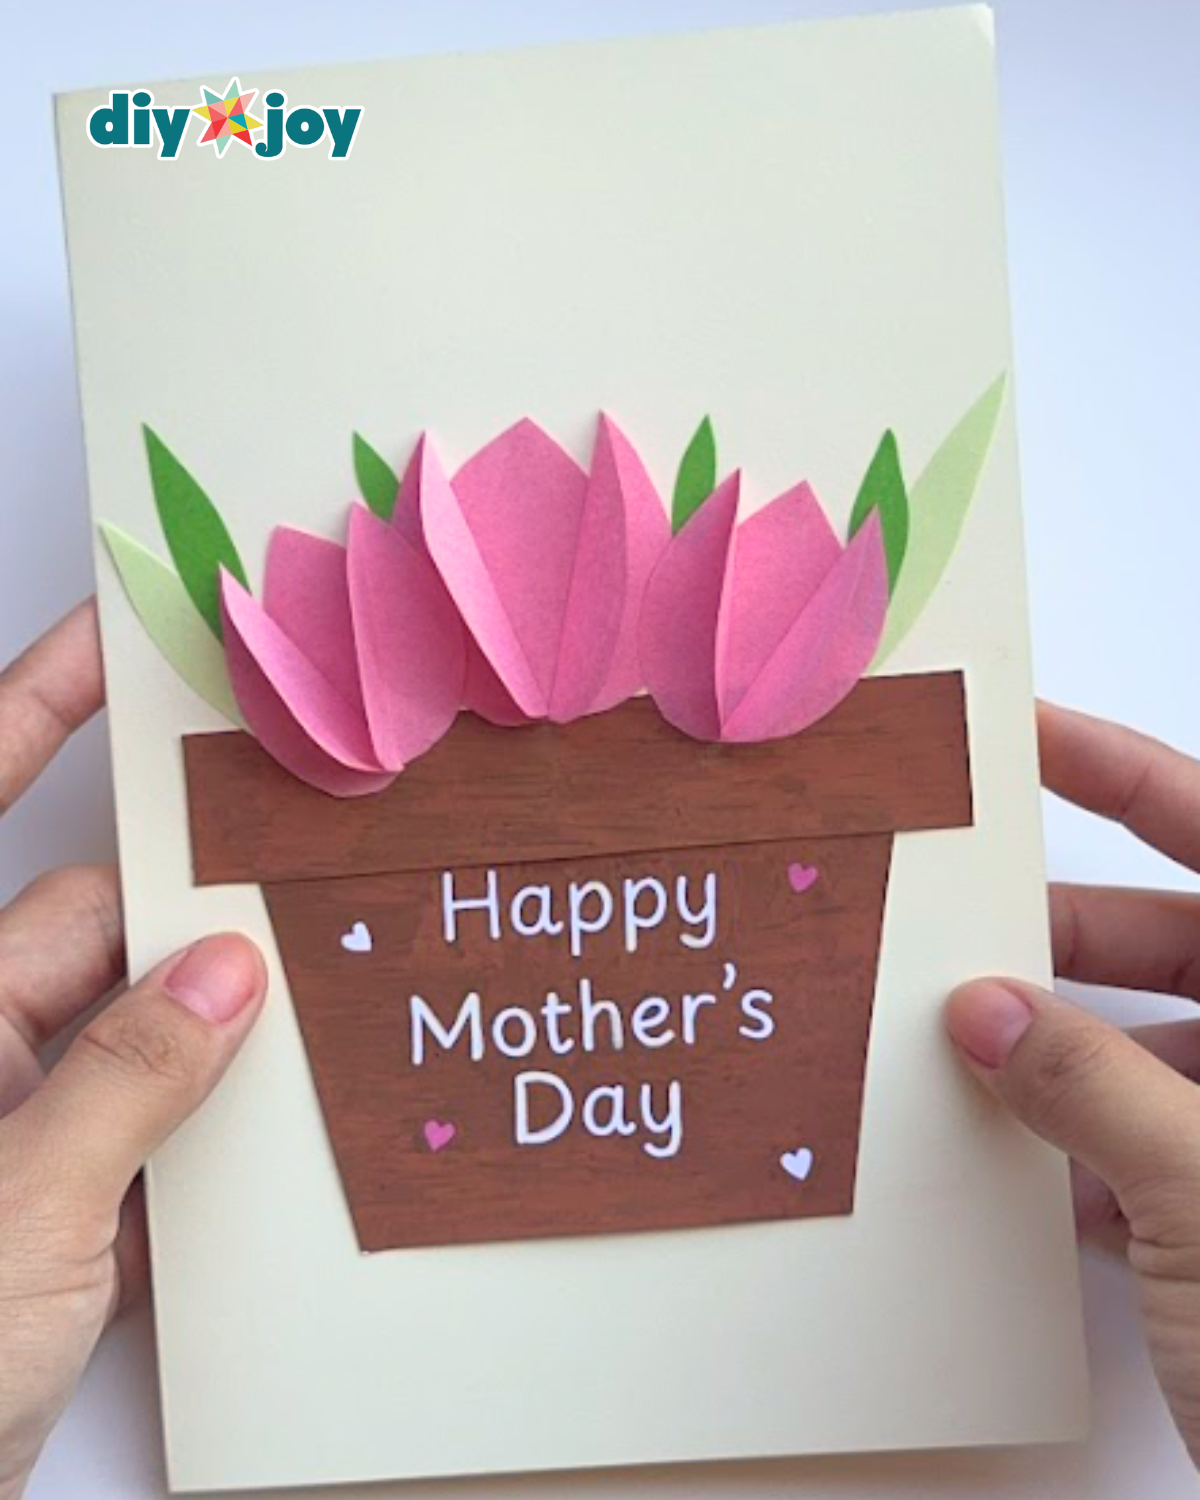
Step 6: Attach the Flowers to the Card Base
Get a vellum board or your card base and fold it in half. Open it, then place the stacked flowers in the center of one side. Apply glue to the section labeled A, then fold the card closed and press firmly to secure the flowers in place. Flip the card over, open it again, and apply glue to the same section on the other side. Close and press once more to ensure it is fully attached. When you open the card, the flowers should bloom smoothly.

![]()
Pro Tips 💡
- Use thicker paper or cardstock for the base so the pop-up holds its shape better and lasts longer.
- Play around with different colored paper and Sharpie to make the flowers stand out more.
- Before attaching the flowers to the card, do a quick test to make sure it opens smoothly, and add more flowers if it doesn’t open properly.
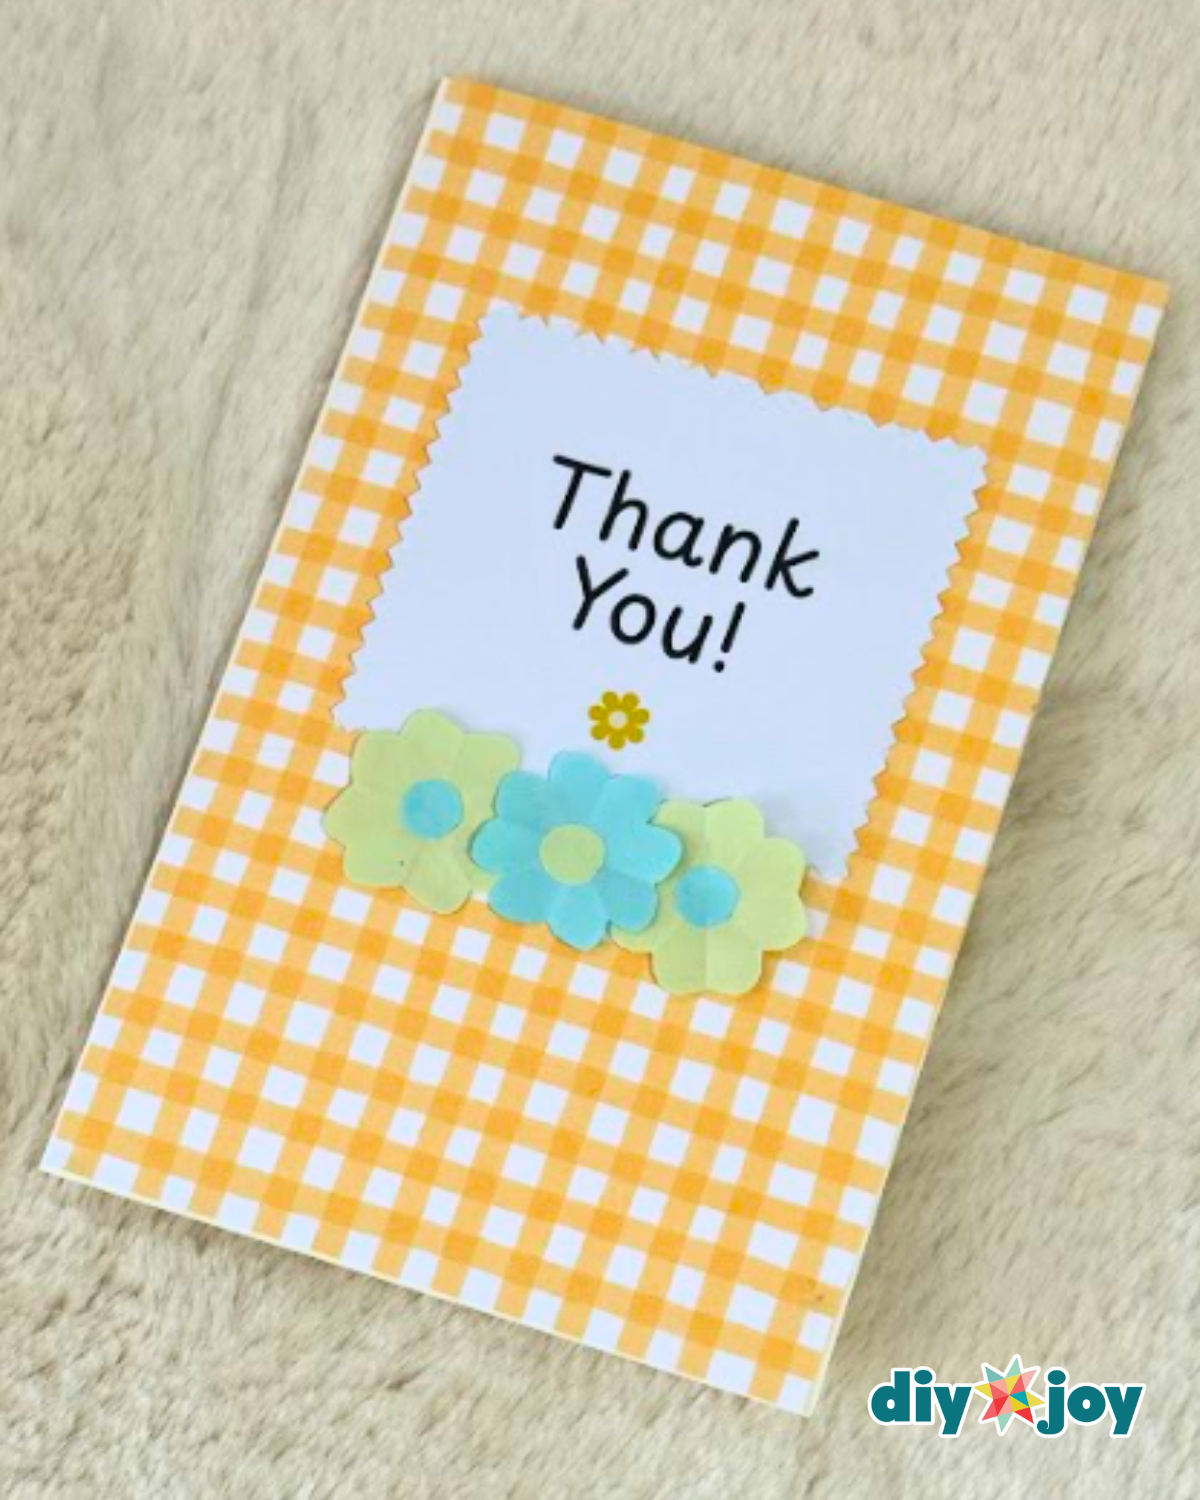
What To Make Next:


*If you love this craft, then visit our official website, follow our Facebook page, and subscribe to our YouTube channel for more!
DIY Flower Pop-Up Card for Mother’s Day