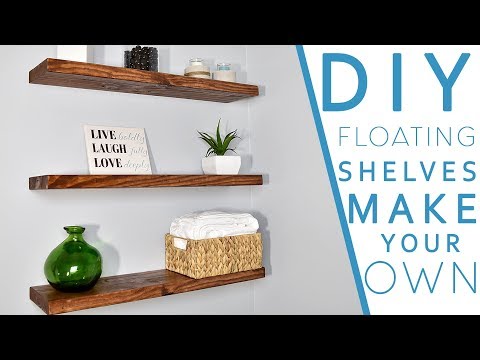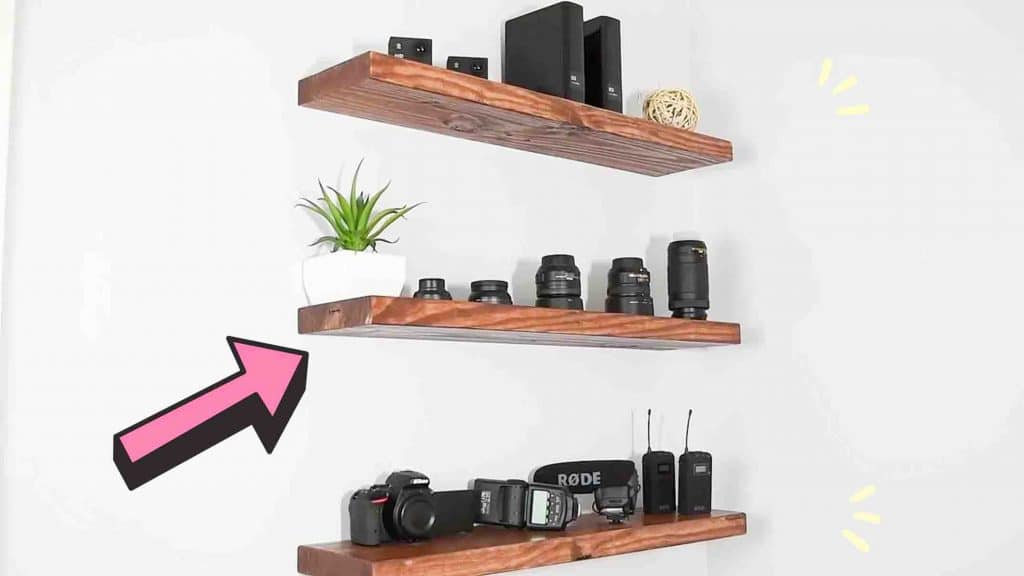
Are you looking for something to elevate the overall look of your space? How about removing the brackets of your shelves to level up their look with this DIY no bracket floating shelves tutorial from DIY Creators on Youtube. It’s an easy method to make your shelves look like they’re floating – an instant upgrade to the overall aesthetic of your space! Watch the video tutorial below to learn.
Materials:
- 2in x 8in x 8ft southern yellow (you can use larger or smaller lumber)
- 1/2in dowel (36in rod)
- 3 pieces 1in wood screw (for safety)
- Minwax gel stain
- Minwax pre-stain wood conditioner
- Minwax spray-on polyurethane
- spray paint grip
- 6 pieces 3in wood screw (to mount wall)
Directions:
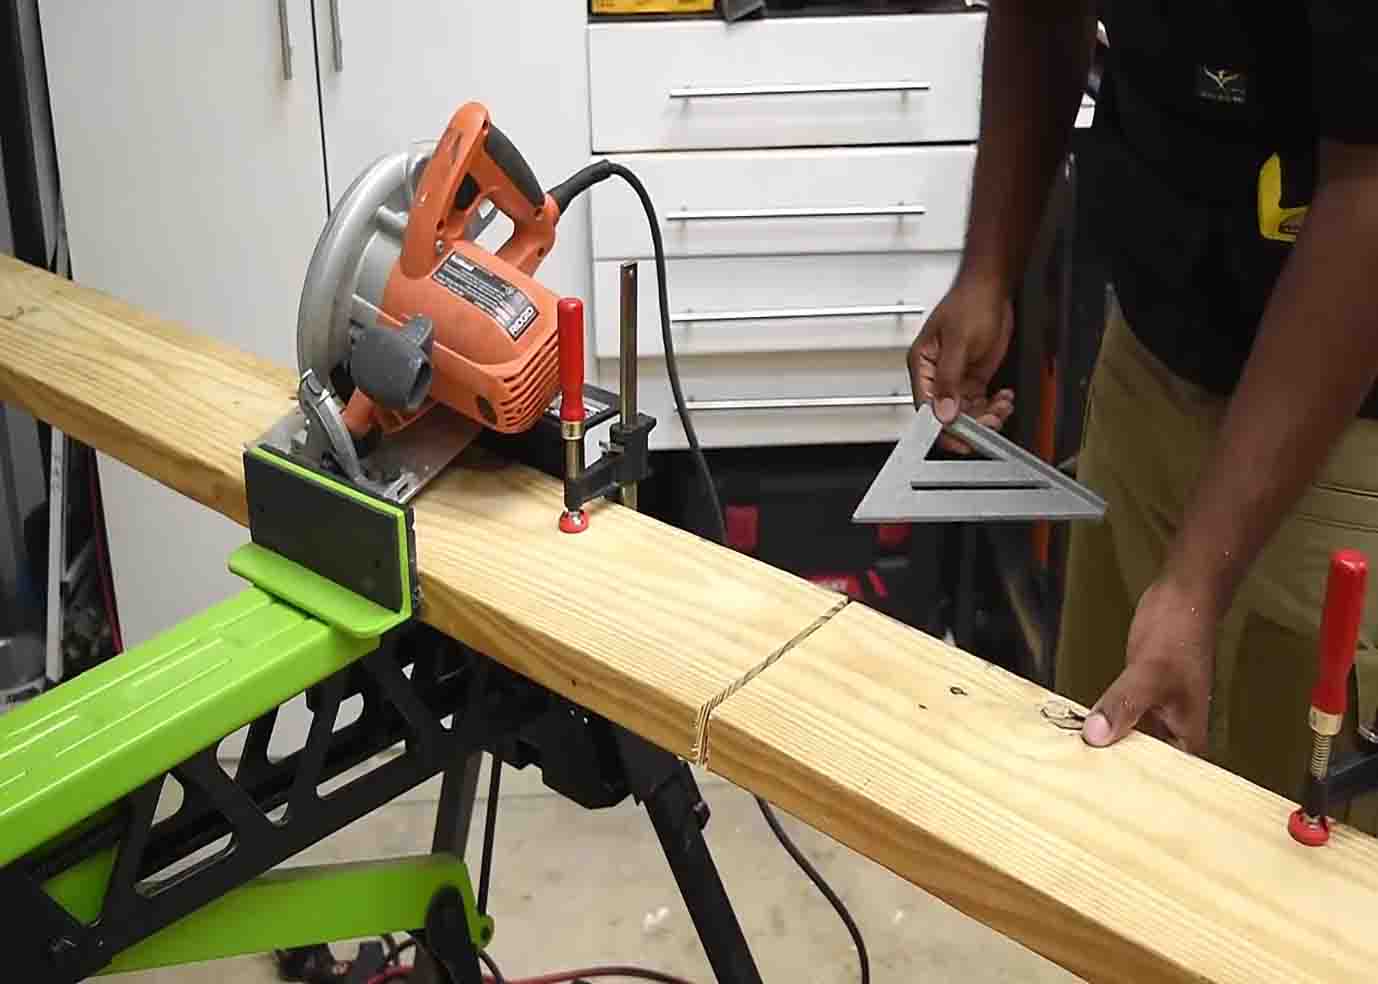
Step 1
Cut the lumber down into three equal parts. (The final length of each board will be 31 inches.) Mark the area where you will cut it into three pieces, and add a piece of support under the bottom to catch the wood after it’s cut. Next, mark the dowel into four inches; you should end up with nine pieces. After this, mark three locations on the shelves for the dowels. (One in the middle and then two inches from the outside.) Find the center point of each line and put a mark on it. (You should end up with 9 marks, this will be drilled on later.) Next, take a half-inch bit, then put tape around it. (This is going to set the depth of the dowel.) Repeat the same step for all nine holes. After this, sand down and clean up the area where you drilled holes. Next, use a guide and set it to make an inch and a half cut, then lock it in place. (If you have a table saw, this will be much easier.) Cut the wood, then mark each one of them so you know which side goes where and which pieces go with which piece. After this, grab the half-inch bit again and also the half-inch dowels. To make dowels slide in much easier, mark the part that will go inside, then sand it down. (Don’t overdo it, just make sure that the dowels will slide in.) Repeat the process over and over until all of them are done.
[social_warfare]
Step 2
After this, sand down all the shelves. Line up the pieces, drop the dowels inside of them, then hammer those down to lock them. Repeat the same process to the remaining shelves. Install a screw right through the dowel and into the wood, locking them in place. Add a clamp on the top part aligned to the dowels, pre-drill, and countersink the screw. Prep the shelves by painting 1 coat of Minwax pre-stain conditioner. After it dries, lightly sand it down. The next step is adding the stain. To finish off, add a top coat by using a spray-on polyurethane.
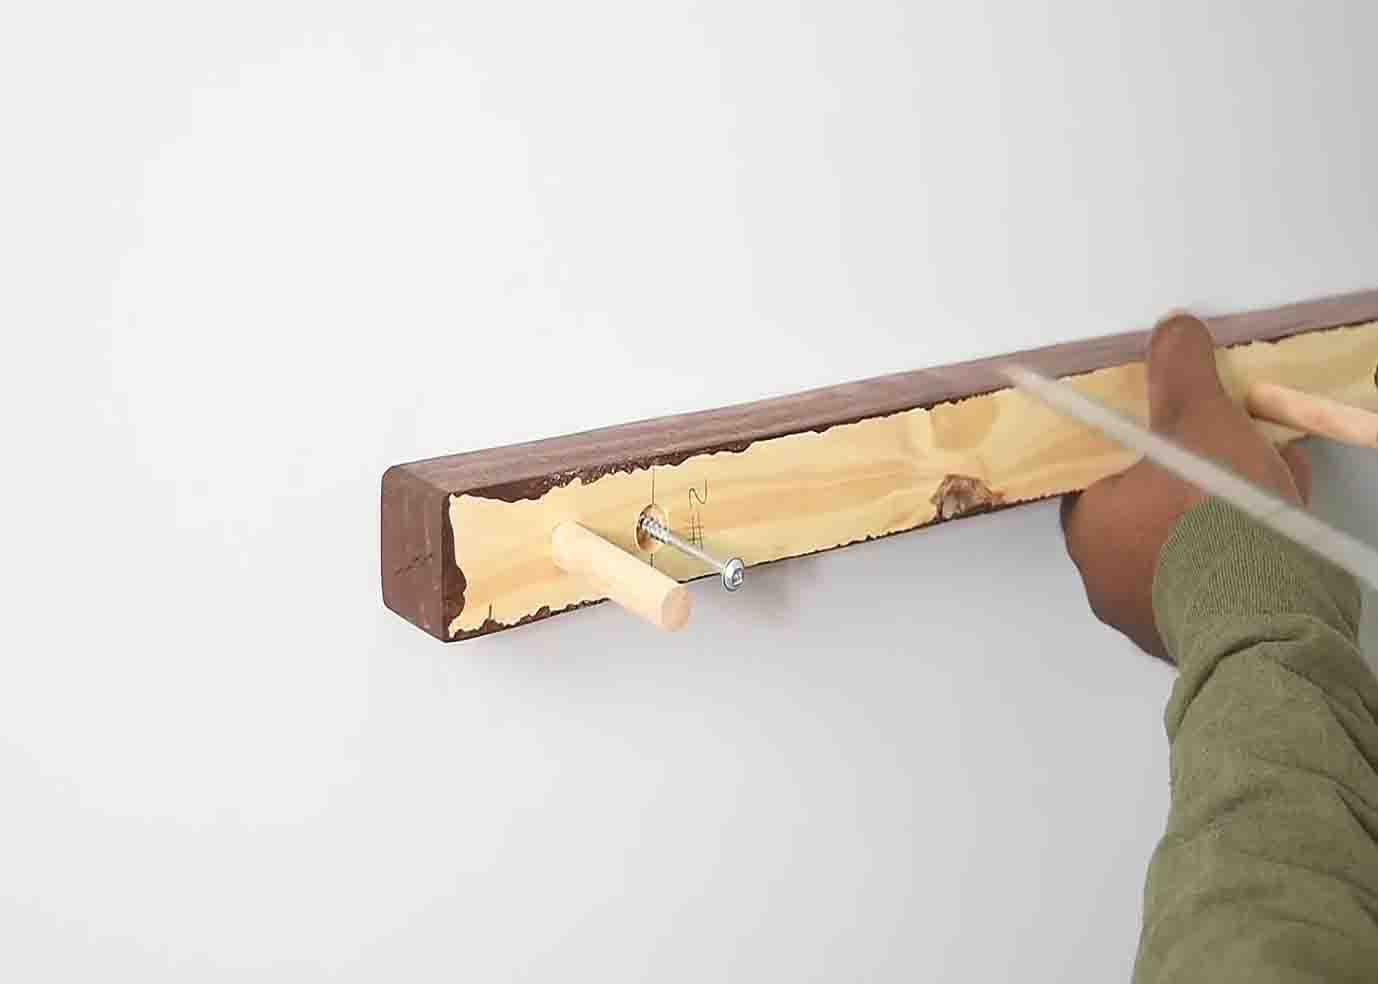
Step 3
To mount the shelves to the wall, add a few holes in the back bracket, then find the stud in the wall, and make a mark on the back bracket and the wall. Transfer the marking to the other 2 pieces of wood, put cross marks on those, then drill a half-inch hole. Place the wood over the mark that you put on the wall and screw it into the stud. Now, align the shelves with the dowel pin and slide it into place. Repeat the same process to the remaining shelves, then add the safety screw.
Easy DIY Floating Shelves Tutorial