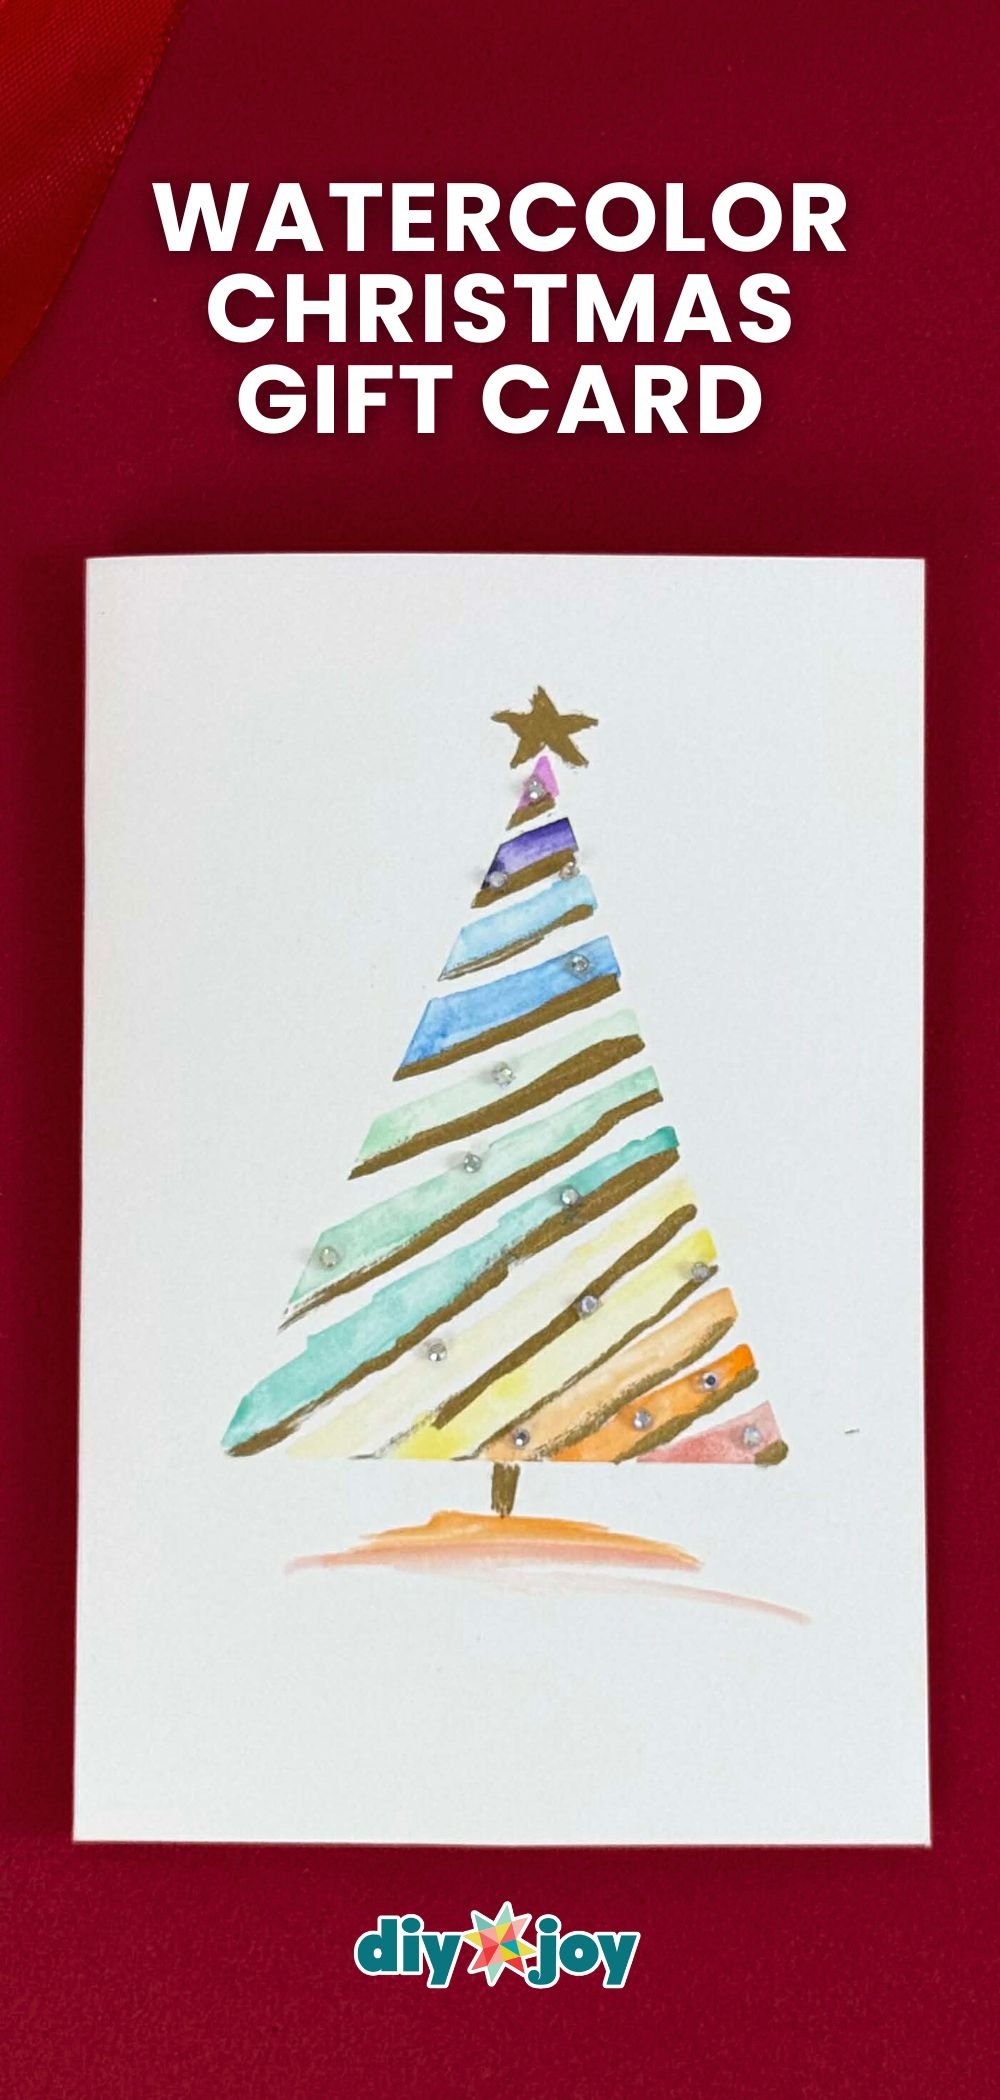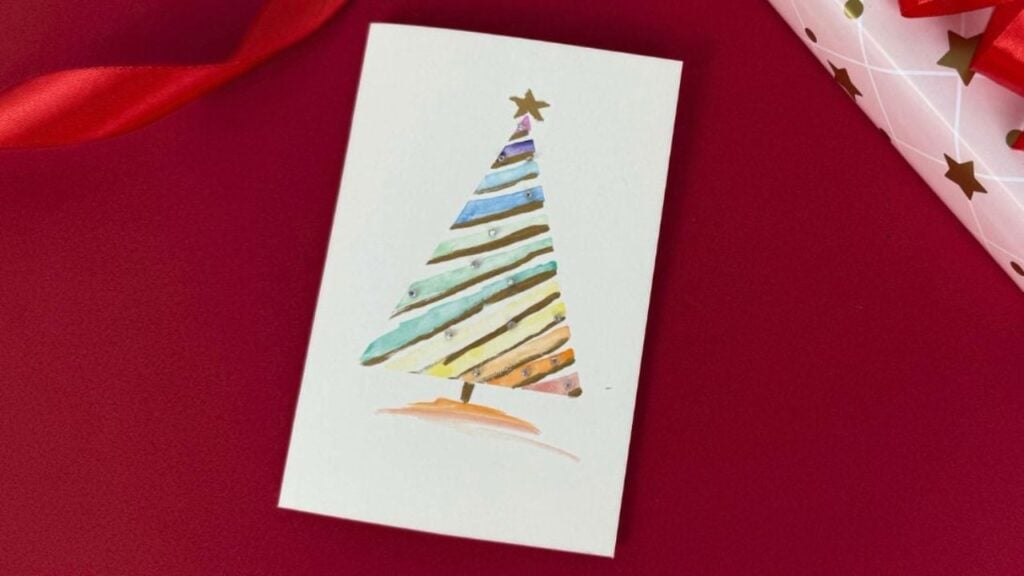
Gift giving is at the heart of Christmas, and while the thought truly matters more than the price tag, sometimes you want to give something heartfelt that stays within budget—or maybe add an extra personal touch to a present you’ve already prepared. A handmade gift card is the perfect solution!
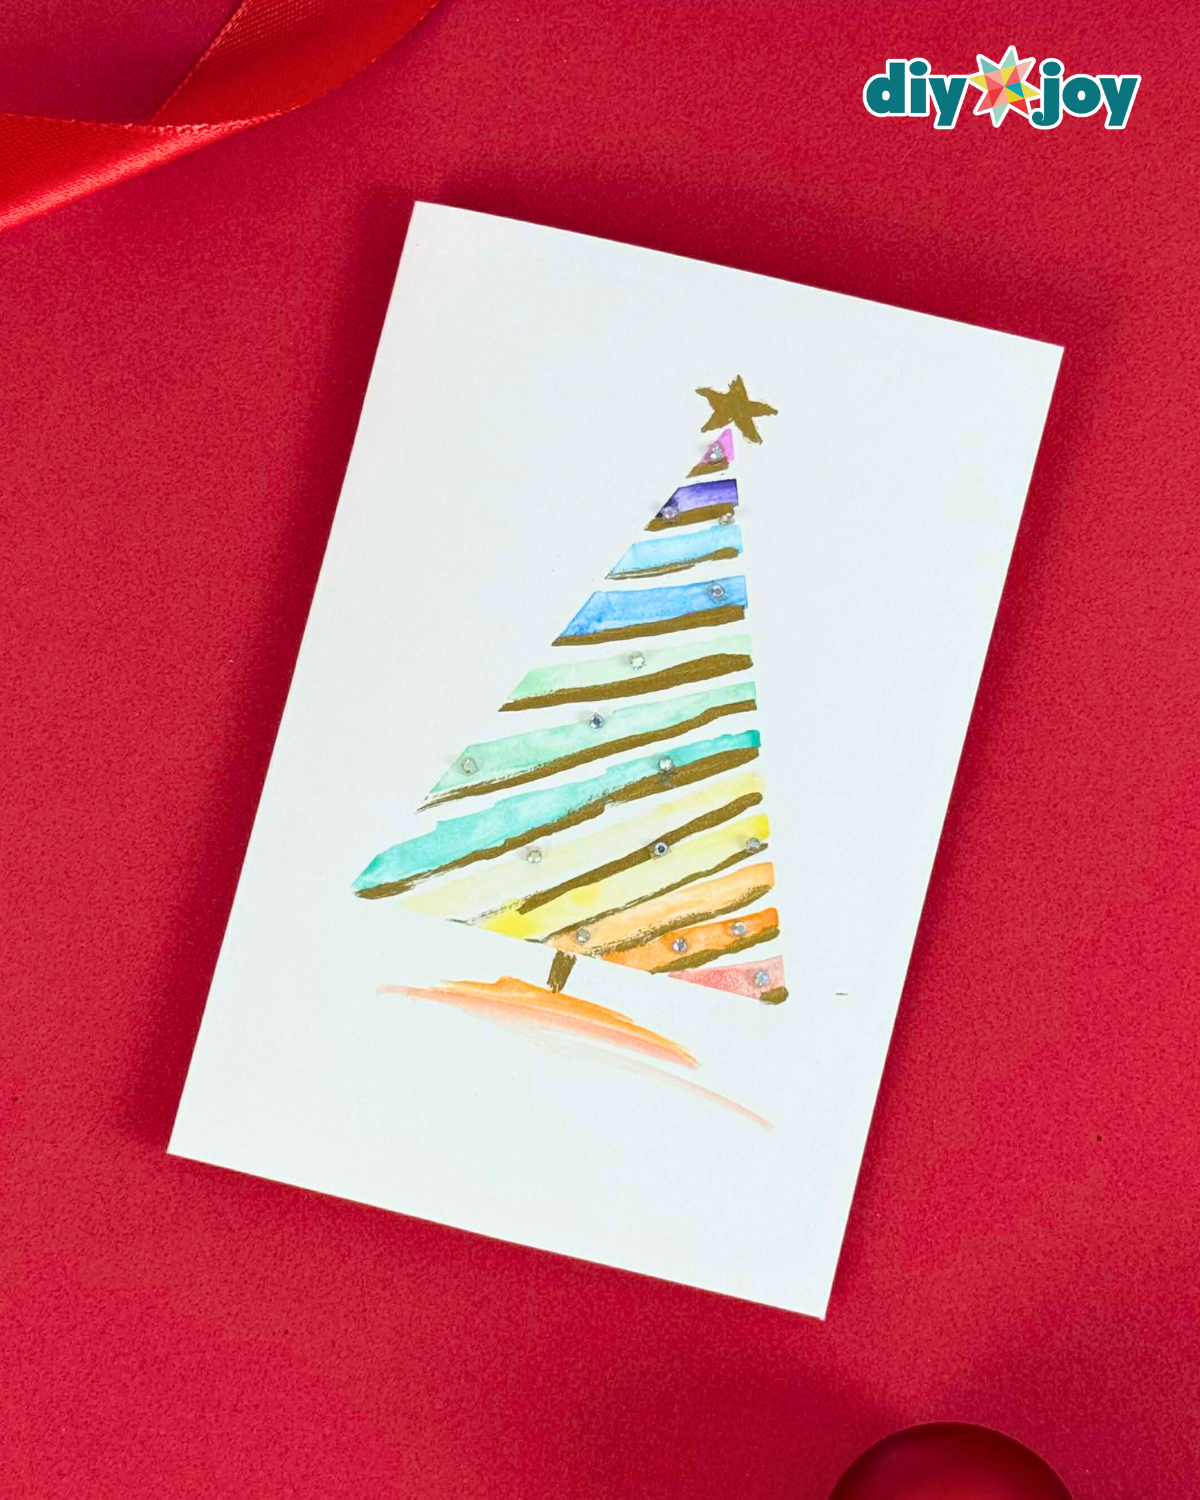
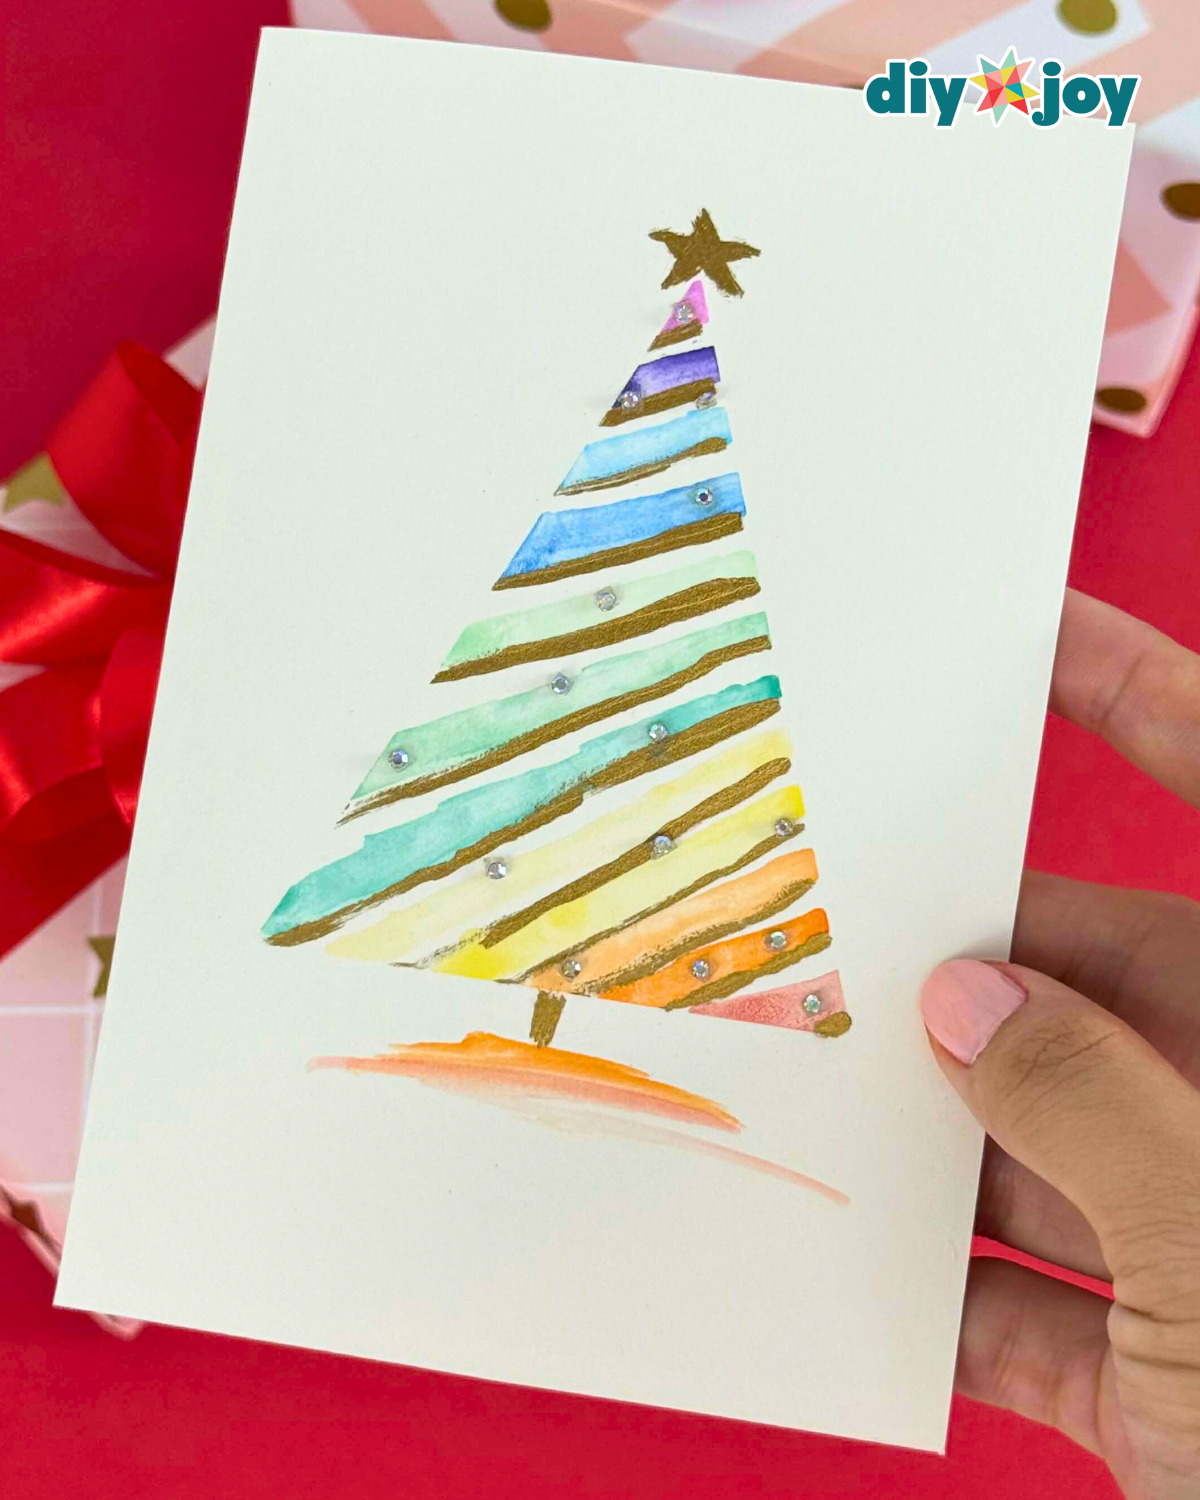
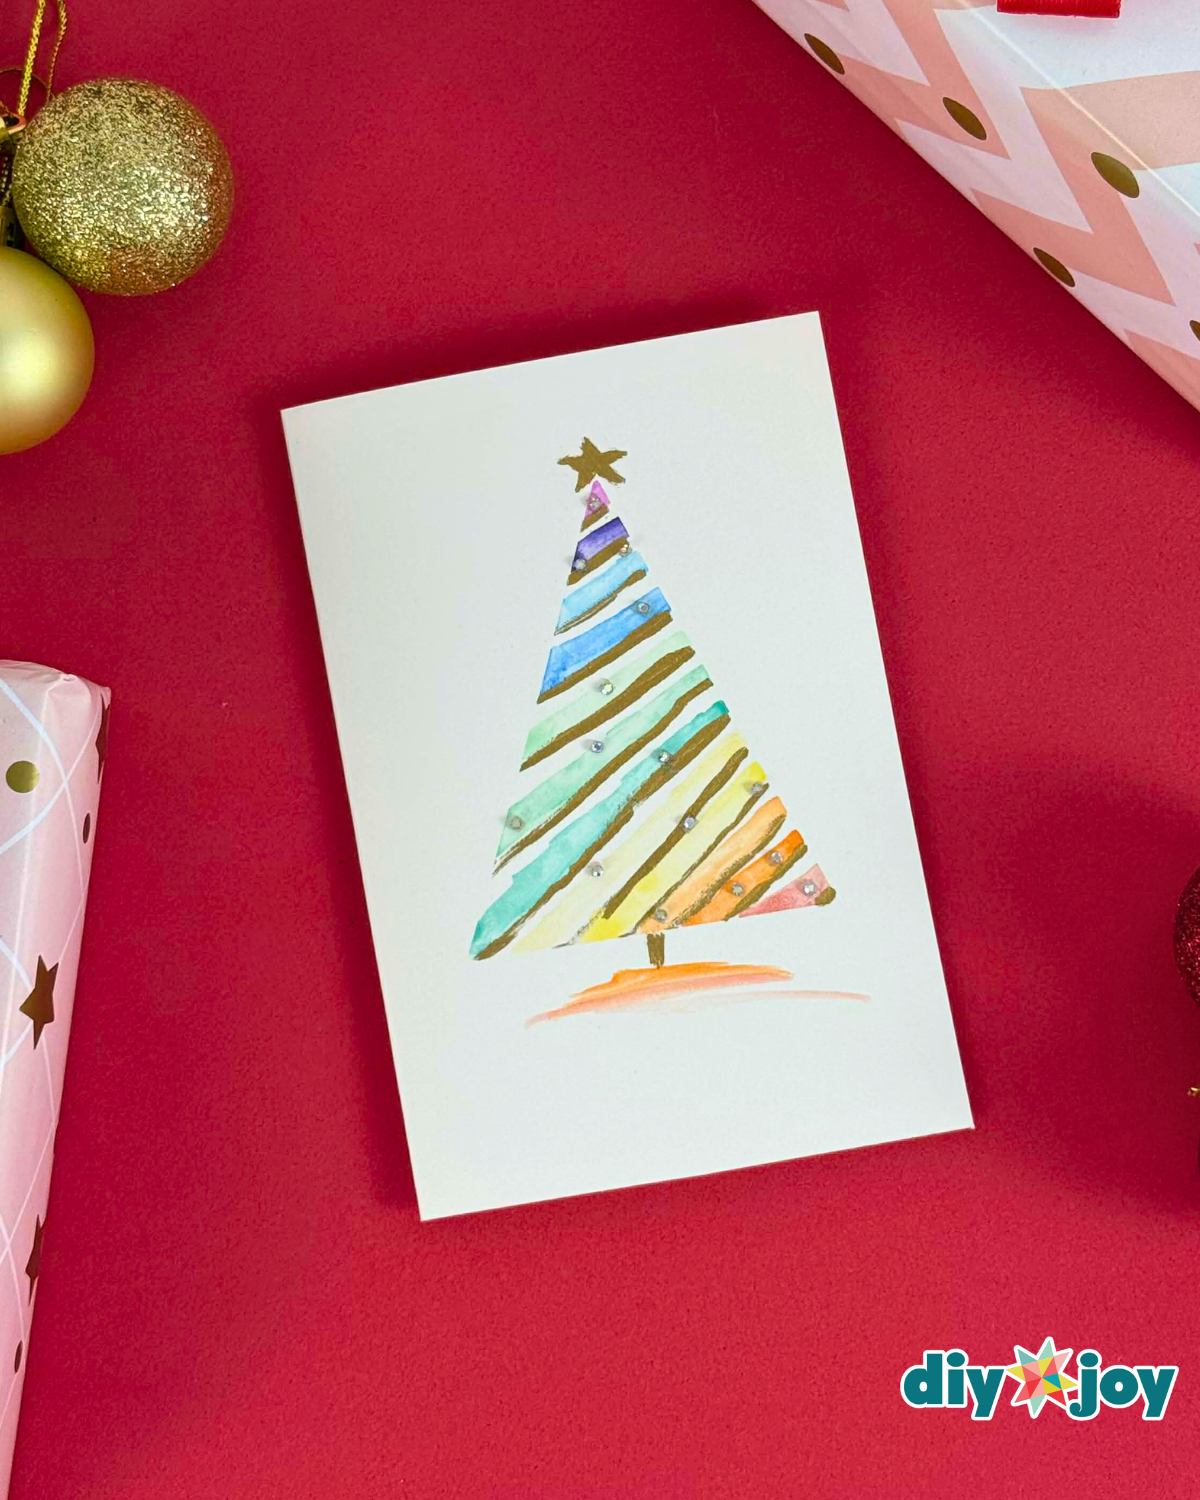
While you can purchase Christmas gift cards from stores in various designs and sizes, today’s project gives you a personalized, handmade option. This DIY Christmas gift card features a hand-drawn watercolor Christmas tree on the front—but don’t worry, you don’t need to be an expert at painting or drawing. Using a simple hack with washi tape, you can create a perfectly shaped tree every single time.
RELATED: DIY Snow Globe Gift Card Holder | Easy DIY Heart Gift Card Tutorial
Imperfections aren’t a problem either—your tree will look beautiful no matter how thick or bold your brush strokes are. You can even play with colors to give each card a unique, personalized touch, especially if you plan to make several for different loved ones. To add extra sparkle and elegance, rhinestones are used to accent the design, giving your card a fancy, professional look.

The best part? The recipient will instantly notice the effort and care you put into making it by hand. Handmade touches like this bring extra love to any gift, making your present feel even more special and memorable.
▶ Watch this tutorial on TikTok
Craft Supplies Needed
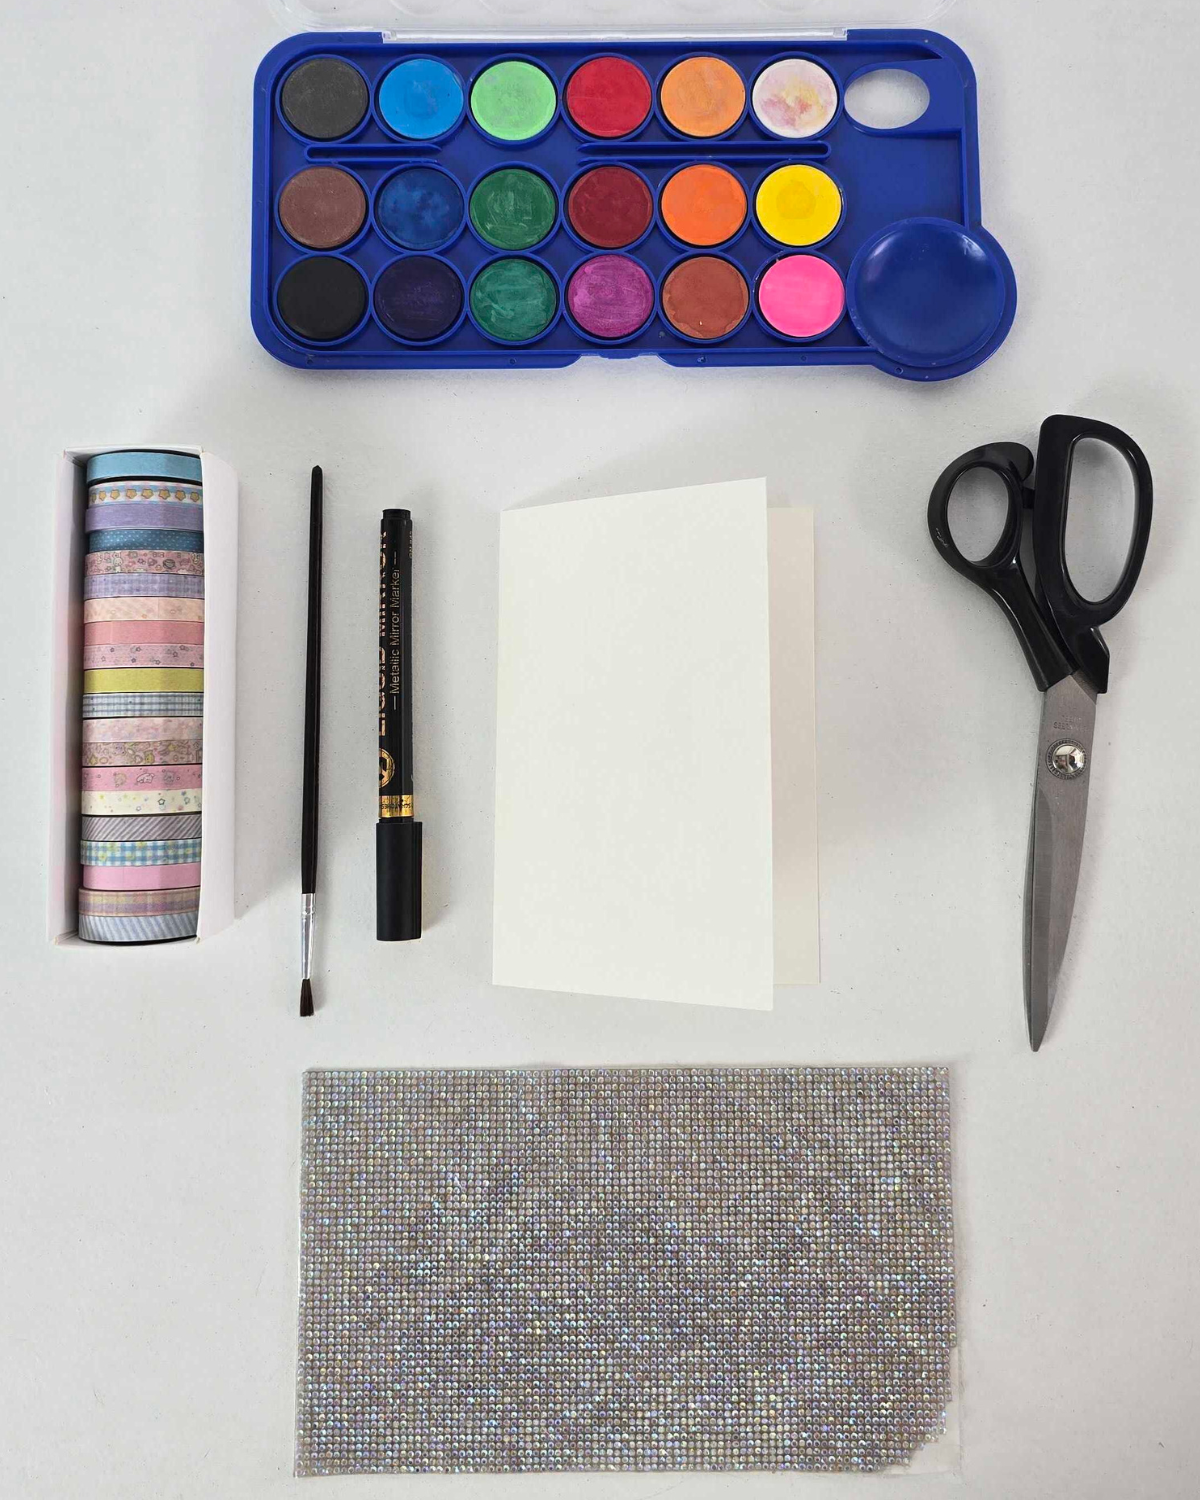
Here is everything I had out on the table. Most of it is craft drawer stuff you already own.
- Cardstock or vellum board
- Watercolor
- Rhinestones
- Gold paint
- Washi tape
- Scissors
- Ruler
- Pencil
Shop the Supplies
Here are the main supplies we used for this Christmas gift card, so you can grab the same ones and get straight to crafting.
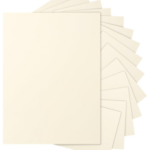
Cardstock
This cardstock is sturdy and thick, perfect for making gift cards.
Watercolor
This watercolor set offers high-quality and highly pigmented colors.

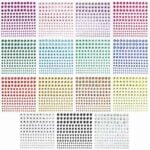
Rhinestones
These rhinestones come with a sticky back, which makes it easier to attach or stick anywhere.
How to Make a Watercolor Christmas Card
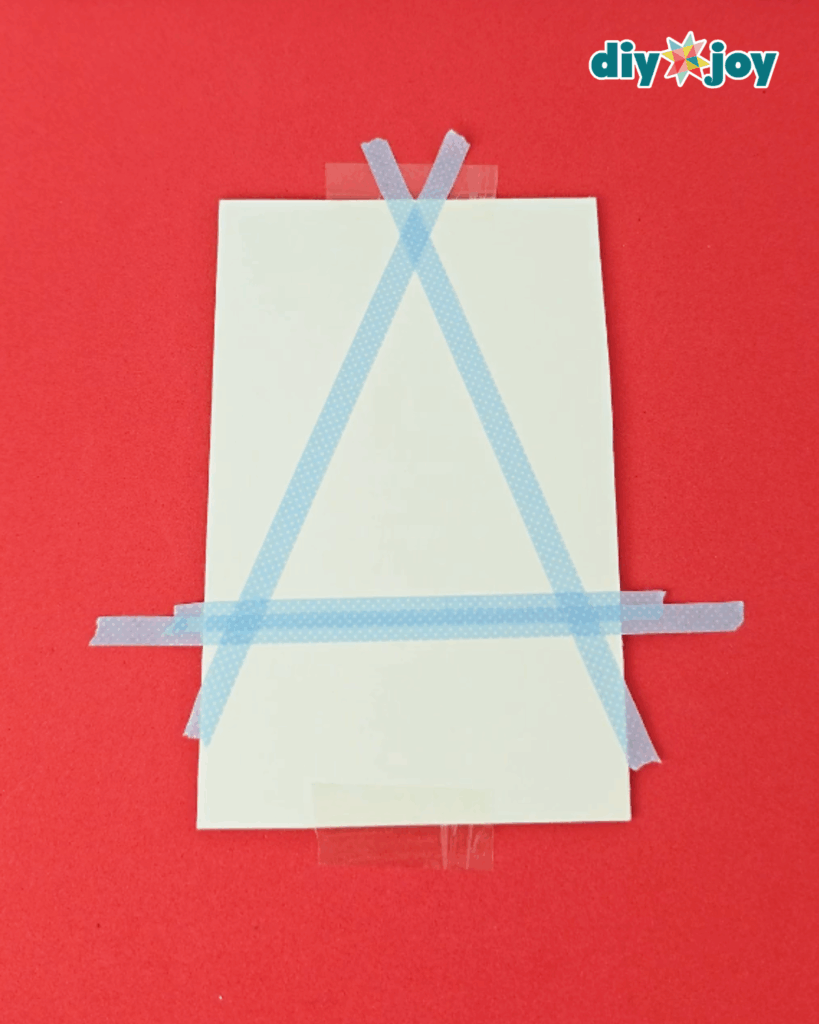
Step 1: Mark the Tree Area
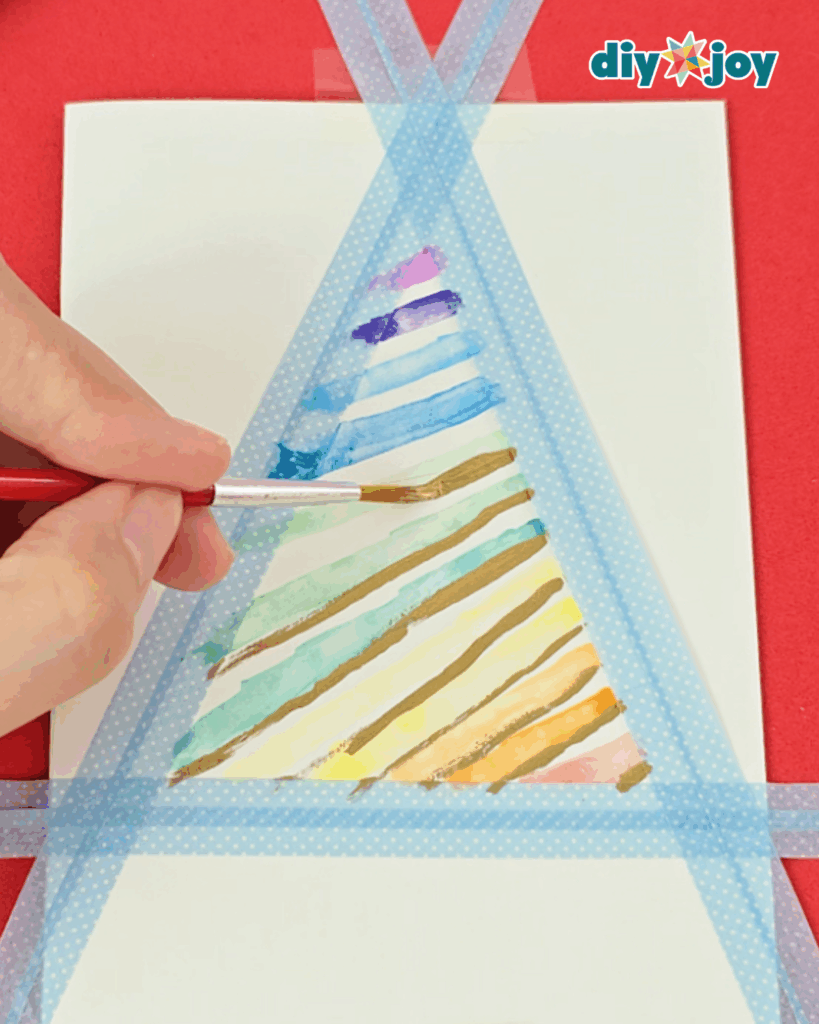
Place washi tape on the gift card in a triangle shape to outline where the tree will go. You can also place extra tape on the top and bottom of the card to hold it in place.
Step 2: Paint the Tree
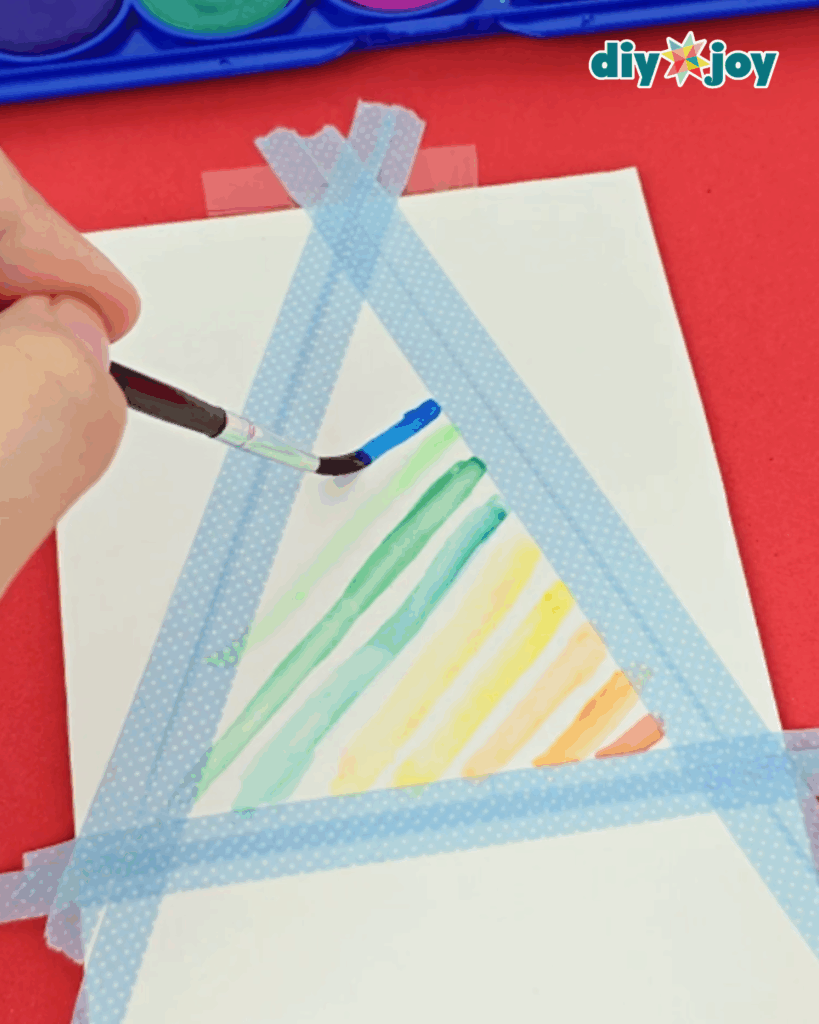
Paint diagonal lines inside the triangle using watercolor. The combination and order of colors will depend on your preference.
Step 3: Add Details
Use gold accent paint to highlight each color. Brush along the bottom of the colors.
Step 4: Finish and Decorate
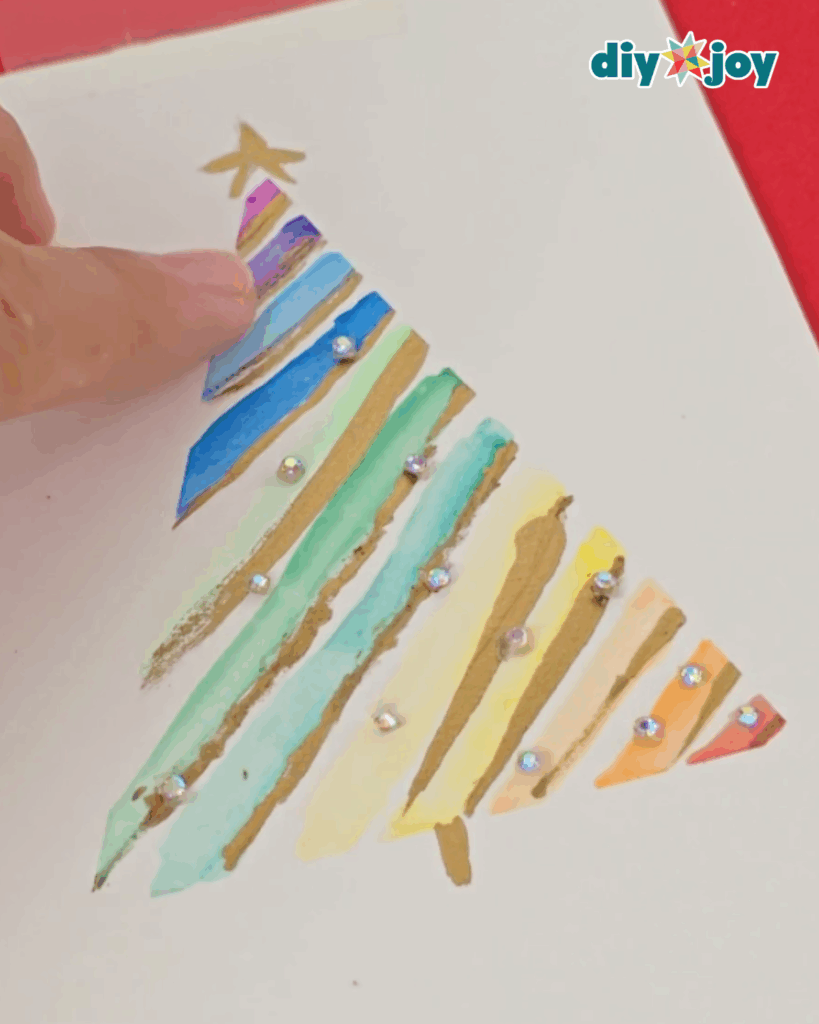
Remove the washi tape, add rhinestones, then draw the trunk and star on the tree using gold paint.

Why You’ll Love This
- Easy & Beginner-Friendly: Perfect for anyone, even without painting or drawing experience
- Customizable: Play with colors, designs, and embellishments to make it unique
- Thoughtful & Personal: Handmade touch shows effort and love
- Budget-Friendly: A simple, affordable way to add a special touch to gifts
- Fun & Creative: A festive craft project the whole family can enjoy
What’s Viral Today




*If you love this craft, then visit our official website, follow our Facebook page, and subscribe to our YouTube channel for more!
Easy DIY Watercolor Christmas Gift Card