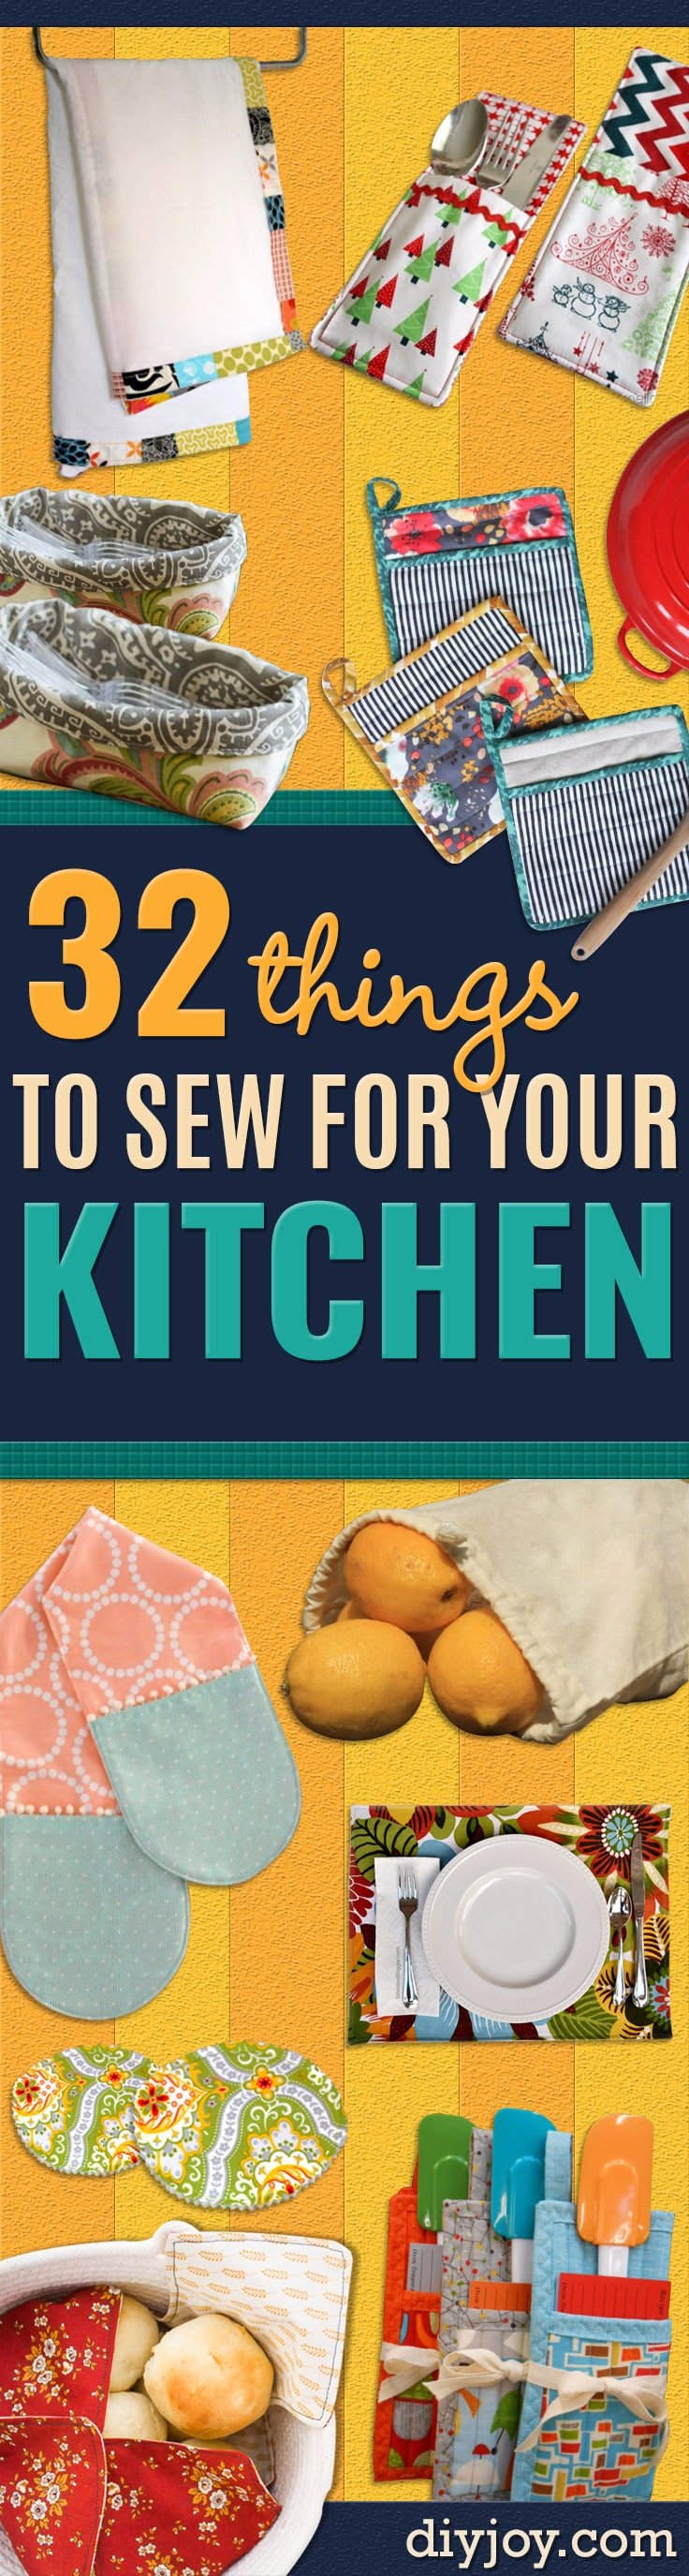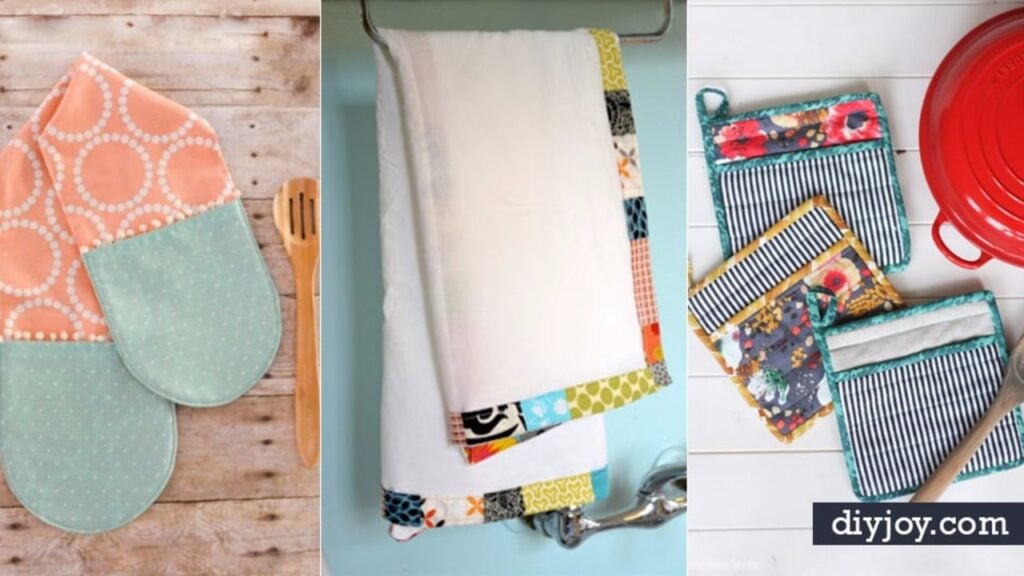
Most kitchen sewing projects are squares. That is genuinely good news, because it means almost everything on this list of 23 is within reach if you can sew a straight line and turn a corner. There are pot holders with proper heat resistant batting in them, placemats you can make six of from two yards, napkins with mitered corners that look bought, reusable produce bags that take fifteen minutes, a cover for the stand mixer bowl that lives on your counter collecting crumbs, and a denim placemat with a working back pocket that needs no sewing at all. Sizes and seam allowances are on every one. Raid the scrap bin first, because half of these barely need a fat quarter.
1. Jeans Pocket Placemats
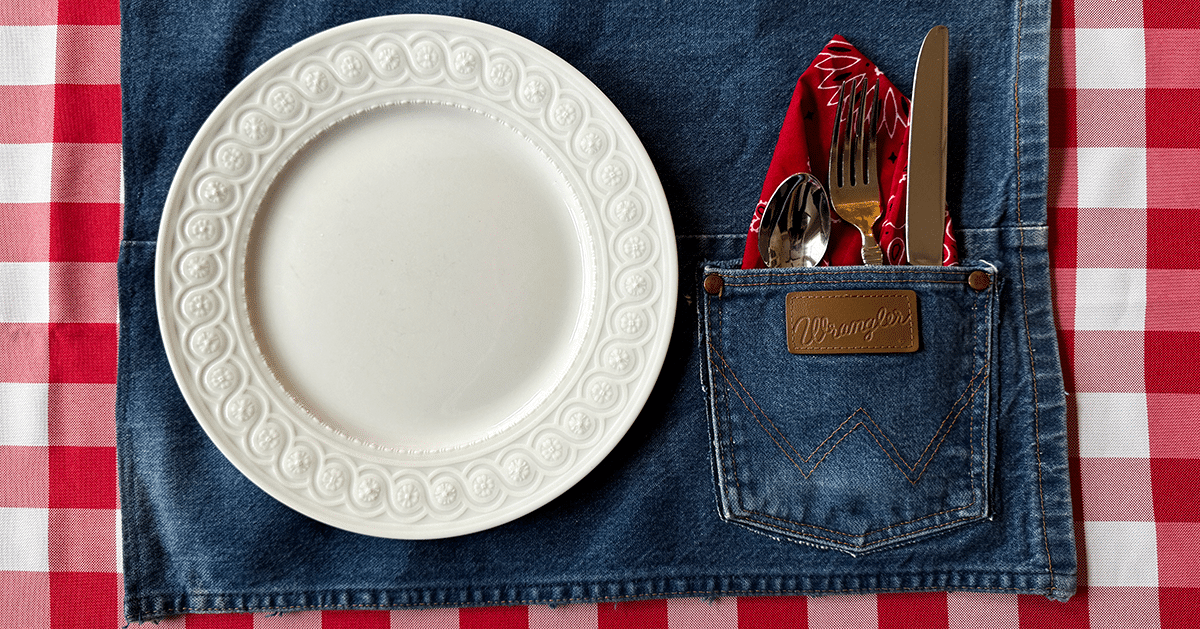
Placemats cut from old jeans with a real back pocket left on the corner to hold the cutlery and a napkin, and there is no sewing in it at all. Non stretch denim works best. Cut up the outside seam of the leg, open it out and trim to 14 by 19 inches, then fold every edge in by a quarter inch and press. Fabric glue along the folded seams, clips to hold it while it dries for an hour, then the cut pocket goes on the lower right corner. One large pair makes two.
Get the full tutorial at DIY Joy.
2. Fabric Napkin Bread Warmer
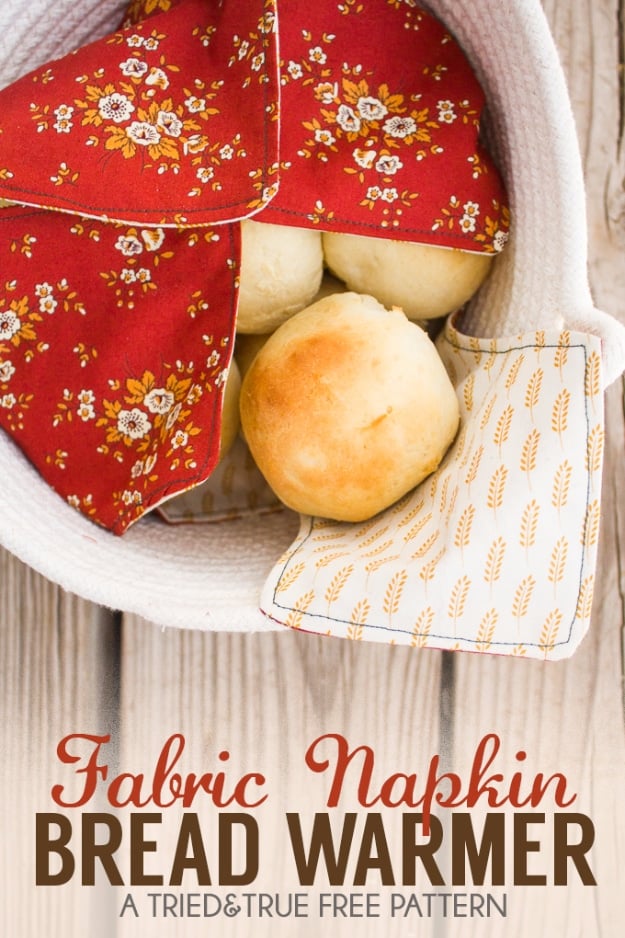
An insulated cloth that sits in the bread basket and keeps rolls warm right through the meal, which is more use than it sounds if you have ever served bread that went cold in ten minutes. The warmth comes from a layer of insulated liner sandwiched behind the lining fabric rather than from wadding. Each layer starts as a 24 inch square, folded in quarters before cutting so the shape comes out symmetrical. Sew round with a quarter inch seam, leave a gap, turn, press hard for crisp edges, then topstitch the opening closed.
Get the full tutorial at Tried and True.
3. Super Fast Placemat
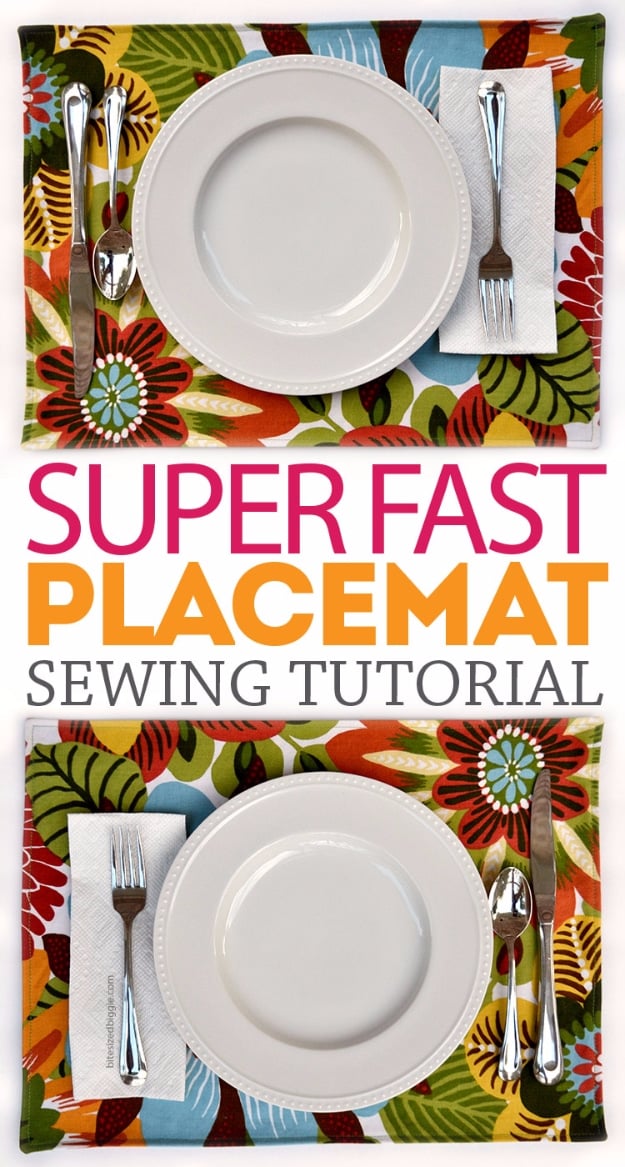
Two rectangles sewn right sides together and turned, which is as simple as a placemat gets and explains the name. Cut at 17.5 by 12.5 inches for a finished 17 by 12, or go up to 19 by 14 for a bigger setting. Sew round with a quarter inch seam, leaving a three inch gap, trim the corners, turn it out and press. Then topstitch the whole perimeter, which closes the gap and stops the layers shifting in the wash. Two one yard cuts make six, and different fabrics front and back make them reversible.
Get the full tutorial at Bite Sized Biggie.
4. Dinner Napkins
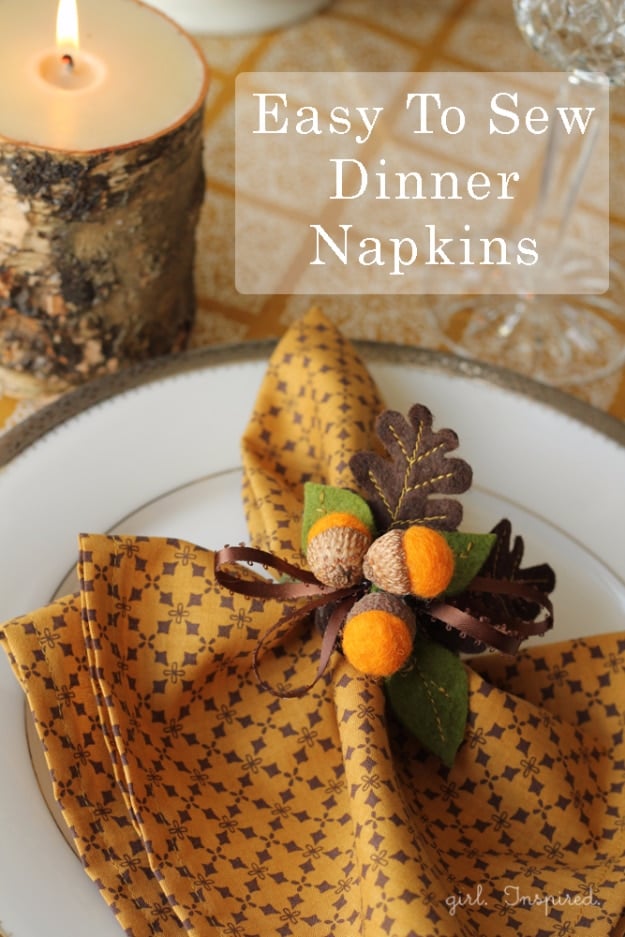
Cloth napkins with properly mitered corners, done entirely by folding and pressing rather than by cutting anything on the diagonal. Cut 18 inch squares or larger, then mark each corner where one inch up meets one inch out. Fold each corner to that mark, fold it again to the same mark, then press each edge up half an inch and half an inch again so the corners meet at a clean diagonal. Topstitch a quarter inch from the edge all the way round, pivoting with the needle down at each corner.
Get the full tutorial at Girl Inspired.
5. Simple Pot Holder
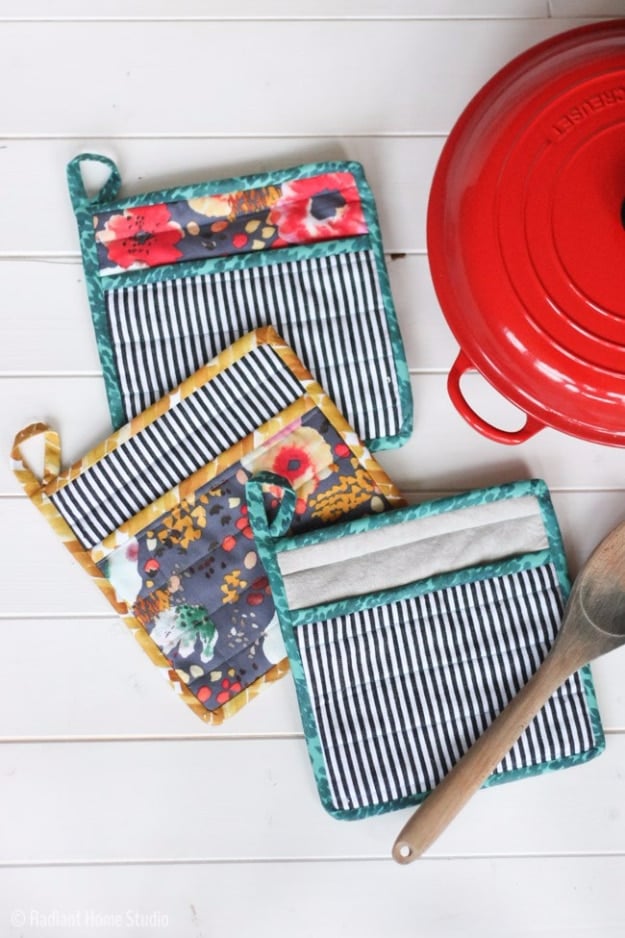
A pot holder with a pocket on the front, built on a 9 inch square with a 9 by 6.5 inch rectangle for the pocket. The insulation is the part that matters and the tutorial is blunt about it: thermal batting with mylar in it, plus a layer of lightweight quilt batting, and never quilt batting on its own. Synthetic fabric cannot take the heat at all. Quilt both pieces with lines an inch and a half apart, bind the pocket edge first, then bind all four edges in one continuous cotton strip with a loop at a corner.
Get the full tutorial at Radiant Home Studio.
6. DIY Ruler Table Runner
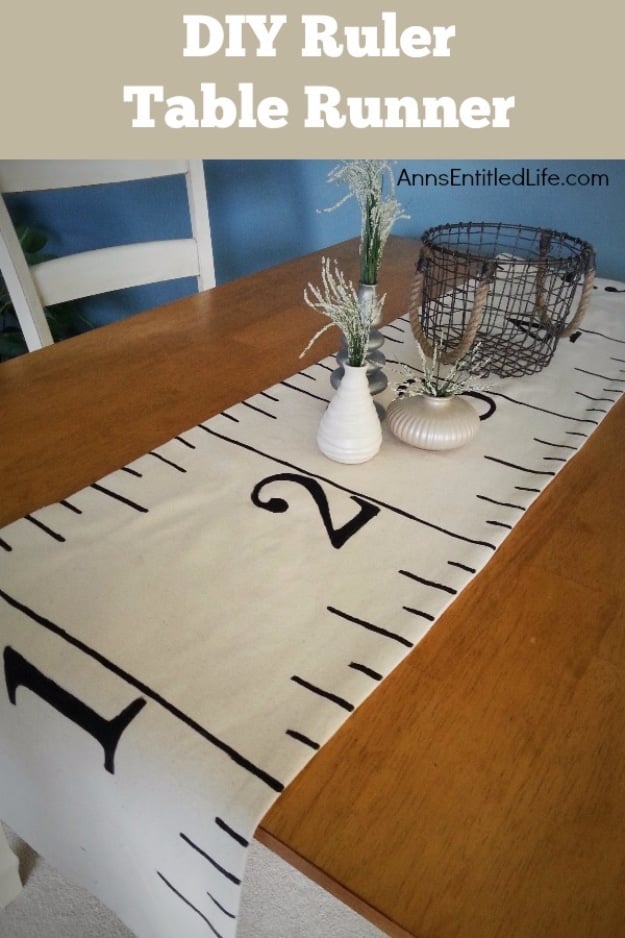
A table runner painted to look like a six foot ruler, finished at 14 by 72 inches from two pieces cut at 15 by 73. Sew them together with a half inch seam, leave a five inch gap, turn, close it by hand and press flat. Then the marking: a line at every foot, and inside each foot, marks every inch and a half at staggered heights so it reads like a real rule. Numbers printed large and traced on, then everything painted in black fabric paint. Use dense fabric or the paint bleeds through.
Get the full tutorial at Ann's Entitled Life.
Check out all of these ideas to sew in one place on Youtube, then come back to hit the links to complete step by step instructions from some our the top sewing blogs.
7. DIY Drawstring Produce Bag
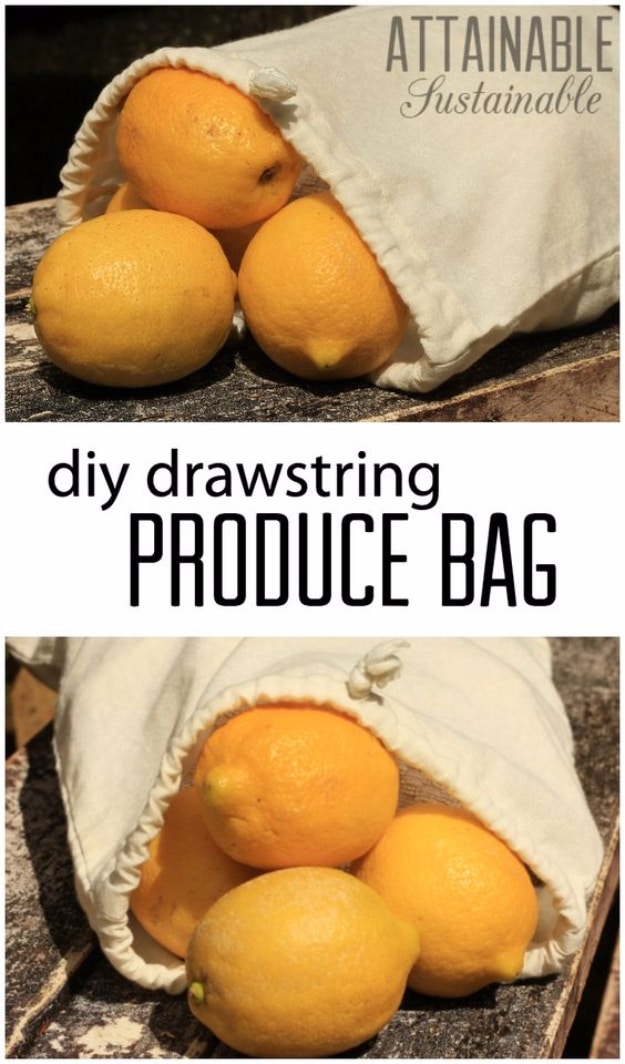
A reusable produce bag that takes ten to fifteen minutes and replaces the plastic roll at the supermarket. Twelve to fourteen inches square suits most shopping. Lightweight fabric is the right call, and upcycled sheer curtains or an old bed sheet both work, partly because a cashier can see what is inside. The seams are French seams: sew three edges wrong sides together at an eighth of an inch, turn it and sew again at three eighths so no raw edge is left. Two cords through the top casing, pulled from opposite sides, close it.
Get the full tutorial at Attainable Sustainable.
8. Kitchen Curtains
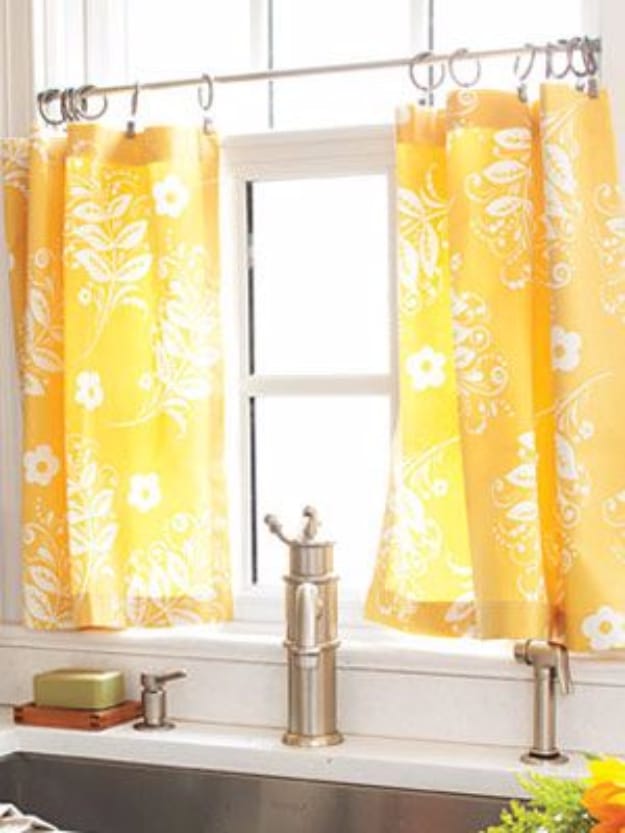
Cafe curtains hung on a tension rod with clip rings, which is the easiest window treatment in the house because there is no heading to sew and nothing to drill. The maths is the whole tutorial: measure the area to be covered, add six inches to the length, multiply the width by three and divide by two, and cut two panels to that. Then a two inch double fold hem along the bottom and one inch double fold hems up the sides and across the top. Vintage tea towels or napkins skip the hemming almost entirely.
Get the full tutorial at Woman's Day.
9. Unpaper Paper Towel
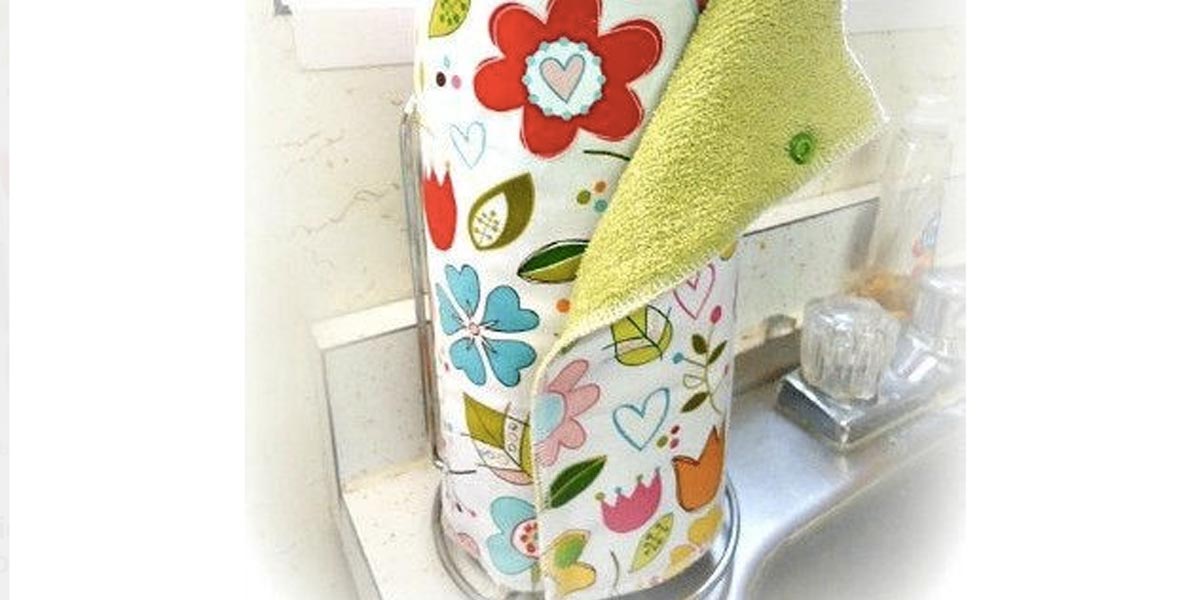
Cloth towels backed with terry that snap together into a roll and sit on the paper towel holder you already own, which is the detail that makes people actually use them instead of forgetting them in a drawer. Three snaps along each side connect one towel to the next. Cotton print on one face, coordinating terry cloth on the other, so they are absorbent enough to matter and tough enough for the machine. A set of twelve replaces a lot of kitchen roll, and shop bought versions have been spotted at nearly seventy dollars.
Get the full tutorial at DIY Joy.
10. Simple Tortilla Cozy
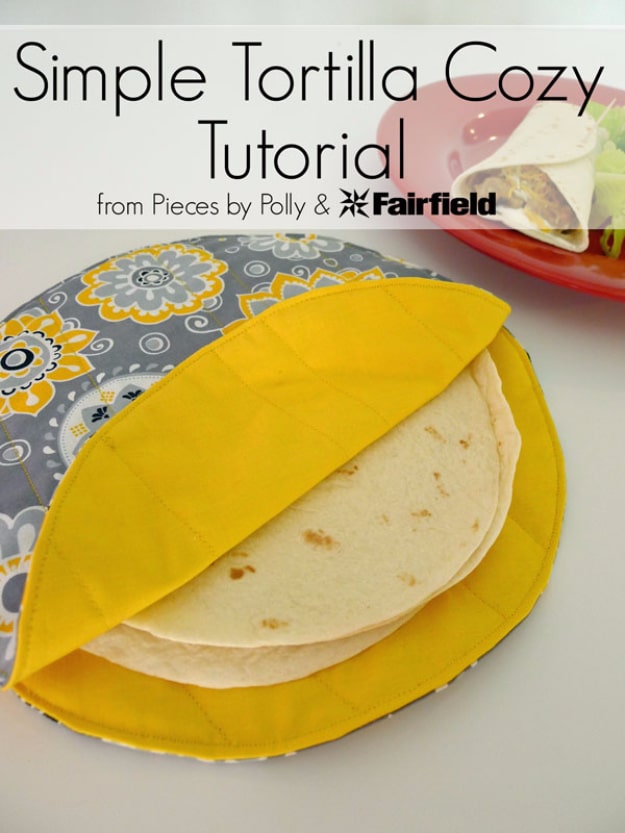
An insulated fabric round that keeps tortillas warm and pliable after they come out of the microwave, which is the difference between soft tacos and cracked ones halfway through dinner. The template is a dinner plate at least an inch larger than the tortillas. Two coordinating cottons plus two insulating liner layers are stacked and cut in one go, twice, so you end up with two sets of circles sewn separately then joined. Quarter inch seam, notch the curve generously for a smooth edge. One thing to note: the cozy itself does not go in the microwave.
Get the full tutorial at Fairfield World.
11. Easy Reversible Drink Coaster
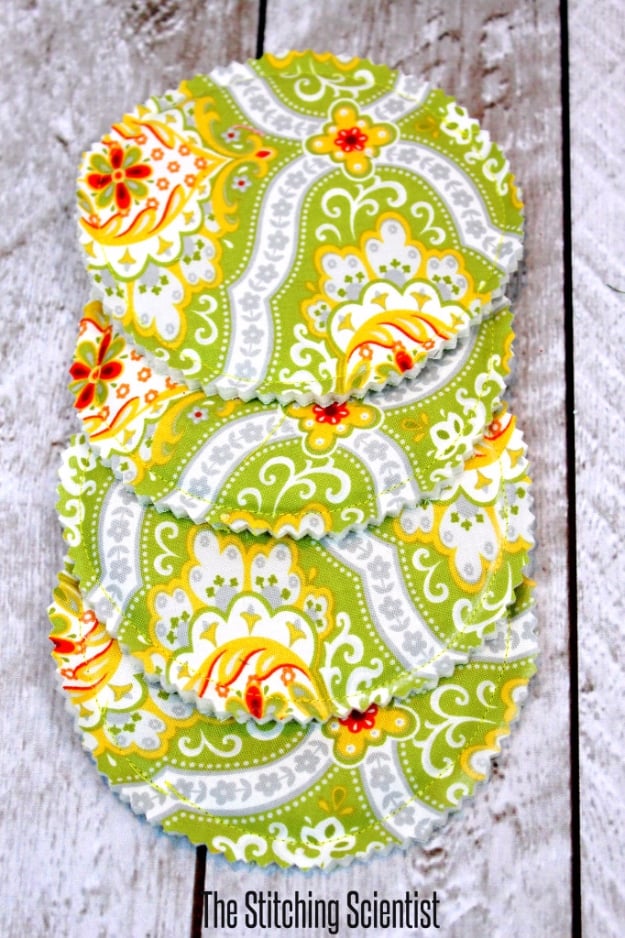
Four coasters cut out of one quilt sandwich, which is why a whole set takes about fifteen minutes. Layer two 10 inch fabric squares wrong sides together with batting between them, both prints facing out, baste the edge, then sew down the middle in both directions to divide the square into quarters. Draw a four inch circle in each quarter, stitch round every circle, cut the quarters apart and trim each coaster a quarter inch outside the stitching with pinking shears. The pinked edge is the finish, so nothing needs turning.
Get the full tutorial at The Stitching Scientist.
12. Cutlery Pockets
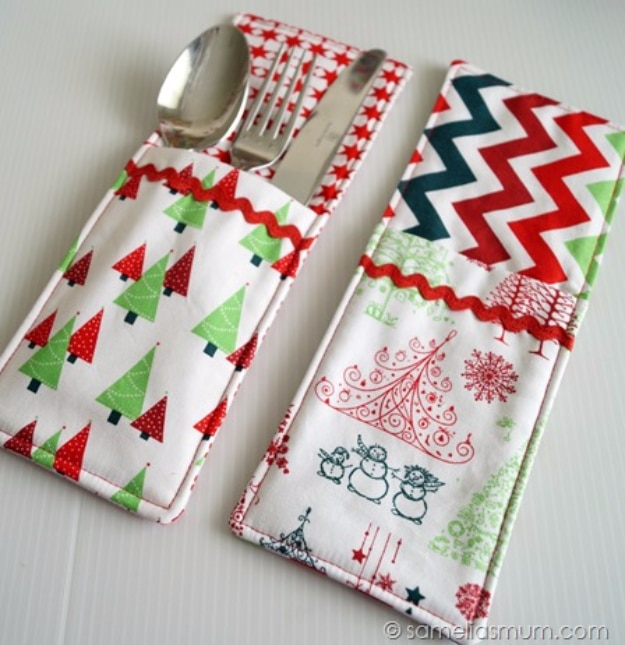
Fabric sleeves that hold a knife, fork and spoon, useful for a buffet or a picnic table where loose cutlery slides everywhere. Cut two 4.5 by 10.5 inch background pieces and one 4.5 by 12 inch piece for the pocket, plus fusible fleece at 4.5 by 10.5 and 4.5 by 6. Fold the pocket piece, press the crease and fuse the smaller fleece inside one half before refolding. Ric rac sits about an inch below the fold. Stack, sew round leaving a four inch gap, turn and topstitch an eighth of an inch from the edge.
Get the full tutorial at Samelia's Mum.
13. Reusable Swiffer Refills
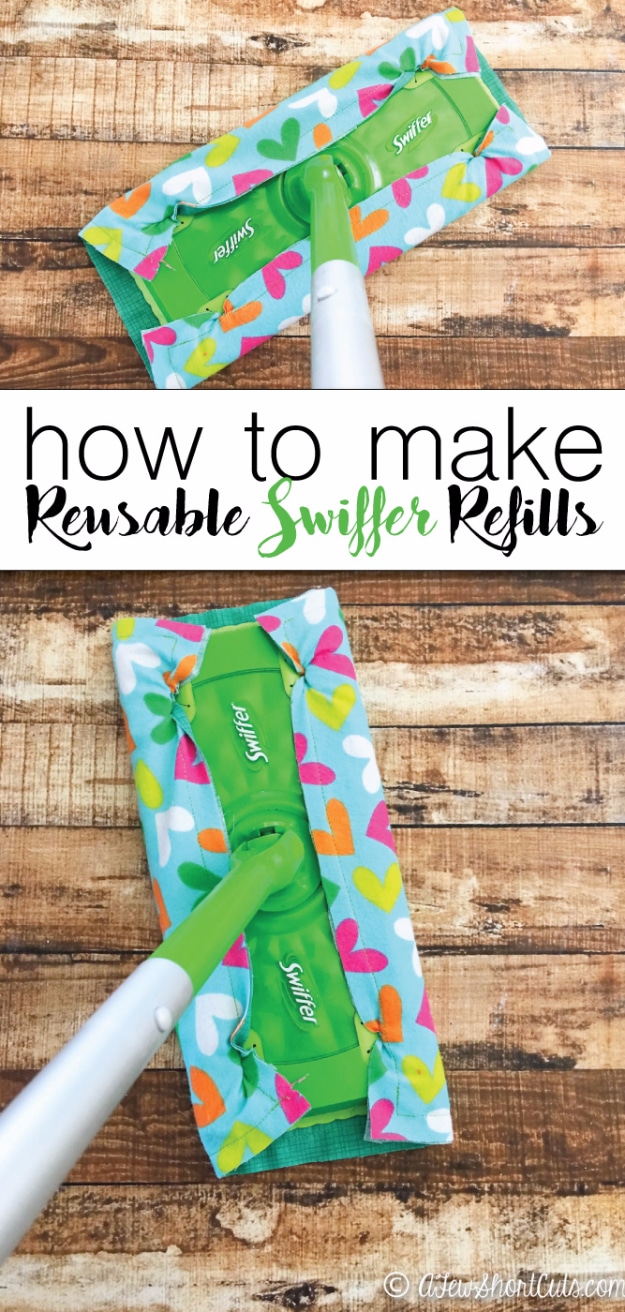
Cloth pads that replace the disposable Swiffer refills, cut at 8.5 by 11 inches from flannel and the same from cotton, one of each per pad. Prewash and iron both first or they will shrink out of shape after the first wash. Put the backs of the two fabrics together, pin, and sew all four sides with a backstitch at each corner. Cotton side down against the mop head, flannel side out to do the cleaning, and all four corners tucked into the grippers. Pinking the edges keeps them from fraying in the machine.
Get the full tutorial at A Few Shortcuts.
14. DIY Quilted Pot Holder
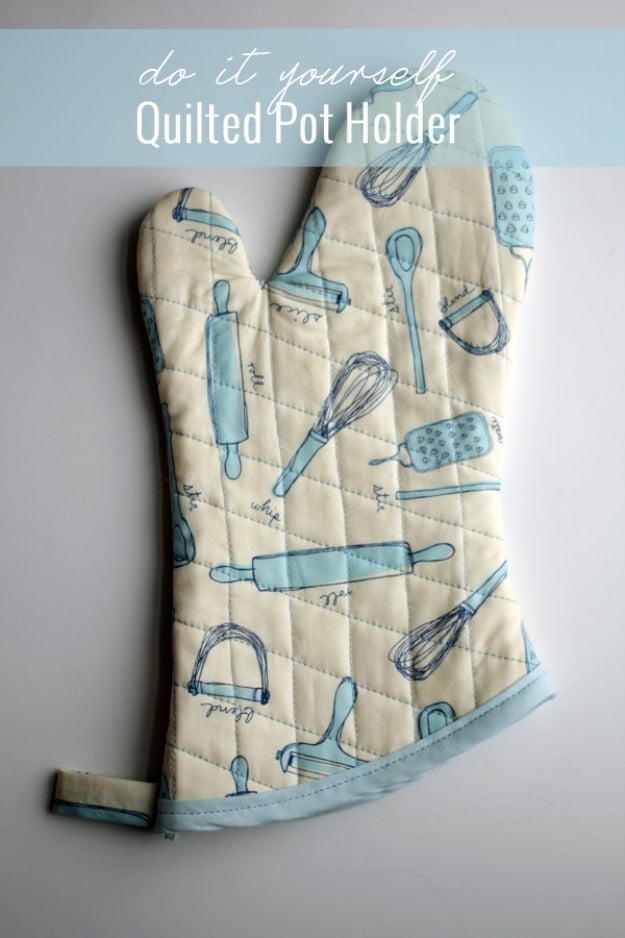
A quilted oven mitt with terrycloth on the inside, made without buying a pattern: trace round a pot holder you already own and add half an inch for seam allowance. Cut two each of batting, printed top fabric and terrycloth, pin the three layers together and quilt them with pencil lines an inch apart. Bias tape finishes the bottom edges, a fabric loop goes into the side seam, then the two quilted halves are sewn together. Trimming the fabric at the thumb curve before turning is what keeps it from going lumpy.
Get the full tutorial at DIY Candy.
15. DIY Bowl Cover
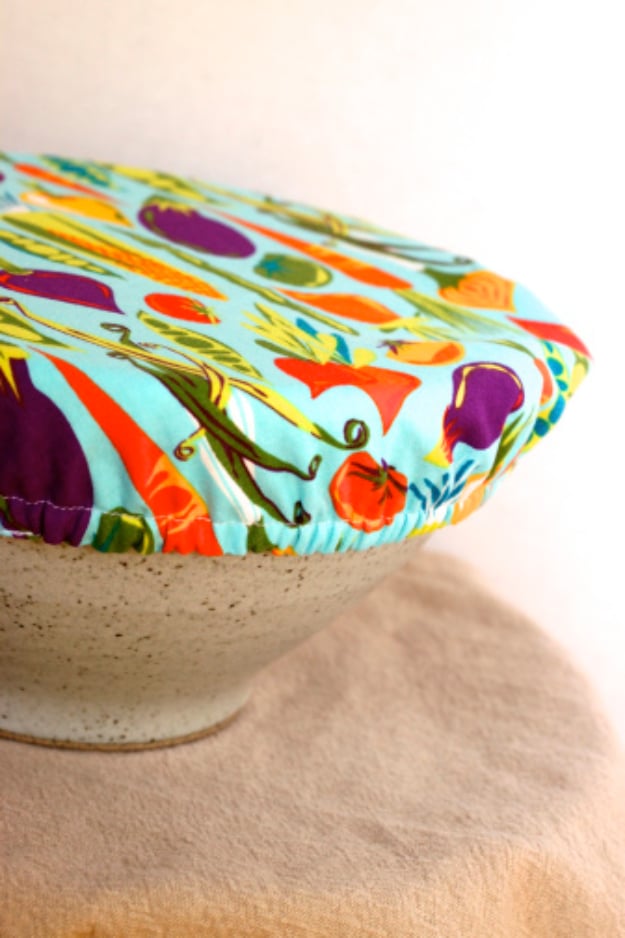
An elasticated fabric cover that pulls over a mixing bowl instead of a sheet of cling film. Make the pattern by tracing the bottom of the bowl and marking three inches out all the way round, which in the example is based on a six and a half inch bowl. Two coordinating cottons, sewn right sides together with a third of an inch seam and a small gap to turn, then a casing stitched a third of an inch in from the pressed edge. Elastic goes through the casing, snug rather than tight, so one cover fits several bowls.
Get the full tutorial at A Kitschy Kitchen.
16. Large Hot Pad Tutorial
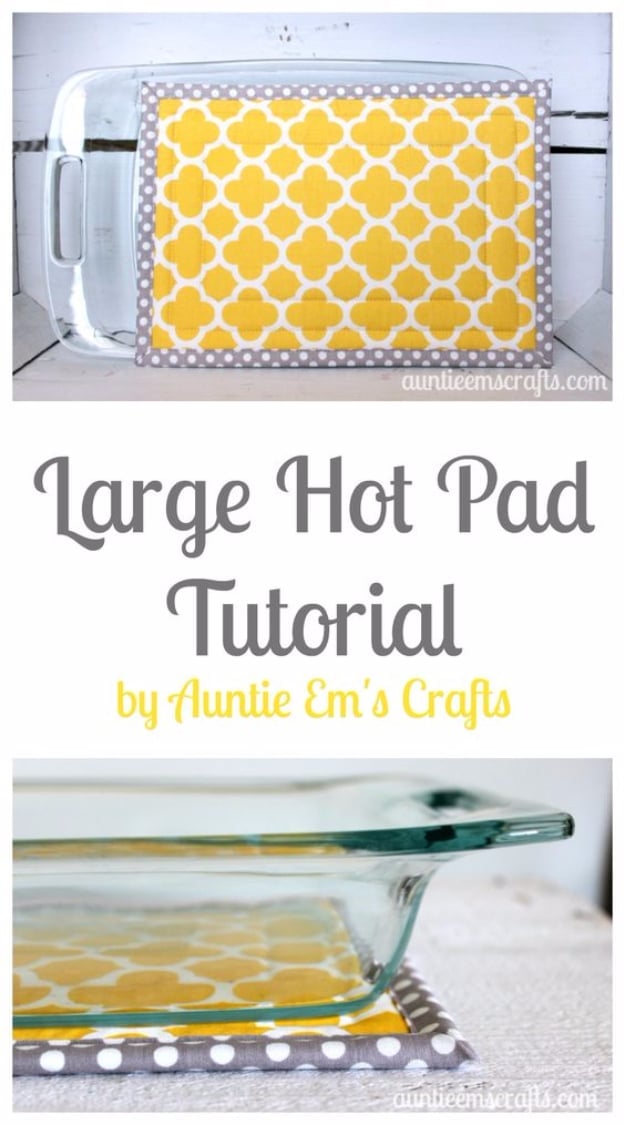
A big rectangular hot pad for a casserole dish, finished with the backing fabric folded round as its own binding, so there is no separate bias tape to make. Cut batting, insulated liner and top fabric at 13 by 9 inches and the backing at 16 by 12, which is where the extra binding comes from. Basting spray holds the layers while you quilt two boxes into the top with a walking foot. At each corner, cutting a small rectangle out of the backing before folding is what stops the binding going bulky.
Get the full tutorial at Auntie Em's Crafts.
17. Custom Kitchen Towels
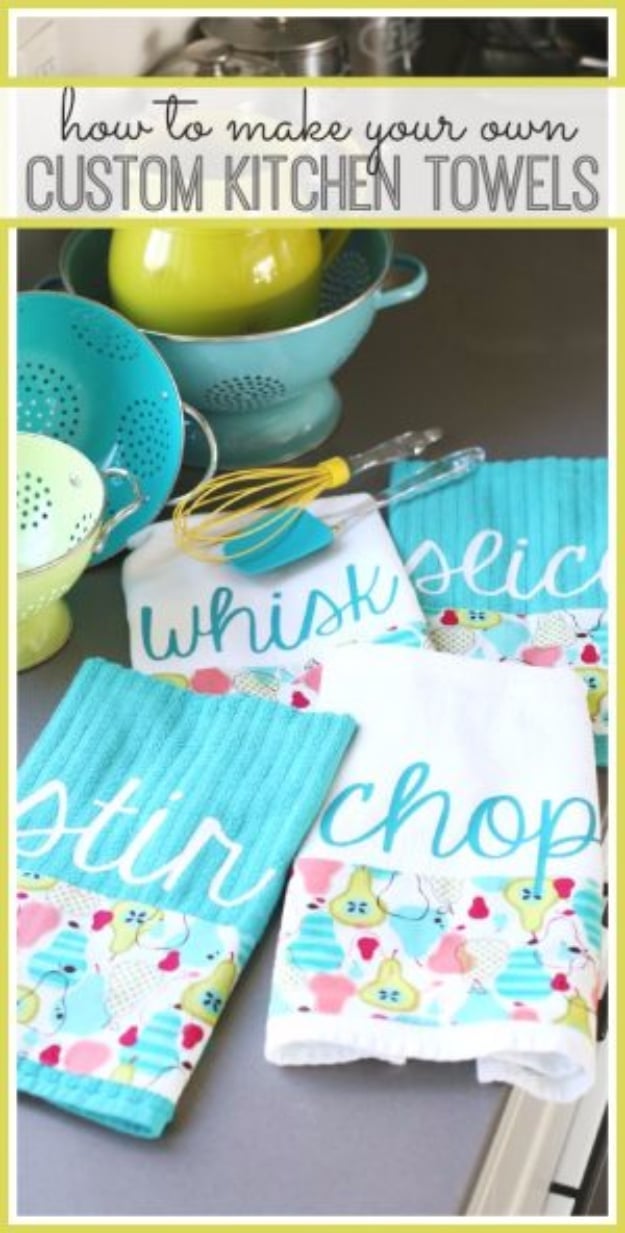
Plain shop bought towels given a band of print fabric along the bottom and a word cut from heat transfer vinyl. The fabric strip is cut six inches wide to fit the towel, all four edges pressed under once, then positioned so about an inch and a half of plain towel shows below it and topstitched down on all sides. The vinyl is cut mirrored, weeded and pressed on for twenty to thirty seconds. Heat transfer vinyl does stick to terrycloth, and the maker’s 2010 set was still going in 2015.
Get the full tutorial at Sugar Bee Crafts.
18. KitchenAid Mixer Bowl Cover
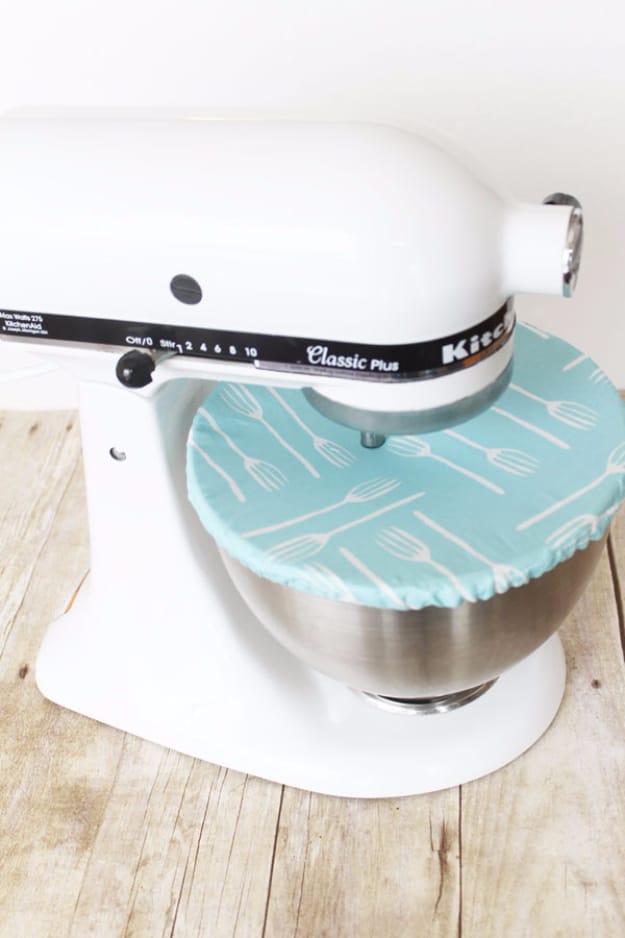
A fitted cover for a stand mixer bowl, which matters if the mixer lives on the counter and the bowl collects dust and crumbs between bakes. One fat quarter is enough. Stand the bowl upside down on the wrong side of the fabric and draw round it with a compass set about two inches wider, more like four if you want the cover to pull further down. The hem is turned twice to three eighths of an inch to make a casing for quarter inch elastic, threaded with a safety pin and sewn closed.
Get the full tutorial at Laura's Crafty Life.
19. Reversible Placemats
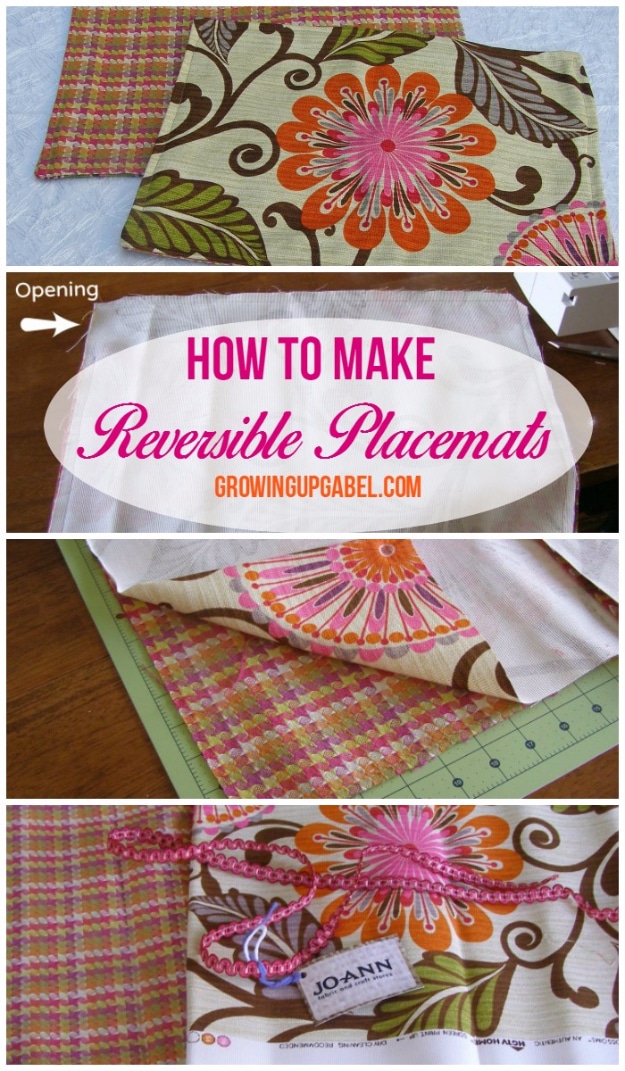
Placemats at roughly 13.5 by 17 inches, cut two to a width and eight to the yard, which makes a set of six very cheap. Two contrasting fabrics go right sides together and are sewn round with a generous five eighths seam, leaving a two inch gap for turning. Clip the corners, turn, press and topstitch the whole perimeter to close the gap. Matching the thread to the busier print is the trick worth copying, because the topstitching then disappears into the pattern on both sides.
Get the full tutorial at Growing Up Gabel.
20. Homemade Moisture Absorbers
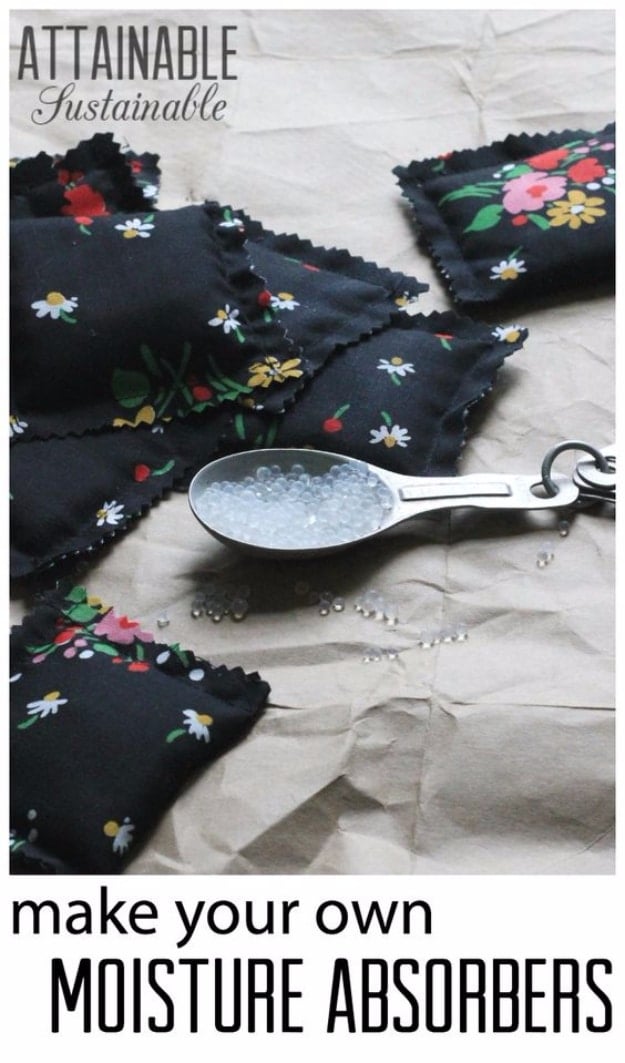
Little cotton packets of silica gel that go into jars of flour, oats and dried beans to keep the damp out. A strip of cotton about four inches by twenty four makes roughly a dozen two inch packets. Fold it lengthwise, sew the long side and one end, then spoon in a tablespoon of beads at a time, push them down with a chopstick and run a double seam across to close each pocket before filling the next. Cut them apart with pinking shears. Dry them at 250 degrees for four or five hours to recharge.
Get the full tutorial at Attainable Sustainable.
21. Grocery Bag Holder
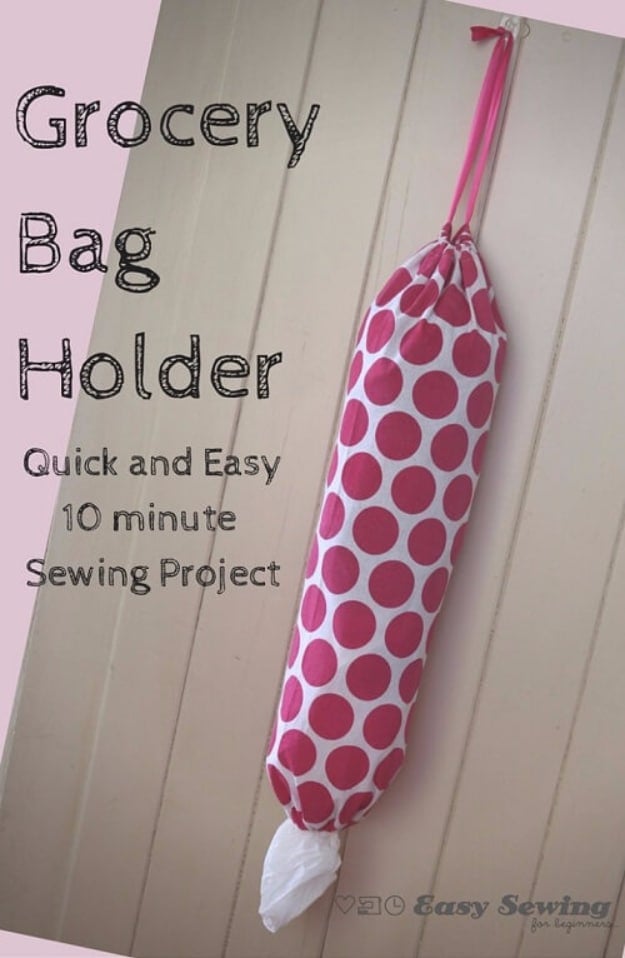
A fabric tube that hangs inside a cupboard door and swallows the pile of carrier bags that otherwise breeds under the sink. It is a ten to fifteen minute make and the clever part is the material: it is cut from a tea towel, so the edges are already finished and there are no raw seams to hide anywhere in the build. Bags go in at the top and pull out one at a time from the bottom.
Get the full tutorial at DIY Crush.
22. Folded Pot Holder
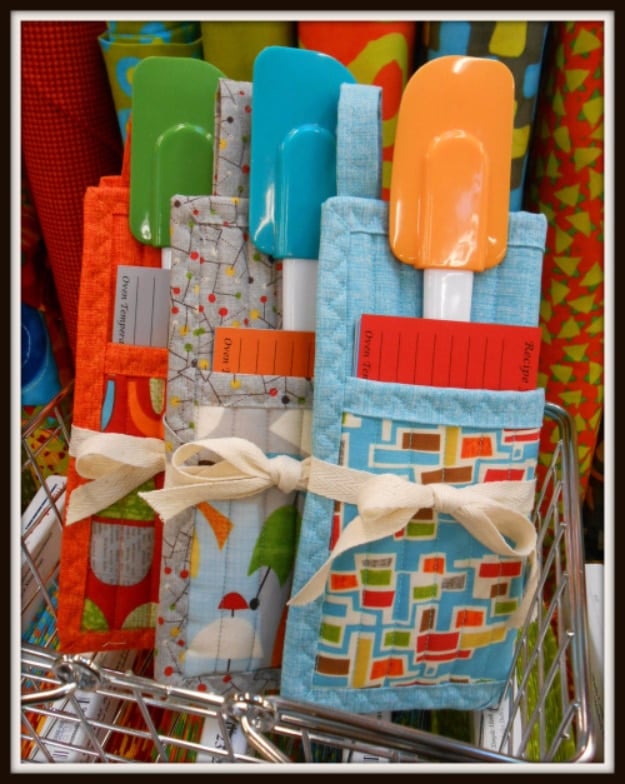
A pot holder that folds in half so the two halves become a pocket, finished at 8 inches square with a 5 by 8 inch pocket section. It starts as a 9 inch square and a 6 by 9 rectangle, both layered with heat resistant Insul Bright plus ordinary cotton batting and quilted with lines about half an inch apart. The binding is cut in two and a half inch strips, around 52 inches of it, with a hanging loop worked in at a corner. One experienced maker suggests two and three quarter inch strips instead, which mitres more easily.
Get the full tutorial at Quilt Expressions.
23. DIY Cornered Table Cloth
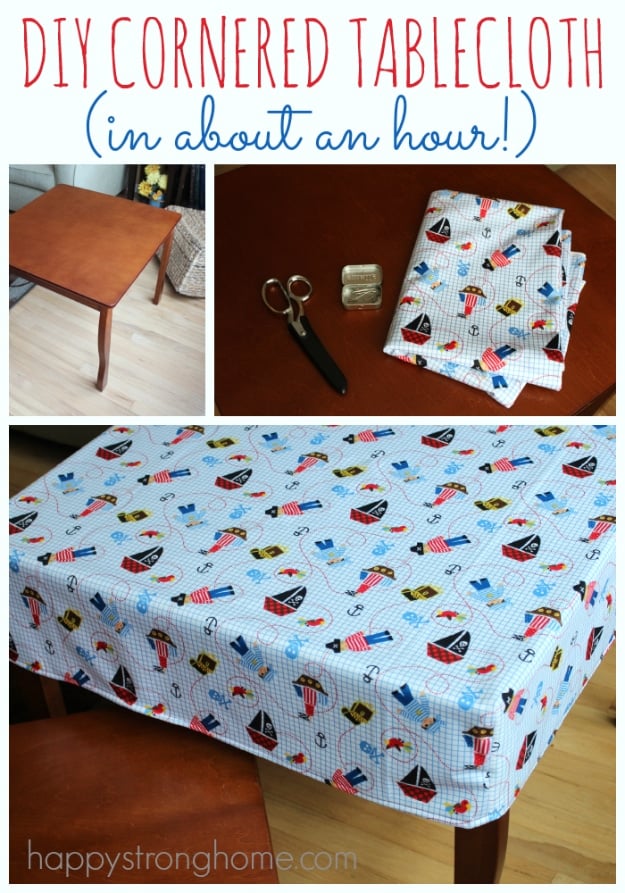
A fitted tablecloth with sewn corners, so it sits on the table like a cover instead of draping and sliding, and it takes about an hour by machine. Measure the table and add twenty inches to both the length and the width, which gives ten inches of overhang on every side. Lay the cloth inside out on the table, pin each corner so a wing of fabric sticks out, and sew a straight seam down each wing. Trim, turn it right side out, then pin and hem along the line the chair backs need cleared.
Get the full tutorial at Happy Strong Home.