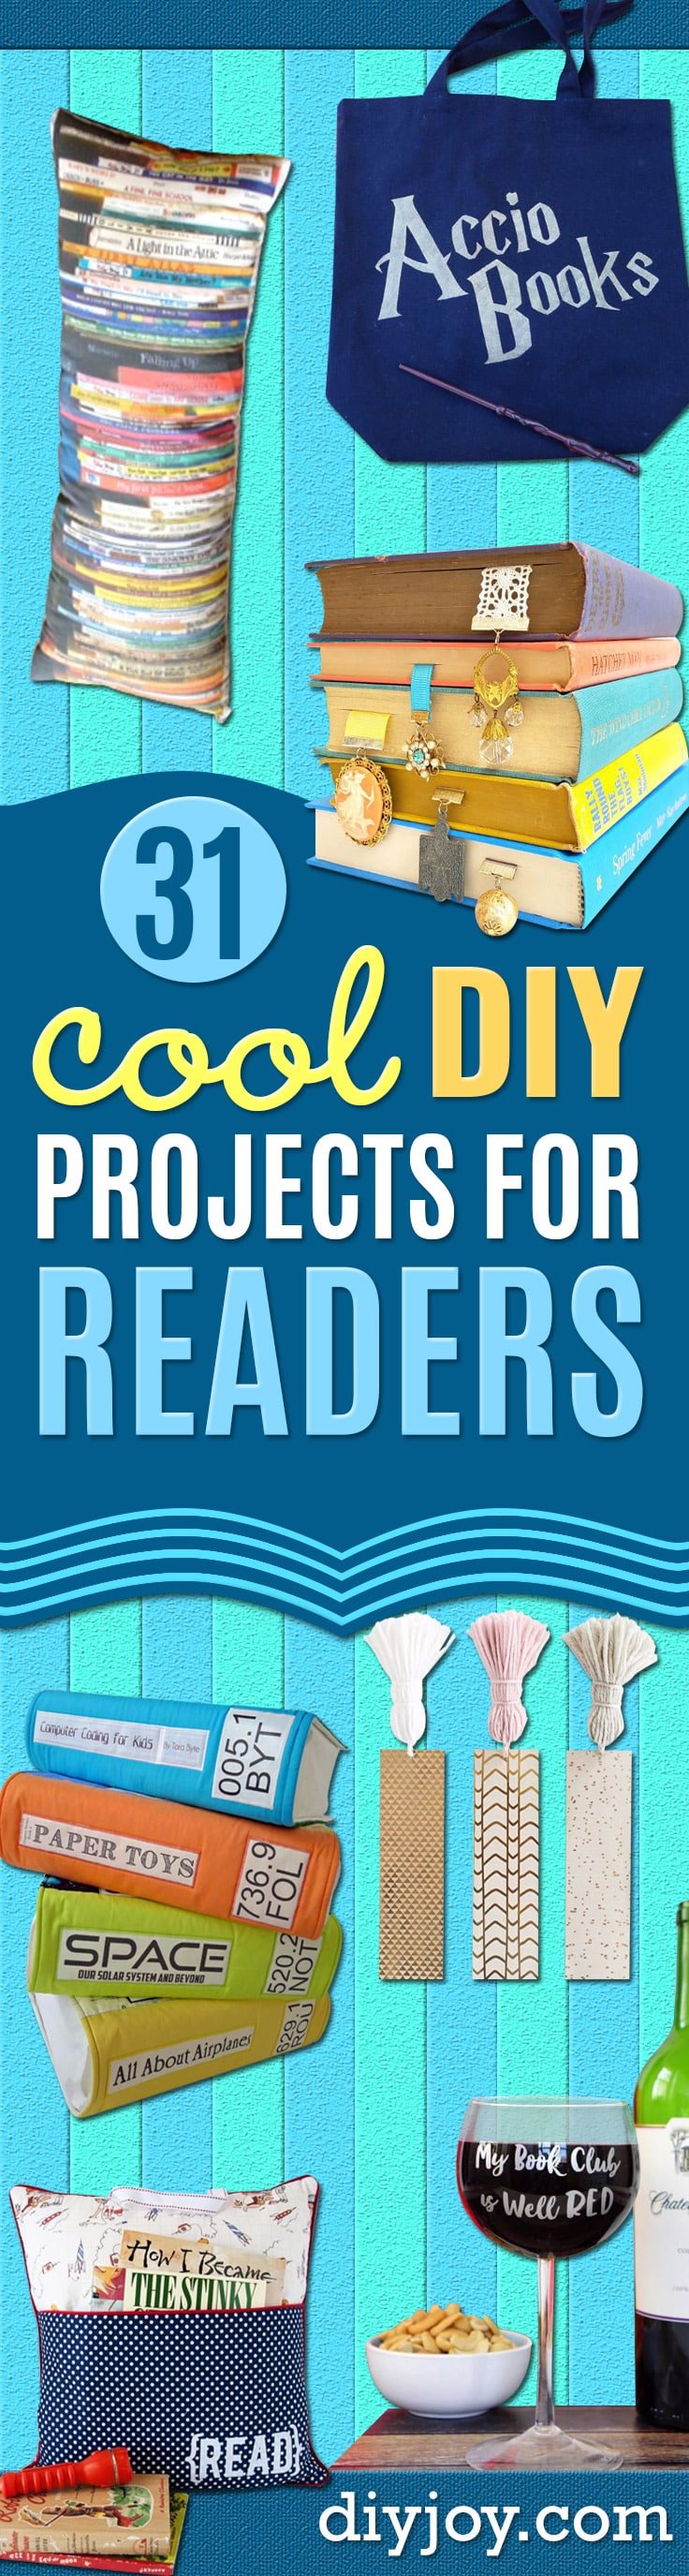
Shopping for someone whose nightstand already holds a stack of half read novels? These 25 DIY projects for readers are handmade gifts and home upgrades for book lovers of every age. Some keep their place, like ribbon bookmarks with vintage brooches and a folded origami heart that hugs the corner of a page. Others give books a better home: a crate bookcase, a card catalog cabinet, a reading pillow with a pocket and a cozy pallet nook. A few are made for book club night, from a printable list of discussion questions to a stack of twine bound journals to swap. Quick paper crafts sit right next to weekend woodworking builds, so there’s something here whether you have twenty minutes or a whole Saturday. DIY JOY video tutorials for the mini notebook, the book flower vase and book page paper flowers are included. Want more shelf space? Browse these DIY bookshelf ideas next.
1. DIY Bookends with Organizers
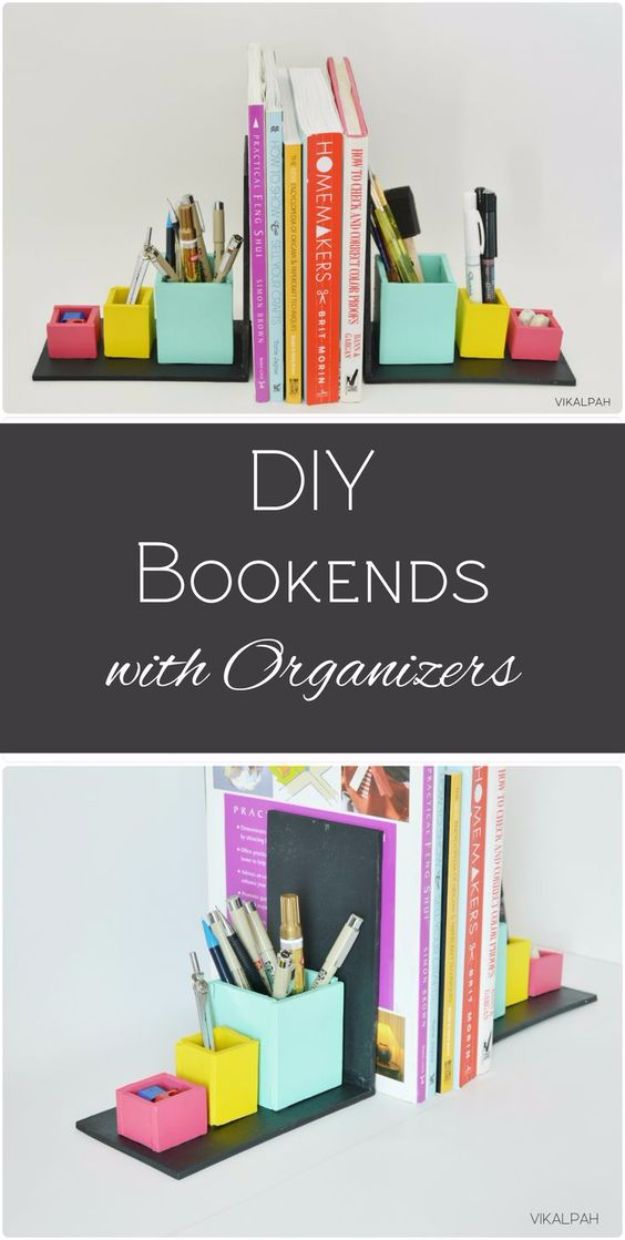
DIY bookends with organizers hold up a row of books and corral pens at the same time. Everything is cut from a 1/4 inch wood plank: four 4 by 7 inch pieces form two L shapes, then three sizes of small open boxes are cut to sit along each base. A home improvement store can make the cuts if you do not own a saw. Sand every edge, glue the boxes together and onto the L, then paint them in bright acrylics and seal with varnish. They are a smart back to school desk project.
Get the full tutorial at Vikalpah.
2. Homemade Journals
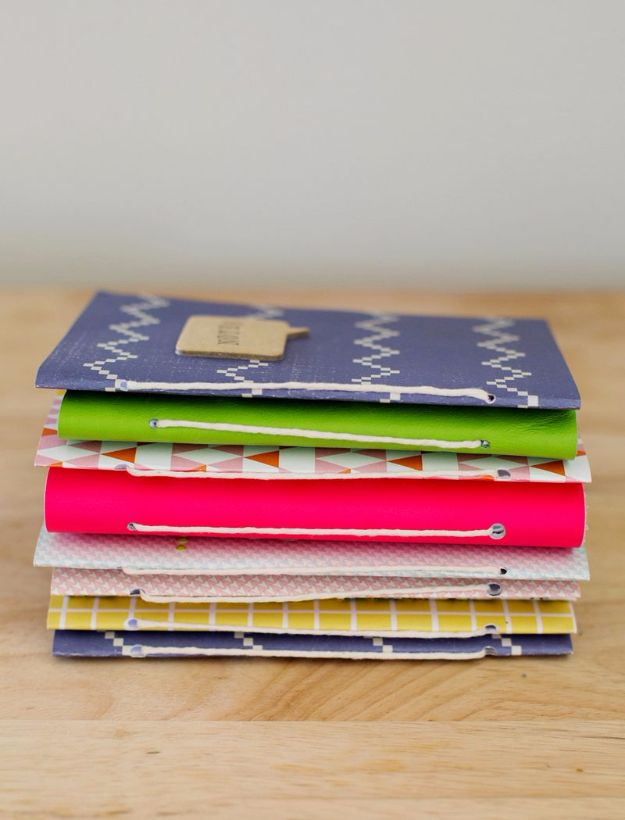
Homemade journals come together fast enough to make ten in an hour. Cut regular 8.5 by 11 inch printer paper in half to 8.5 by 5.5 and fold about seven sheets for a 28 page book. Cut the cover from paper, leather, faux leather or oilcloth about an inch bigger than the pages so there is a half inch border all around. Punch two holes through the pages and spine with a heavy duty punch, then tie them together with twine, knotting it inside. Stamp names, dates or initials on the covers.
Get the full tutorial at A Beautiful Mess.
3. 5-Minute Mini Notebook
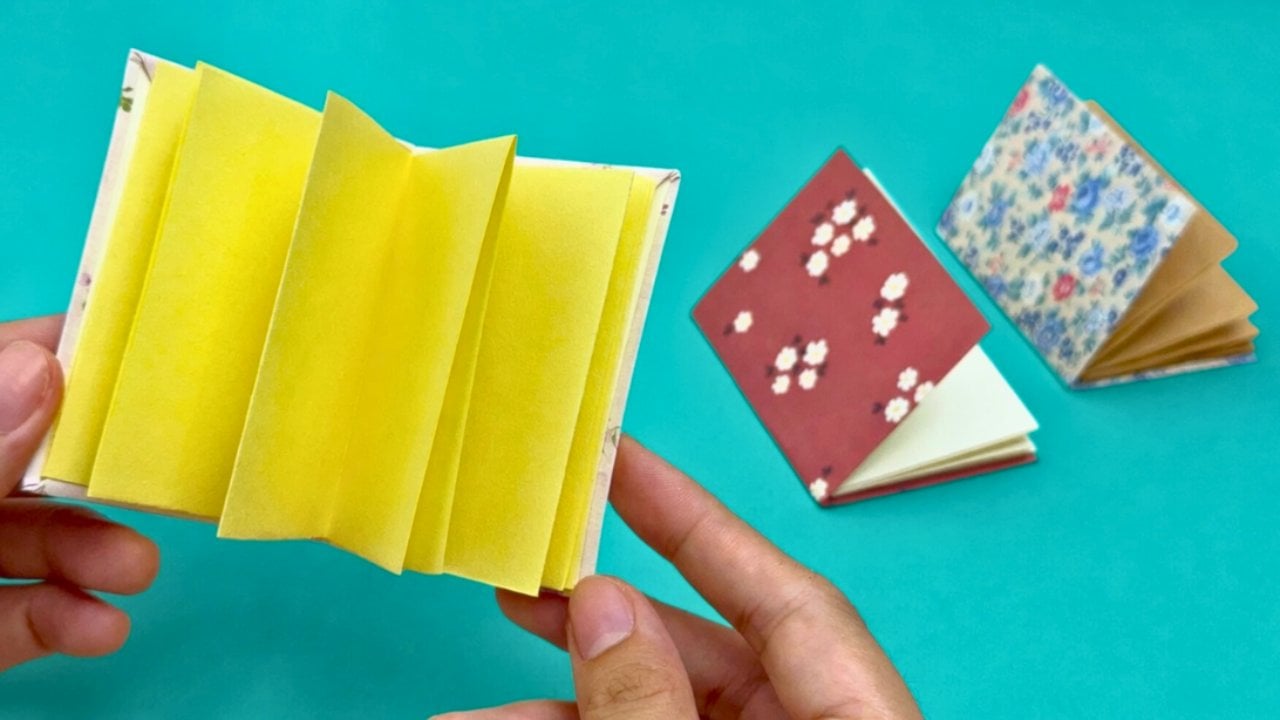
A mini notebook made from one sheet of scrap paper fits in a pocket, a purse or a pencil case. Fold the paper in half lengthwise and in half again, then unfold and fold it crosswise twice, creasing hard each time. Using those creases as guides, cut along the first crease from one side, the center crease from the other and the last crease from the first side again, stopping short so the panels stay joined. Fold it back and forth into an accordion and add a cover. It takes about five minutes.
Get the full tutorial at DIY JOY.
4. DIY Book Bin
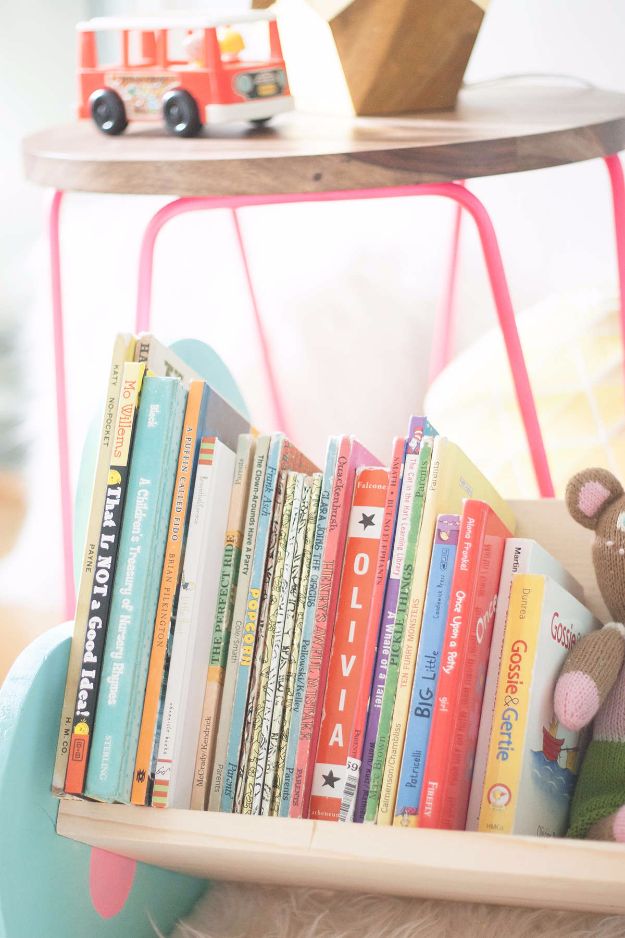
A DIY book bin stops picture books from piling up all over a kid’s room. Cut a common board into two 24 inch pieces and screw them together at a right angle, ideally with a helper holding them. Trace the joined end onto an edge glued board, sketch a shape around it with one flat side for the floor, like a heart or a cloud, and cut it out with a jigsaw. Cut a matching second piece. Paint a design or a face on each end, then screw them onto the shelf with brass screws.
Get the full tutorial at Lay Baby Lay.
5. Bleached Script Scarf
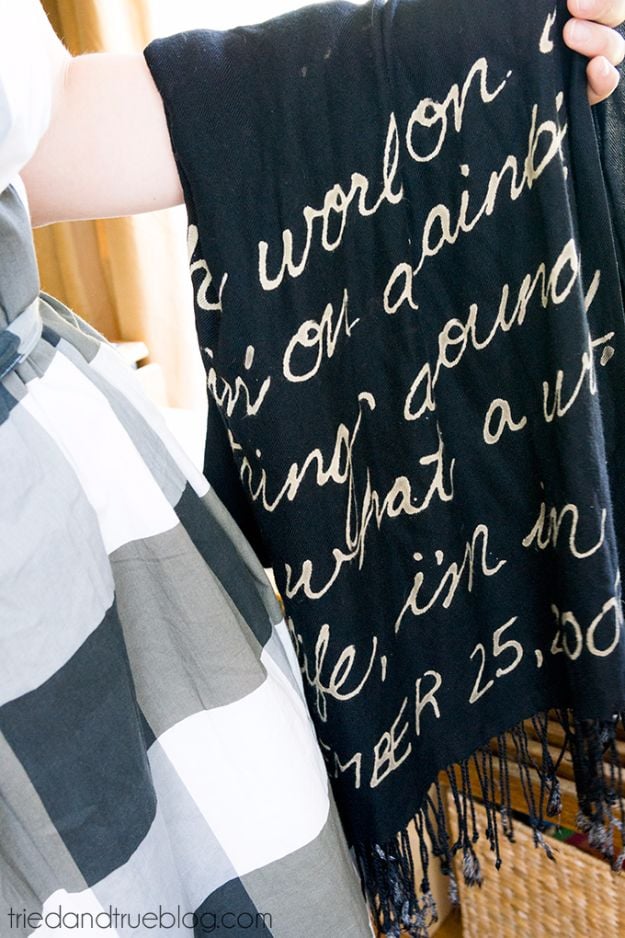
A bleached script scarf writes a favorite song lyric or book quote right into the fabric. Iron freezer paper to the back of a dark scarf first; it steadies the thin material and protects the table. Then write the words with a bleach pen. Let the gel sit for 5 to 10 minutes, depending on the fabric, then rinse it out under cold water and remove the paper. A short soak in water with a quarter cup of hydrogen peroxide or vinegar stops the bleach from eating through. Wobbly handwriting disappears once it is wrapped.
Get the full tutorial at Tried & True Creative.
6. Vintage Brooch Bookmarks
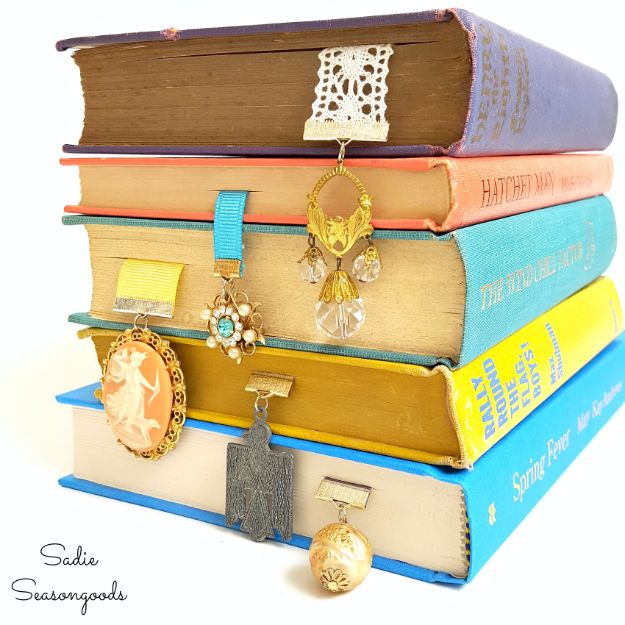
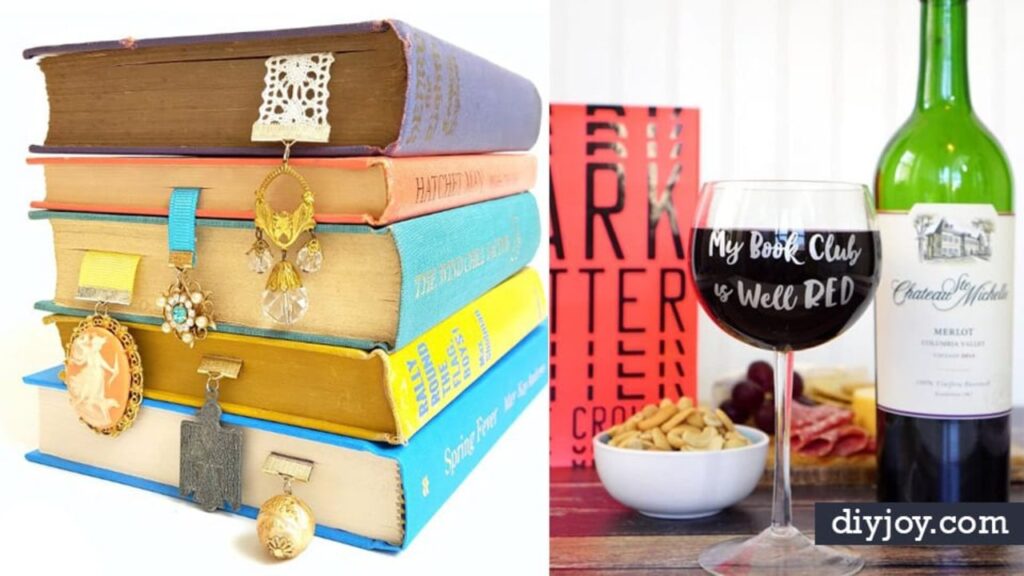
Vintage brooch bookmarks pair jacquard ribbon with old costume jewelry. Measure ribbon against your books so about half an inch sticks out past the page edges on each end, and use different lengths for hardbacks and paperbacks. Cut the ends straight and square so they lie flat. Then match each ribbon to a brooch, pendant or earring that suits its colors, and attach the jewelry at the top end so it hangs over the book’s edge. Thrift stores, ribbon remnants and family jewelry boxes are the best sources.
Get the full tutorial at Sadie Seasongoods.
7. Custom Cork Board And Library Bag
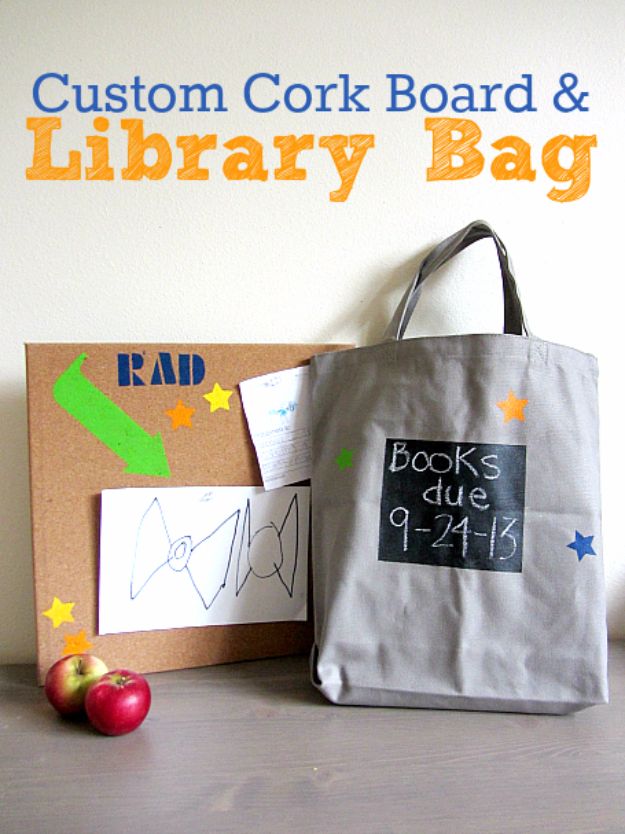
A custom cork board and library bag help a family keep track of borrowed books and due dates. A plain canvas tote gets a taped off rectangle painted black, then stenciled stars, then a coat of chalkboard paint so the due date can be written right on the bag. Let the chalkboard area cure for 24 hours before writing on it. Leftover stencils and multi surface paints dress up a cork board for showing off kids’ schoolwork. Paper plates make easy paint palettes, and quick drying paint helps with little helpers.
Get the full tutorial at No Time For Flash Cards.
8. Giant Quilted Book Cushion
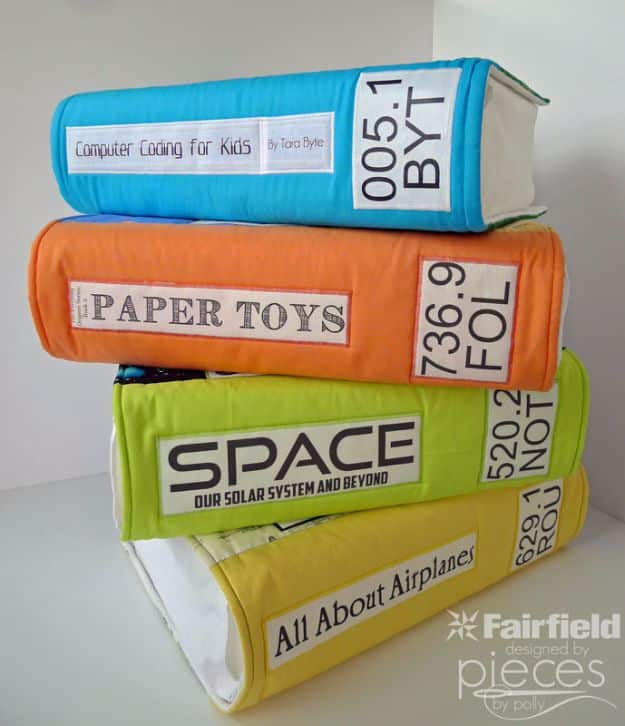
Giant quilted book cushions look like oversized library books, right down to the spine label and call number. Each one starts with a 12 by 18 by 5 inch foam block wrapped in batting and sewn into a white inner cover. Printable fabric carries the titles and labels. The colorful book covers attach with sewn on hook and loop tape, so they come off for washing, which matters for anything kids use. Expect about an hour for the inner cover and three hours per book. It is an intermediate sewing project in two lessons.
Get the full tutorial at Pieces by Polly.
9. Origami Heart Bookmark
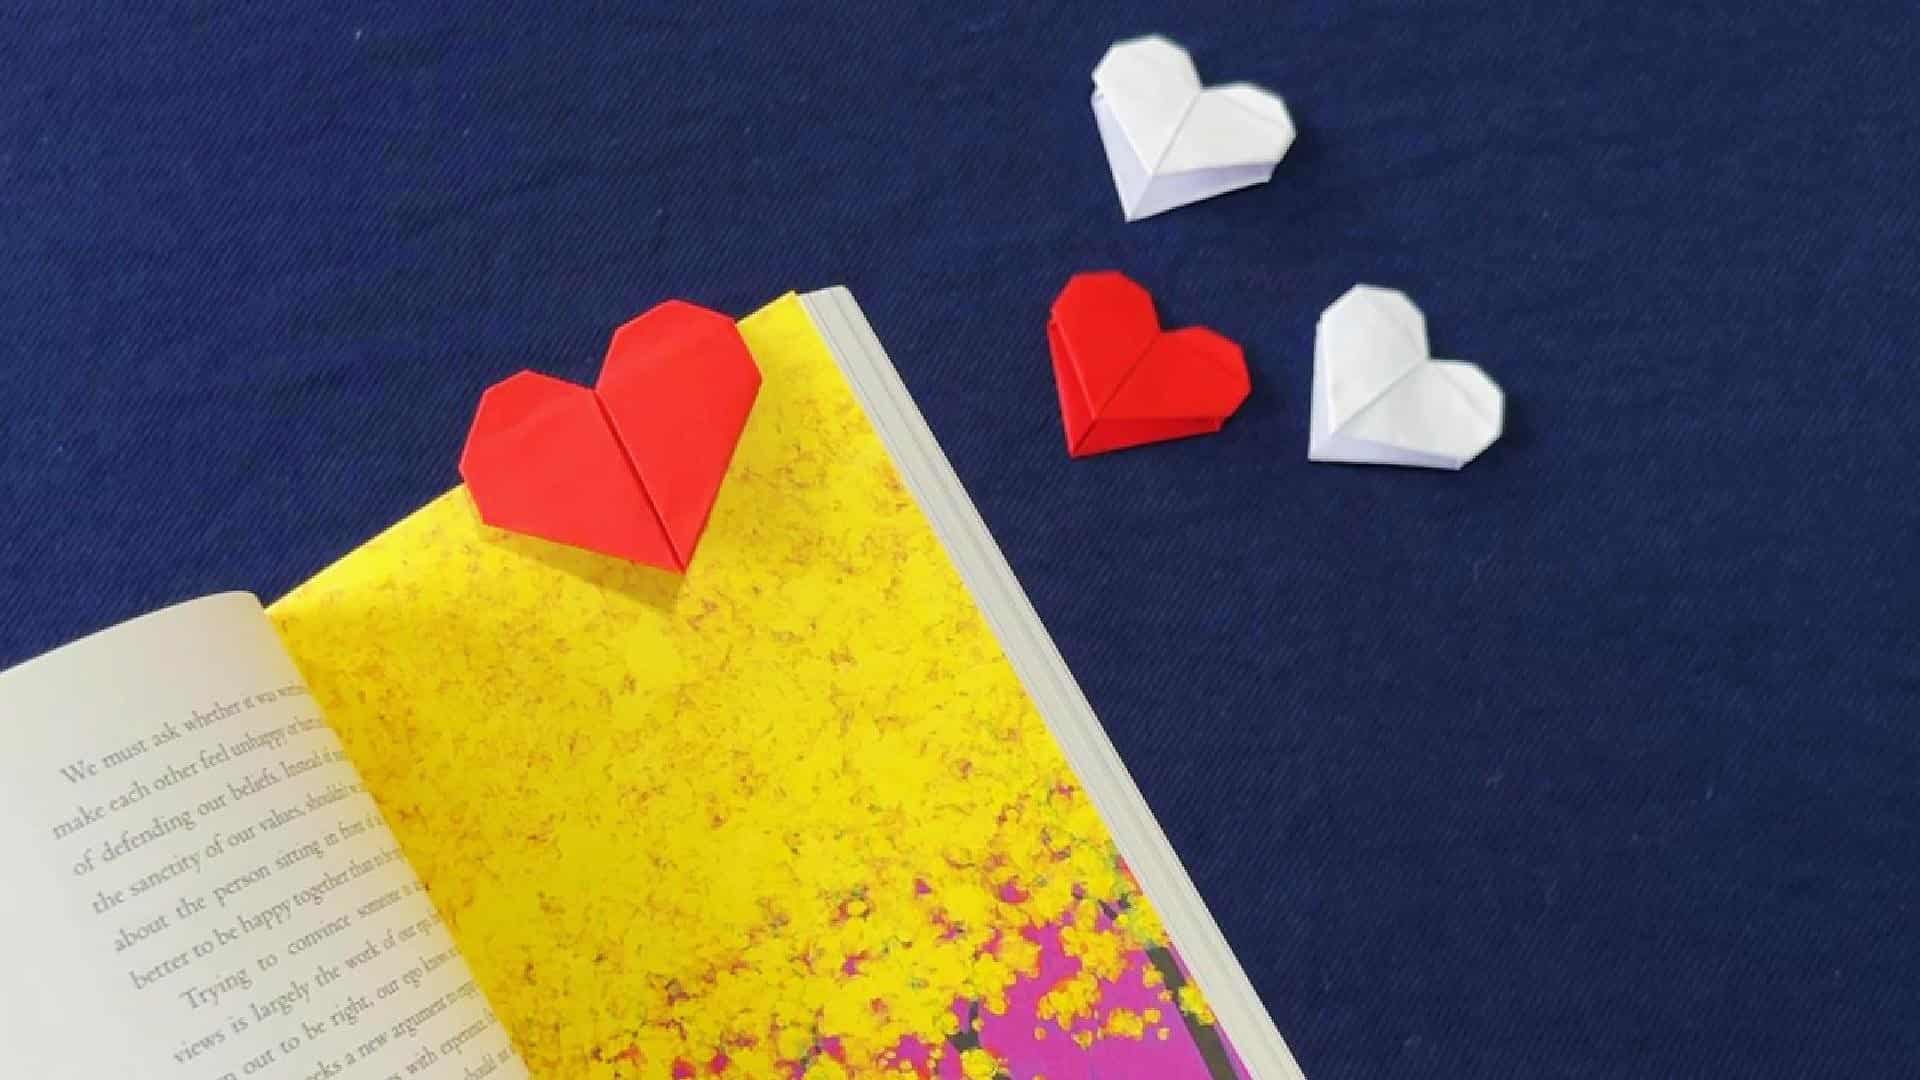
An origami heart bookmark needs one square of paper and a few minutes, and it slips over the corner of a page so it never falls out. Fold the square in half both ways to find the center, then open it and fold the bottom edge up to the center line. Flip it, bring the bottom corners to the vertical center, flip again and fold the top corners down. Fold in the small side triangles, fold the whole thing in half, open the top folds and press flat, then shape the top corners into the heart.
Get the full tutorial at DIY JOY.
10. DIY Book Flower Vase
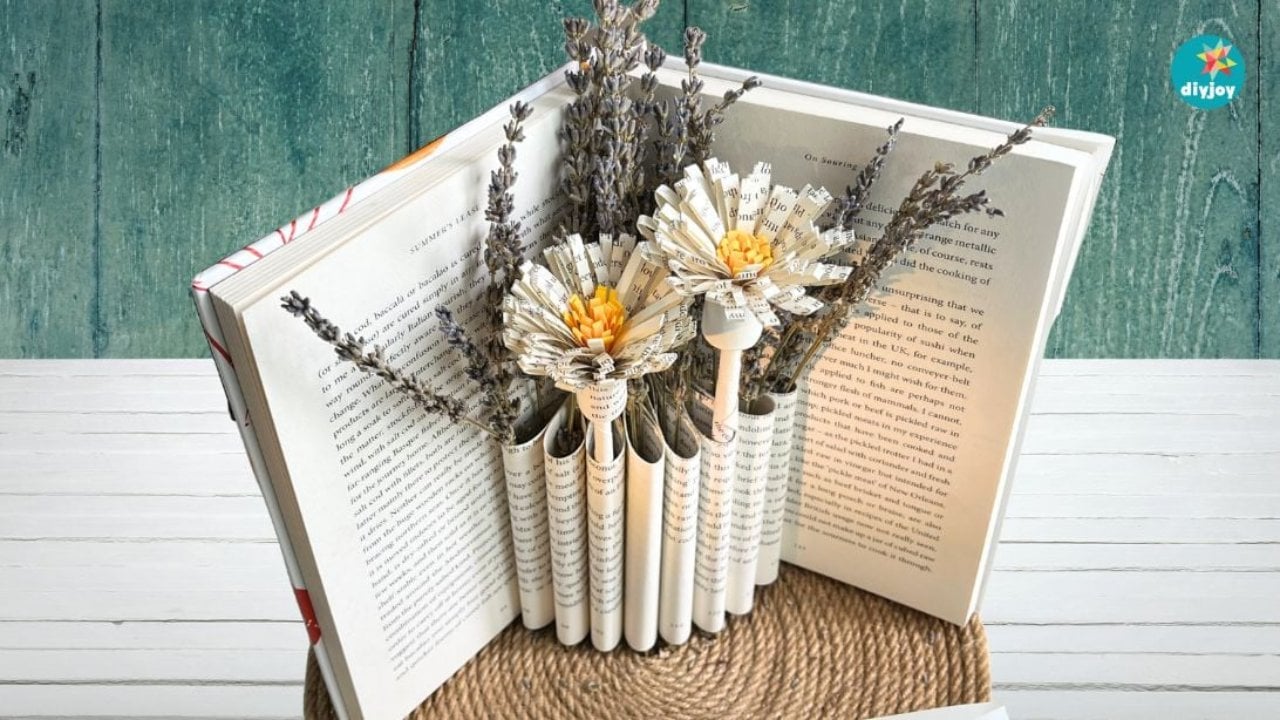
A DIY book flower vase folds the pages of an old book into a ribbed, upright holder for dried or paper flowers. Open the book to its center and draw a straight line across the page. Count 12 pages out on each side, slip cardboard under so the blade does not cut too deep, and cut along the line, then tear away the top part. Tape the cut pages together three at a time with double sided tape and fold each set toward the middle. Choose a book you are truly ready to part with, like a clearance or thrift find.
Get the full tutorial at DIY JOY.
11. On The Go Reading Pillow
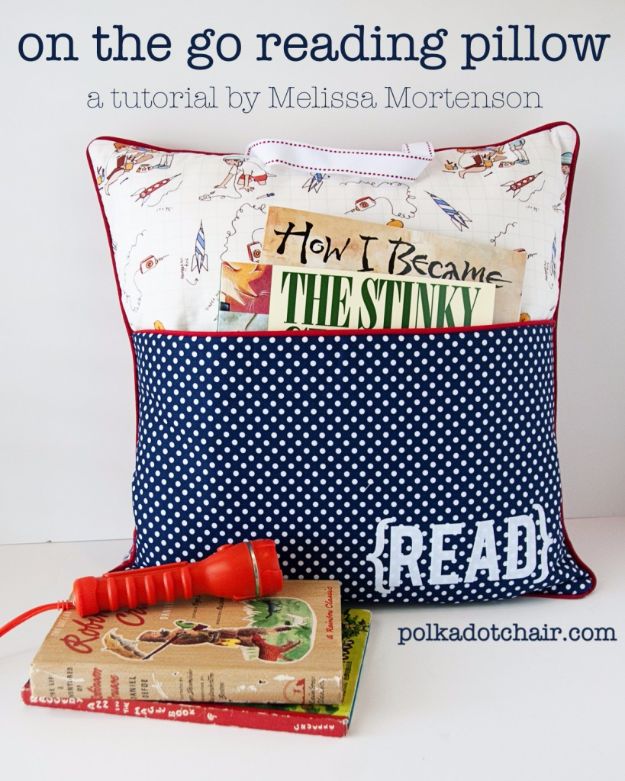
An on the go reading pillow has one big front pocket for books and a handle on top, so a child can carry a bedtime story from room to room. The free pattern is sized for fat quarters with almost no waste: one for the 18 inch front, one cut in two for the pocket and one for the back. Fusible fleece adds body, and piping is optional if you are not comfortable sewing it. Iron on or appliqued letters spell READ or a name. Gift it with a flashlight for late night reading.
Get the full tutorial at The Polka Dot Chair.
12. DIY Card Catalog Cabinet For Your Books
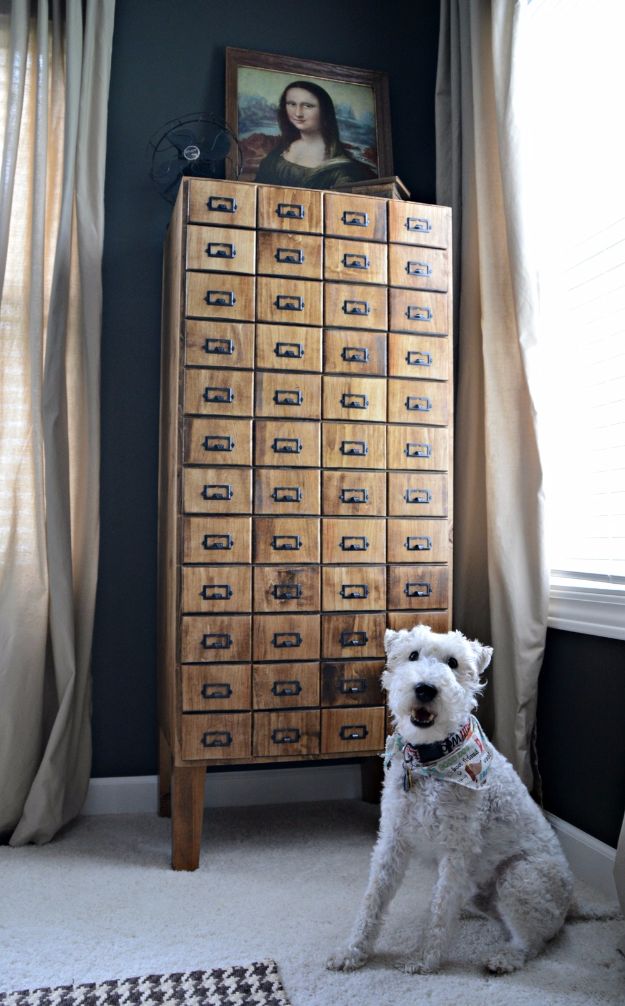
A DIY card catalog cabinet gives books a library look with 48 faux drawer fronts. It is an intermediate build, not a first project. Pocket hole screws and wood glue join the top and bottom to the sides, with the holes placed underneath so they stay hidden, then the back panel goes on. Each 3 3/4 inch drawer front is cut from 6 inch boards, its edges rounded with a router, then sanded. The pieces are stained and sealed separately before assembly, and label holders are fixed with cut tacks.
Get the full tutorial at Decor and the Dog.
13. DIY Crate Bookcase
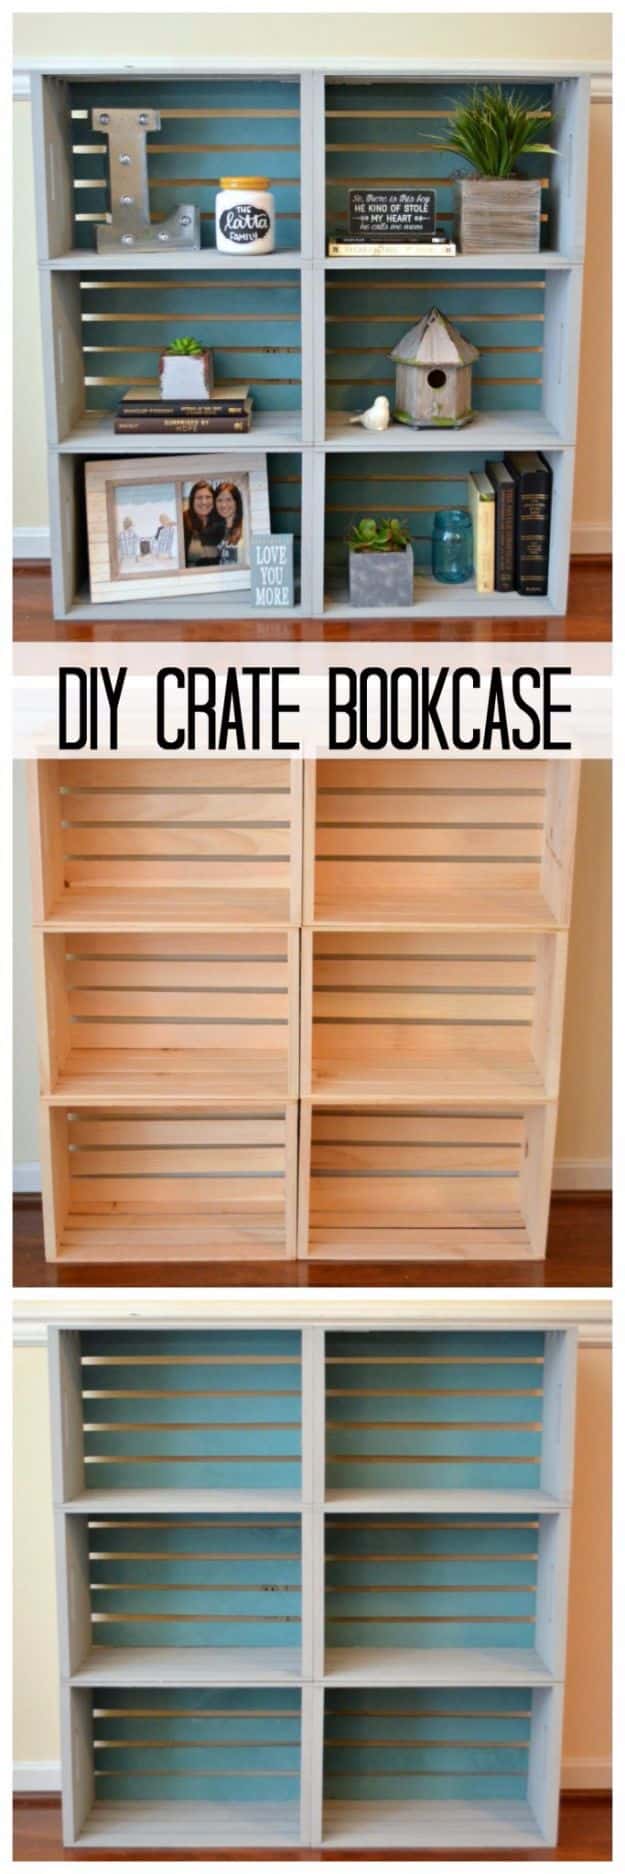
A DIY crate bookcase is six unfinished wood crates stacked three high and two wide. Sand the crates, set them in your arrangement and note which crate goes where, since stickers that will not peel can face inward. Paint the insides, using one color on the crate bottoms, which become the back of the bookcase, and another on the inside walls. Only the outside faces that show need paint, which saves time. Once dry, put the crates back in place and nail them together with a brad nailer.
Get the full tutorial at Amy Latta Creations.
14. Book Club Discussion Questions
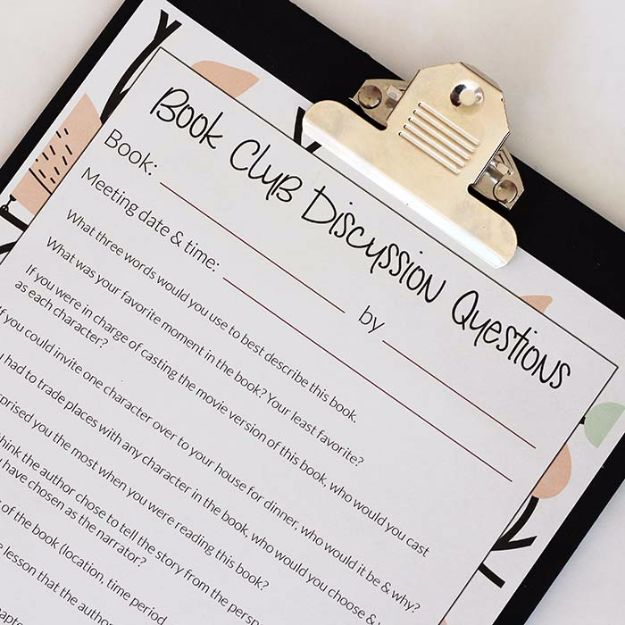
Book club discussion questions keep a meeting from stalling into awkward silence. This post covers where to find ready made reading guides, at the back of many popular books or on publisher and author websites, and then offers ten generic questions that work for any title. There is a free printable version to bring to the meeting. It is not a craft, but it is a handy companion for anyone hosting a reading group, in person or online, alongside the handmade gifts on this list.
Get the full tutorial at Sunny Day Family.
15. Frame Your Book Collection
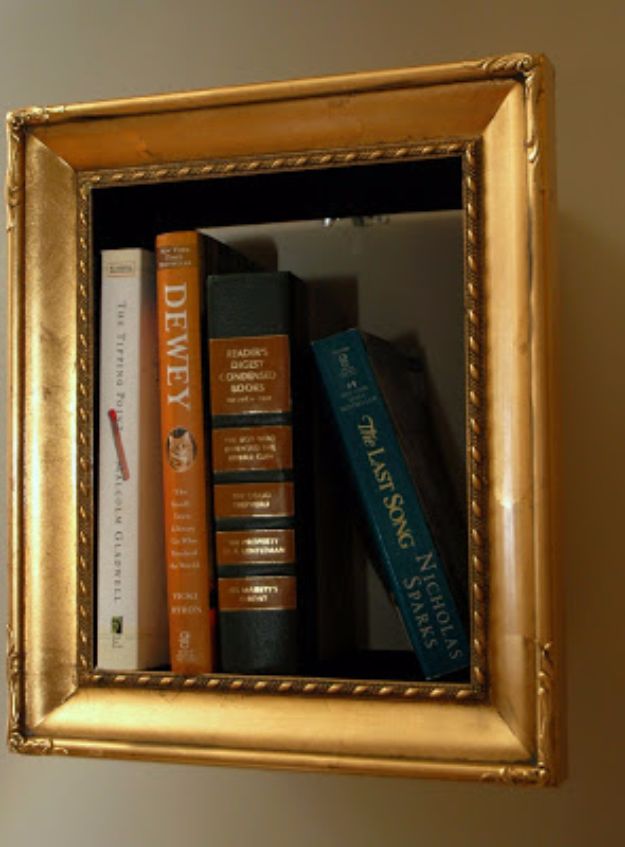
Framed book shelves turn old picture frames into little wall cubbies. Small pieces of wood are attached to the backs of thrifted frames to make a shallow shelf, then the frames are hung in an off center grouping beside a bookcase to keep the look casual. Fill each one with a short stack of hardbacks and a small trinket. The source page is a full living room reveal, and the framed shelves are one detail in it rather than a step by step tutorial, so expect inspiration more than instructions.
Get the full tutorial at Change of Scenery.
16. Comfy Reading Nook
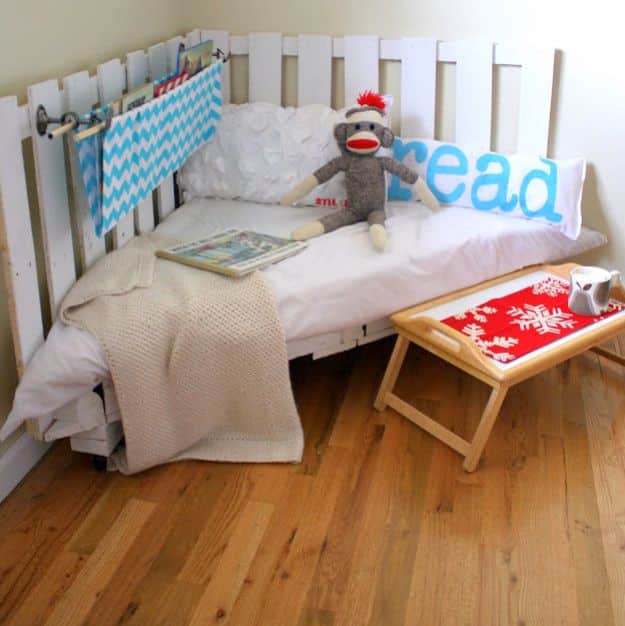
This comfy reading nook is a corner chair built from two wooden pallets. Pick the sturdiest square pallet you can find with slats set close together, sand it down and draw a diagonal line from corner to corner. Cut along that line on both sides with a circular saw. Reinforce the new front edge with leftover wood from the discarded half, nailed between the top and bottom layers. Build up three corners underneath with scrap squares and add rolling casters. Part one covers the platform; part two adds the sides.
Get the full tutorial at Kojo Designs.
17. Fabric Covered Books
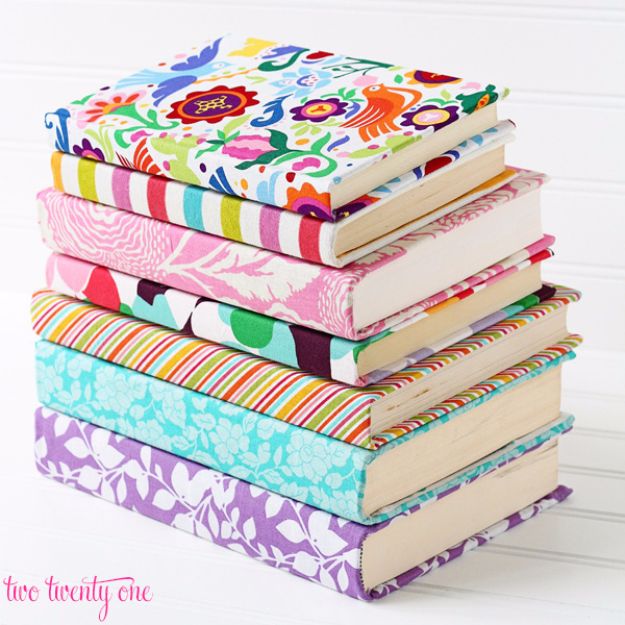
Fabric covered books turn thrift store hardbacks into colorful decor for a shelf or nightstand. Remove the dust jacket, iron the fabric and cut it with 1 to 2 inches of overhang all around. Over newspaper, spray adhesive on the back cover and spine, press it onto the fabric and smooth it, then repeat on the front. Cut two slits on each side of the spine, then hot glue the long edges onto the inside covers and dab glue where the corners meet so they fold flat. Readers suggest trimming a triangle off each corner first.
Get the full tutorial at Two Twenty One.
18. DIY Book Page Paper Flower
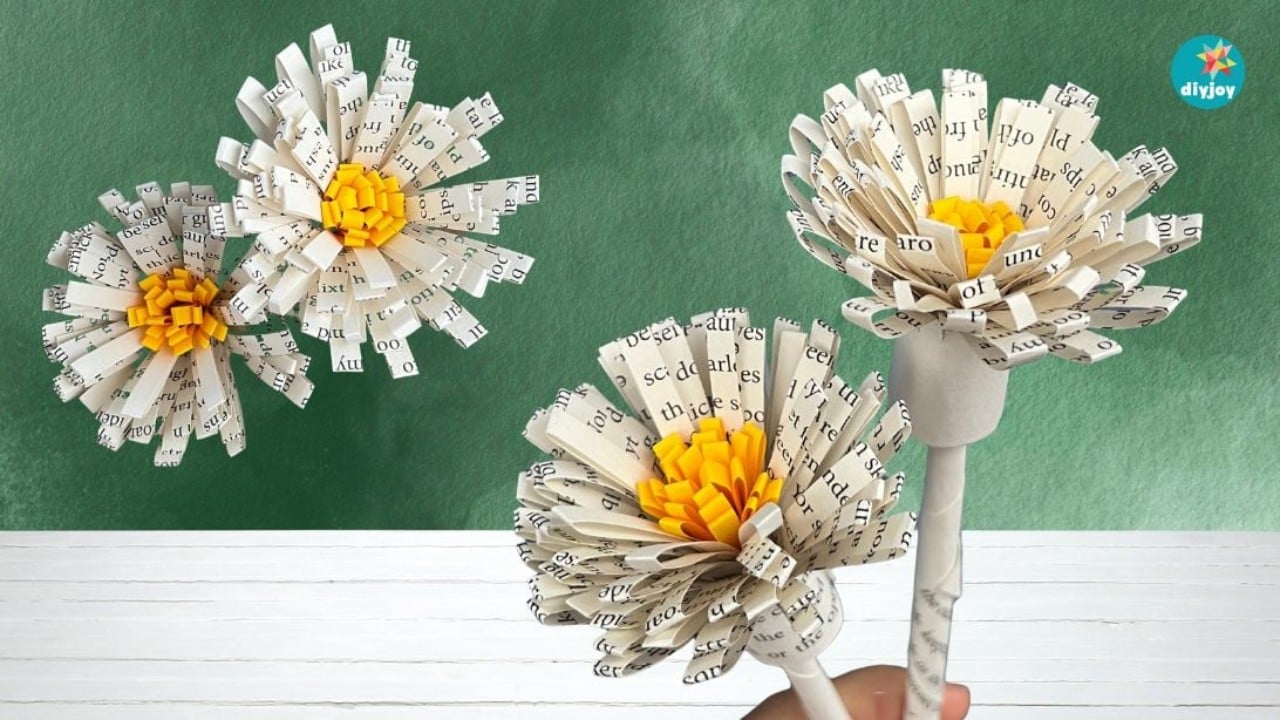
Book page paper flowers turn spare or outdated pages into rustic blooms. Cut a page in half crosswise, fold each half lengthwise and snip evenly spaced slits along the fold. For the center, fold a yellow sticky note in half and fringe it the same way. Roll half a page tightly around a skewer and glue it for the stem. Glue the yellow fringe around the top of the stem, wrap the cut book page petals around it with tape and glue, then gently press the petals down. Even slits make the fullest flower.
Get the full tutorial at DIY JOY.
19. DIY Book Tote
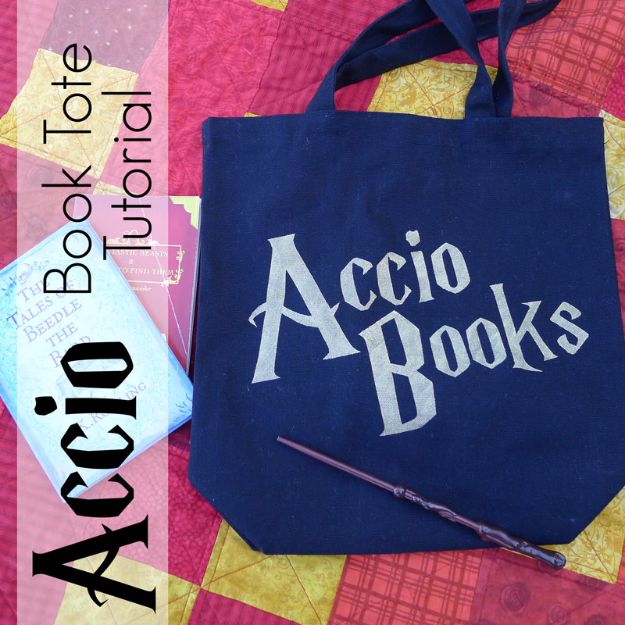
A DIY book tote stencils the words Accio Books onto a plain canvas bag for Harry Potter fans. Print the design onto freezer paper with an inkjet printer, taping the leading edge to cardstock so it feeds. Lay it on a protected surface and cut out the letters with a craft blade or scalpel, saving the little centers of letters like A, B and O. Iron the stencil to the tote shiny side down, sealing every edge. Dab on metallic fabric paint, brushing from paper onto fabric so nothing bleeds.
Get the full tutorial at Pieces by Polly.
20. DIY Invisible Bookends
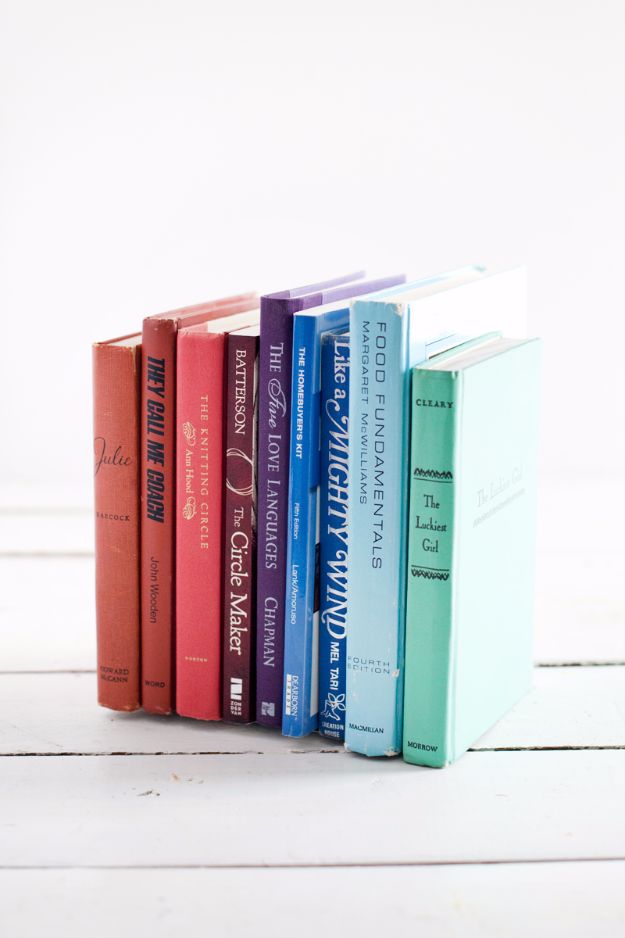
DIY invisible bookends hide a thin metal bookend inside a hollowed out book, so the row of books seems to stand up on its own. Choose a thrift store book with a 1 inch spine and measure it, then buy a board that matches its depth. A 1×6, which is really 3/4 by 5 3/4 inches, fit this one exactly. Cut out the pages with a craft blade, glue the board inside, then glue the bookend’s flat plate under the cover with super glue, clamping everything while it dries.
Get the full tutorial at A Beautiful Mess.
21. Magic Wand Reading Pointers
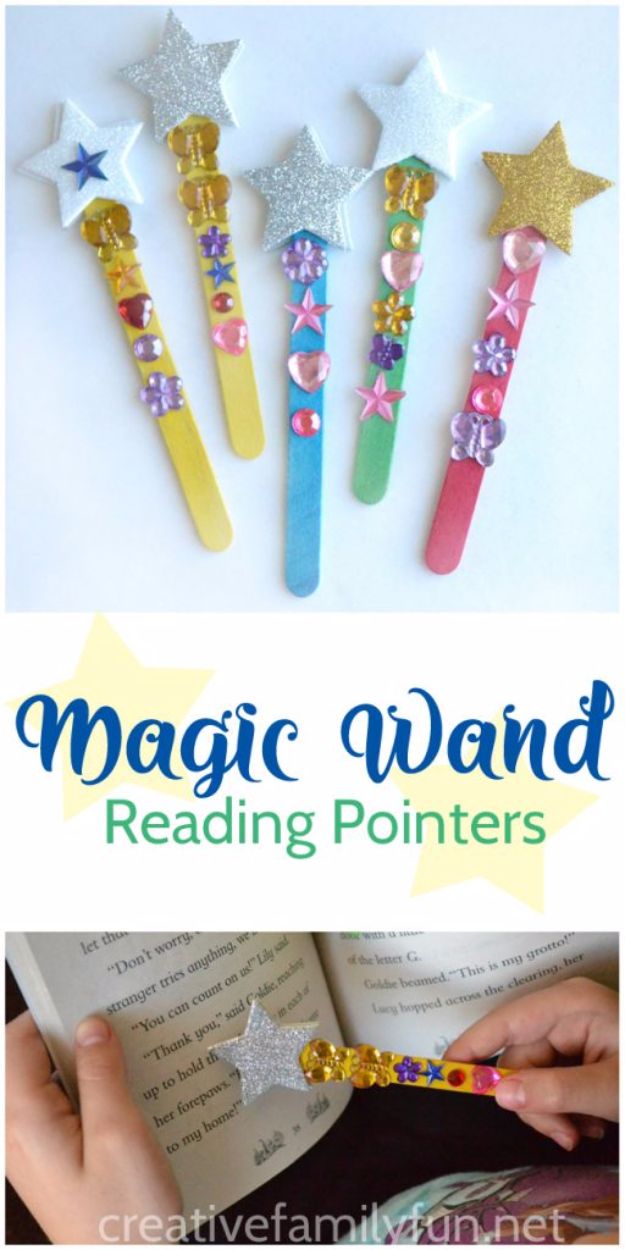
Magic wand reading pointers help early readers track words across a page. Each one is a colored craft stick with two matching sparkly foam star stickers pressed back to back over the top, sandwiching enough stick that the star stays put. Stick on jewels add the shine. The point of the star makes it easy to follow along under each word, which helps kids moving from picture books to chapter books with more text. It is completely mess free, so even young kids can make their own.
Get the full tutorial at Creative Family Fun.
22. Rustic Bookshelf
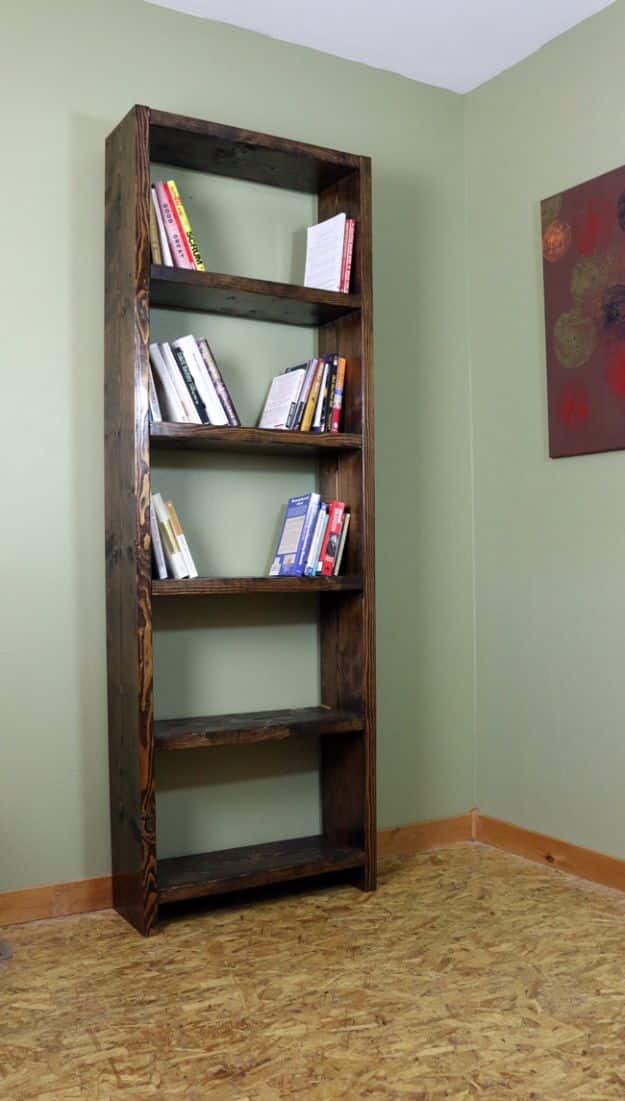
This rustic bookshelf is a beginner woodworking project that costs about $60 in materials. Nearly all of four 2×10 boards are used, cut to the free plan’s list with a miter saw or circular saw. Sand every board smooth, then assemble with wood glue and 3 inch wood screws using a drill or impact driver. An espresso stain and a polyurethane topcoat give it a dark, rustic finish that hides wear. Eye and ear protection belong on the tool list, and a video is promised alongside the written steps.
Get the full tutorial at DIY Projects with Pete.
23. DIY Photo Bookmarks
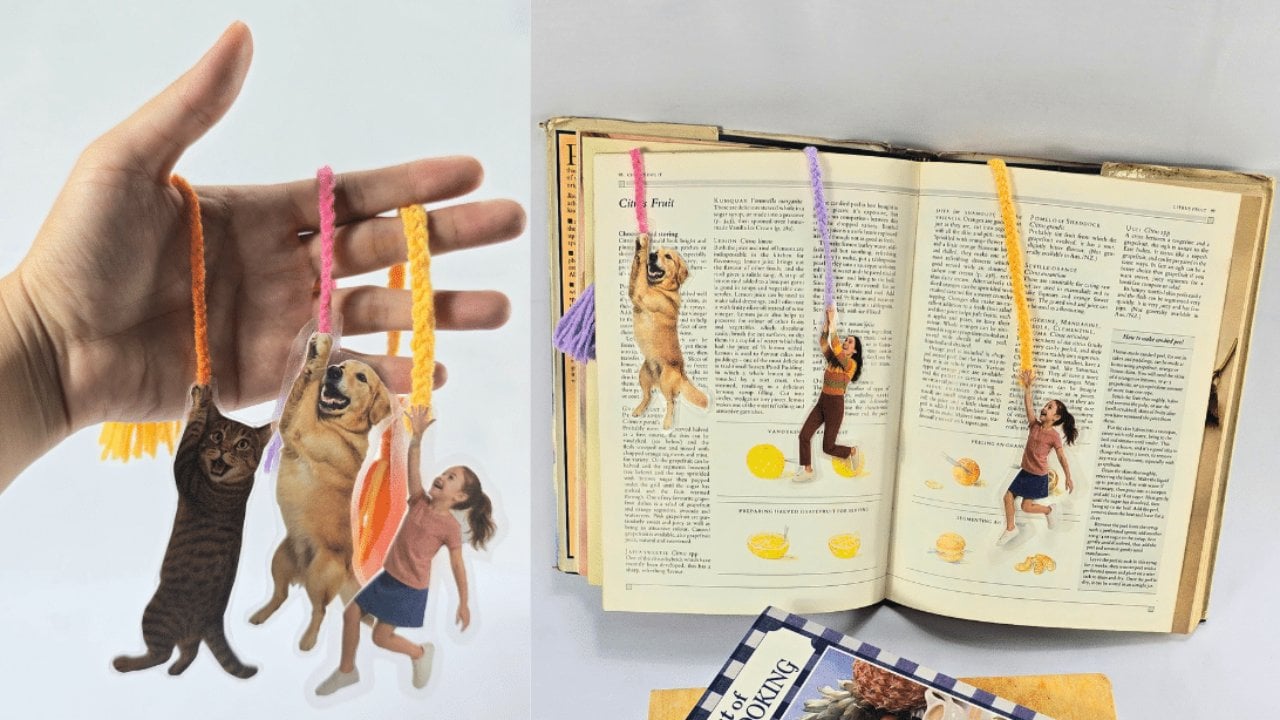
DIY photo bookmarks turn a printed photo of a pet, a family member or a favorite character into a page marker. Cut the figure out as close to the edge as you can, using a craft knife for tight corners. Glue it to cardstock, leaving the hands unglued, then trim it neatly. Slip the top loop of a small tassel between the layers at the hands so the figure looks like it is hanging on. Cover the front and back with contact paper, smoothing out bubbles, and trim leaving about 1/8 inch of clear edge.
Get the full tutorial at DIY JOY.
24. Picture Books DIY
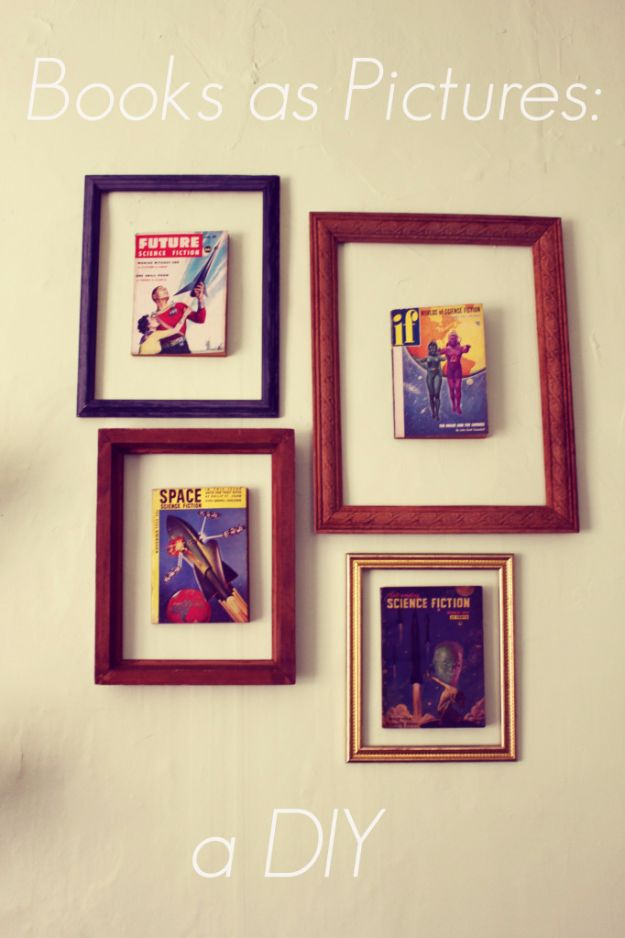
This picture books DIY hangs small vintage paperbacks inside empty, backless frames on the wall. Make hangers from twine: tie the ends into a loop, pull it flat and nail both ends to the back of the frame, keeping it tight so it does not peek out. To hang the books with nothing visible, push several thumbtacks through the back cover, then add a tack every 20 pages or so. The front tacks will not reach the wall but they stop the book swinging open. Skip anything heavy.
Get the full tutorial at We Live Upstairs.
25. Book Earrings
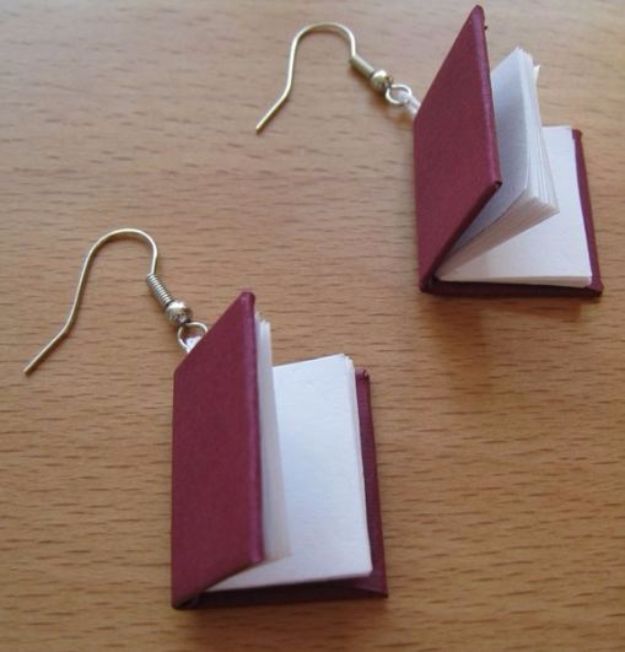
Book earrings are tiny hardcover books, small enough to dangle from ear wires. Cut two cardboard rectangles 1 inch tall by 1.75 inches wide for the covers, score two lines about 1/8 inch apart across the center and fold them to form the spine. For the pages, cut sixteen rectangles of printer paper 7/8 by 1.5 inches, fold two stacks of eight in half and trim them even. Poke three pinholes through each spine and stitch the pages in with a figure 8 of thread. Wrap each cover in a 3.25 by 2 inch piece of decorative paper or fabric.
Get the full tutorial at wikiHow.