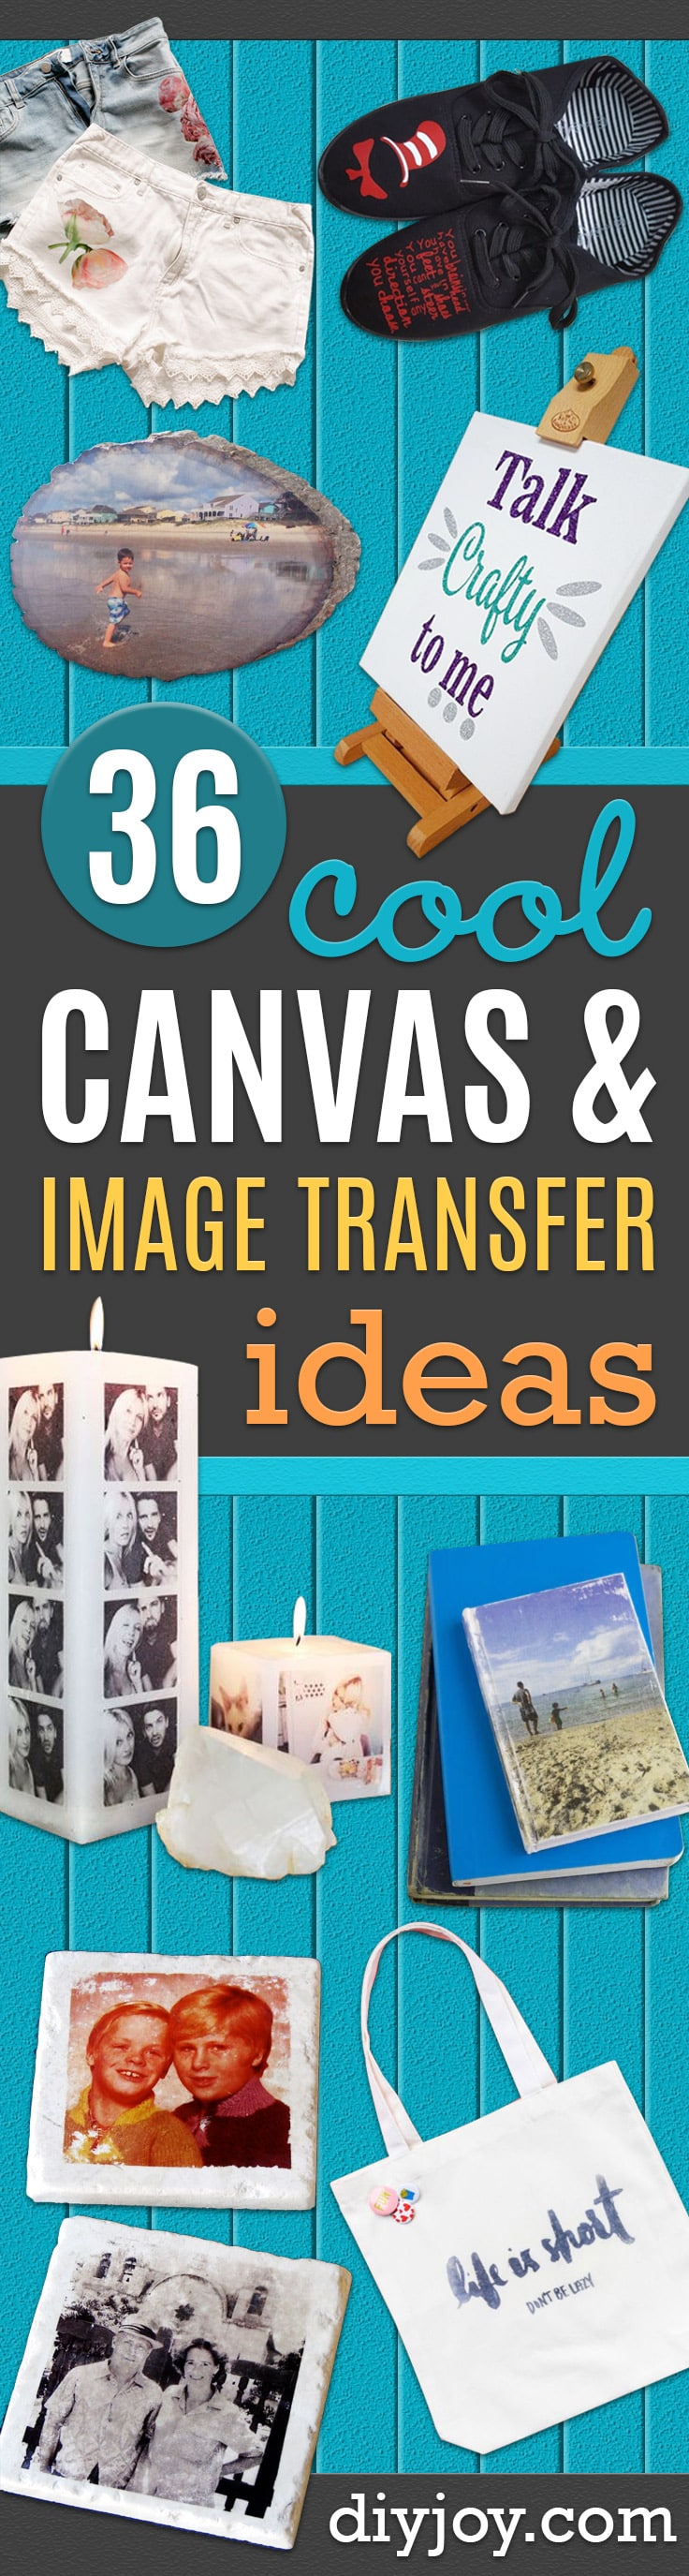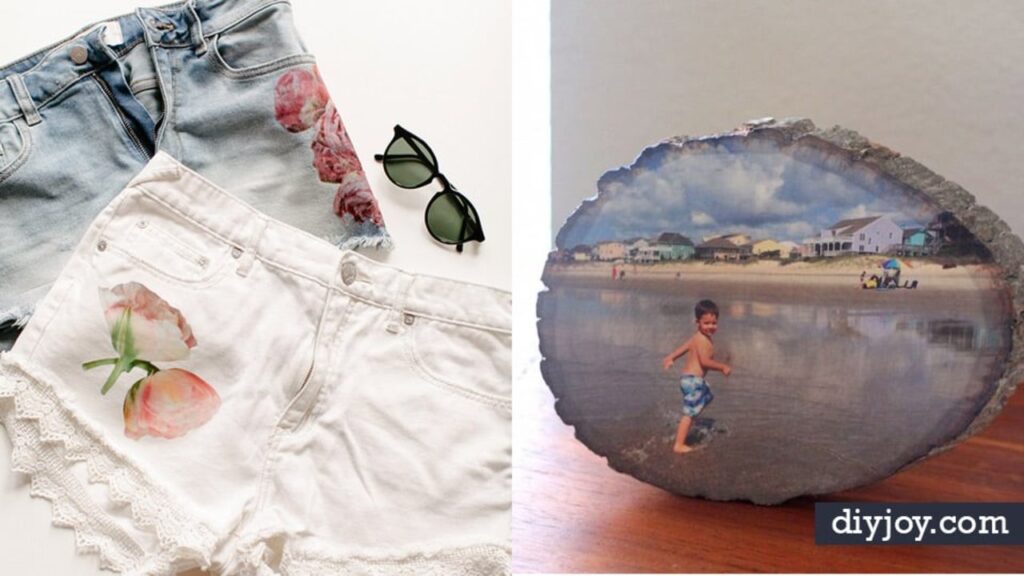
Most of your best photos live on your phone, which is a shame, because they look so much better on a wall. These 15 image transfer ideas move pictures, quotes and vintage prints onto canvas, wood, fabric, ceramic and glass, and most of them need nothing fancier than a laser print, Mod Podge or gel medium and a little patience. Turn scrap pallet boards into kids room art, ink a tote bag with an iron, or make pantry labels tough enough for the dishwasher. Plenty of them double as thoughtful Christmas gifts, and a few work just as well on DIY clothes. One rule runs through almost all of them: let it dry before you peel. Rushing a transfer is the fastest way to a gooey, papery mess.
1. How to Transfer A Photo To Canvas
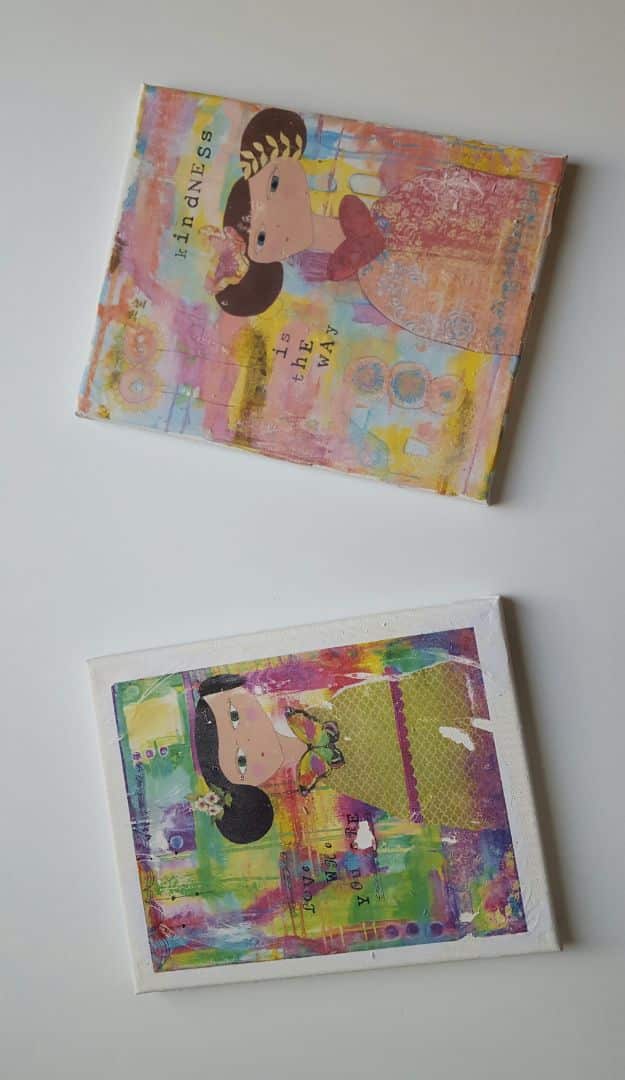
A laser print, a jar of Mod Podge or gel medium and an old gift card are the whole kit for this photo to canvas transfer. Smear the medium on thicker than feels comfortable, lay the print face down, smooth out the bubbles gently because wet paper tears, then flip the canvas and weigh it down. Now the hard part: wait 24 hours. Peel early and you get a gooey mess. After that, a wet sponge rubs the paper away and the image appears like magic. If the picture has words, print it mirrored or every letter comes out backwards.
Get the full tutorial at Stephanie Martel Art.
2. Image Transfer Botanical Photo Holders
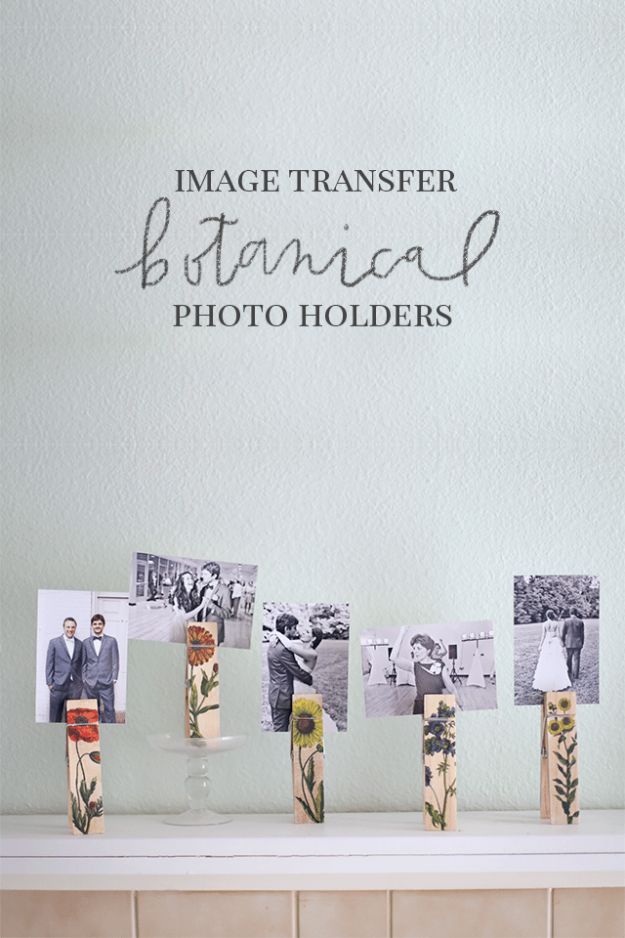
Giant wooden clothespins plus vintage botanical prints turn into photo holders that look far fancier than the effort involved. The print must come from a laser printer or a copy machine, since inkjet simply will not transfer. Brush matte medium on the clip, lay the cutout face down, smooth it with a credit card and let it dry overnight. Then wet the paper and rub it off. It feels like you are wrecking it. You are not. Add pops of color with fluid acrylic, seal it and clip your favorite photos on top.
Get the full tutorial at Shrimp Salad Circus.
3. DIY Flower Photo Transfer Shorts
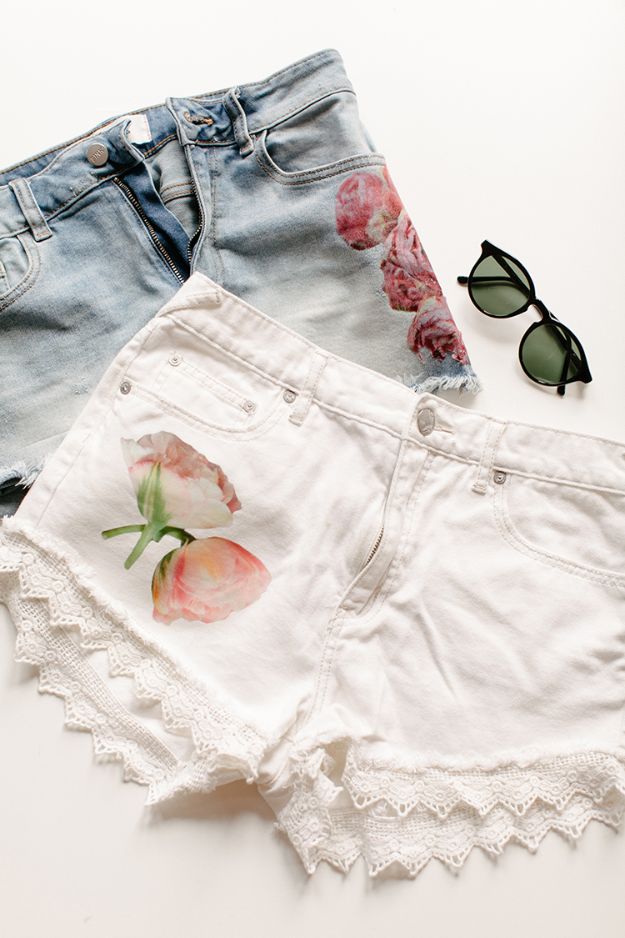
Raggedy denim cutoffs get a boho makeover with nothing more than an iron, scissors and printable transfer paper. Download a free peony or tulip template, cut it out and round off any sharp corners so the edges do not peel once applied. Remember the design comes out as a mirror image, since it gets flipped over before ironing. Turn the steam off completely, work on an ironing board or a towel and follow the directions on the transfer paper. Peel it back once it cools, and if a spot lifts or tears, set it down and iron again. For a distressed look, snip into the sides of the image so there is no hard edge.
Get the full tutorial at Jojotastic.
4. Step by Step DIY Reverse Canvas
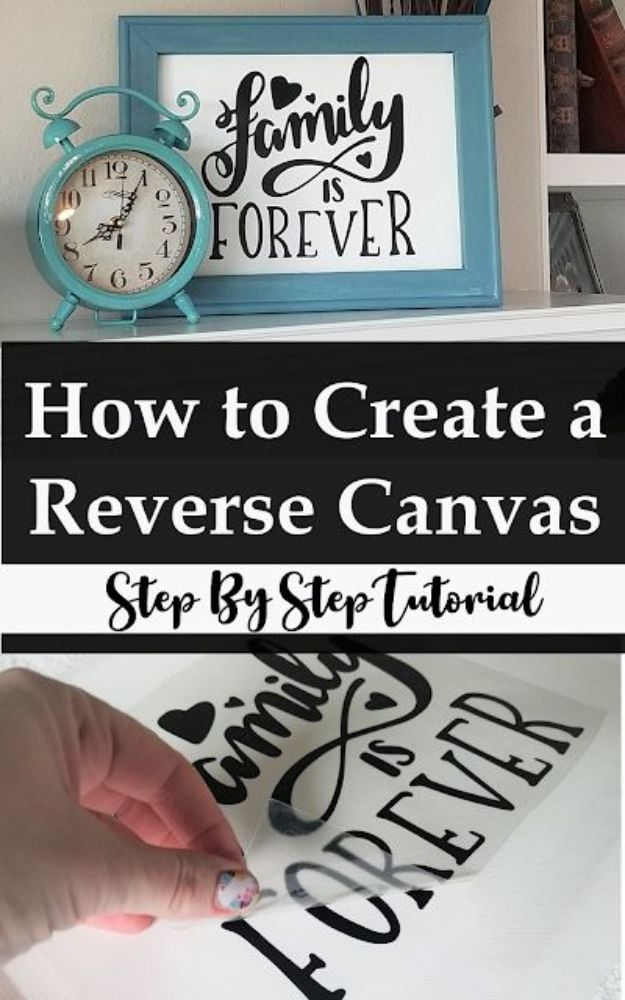
A reverse canvas flips a cheap stretched canvas inside out: take the canvas off the frame, add your design, then set it back on the back of the frame so the wood shows up front. Paint that frame any color you like. Heat transfer vinyl is the right choice on canvas because canvas is fabric, and an iron or an EasyPress sets it so it will not peel. Permanent adhesive vinyl is the one to skip here. Hang it with picture hanging strips since these weigh almost nothing, which makes swapping holiday canvases ridiculously easy.
Get the full tutorial at Sew Simple Home.
5. DIY Photo Candle
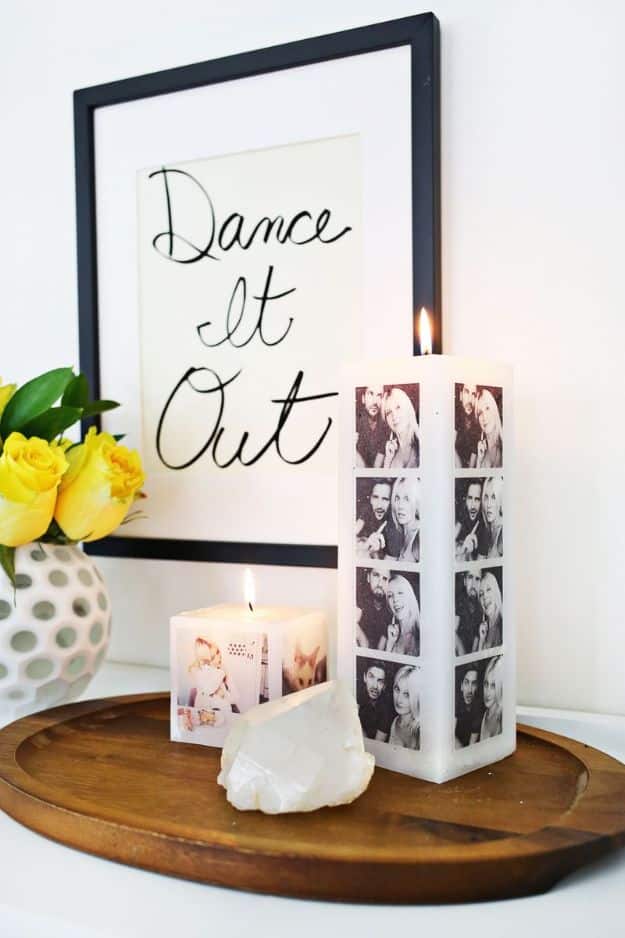
Photo booth strips melt right onto a plain white candle, and the supply list is short: white tissue paper, card stock, clear tape, wax paper and an embossing heat tool. Print the photo on the less shiny side of the tissue, wrap it around the candle, then hold the wax paper tight over it and run the heat gun across until the picture melts into the wax. Watch the heat setting, because the goal is melting the photo, not the candle. Dense wax gives the crispest image. It takes about half an hour, and it makes a sweet gift or table decor for a wedding or birthday. Keep it as decor rather than burning it down to the photo.
Get the full tutorial at A Beautiful Mess.
6. DIY Pallet Photo Transfer Art
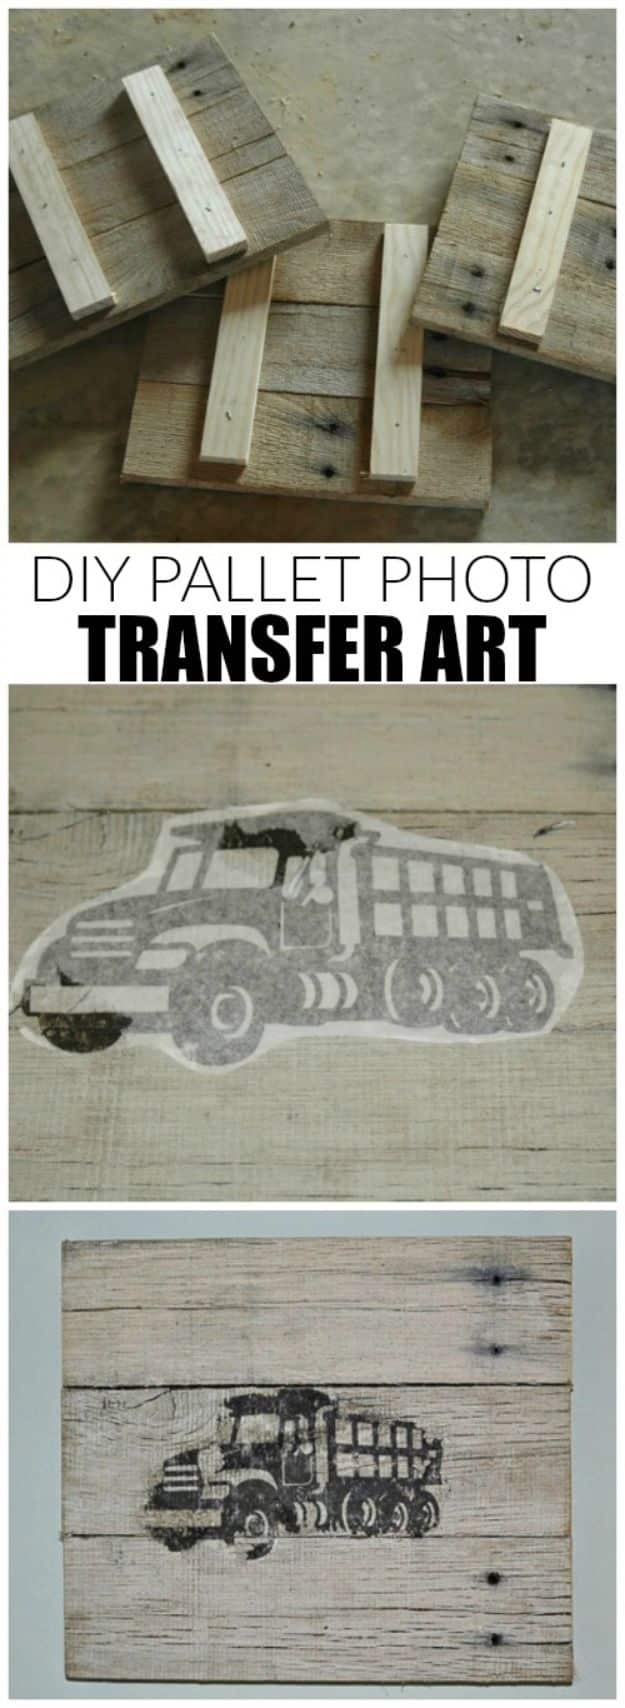
Three free pallet boards became a set of truck pictures for a kid’s room, and the whole thing cost nothing. The boards are cut into nine equal pieces, backed with strips of 1×1/2 wood glued and nailed on so they sit out from the wall, then whitewashed with equal parts paint and water. Mod Podge goes on the front of each print, the print goes face down and gets pressed flat. Here is the timing that matters: when it is almost dry, dampen it with a wet rag and peel. Stubborn white fuzz rubs off gently.
Get the full tutorial at Little House of Four.
7. DIY Photo Canvas Prints With Authentic Texture
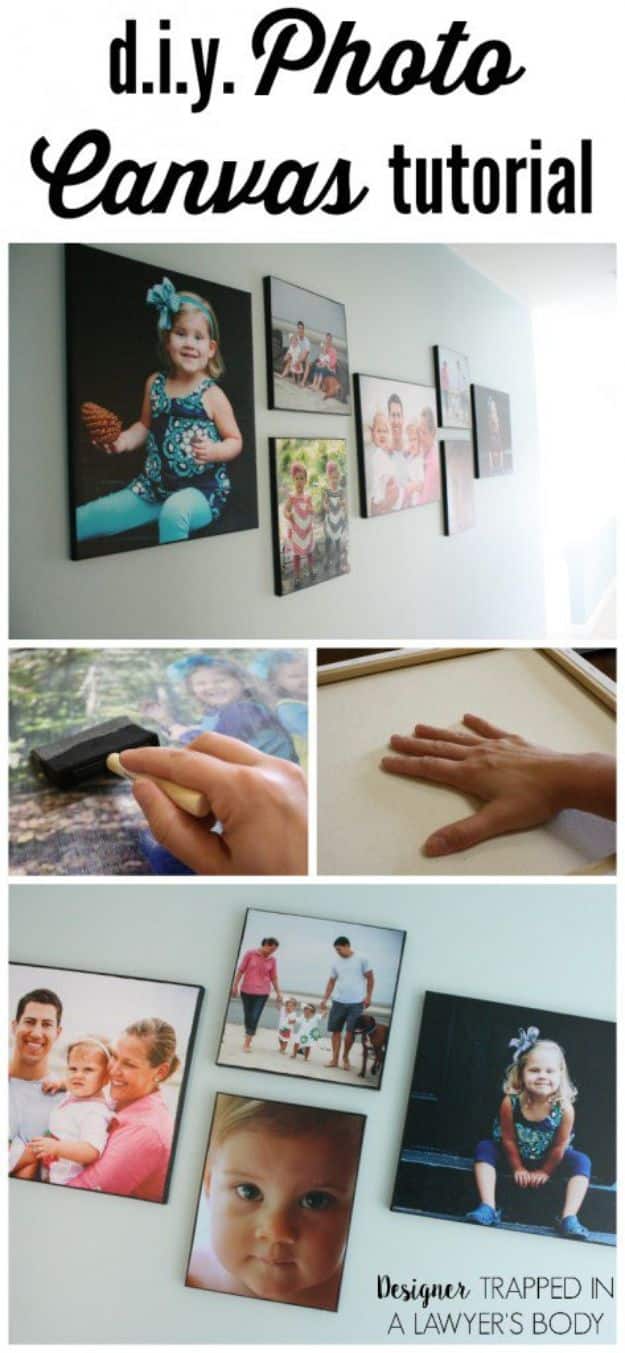
Real canvas texture on a photo for under $10, and the secret is a blank canvas used as a stamp. Get the photo enlarged at a photo lab, because home prints and poster prints smear or peel. Paint the canvas edges black, Mod Podge the photo on face up, weight it with books overnight and trim the overhang with a craft knife. Then brush on a thin coat of matte Mod Podge and press a spare canvas onto the wet surface, or an old t-shirt. Peel it off and the weave stays behind. It looks white at first. Calm down, it dries clear.
Get the full tutorial at Kaleidoscope Living.
8. Transfer Text To Canvas
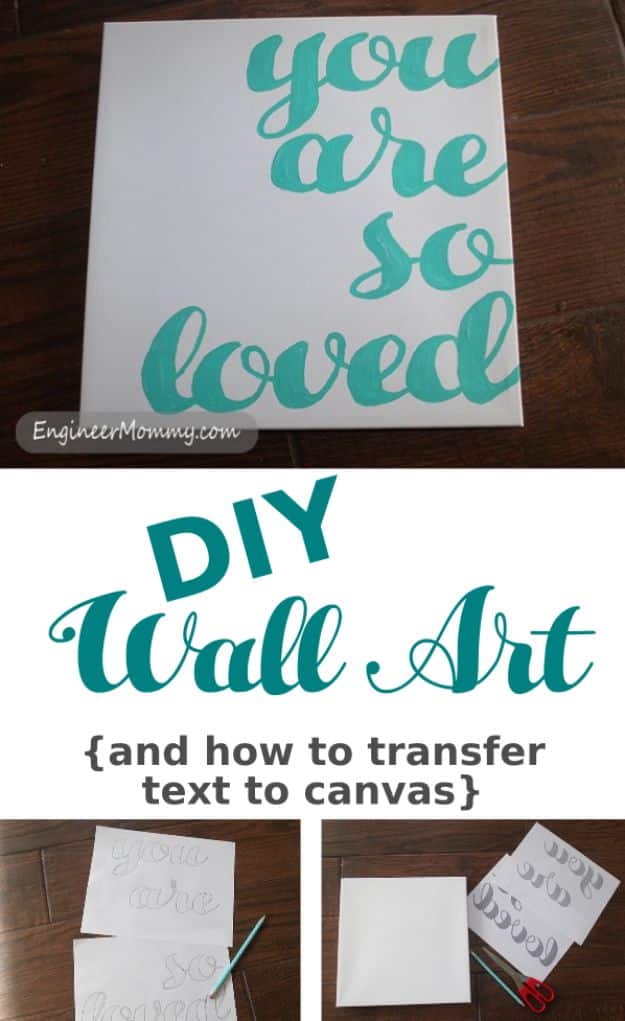
Canvas quote art with nothing but a pencil and some paint, which is hilarious when you see the price tags on the store versions. Print the words normally, no mirroring needed, then scribble pencil over the back of the letters. Tape the paper to the canvas and trace the outlines so the graphite presses through. Lift the paper, darken any faint lines and paint the letters in, a fat brush for big strokes and a fine one for the curls. Thick fonts make your life much easier. An eraser cleans up stray pencil once the paint dries.
Get the full tutorial at Engineer Mommy.
9. Photo Transfer Art
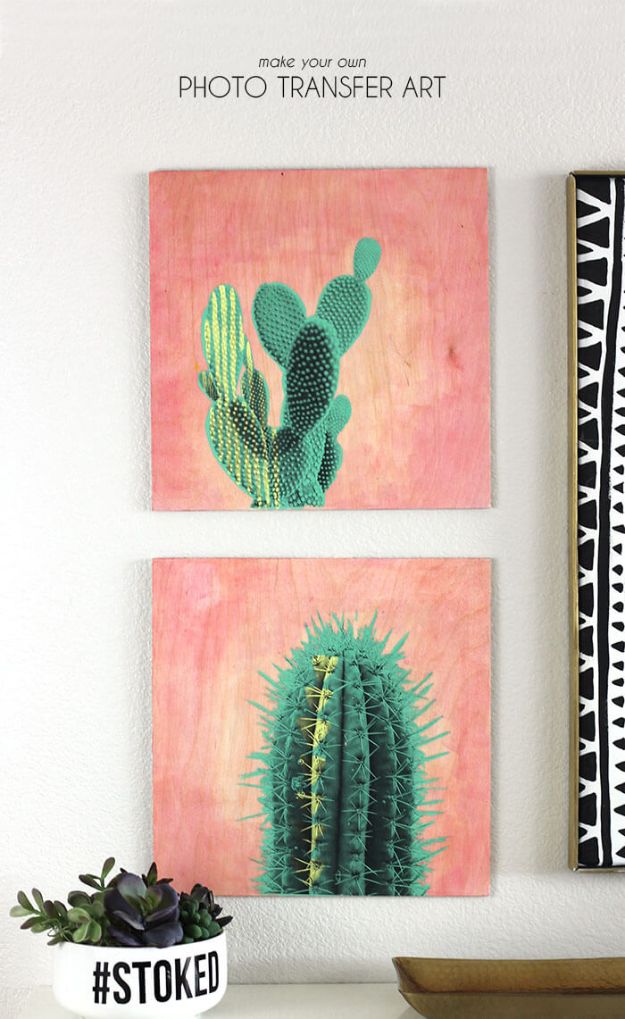
Cactus photos transferred onto plywood over a hot pink background, and the twist is that you paint on the print before it ever touches the wood. Pick high contrast images, strip the backgrounds and print them big on plain copy paper. Paint opaque stripes or triangles right onto the cactus, and those patterns show through the pale parts once transferred. A 12 inch square of plywood, matte medium and a brayer do the rest. It looks complicated. It honestly is not, and nobody needs to know that.
Get the full tutorial at Persia Lou.
10. Photo Transfer Journals
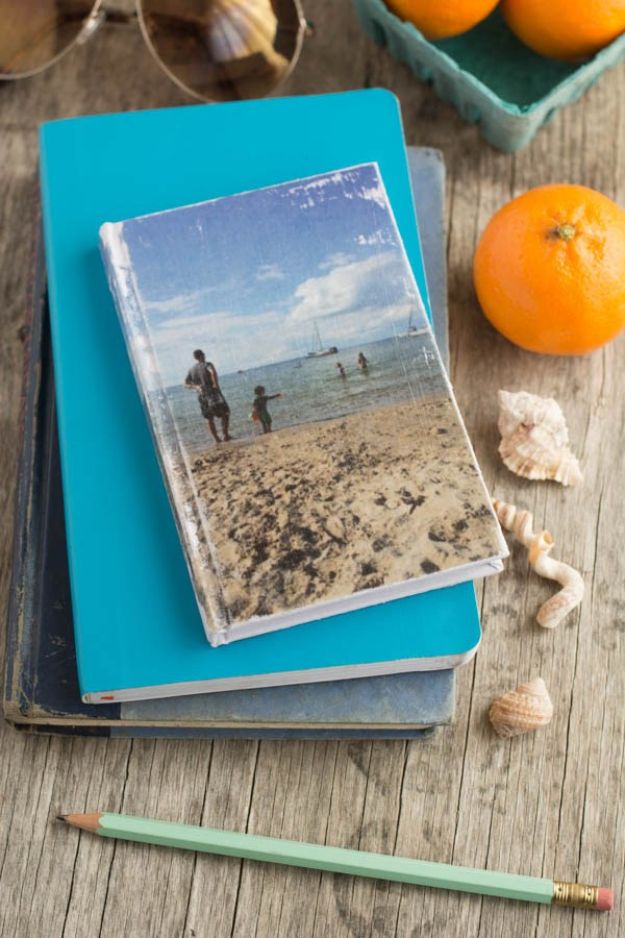
Canvas covered journals take an image transfer almost exactly like a stretched canvas, only smaller, so the work goes faster. Gel medium, a high resolution toner printed photo, a spray bottle of water and an old washcloth are the kit. The paper matters most: it has to be 20 lb copy paper, since anything thicker will not transfer. Reverse any image with text. Slip something protective inside the cover first because the damp medium can wrinkle the pages. Summer trip photos make the best covers for a travel log.
Get the full tutorial at This Heart of Mine.
11. Mason Jar Decal Transfer
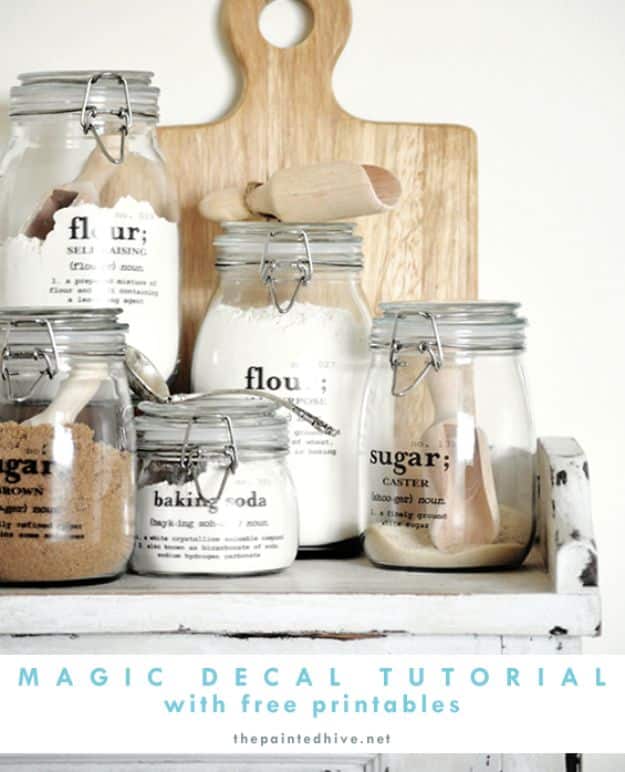
Waterslide decal paper plus a sheet of magic decal coating paper equals pantry labels tough enough for the dishwasher, which is basically sorcery. Plain waterslide decals are pretty but fragile, and the coating sheet is what makes them practical for jars you wash. Buy the decal paper made for your printer type, inkjet or laser, because they are not interchangeable. Each sheet holds several labels, so it costs less than it looks. Dictionary definition labels for flour, sugar and baking soda make a plain set of glass jars look custom.
Get the full tutorial at The Painted Hive.
12. Image Transfer With Dixie Belle
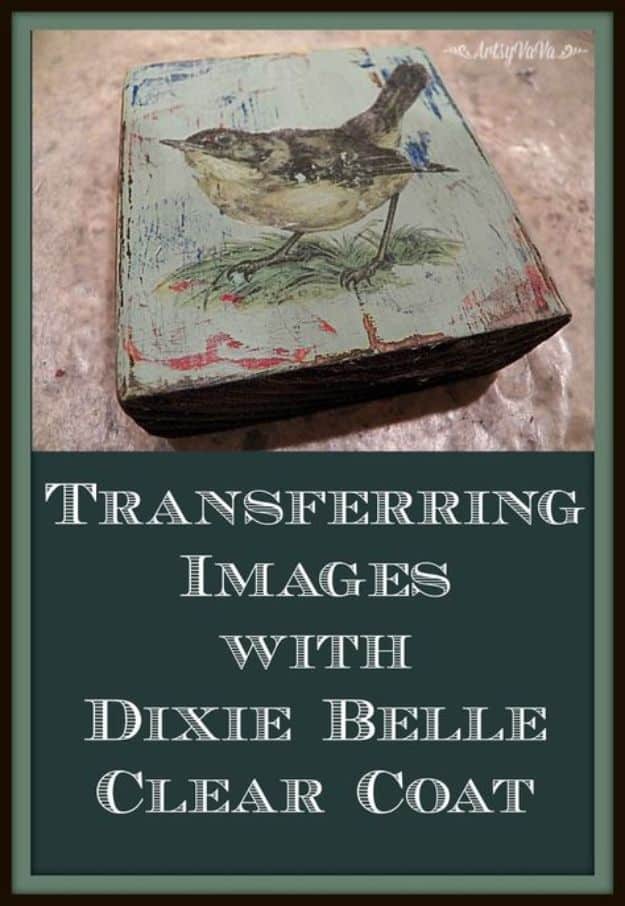
Chunky 2×4 blocks with layered paint and a vintage bird on top look like flea market finds, and the transfer medium is a clear coat you might already own. The blocks get stained, painted in layers of Limeade, a dab of Cobalt Blue and Sea Glass, then sanded so the colors peek through. The print must be laser, since inkjet bleeds, so a copy shop run is worth it. Coat the image with Dixie Belle Clear Coat, press it face down, mist with water and rub. Milky spots mean more paper is hiding. Spray again.
Get the full tutorial at Artsy VaVa.
13. DIY Iron Transfer Tote

An iron transfer pen is the craft store sleeper hit: trace a design on plain printer paper, iron it face down onto a canvas tote for 1 to 3 minutes and lift. The result is smooth ink rather than stiff vinyl, with a soft watercolor feel. Flip the design before printing or it lands backwards. Do not let the paper shift mid press or you get a ghostly double. Slide cardboard inside the bag so ink cannot bleed through. The best part: the same traced sheet prints again and again, so one tracing made three totes.
Get the full tutorial at The Crafted Life.
14. DIY Transfer Decal Onto Ceramic Plates
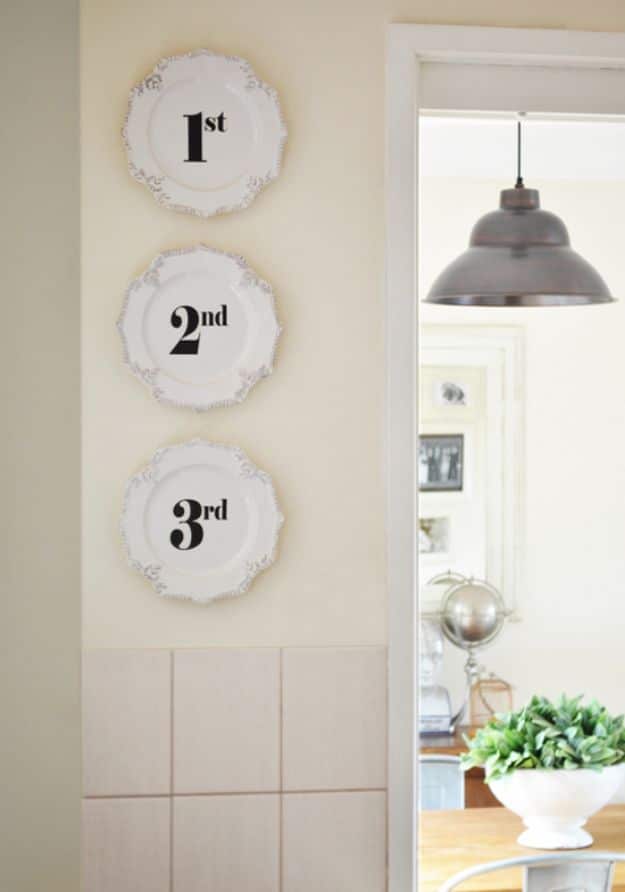
Plain white plates turn into numbered wall decor with waterslide decal paper, a printer and a can of clear acrylic sealer. That is genuinely the entire supply list. The paper comes with a white or clear carrier film and in inkjet or laser versions, so buy the one that matches your machine and your project. Print, seal, soak and slide the decal off the backing onto the plate. Anything you can design can go on glass, timber or metal too. Hang three in a column by a doorway and the wall finally looks finished.
Get the full tutorial at The Painted Hive.
15. Transfer Ink to Wood
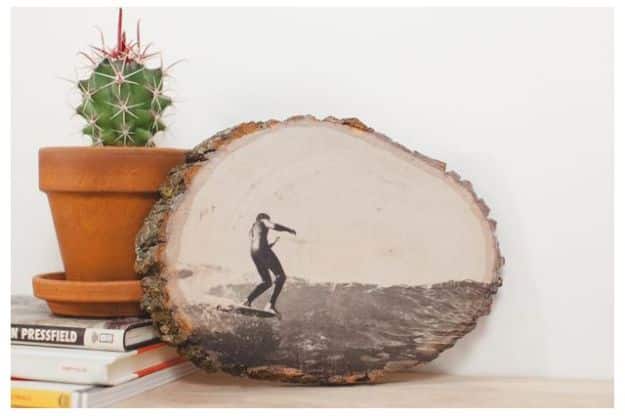
This ink to wood transfer uses the backing sheet from shipping labels, which is a genuinely clever hack. Peel off the labels, tape any perforations, spray the slick backing with clear sealer and brush on a thin layer of glue. Once dry, print your image on the glue side, flipping any text. Sand the wood, coat it in matte gel, press the print face down and squeegee from the center out with a gift card. Wait about an hour and a half, peel slowly and the photo sits right in the grain. Finish with sealer.
Get the full tutorial at Hunker.