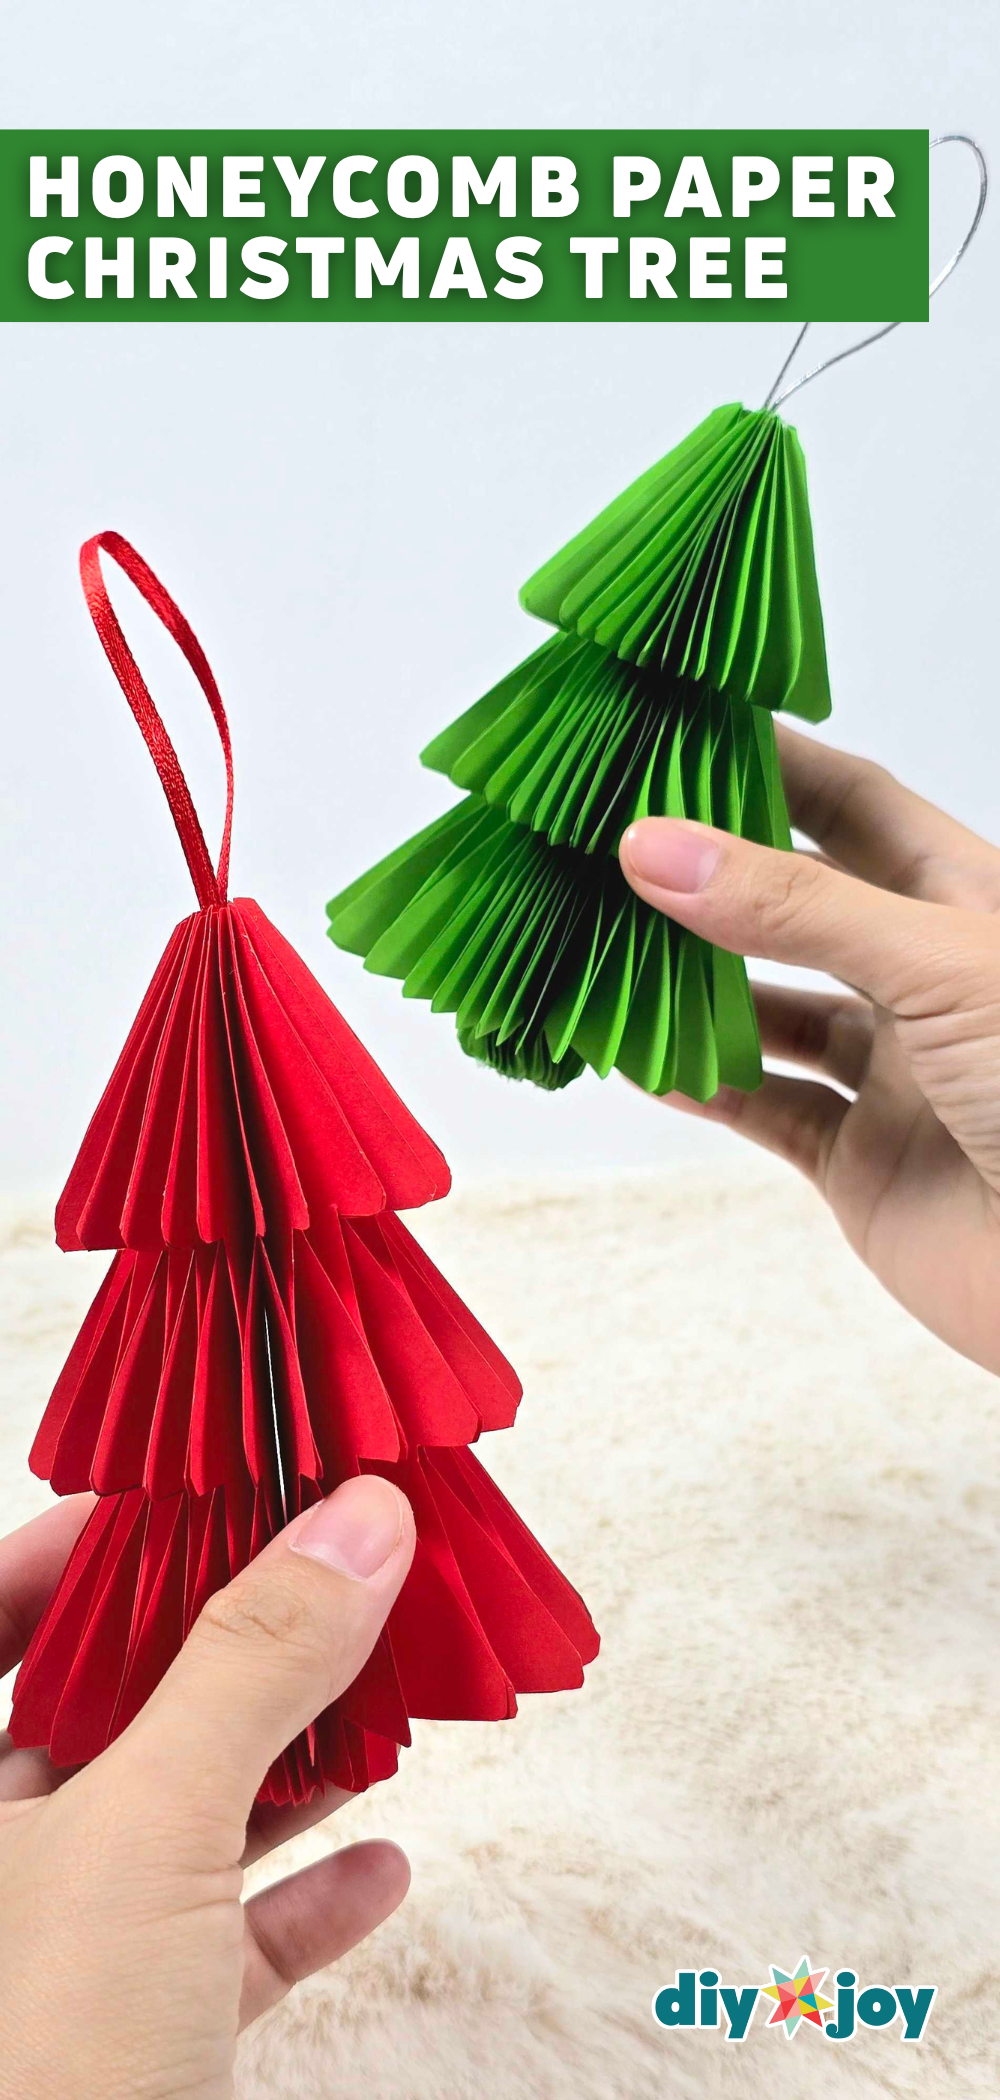
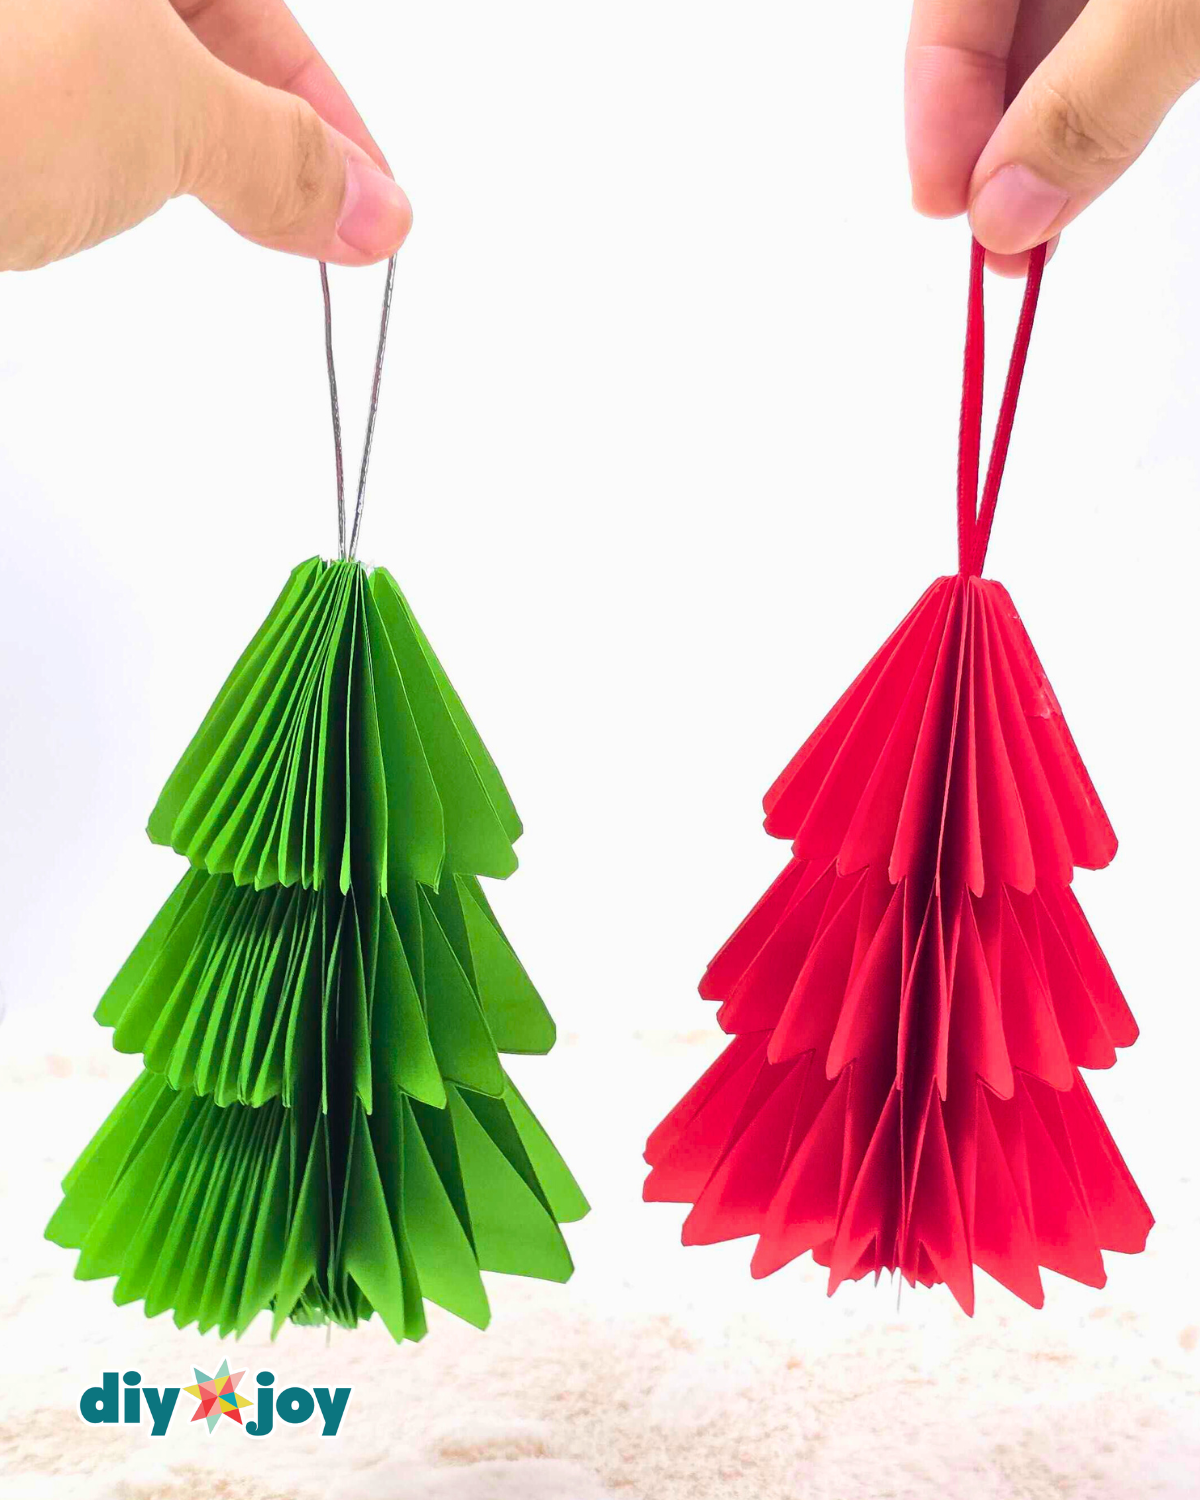
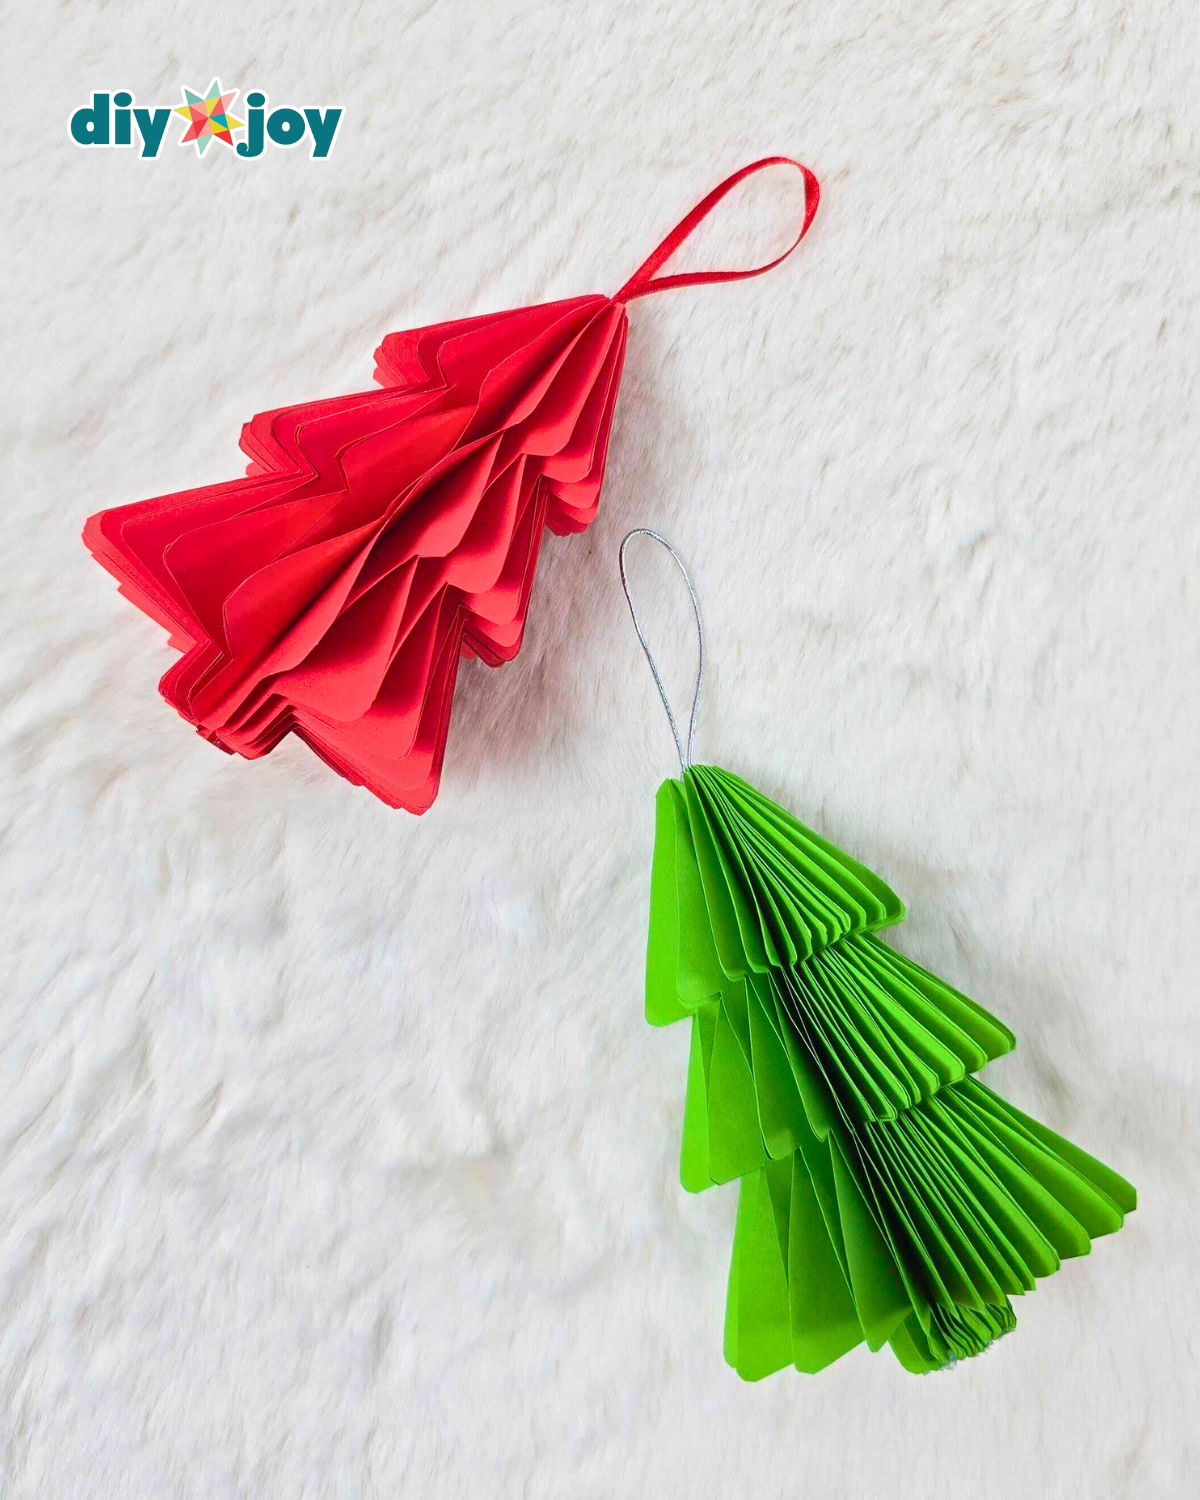
Christmas is almost here, and if you’re looking for cute DIY Christmas decoration ideas, you’ve come to the right place. This Honeycomb Origami Christmas Tree is one of the best handmade Christmas decor projects you can make. It’s super easy, requires only paper, and can be hung on your Christmas tree, turned into a festive garland, or even used as a personalized gift bag filler.

You can get creative by using printed cardstock, adding pom-poms, or mixing different colors for extra flair. Each tree can be finished in just minutes, making it a perfect, easy Christmas craft for all ages. Plus, it’s a fun project to enjoy with family and friends. Follow the step-by-step tutorial below to make your own adorable origami Christmas tree!
RELATED: 3D Origami Christmas Tree Tutorial
The best part? This tutorial includes a printable template that takes the guesswork out of folding and cutting, so even beginners can make a flawless Honeycomb Origami Christmas Tree in minutes. Just follow the template, and you’ll have a perfect, professional-looking ornament every time — no stress, no trial and error!
▶ Watch this tutorial on TikTok
Shop the Supplies
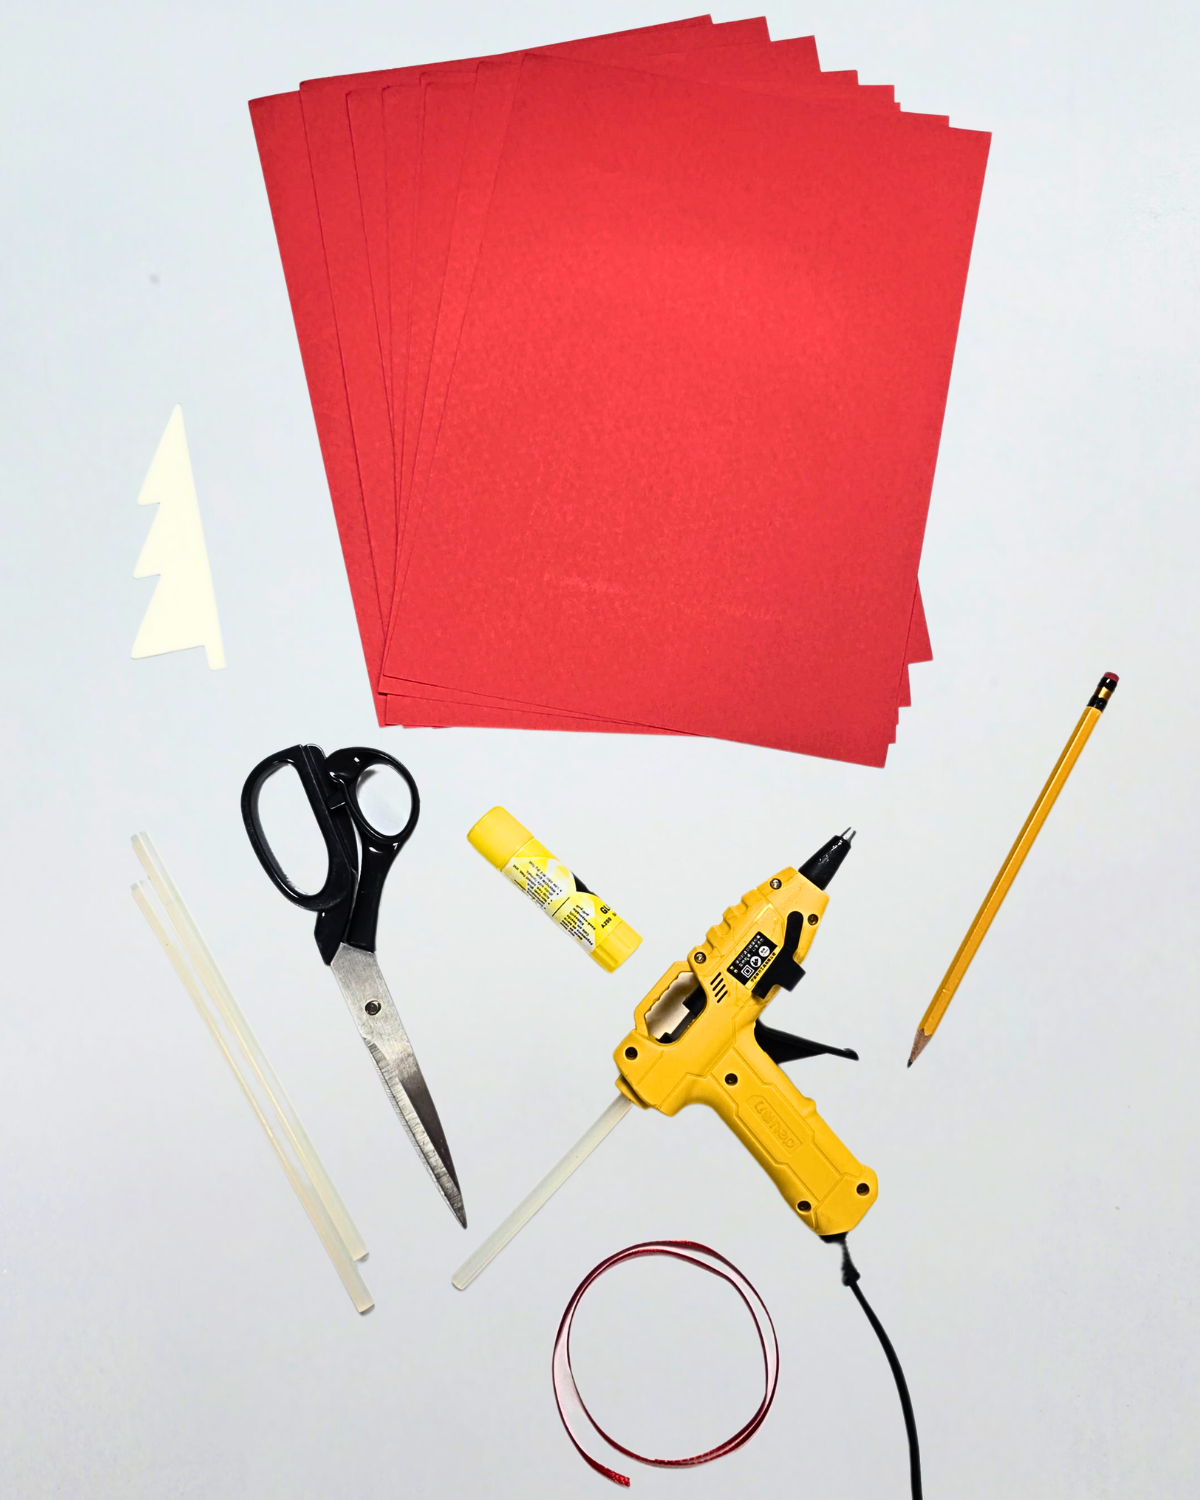
Here are the main supplies we used for this marigold paper flower, so you can grab the same ones and get straight to crafting.
Colored Paper
This paper is the perfect thickness for origami and comes in a variety of colors!
Paper Cutter
Make straight, clean cuts quickly and easily with this paper cutter!
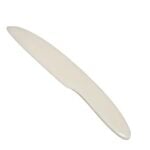
Bone Folder
Get sharp creases with this bone folder! It makes folding this origami project much easier.
*Some of the supply links above are affiliate links. If you buy through them I earn a small commission at no extra cost to you.
How to Make a Honeycomb Paper Christmas Tree
Step 1: Fold and Trace the Pattern
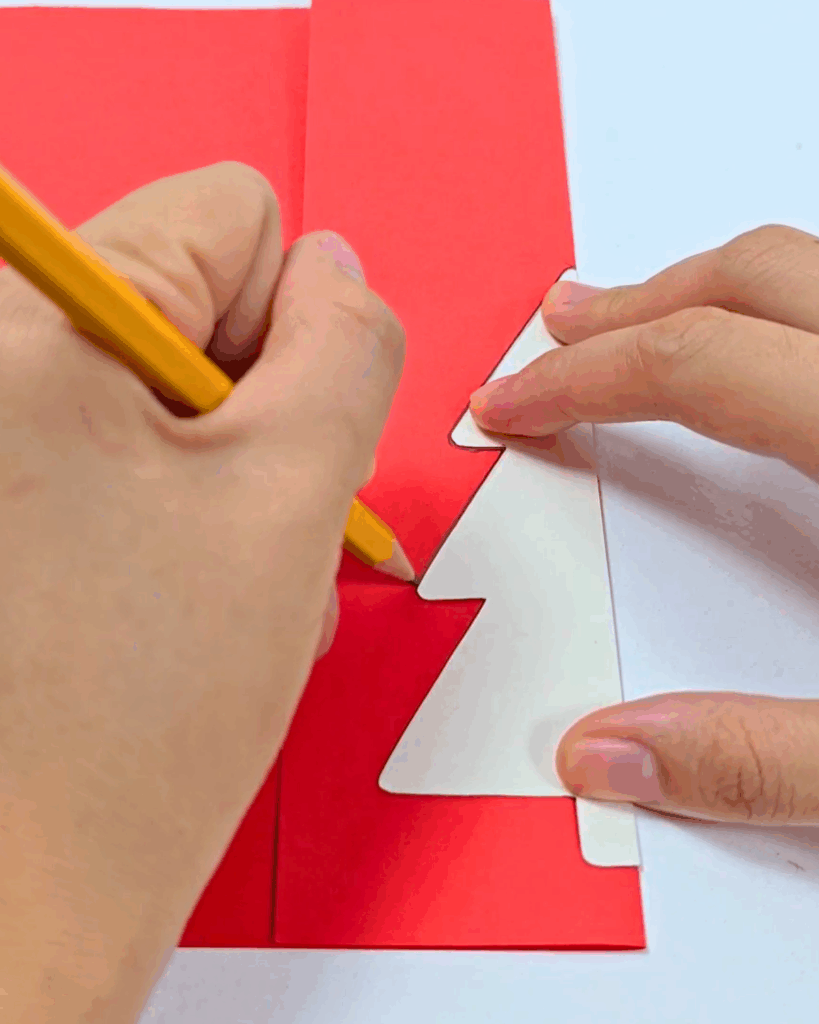
Fold the paper along the bottom by about 2 inches. Then, place your pattern on the folded section and carefully trace the shape.
Step 2: Cut and Prepare the Pieces
Carefully cut out the traced shape. Repeat the process until you have about 20 pieces.
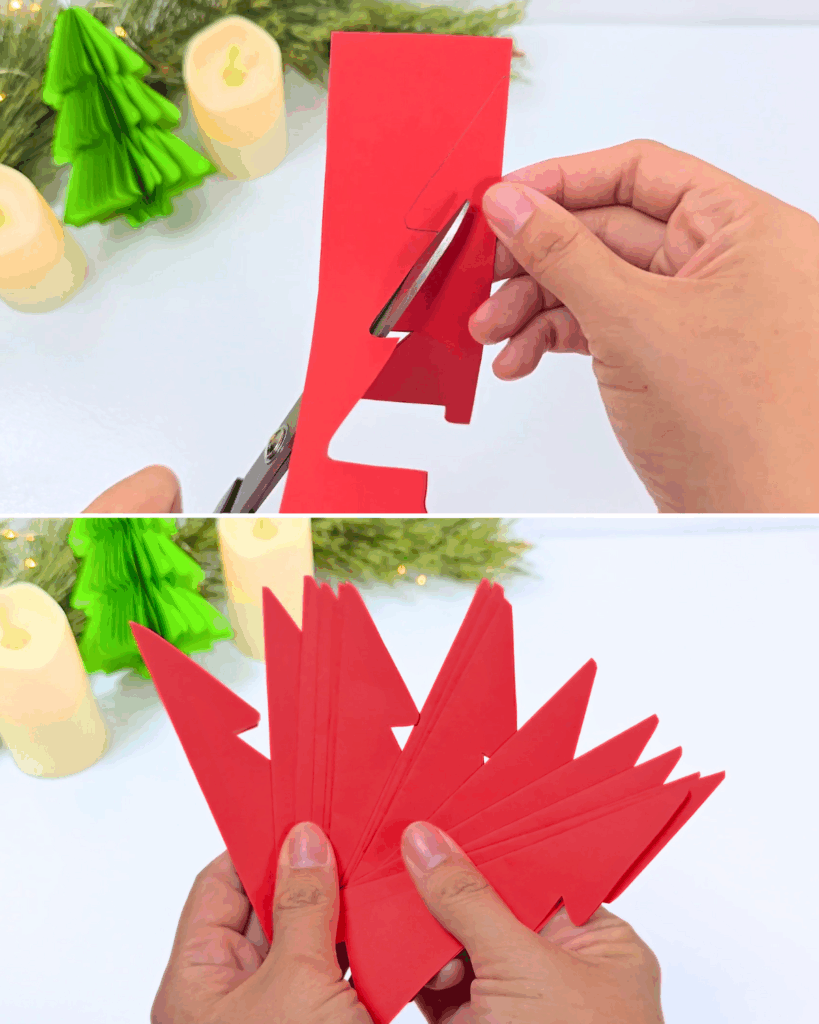
Tip: Gluing Guide for the Next Step
Use the lines shown in the image as a guide for where to apply glue on each paper tree cutout. Interval 1 and Interval 2 show the specific areas where you’ll need to add glue to attach the pieces together evenly in the next step.

Step 3: Apply Glue to the Marked Areas
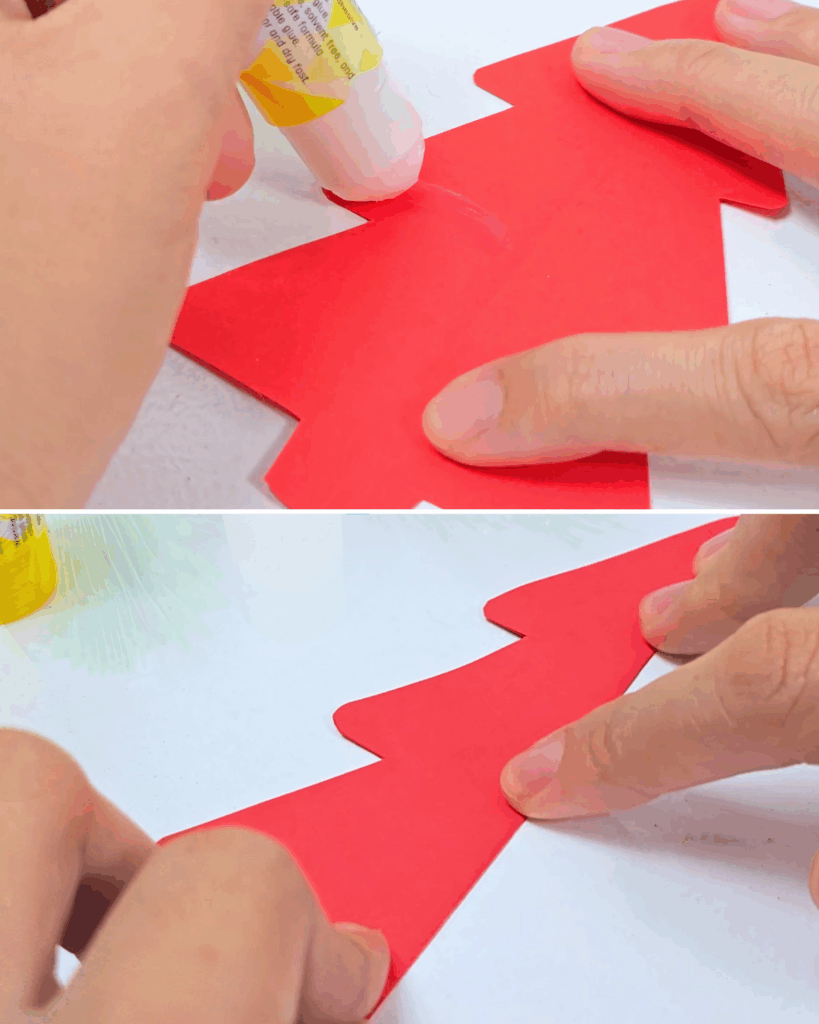
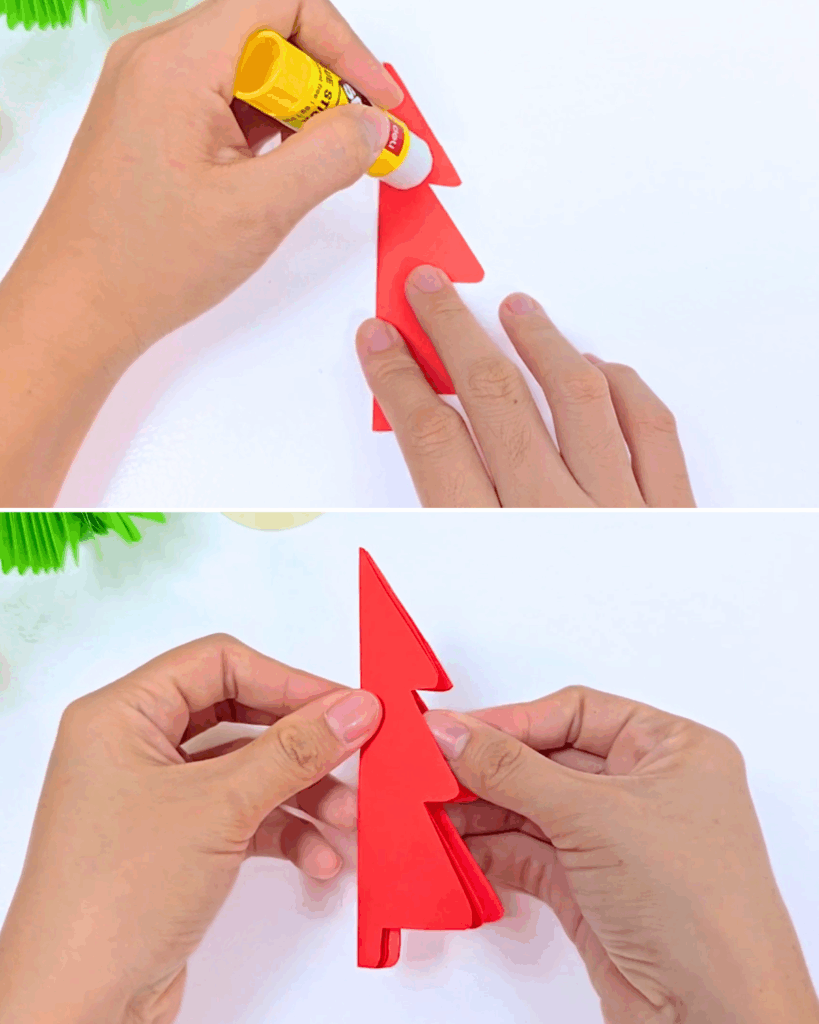
Follow the Interval 1 guide and apply glue inside the marked sections of your paper tree cutouts. Keep the glue away from the outer edges to avoid a mess and ensure clean folds. Make sure to spread the glue evenly so the pieces stick together neatly.
Step 4: Layer the Cutouts Using Interval 2
Follow the Interval 2 guide and apply a thin line of glue along the outer sections of your paper tree. Carefully place another cutout tree on top, aligning the edges so the shapes match perfectly.
Step 5: Add a Ribbon for Hanging
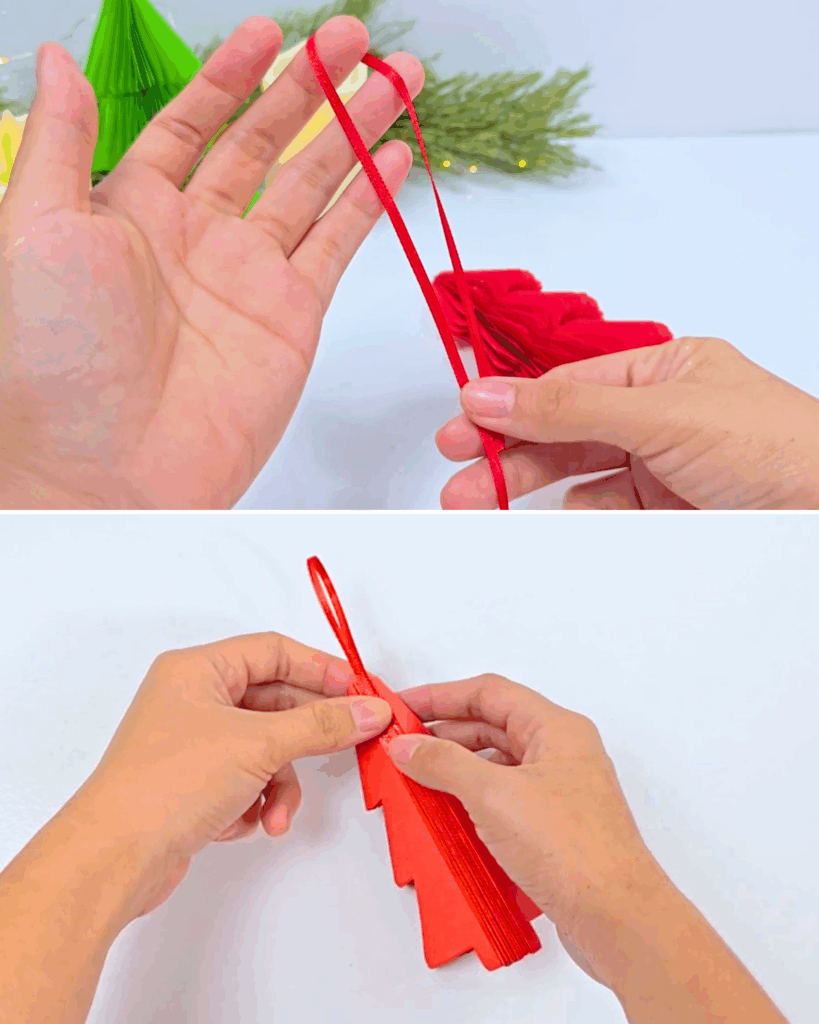
Cut a piece of ribbon, then fold it in half to form a loop, and then gently secure it to the middle of your finished paper tree stack. This will serve as the tassel or hanging loop for your decoration.
Step 6: Glue and Shape the Tree
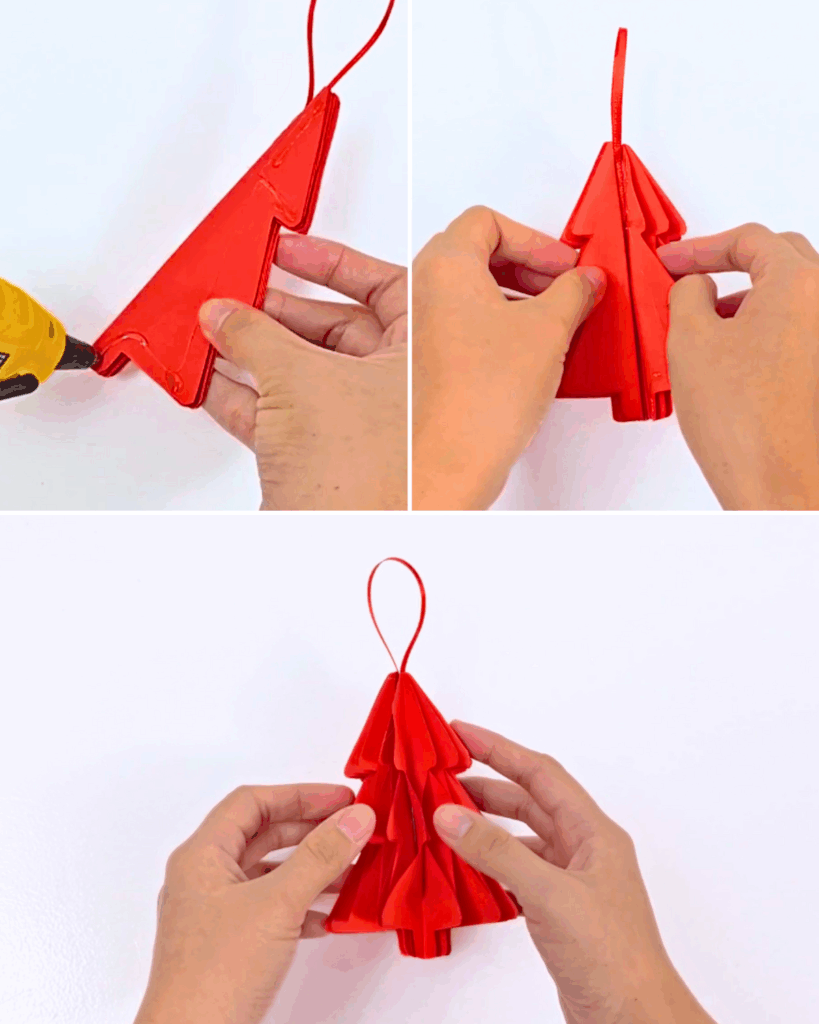
Apply a small amount of hot glue to the first and last pieces of the stack using the glue interval 2 guide, then gently press them together until set to create the full honeycomb effect and 3D shape of your paper Christmas tree
Download the printable template by clicking the link below 👇

Why You’ll Love This
It’s a fun DIY Christmas ornament that anyone can make, whether you’re crafting solo or with family. Lightweight and versatile, it can be hung on your tree, used in a garland, or added as a personalized gift accent — making it a festive addition to your holiday decoration in just minutes.

Other Fun Crafts!




*If you love this craft, then visit our official website, follow our Facebook page, and subscribe to our YouTube channel for more!