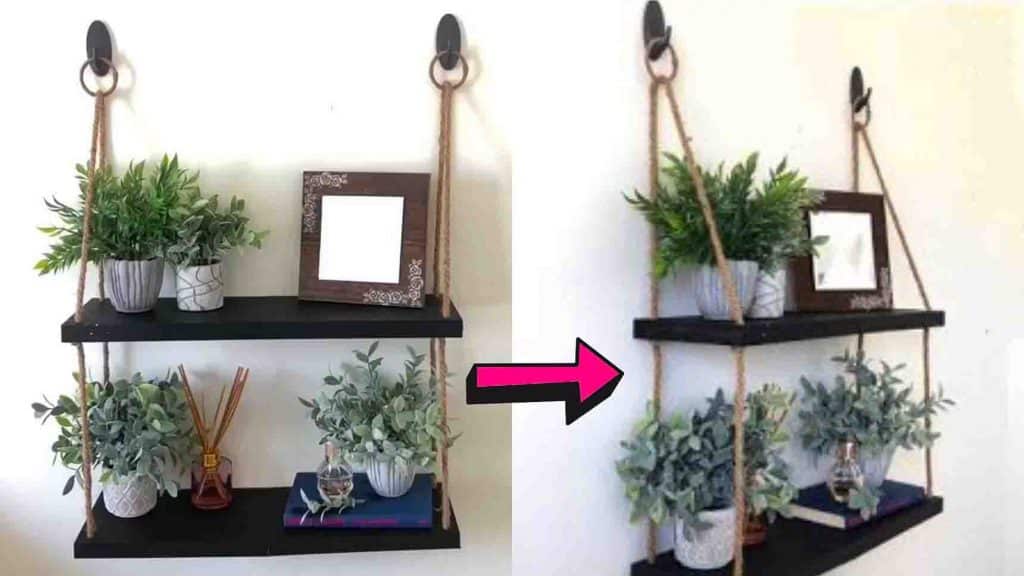
This DIY hanging shelf from Jay Munee DIY on Youtube is a perfect way to make upgrades to your space! It’s super cheap and easy, with all the materials coming from Dollar Tree, because who says you need to spend a lot to make your space fab? Make this a weekend project with your family. Watch the video tutorial below to learn the step-by-step process.
Materials:
- different sizes of wall art plaques
- e6000 adhesive
- dollar tree hardware set
- drill bit
- sanding block
- chalkboard paint
- book rings
- twine
- 2 pcs. 12 ft rope
Directions:
Step 1
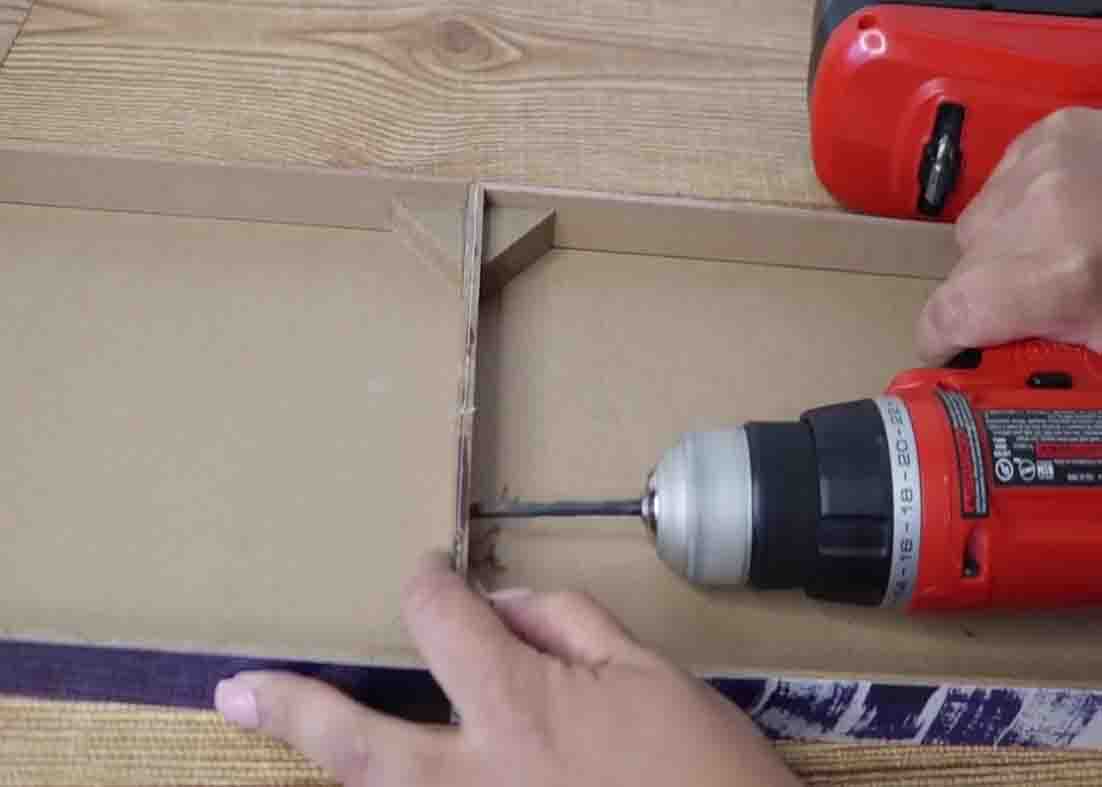
Turn the wall plaques upside down and bond them together using e6000 adhesive. You can add some binder clips to make sure that they’re bonded nicely and tight. Let it dry for 24 hours. After 24 hours, add extra security by using nuts and bolts from the dollar tree hardware set. Make 2 holes by using a drill bit in the place where you joined the wall art plaques together. (This is where you’re going to put the screws.) Next, measure all four corners of the shelf and mark it, this is where the holes for the rope will go through. Now that you have your markings, find a drill bit that is a little smaller than your rope so that it can hold on to things. After this, sand down the holes until they’re nice and smooth. At this point, you can also sand down the whole shelf to get it ready for painting.
[social_warfare]
Step 2
After sanding it down, you can start painting it using chalkboard paint. Next, using hot glue, glue down the twine to the book ring and wrap it around. Now, get a 12 ft rope, cut it in half, then fold them in half. Get a marker and mark the rope where you wanted your shelf to fit. Put the rings through on both ropes all the way up. Wrap the bottom of the rope with some tape so it’s easier to put the ropes through the shelf holes. Now, put the ropes through the shelf holes and stop once you see your markings. After this, secure the bottom of the rope by making a knot. Your shelf is now ready to be hung on your walls.

DIY Dollar Tree Hanging Rope Shelf Tutorial