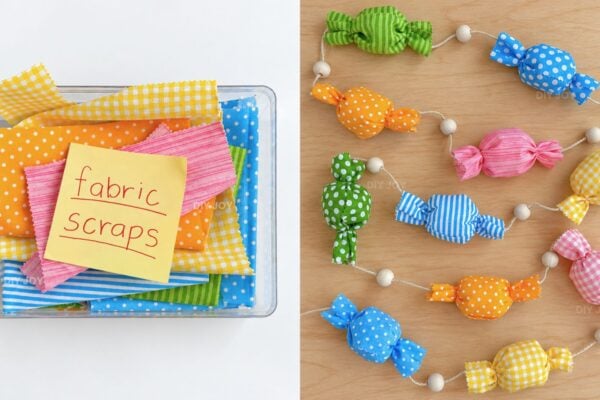
A kitchen fork can tie a perfect little bow, fluff a pom pom and build a whole bouquet of yarn flowers, and that’s only the start of these 26 crafting hacks. A crafting hack is a small, clever shortcut that saves time, money or patience on a project, usually with something already in the house: an ice cube tray that corrals bobbins, a pill organizer that rides along to sewing class, a cardboard box that keeps spray paint off the lawn. Some take two minutes (the ruler ribbon rose really does). Others, like the pool noodle wreath form, take an afternoon and then serve season after season. DIY JOY’s own video hacks are mixed in too, from hot glue embroidery that passes for padded stitching to a candle jar wrap that needs no box. Fair warning: once the fork bow clicks, every gift in the house gets a bow.
1. Soften Economical or Scratchy Yarn

Scratchy budget yarn can rub a working finger raw, but a trip through the laundry softens it right up. Peel off the labels and rough up each skein with your fingers so the strands loosen. Tuck the skeins into a mesh lingerie bag (or an old pair of pantyhose) and wash them with like colors, then dry on medium heat. Check the label first, since some colors bleed. It’s the perfect fix for a thrifted bag of decades-old yarn or a baby blanket that needs to feel extra soft while you work.
Get the full tutorial at Heart Hook Home.
2. Fix Knitting Mistakes The Right Way

Every knitter drops a stitch eventually, and knowing how to fix it beats ripping out the whole project. This free knitting guide covers 17 techniques, from laddering down to repair a single stitch to frogging out rows and tinking (that’s knit spelled backwards, as in unknitting one stitch at a time). It also walks through fixing split and twisted stitches, removing an accidental yarn over, rescuing a mis-crossed cable and threading a lifeline so a bad row never costs you the whole piece. Keep a printed copy in the knitting bag.
Get the full tutorial at Interweave.
3. How to Make Pom Pom Flowers Using a Fork
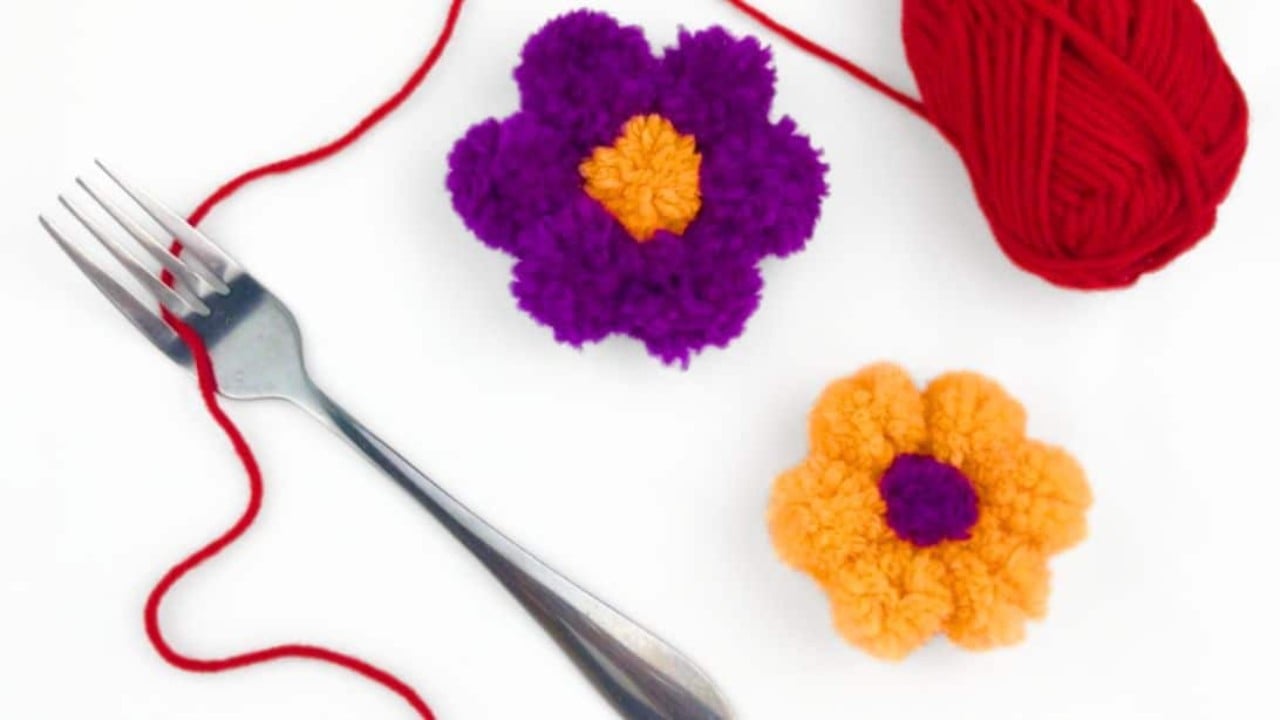
Pom pom flowers using a fork need nothing more than two colors of yarn, tape, a paper clip and scissors. Wrap yarn around the fork tines 30 times, tie the bundle through the middle tines, slide it off, cut the loops and fluff. Trim each pom into a neat circle. One flower takes a center pom and six petals. A straightened paper clip taped to the yarn becomes a homemade needle for threading the petals together, then the center pops in last. Wrap tightly and evenly for fuller, rounder poms.
Get the full tutorial at DIY JOY.
4. Use A Fork To Make A Bow

Tiny bows are fiddly, and a fork turns into a mini loom that makes them neat every time. Wrap ribbon around a fork so one end hangs behind and one in front. Bring the back end around and pass it between the middle tines below the front ribbon, then pass the front end through the same gap above it. Flip the fork, tie the ends tight and slide the bow off. A large serving fork makes a bow about 1.5 inches across, while a regular table fork gives mini bows.
Get the full tutorial at The Make Your Own Zone.
5. Use Industrial Clips for Yarn Bobbins in Crochet and Knitting

Colorwork with a dozen dangling yarn ends turns into a tangled mess fast, and plastic coated safety clips make cheap, clever yarn bobbins. They come fifty to a pack for a fraction of the price of real bobbins, and they clip onto the project instead of swinging loose. Look a few rows ahead to judge how much yarn each color needs. Wind a few turns straight across, then angle the wraps one way and then the other so the yarn stays put. One clip can hold enough for 25 corner to corner squares.
Get the full tutorial at Heart Hook Home.
6. Sharpen Scissors And Sewing Tools The Easy Way

Dull sewing scissors chew fabric instead of cutting it, and three household materials bring the edge back. Fold aluminum foil into about six layers and cut through it smoothly several times, using the full length of the blade. Fine sandpaper folded rough side out works the same way, and so does a steel wool pot scrubber, though that one gets messy. All three even smooth out small nicks from cutting into pins. The foil trick works on a rotary cutter too: run it through folded foil on the cutting mat.
Get the full tutorial at So Sew Easy.
7. Easy T-Shirt Name Embroidery Hack

This t-shirt name embroidery hack uses hot glue to fake the look of raised, padded lettering. Write the name on paper, cut out the letters and trace them onto the shirt. Outline each letter with hot glue and let it harden completely. Then stitch over the glue from edge to edge, keeping stitches close together, until each letter is covered. Use a hoop to keep the knit from puckering, choose a thicker thread like pearl cotton for more lift and slip parchment underneath on thin fabric.
Get the full tutorial at DIY JOY.
8. Use A Cardboard Box To Prevent Overspray

Spray painting small things outdoors tends to leave a ghost outline on the grass, the deck and whatever else is nearby. A plain cardboard box turned on its side fixes that. Set the piece inside, spray into the opening, and the box walls catch the drift. It’s simple and it works. Pair it with a few tacks set under frames and small pieces to prop them up so the paint can cover every edge. Keep the box flat in the garage between projects.
Get the full tutorial at LiveLoveDIY.
9. Store Bobbins In An Ice Cube Tray

A silicone ice cube tray made for long skinny water bottle cubes turns out to be a perfect bobbin holder. Bobbins press into each slot, and the soft silicone stretches just enough to grip them so they don’t roll around or tip out. Trays like this run a couple of dollars at discount stores. The same trick sorts pins and needles, presser feet for the sewing machine, office supplies or small screws and nails. Label the tray and slide it into a drawer next to the machine.
Get the full tutorial at Sew Many Ways.
10. DIY Yarn Bowl

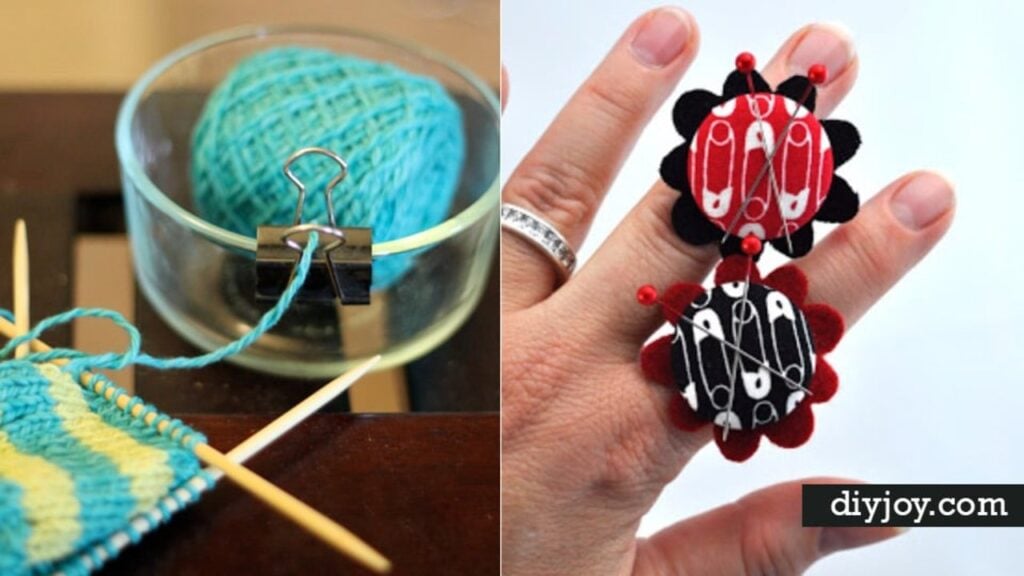
Knitting from a ball that isn’t center pull means it goes rolling across the room the moment you tug. A DIY yarn bowl needs only a heavy bowl (Pyrex, pottery, glass or steel) a bit bigger than the ball and a binder clip with folding metal arms. Clip it to the rim, thread the working yarn through the clip’s arm and the ball stays put while the strand feeds smoothly. A clothespin and rubber band work in a pinch. Glass bowls can slide, so set them on a nonslip surface.
Get the full tutorial at Pocket Pause.
11. DIY Pom Pom Garland Using A Fork

A pom pom garland made with a fork is an easy way to decorate a wall or a buffet table for a party. Wind yarn around the fork tines 50 to 90 times depending on thickness, tie a 10 cm length tightly around the center, slide it off and snip the loops. Trim generously until each pom is round. Once there are at least a dozen, thread them onto yarn, twine or embroidery thread with a darning needle, spacing them about 12 cm apart. Pink, dark pink and white look sweet together.
Get the full tutorial at Jellyfish Prints.
12. Use Pool Noodle As Wreath Form

A pool noodle makes a lightweight wreath form that costs far less than a store foam ring. Bend the noodle into a circle to check the size and trim a few inches if it’s too big. Cut a 6 to 7 inch piece of dowel or plastic pipe, coat one end in hot glue and push it into the noodle, then glue the other end and push it into the opposite end. Wrap the joint in duct tape for extra hold. The result is a roughly 17 inch form, ready to cover in Spanish moss, mushrooms or anything else that suits the season.
Get the full tutorial at The Art of Doing Stuff.
13. Use Rotating Spice Rack To Contain Small Supplies

An old spice rack nobody cooks from anymore makes a smart home for small craft supplies. Spices past about three years have usually lost their color and aroma, so empty the jars, wash and dry each one and refill them with beads, shells, stickers, pins and charms. The clear jars show everything at a glance, and a rotating rack spins to whichever jar is needed. It’s a great way to corral the tiny bits that usually hide in drawers. Label the lids if the beads look alike.
Get the full tutorial at DIY Inspired.
14. Easy Finger Crochet Yarn Bow Tutorial
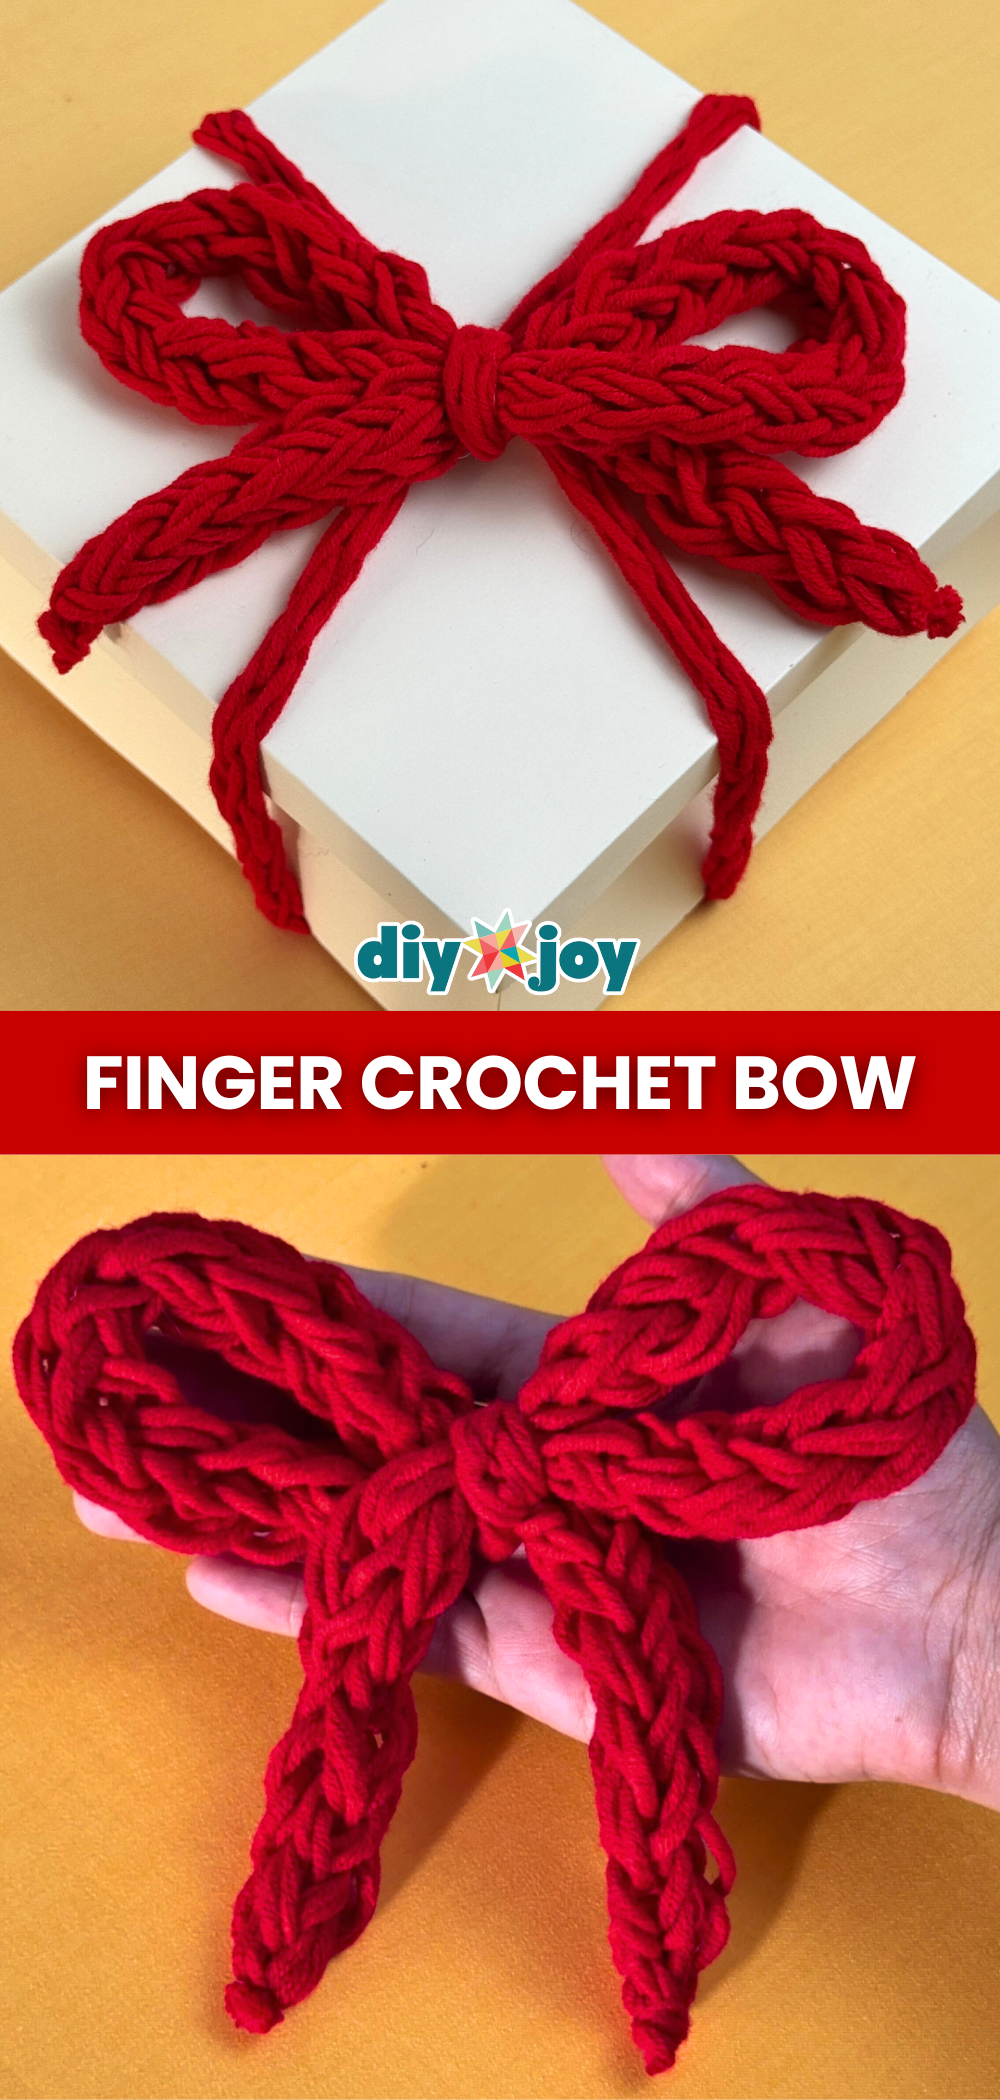
This finger crochet yarn bow needs no hook, just yarn and a hand. Wrap the yarn around the thumb three times, then weave it in front of the index finger, behind the middle, in front of the ring finger and behind the pinky. Weave a second row, then lift each bottom loop up and over the loop above it. Keep weaving until the chain is long enough, cut the yarn and lock the last loops with the tail. Tie the finished chain into a bow.
Get the full tutorial at DIY JOY.
15. Use Crochet Grips

Long crochet sessions can leave wrists and fingers aching, and pencil grips make a $2 fix. Pick up a box of soft plastic pencil grips, then wiggle one onto any aluminum crochet hook size 9mm or smaller. Slide it to the spot where your hand naturally holds the hook, stopping every few seconds to check the placement. Some people hold close to the hook head, others in the middle. One caution: plastic grips can catch on wool, so pick a smoother grip for luxe fibers.
Get the full tutorial at Donna's Decembers.
16. How to Make Flowers Using Yarn
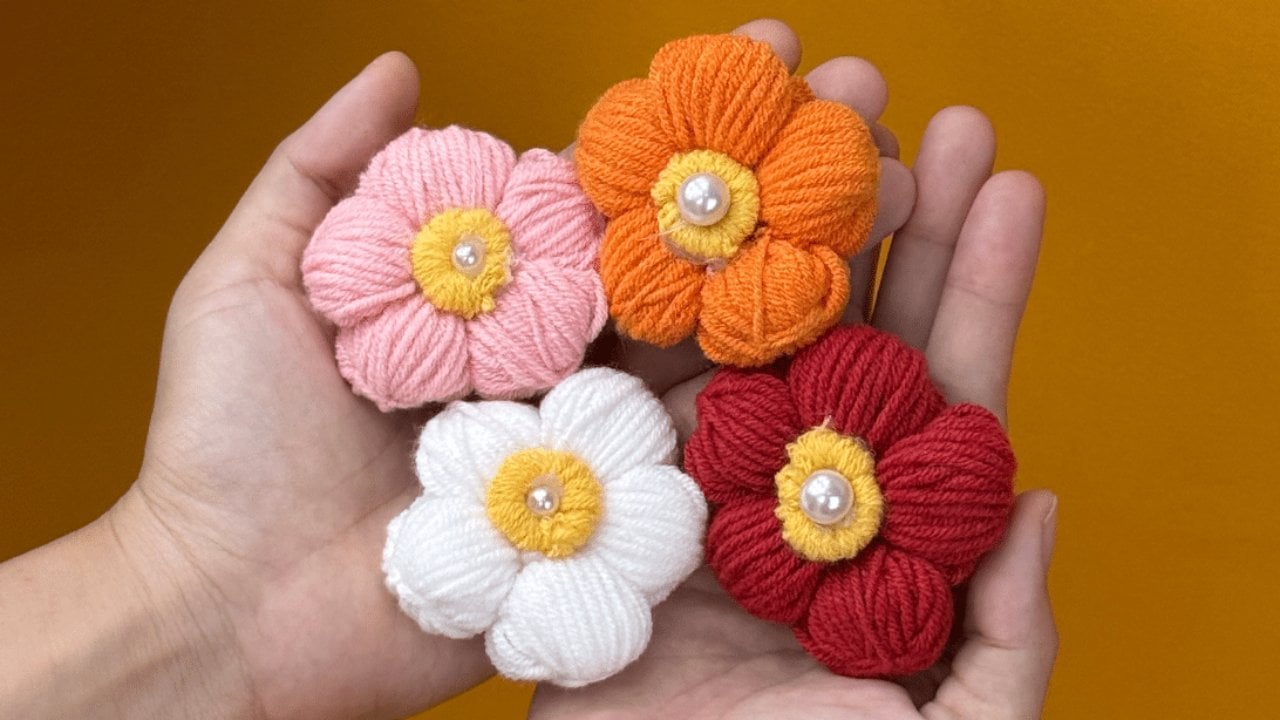
Yarn flowers using a fork take about 15 minutes and never wilt. Wrap yarn around a fork 30 times, then stitch through each side of the loop twice with a yarn needle to lock it and slide it off. That’s one petal; make five and sew them together into a flower. For the center, wrap yarn around a straw, tie the top, slide it off and pull it into a little bud. Hot glue the center and a pearl in place, then wrap a stick in yarn for the stem.
Get the full tutorial at DIY JOY.
17. Use Medicine Organizer To Keep Bobbins

A daily pill case from the drugstore makes a tidy travel case for bobbins on the way to a sewing class or retreat. A big weekly organizer with morning, noon, evening and bedtime spots holds a whole bobbin collection. Rectangular pill cases with long compartments fit needles, split by machine and hand sewing and labeled by size. Empty prescription bottles labeled OLD NEEDLES are a safe spot for dull ones. Mini hair scrunchies wrapped around each bobbin keep the thread from unwinding in transit.
Get the full tutorial at Sew Many Ways.
18. Make A Hot Glue Gun Holder

A hot glue gun holder keeps the gun upright, within reach and off the table. The base is a 5 by 7 inch wood plaque with a 4 by 4 inch glass tile set into it to catch drips; a router recesses the tile, though glue works fine without one. A holster cut from 1/2 inch plywood with a jigsaw cradles the gun, and a carving tool shapes the notch. Join the pieces with wood glue and nails, sand and spray paint it in a favorite color.
Get the full tutorial at The Country Chic Cottage.
19. DIY Hot Glue Keychain Tutorial

A hot glue keychain is a fun way to use up leftover glue sticks and old glitter. Draw a shape on parchment paper, from a cherry to a heart or an initial. Fill the drawing with hot glue, pour glitter over it while it’s warm, then tap off the excess and repeat until the whole design is covered. Once it sets, make a small hole at the top and add a keychain hook and chain. Work over a tray to catch stray glitter.
Get the full tutorial at DIY JOY.
20. Roll Out Mod Podge Bubbles
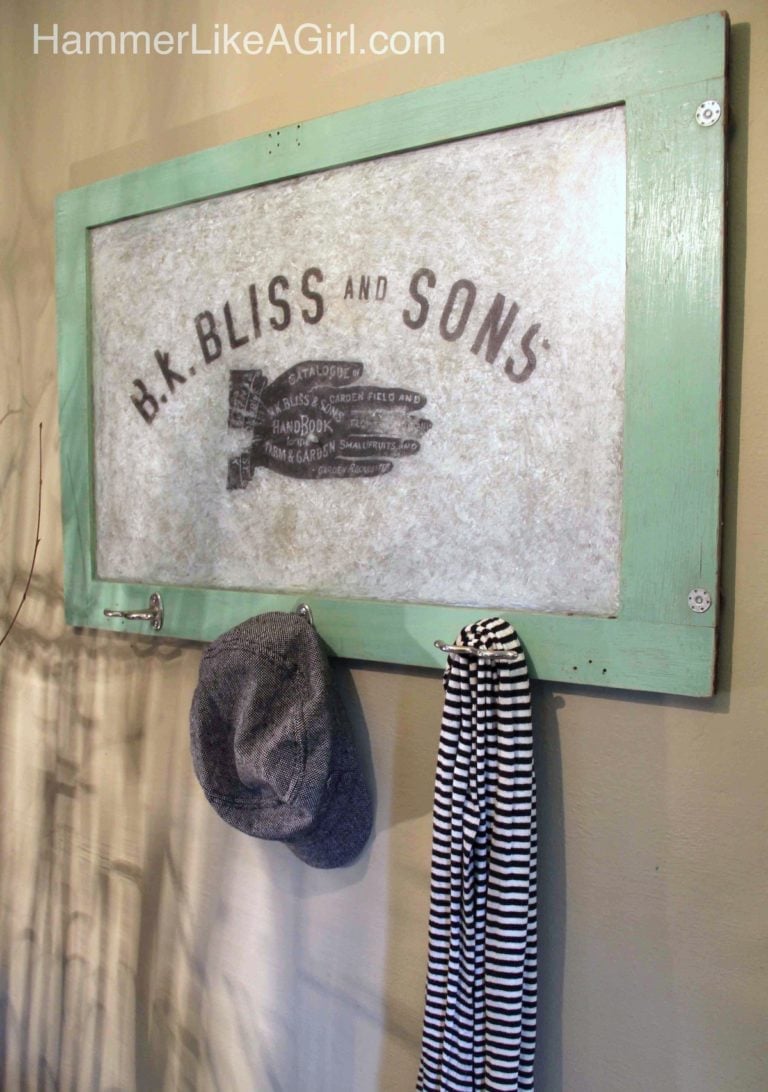
Bubbles and wrinkles are the most common decoupage headache, and a brayer rolls them right out. Brush on a medium layer of Mod Podge, lay down the paper or fabric and smooth it with your hands or a brayer, working from the center outward until every bubble is gone. Then let it dry for 15 to 20 minutes before adding any top coat. Finish with at least two coats. For a glassy finish, wet sand lightly with 400 grit between coats and polish with 0000 steel wool.
Get the full tutorial at Mod Podge Rocks.
21. 5-Minute Ribbon Tying Hack
This ribbon tying hack ties a polished bow around a present in about five minutes without kinking the ribbon. Fold a long piece of ribbon in half, set the gift on it and bring the loop over the top. Thread the tails through the loop and slide the knot about a quarter of the way down the gift. Take the right tail around the back and forward again, tie it to the left tail, then loop and pull through to form the bow. Thin velvet ribbon looks especially elegant.
Get the full tutorial at DIY JOY.
22. Easy 2-Minute DIY Ribbon Rose
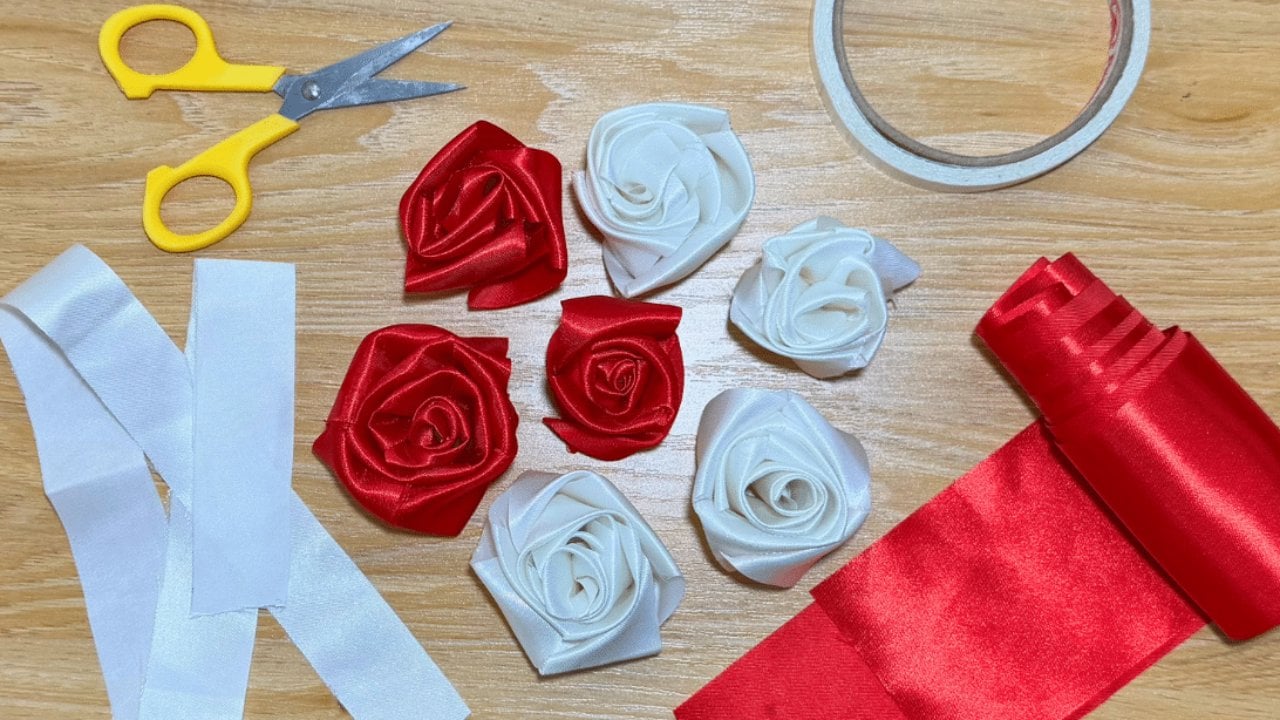
A ribbon rose made with a ruler takes about two minutes. Cut ribbon long enough to cover a ruler, then wrap it around the ruler diagonally, overlapping as you go. Run a strip of double sided tape along the bottom edge, peel off the backing and carefully slide the ruler out without crushing the shape. Starting at one end, roll the ribbon up, pressing the taped edge together as it spirals into a rose. Tape the tail inside to finish. A lighter can seal cut ends.
Get the full tutorial at DIY JOY.
23. How to Make a Paper Bow
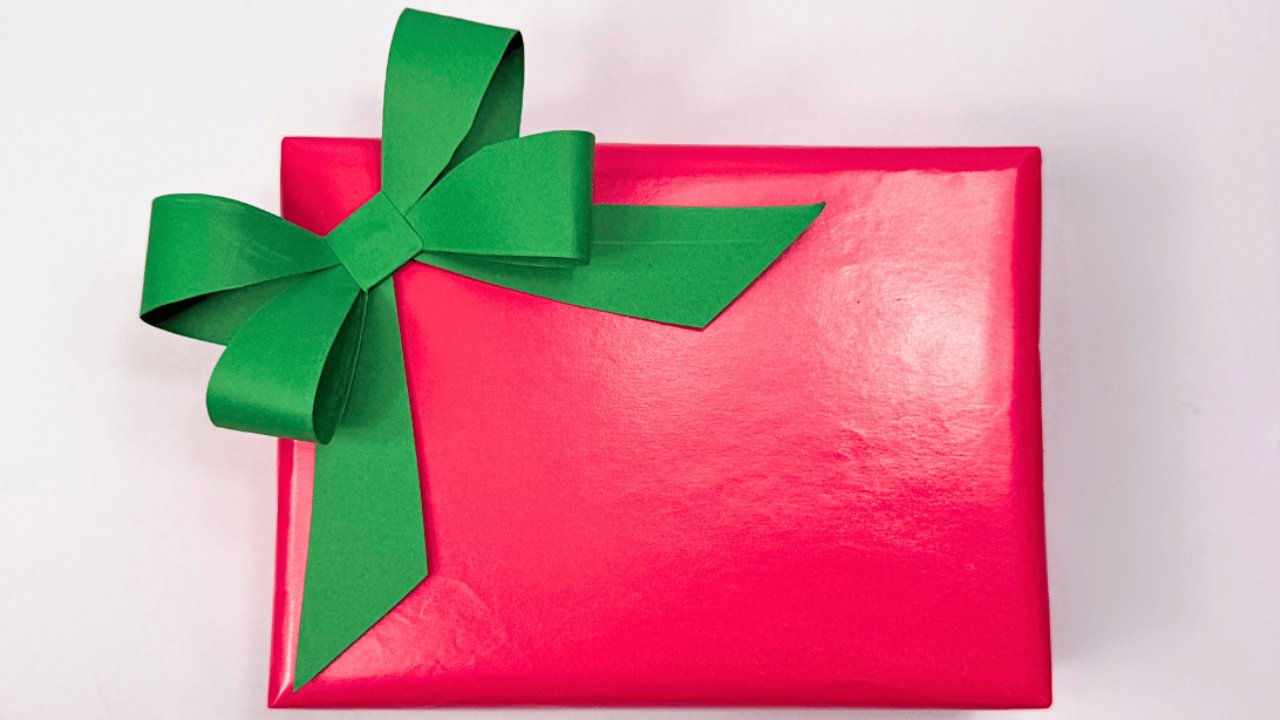
A paper bow takes colored paper, glue, scissors and a ruler, and it can replace store bought bows for good. Fold one corner across to make a square, trim the excess, then fold it diagonally the other way. Fold it in half and in half again, cut a curve from the open corner up to the fold, then unfold and cut the ribbon tails. Glue the curved loops to the center, wrap the middle flap around and trim. Thicker paper holds the shape best.
Get the full tutorial at DIY JOY.
24. How to Wrap Gifts with Short Paper
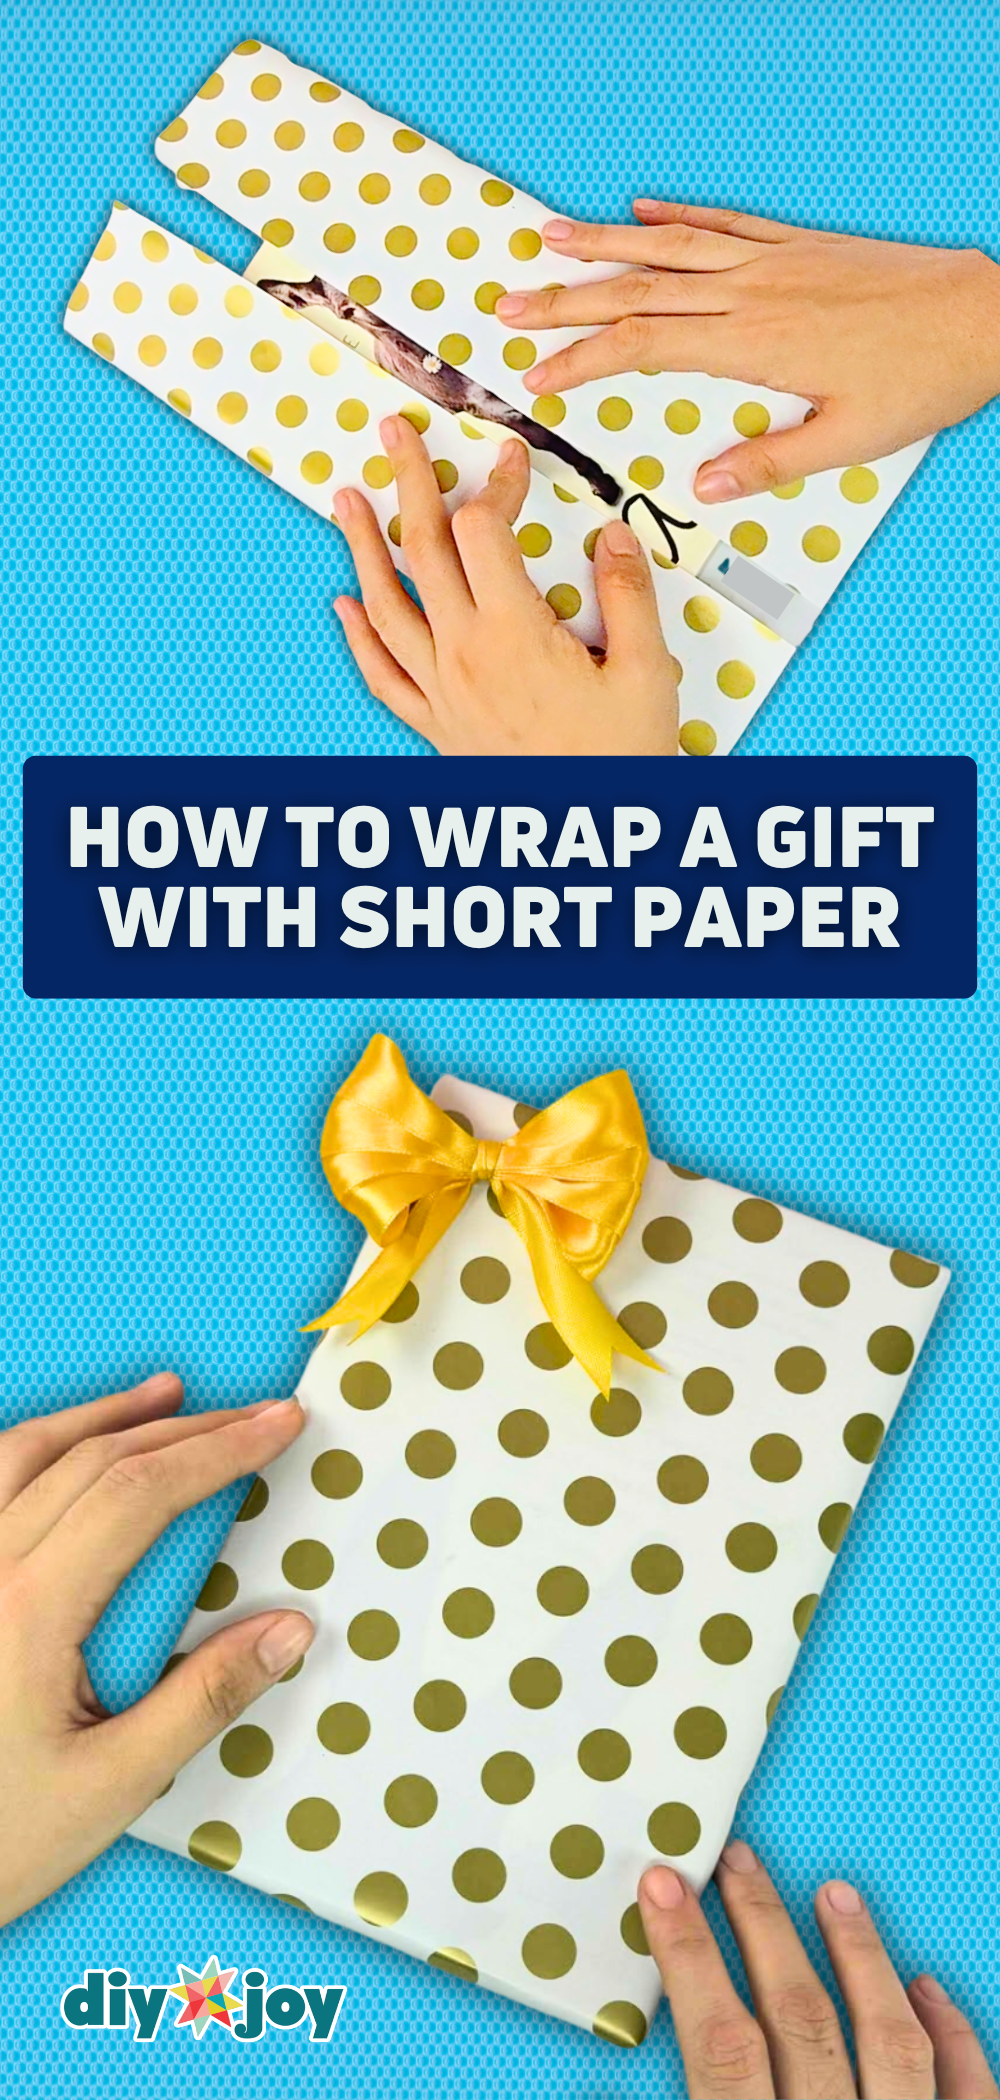
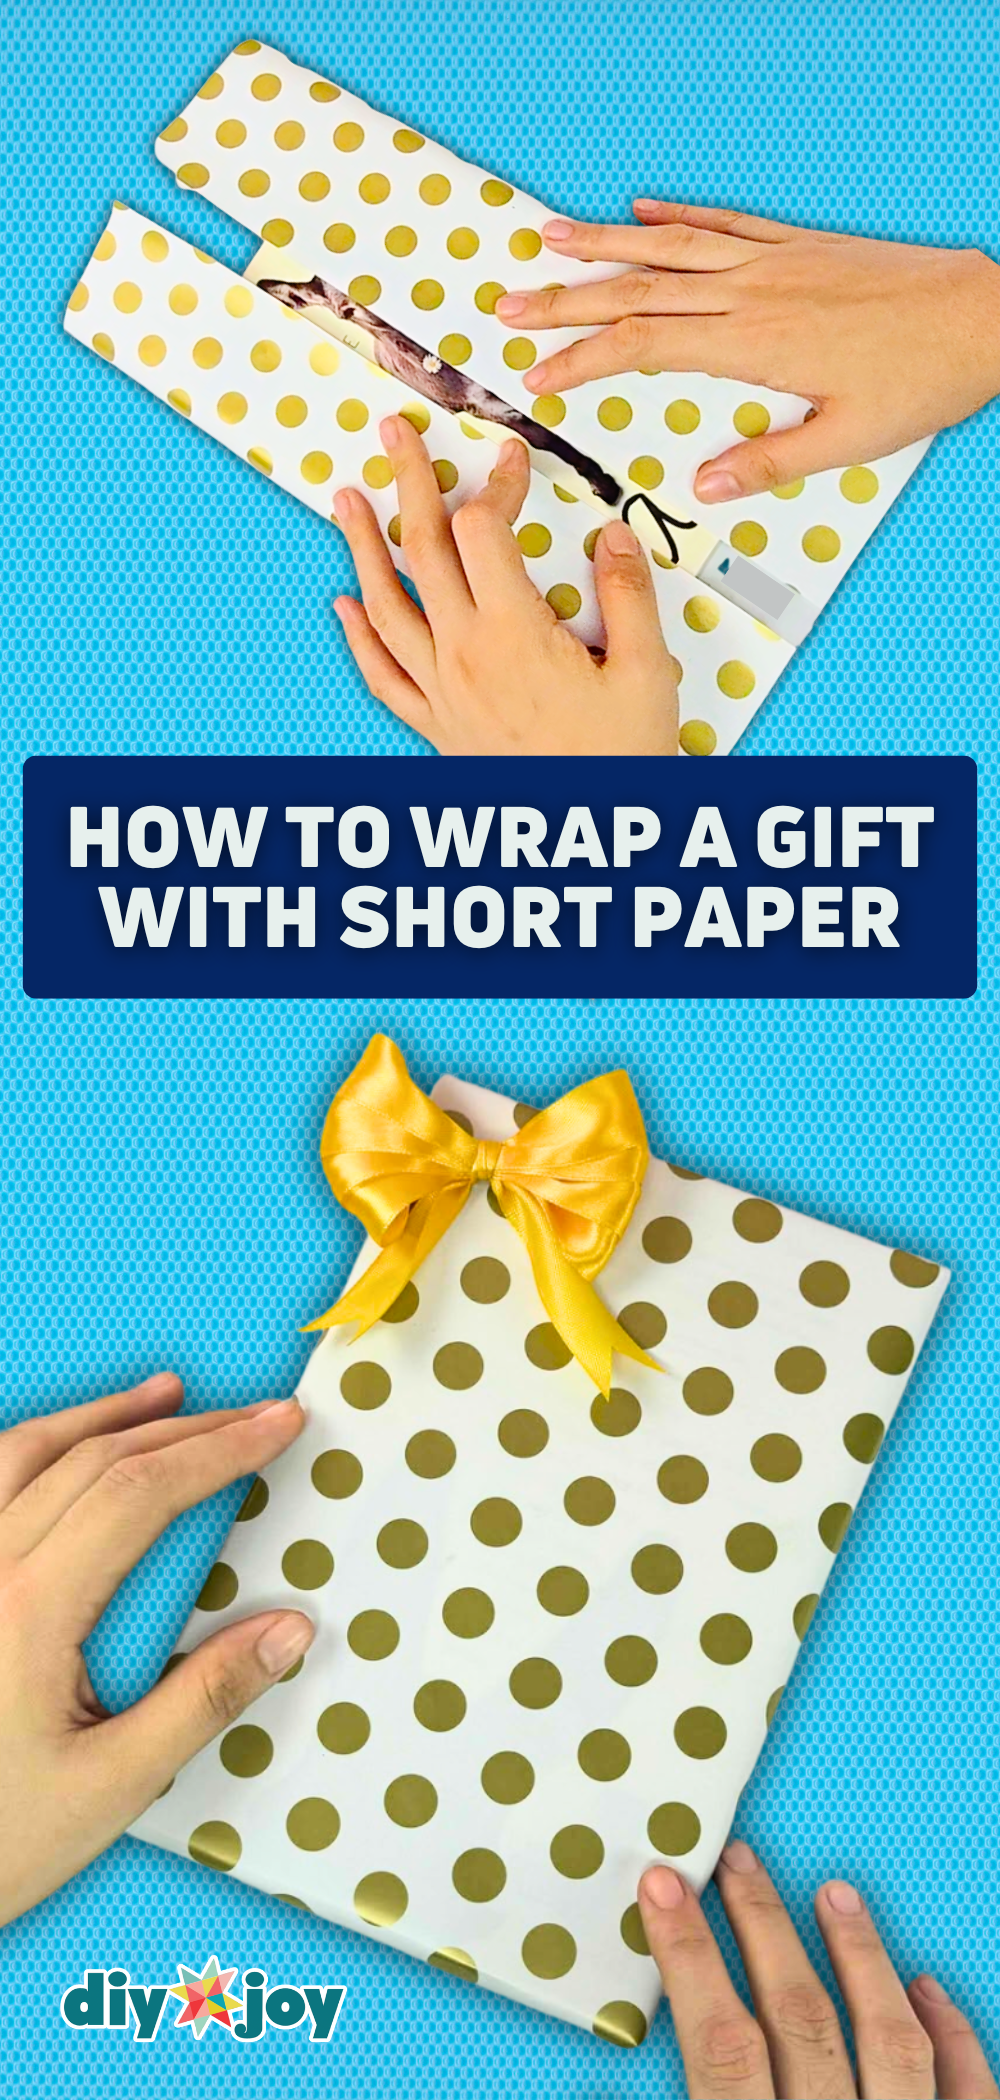
Wrapping a gift when the paper is too short is easier than it sounds. Trim the uneven edges, lay the paper diagonally with one corner pointing toward you and set the gift in the center. Bring the left and right corners to the middle so they overlap and tape them. On each end, push the side corners in, crease the angled edges flat, then fold the big triangle up and tape. Crease every fold as you go for crisp edges. A ribbon bow covers the seam.
Get the full tutorial at DIY JOY.
25. Easy Candle Jar Gift Wrapping Hack
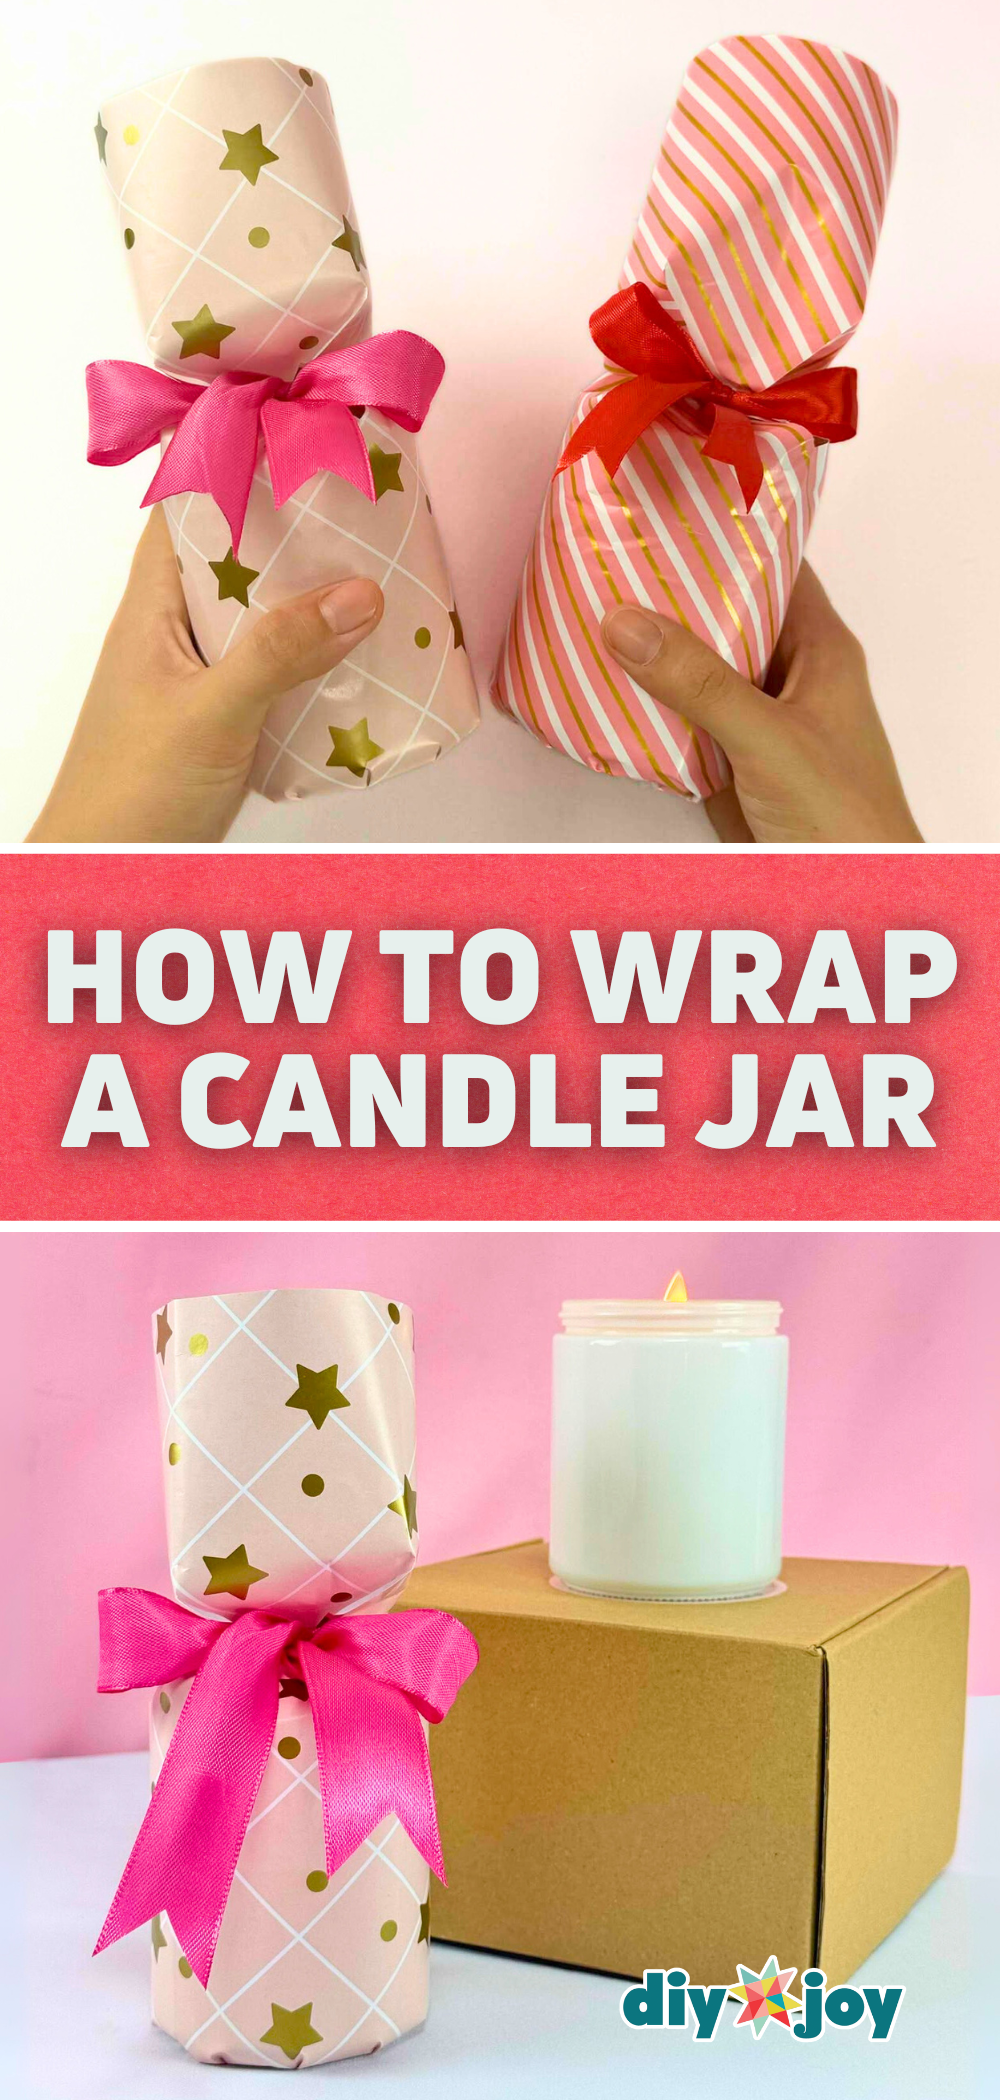
Round candle jars are notoriously tricky to wrap, and this hack needs no box. Cut paper wide enough to circle the jar with a little overlap and about twice its height. Add double sided tape along one edge, roll the paper around the jar and press the seam. Slide the jar out and use it as a guide to fold the top and bottom. Snip small slits along the bottom fold so it tucks under neatly, and cut the top into diamond folds before tying a ribbon.
Get the full tutorial at DIY JOY.
26. Easy Christmas Sweater Embroidery Hack
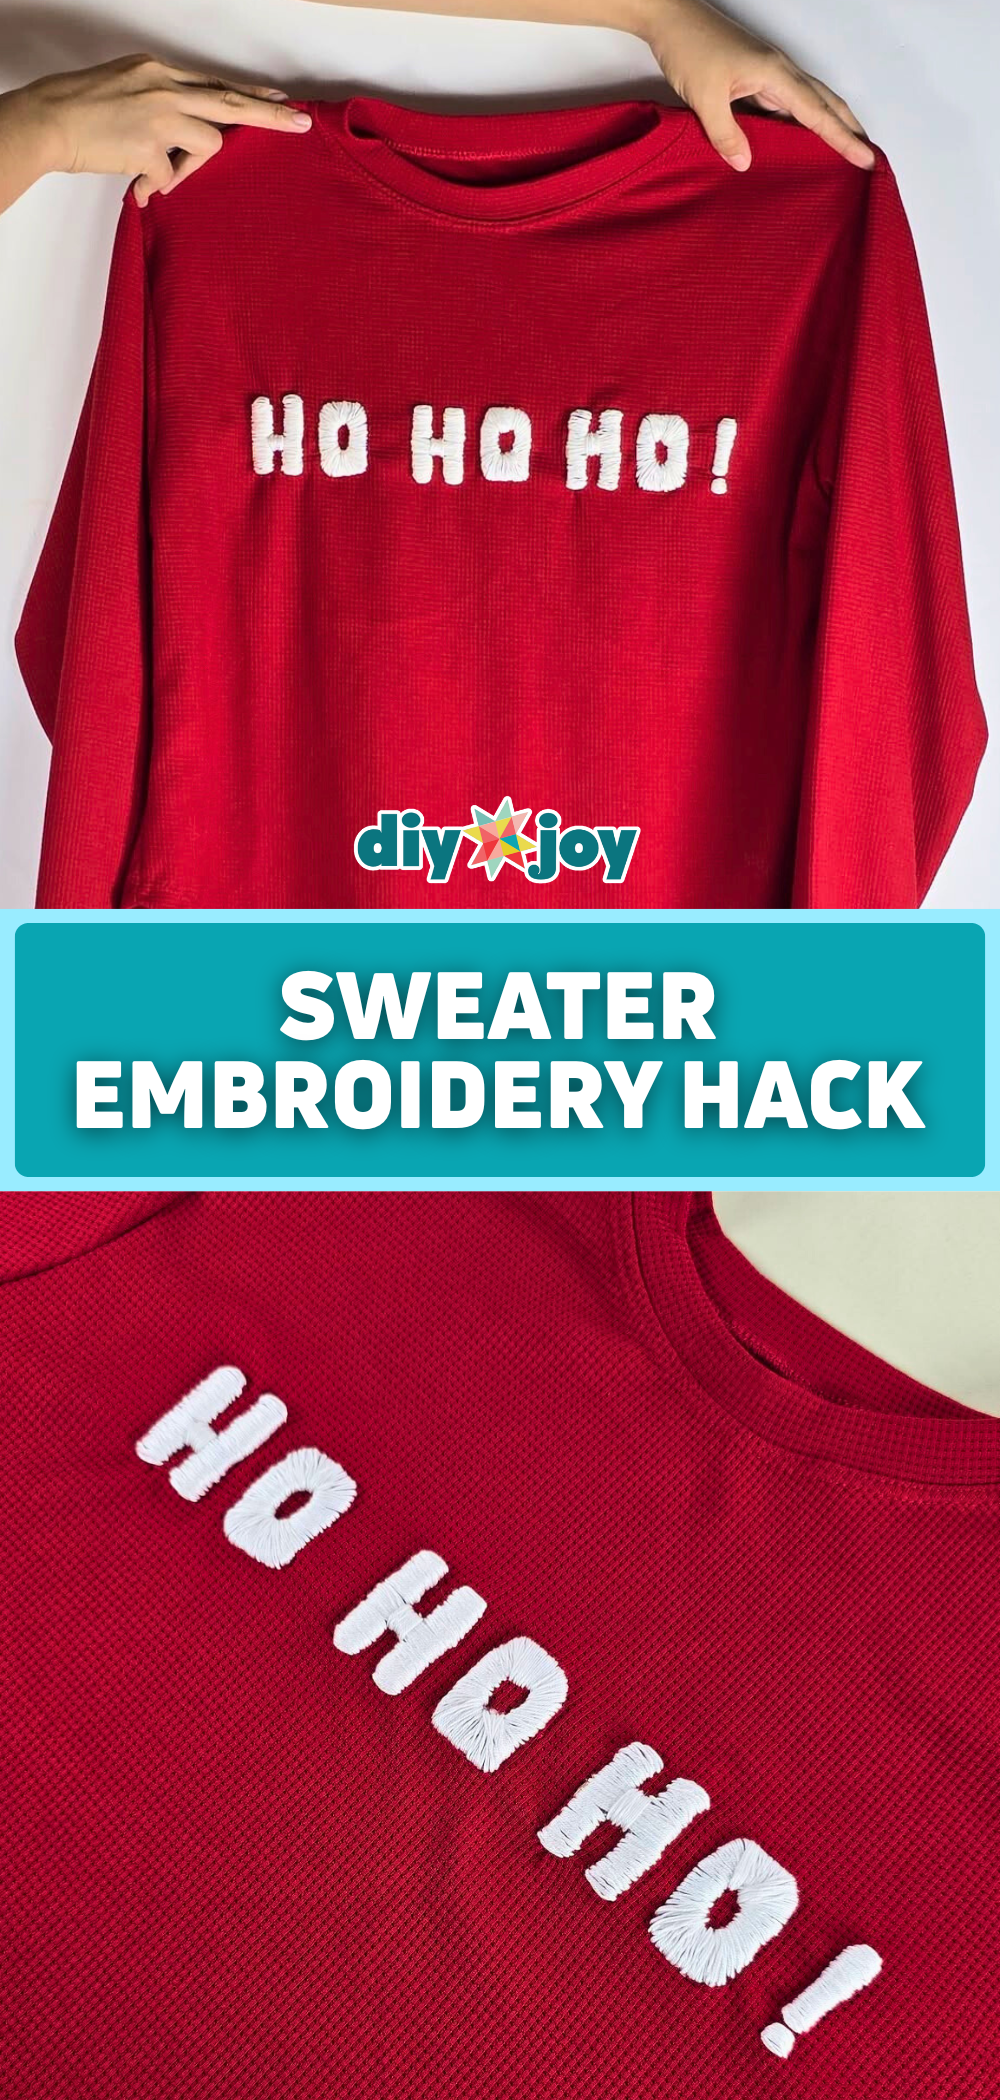
This Christmas sweater embroidery hack uses hot glue to make raised, embossed letters on a plain knit. Write the word on paper in a bold, even font and trace it onto the sweater; on red or dark knits, outline the letters with tape instead. Fill the inside of each letter with hot glue and let it harden, then remove the tape. Stitch across the glue from one edge of the outline to the other, keeping stitches close, until every letter is covered. The stitches hold up to washing.
Get the full tutorial at DIY JOY.