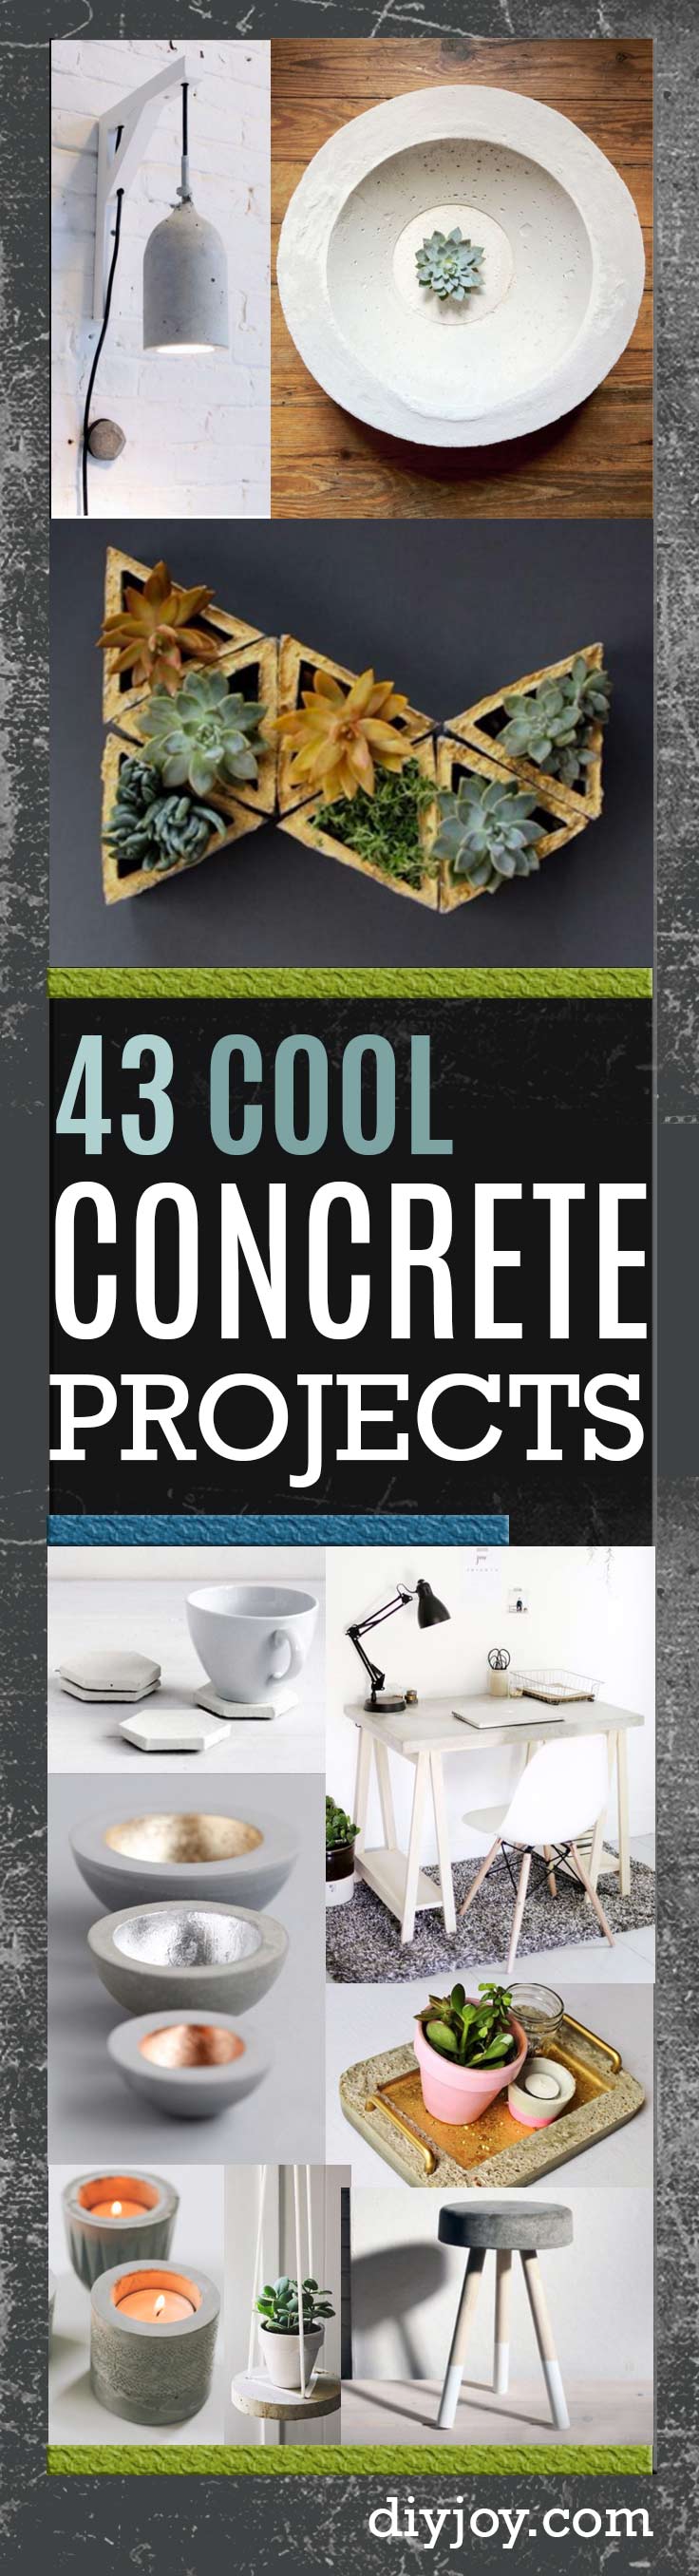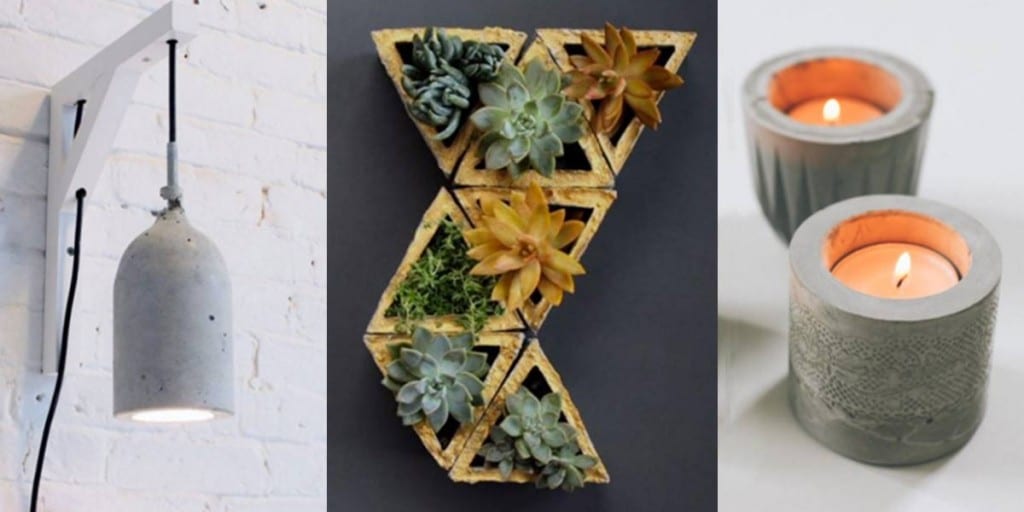
A bag of cement costs a few dollars and will make you more home decor than you have shelf space for. That is the whole appeal of DIY concrete crafts: one cheap gray powder, a mold you already own, and a finished piece that looks like it cost forty dollars in a design shop. These 20 projects run from ten minute pours to real weekend builds. There are hexagon coasters, bowls shaped inside a flexible bucket, laced votives, paper weights cast in an ice cube tray, monogram bookends, gold dipped earrings and a fire pit made from two mixing bowls. Most of them use a mold you were about to throw out, which is the best part of working with this stuff. Every tutorial links back to the maker who worked it out.
1. Concrete Bowl Centerpiece
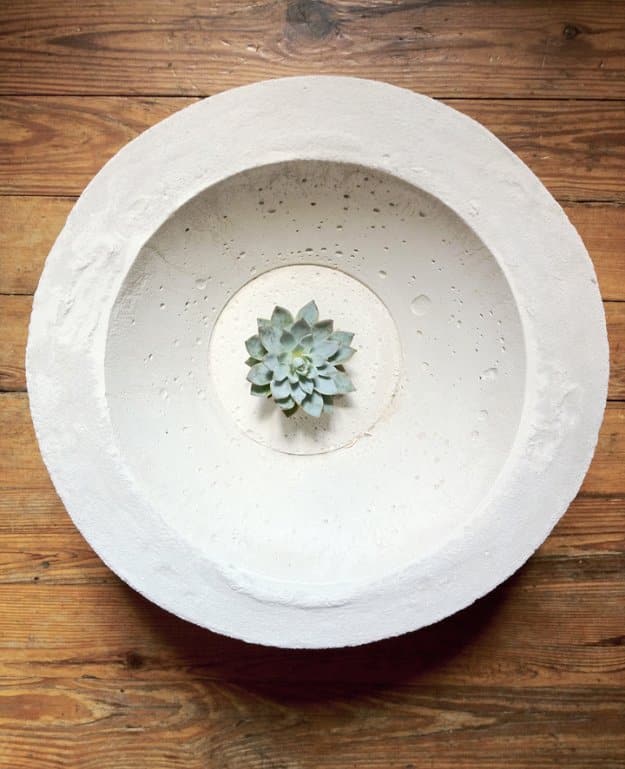
The mold here is two things from the housewares aisle: a flexible rubbery bucket for the outside and a plastic bowl pressed into the middle. Both get wiped with canola oil on a paper towel first, which is what lets the finished bowl release later. A 60 pound bag of cement mixed in a wheelbarrow fills the bucket several inches deep, then the oiled bowl goes in the center and the weight of the mix pressed into it forms the well. Dry it on a level surface. The maker is upfront that the result is heavy.
Get the full tutorial at A Daily Something.
2. Concrete Hexagon Coasters
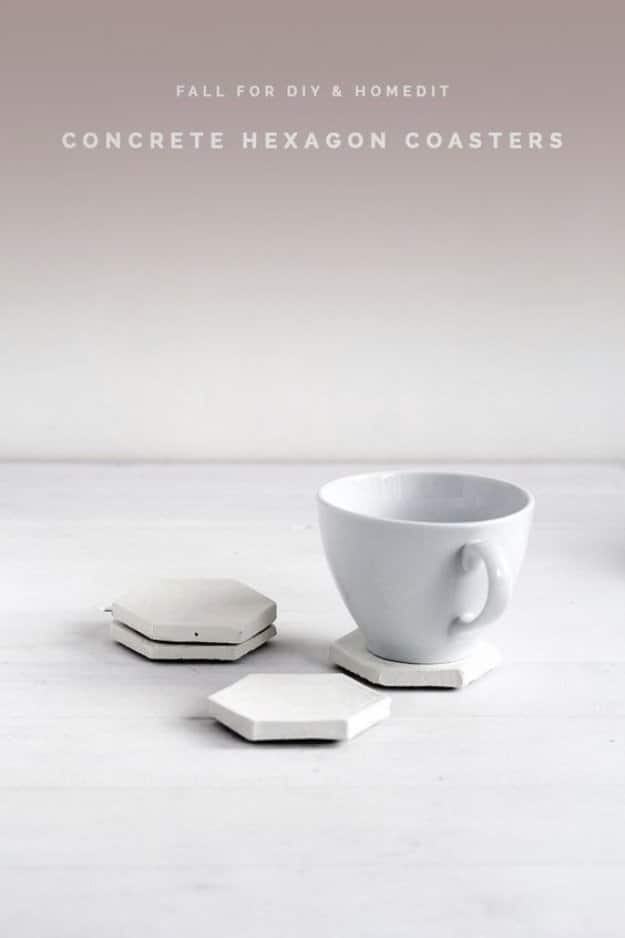
Six sided, slightly irregular, and unified precisely because no two came out identical. The maker points out the second job these do straight away: stand a ring or a pair of earrings on one and it is a jewelry dish, so a set of six is never just a set of coasters. Worth knowing before you start is that the step by step itself lives on Homedit rather than on the blog post, and the blog post is where the photographs and the honest notes about the irregular edges are.
Get the full tutorial at Fall For DIY.
3. Hand Blown Concrete Bowls
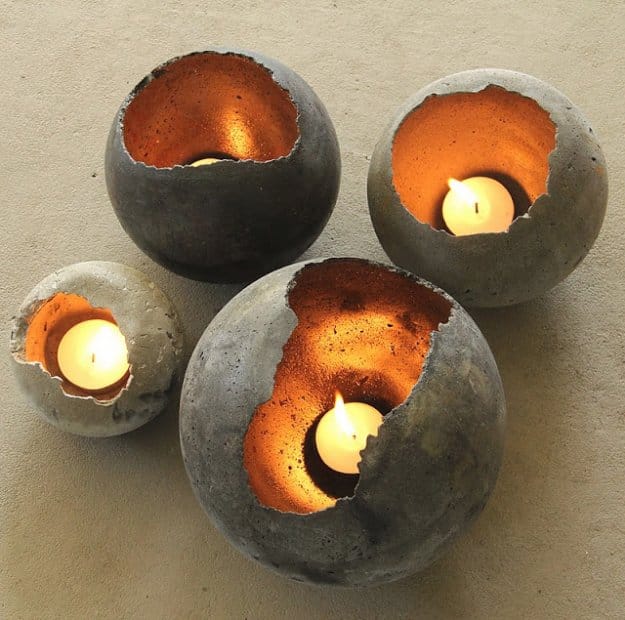
Four round concrete spheres with a torn opening in one side and a tealight burning inside, so the light escapes through the gap and the rough edge instead of out of the top. The maker is an artist rather than a tutorial blogger and says plainly that these are poured in four sizes, that every opening comes out unique, and that each one glows differently because of it. She never published steps, and the comment thread is ten years of people asking for them, which is worth knowing before you click through.
Get the full tutorial at Amy Greving.
4. DIY Laced Concrete Votives
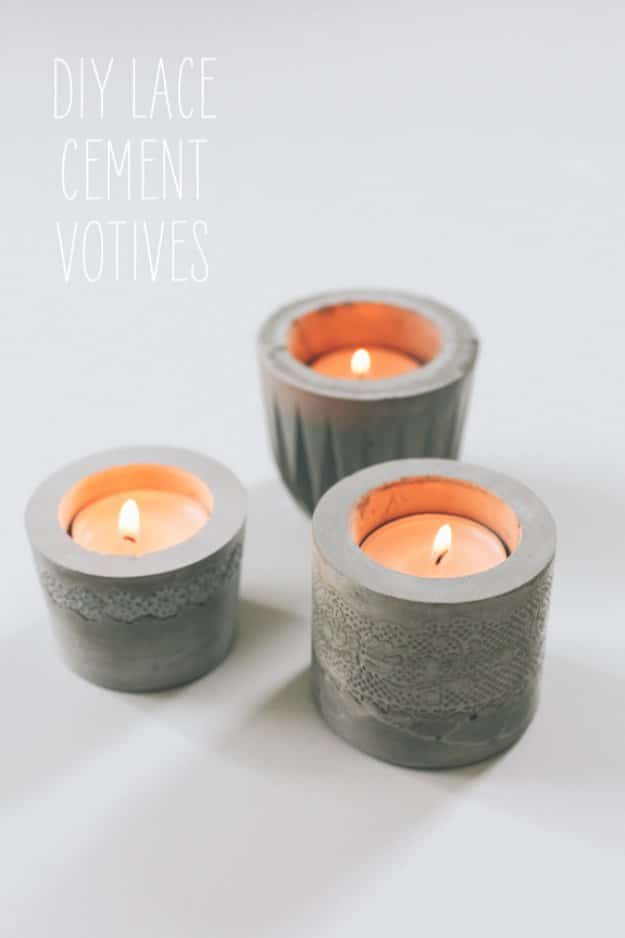
The lace is not lace. It is patterned sticker tape, cut to the circumference of a throwaway outer container and wrapped around the inside near the bottom, and the cement takes the print off it as it sets. Cement powder alone goes in, no sand or rocks, mixed to about the consistency of soft ice cream. A smaller tapered cup pressed into the middle makes the well, with a few coins dropped in to weigh it down until it stays put. Leave it a full day, tear the outer container away, work the inner cup out with pliers, then dry it another twelve hours and sand the rim flat.
Get the full tutorial at Say Yes.
5. DIY Round Concrete Hanging Planter
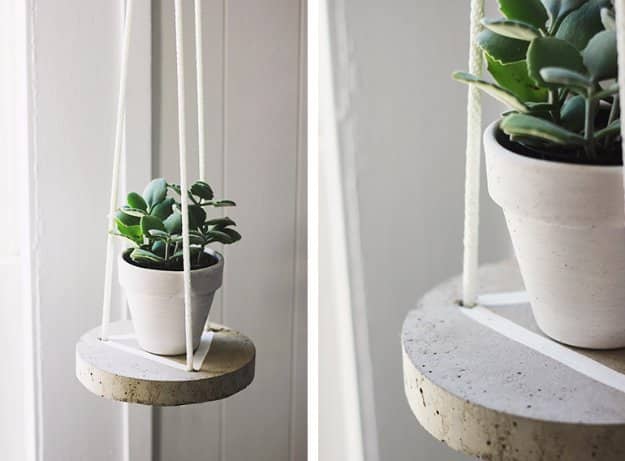
A flat concrete disc hung on three ropes, with a potted plant standing on it, and the clever part happens before any cement is mixed. Three lengths of dowel get superglued to the bottom of a slightly flexible round container, evenly spaced from each other and from the edge, so the cured disc comes out already drilled. The mold is sprayed with cooking spray, filled, then tapped on the floor until the bubbles stop rising and the top goes smooth. Eleven feet of three eighths inch nylon rope hangs it.
Get the full tutorial at The Merrythought.
6. Concrete DIY Hand Planters
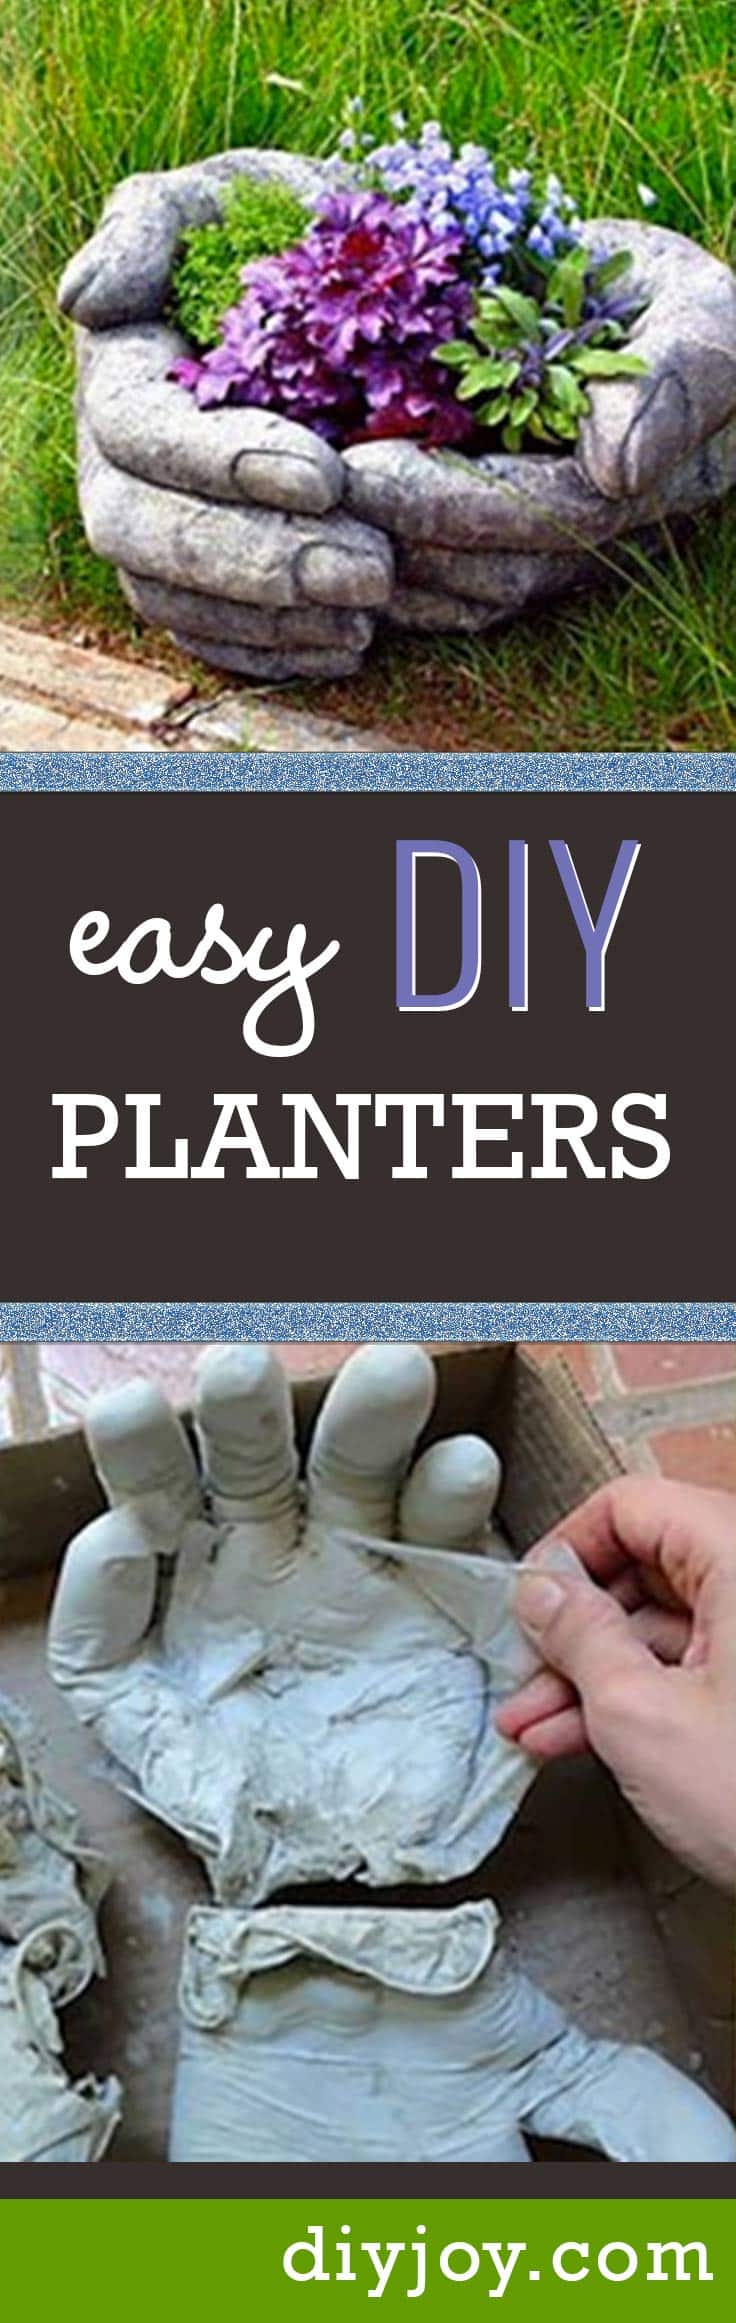
Rubber cleaning gloves filled with wet concrete, arranged into a cupped shape while they set, then peeled off to leave a pair of stone hands holding soil. It needs a bag of concrete, two rubber household gloves and a bucket to mix in, and that is genuinely the list. The reason these are worth the mess is the price gap: the store bought version is expensive enough to stop you buying it, and this is a bag of concrete. A pair by a front door gets asked about constantly.
Get the full tutorial at DIY Joy.
7. DIY Concrete Paper Weights
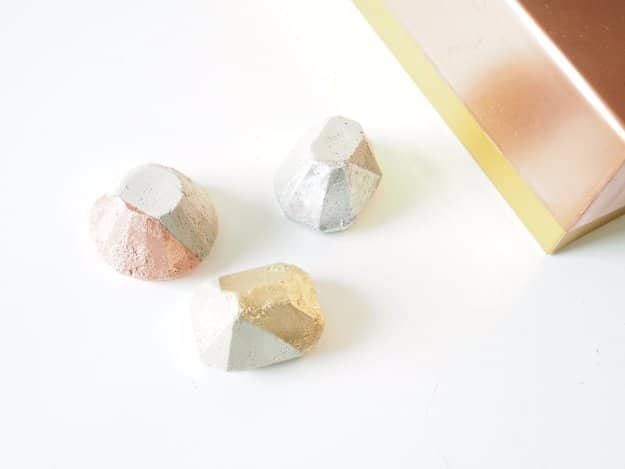
Cast in an ice cube tray or a silicone soap mold, which is why they come out as small faceted blocks. The maker uses a rapid setting cement that is ready in roughly fifteen minutes depending on the size of the piece, and warns that the mix gets genuinely hot while it cures, which is normal and is the reason it sets so fast. Smooth the top with a wet stirrer before it goes off. From there they are either left raw, spray painted, or stamped with acrylic paint and a rubber eraser cut into a shape.
Get the full tutorial at Monsters Circus.
8. House and Building Candle Concrete Holders
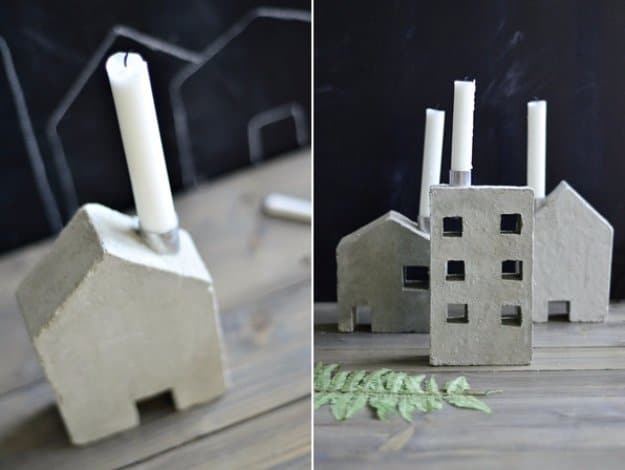
Little cast concrete houses with a hole in the roof for a taper, and the tall one is a factory with three chimneys, each chimney taking its own candle. The maker is candid that the first batch came out with a wobbly base and a facade that still wanted sanding, and published them anyway. That is the honest version of a first concrete pour and it is worth reading before you judge your own. Small architectural molds like these are cut from card and taped, so the crisp window openings come from the mold, not from carving.
Get the full tutorial at Sinnenrausch.
9. Concrete and Cylinder Vase
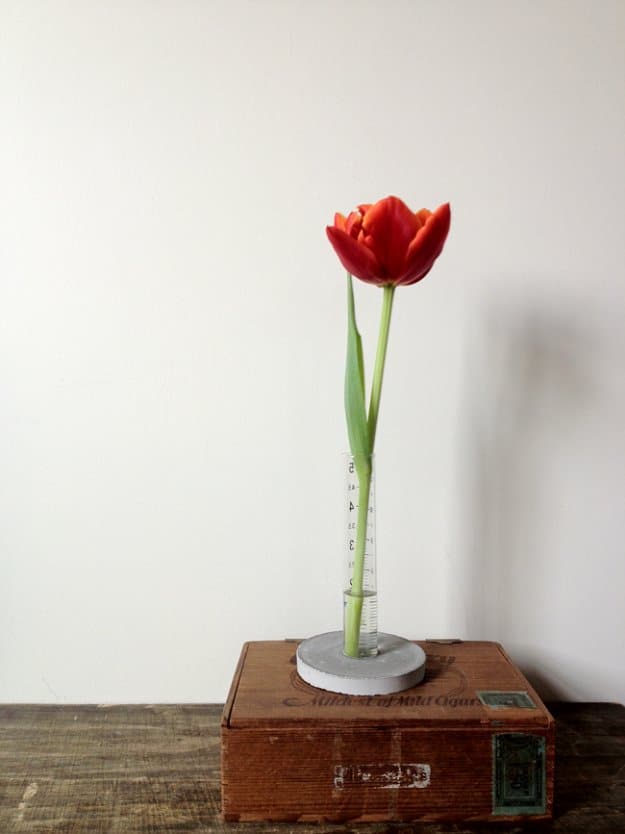
A glass test tube standing in a cast concrete base, holding one red tulip, which is the entire piece. The maker’s favorite product is named outright, Rockite, a smooth fast drying cement, and the base uses the exact same process as her coasters: mix it, pour it into a mold, set the cylinder in place before it goes off. She used a cardboard soup container as the mold. One stem in a narrow tube is a deliberately small idea and it is the reason this works on a side table where a real vase would crowd everything.
Get the full tutorial at A Daily Something.
10. DIY Gradient Candle Holders
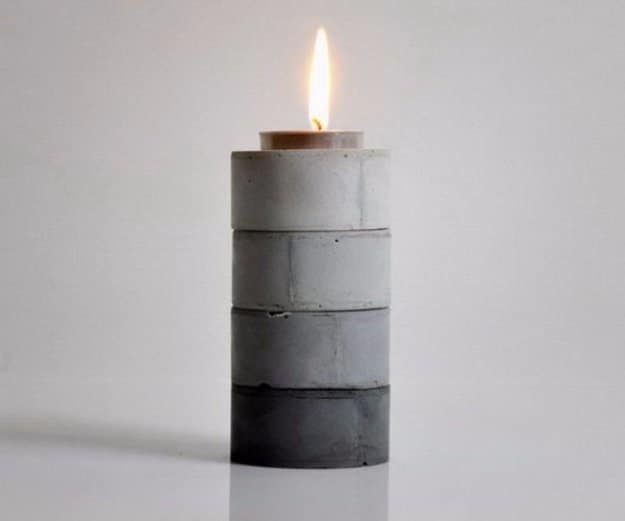
A stacked column of four cast concrete rings, palest at the top and nearly black at the bottom, with a tealight sitting in the top one. The gradient is pigment added in decreasing amounts across four separate pours rather than anything painted on afterward, which is why the color runs right through the edges of each ring instead of stopping at a painted surface. Cast them as separate pieces and you can restack them in any order, or split the set across a table.
Get the full tutorial at HOBBY:DESIGN on Naver.
11. Colour Block Concrete Bracelet
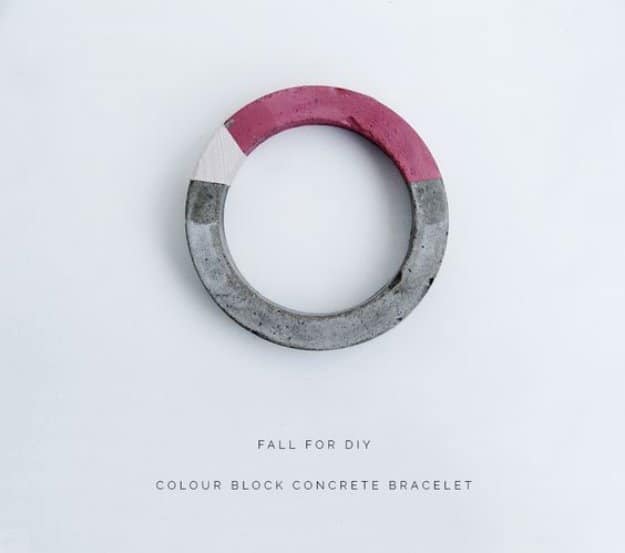
A chunky cast ring of concrete with one third left raw, one third white and one third dusty pink. The detail that makes it wearable is invisible in the photograph: a length of wire is measured, wrapped on itself and laid into the middle of the silicone mold between two half fills of concrete. That wire core is what gives a thin band of cured cement the strength to survive being worn rather than snapping the first time it meets a door frame. It needs about 48 hours before you demold.
Get the full tutorial at Fall For DIY.
12. Gold Dipped Concrete Earrings
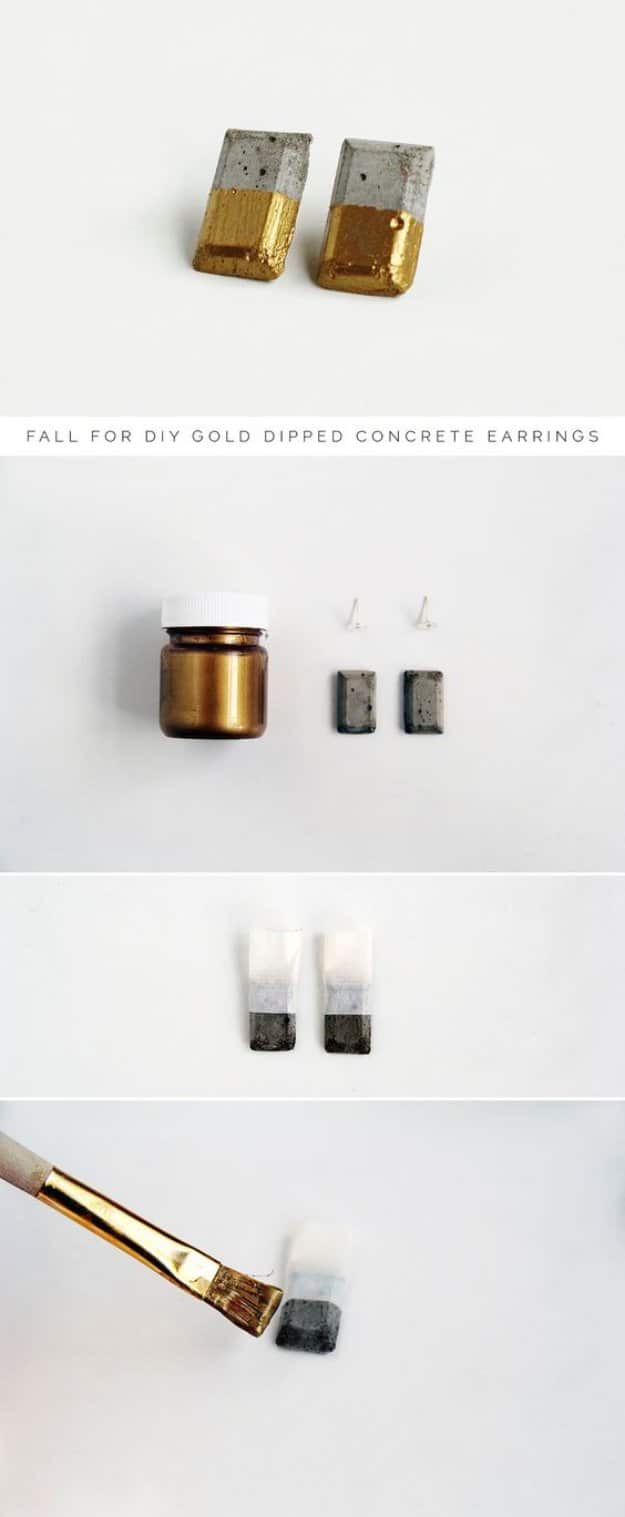
Small faceted concrete gemstones with the lower half gilded. The maker’s own amendment to the tutorial she followed is the useful bit: mix the concrete much thicker than the instructions say, because a stiff mix gives the little gemstone shapes a far stronger finish. Tape off half of each stone all the way around and press the tape edge down hard so no air sits under it, then paint three coats of liquid gold gilding, letting each dry. Earring posts can be set into the wet concrete instead of glued on later.
Get the full tutorial at Fall For DIY.
13. DIY Concrete Garden Balls
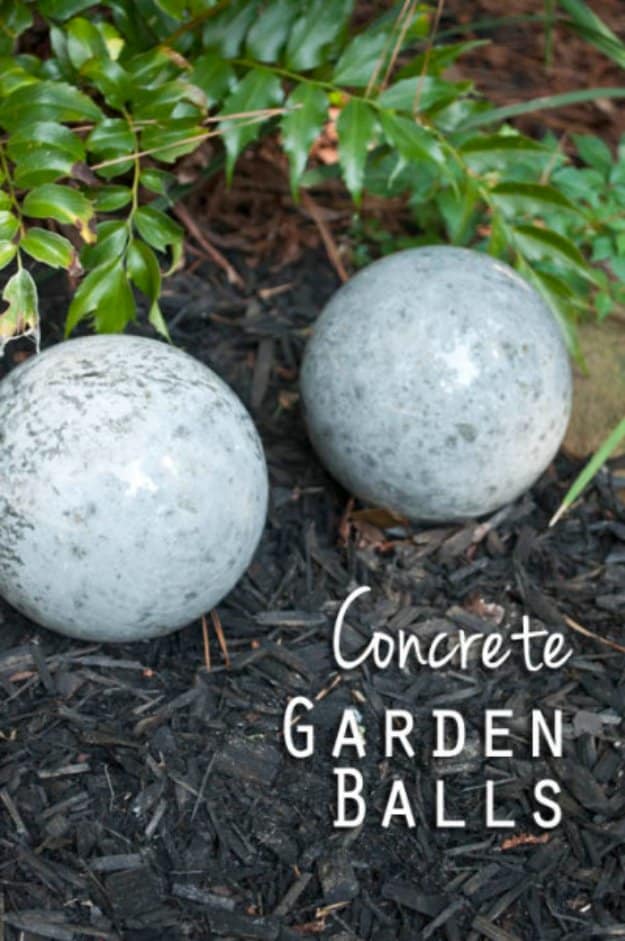
The mold is a glass globe light cover, the kind that comes off a ceiling fan and sits in a cupboard for years, and you break it off with a hammer at the end. The maker uses three quarters portland cement to one quarter peat moss to get a deliberately rustic surface, mixed thick but still pourable, oiled inside the globe with coconut oil first. Cure three or four days before you touch the glass, longer in humid weather, and wear eye protection when you crack it. Thrift stores and Habitat ReStores are full of globes.
Get the full tutorial at Clumsy Crafter.
14. DIY Concrete Firepit
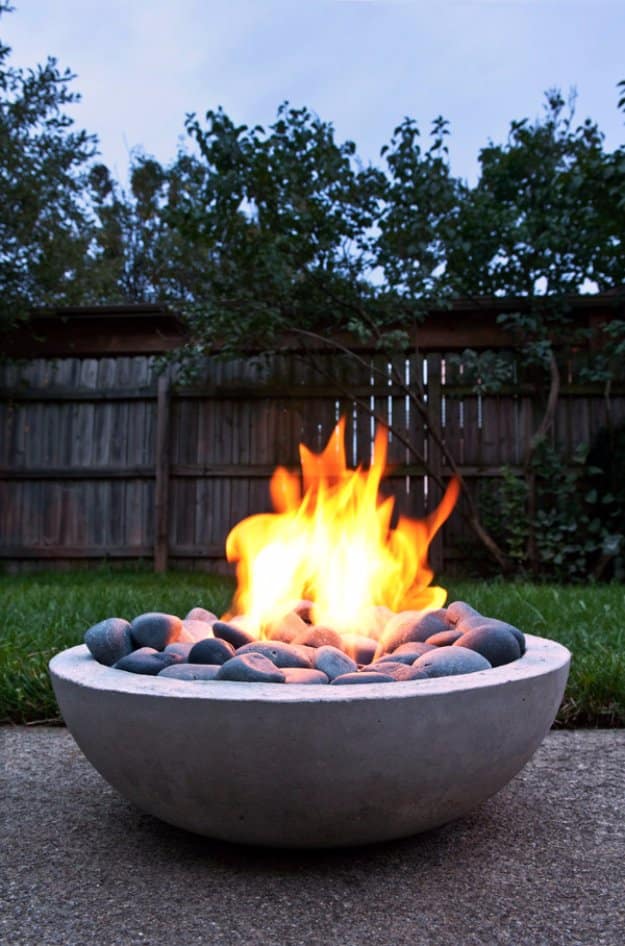
Two mixing bowls are the mold: an eighteen inch one for the outside and a fifteen inch one pressed inside it, oiled with cooking spray or vegetable oil and a brush. It burns gel fuel, which is what makes it a thirty minute after dinner fire rather than a project involving gas lines, and it is portable enough to move off the patio. The maker puts the whole build at a few hours and well under fifty dollars in materials, and is firm about the safety gear: dust mask, goggles and gloves.
Get the full tutorial at ManMade DIY.
15. Concrete Monogram Bookends
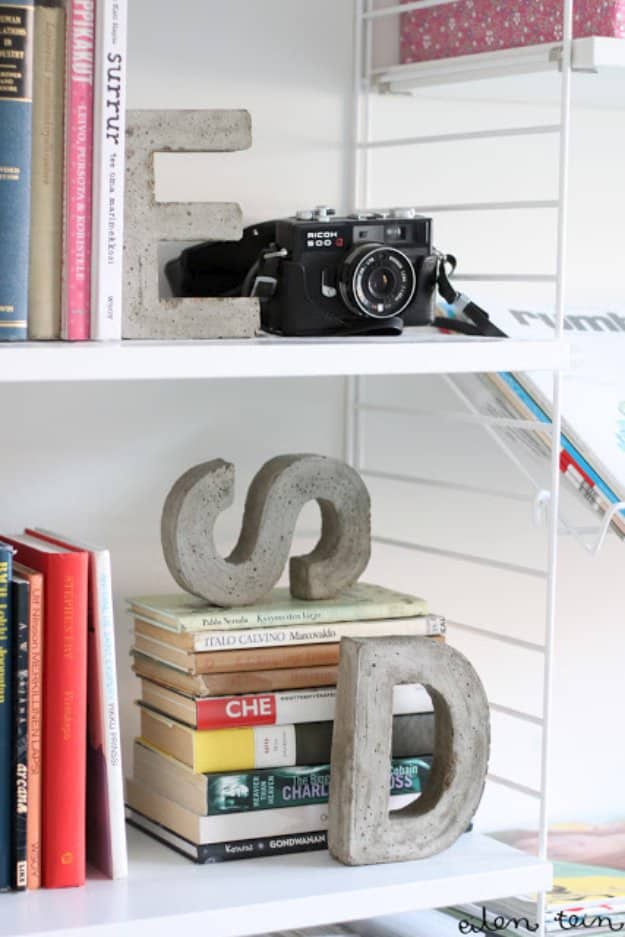
Cardboard craft letters are the mold, and the maker is specific: hers are about fifteen centimeters tall and three centimeters thick, and she prefers that proportion to the narrower taller ones sold elsewhere. Slit the back off with a craft knife, pull out the internal cardboard structure, tidy the edges with scissors, then reinforce every corner with duct tape because that is where a paper mold blows out. Vaseline greases the inside. She is also honest that she would not recommend these as a first concrete project.
Get the full tutorial at Eilen Tein.
16. DIY Concrete Pencil Holder
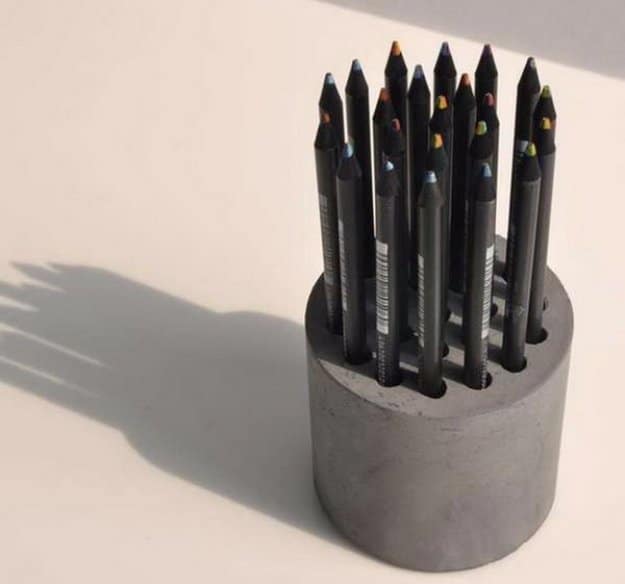
A squat cast cylinder packed with black barrelled pencils, which is a better looking combination than it sounds because the matte gray and the matte black cancel each other out and the only color left in the picture is the tiny painted tips. Cast in a round container with a smaller one held in the middle to make the well. Fill the inner container with something heavy before the mix goes in, or it floats up and you end up with a shallow dish rather than a pot.
Get the full tutorial at HOBBY:DESIGN on Naver.
17. Concrete iPhone Charger Dock
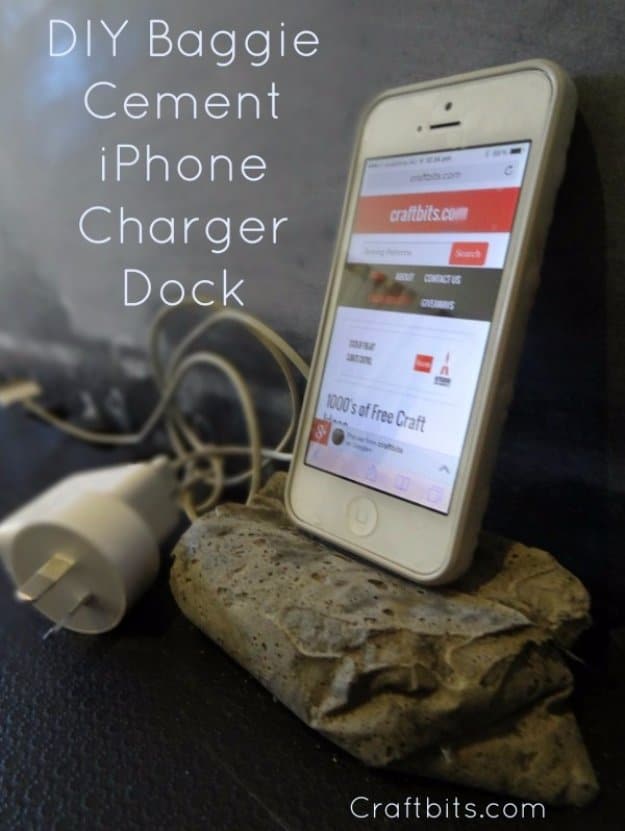
The mold is a plastic lunch baggie, which is why the finished dock looks like a folded rock. Roughly five hundred grams of cement goes into the bag, then you wait fifteen to twenty minutes until it firms up to the consistency of play dough and shape it by hand from the outside, pushing a lip into it for the phone to lean on and flattening the base. Work the creases out of the bag as you go, because a crease becomes a catch and the plastic will not peel away cleanly at the end.
Get the full tutorial at CraftBits.
18. DIY Concrete Countertops
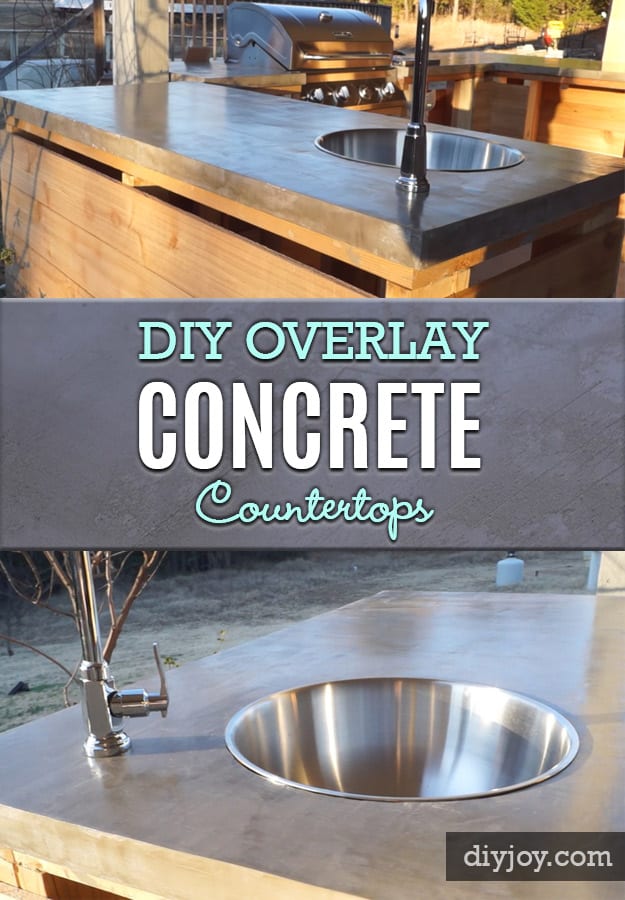
An overlay rather than a pour, which is the difference between a weekend and a construction project. The existing counter stays where it is and a thin layer of concrete goes over the top of it, so you never handle a full slab, never build a form and never need to work out whether the cabinets can carry the weight. The post is candid that it is not effortless, but it does not require carpentry skill, and the technique is what makes a dated laminate or cultured marble surface worth saving instead of ripping out.
Get the full tutorial at DIY Joy.
19. Easy-to-Build DIY Concrete Bench Planter
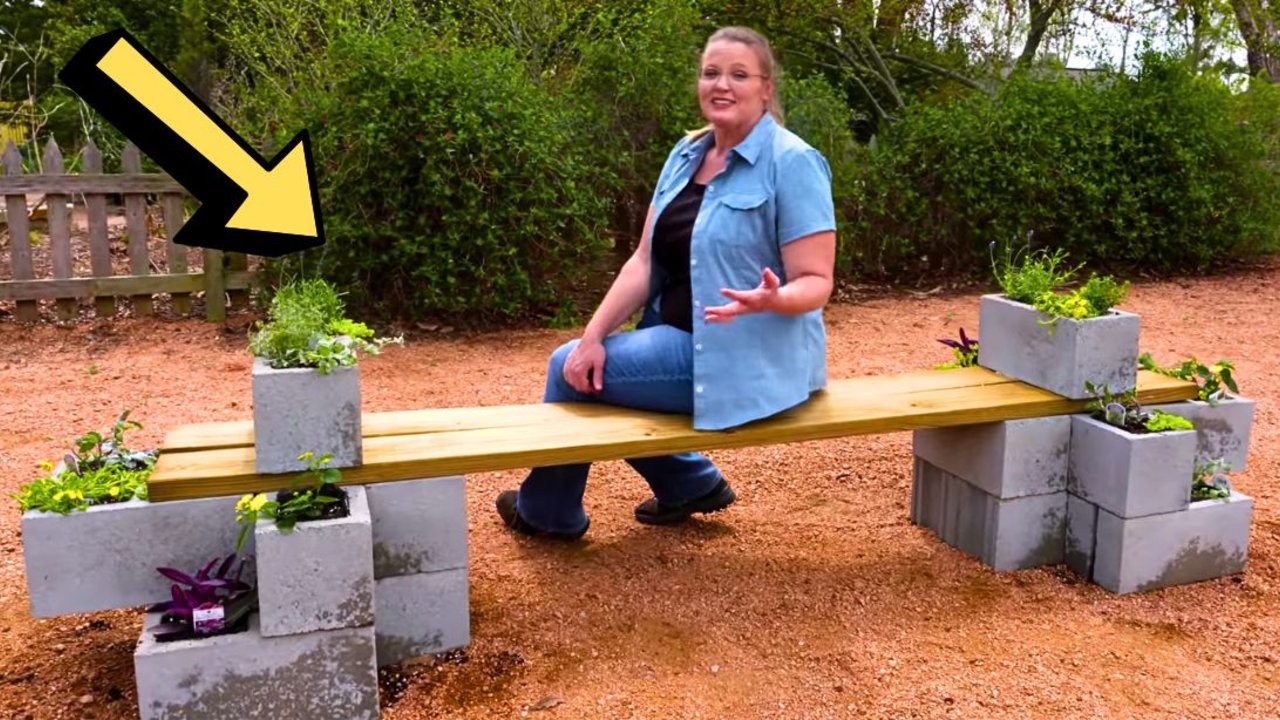
Cinder blocks and two by six boards, no casting and no mold, which makes this the one project on the list you can finish in an afternoon and sit on the same day. Blocks are stacked at each end on a leveled line with the boards laid across, and more blocks on top of each end hold the timber down. Metal flashing glued over the top edges of the block closes the bottom of each planting hole, expanded metal is folded into a basket inside it and lined with landscape fabric before soil goes in.
Get the full tutorial at DIY Joy.
20. How to Make a Concrete Vintage Camper Planter
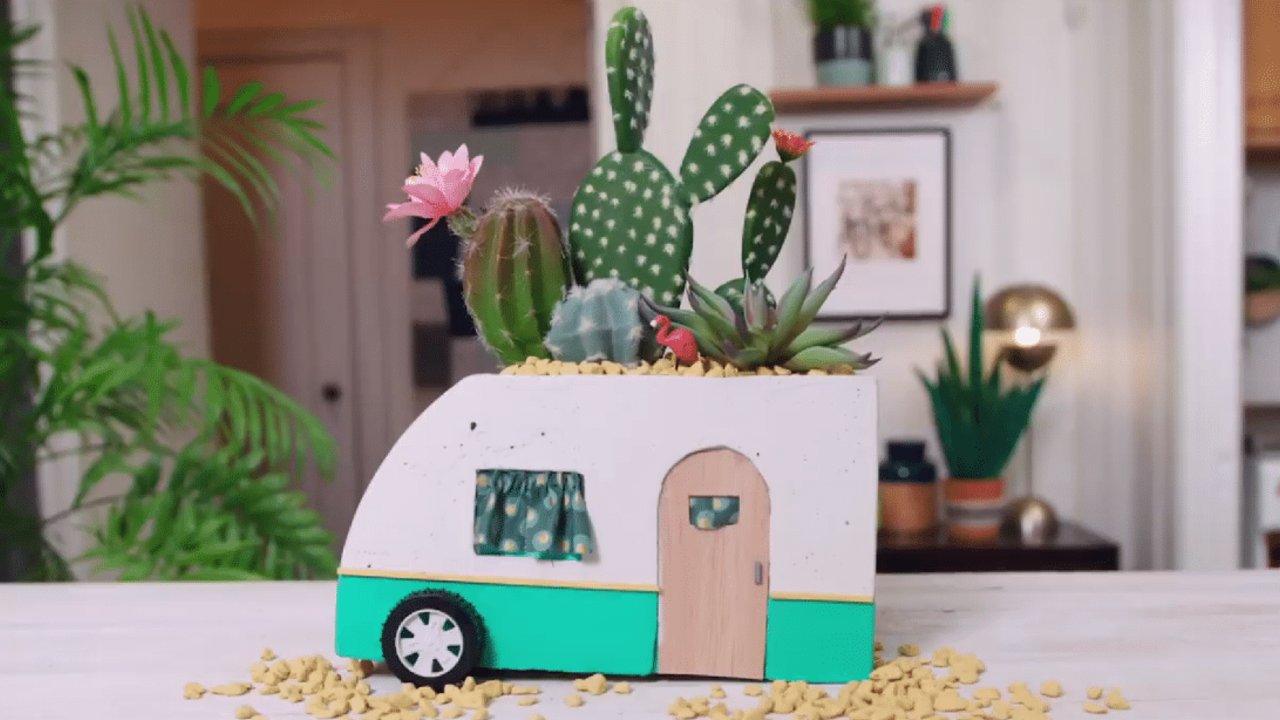
The mold is built, not bought: the camper shape is drawn and cut from insulation board, a round object traces the curved back, and scored cardboard forms the flexible parts, all taped up and glued into a box. Mineral oil sprayed inside is the release. Rapid set concrete fills it halfway before a plastic tub is pressed into the center to leave the planting cavity. Once cured it gets sanded with 60 then 220 grit, taped and painted in acrylic, with balsa wood and small wheels added for the details.
Get the full tutorial at DIY Joy.
Love these DIY projects made with concrete?
Pin it to save and share on Pinterest