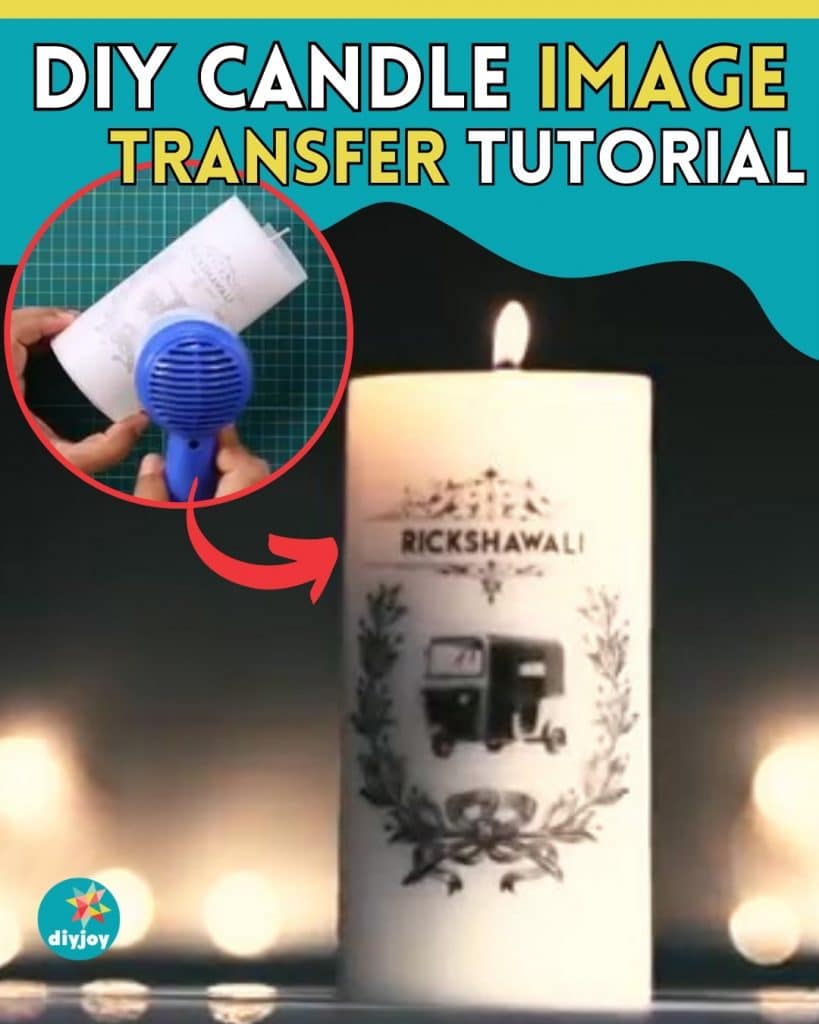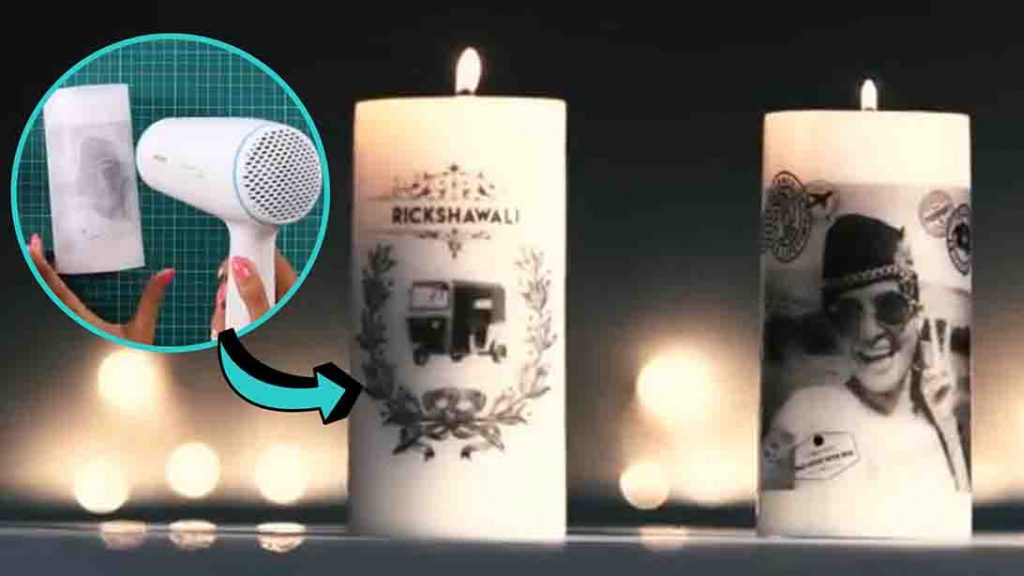
Add a touch of personalized art to your living space with this DIY candle image transfer tutorial from Mad Stuff With Rob on YouTube! This is the perfect DIY if you’re looking for a budget-friendly DIY project to make over the weekend.
RELATED: Easy Inkjet Image Trasfer Technique
In this step-by-step guide, Mad Stuff With Rob will demonstrate how to transform ordinary candles into customized works of art featuring your favorite images, designs, or meaningful quotes. Whether you’re looking to create unique decor accents for your home or seeking heartfelt gifts for loved ones, this tutorial offers a simple and fun method to elevate your candle-making endeavors. Watch the video tutorial below to learn the whole process, or continue reading down for the written instructions.
Materials:
- printing paper
- wax paper
- tracing paper
- candle
- tape
- glue
- scissors
- hair dryer
- printer
Directions:
Step 1
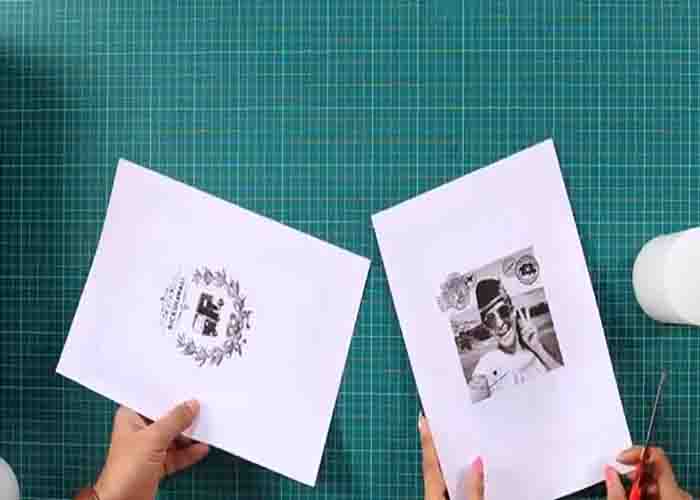
Line the tracing paper and the printing paper together and secure by taping just the edges. After this, print any image you like on the tracing paper. Once you’re done, cut out the image on the edge (you’ll only need the tracing paper with the image on it so you can discard the printing paper once you cut out the image.)
Step 2
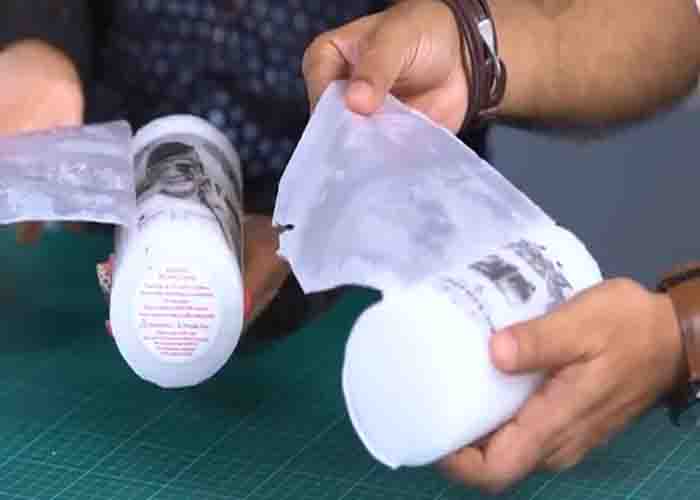
Now, spread a little amount of glue on the back corners of the image, then place it on the candle. Next, take the wax paper, wrap it around the candle, and tape it to hold the image in place. Now, take the hair dryer and gently blow some hot air into the image. You will know it’s ready once the color starts to darken. Once done, peel off the wax paper and you’re done.
