Tired of winter and even spring, ready to welcome summer on? Summer reminds me of holidays and family, relaxing with friends, and a less busy time of year. What better way to make sure you change your mindset to summer than to add some summery touches to your home decor. Sunshine, watermelon, beachy sandy DIYs that remind you of the ocean. Those are just some of the fantastic ideas you can make to create a summertime look for your home, apartment, vacation home or beach house. Check out these crafty decor tutorials and try making a few this weekend!
Home Decor DIY Projects for Summer
1. DIY Beach Umbrella Wreath
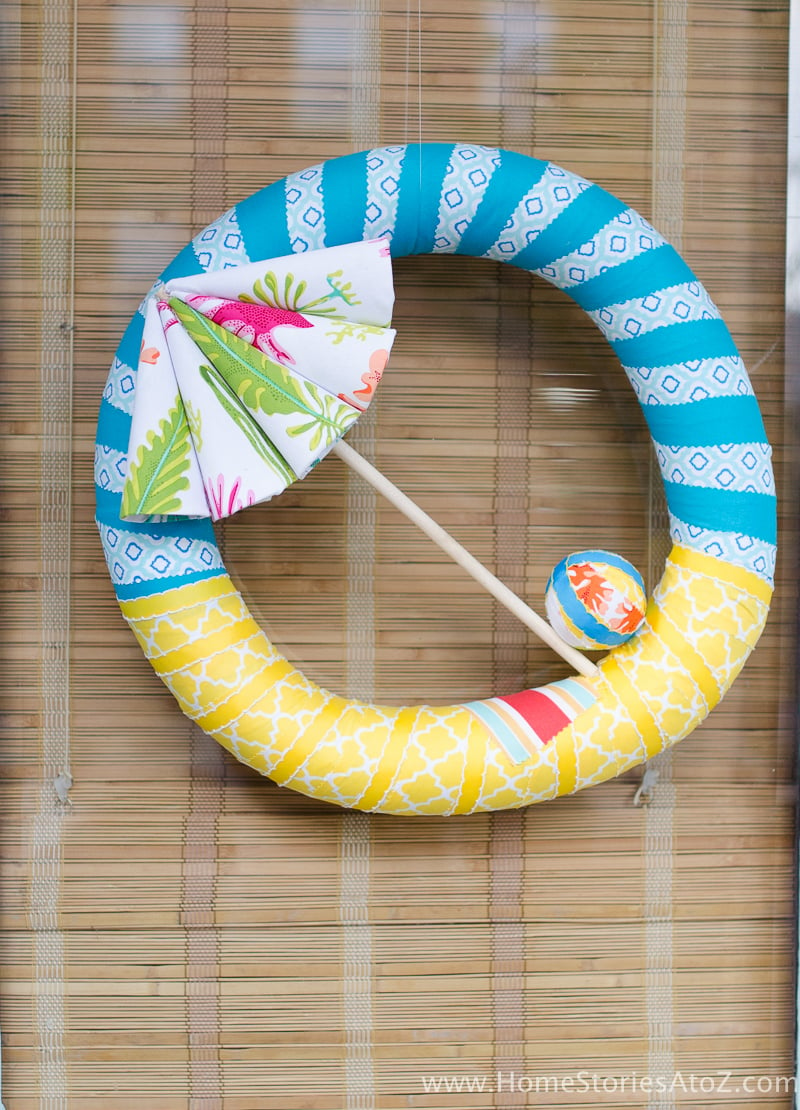
Who says a beach wreath needs real shells to feel like summer? This one starts with a pool noodle instead of an expensive foam wreath form, wrapped in two inch fabric strips held on with sewing pins so you can shift things around if you don’t love the placement. The little umbrella is just a party hat taken apart, glued back together inside out and covered in fabric before it’s mounted on a dowel with a tiny styrofoam ball for the beach ball. Pins instead of hot glue give you room to fix a mistake, and hanging the finished wreath on fishing line makes it look like it’s floating on the door. Home Stories A to Z has the full tutorial.
2. DIY Slatted Summer Sign
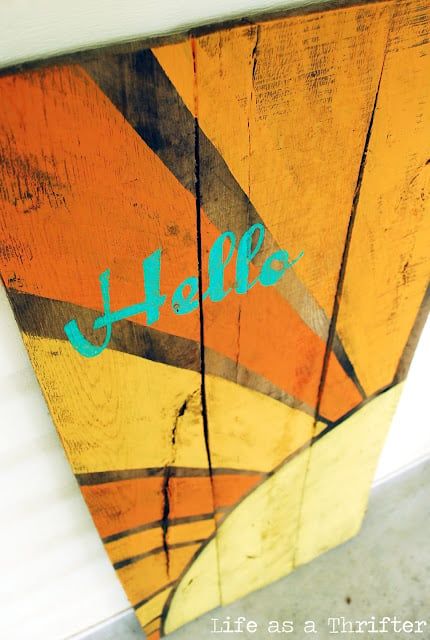
This sunburst sign is proof you don’t need a fancy plan to make something that looks great on a porch. Grab a few pallet slats, sketch your sunburst design right onto the wood freehand and mix whatever leftover paint colors you’ve already got instead of buying new ones. A simple stencil handles the Hello lettering across the middle, and a quick sanding afterward gives the whole thing a nice weathered edge. I like that it’s meant to look a little folk art and imperfect, so wobbly lines actually work in your favor here. Oh My Creative has the full tutorial, and the same technique swaps easily to other seasons if you’re willing to change up the colors.
4. DIY Patriotic Ribbon Wreath
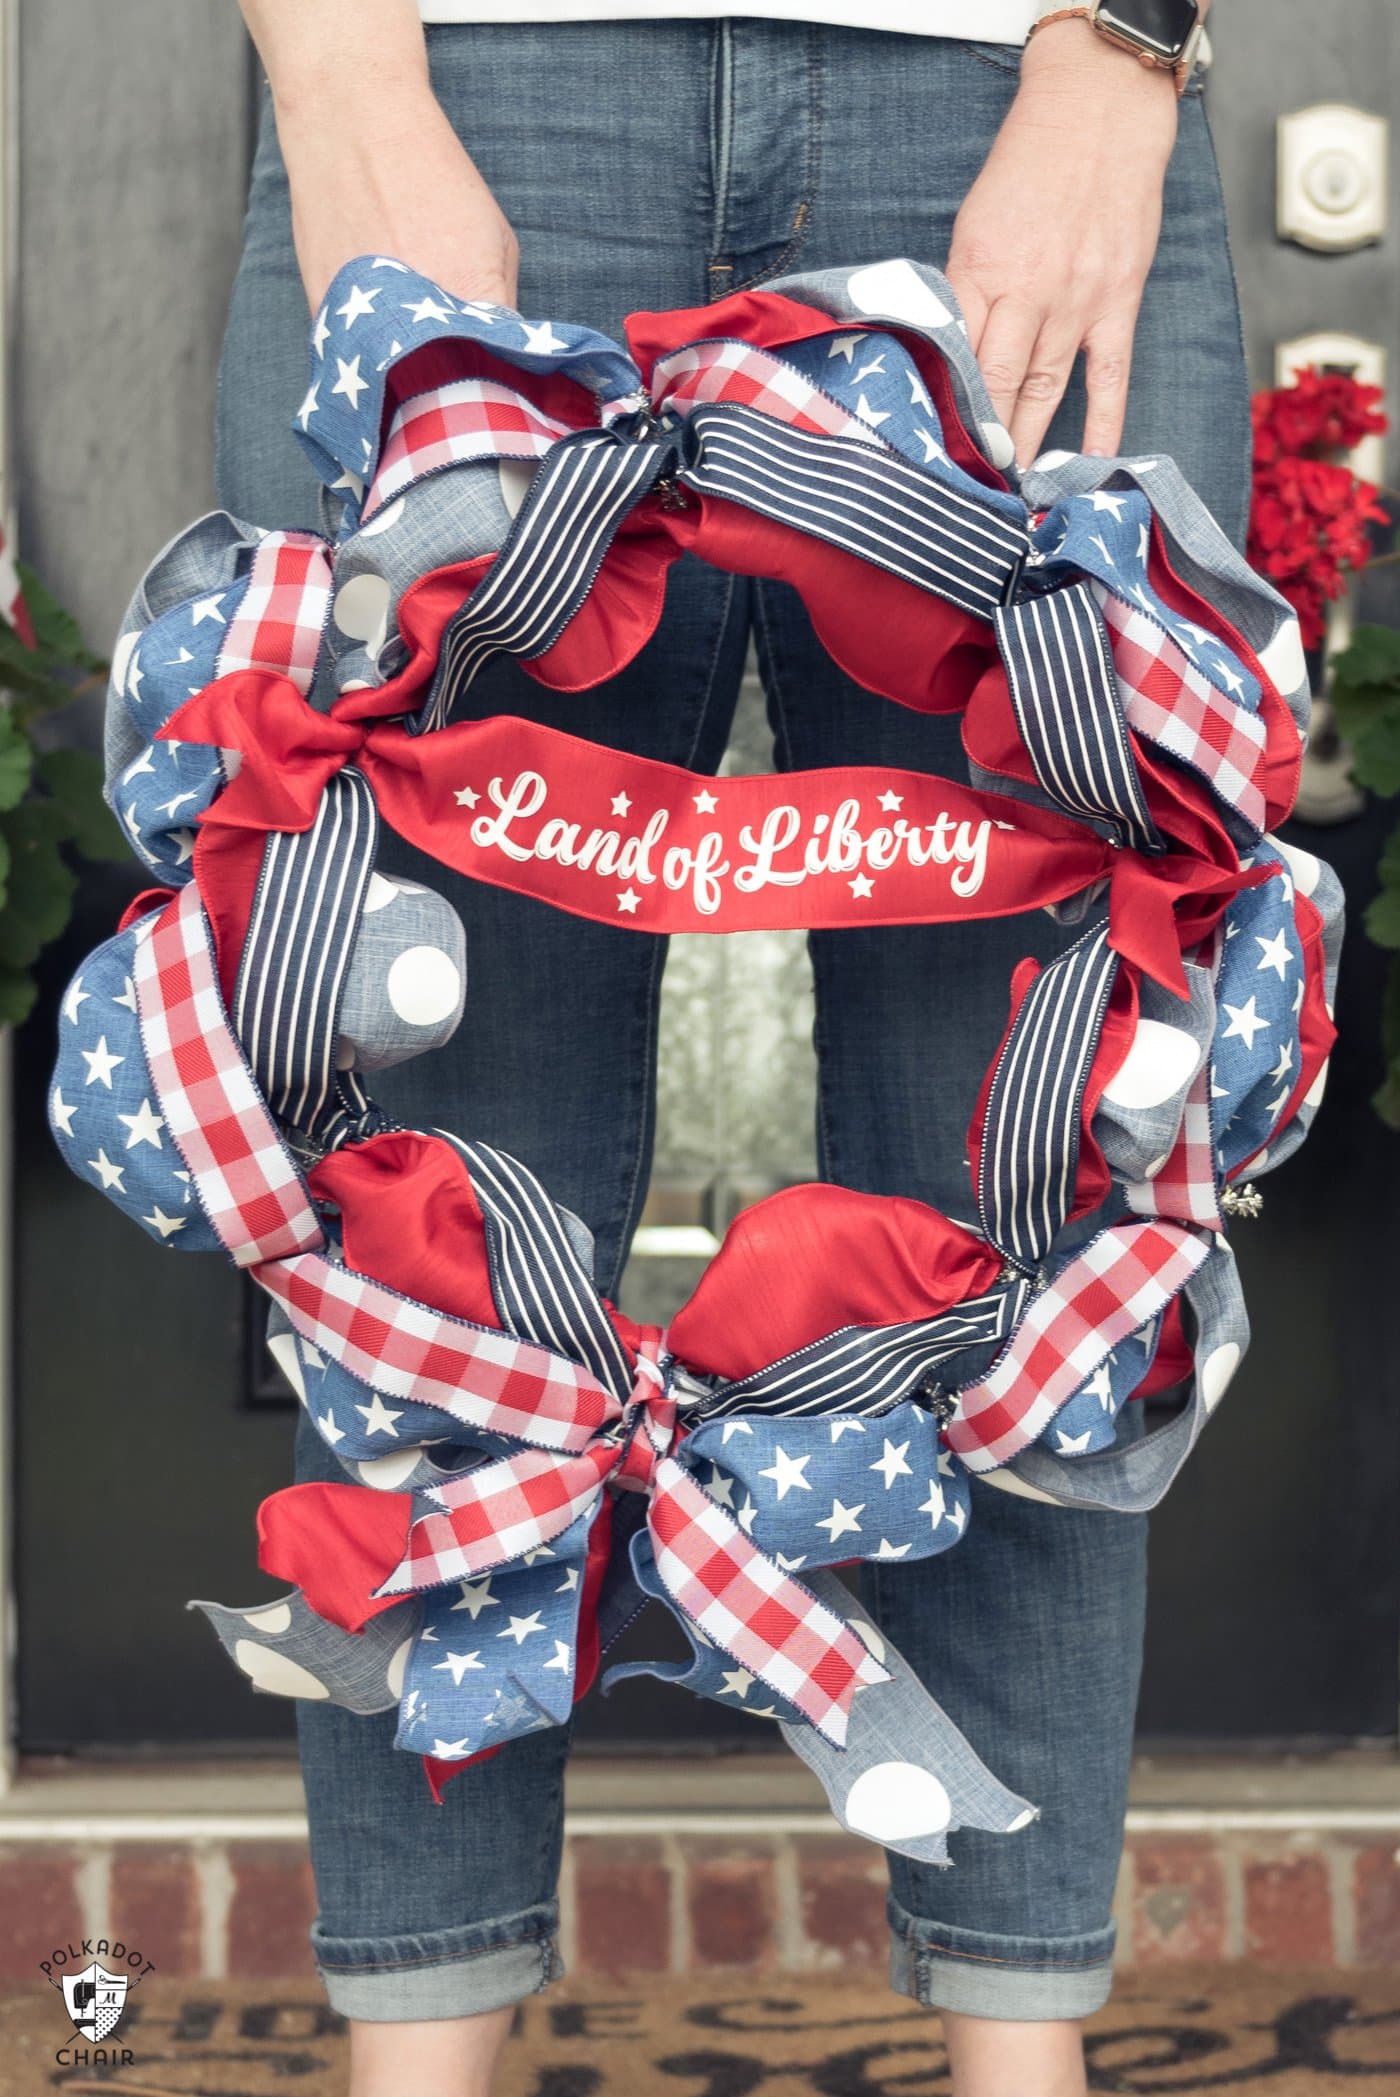
Forget bows you have to tie just right, this wreath is really just about layering ribbon until it looks full. Grab four or five spools of wired ribbon in different patterns and widths up to about two and a quarter inches, mixing in a solid red so the prints don’t clash. The real trick is starting with a work wreath instead of a plain wire one, since it’s already got twist ties built in for pinching each ribbon loop through. Layer the wider ribbons first as your base and keep adding until it looks full, then finish with a lettered banner if you’re up for the extra step. Polka Dot Chair’s own advice is not to overthink it, because it really is that easy.
7. DIY Watermelon Door Wreath
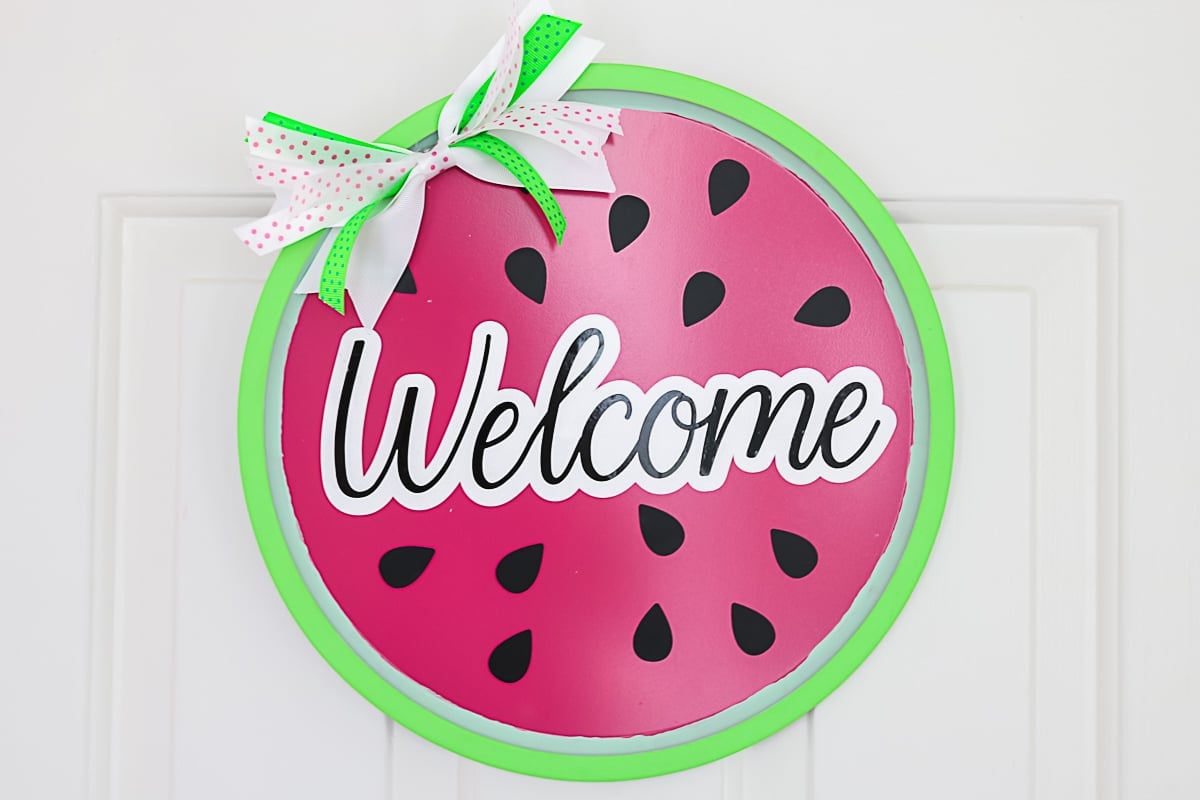
A watermelon door hanger like this starts in the dollar aisle instead of the craft store, and that’s honestly the best part. Spray paint a Dollar Tree pizza pan pink, then hand paint a couple of green rings around the edge once it’s dry for the rind. The seeds are just black vinyl cut on a Cricut, and Angie backs the black vinyl with an offset layer of white so you can skip transfer tape on your freshly painted surface. Let the paint cure a few days before adding any vinyl or it can peel, though she shows a faster workaround if you’re impatient like me. Finish with a ribbon bow and you’ve got a welcome sign that costs next to nothing, full tutorial at The Country Chic Cottage.
8. Printable Watermelon Doily Garland
12. DIY Painted Bottles
14. DIY Beaded Wind Chimes
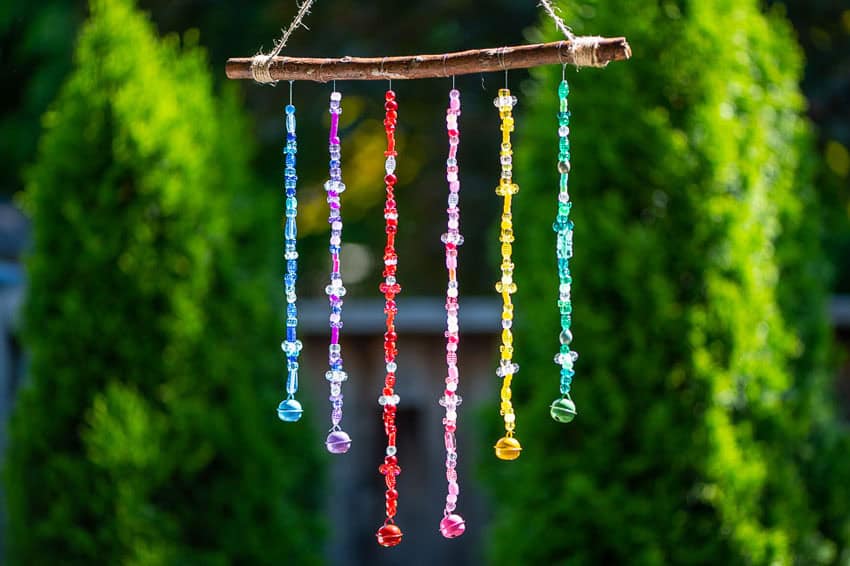
These wind chimes use fishing line instead of regular string, and once you try it you’ll see why. Cut a handful of 26 inch strands, tie a jingle bell to the bottom of each as an anchor, then thread on glass or pony beads until you’ve got about 14 inches stacked up. Space the strands two inches apart on a stick or driftwood, knot them tight, then wrap twine around the stick to make a hanger. If your stick isn’t rough enough for the knots to grip, a small piece of duct tape behind each one keeps everything in place. One Little Project notes these double as suncatchers too, since the glass beads throw light just as well as they ring in the wind.
16. DIY Beach Garland
22. DIY Flip Flop Wreath
23. DIY Beaded Sunburst Mirror
27. DIY Sea Urchin Succulent Planters
30. DIY Chalkboard Welcome Sign
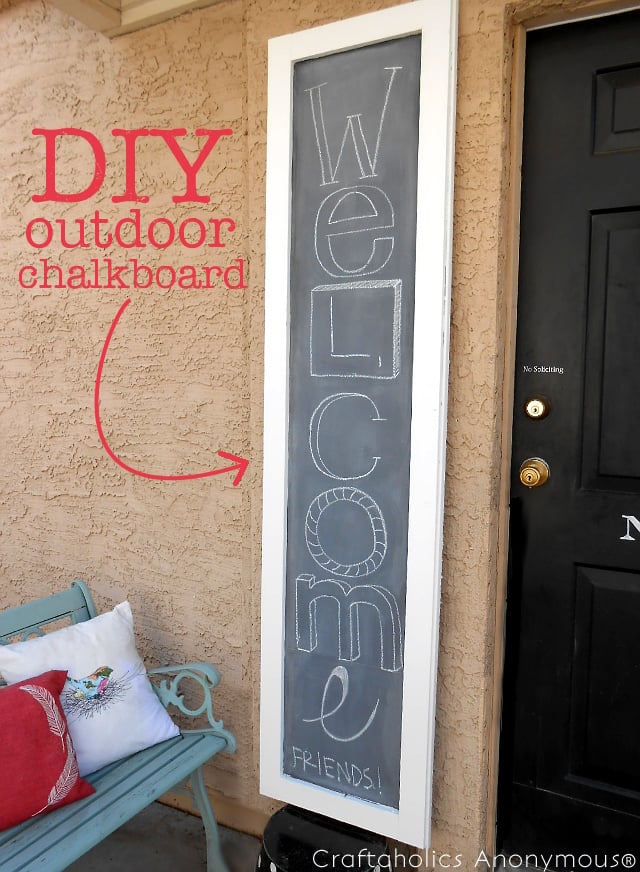
This chalkboard is built to survive being outside, which is the part that trips a lot of people up. Amy built hers from pressure treated pine and a piece of Hardiebacker cement board for the writing surface, since regular chalkboard paint on plain wood won’t hold up to weather. Bring your measurements to the home improvement store and they’ll usually cut the lumber for you if you don’t own a saw. Before you write on it the first time, rub a piece of chalk over the surface and erase it, a trick that keeps the first message from staining. Craftaholics Anonymous has every step for building your own, hers came out 76 inches tall to cover an awkward window by her door.
31. DIY Wood Slat Doormat
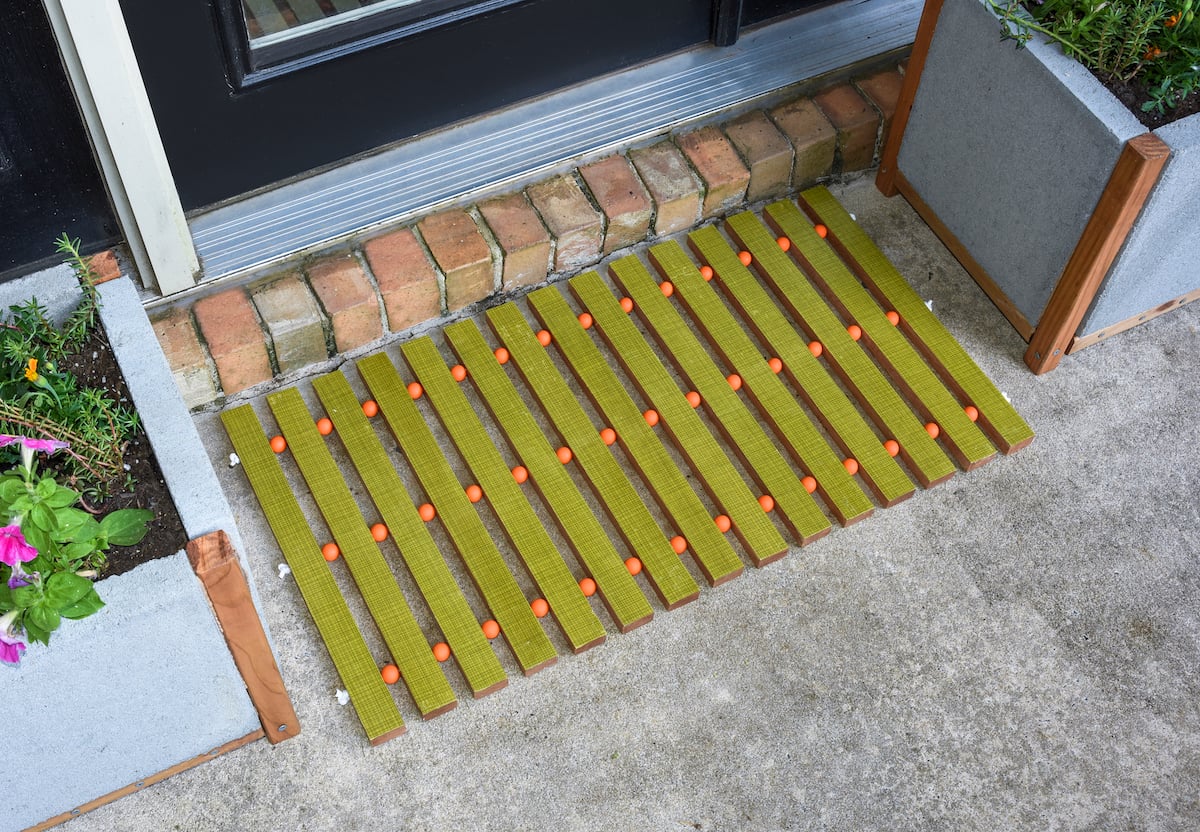
Amy swapped the stamped watermelon look for a clean mid century design on this doormat, inspired by her grandparents’ 1960s house. Stain fifteen oak slats with Thompson’s WaterSeal, drill holes at the same three spots on each one, then paint a set of wood beads bright orange to string through as accents. Wrapping a bit of wire around the end of your nylon cord makes a surprisingly good needle for threading, so you don’t fight the cord the whole time. A layer of Mod Podge Outdoor on the fabric and a clear acrylic sealant keep it holding up to real foot traffic and weather. It’s rated intermediate beginner at about five and a half hours start to finish, and DIY Candy has the full cut list you’ll need.
33. DIY Yarn Balls
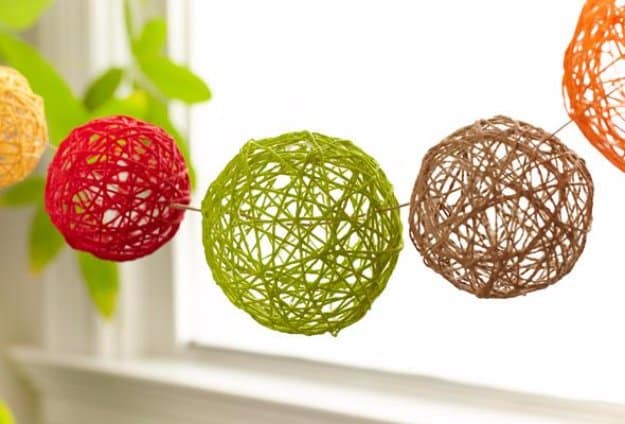
34. Mason Jar Beach Decor
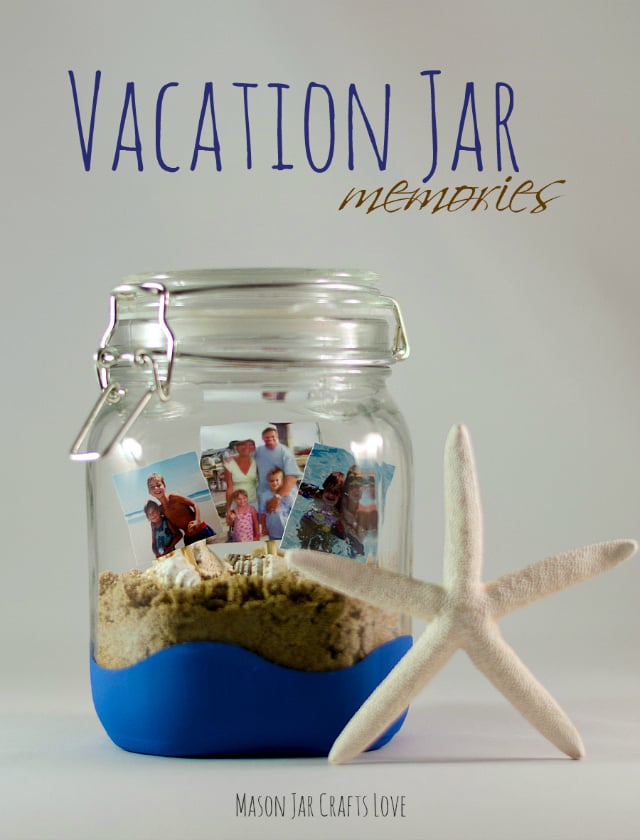
I love turning a plain mason jar into something that doesn’t just remind me a vacation is over. Tape off a wavy line near the bottom with shape tape, paint over it with blue, then peel it away once it’s dry for a crisp little ocean line. Print out your favorite beach photos small, tape them to wooden skewers and stick those down into a layer of sand along with a few real shells you brought home. It’s an easy way to keep vacation memories out on a shelf instead of buried on your phone where you’ll never look at them again. Mason Jar Crafts Love has the full how-to for getting that wave line clean.
35. Painted Beach Rocks
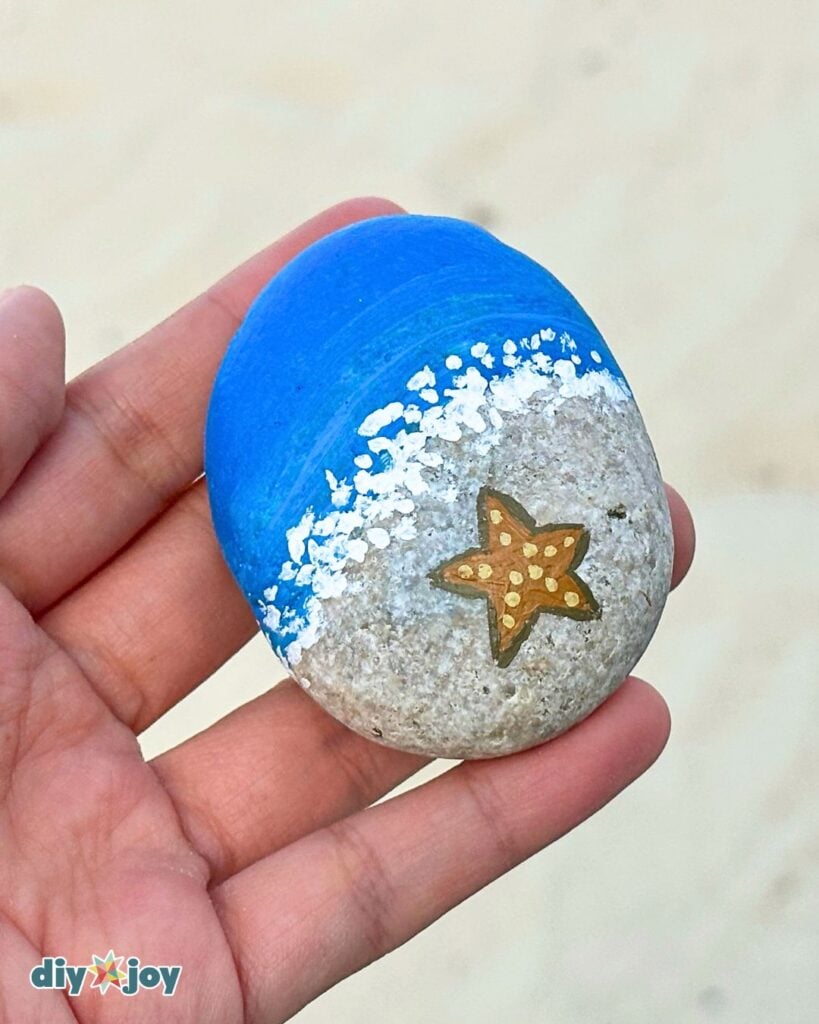
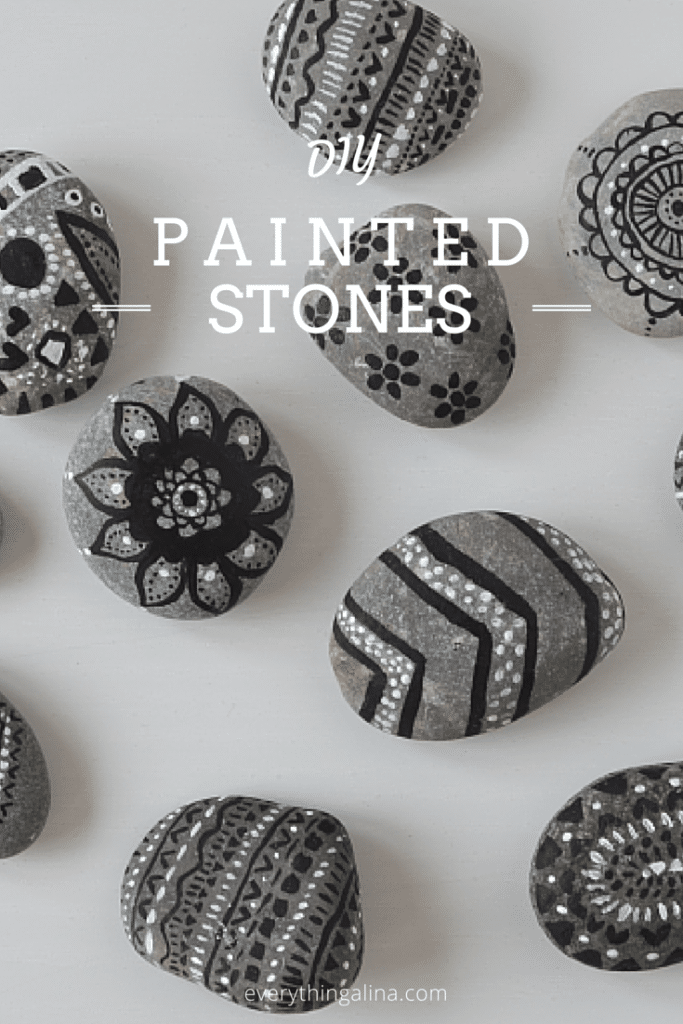
This one is ours and it is the cheapest piece of summer decor on the list, because the raw material is free. A smooth flat stone gets a band of blue across the top for water and a scatter of white dots along the edge for surf, and the bare gray of the rock is left to read as sand. A small orange starfish finishes it off. You need three colors and a fine brush, and beginners get a good result on the first try. We like them lined up on a windowsill or tucked into a planter. We have the full step by step and a video on the project page.
36. DIY Maritime Flag Bunting
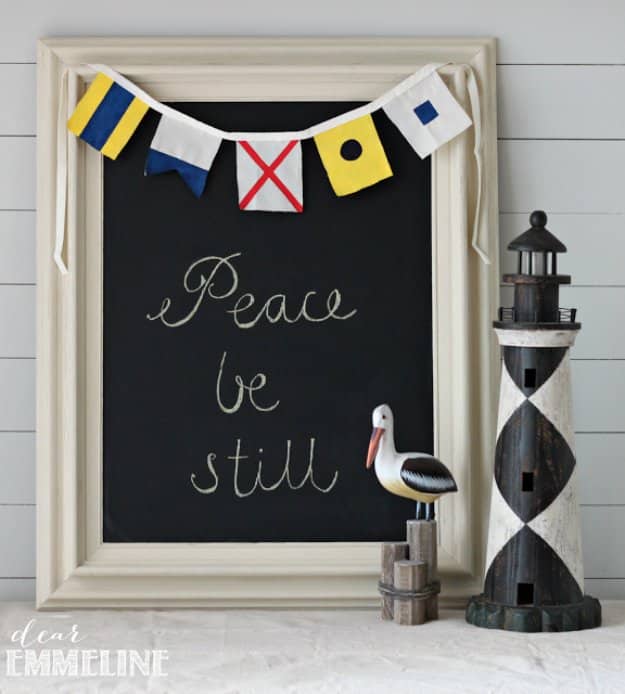
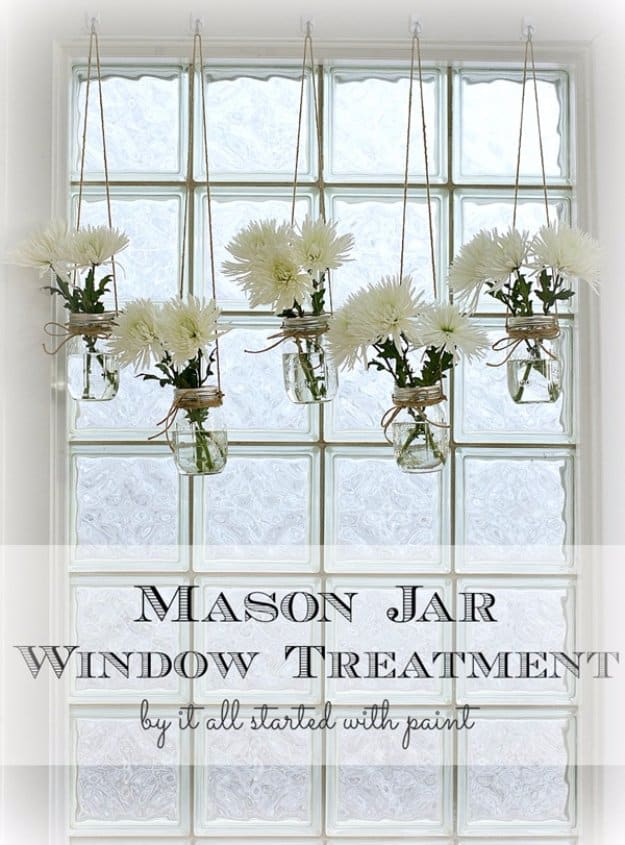
38. DIY Ice Dyed Beach Towel
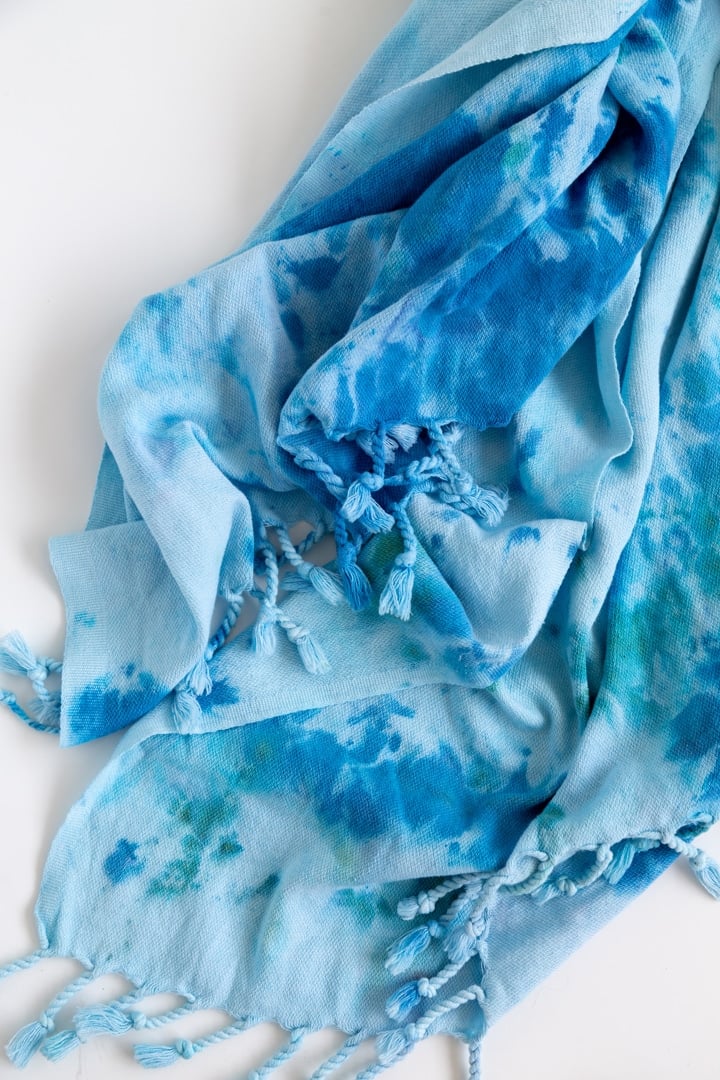
Ice dyeing is one of those techniques where the process looks almost nothing like the finished piece until it’s done. Start with a plain white cotton Turkish towel and bunch it up, then pile ice on top and sprinkle powdered dye straight onto the ice instead of mixing up a dye bath. As the ice melts it pulls the color down through the fabric in a watery, uneven way that you honestly can’t fully control, which is what gives every towel its own pattern. Stick with cotton if you can, since it holds the dye better than synthetic blends do. Sara and Melissa at Alice and Lois say they’re obsessed with the technique, and a finished towel doubles as a sarong on your next beach trip.