You can have a house that looks like Halloween by the weekend, and making homemade Halloween decorations yourself is the cheapest way to get there. Homemade Halloween decorations split two ways on this list: DIY Halloween decorations for outside, where wind and weather get a vote, and indoor pieces for the table, the windows and the mantel. The outdoor Halloween decoration ideas are built to survive a porch. The indoor ones are easy to make Halloween decorations you can put up tonight. No matter where you want to start with Halloween decor, there should be a project here for you, and none of them take too long to make.
Making Homemade Halloween Decorations, Inside and Out
1. Painted paper mache pumpkins
Canary Street Crafts

Do you have a bin of craft pumpkins you’re bored of? That’s where I was. Painted a soft chalky white, paper mache pumpkins stop looking like a craft aisle and start looking like something you’d buy, especially with the stems left raw. I set mine at the foot of a beat up black lantern with a candle inside and some dried florals behind, and that little grouping carried my whole entry. Let each coat dry longer than you think, because the mache drinks that first layer and goes patchy if you hurry it. Canary Street Crafts walks through her whole process.
2. Paper bat wreath for the front door

That soft white ring under the bats is an old jacket. Michelle at Kenarry cut a sherpa lined one into strips and wrapped them around a dollar store wire wreath form with a dab of hot glue at each end, and that fluff is why the black paper reads so sharp. Paper crafts are a passion of mine, so hear me on the folding: crease the wings first, then set each bat with a single dab in the center so they stay lifted. Flat bats look like stickers. The glue dots in the bat pack won’t grip fuzzy fabric, so keep the glue gun out. Twelve bats covered hers in about 20 minutes, and the big one she added dead center after hanging it is the best part.
3. Ghost ornaments on a black branch tree
Little white ghosts, hung off bare black branches. That contrast is the entire trick and it photographs beautifully. I made a batch one evening while half watching a movie and ended up with enough to fill a branch tree and still have some for the mantel. They weigh next to nothing, so thread and a pin will hold them. My kids kept rearranging them to spook each other, which I’m counting as a feature. Crafting Cheerfully has the step by step.
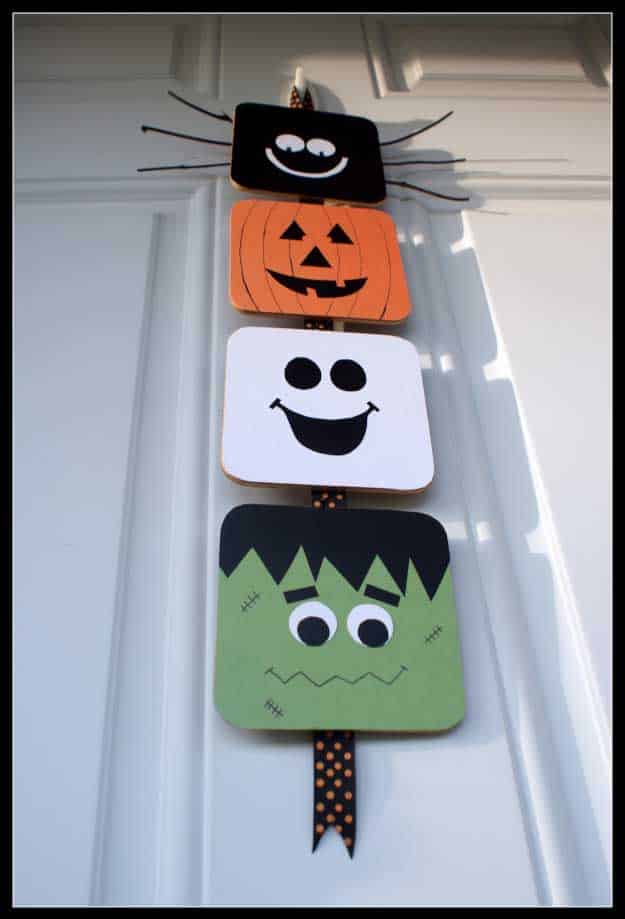
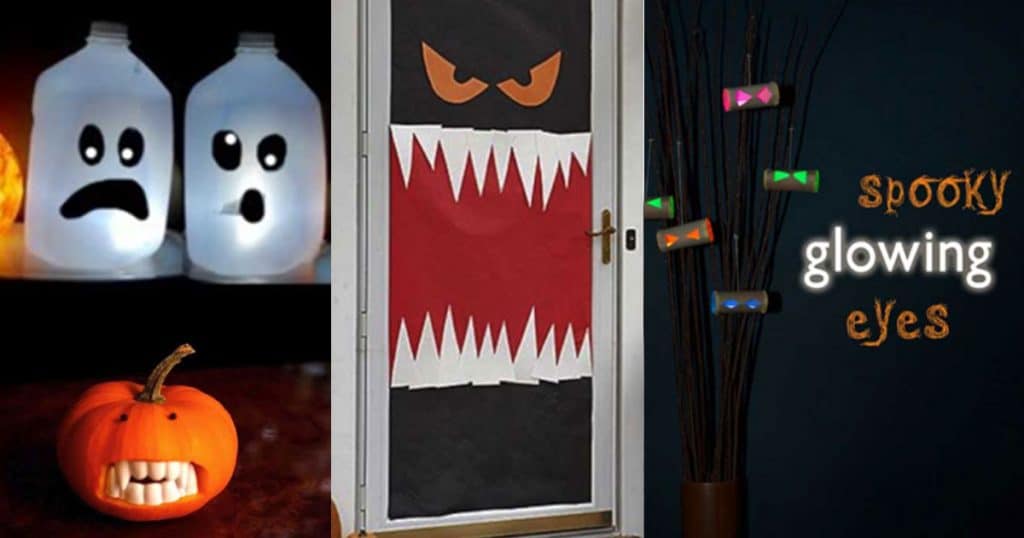
4. Monster Door Decoration for Halloween
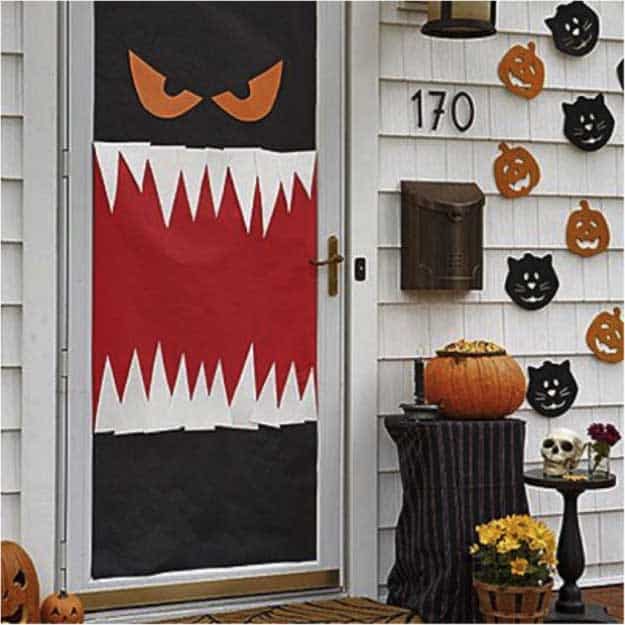
Do it yourself monster door decor. Pretty cool, right? I made this fun Halloween decor idea in less than an hour, too, and the kids loved helping me cut the paper and decorate the door. Trick or treating is much more fun when you have this monster at the door to greet all you visitors.
5. Itsy Bitsy Spider Wreath
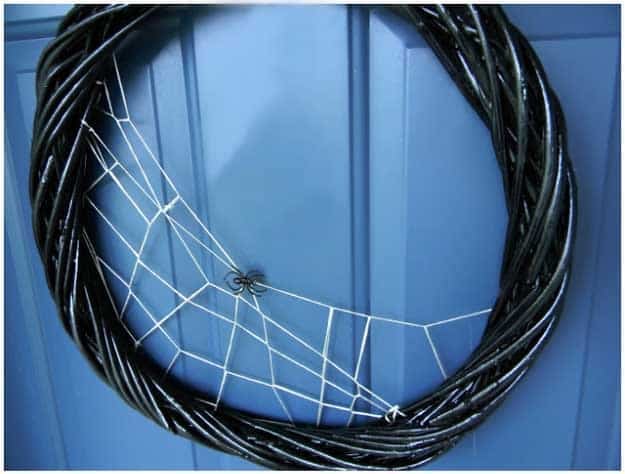
This isn’t even my first spider wreath, but it’s the one I finally got right by simplifying it down to almost nothing. Start with a stick style wreath base rather than foam, since the sticks give the spiders somewhere to actually cling. There really isn’t much you can get wrong here, which is exactly why I keep making a new one every October. My kids argue over where the creepiest spot for each spider is, and I let them win. Bugaboo, Mimi and Me has the full how-to.
6. Metallic skulls on black-filled jars
I never thought a skull would end up on my sideboard, and yet here we are. Two of them, gold and gunmetal, sitting up on glass jars packed with something black so they float above the surface at eye level. Raising them is what makes it, and a lantern beside them keeps it looking styled rather than spooky-store. It goes together in an afternoon from things you likely own. For the full how-to, head to DIY Candy.
7. Spooky Holiday Peepers

Googly eyes have never looked spookier than glued all over a plain styrofoam ring. I wrapped mine in black-painted cheesecloth first so it reads like eerie spiderwebs before a single eye goes on, then hot glued eyes over the whole thing and hung a little chipboard BOO sign from the bottom on a scrap of ribbon. It’s the kind of wreath that gets a laugh and a jump at the same time, which is exactly what I want greeting trick-or-treaters. Any frame or ring works, so raid what you already have before buying anything. The Country Chic Cottage has the full how-to.
8. Bats climbing the wall by a window
A flock of bats making their way up the wall beside the window. This gets more comment than anything else I put out. Cut them from black card in three or four different sizes, then place them climbing rather than in a tidy row, tight together at the bottom and scattering as they rise. Vary the sizes, that’s the whole illusion. Mine live beside the curtain where the afternoon light throws a shadow. DIY in PDX shows how she arranged hers.
9. Spooky Glowing Eyes

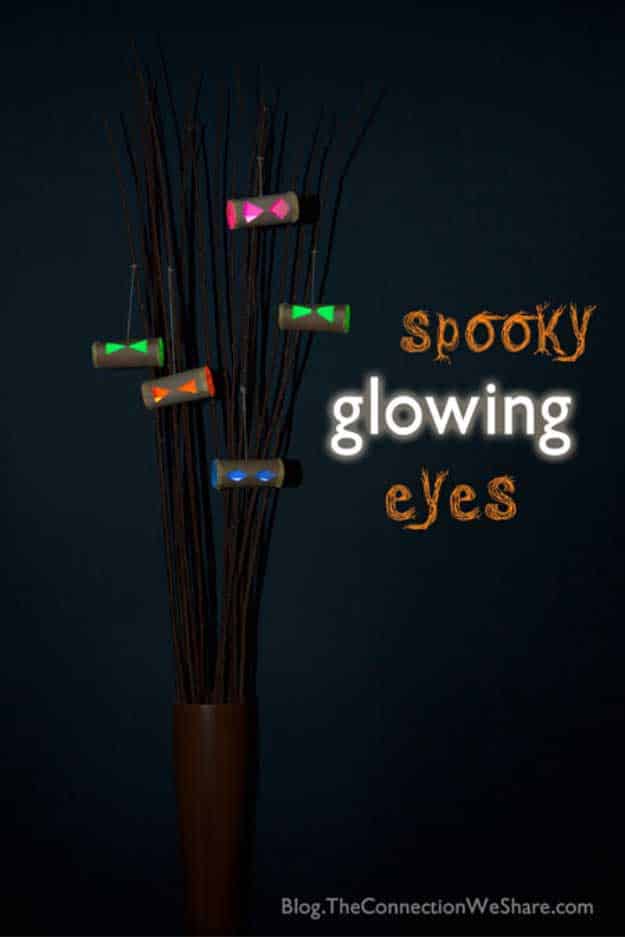
This one is just a jar, some plastic eyeballs and a light, and it still gets more comments than decorations I spent real money on. Fill a jar with a string of lights or a flameless candle, then glue eyeballs facing out on the inside of the glass so they seem to peer back at anyone who gets close. Set a few along the porch steps or the walkway and they glow all night without an open flame anywhere near trick-or-treaters. Kids Activities Blog has the full tutorial.
10. Bat Stir Sticks

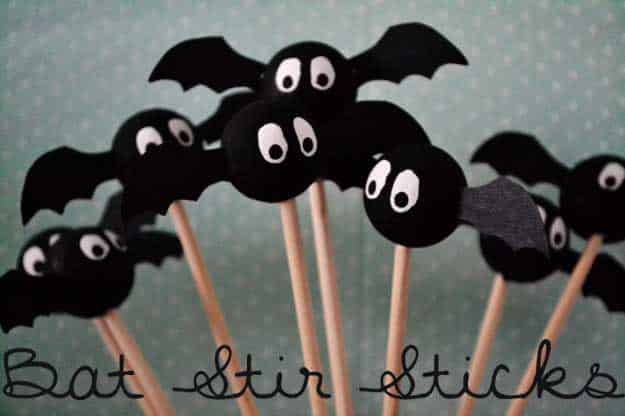
My daughter helped me make a whole batch of these and was prouder of them than anything else on the snack table. Cut simple bat shapes from black card stock with a craft knife, then slit the middle just enough to slide each one onto a straw. They turn a plain cup of punch into something that looks planned, and they take maybe twenty minutes total once the shapes are cut. Alice and Lois has the full tutorial.
11. Scrap Wood Black Cat

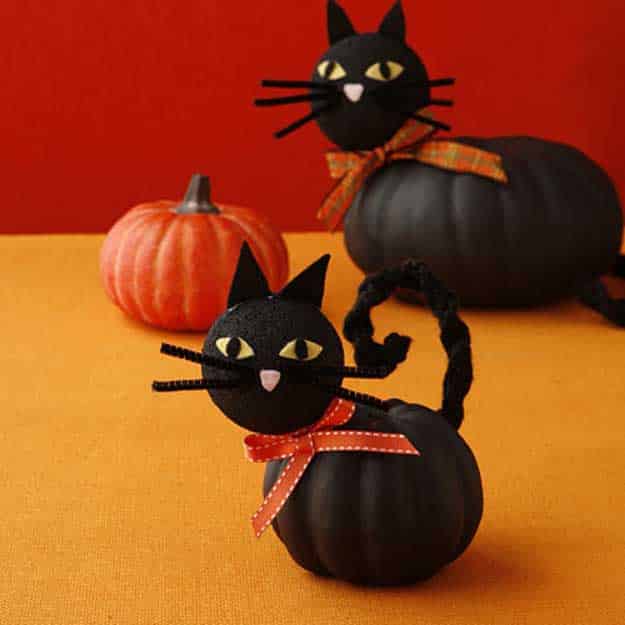
I skipped a store-bought cat cutout and built mine from scrap wood instead, since I always have odd pieces left over from other projects. Trace a simple black cat silhouette, cut it out, and paint it solid black so it reads as a shape rather than fussy detail work. Standing it against the porch rail or propped in a window gives you that classic Halloween silhouette without spending anything beyond paint. It’s Always Autumn has the full tutorial.
12. Balloon and Tassel Ghosts

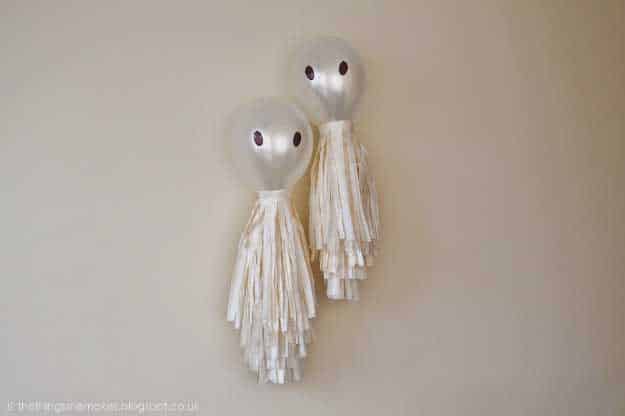
A ghost and an alien had a baby, basically, and that is exactly the look I was going for. Blow up white balloons for the heads, then fold and cut white tissue paper into a tassel shape and tape it to the bottom of each balloon so it hangs like a body. Black stickers make quick eyes, or color a plain sticker with a Sharpie if you do not have black ones on hand. String through a bit of tape at the top and they are ready to hang wherever you want something a little spooky and a little silly at the same time. The Things She Makes has the full tutorial.
13. Corpsing a plastic skeleton
There’s a moment when a plastic skull stops reading as a toy, and corpsing is how you get there. Mine came out mottled brown and genuinely unpleasant, sunk eye sockets and all, which is exactly right. I put this off for ages thinking it needed special effects skill, and it turns out to be plastic wrap, heat and paint. Wrap heavier where you want bulk and thinner where you want it gaunt. Danielle breaks the whole process down at DIY Danielle.
14. Paper plate ghost
Sometimes the simplest craft is the one they want to do twice. A paper plate, googly eyes, two pink cheeks and a couple of paper arms, and you have a ghost with a streamer tail that lifts when the door opens. Mine ran a production line of about fifteen and taped them the length of the hallway. It costs essentially nothing, which matters when the whole class is coming. Amanda has the template on Crafts by Amanda.
15. Glow stick pumpkin jars
Porch light with no flame anywhere near it. I switched after one too many tea lights blew out, and these are better. Vinyl jack-o-lantern faces on plain jars, a glow stick dropped in each, and you get hours of that yellow-green light with nothing to watch. Line them up the steps so trick-or-treaters can see their feet. Create Craft Love has the face templates.
16. Fall porch, mums and white pumpkins
Getting a porch right is layering, not buying more. A basket of deep magenta mums does most of the work, and setting a couple of white pumpkins low against it gives the eye somewhere to land. I used to line pumpkins up like soldiers and wonder why it fell flat. Built this way it holds from September straight through Halloween with no second setup. A Pretty Life in the Suburbs has five tips worth stealing.
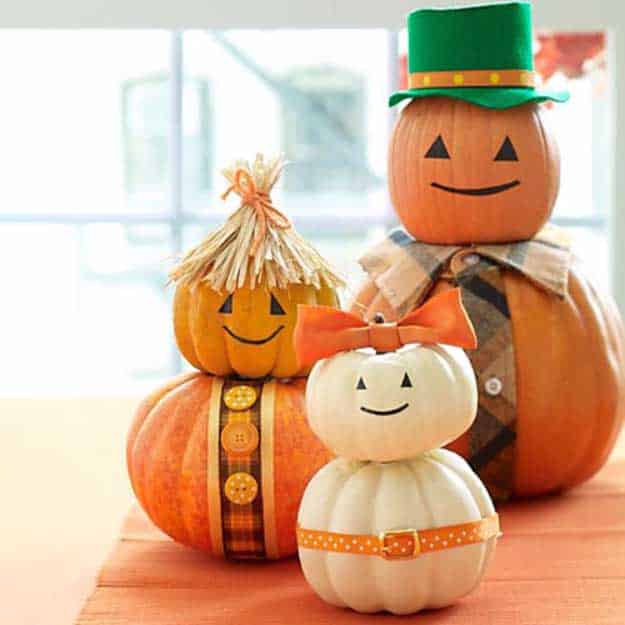
17. Pumpkin Family

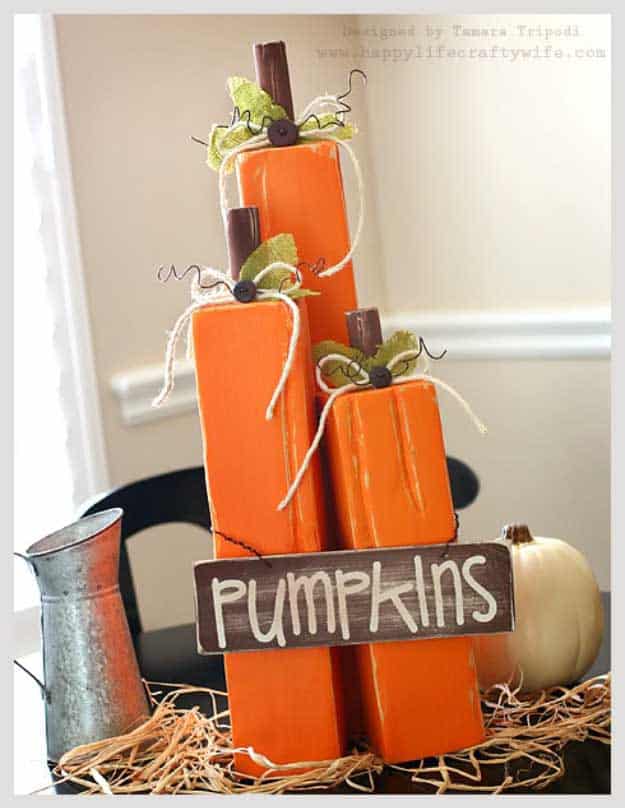
Two pumpkins in different sizes standing together read as a little family the second you group them, which is exactly the trick here. Cut pumpkin shapes from 2×4 scraps, paint them, and lean or stand them together on the porch rather than spacing them out the way I used to. Grouping does more work than the number of pumpkins ever did on its own. DIY Beautify has the full tutorial.
18. Geo Mesh Eyeball Wreath

Geo mesh works up so much faster than the regular deco mesh I used to fight with, and this eyeball version is proof. Twist loops of mesh onto a wire wreath form, tuck in a mix of ribbon and a few oversized googly eyes as you go, and the whole thing fills out in under an hour. It hangs right on the front door and reads as fun rather than gory, which is the balance I want for trick-or-treaters. Polka Dot Chair has the full tutorial.
19. DIY Mason Jar Patio Lights

I love how little effort these mason jar glow lights take for how much they show off. All you need is a jar and some glow in the dark paint, no long supply list and no extra trips to the store. Dot the paint on however you like, since there is really no way to mess this one up, then set the jars in the sun or under a bright bulb to charge them before dark. Mine end up strung along the patio for outdoor barbecues and they hold their glow for hours. Full tutorial and video are on DIY Joy.
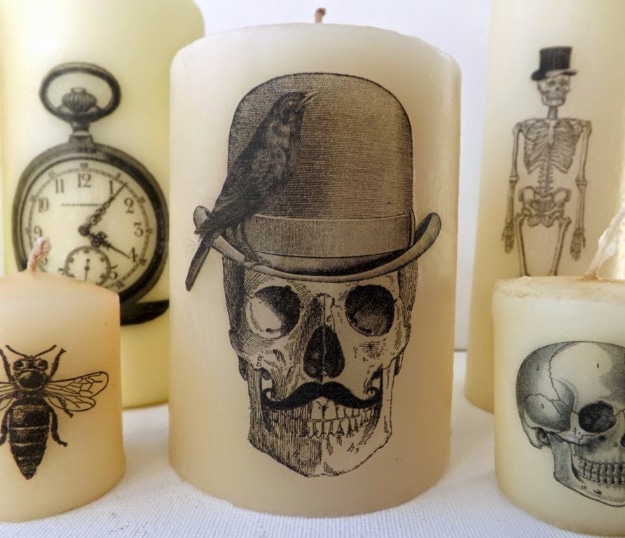
20. Halloween DIY Printed Candles

I found a stack of secondhand pillar candles at a car boot sale for next to nothing, but they were warped, grubby and every shade of off-white, so they needed serious help before they fit my Halloween party theme. Print your chosen images onto tissue paper backed with a sheet of regular printer paper, then trim them close to the edges once they come through the printer. Press the cutout gently onto the candle with a warm hairdryer so the tissue melts into the wax and the paper backing peels away clean. Using the same images throughout ties the whole display together and looks far more polished than the thrifted candles underneath ever suggested. SewforSoul has the full tutorial.
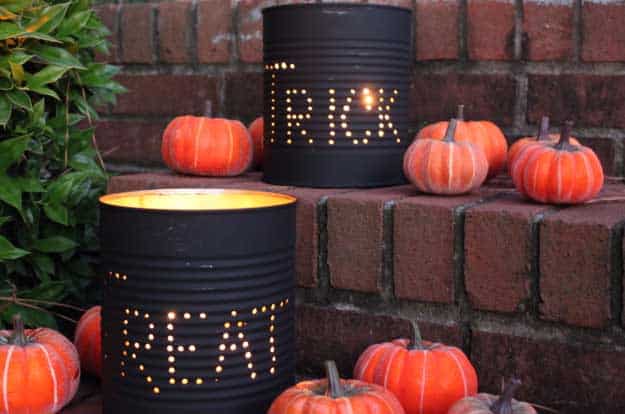
21. DIY Tin Can Luminaries

I never throw tin cans straight in the recycling anymore, not since I started turning them into these. Clean out the can, punch or drill a simple design into the sides, then drop in a flameless tea light so the pattern glows through once it’s dark. Lining a few up the front steps does more for the porch than anything I’ve bought at a Halloween pop-up shop. Single Girl’s DIY has the full tutorial.
22. Vintage Style Folk Art Black Cat

This one leans folk art rather than spooky, and I like having at least one Halloween piece that is more charming than scary. Cut the cat shape from scrap wood, sand the edges soft, and paint it black then rough it up a little at the edges so it reads more hand-carved than store-bought. Mine sits on a shelf near the door instead of hiding among the pumpkins, so it actually gets noticed. Do Dodson Designs has the full tutorial.
23. Halloween Candies Centerpiece

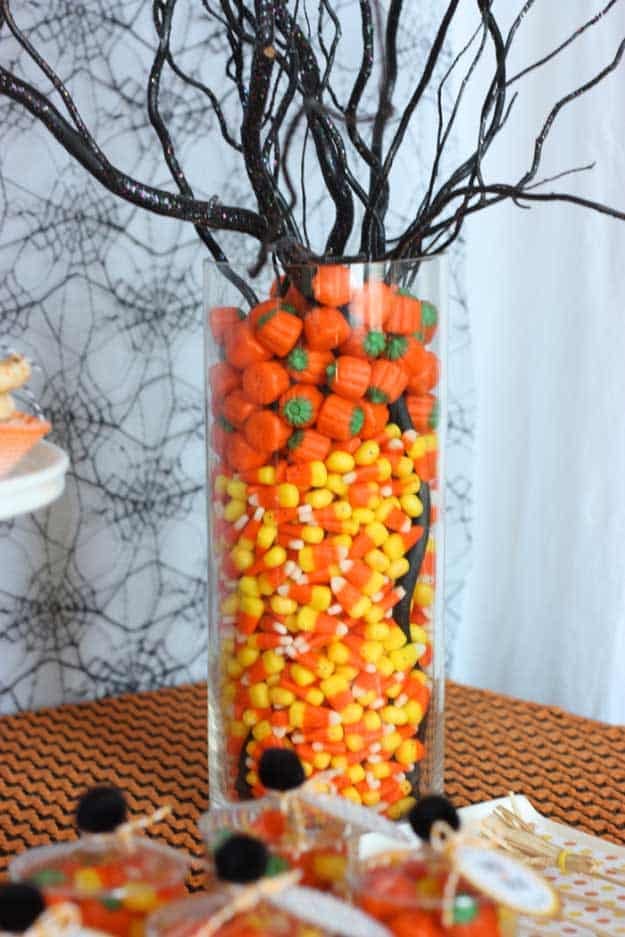
Candy corn and mixed Halloween wrapped candy look like decor the second you put them in the right jar instead of a bowl. I used a footed glass jar so it sits taller on the table and actually reads as a centerpiece instead of just a snack bowl nobody notices. Guests end up picking from it all night, which beats a candy dish nobody remembers is there. A Pumpkin And A Princess has the full tutorial.
24. Glow in the Dark Pumpkins

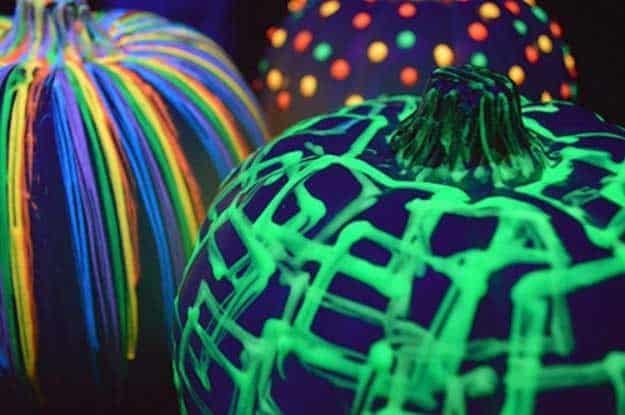
I skip carving altogether some years and paint my pumpkins with glow in the dark paint instead, so the design stays hidden until the lights go out and then it glows right through the dark. You can do this one weeks ahead of Halloween since there is no cut pumpkin to worry about rotting on the porch. A sugar skull is my favorite pattern, though simple dots work just as well, and it is easy enough that the kids can paint their own with no knife involved. Full step by step instructions and a video are on DIY Joy.
25. Wood cats in gingham and speckle
Wooden cats with ribbon bow ties, and not a black one among them. Mine are orange gingham and black speckle on white, which sits much better next to real pumpkins than the usual silhouette. Googly eyes, twine whiskers and a button nose are what give them a face, and none of that takes more than a minute each. They’re cut from scrap, so they come back out every October. Craftaholics Anonymous has the cutting guide.