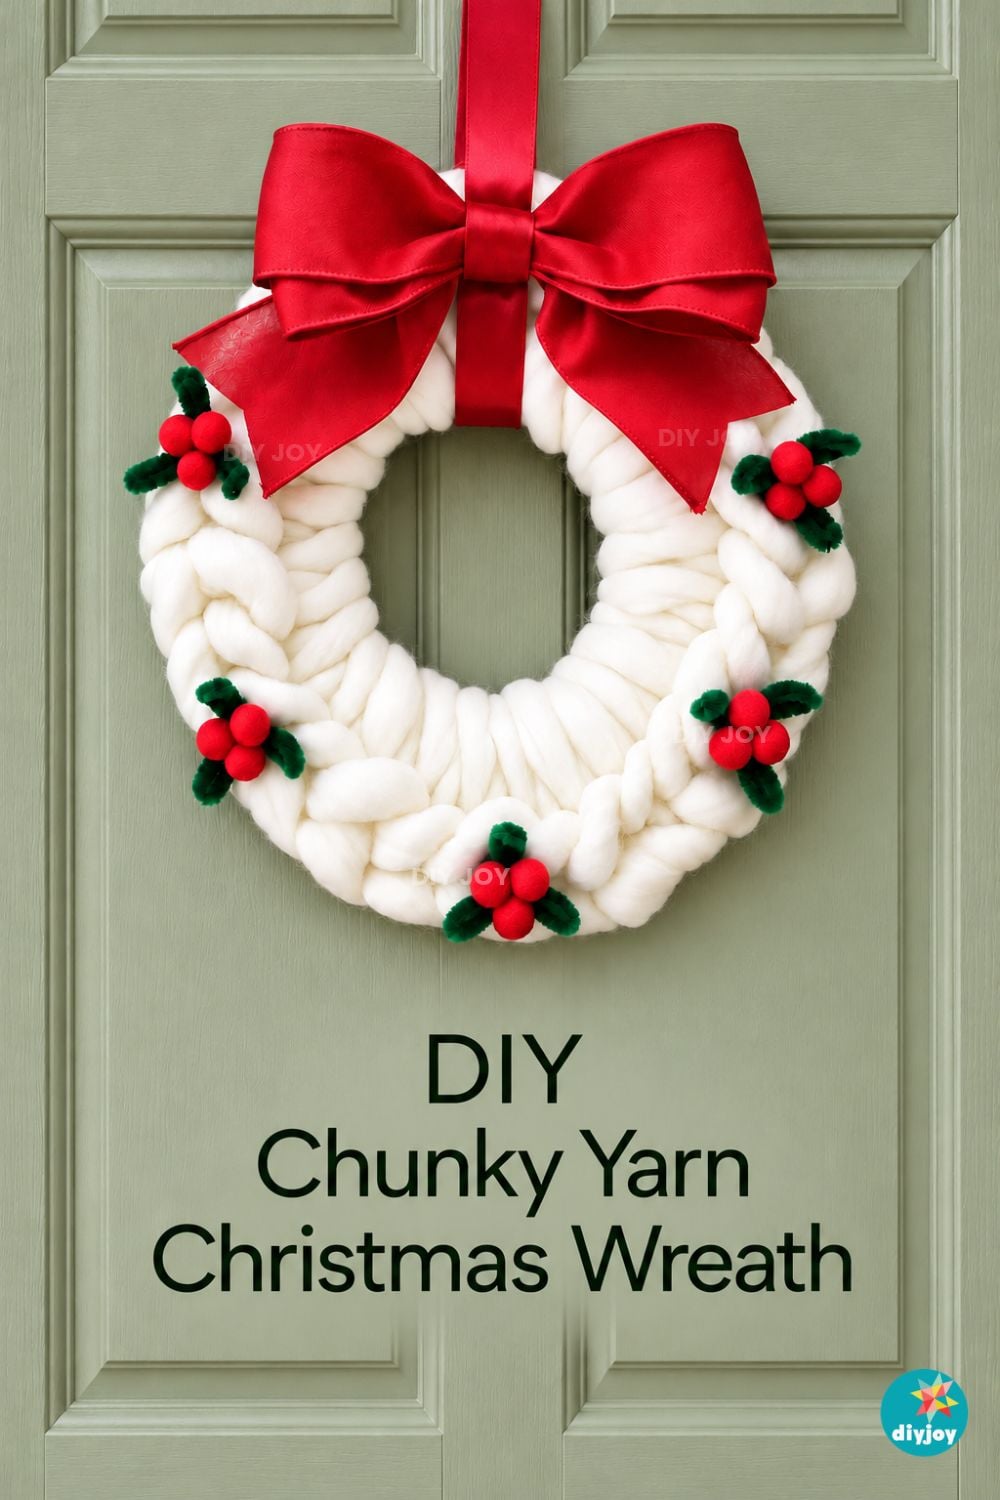
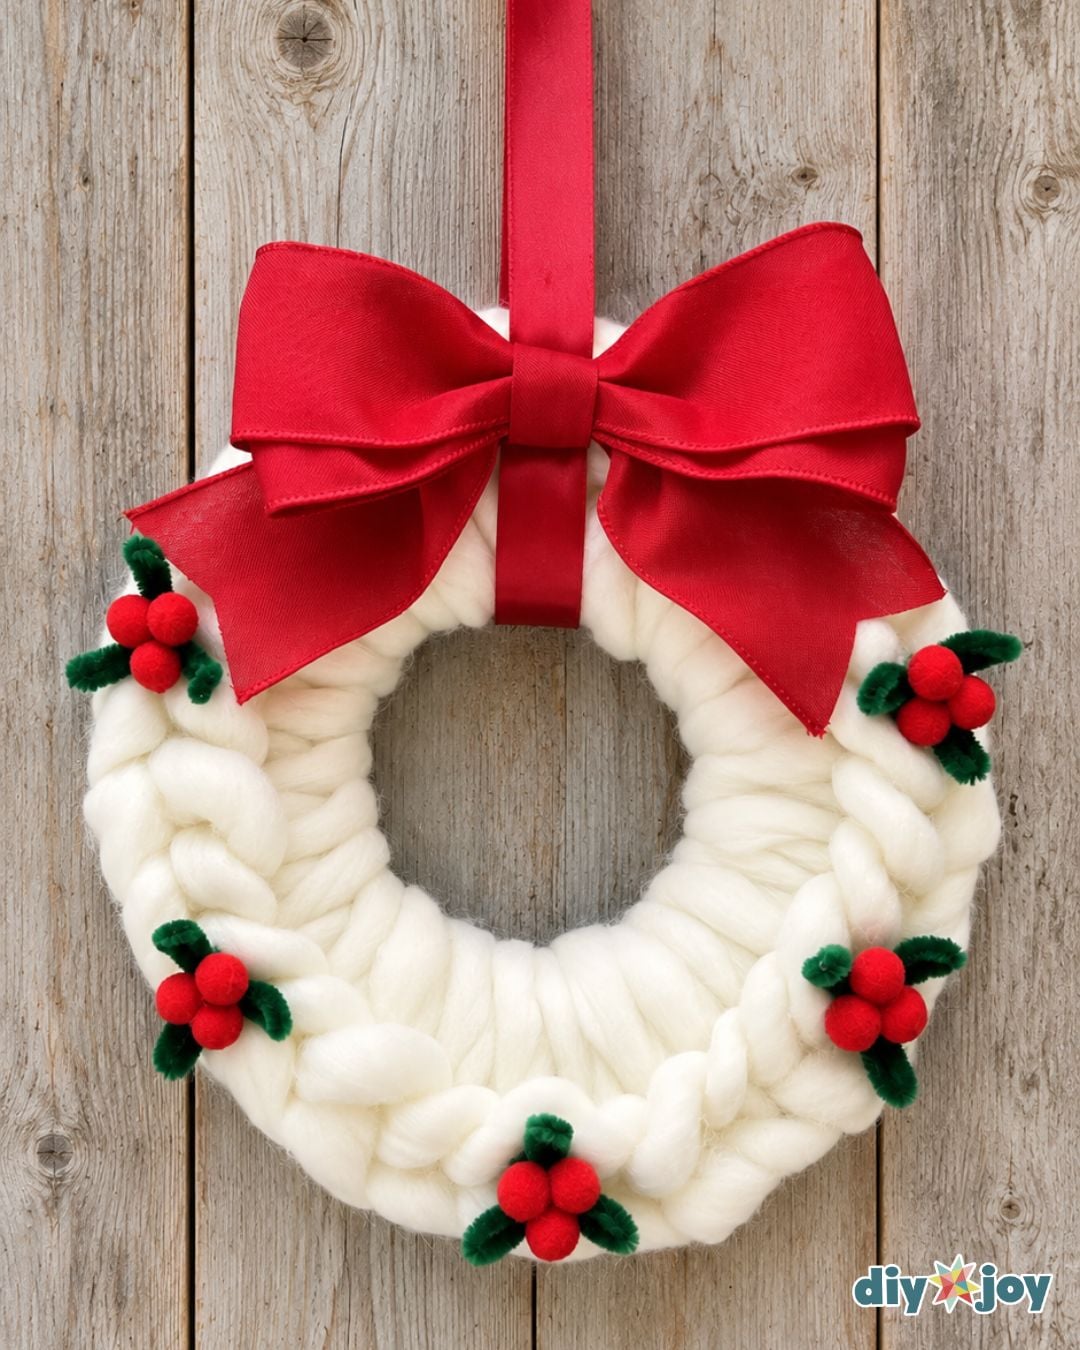
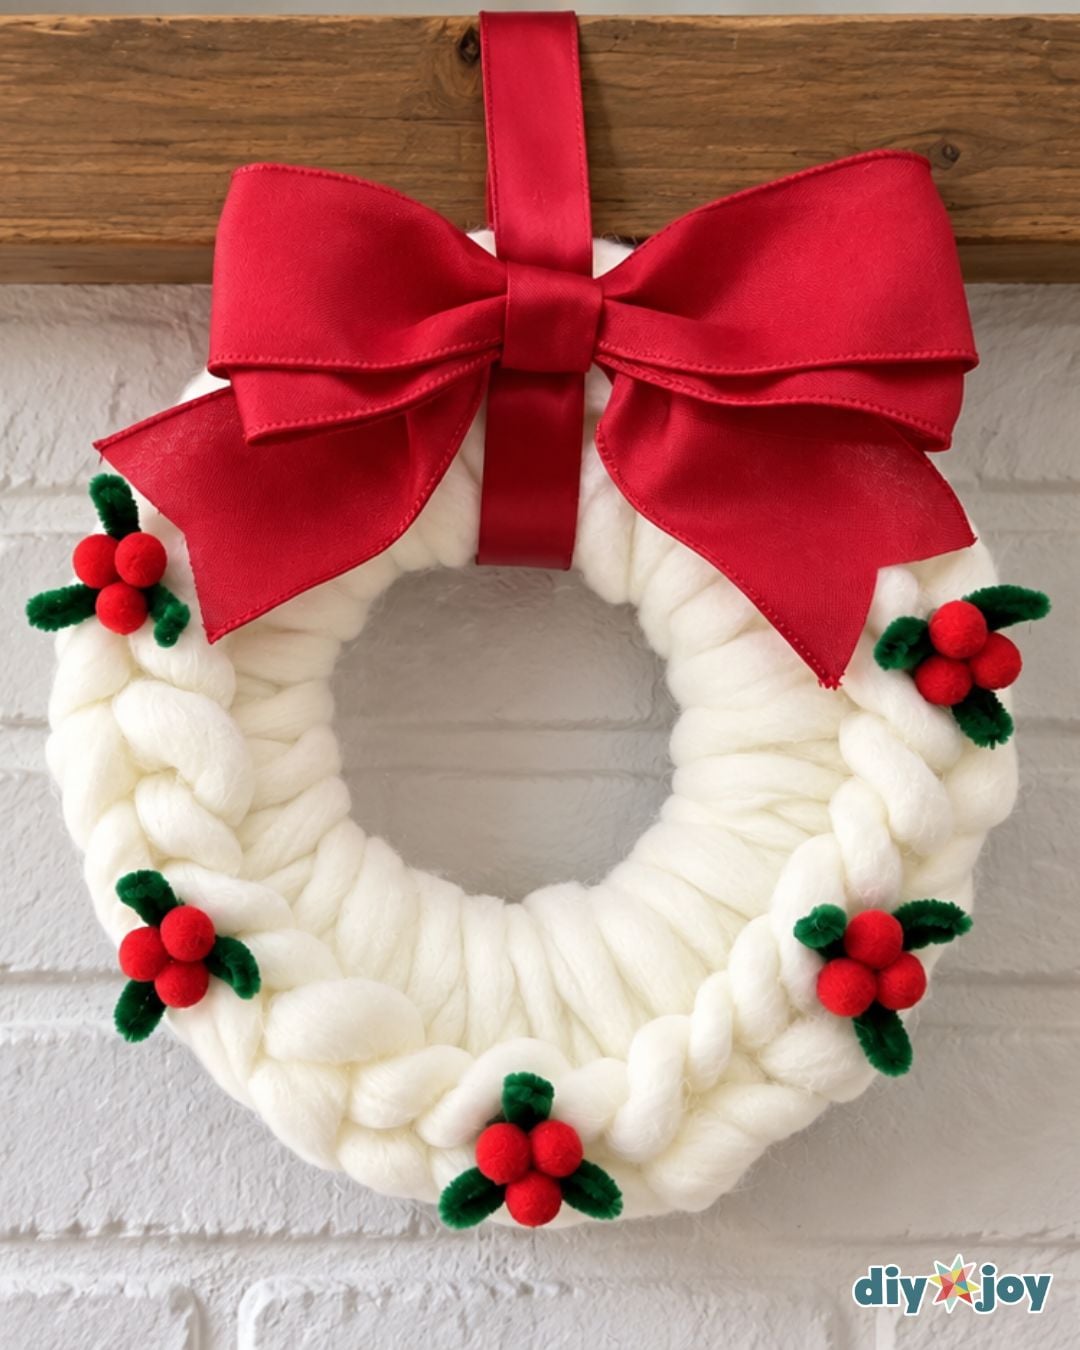
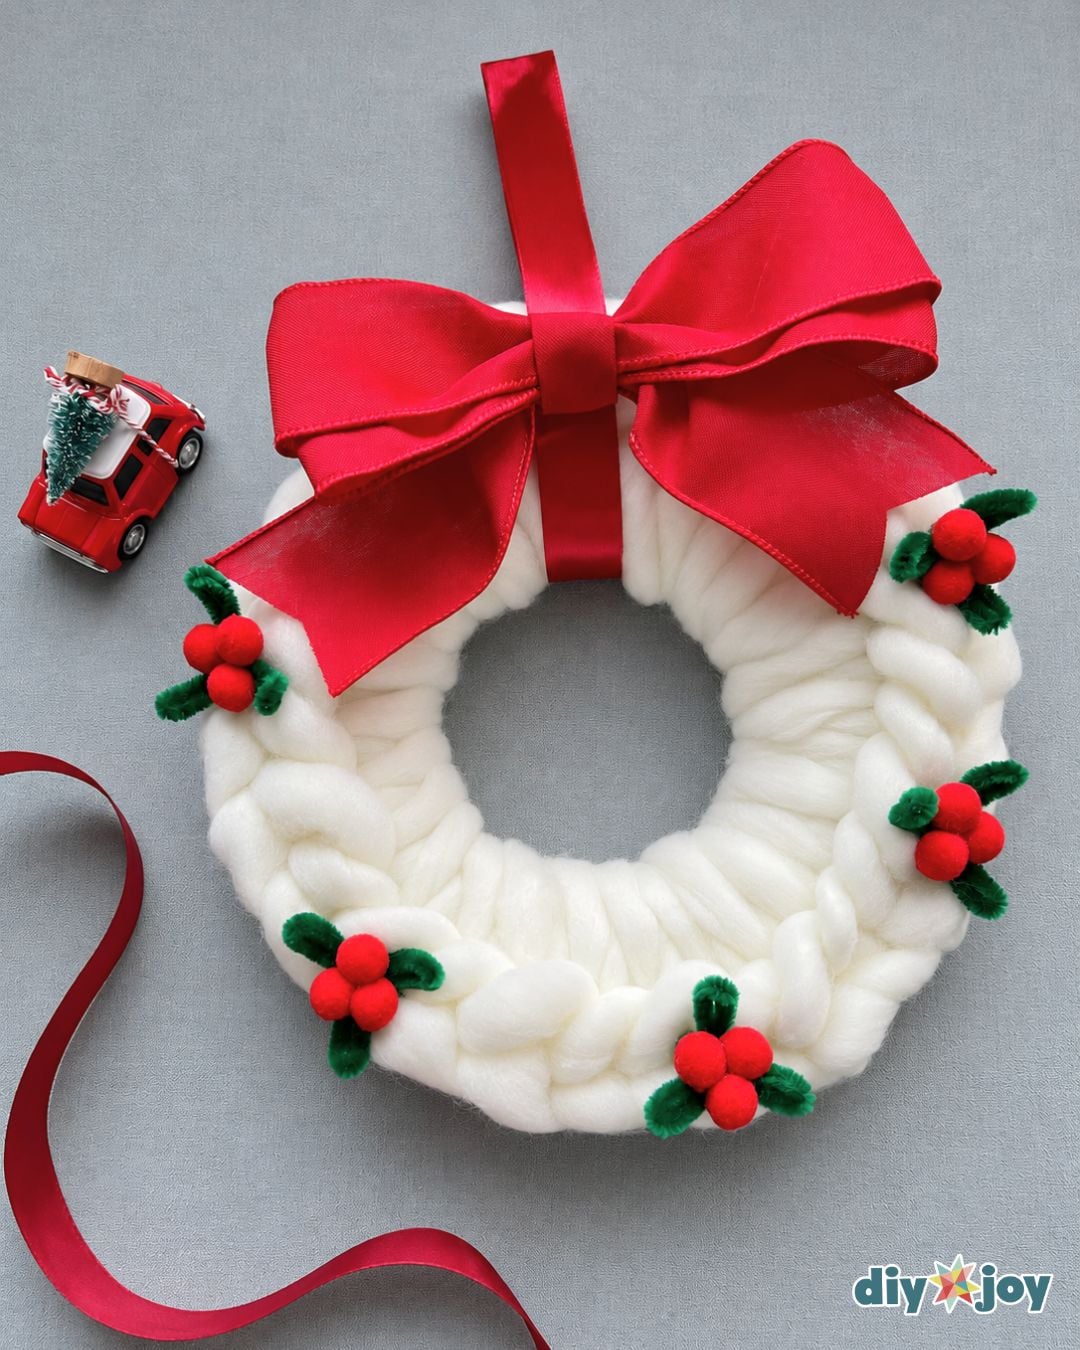
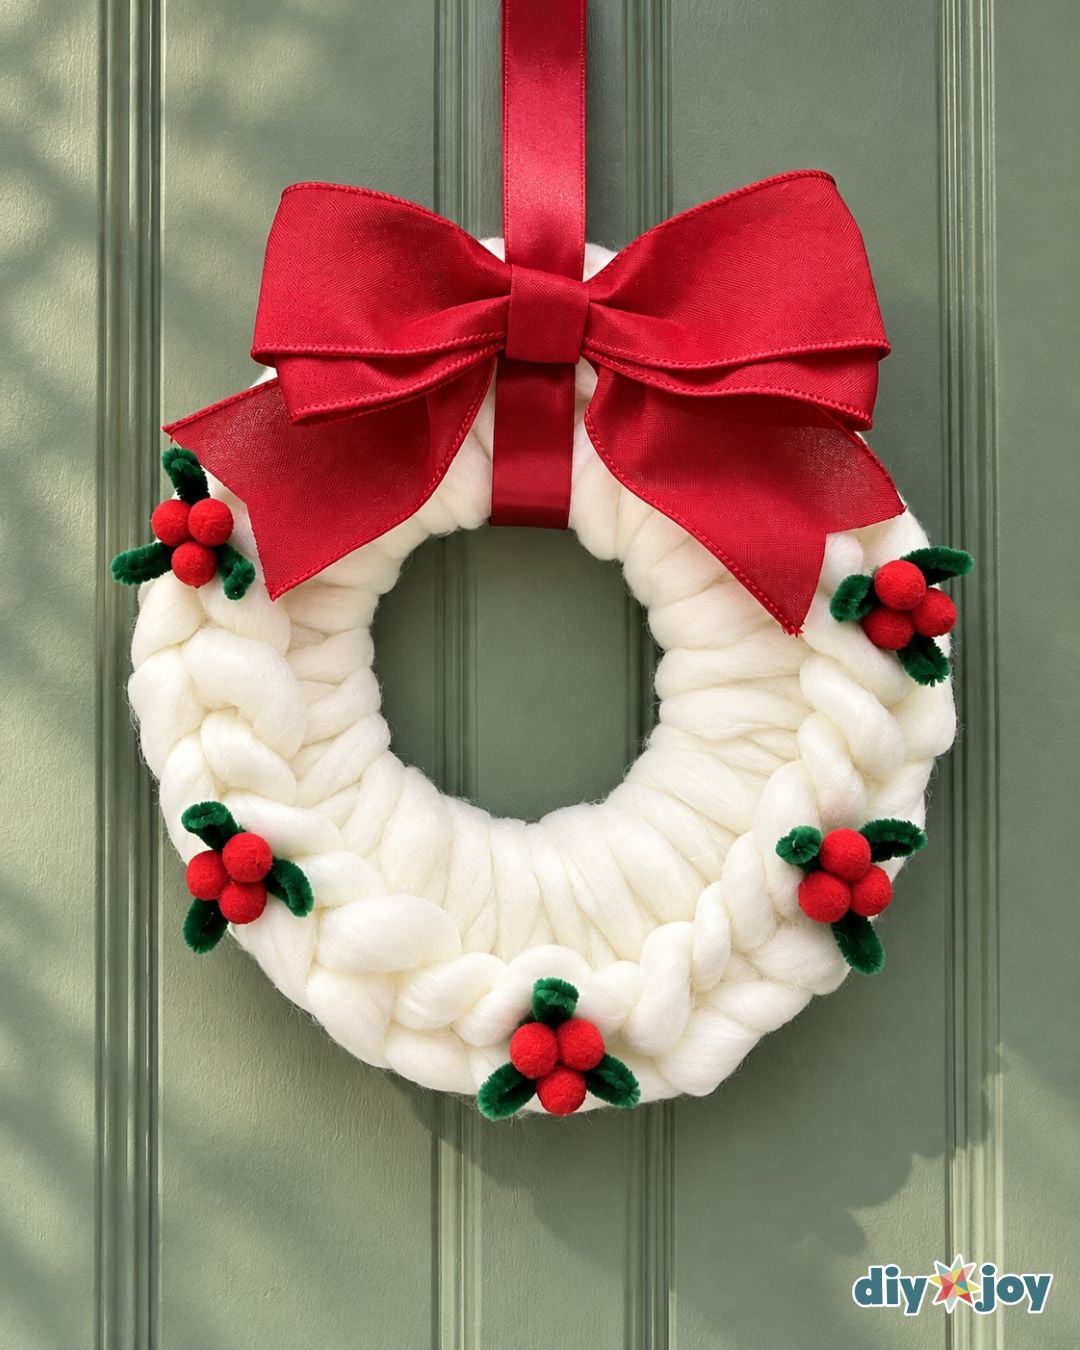
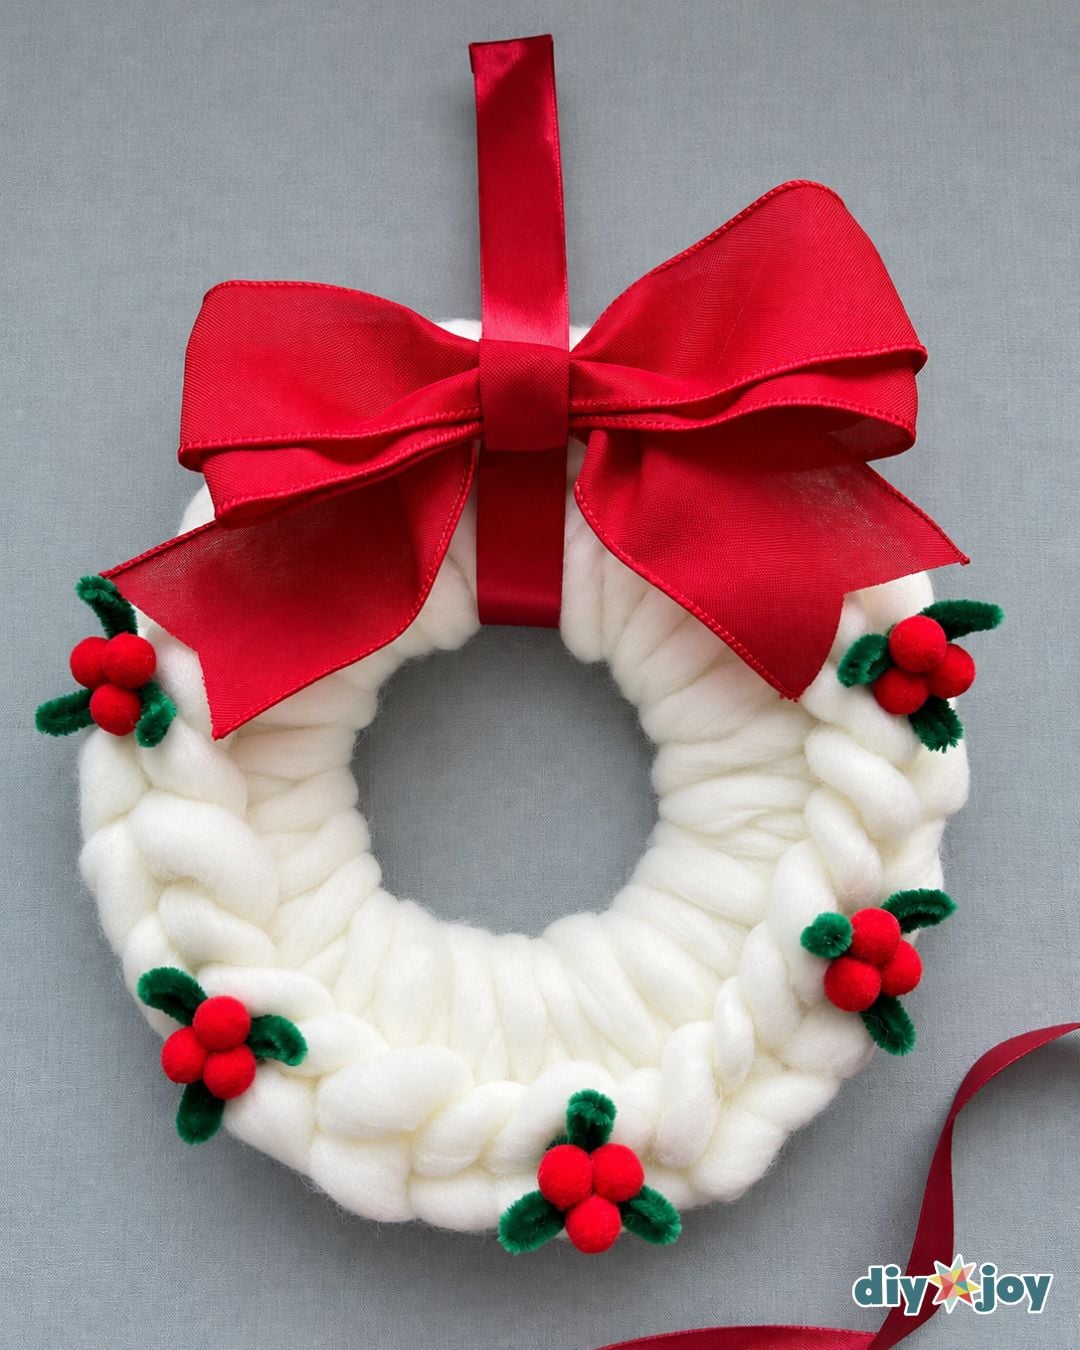
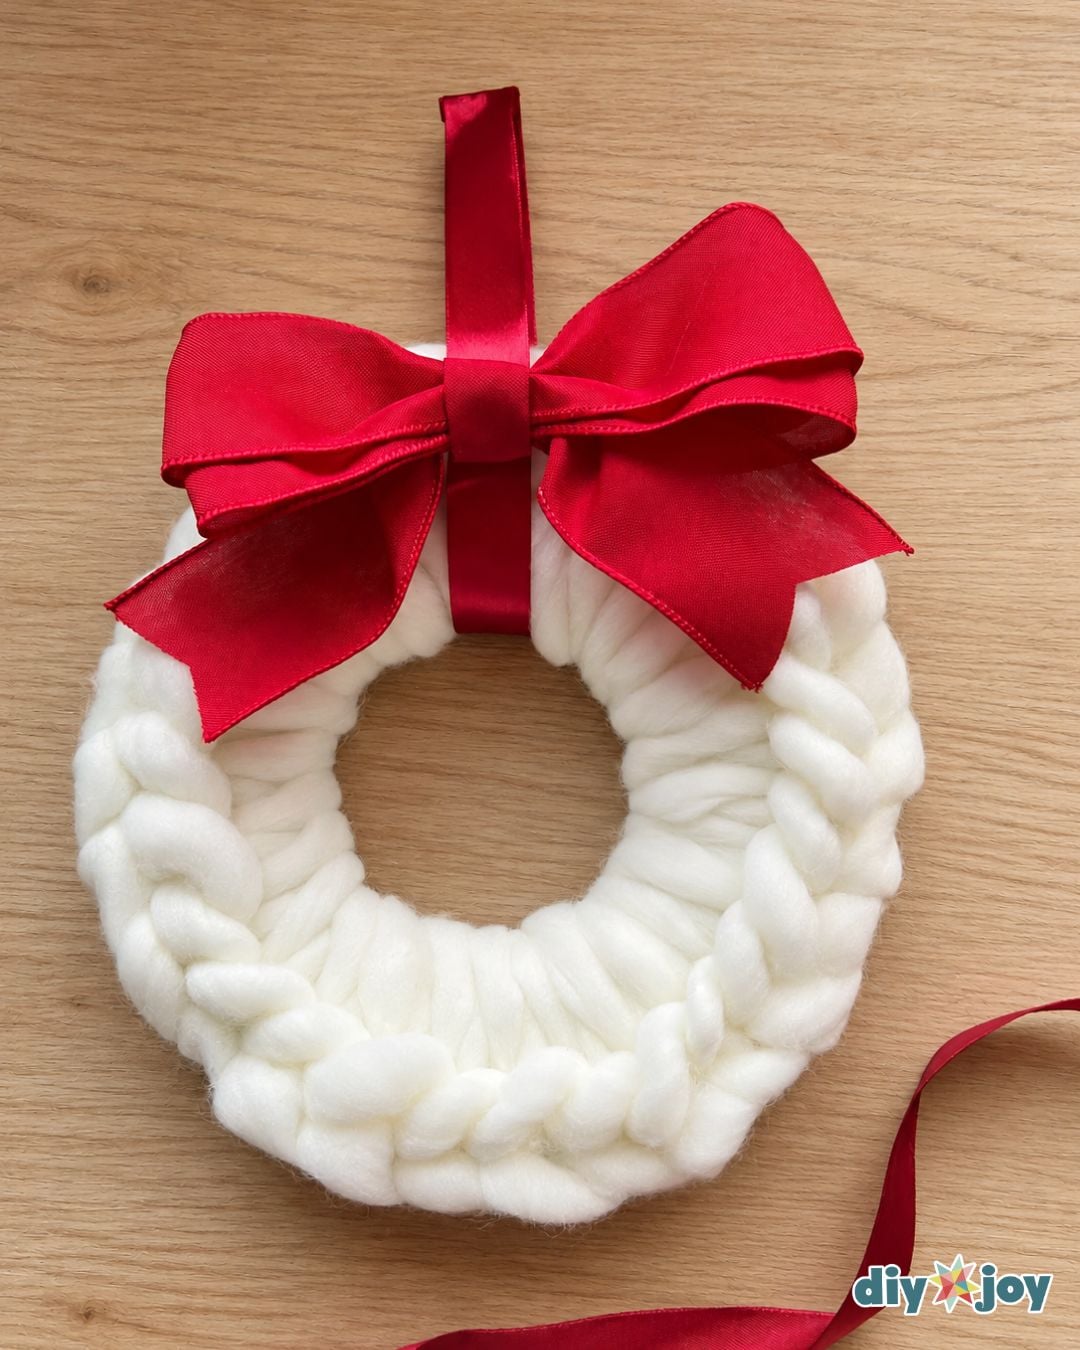
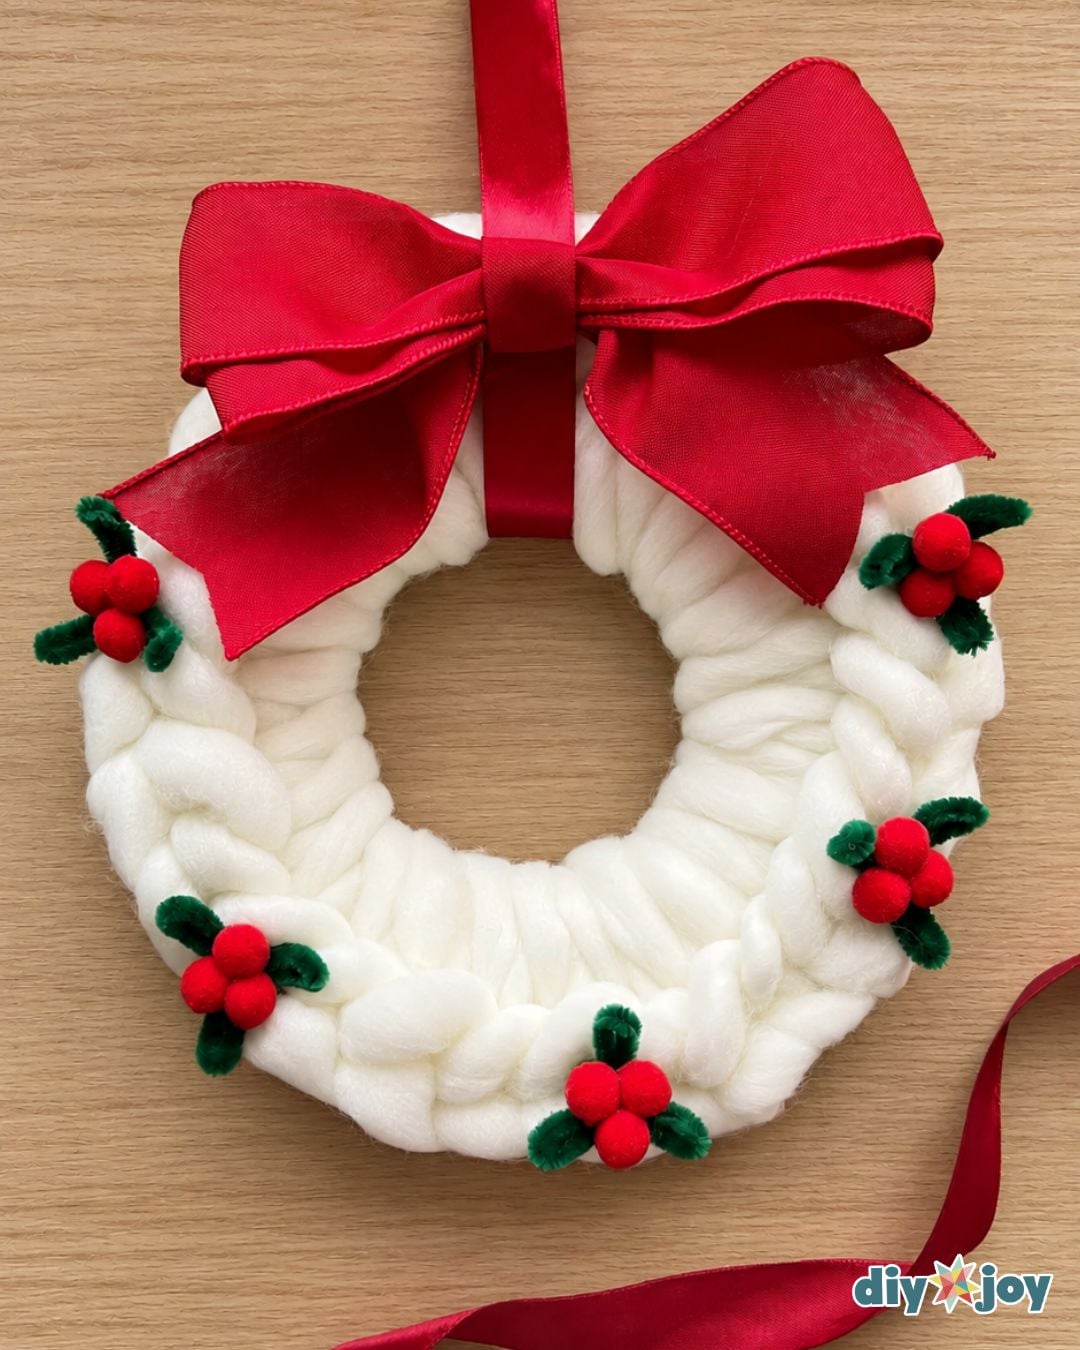
Dress up your door for the holidays with this easy DIY Christmas wreath made from soft, chunky wool yarn! Instead of buying a pricey wool wreath, you can create your own using a metal wreath form and a few simple craft supplies. The fluffy texture, bright ribbon bow, and handmade berries give this chunky yarn wreath a cozy, festive look.
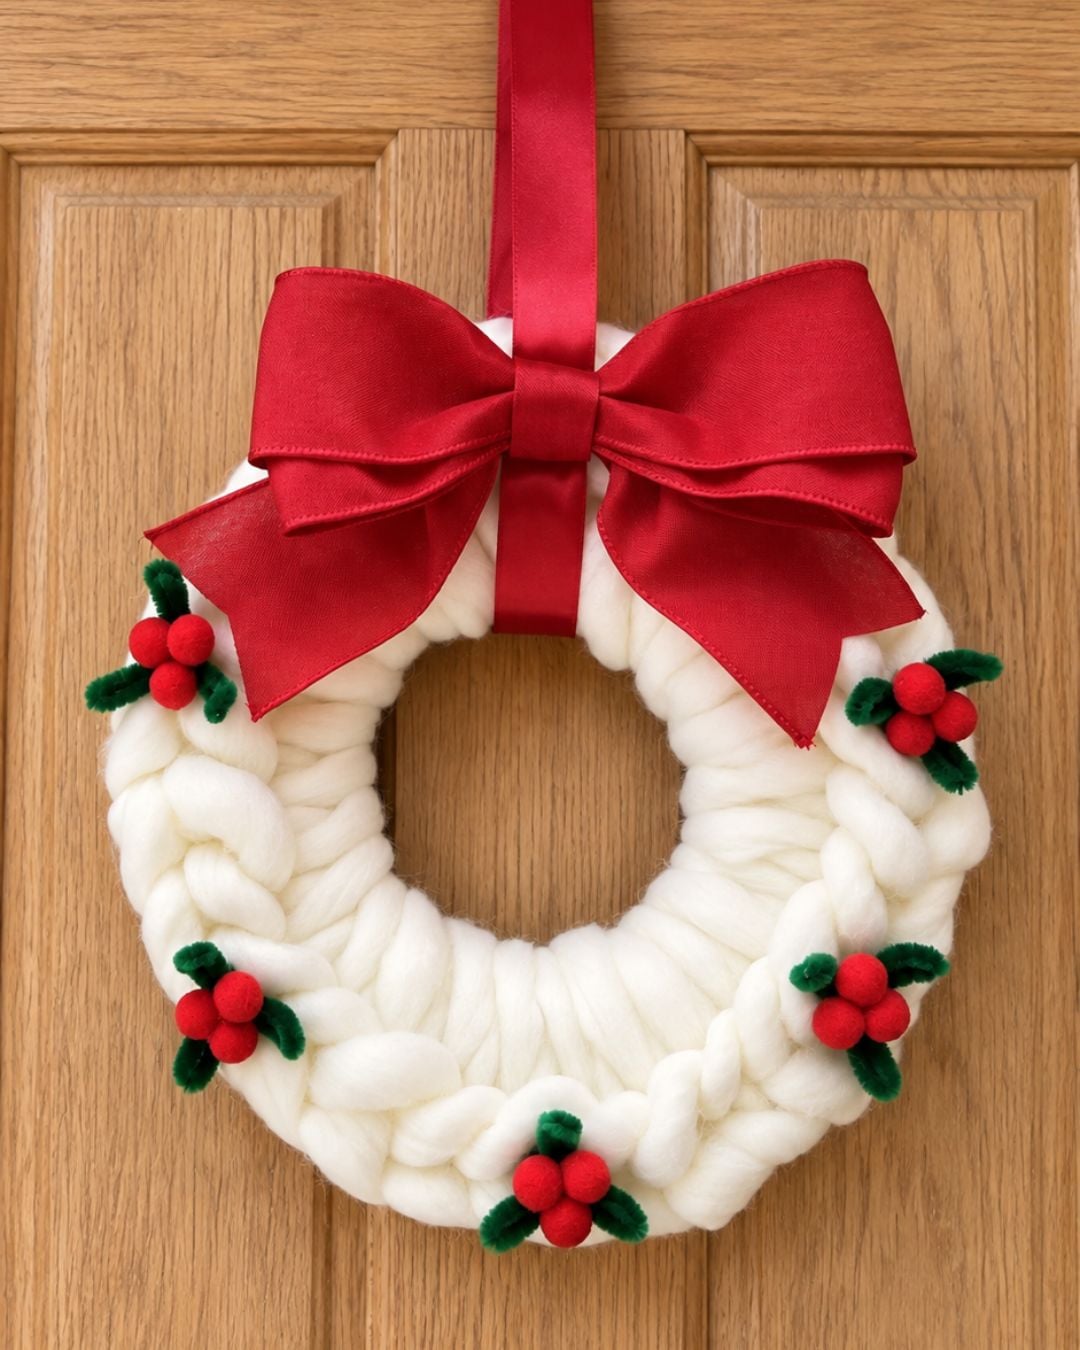
This beginner-friendly Christmas craft requires no knitting experience, needles, or crochet hooks. Simply pull and tighten yarn loops around the metal frame until it’s completely covered. The yarn wreath tutorial also shows you how to shape a ribbon bow and turn pipe cleaners and pom-poms into little Christmas berry clusters. It’s a fun way to create your own holiday decorations while trying a simple yarn project!
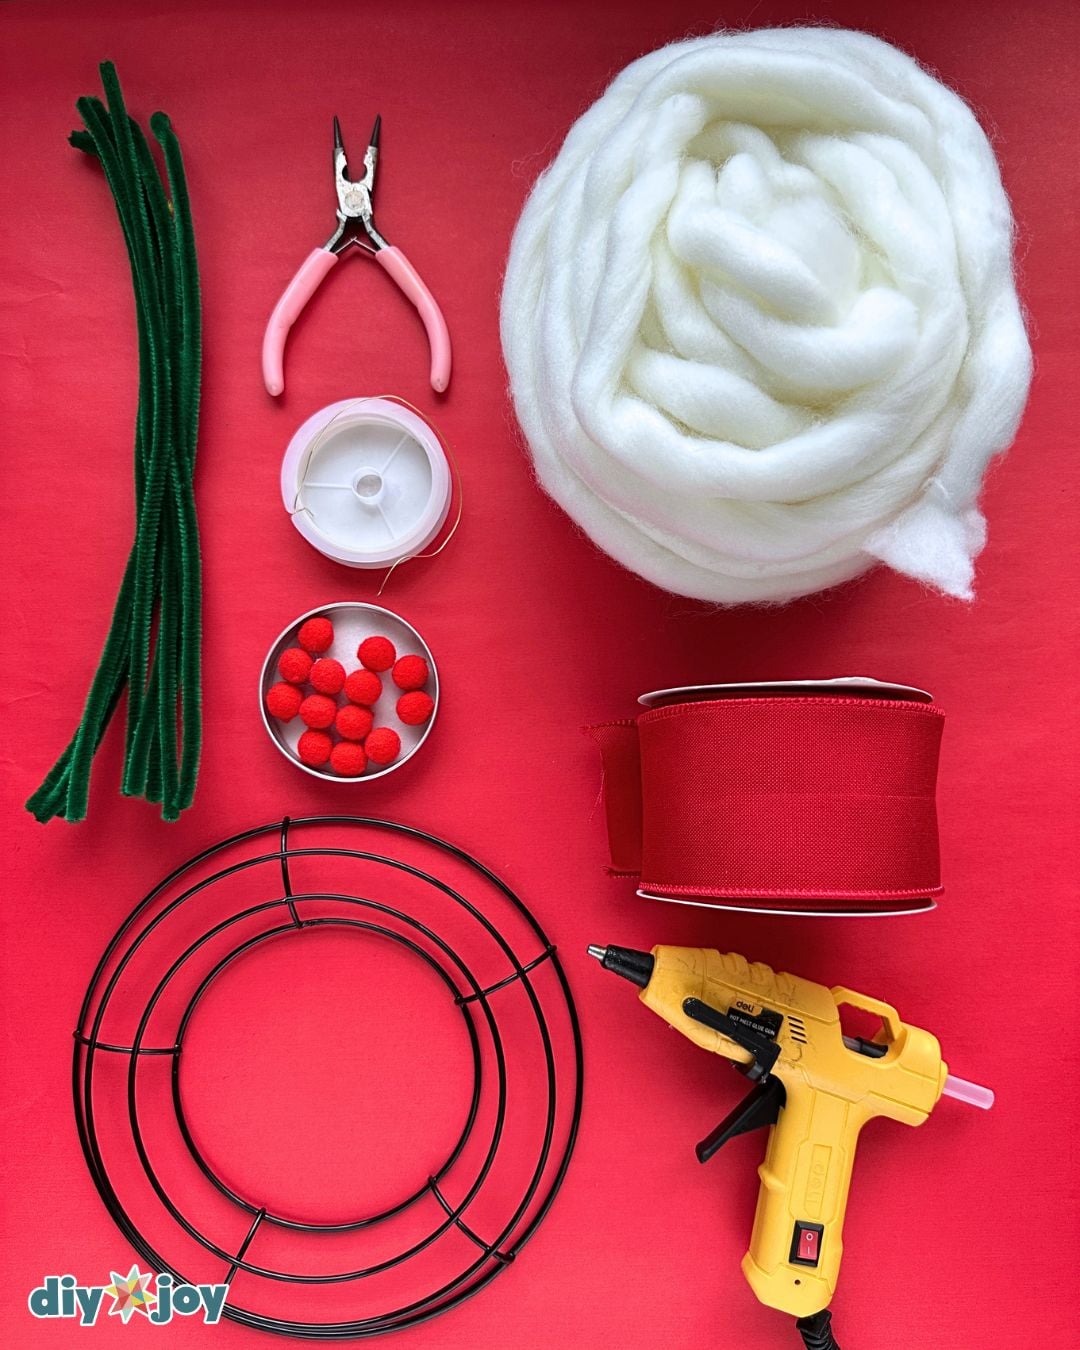
Christmas Yarn Wreath Supplies
- Metal wreath
- 75 grams Chunky wool yarn
- 2.5-inch wired ribbon for the bow
- Green pipe cleaners
- Red pom pom balls
- Glue gun and glue stick
- Scissors
- Cardboard
Shop the Supplies
Here are the main supplies we used for this DIY wreath, so you can grab the same ones and get straight to crafting.
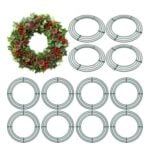
Metal Wreath
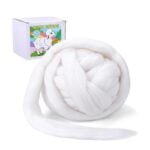
Wool Yarn
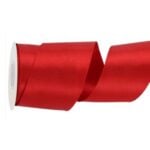
Wired Ribbon
Pom Pom Balls

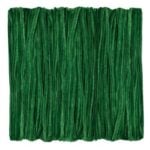
Green Pipe Cleaner
*Some of the supply links above are affiliate links. If you buy through them, I earn a small commission at no extra cost to you.
How to Make a Christmas Wreath Using Chunky Wool
Learn how to make this DIY Christmas wreath with this step-by-step tutorial.
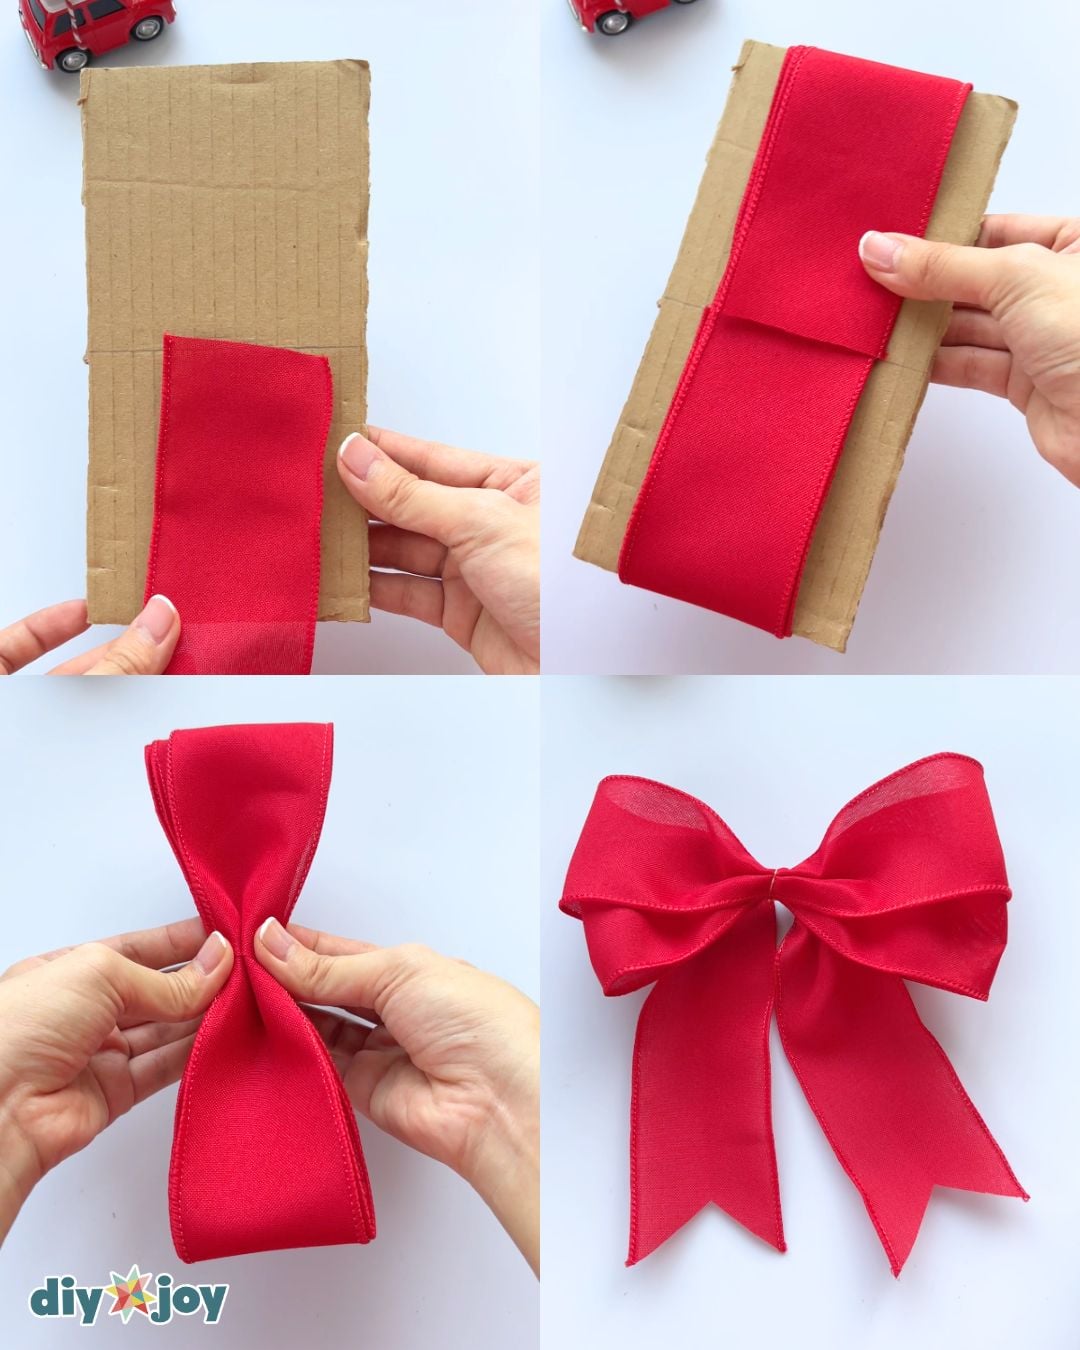
Step 1: Make the Bow
Cut a 4 × 8-inch piece of cardboard and draw a line down the center.
Place the end of the ribbon along the line. Wrap the ribbon around the cardboard until you have three layers.
Cut the ribbon at the center line, then slide the ribbon off the cardboard.
Pinch the ribbon in the middle, then secure the center with craft wire.
Gently pull the top half toward the back, then pull that half between the layers.
Stack the ribbon tails, then fold them in half lengthwise. Cut diagonally at a 45-degree angle to create notched ends.
Gently separate and fluff the two layers of the bow.
Step 2: Finishing the Bow
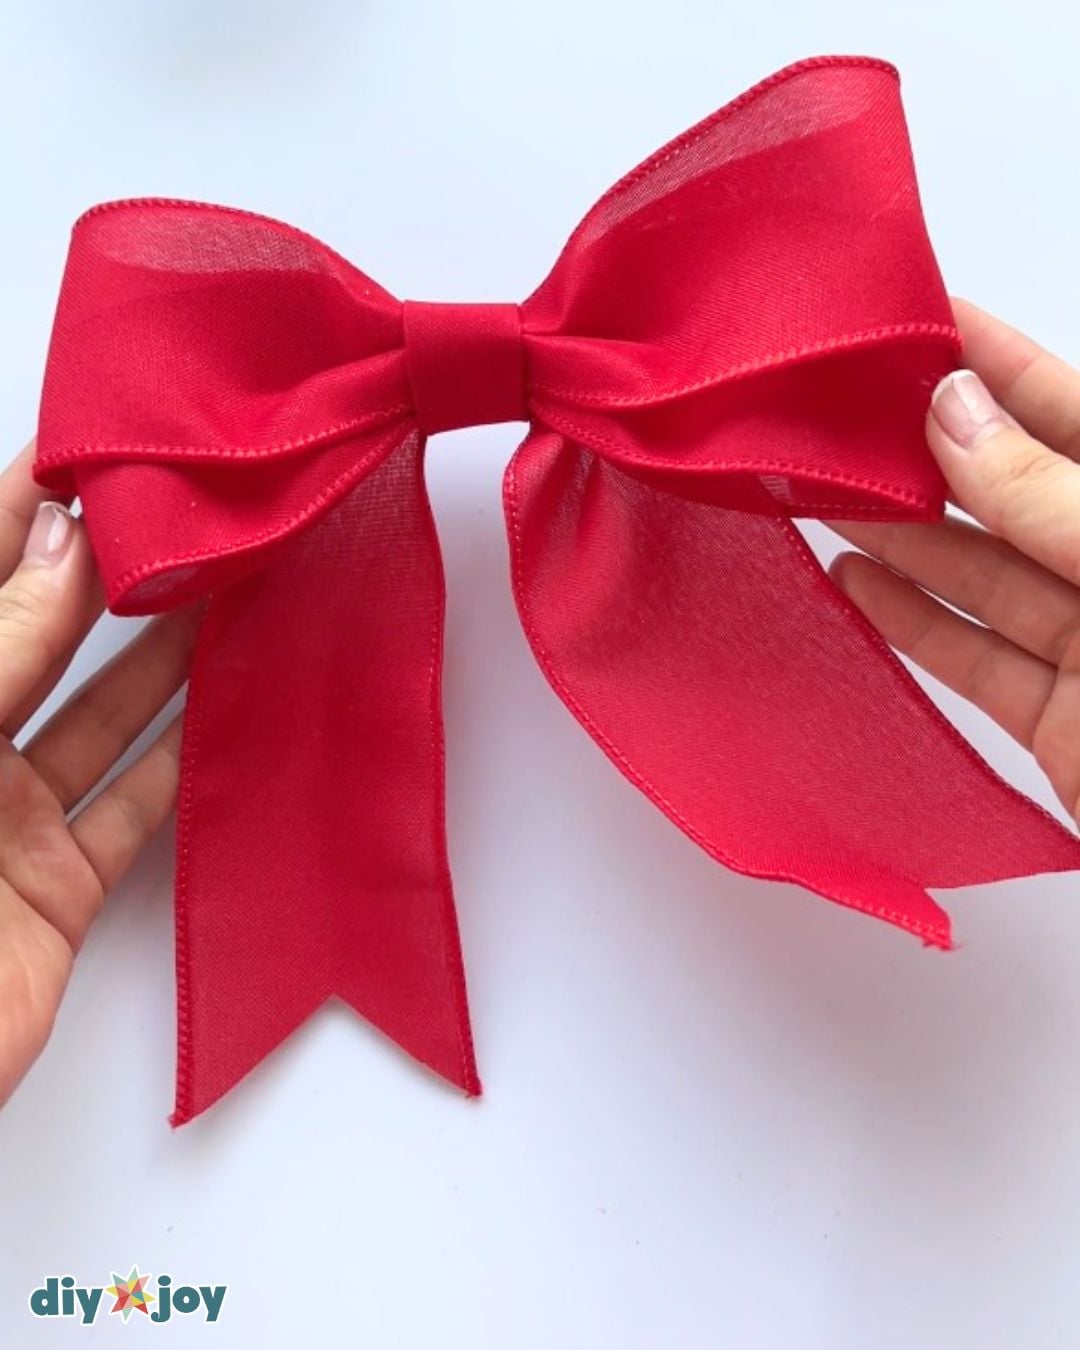
Cut a small piece of ribbon. Fold the edges toward the center, then glue them in place.
Wrap the small ribbon around the middle of the bow and glue the ends at the back.
Step 3: Make the berries
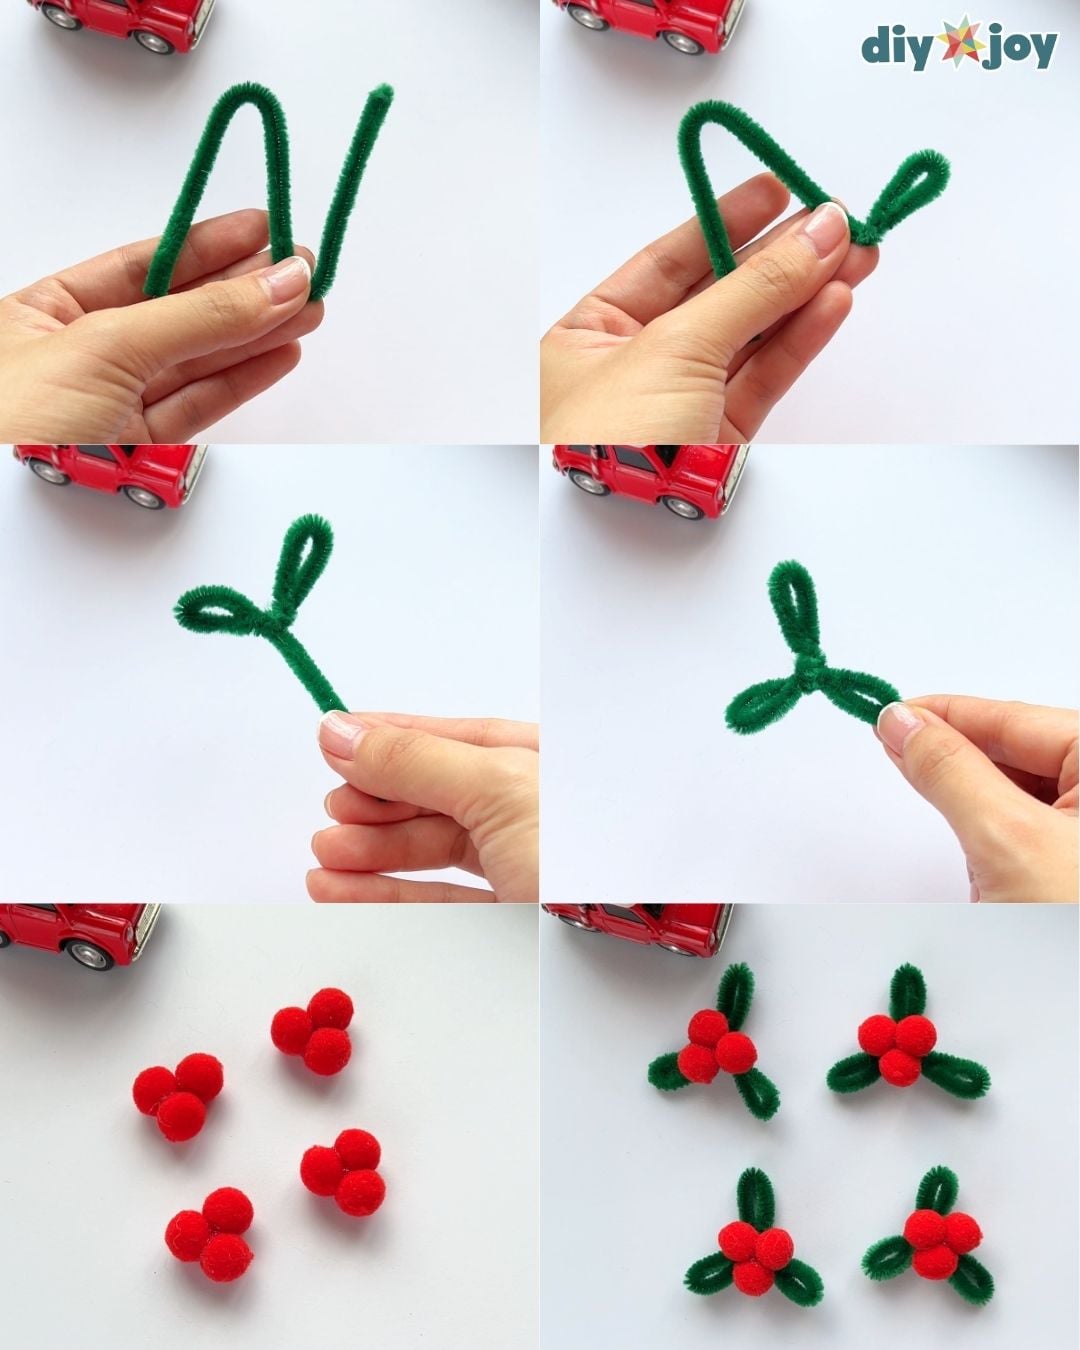
Fold a 9 3/4 inch pipe cleaner into three equal sections.
Fold the first section in half, then twist the ends together to form the first leaf. Repeat with the remaining two sections.
Glue three pom-poms together to form a berry cluster.
Glue the berry cluster onto the pipe cleaner leaves.
Step 4: Add stems to the berries
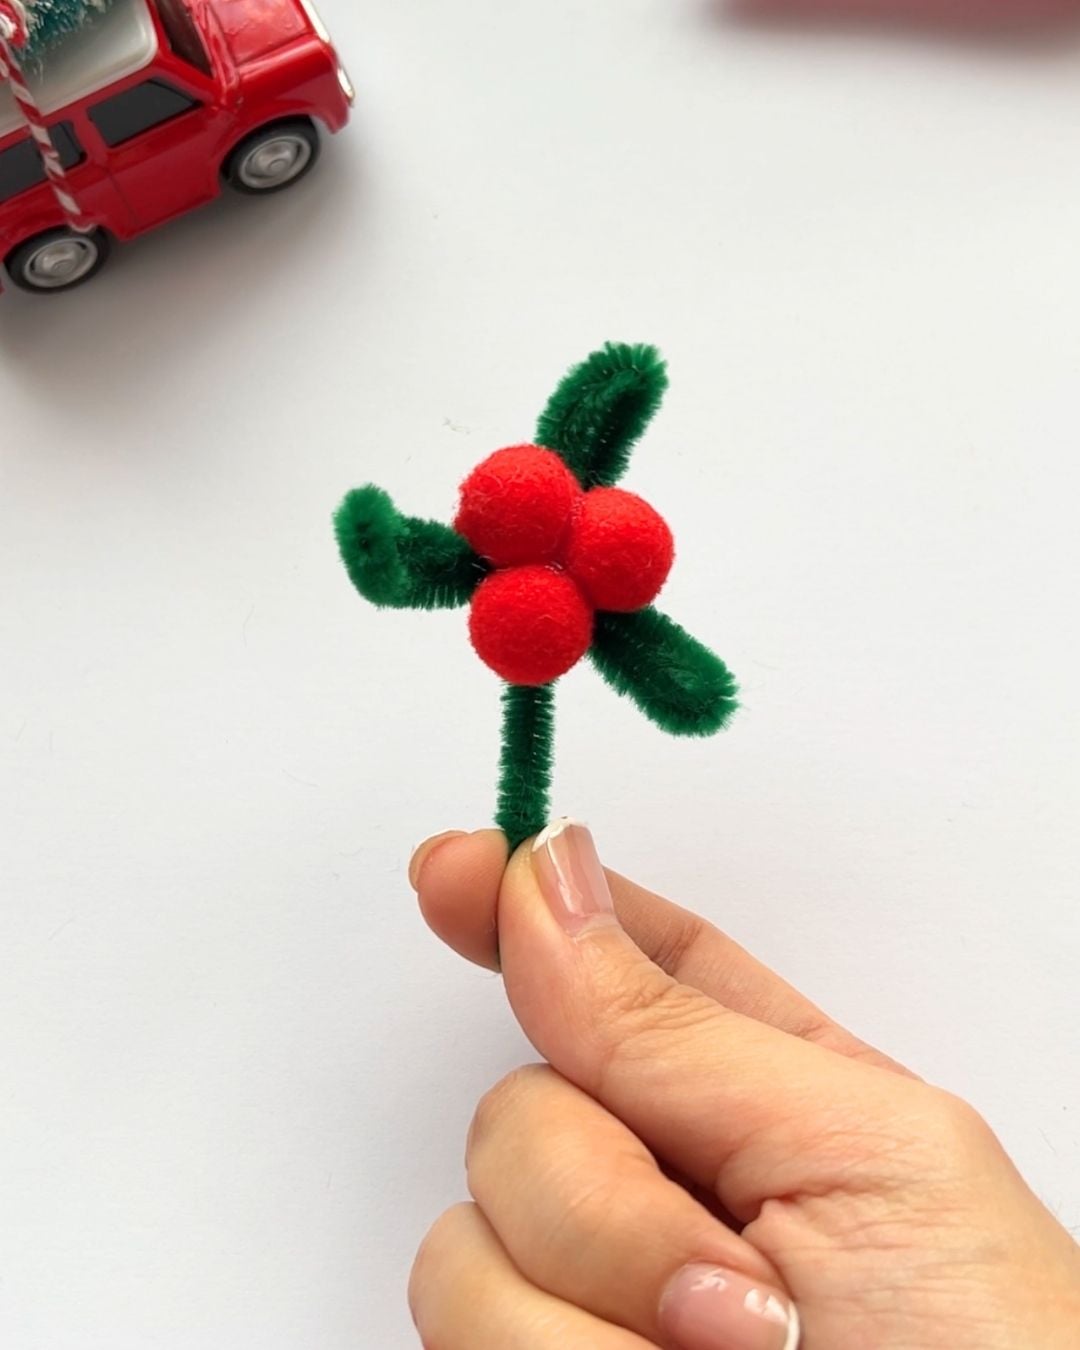
Cut short pieces of pipe cleaner. Glue a piece to the back of each berry to create a stem.
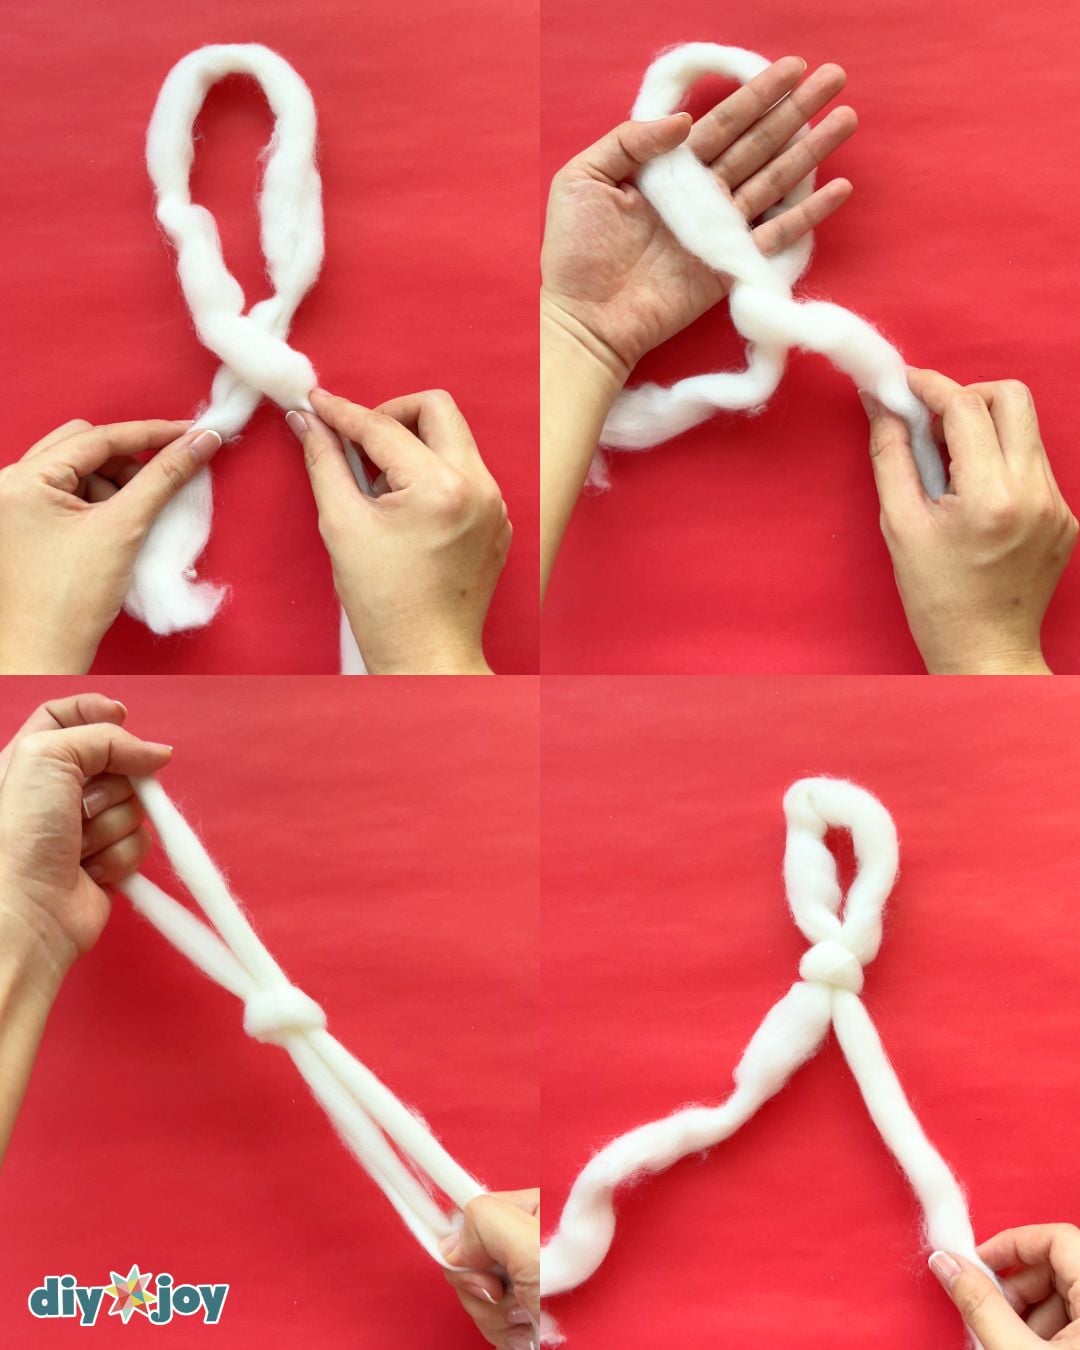
Step 5: Make a slip knot
Cross the working yarn over the tail end to form a loop.
Insert your hand through the loop and twist it. Pull the working yarn through to form a slip knot. Adjust the loop as needed.
Step 6: Making the wreath
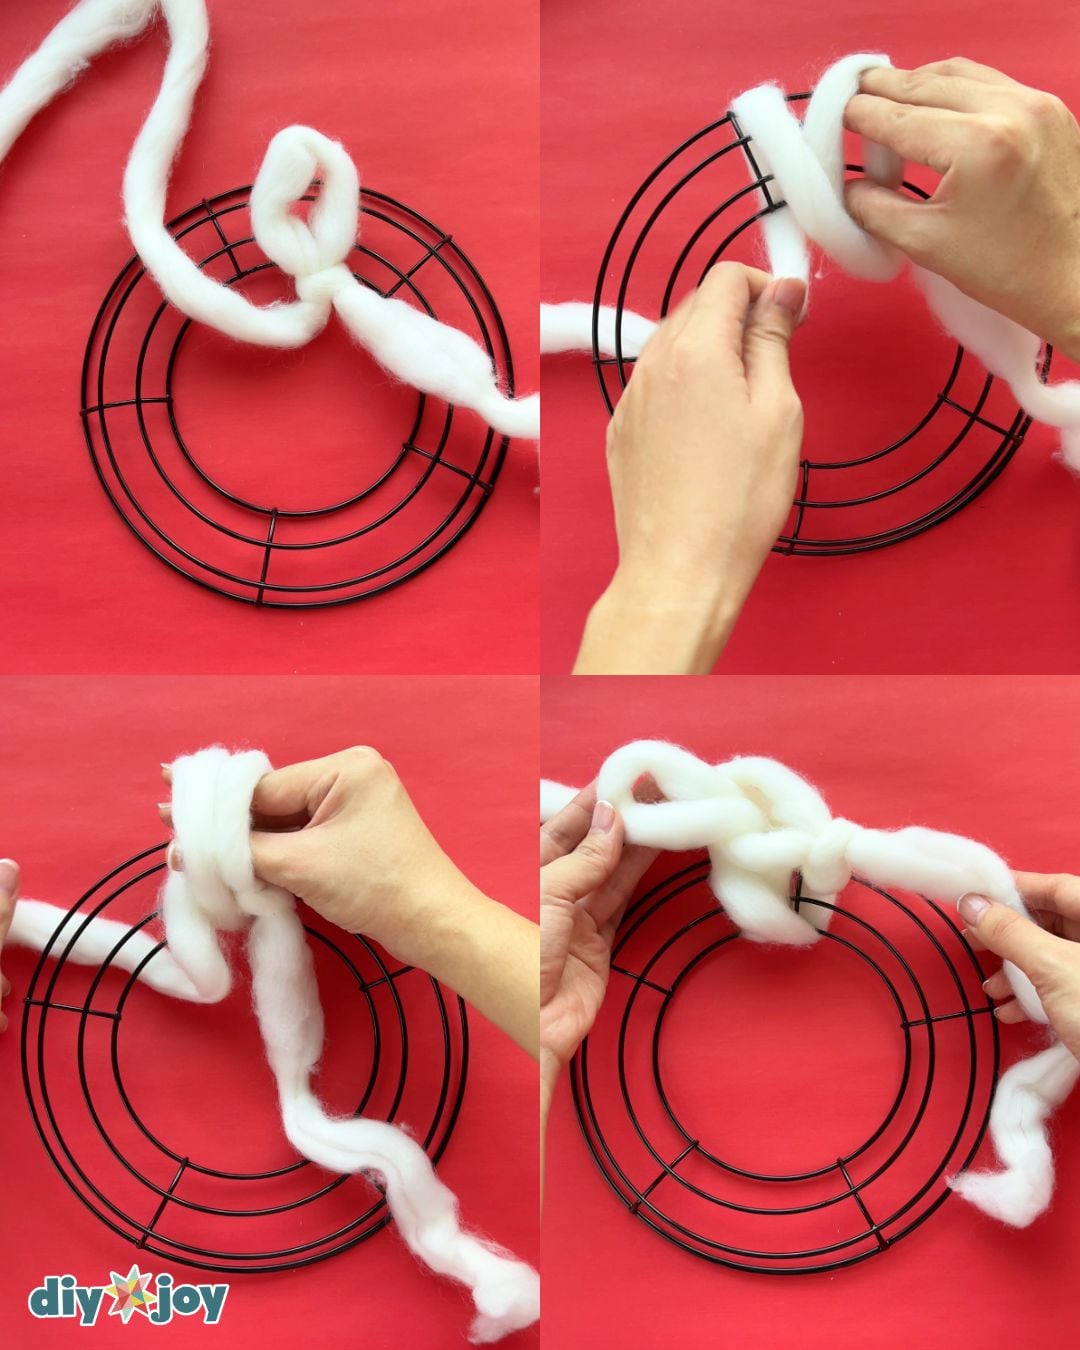
Place the yarn over the wreath form. Insert your hand through the loop and hold the wreath form.
Reach through the center of the wreath form and pull up a loop of working yarn. Pull the working yarn to tighten your first knot.
Repeat until the entire wreath form is covered.
Step 7: Finishing the wreath
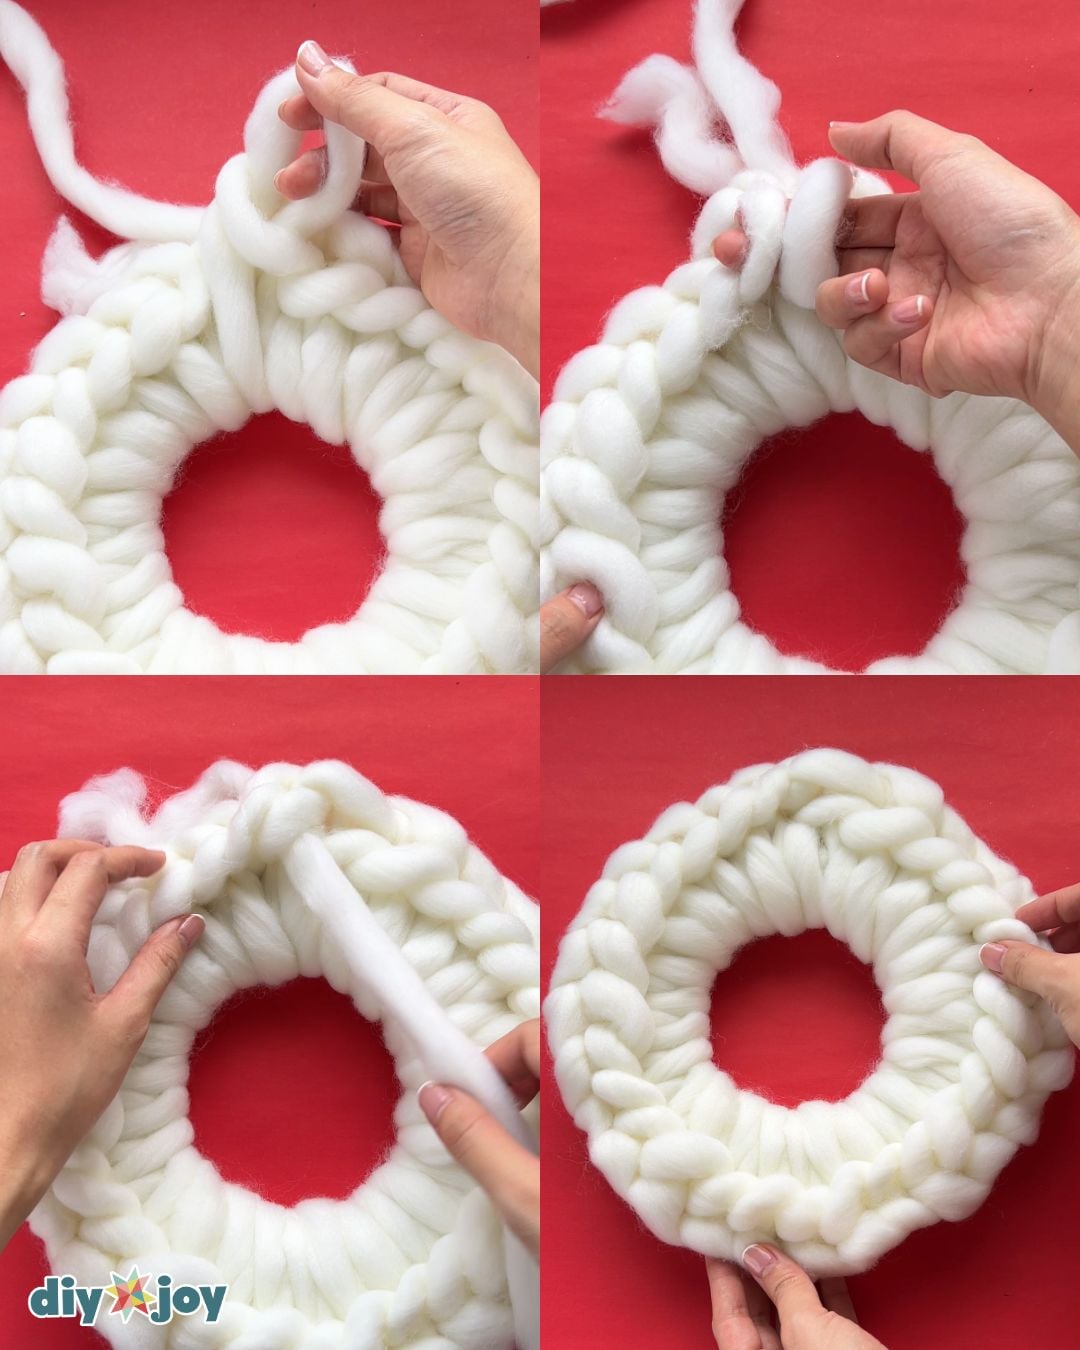
Thread the working yarn through the last and first knots, then through the second knot to join the ends.
Flip the wreath over and tuck the starting tail through the loops at the back.
Cut the working yarn, leaving a short tail, and tuck it through the loops.
Step 8: Adding the details
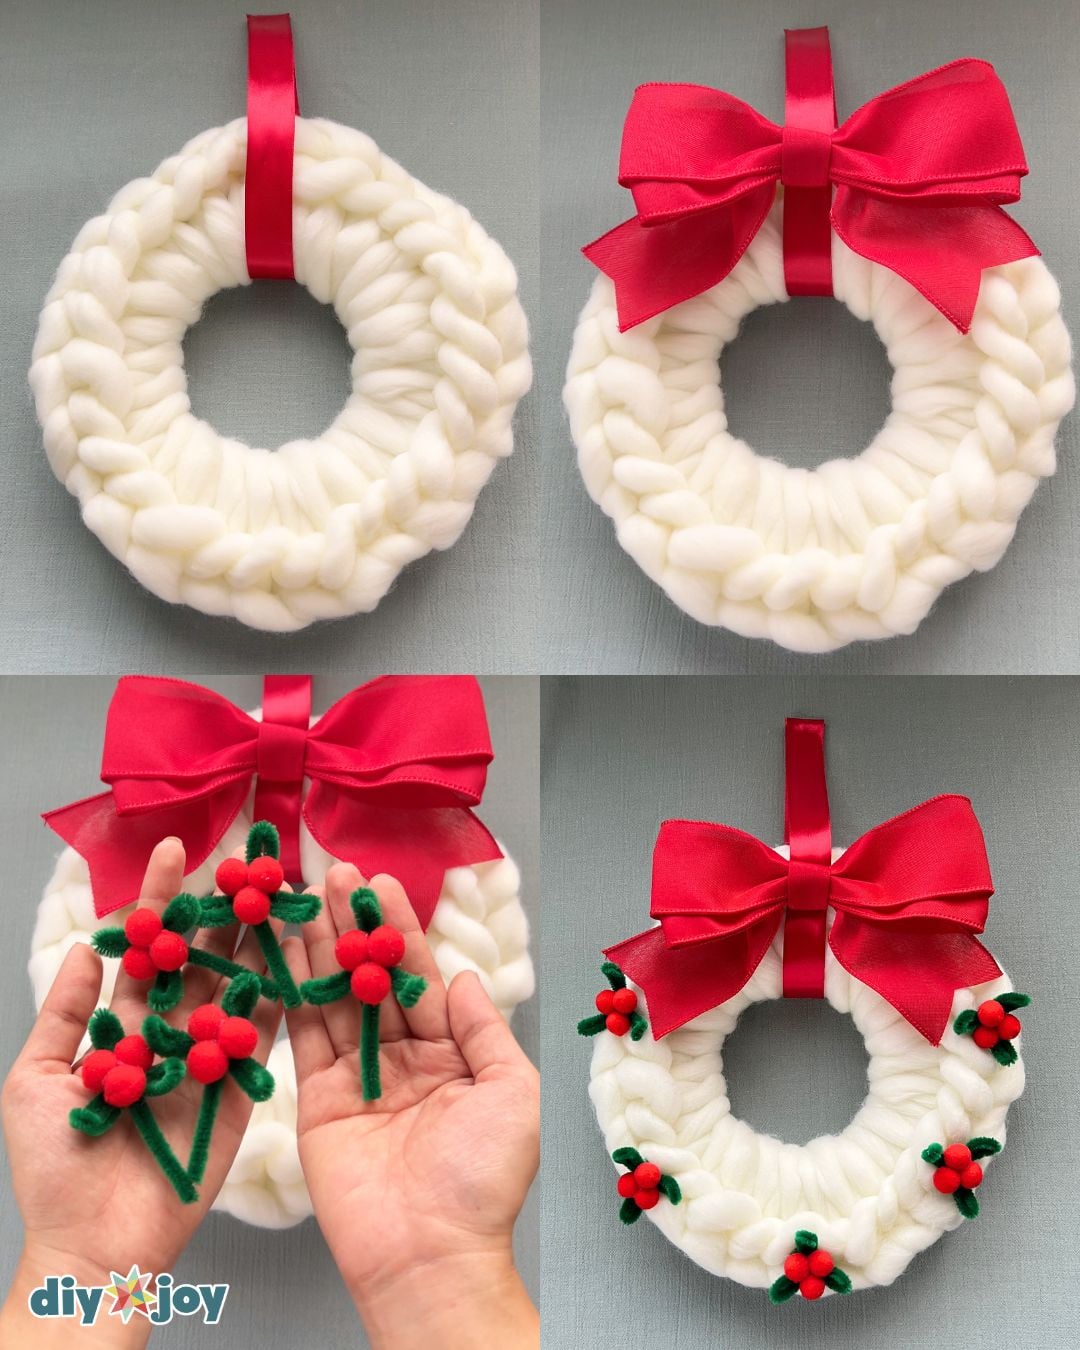
Loop a piece of ribbon around the wreath form and glue the ends together to create a hanger.
Glue the bow onto the ribbon hanger.
Tuck the berry stems into the yarn knots.

Pro Tips
- Gently tighten the yarn after each loop, keeping the tension even. Avoid pulling too tightly, as this can flatten the chunky yarn and make the wreath look less fluffy.
- Check the shape as you work. Set the wreath flat occasionally and adjust any loops that look uneven.
- Test the decoration placement first. Rest the bow and berries on the wreath before attaching them to find an arrangement you like.
- Keep the glue hidden. Add a small dab behind each decoration and gently hold it in place until it sets.
- Give the hanger a sturdy hold. Wrap the hanging ribbon around the frame so it can support the finished wreath.
- Finish with a little fluffing. Gently lift any flattened yarn and open the bow loops to give your wreath a fuller look.
More Christmas Wreath Ideas and Ways to Use Them
Give this DIY chunky yarn Christmas wreath your own festive touch! Choose yarn in colors that match your holiday decor, then dress it up with wooden beads, pom-poms, greenery, or a ribbon bow. Its lightweight design makes it easy to hang on a wall, above the mantel, or on a sheltered front door.
For a little evening sparkle, weave battery-operated fairy lights around the wreath and tuck the battery pack behind it. You can also try a star, heart, or candy cane wreath form to give this easy Christmas craft a different shape. With simple loops and plenty of decorating possibilities, this chunky yarn wreath is a fun project for beginners.
Looking for more DIY wreaths? Want another handmade decoration to pair with it? Try this easy DIY Christmas paper wreath to bring even more holiday color into your home.
DIY Yarn Christmas Wreath FAQs
Gently snug each loop against the frame while keeping the yarn soft and rounded. Pulling too hard can compress the fibers and leave some sections looking thinner than others.
Your loops may be spaced too far apart. Slide them closer together as you work, then check both the inner and outer edges for exposed areas before finishing.
The amount depends on the size of your wreath form, the thickness of your yarn, and how closely you pack the loops. Keep extra yarn available, especially if you want a full, fluffy finish.
Some loops may be tighter or larger than others. Lay the wreath flat and gently redistribute the yarn around the frame. Loosen compressed sections and snug up any oversized loops until the thickness looks more consistent.
Avoid repeatedly pulling the yarn apart or rubbing its surface. If a few fibers stick out, carefully trim those loose strands with scissors instead of tugging them, which can disturb the surrounding yarn.
Thread the finishing tail through several loops at the back of the wreath. Tuck the starting tail in the same way, keeping both ends concealed without pulling the front loops out of shape.
Save this Craft on Pinterest
Roll over the image to get the button.