These mini hot glue photo frame magnets turn your favorite snapshots into a tiny gallery for your fridge! For this easy DIY photo craft, use a wax seal stamp to shape the frame and metallic gold paint to bring out the details. Make a set of personalized fridge magnets with family photos, pet portraits, or vacation pictures. You can also add a small ribbon loop to the back to make DIY bag charms or Christmas tree ornaments. They make sweet handmade gifts for anyone who shares those memories with you.
RELATED: https://diyjoy.com/diy-scratch-card-gift-for-valentines-day/

Believe it or not, these frame magnets were made using hot glue and wax seal stamps! They turned out way better than expected. If I had no idea about this project, I would never have guessed they were made using hot glue. These mini photo frames make the perfect gift for your partner, family, or friends for any special occasion. They’re a great way to preserve your favorite memories together. You can create a gallery wall on your fridge or locker with these hot glue frames.
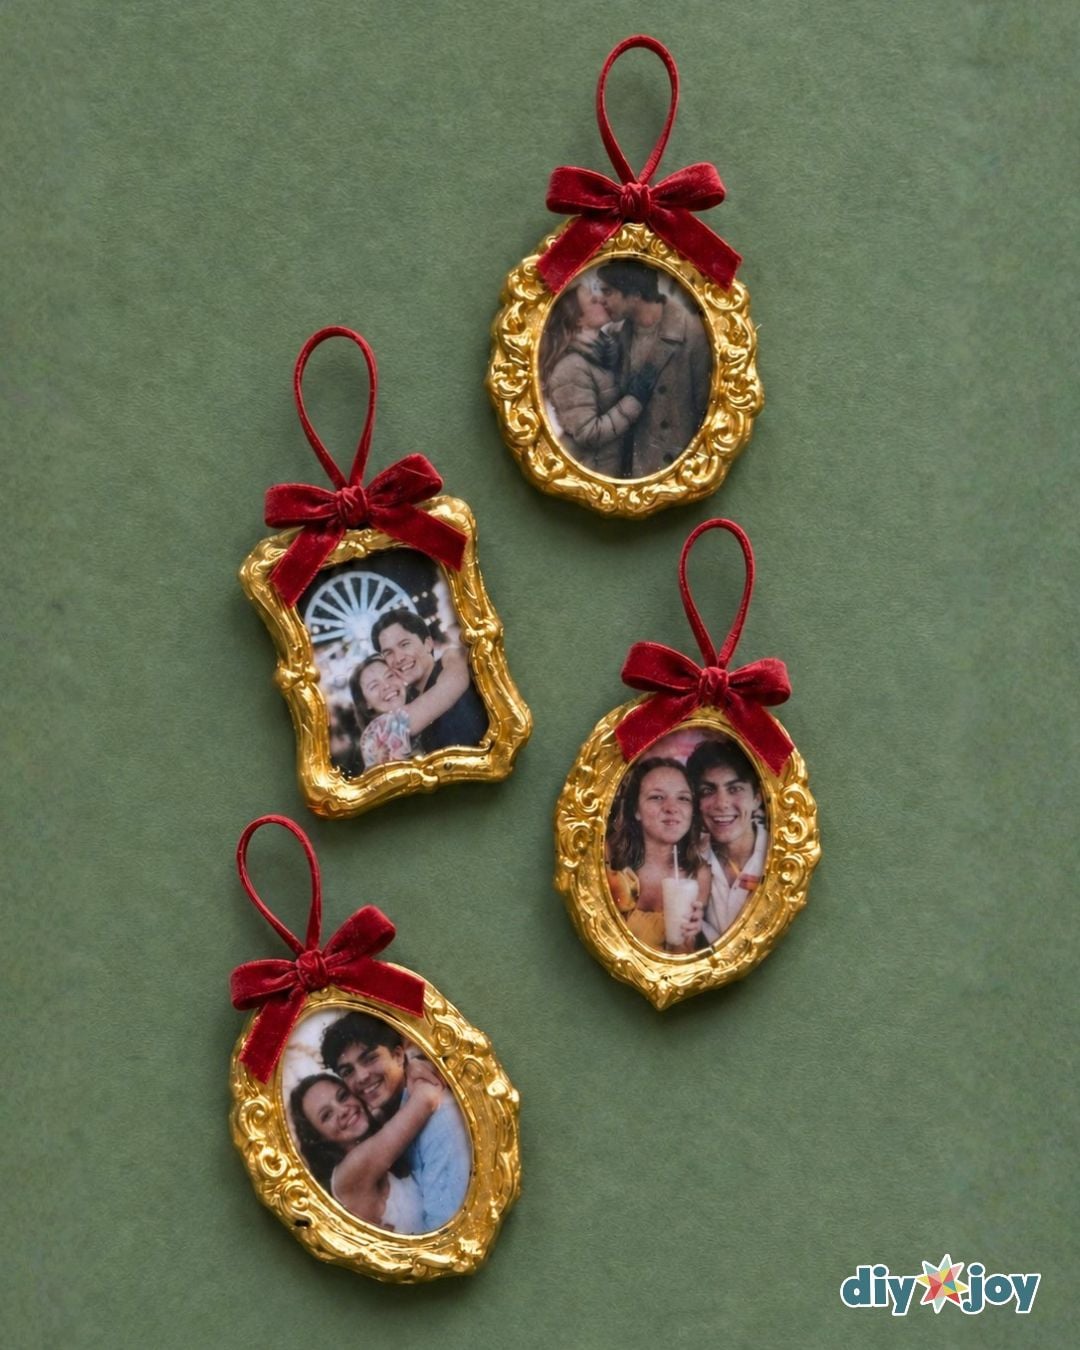
They are very easy and quick to make, plus budget-friendly. The only hard part is choosing what photos to print. If you’re looking for a simple, romantic, and thoughtful gift to give to a special someone, try making these mini magnetic vintage photo frames.
How to Use Wax Seal Stamps
Wax seal stamps are very easy to use. Traditionally, you melt wax beads in a spoon over a heating element, pour the molten wax onto your letter or paper to form a small circular shape, and then press it with the stamp. You let it cool for a few seconds before lifting the stamp.
Today, however, you can find sealing wax sticks designed specifically for use in hot glue guns. They make the melting process easier and quicker.
For this project, you will be using crystal-clear glue sticks instead of sealing wax sticks.
Tips and Tricks
- Prep your stamp. Get an ice pack or a bowl of ice and a dry cloth. Make sure to chill your metal stamp and wipe it dry in between uses to prevent the hot glue from sticking to the metal. This method also helps the wax cool faster, which is great if you are making many mini photo frames.
- Melting the glue stick. Use a 15W glue gun for this project to avoid bubbles.
- Removable seals. To prevent the seals from sticking to the surface, use a silicone mat or parchment paper.

DIY Hot Glue Mini Photo Frames Supplies
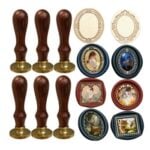
- wax seal stamps
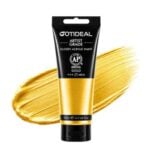
- metallic gold paint
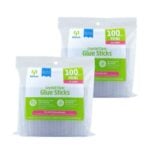
- crystal clear glue sticks
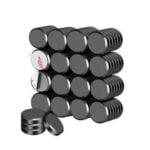
- small magnets
- printed photos

Shop the Supplies
Here are the main supplies we used for these Mini Photo Frames, so you can grab the same ones and get straight to crafting.
Wax Seal Stamps
Glue Sticks
Paint
Magnets
*Some of the supply links above are affiliate links. If you buy through them, I earn a small commission at no extra cost to you.
How to Make Photo Frames With Hot Glue and Wax Seal Stamps
Learn how to make photo frame fridge magnets using hot glue.
Step 1:
Start by printing your favorite photos into mini photos (approximately 0.85″ x 1″).

Step 2:
Pre-heat your glue gun, then grab an ice bag and a dry cloth. Place your stamp on the ice bag. After a few seconds, remove it and dry it with the cloth. Once the glue gun is hot, add a generous amount of hot glue to the surface of your photo.

Step 3:
Then immediately press it with the cold, dry wax seal. Let it dry for 10 to 15 seconds.

Step 4:
Once dry, carefully remove the wax seal stamp.

Step 5:
Cut the excess hot glue, leaving only the frame.

Step 6:
Paint the frame gold.

Step 7:
Flip the frame. Peel the backing off the magnet, then stick it to the back of the frame.
If you’re using the frame as a bag charm or ornament, make a ribbon loop and glue the ends to the back of the frame. Cover the back with a sticker, or make a second frame with the same design and glue the two frames back to back.

Step 8:
Place them on your fridge or locker.

Mini Hot Glue Photo Frames FAQs
Use crystal-clear hot glue sticks so the picture stays visible beneath the glue. The tutorial uses a 15-watt glue gun to help minimize bubbles.
Set the metal stamp on an ice pack for a few seconds, then wipe away any moisture before pressing it into the glue. Chill and dry the stamp again between frames if you’re making a batch.
Give the glue about 10 to 15 seconds to set before gently lifting the stamp. Once the glue is firm, use scissors to trim away the excess around the border.
Brush metallic gold acrylic paint over the raised border. A small brush makes it easier to follow the stamped details and keep paint off the clear area over the photo.
More Hot Glue Crafts

Crafts

Painting & Art
Crafts