Easy 3-Ingredient Luscious Maple Cream Recipe
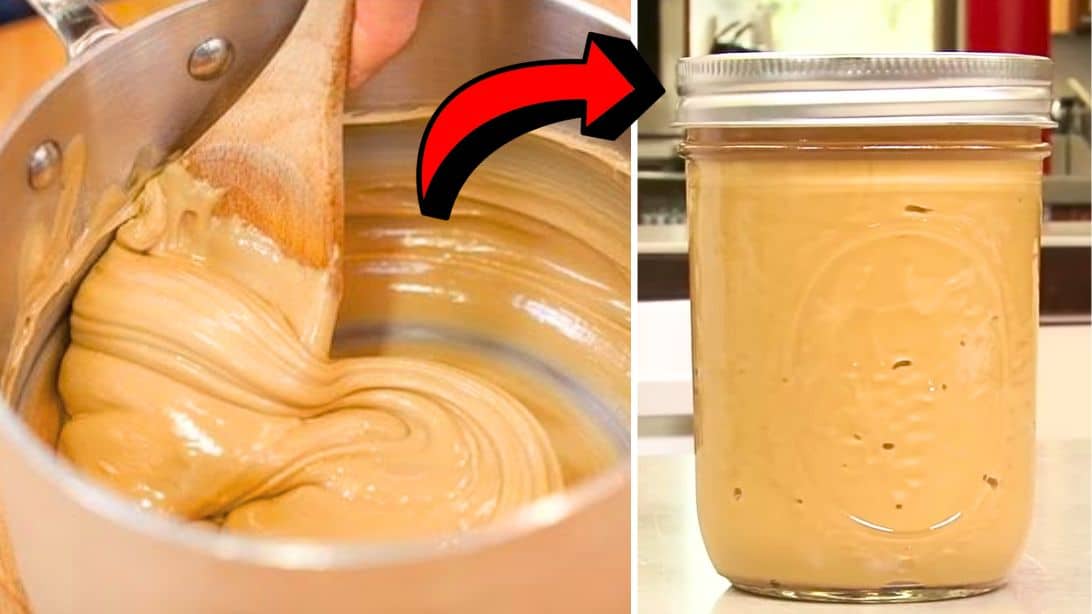
Image credit: America's Test Kitchen via YouTube
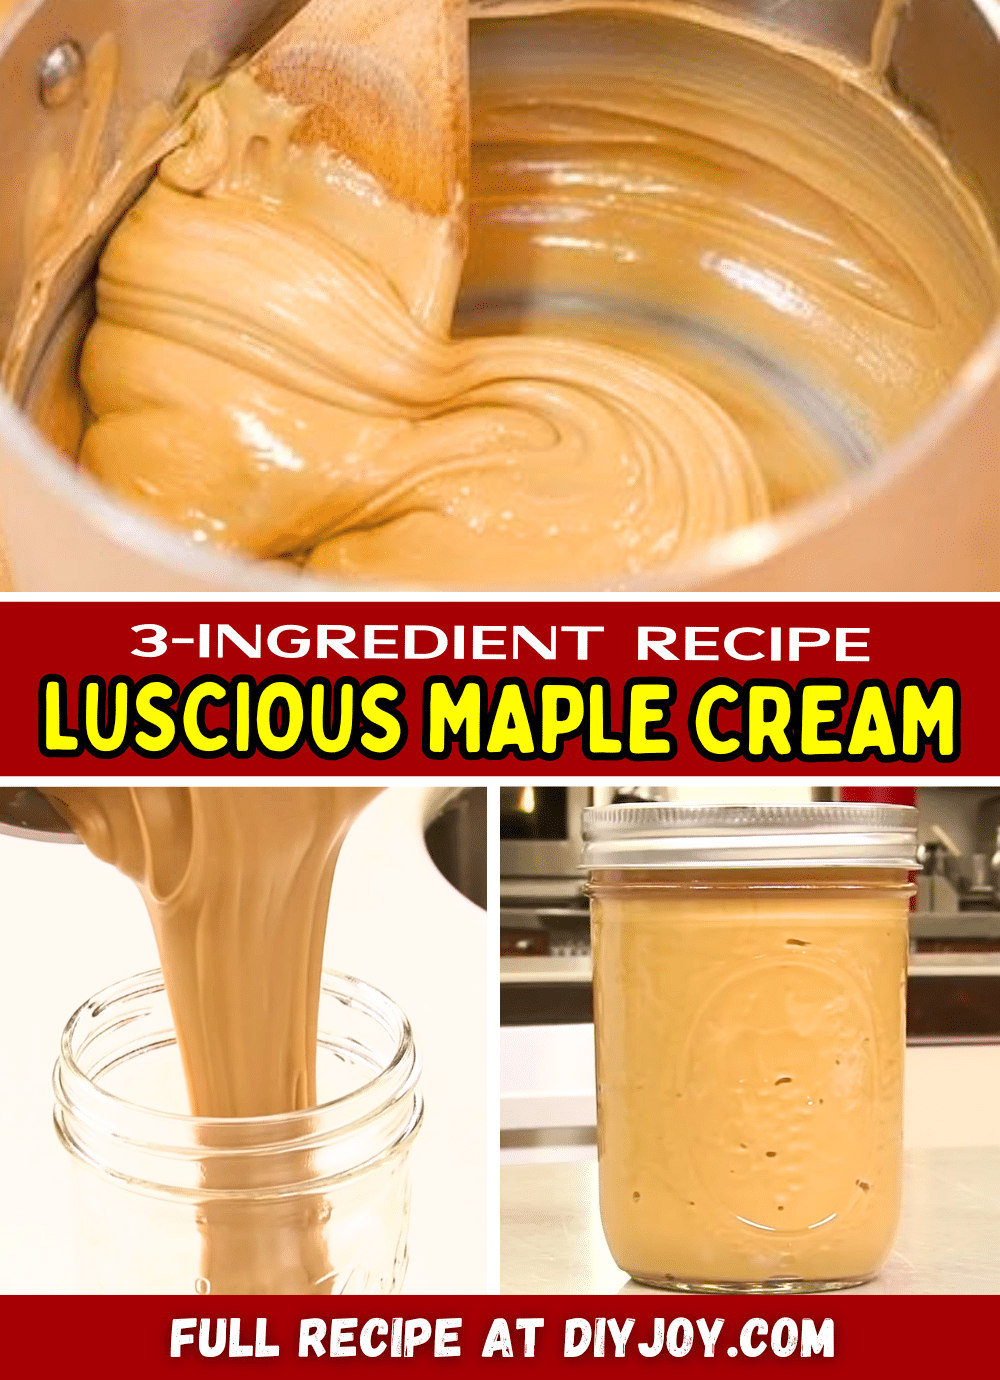
Making your own maple cream at home makes it more flavorful and delicious, and it matches your taste more because you can adjust the sweetness of the cream to your liking. The steps to making a homemade maple cream are very easy to follow but the process is a bit challenging, however, I guarantee you that the result will all be worth it. So if you want, ask a family member or friend for help with stirring to make things easier. In the meantime, learn the steps with this video tutorial by America’s Test Kitchen on YouTube.
Ingredients:
- 750ml or 3 cups of maple syrup, grade A
- A pinch of salt, optional
- ¼ tsp of vegetable oil, optional
Directions:
Step 1
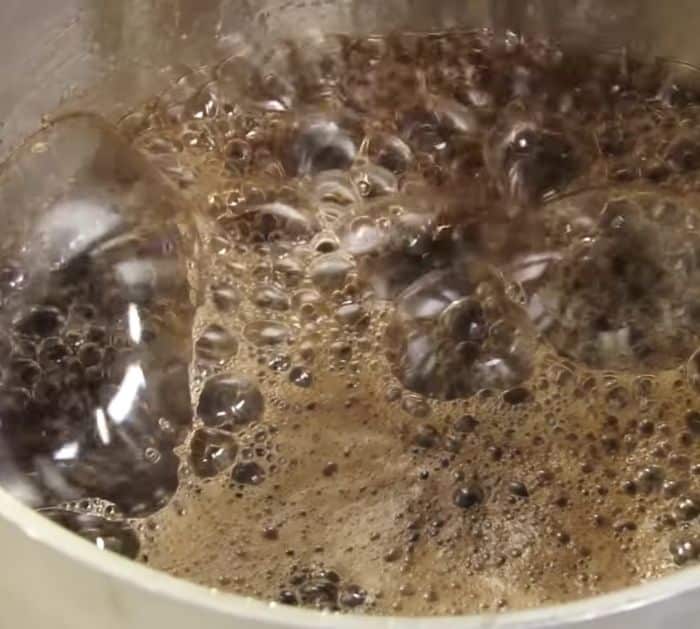
Fill a large bowl with ice, then place a medium-sized saucepan on top, and add more ice around the sides of the pan as well. Grab another medium saucepan, then place it on a stove over medium heat, and add in the maple syrup, vegetable oil, and salt. Bring them to a boil and make sure to keep an eye on them, then cook the syrup without disturbing it for about 16 to 18 minutes or until the temperature reaches 235°F.
[social_warfare]
Step 2
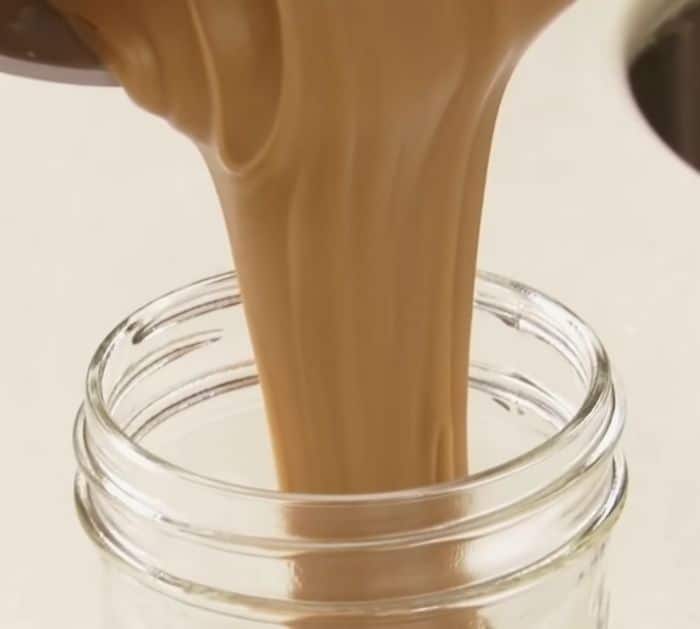
Working quickly, pour the syrup into the saucepan on the ice bath, then let it cool down without stirring for about 15 minutes, and once its temperature reaches 100°F, remove the saucepan from the ice bath. Start stirring the syrup with a spoon at a constant and steady pace, between 5 to 15 minutes the syrup will start to lighten in color which means you’re about halfway there. Once it loses its shine and starts to feel like a thick batter, stop stirring, then quickly pour it into a jar, and make sure to scrape the sides of the pan well.
*All image credit belongs to America’s Test Kitchen via YouTube. Follow and subscribe to their channel for more!
