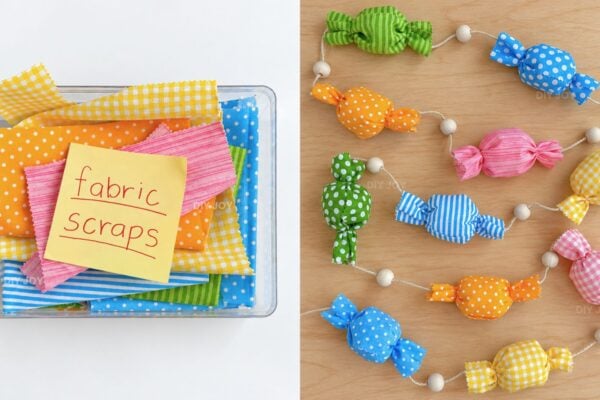
Summer decor doesn’t have to mean a shopping trip. These 27 DIY home decor projects for summer bring the beach, the garden and the backyard party right into your home, with wreaths for the front door, painted pillows for the porch swing, a driftwood candle holder, a beaded sunburst mirror and watermelon everything. You’ll see pool noodles, pizza pans, old jeans, wood slats and mason jars turned into pieces you’d actually want on display, along with four DIY JOY video tutorials for a beaded wind chime, felt fruit coasters, citrus print tea towels and a 4th of July banner. Some take a weekend, but most are an easy afternoon with a glue gun. Find more ideas on the summer decor hub.
1. DIY Beach Umbrella Wreath
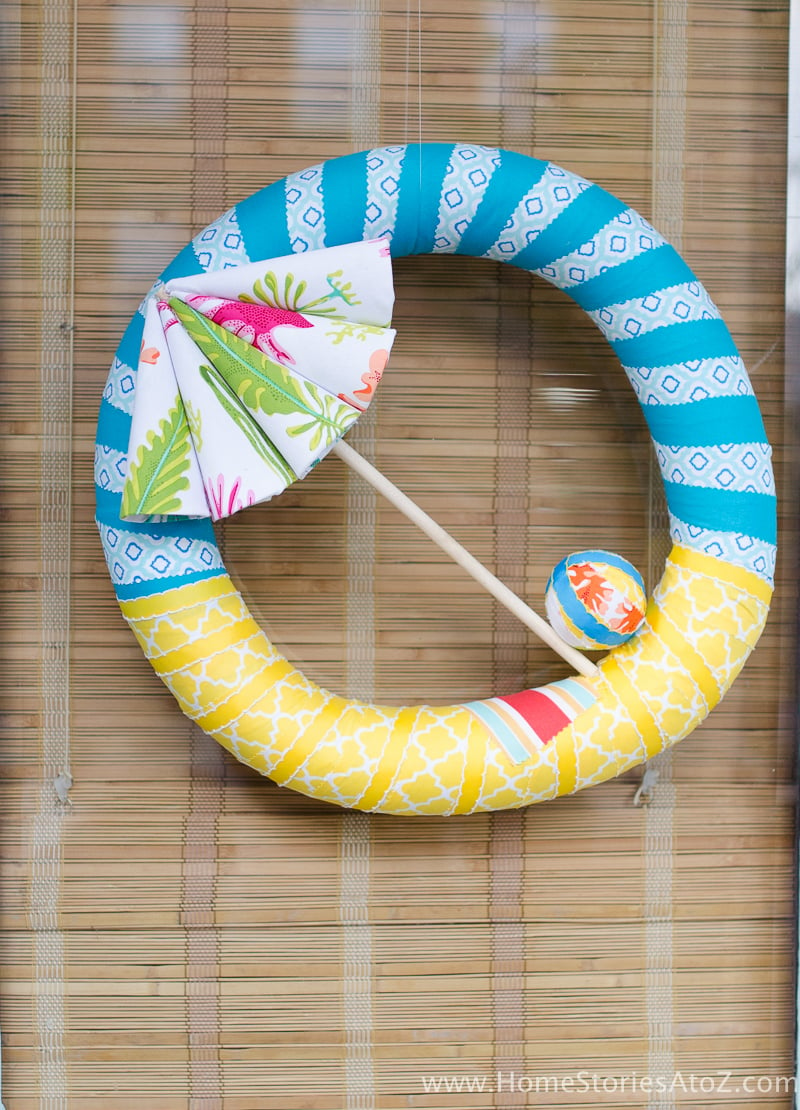
A beach umbrella wreath brings the whole shoreline to your front door. Cut a pool noodle to size and tape it into a ring, which costs a fraction of a foam form. Cut fabric into 2 inch strips with pinking shears, then wrap and pin yellow strips for the sand and blues for the water and sky until the form is covered. Pins beat hot glue here, since you can rearrange anytime. For the umbrella, take party hats apart, re-glue them inside out into a tighter cone and cover them with fabric.
Get the full tutorial at Home Stories A to Z.
2. DIY Slatted Summer Sign
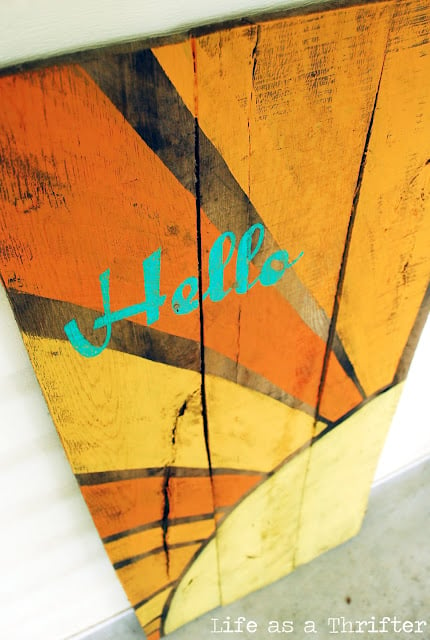
Got leftover paint samples? Put them to work on this sunny slatted sign. Sketch a sun peeking up from a lower corner of the boards, then let wide rays shoot out toward the edges. Blend and layer your paints so the rays shift from deep orange to soft yellow, and don’t fuss over wobbly lines, because the charm is in the folk art look. Add the word hello in a bright turquoise script with a stencil, then give everything a light sanding. It brightens a porch or patio wall all summer long.
Get the full tutorial at Oh My Creative.
3. DIY Rustic Sailboat
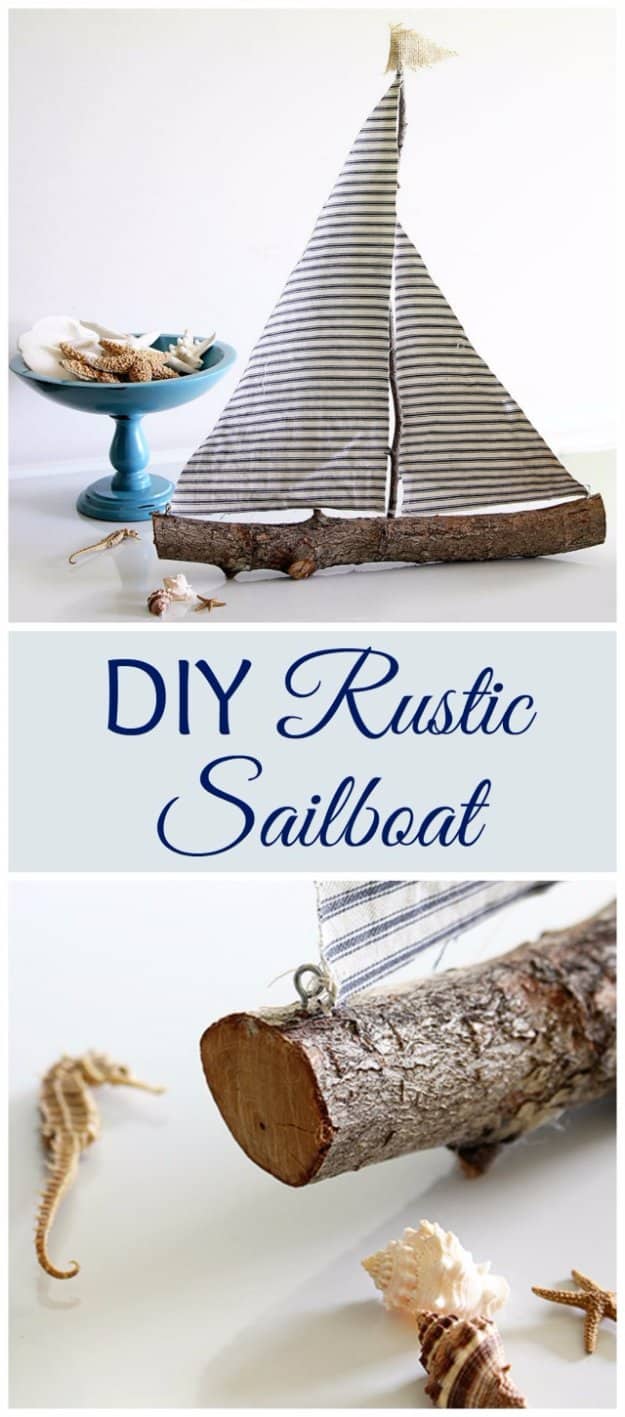
Not near the ocean? This rustic sailboat uses a backyard branch instead of driftwood. Saw a dead branch to about 16 inches, drill a hole in the middle and hot glue in a 17 inch twig for the mast. Cut ticking fabric into a scalene triangle (three different side lengths), twist an eyelet screw into each end of the branch and stitch the sail’s corners to the screws and the mast. Glue a small double-sided fabric flag to the top. The whole thing takes about 15 minutes.
Get the full tutorial at House of Hawthornes.
4. DIY Patriotic Ribbon Wreath
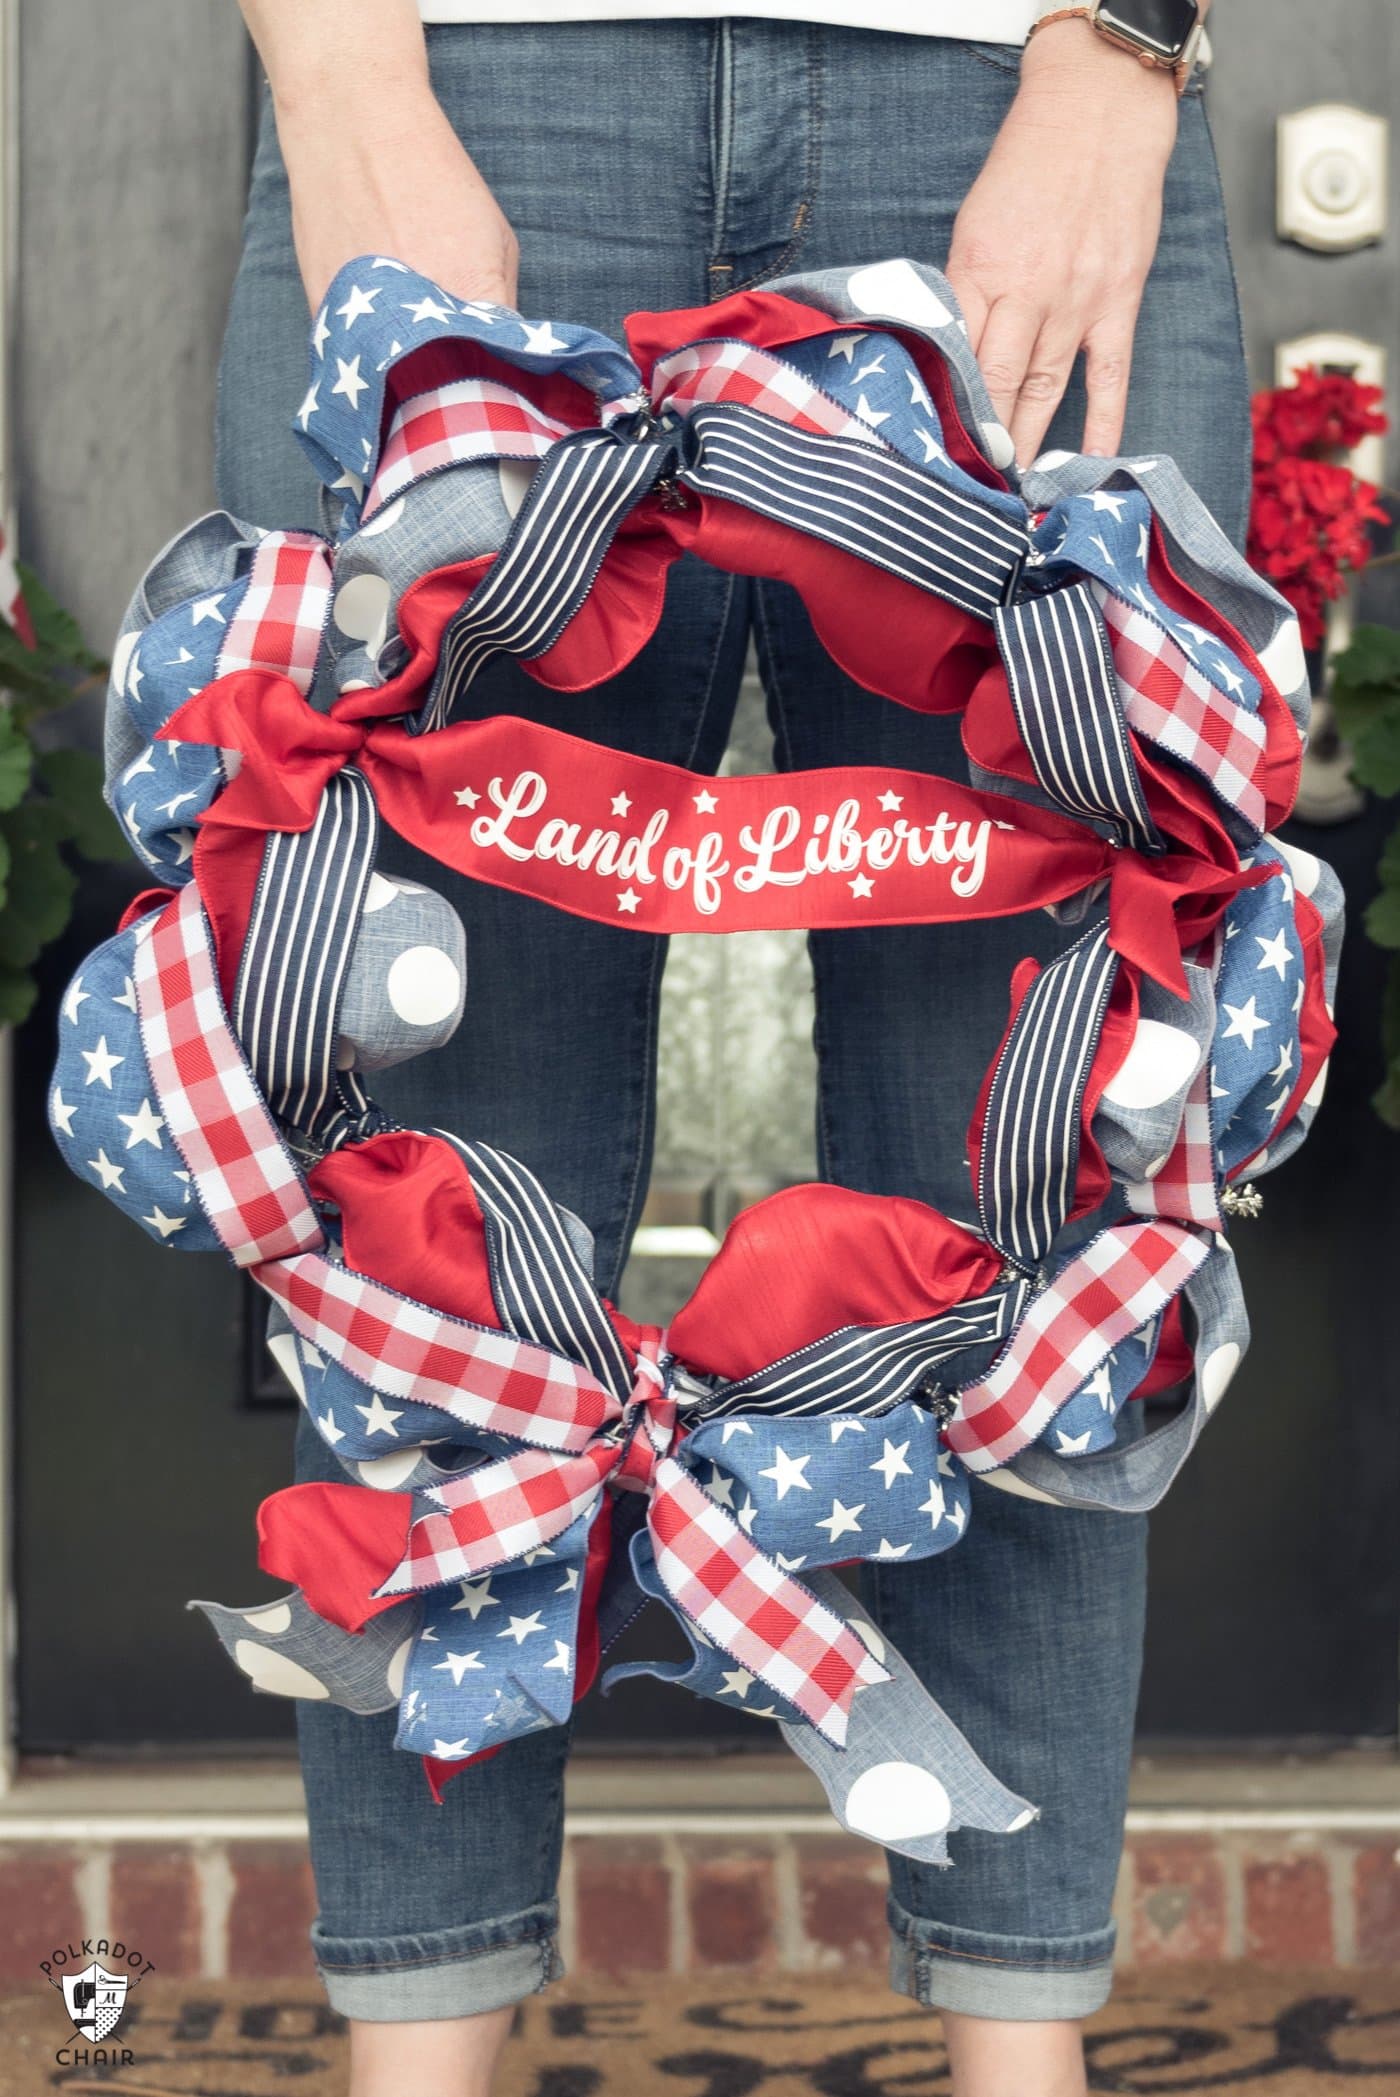
Red, white and blue ribbons tied onto a work wreath make a full, fluffy wreath for the Fourth of July. Pick a mix of wired ribbons in coordinating prints plus one solid red for balance; the widest here is about 2 1/4 inches. You need a work wreath, the wire form with twist ties already attached, not a plain wire wreath. Gather lengths of ribbon into the twist ties and fluff the loops. For lettering, press iron-on vinyl onto a ribbon, testing a scrap first so it won’t melt.
Get the full tutorial at The Polka Dot Chair.
5. DIY Painted Watercolor Pillow
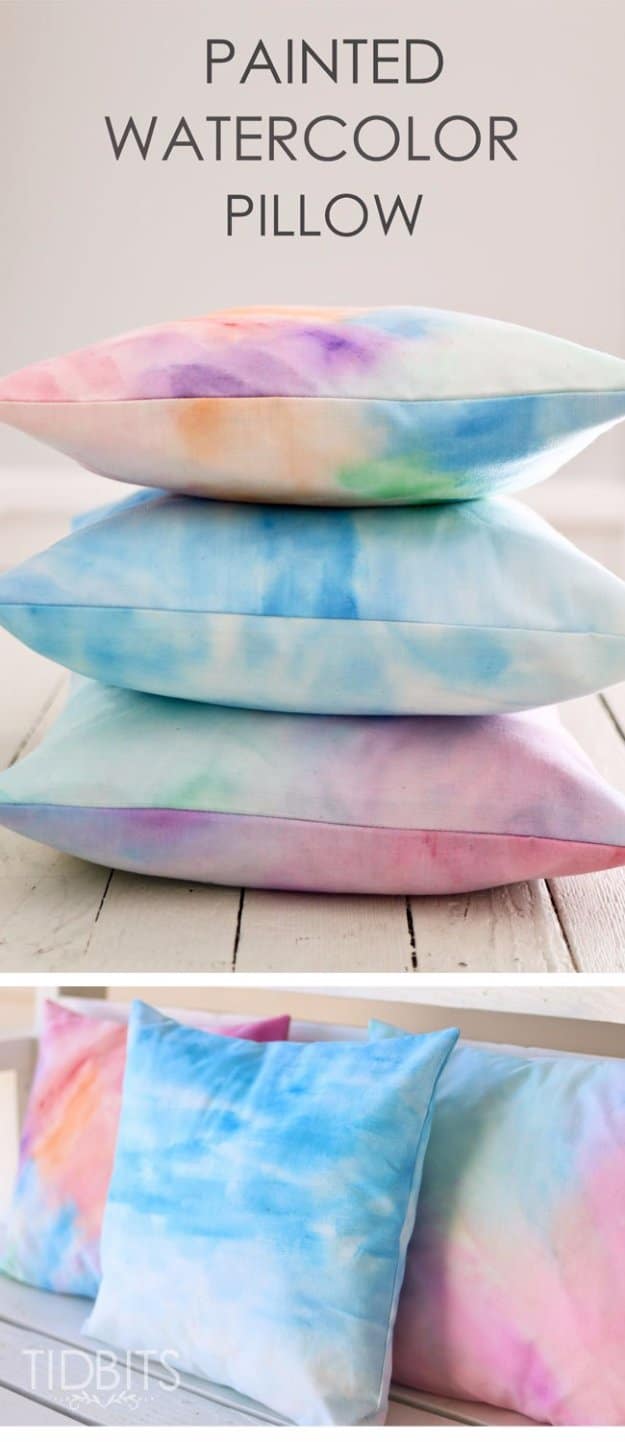
Watercolor fabric and a simple envelope closure make porch swing pillows that look boutique-bought. Paint white linen or canvas with watercolors in soft pinks, blues and purples and let it dry. Measure your pillow form and add 2 inches for the front piece (up to 4 if the form is extra full), then cut two back pieces that overlap across the middle. Hem the overlapping edges, stack the pieces right sides together, sew around the outside, clip the corners and turn it right side out. The cover slips off for washing.
Get the full tutorial at The Keeper of the Home.
6. DIY Watermelon Door Wreath
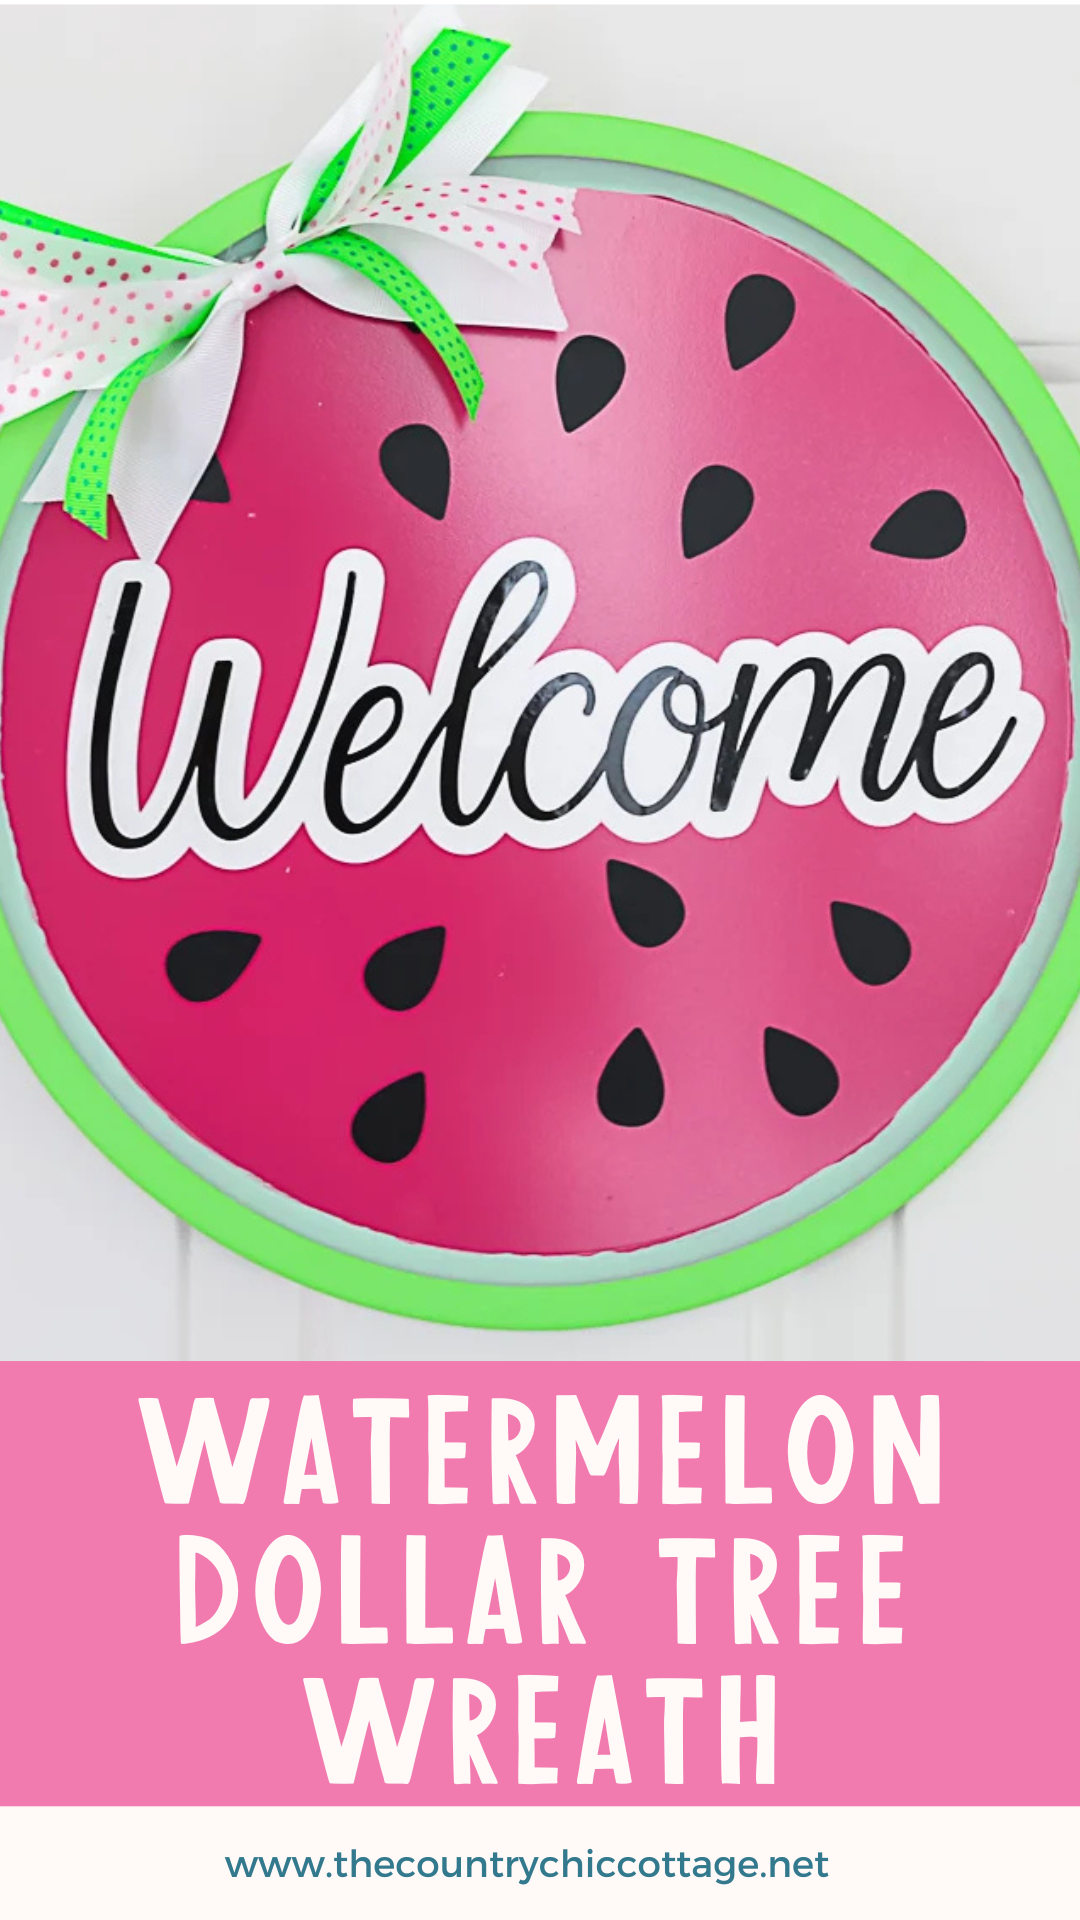
A dollar store pizza pan is the secret behind this watermelon door hanger. Spray paint a 12 inch pan pink in several light coats outdoors and let it dry for 24 hours. Paint a green ring around the rim for the rind. Cut a welcome word and seeds from vinyl, weed them and apply them with transfer tape and a scraper. Tie a ribbon bow through the top with a wire tie and hang it on the front door. It’s cheerful, quick and costs only a few dollars to make.
Get the full tutorial at The Country Chic Cottage.
7. Old Jeans Beach Pillow
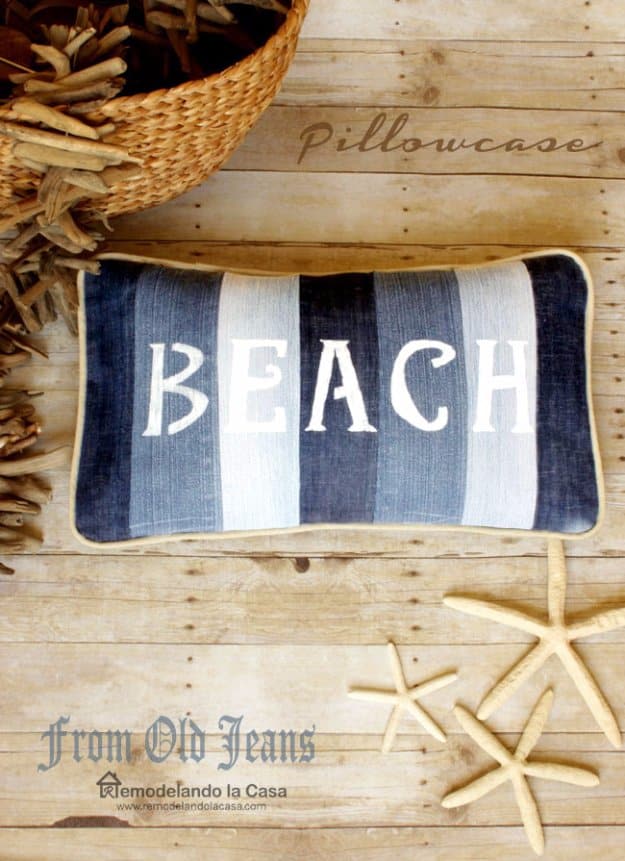
Worn-out jeans make the perfect striped beach pillow. Cut strips from the legs of three or so pairs in different washes and sew them together side by side until the panel fits your pillow. Paint a word like BEACH across the middle with fabric paint. Sew it into a simple envelope pillow cover so it slips on and off. Faded denim, ripped knees and outgrown jeans all work, since you only need one side of one leg from each pair, which leaves plenty for more projects.
Get the full tutorial at Remodelando la Casa.
8. Easy DIY Beaded Wind Chime

Beads, charms and tiny bells turn a bare branch into a wind chime that sings on the porch. Lay out your bead sequence first so the colors stay balanced, then string glass, wood or metal beads and charms onto strong fishing line or jewelry wire. Add a small bell near the bottom of each strand. Tie the strands along a branch or driftwood stick at different lengths and add a hanging loop. Hang it on a porch, in the garden or by a sunny window to catch the breeze and the light.
Get the full tutorial at DIY JOY.
9. Easy DIY Felt Fruit Coasters

No sewing needed for these felt fruit coasters, just felt, scissors and a glue gun. For a lemon, cut a yellow circle, a smaller white circle and five yellow triangles, then glue the white on top and arrange the triangles as segments. For a watermelon, stack green, white and pink circles and add little black teardrop seeds. An apple uses a simple template with red and white layers, a leaf and a stem. Make a mix of fruits for a colorful set that lives on the patio table all summer.
Get the full tutorial at DIY JOY.
10. DIY Painted Bottles
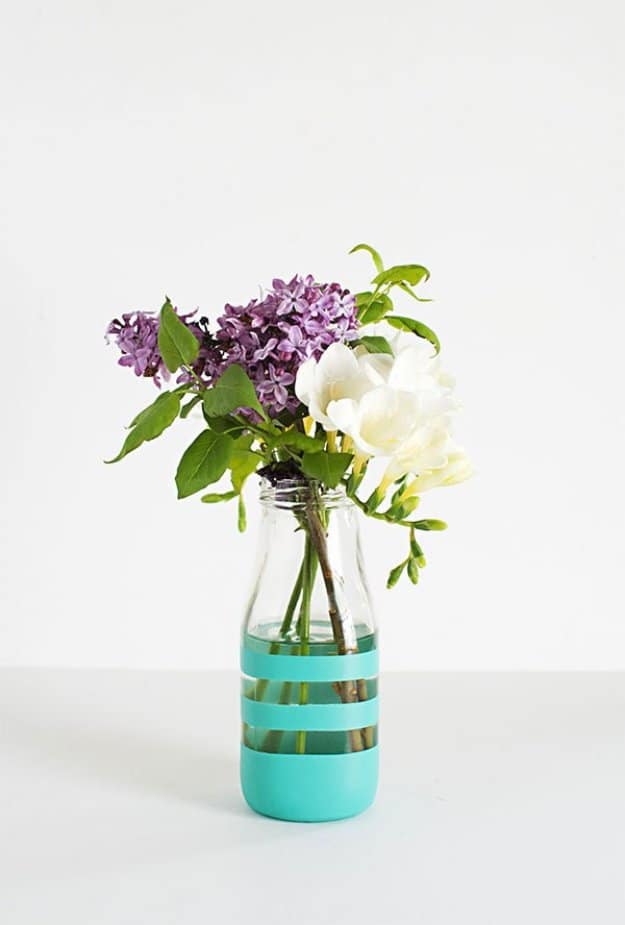
Empty glass bottles turn into the cheeriest bud vases with a little spray paint. Wash and dry a few bottles, then mask off bands with tape so some clear glass shows through between the colors. Spray in light, even coats of bold shades like teal, coral, mint and a metallic gold, letting each coat dry fast before the next. Peel the tape once the paint is dry. Fill them with lilac, freesia or one big protea bloom and group them along a windowsill or down the middle of the table.
Get the full tutorial at Homey Oh My.
11. Hammock Chair DIY
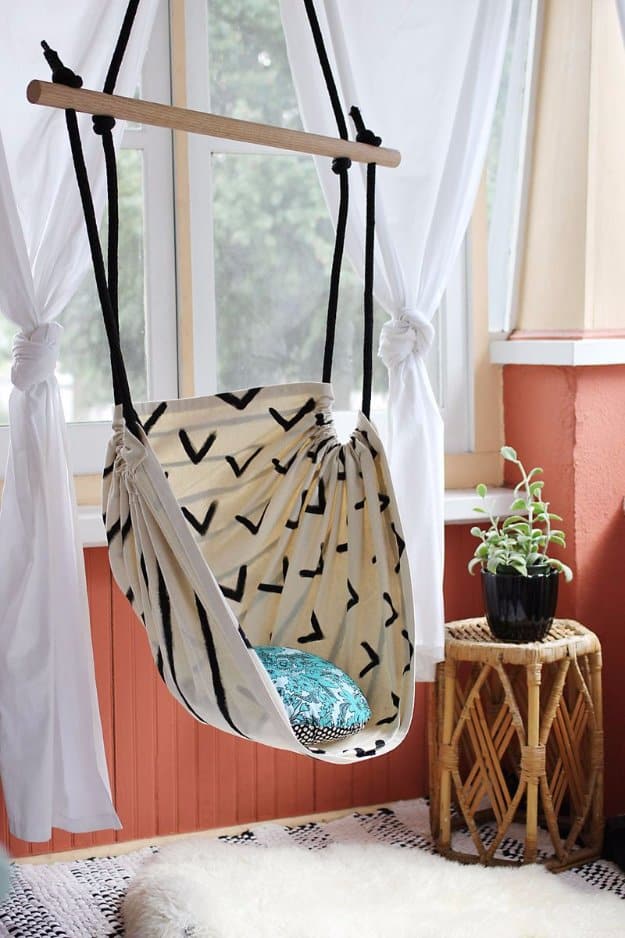
A hammock chair makes the coziest summer reading spot on a porch. Fold 2 yards of plain canvas in half, mark 7 inches in from the top edge and cut a diagonal to the bottom corner. Hem the top and bottom edges, then fold and stitch wide pockets down each side for the rope. Drill two holes near each end of a 1 1/4 inch oak dowel, paint a design on the canvas with fabric paint and thread braided rope through the dowel and pockets. Finish with a snap link and quick link rated for the weight.
Get the full tutorial at A Beautiful Mess.
12. Easy DIY Citrus Print Tea Towels
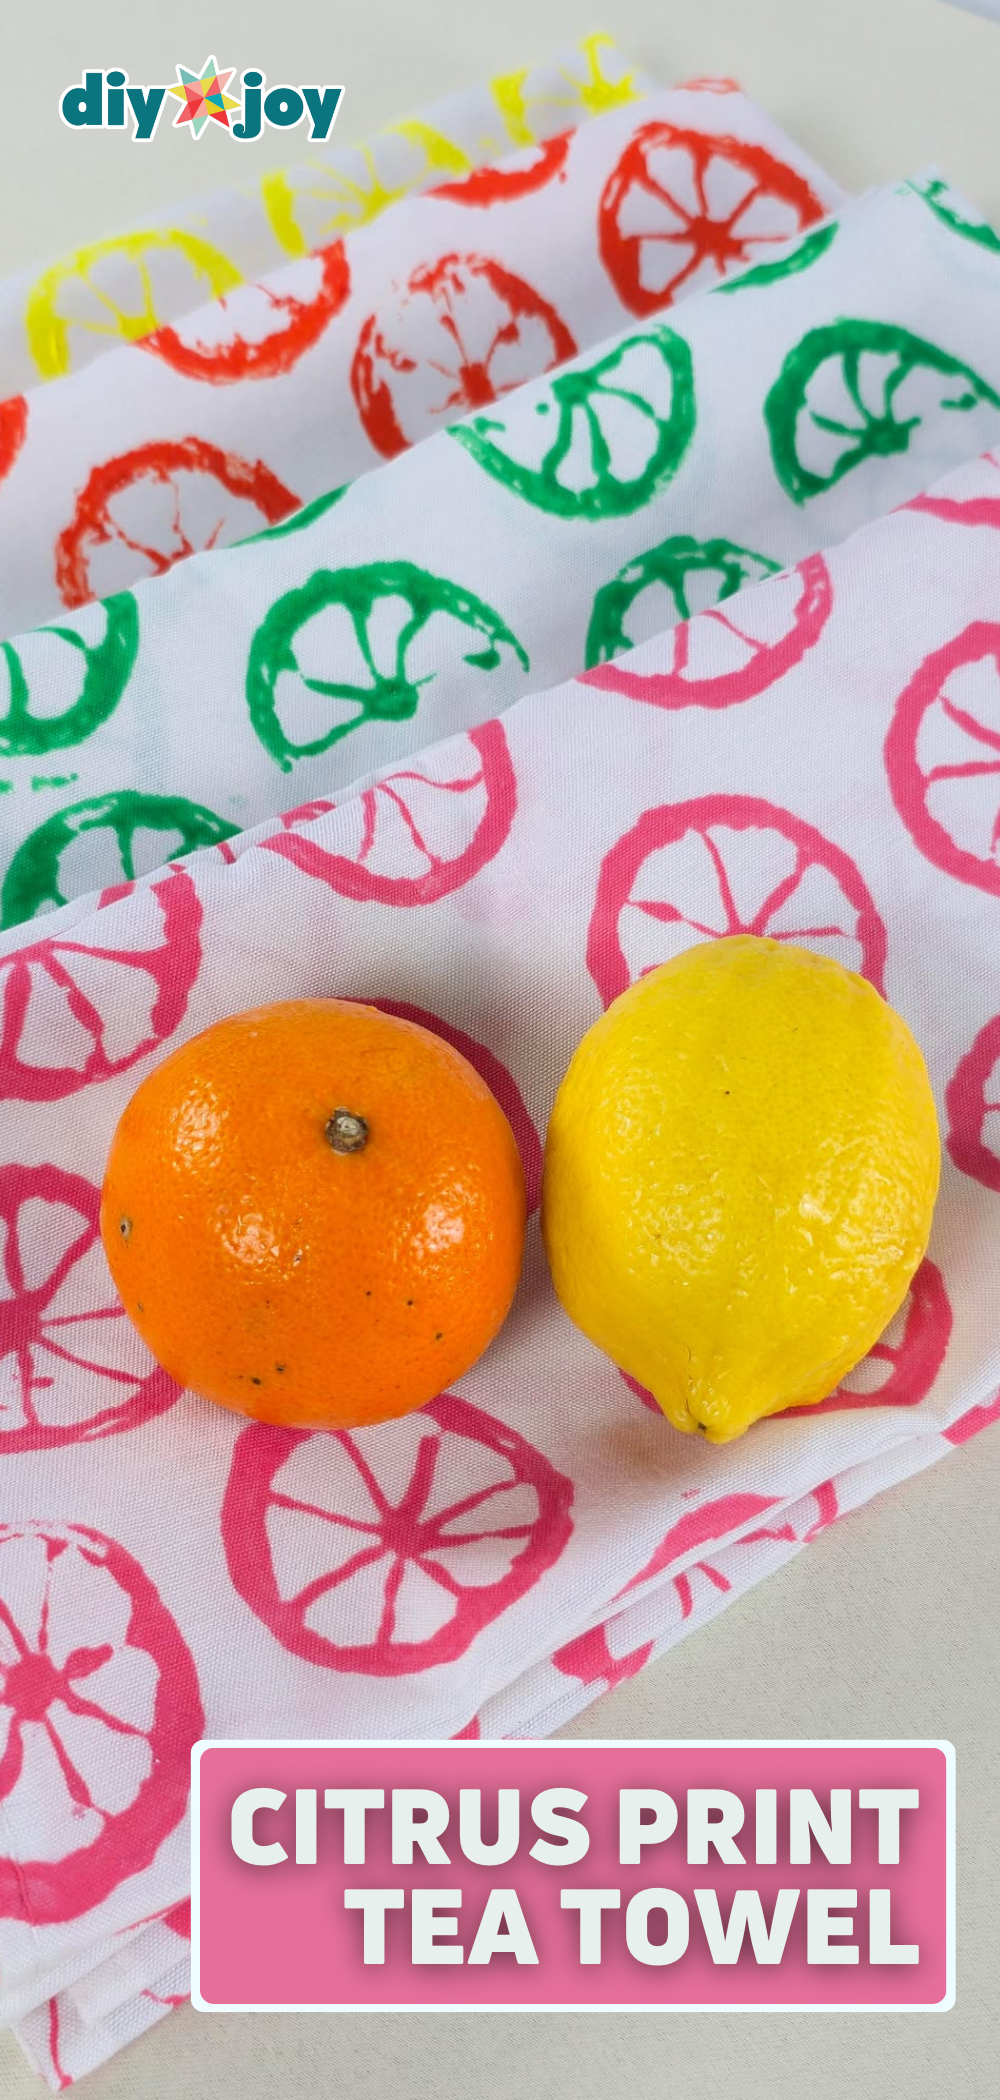
Lemons and oranges make the cutest stamps for summer tea towels. Halve the fruit, scoop out the pulp without breaking the membrane walls and pat it dry. Mix fabric paint with textile medium, then brush it onto the membranes and the rim of the peel, keeping it light so the print stays crisp. Stamp the citrus across a plain white towel in staggered rows, leaving space so the next row fits between. Let it dry completely, and you’ve got a boutique-style kitchen towel for the price of a lemon.
Get the full tutorial at DIY JOY.
13. Seashell Candle Holder
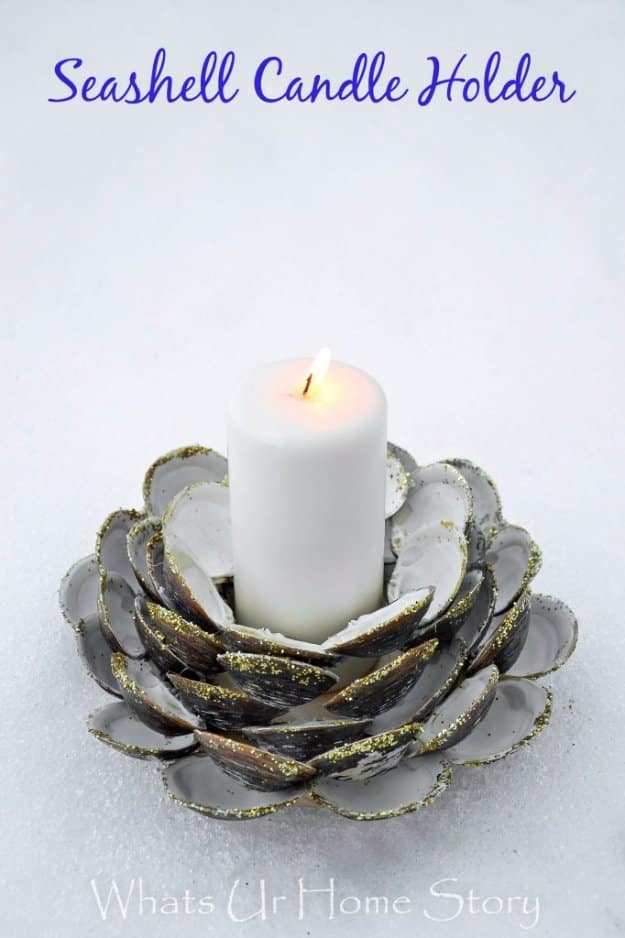
Clam shells saved from dinner turn into a candle holder that looks like a blooming flower. Rinse the shells in lukewarm water (a long soapy soak dries them out) and let them dry. Paint or stain a wooden plaque first, and sort the shells by size. Hot glue a ring of shells around the edge of the base, then add a second layer where the shells overlap and a third over the joints, working inward. Brush on gloss decoupage glue, sprinkle glitter on the edges and set a pillar candle in the middle.
Get the full tutorial at Whats Ur Home Story.
14. Beachy Driftwood Candle Holder
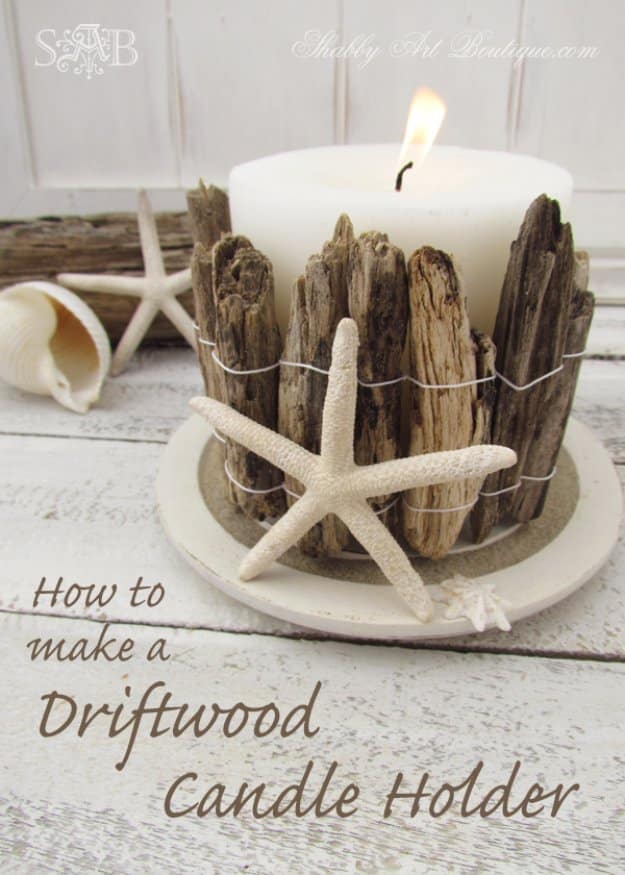
A pillar candle wrapped in driftwood is the easiest coastal touch for summer. Clean your driftwood first by soaking it overnight in one part bleach to nine parts water, then let it dry completely in the sun. Grab a large white candle and a ball of white crochet cotton. Cut four lengths of cotton about twice the candle’s circumference, line up the driftwood pieces and tie them together, two strands at the top and two at the bottom. Wrap the row around the candle, tie the ends and add a starfish.
Get the full tutorial at Shabby Art Boutique.
15. Easy Seashell Craft for your Summer House
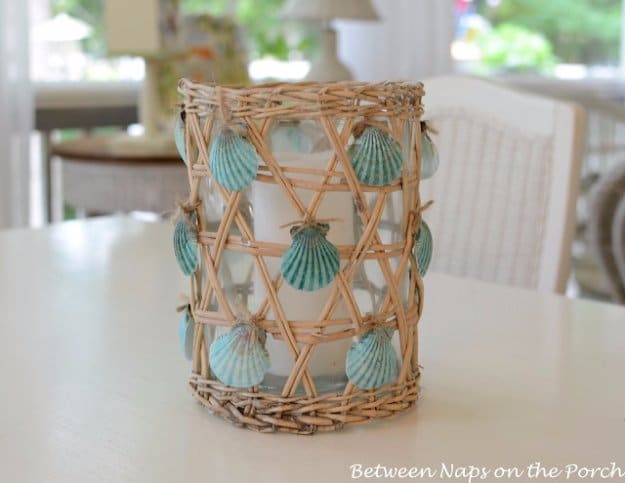
A woven glass container and a bag of inexpensive shells make an easy beachy hurricane in one evening. Snip 4 to 5 inch pieces of 3-ply jute yarn and separate the strands so the thread is nice and thin. Tie each strand around the top half of a scallop shell (the shape holds the knot, so there’s no drilling). Then tie the shells randomly to the woven wrap on the outside of the container and trim the ends, leaving a little showing if you like. Add a candle for summer nights on the porch.
Get the full tutorial at Between Naps on the Porch.
16. DIY Beaded Sunburst Mirror
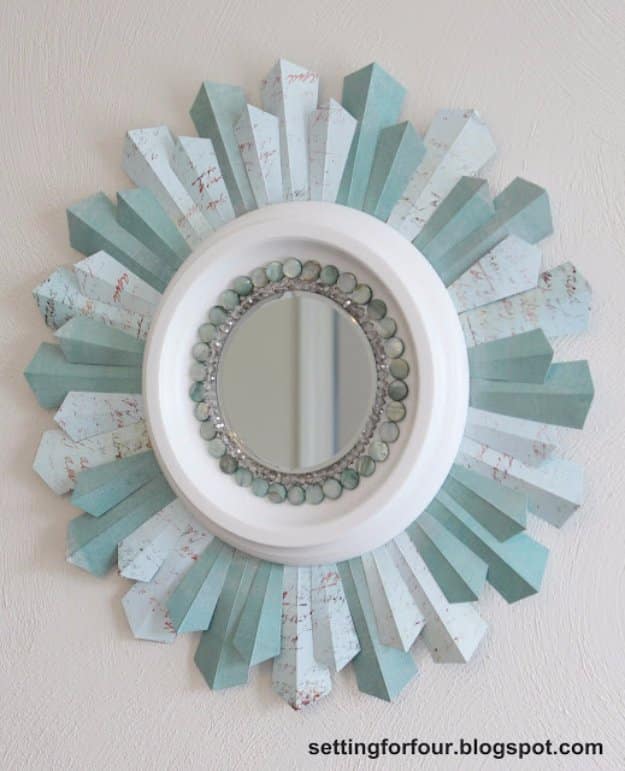
A ceiling medallion is the clever base for this coastal sunburst mirror. Make a 4 inch and a 3 inch ray template from printer paper and trace about 20 of each onto double-sided scrapbook paper. Cut them out and fold each ray lengthwise so it has some dimension. Lay the rays around the medallion, alternating large and small, then hot glue each one to a 12 inch craft ring. Glue a small round mirror in the center, circle it with crystal rondelle and shell beads on elastic cord, and hang it with command strips.
Get the full tutorial at Setting for Four.
17. Color My Summer White Etched Glass
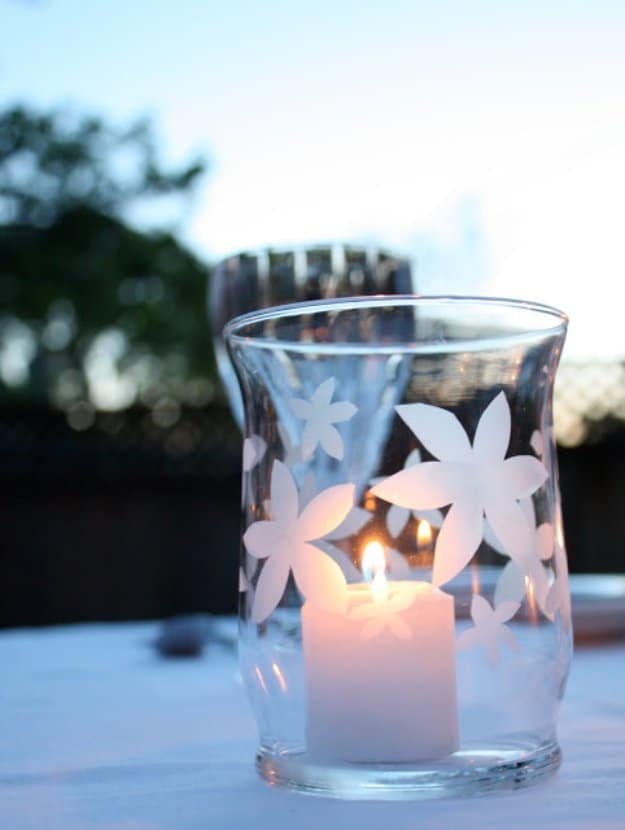
Etched glass votives make summer nights on the patio feel a little magical. Wrap dollar store glass votives in contact paper, then use a razor blade to cut out flowers or any shape you like (tape a printed design inside the glass to trace if freehand feels tricky). Brush on etching cream with a disposable brush and follow the timing on the bottle. Scrape off and save the extra cream to reuse, rinse the glass and peel off the contact paper. Skip the ceramic sink, since the cream can dull it.
Get the full tutorial at At Second Street.
18. Easy Beach Terrarium
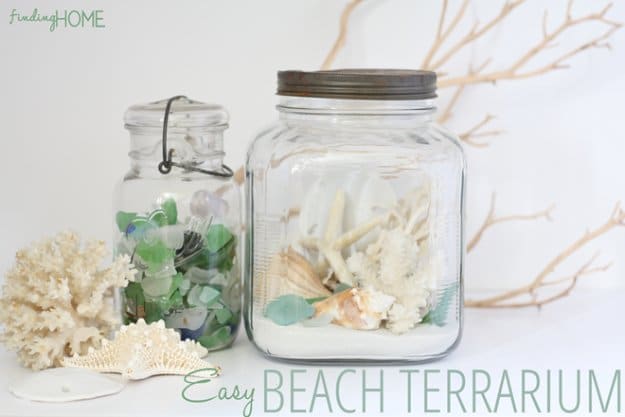
A beach terrarium keeps vacation memories (or beach daydreams) on display all year. Find a favorite glass jar, with or without a lid, and pour in craft store sand or sand from a trip. Then layer in your treasures: coral, starfish, sea glass, sand dollars and shells. Group a few jars together on a coffee table with some loose shells around them. Keeping each jar to one beach turns it into a little keepsake of that trip. It’s about as easy as summer decorating gets!
Get the full tutorial at At The Picket Fence.
19. DIY Chalkboard Welcome Sign
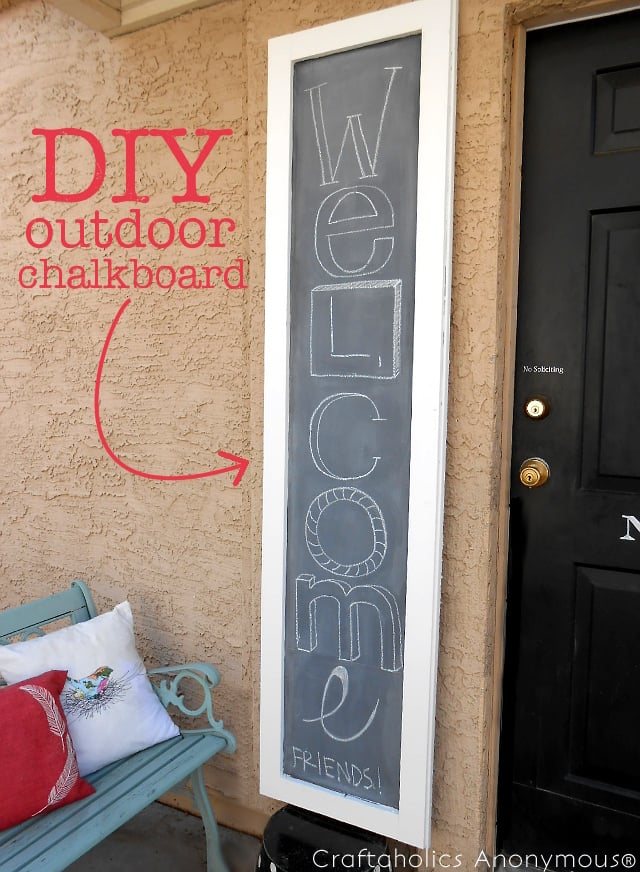
Got an awkward spot by the front door? A tall outdoor chalkboard fills it with a welcome sign you can change any time. It’s two frames built from 1×3 boards with a piece of cement board sandwiched in between, so it stands up to the weather. This one is 76 by 18 inches, but you can size it to your wall and have the store cut the lumber for you. Finish the frame in crisp white and write a big welcome down the board. Hanging it is a two-person job.
Get the full tutorial at Craftaholics Anonymous.
20. DIY Wood Slat Doormat
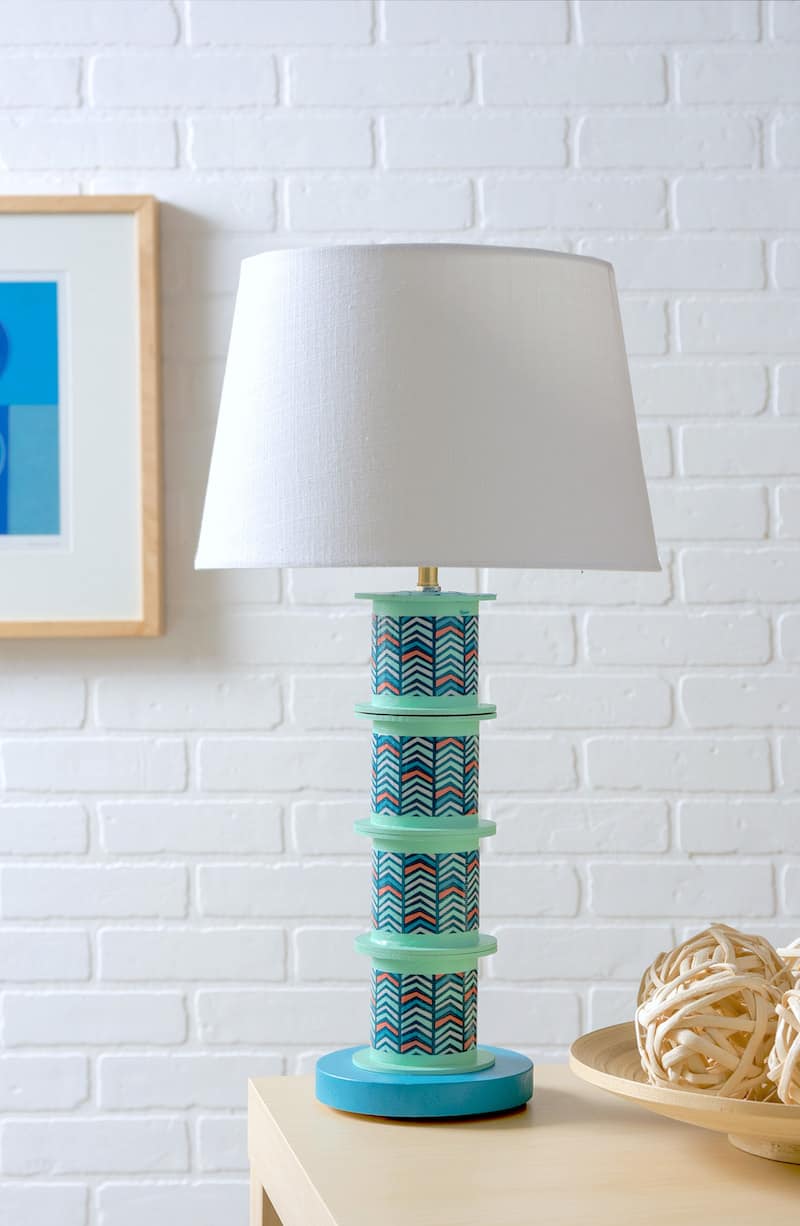
A wood slat doormat gives the front step a mid-century modern look. Cut two 8 foot 1×2 boards into fifteen 18 inch slats; oak is a great pick because it’s dense and holds up to wear and moisture. Decorate the slats with craft paint or fabric and outdoor decoupage medium, then seal them with a water sealer. String the slats together on rope with wood beads between them as spacers and knot the ends. Plan on about 5 1/2 hours including drying, and around $35 in supplies.
Get the full tutorial at DIY Candy.
21. DIY Summer Banner
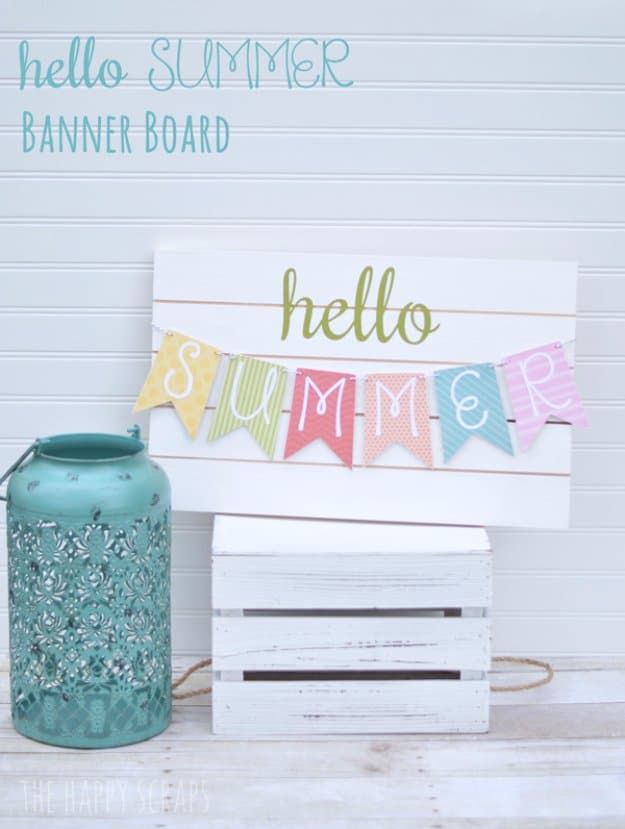
A hello summer banner board is a quick way to freshen up a mantel or an entry table. Sand the wooden banner pieces and a slatted board, then paint the board white and lightly distress the edges once it’s dry. Leave the pennants raw and glue bright scrapbook paper onto each one. Add a letter to each pennant to spell SUMMER with alphabet stickers or vinyl, and cut or stick a gold hello above it. Glue the pennants across the board in a gentle swag and it’s ready to display.
Get the full tutorial at Today's Creative Life.
22. Mason Jar Beach Decor
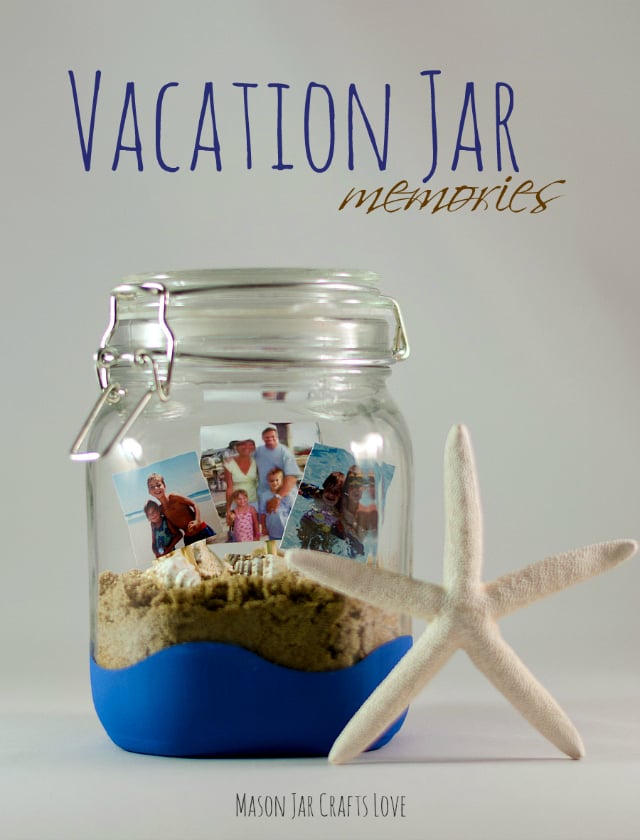
A vacation memory jar holds a little piece of the beach right on your shelf. Tape off a wavy line near the bottom of a jar with wave-shaped painter’s tape, rubbing the edge to seal it, then paint below the line in blue. One coat is plenty. Peel the tape for a crisp wave. Print a few favorite vacation photos, cut them out and tape them to wooden skewers. Fill the jar with sand and shells from the trip, then stand the photos up inside. It’s a sweet way to remember a summer.
Get the full tutorial at Mason Jar Crafts Love.
23. Painted Beach Rocks
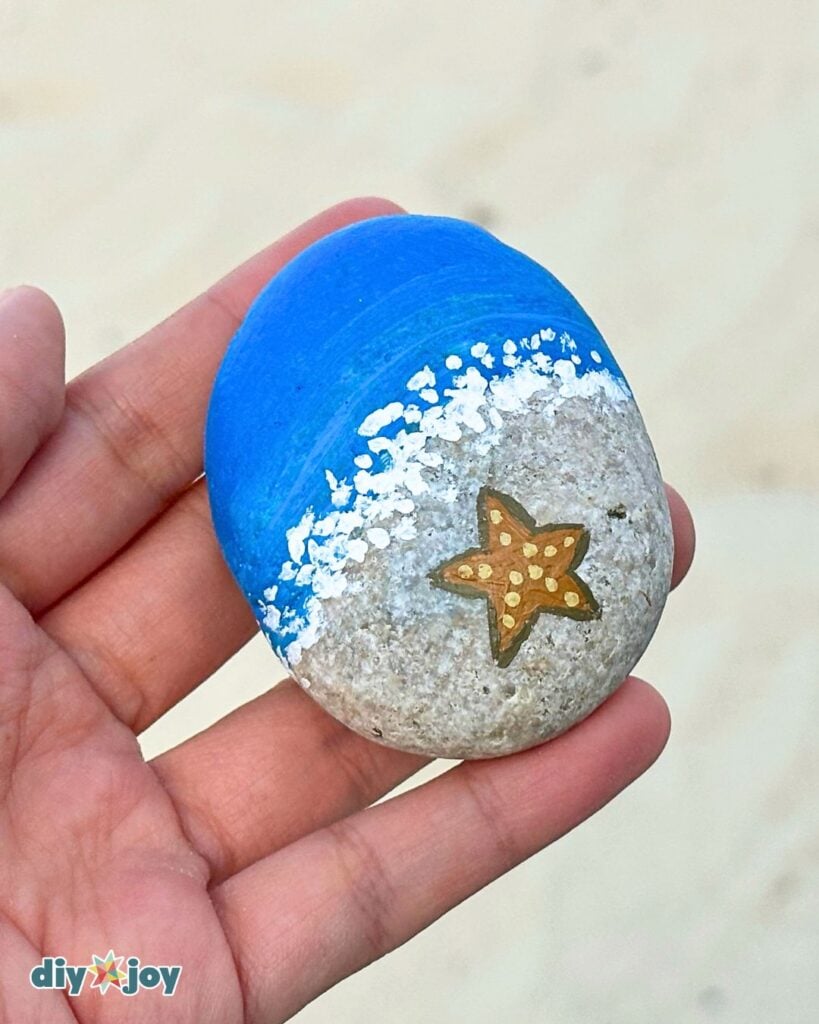
Beach rock painting is a perfect first painting project, since it only needs a few colors. Pick a smooth, flat river rock (bring your own, since taking stones from many beaches isn’t allowed), then clean and dry it. Paint the top blue for the ocean, then a lighter blue band following the curve. Dot white paint where the water meets the sand, paint the bottom tan and add a five-pointed starfish with yellow dots and a darker outline. Let each layer dry, and seal it if it’s going outdoors.
Get the full tutorial at DIY JOY.
24. DIY Maritime Flag Bunting
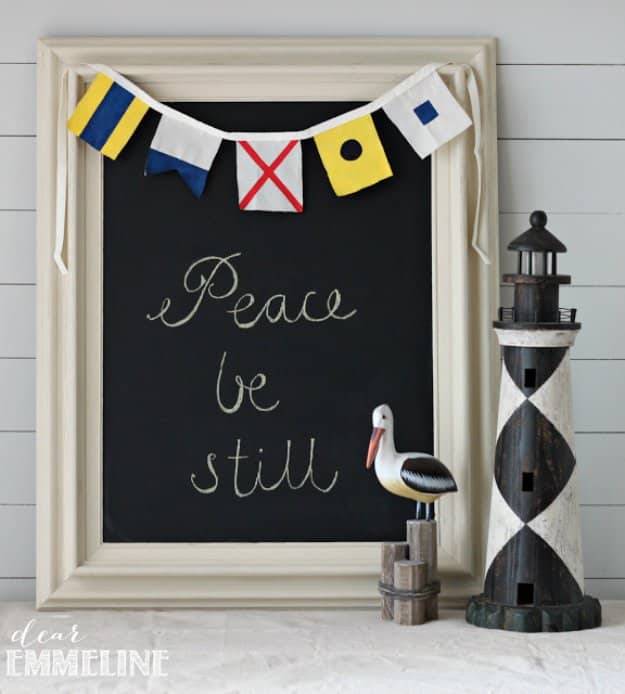
Did you know there’s a maritime signal flag for every letter of the alphabet? That makes this bunting a fun way to spell a name or a word in nautical style. Cut fabric or paper flags about 3 by 3.5 inches, shaping the few that differ, and seal fabric edges with fray stop. Paint the patterns with acrylics and a small pointed brush, one color at a time, letting each dry before the next. Tuck the tops into double fold bias tape, leave tails for hanging, and stitch or glue them in.
Get the full tutorial at Petal + Ply.
25. DIY Ice Dyed Beach Towel
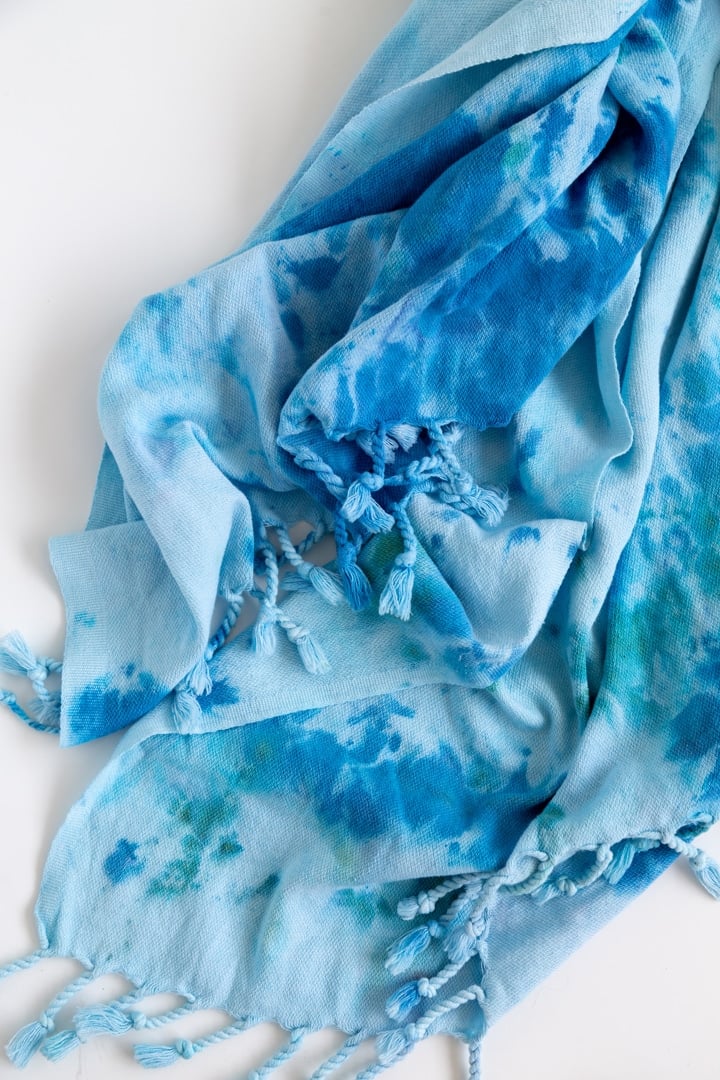
Ice dyeing gives a beach towel a soft watercolor look that’s different every time. Use 100% cotton, like a lightweight Turkish towel, and wash it and keep it damp. Pre-treat the fabric with soda ash, salt or vinegar, depending on your dye. Scrunch the towel up, pile ice on top and sprinkle powdered fabric dye over the ice. As the ice melts, the dye spreads and splits into surprising shades of blue and teal. Let it melt completely before you rinse and wash the towel.
Get the full tutorial at Alice and Lois.
26. DIY Confetti Tray
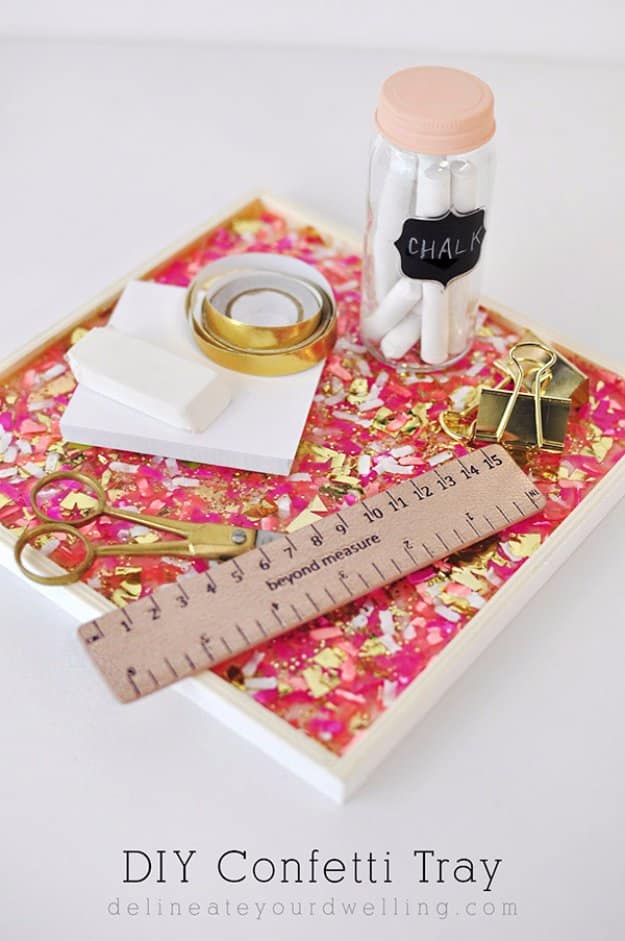
A confetti tray is like a party you can keep on your desk or coffee table. Brush a generous layer of decoupage glue across the bottom of a wooden tray so the confetti stays put, then pour in colorful confetti and a pinch of gold glitter. Press it down with your hands so most of the pieces lie flat. Cover it with a dimensional glue for a glossy, glass-like finish and let it dry fully. Paper colors can soften over time, so pick bold shades. It makes a fun gift too.
Get the full tutorial at Delineate Your Dwelling.
27. DIY 4th of July Banner With Toilet Paper Rolls

Eight empty toilet paper rolls make a full Happy 4th of July banner. Soak the rolls in water for a few minutes until the layers come apart, then fold each piece in half and let them dry. Paint seven pieces red and seven blue. Trace the letters in pencil, alternating colors, and fill them in with an acrylic marker. Cut one plain piece in half, glue it into a rectangle, paint it white and draw an American flag on it. String it all on a ribbon, and weigh down any curling pieces with a book.
Get the full tutorial at DIY JOY.