
Are you looking for your next sewing project? This drawstring bag from Erica Arndt on Youtube is the easiest tutorial out there. With simple materials and easy technique, this sewing project is perfect, especially if you’re a beginner. It’s also the cutest gift for family or friends! Watch the video below to learn the step-by-step tutorial.
Materials:
- 1 pc. 12″ x 28″ fabric
- 1 pc. 1/4″ x 28″ twill ribbon
- 50wt Aurifil 100% cotton thread
- cordless iron
- scissors
- magnetic pin bowl
- ironing board
Directions:
Step 1
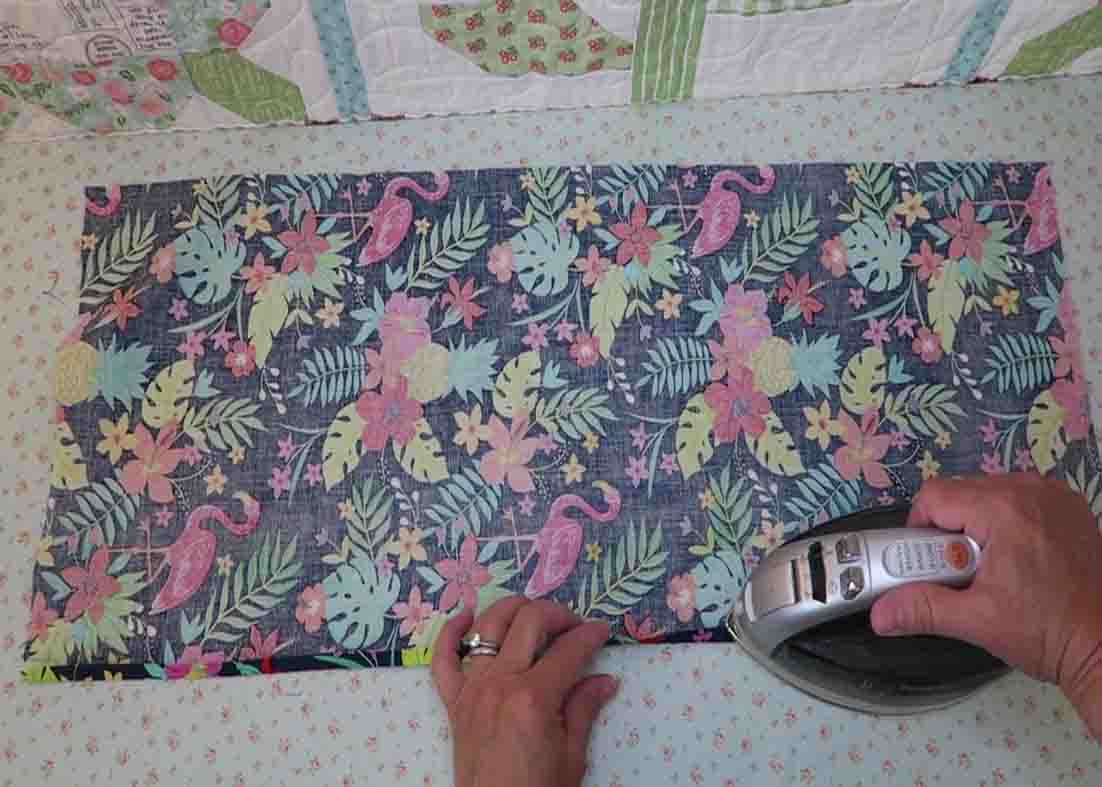
Lay down your fabric, right side facing down, and fold the long edges by 1/4″ and press. After pressing, sew them down in the sewing machine. Next, fold the short edges also by 1/4″ and press, then fold the short sides again by 1 & 1/4″, press or pin to secure in place. Sew them.
[social_warfare]
Step 2
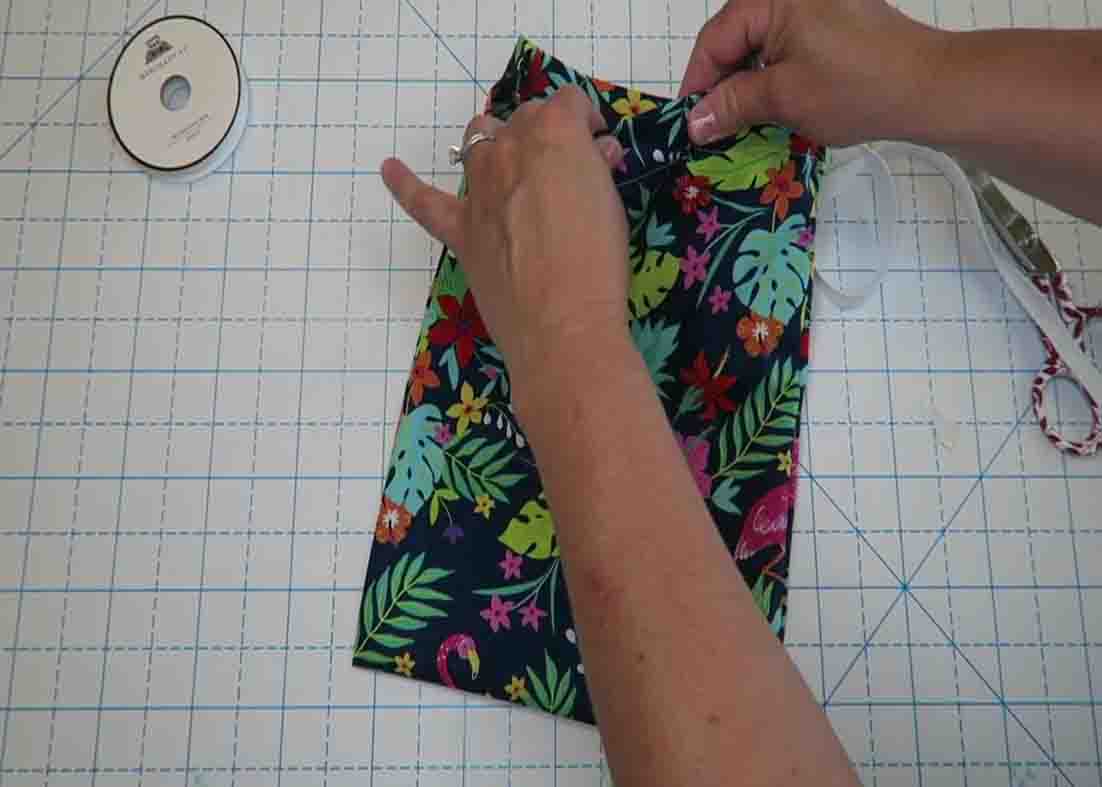
Next, fold it in half with the right sides together. (You can pin it to hold it in place.) Take it to the sewing machine and sew both sides, leaving the portion for the drawstrings open. After sewing, turn the bag right side out. Next, attach a large safety pin to one end of the ribbon, then go ahead and thread it to the drawstring. After this, pull the ribbon and tie both ends in a regular knot. Your drawstring bag is now finished.
Super Easy Drawstring Bag Tutorial


