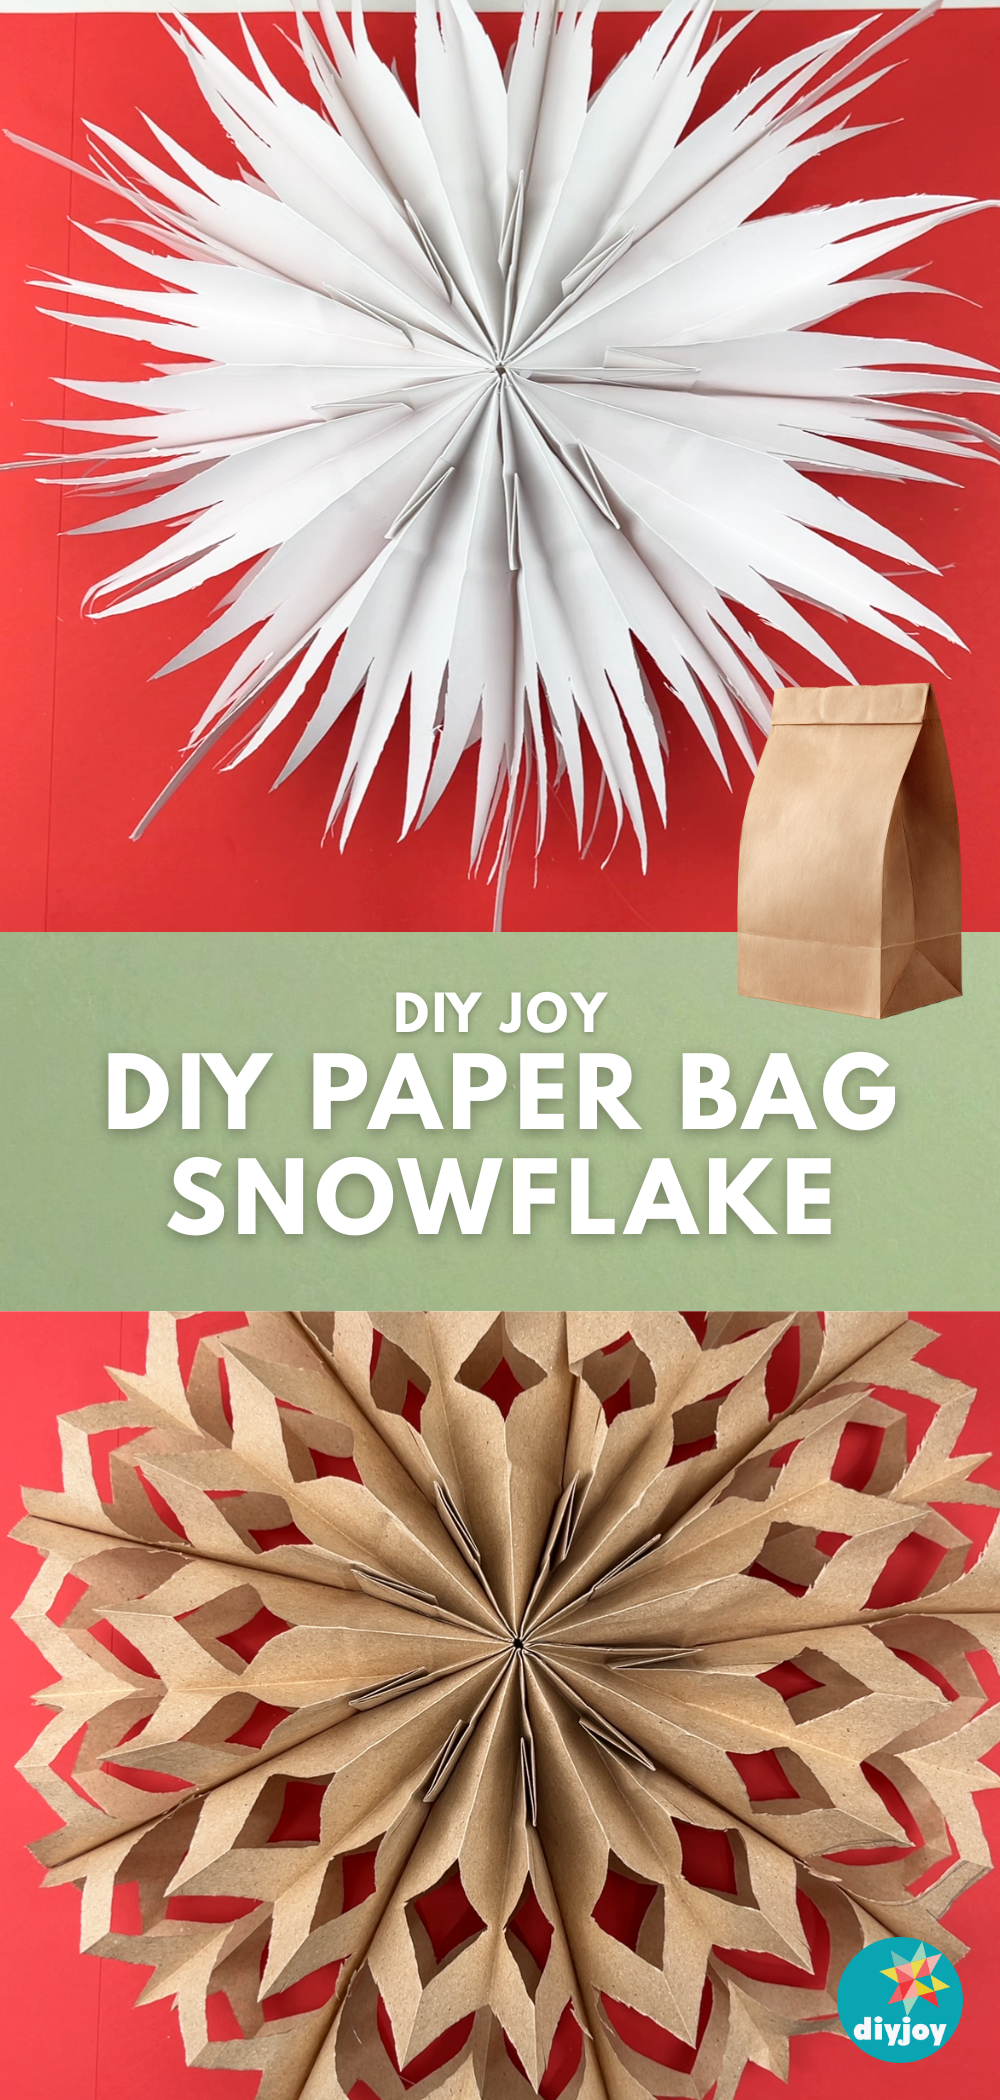
Paper bag snowflakes are one of the easiest holiday crafts you can make at home. This paper craft is budget-friendly and only requires a few materials like paper bags, scissors, pencil, and hot glue. Making them only takes a couple of minutes, and you have a wonderful Christmas decoration you can place on your table or hang on the walls. Check out the step-by-step instructions, tips, and snowflake patterns below.
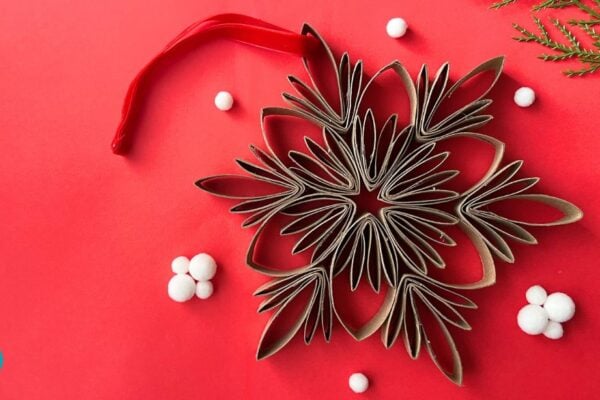
RELATED: Make Beautiful DIY Snowflake Ornaments With Toilet Paper Rolls
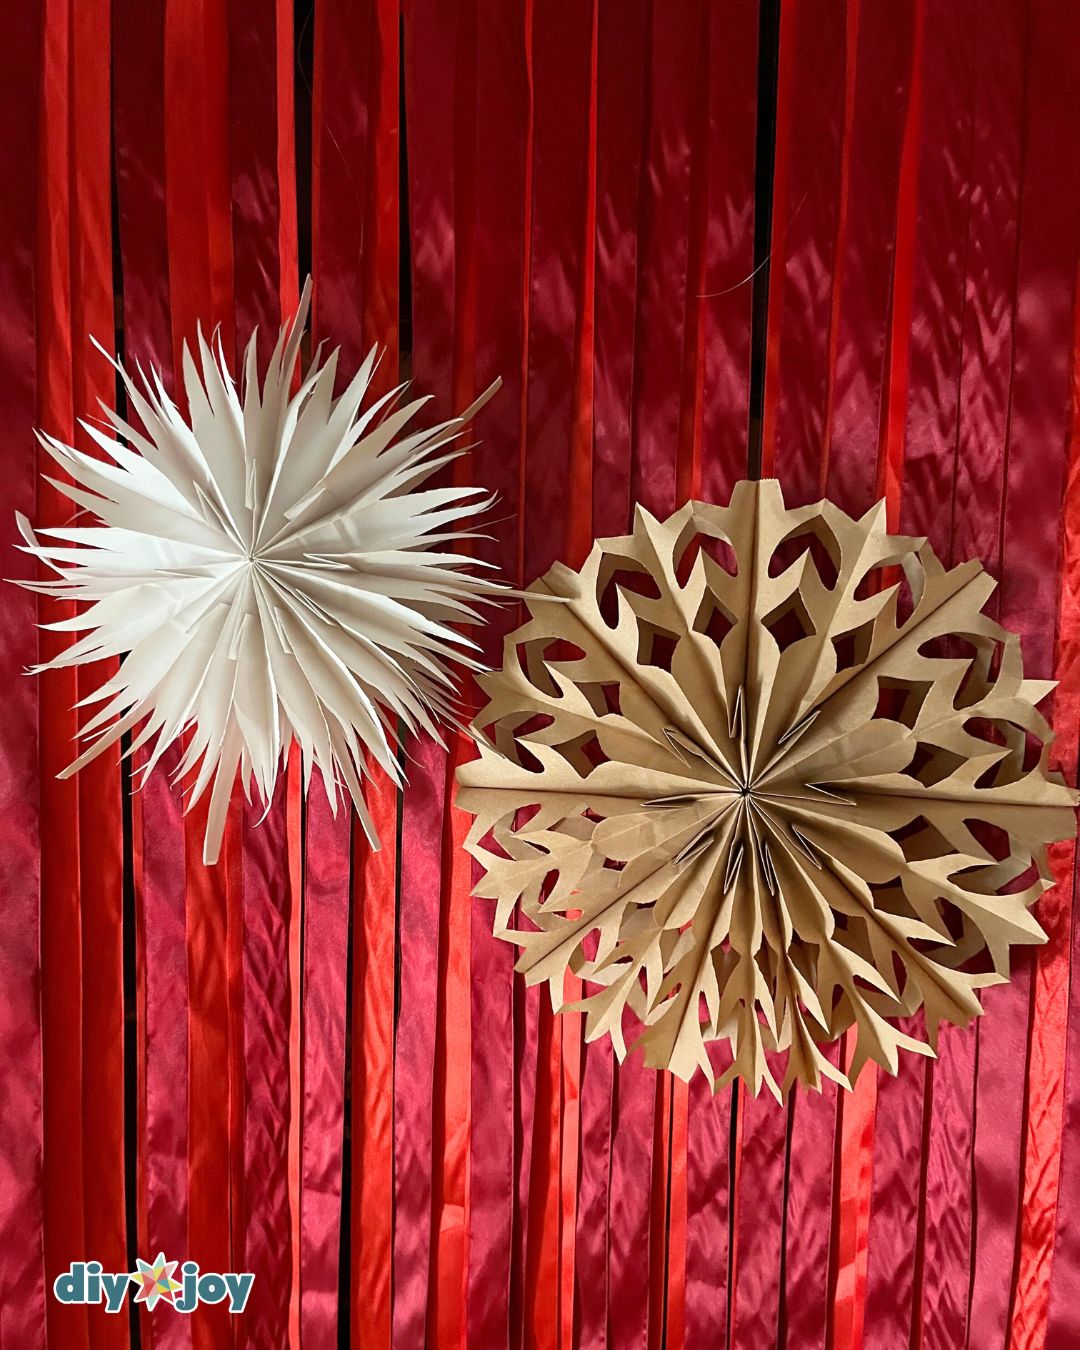
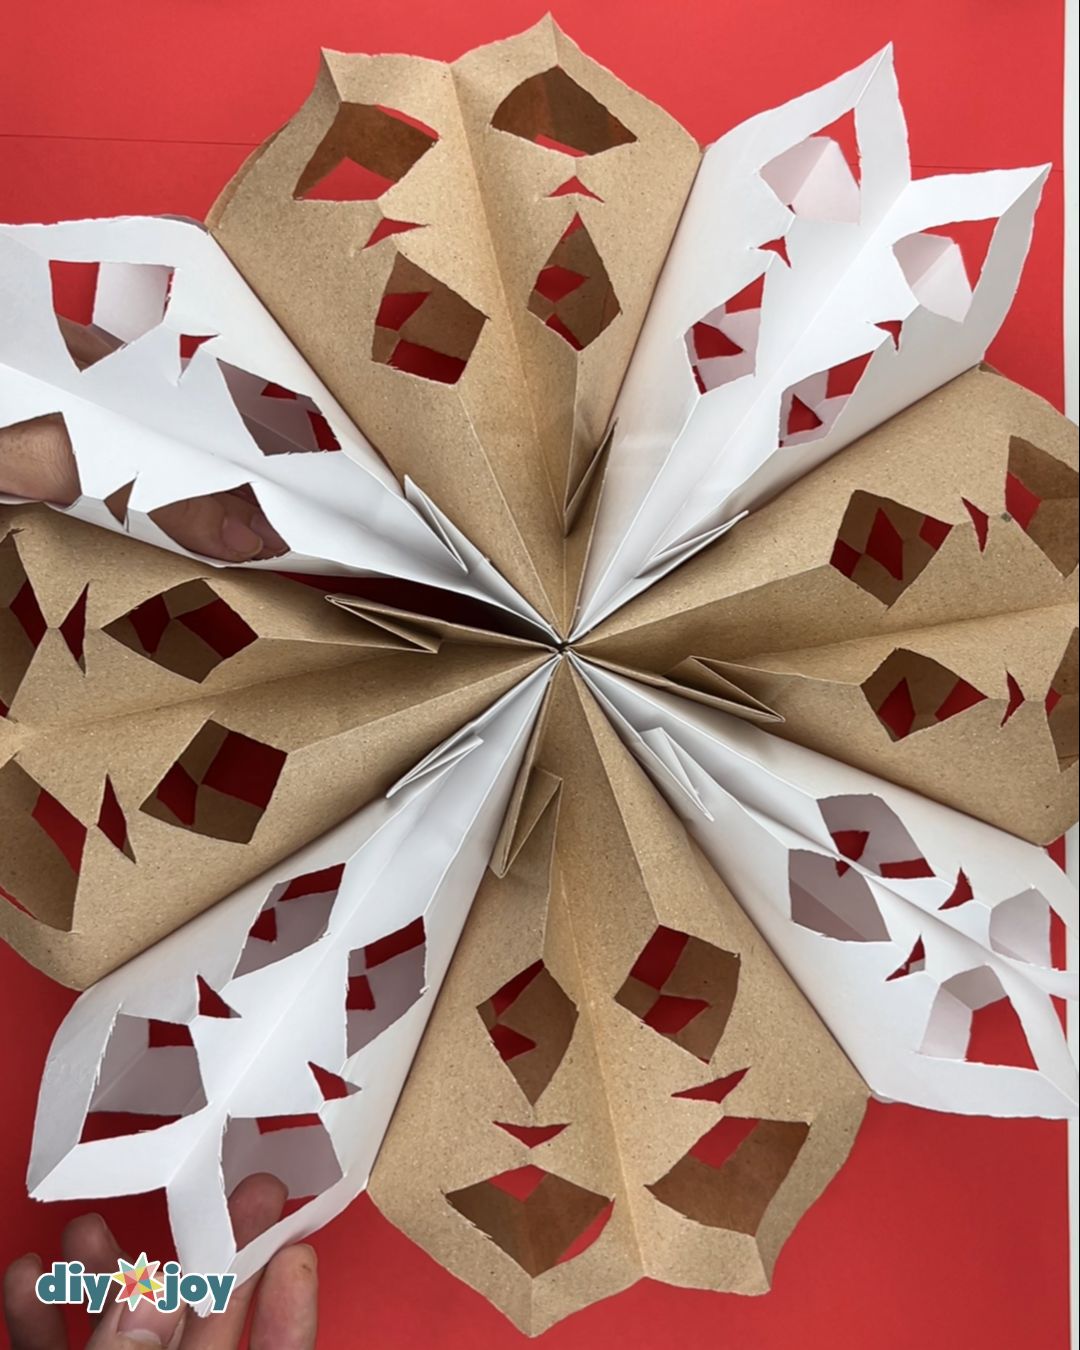
Would you believe that these DIY paper snowflakes are made with lunch bags? They are! Honestly, if I hadn’t been told, I wouldn’t even noticed. They look that good. I’m absolutely impressed by whoever first discovered this amazing idea. What I love most about this project is the creative freedom it offers. You get to design your own unique snowflakes! It is really up to you what patterns you create. Feel free to experiment with different shapes and cuts. If you want to add more detail, you can try using a puncher or wavy scissors to elevate the finished look!
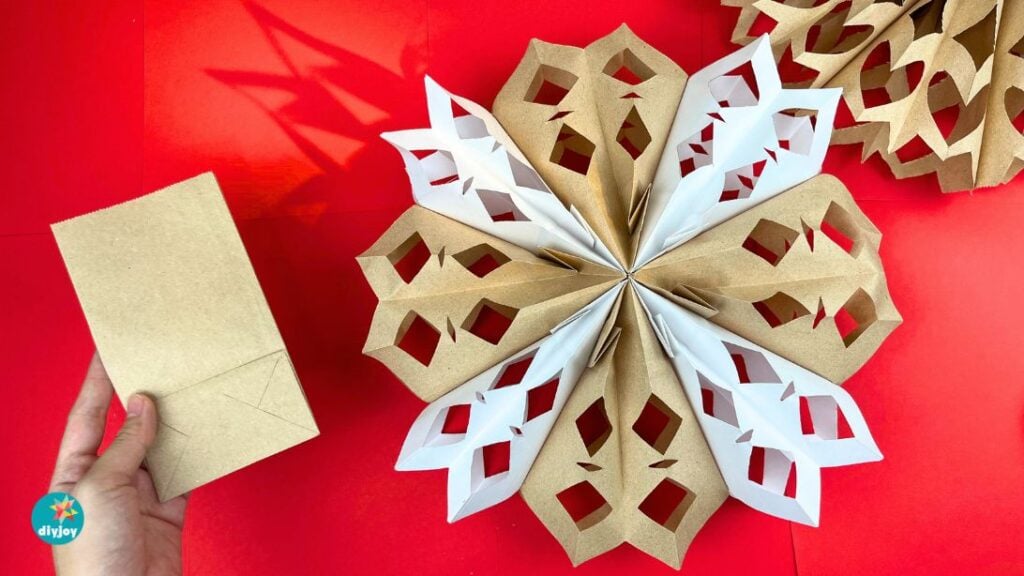
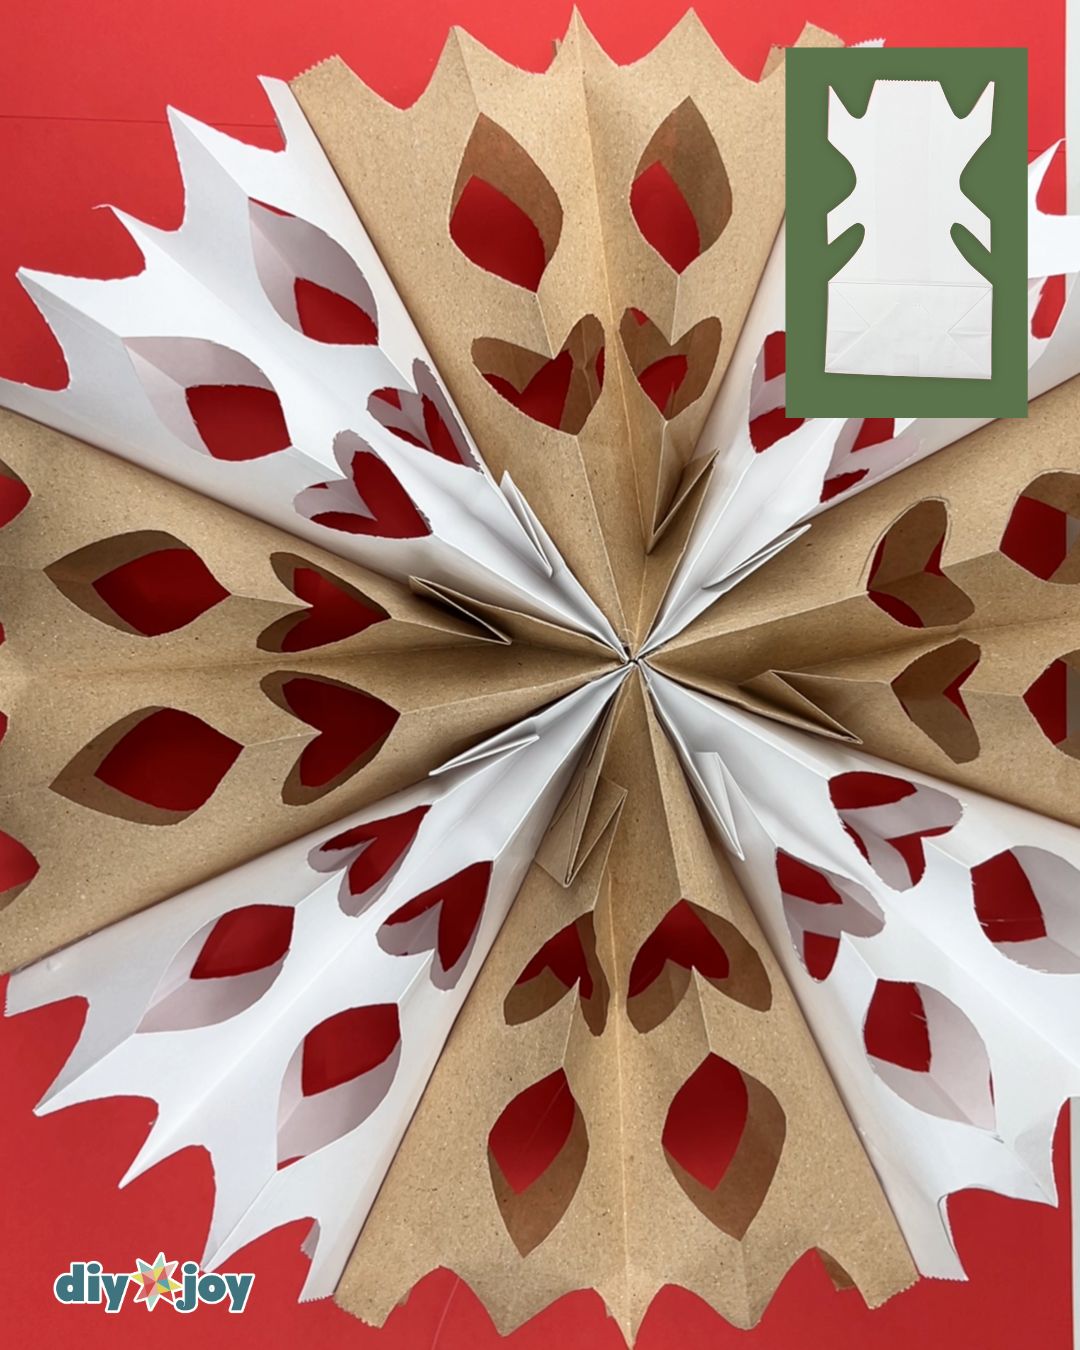
For this project, I used both the brown and white paper bags. Since I’ve seen many people use just one color, I wanted this tutorial to showcase what it looks like to combine both. I’ll teach you exactly how many paper bags you need, and provide you with different pattern ideas and cutting tips. Try this easy winter craft at home.
How Many Paper Bags To Make One Snowflake
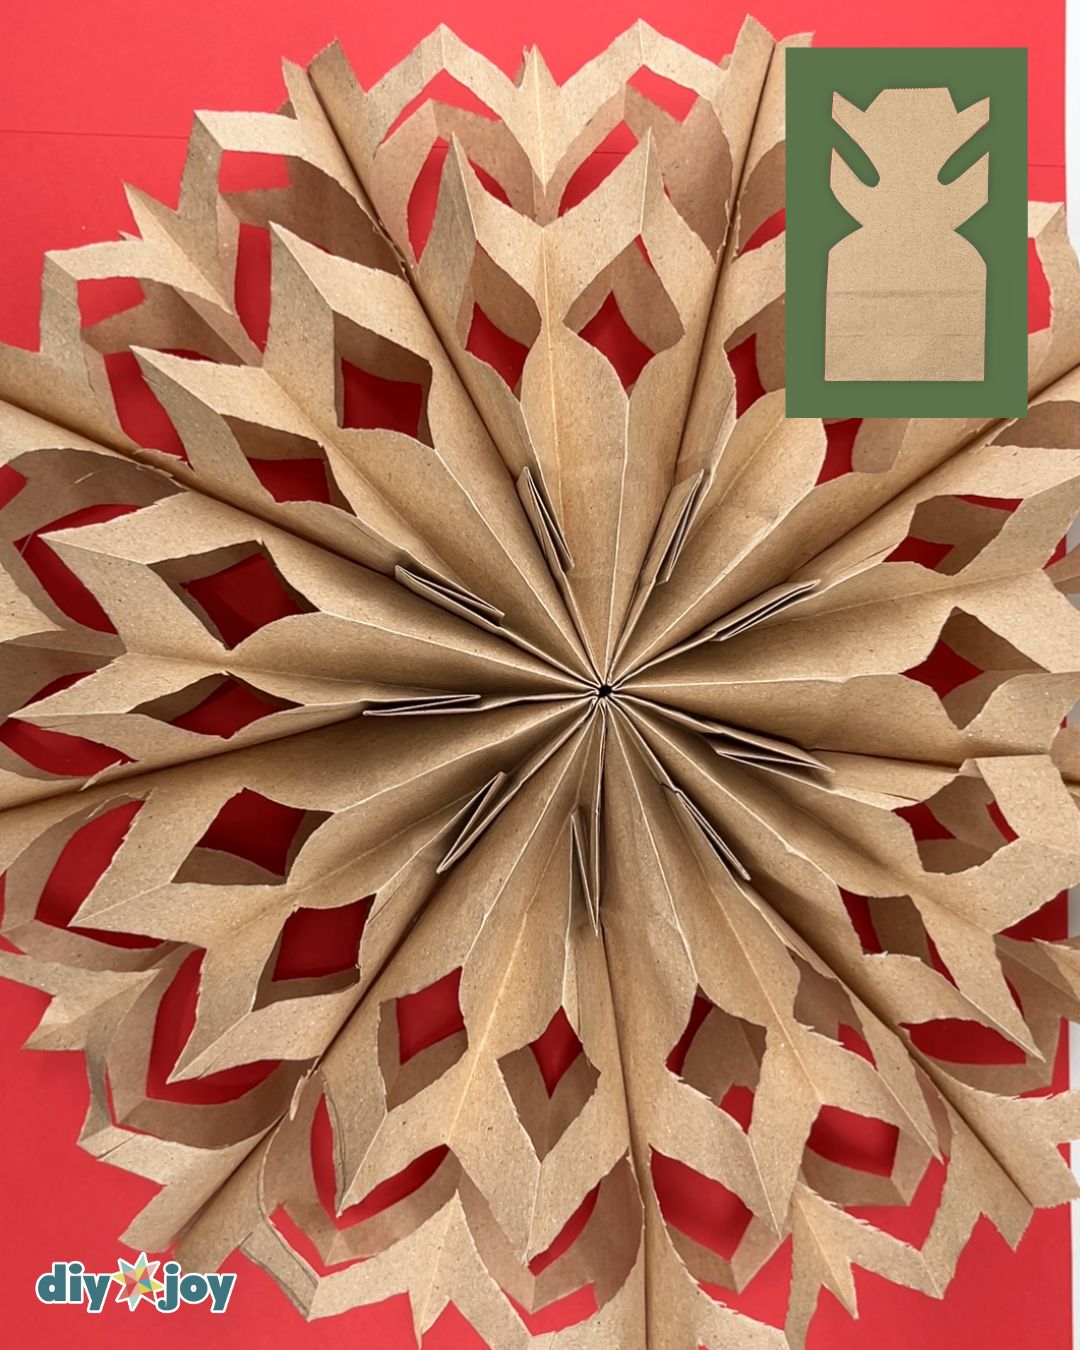
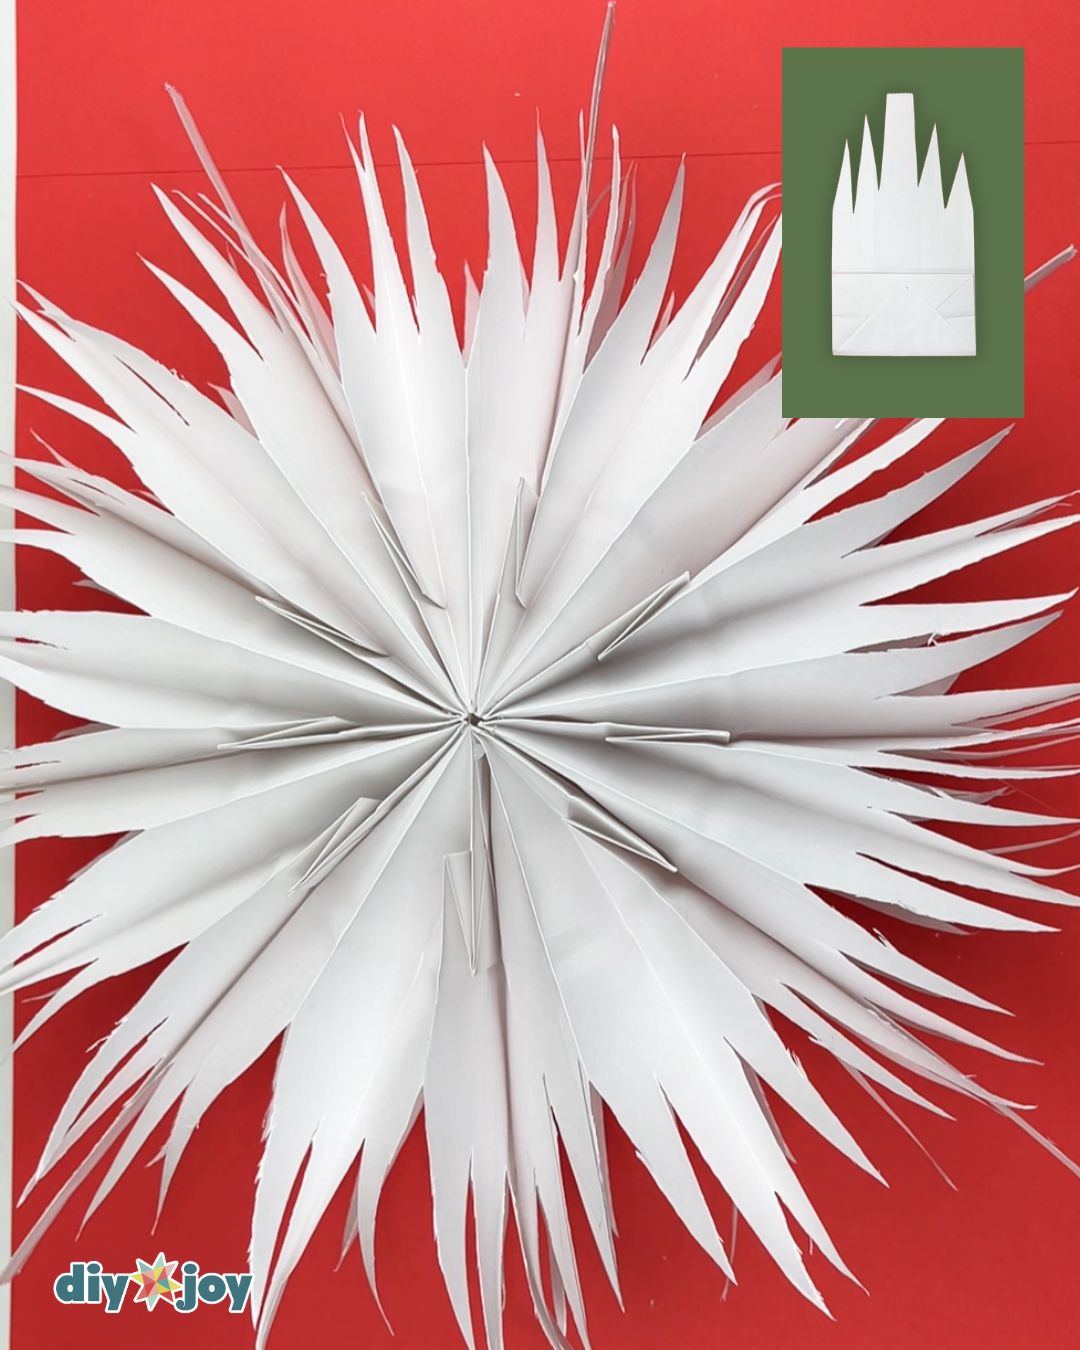
I’ve seen a lot of people saying that you only need 7 paper bags for one snowflake, but it didn’t work for me. I used 8 paper bags for the two-toned one and 9 paper bags for the one-toned. Seven paper bags is not enough to glue the two ends together.
Cutting Tips
One thing I’ve noticed is that the white paper bag is much thicker than the brown paper bags, which means the brown snowflake was easier to cut.
Cutting up to 9 layers of thick paper bag is not easy. Make sure to use a sharp pair of scissors and, if you are having trouble, cut it two to three layers at a time. For round shapes, an X–acto knife can be useful.
Paper Bag Snowflake Tutorial
Learn how to make snowflakes with paper bags with this step-by-step tutorial.
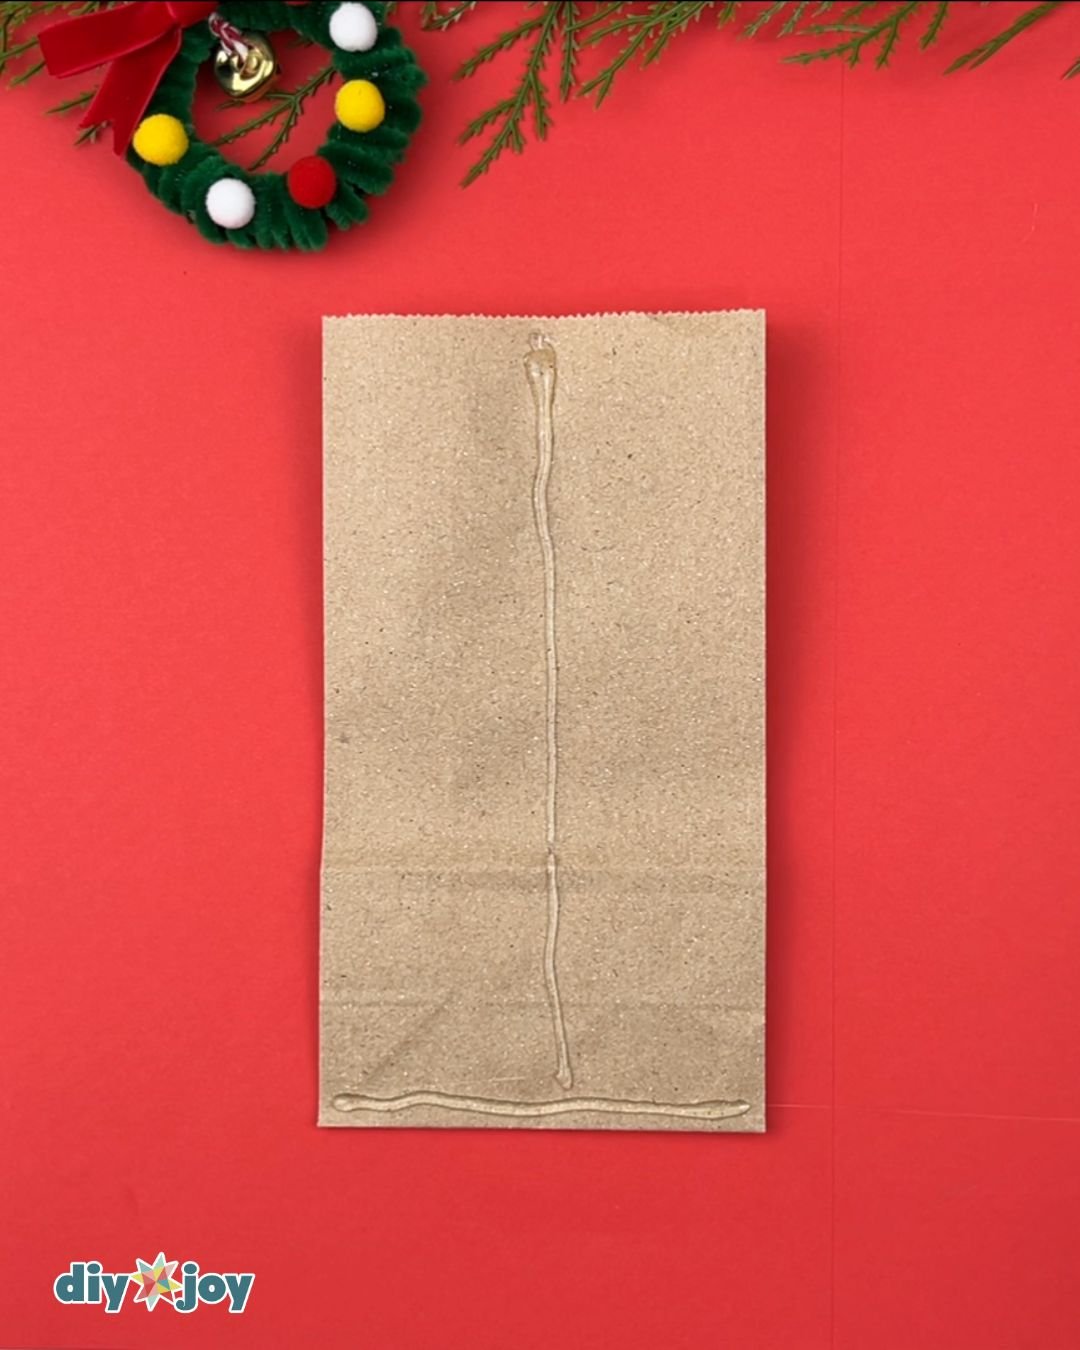
Gluing the paper bags
Start by gluing the paper bags together. Flatten your paper bag and apply hot glue in an inverted T-shape. Take another paper bag and place it on top, making sure that they are both facing the same direction.
For the one-toned snowflake, you will need 9 paper bags.
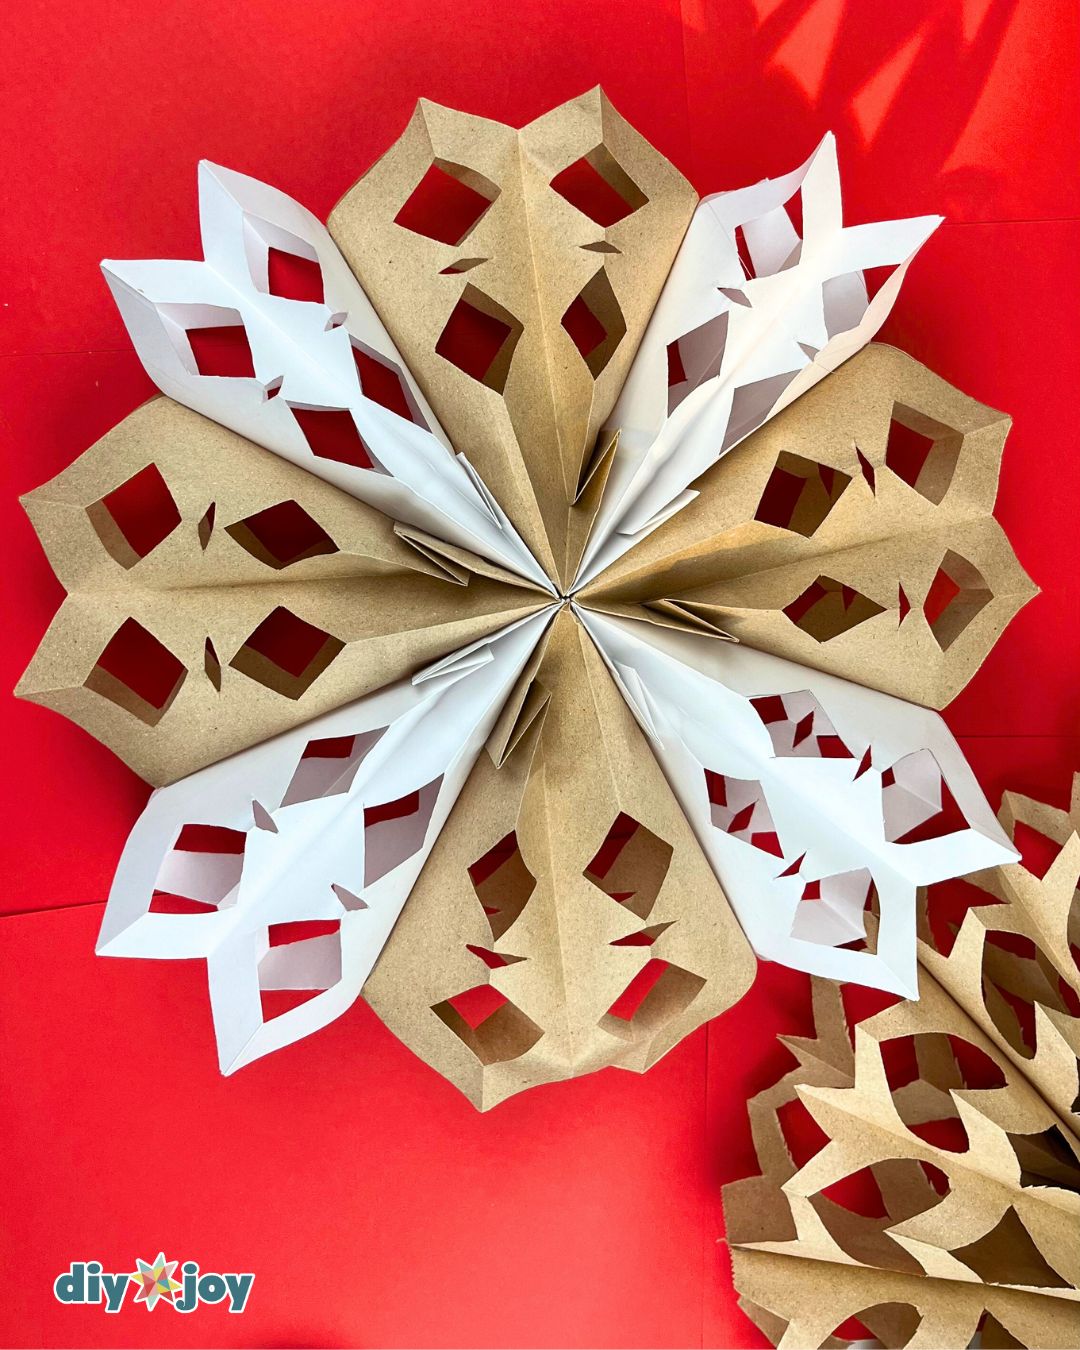
For the two-toned snowflake, you will need 4 brown paper bags and 4 white paper bags. Alternate the two colors when gluing.
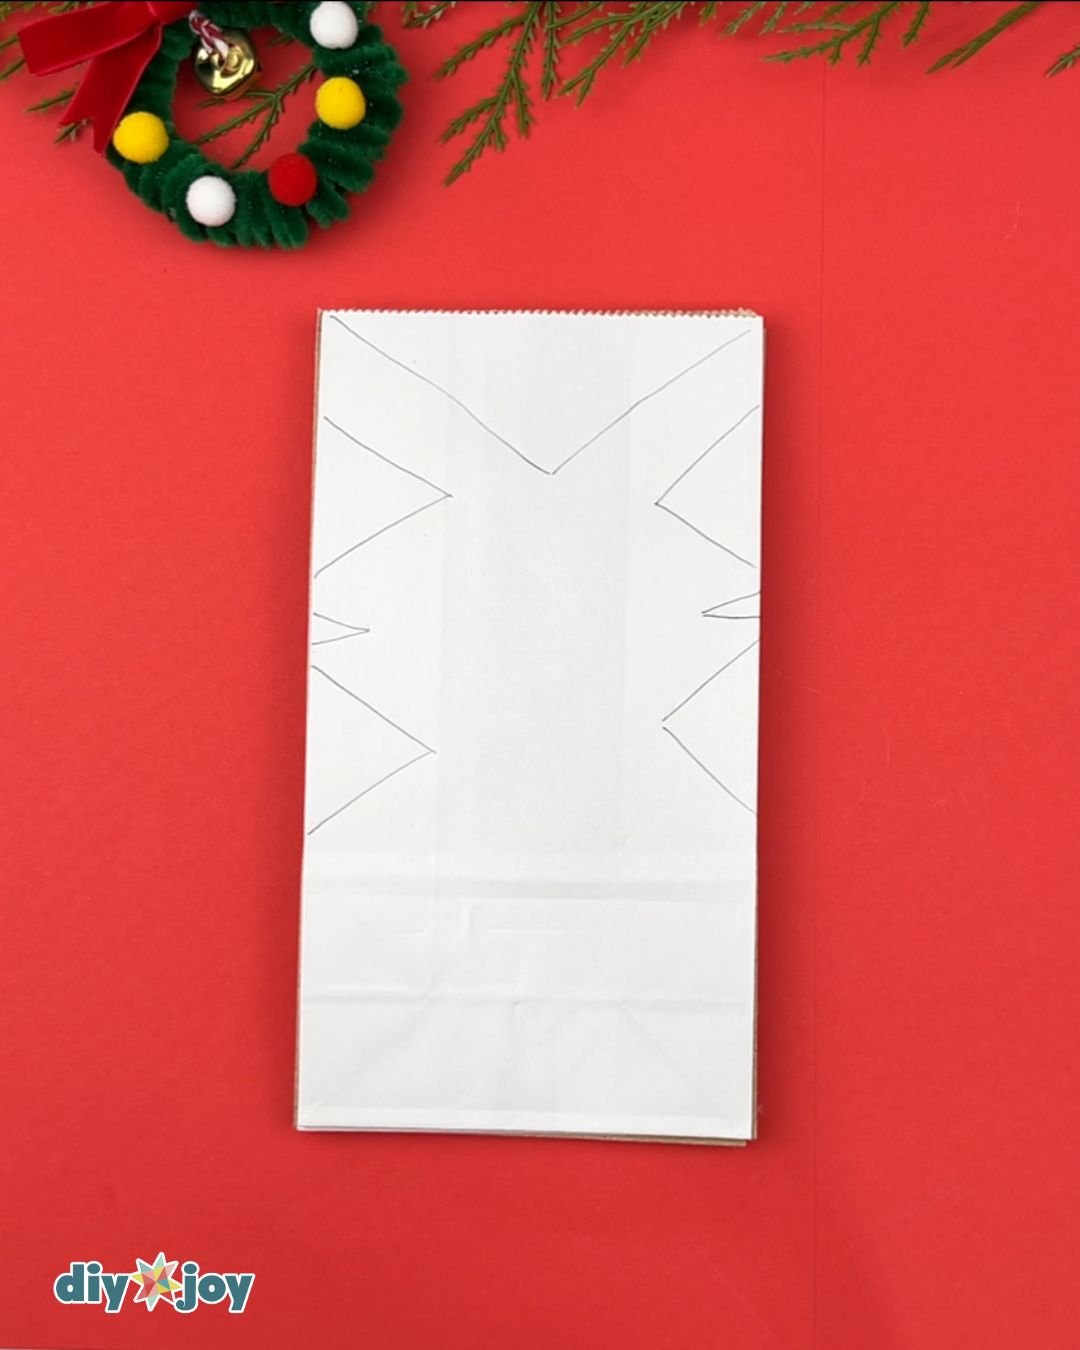
Drawing the pattern
When drawing your pattern, keep in mind that the glue lines on the bottom and center are what keep the paper bags together.
You can draw freehand or use a ruler to make symmetrical shapes.
You can also draw round shapes, but keep in mind that cutting them will be more difficult. To keep it simple, try using only straight lines.
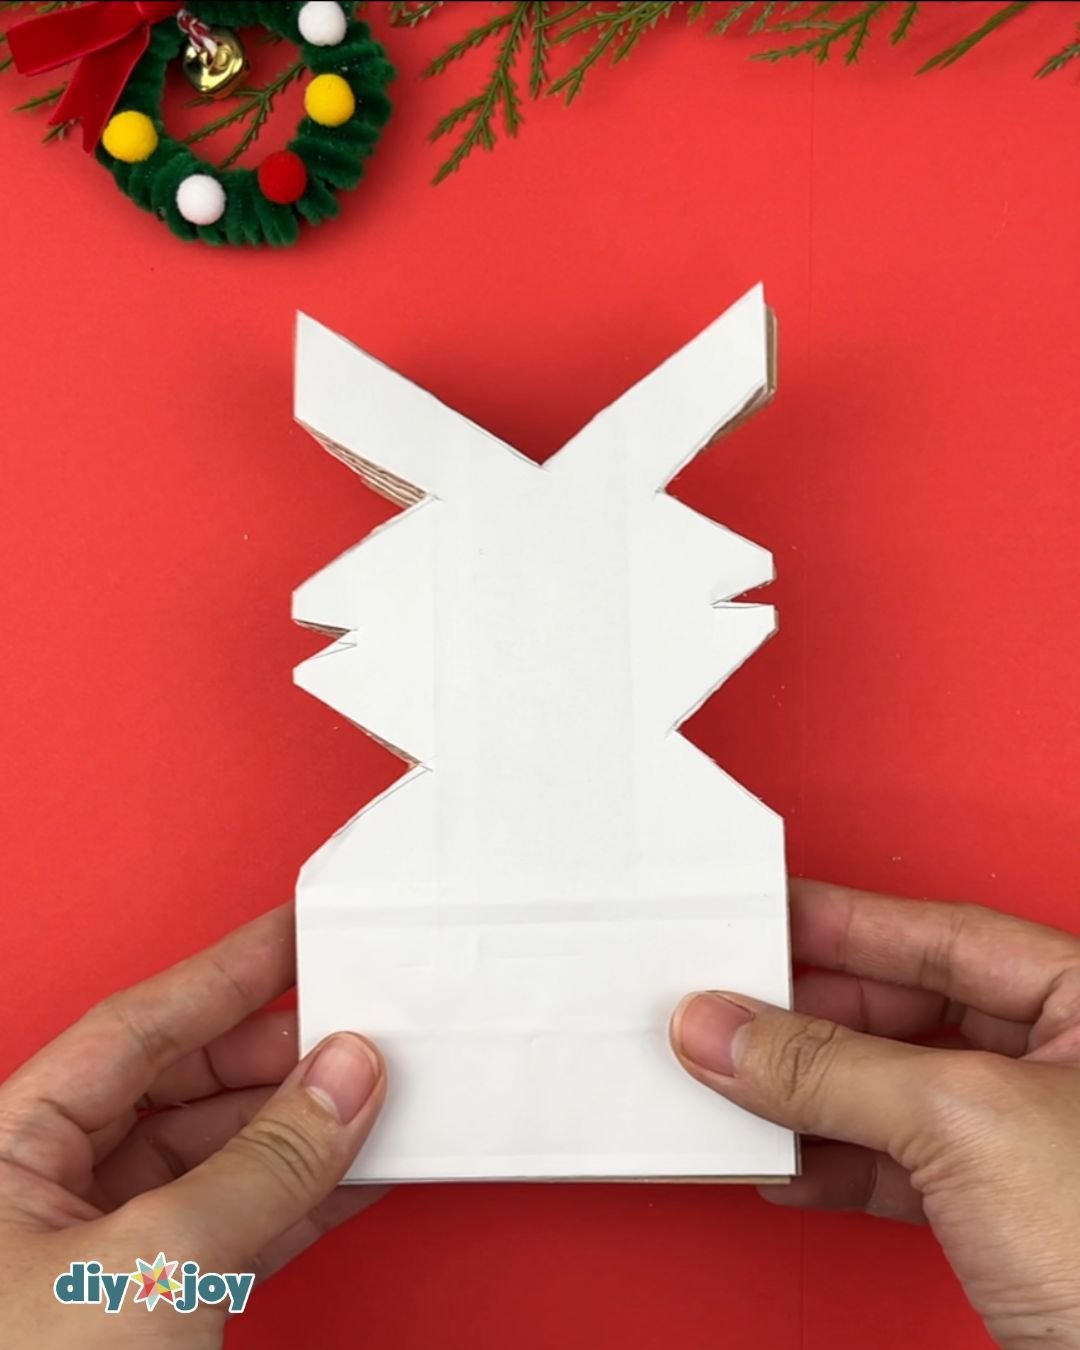
Do not draw or cut into the bottom section of the bags.Cutting the pattern
Use a sharp pair of scissors to cut your pattern. If you are having trouble cutting through all the layers, try cutting them in just a few pieces at a time.
If your pattern includes round shapes, use an X-acto knife.Gluing the ends
Apply glue in an inverted T-shape on the top piece, then glue the ends together to form the snowflake.
To hang it, simply cut a string and tape it into the inner part of one of the paper bag.
Tools
- ruler
- scissors
- glue gun
Materials
- paper bags
- pencil
- string for hanging
- tape for hanging
- glue stick
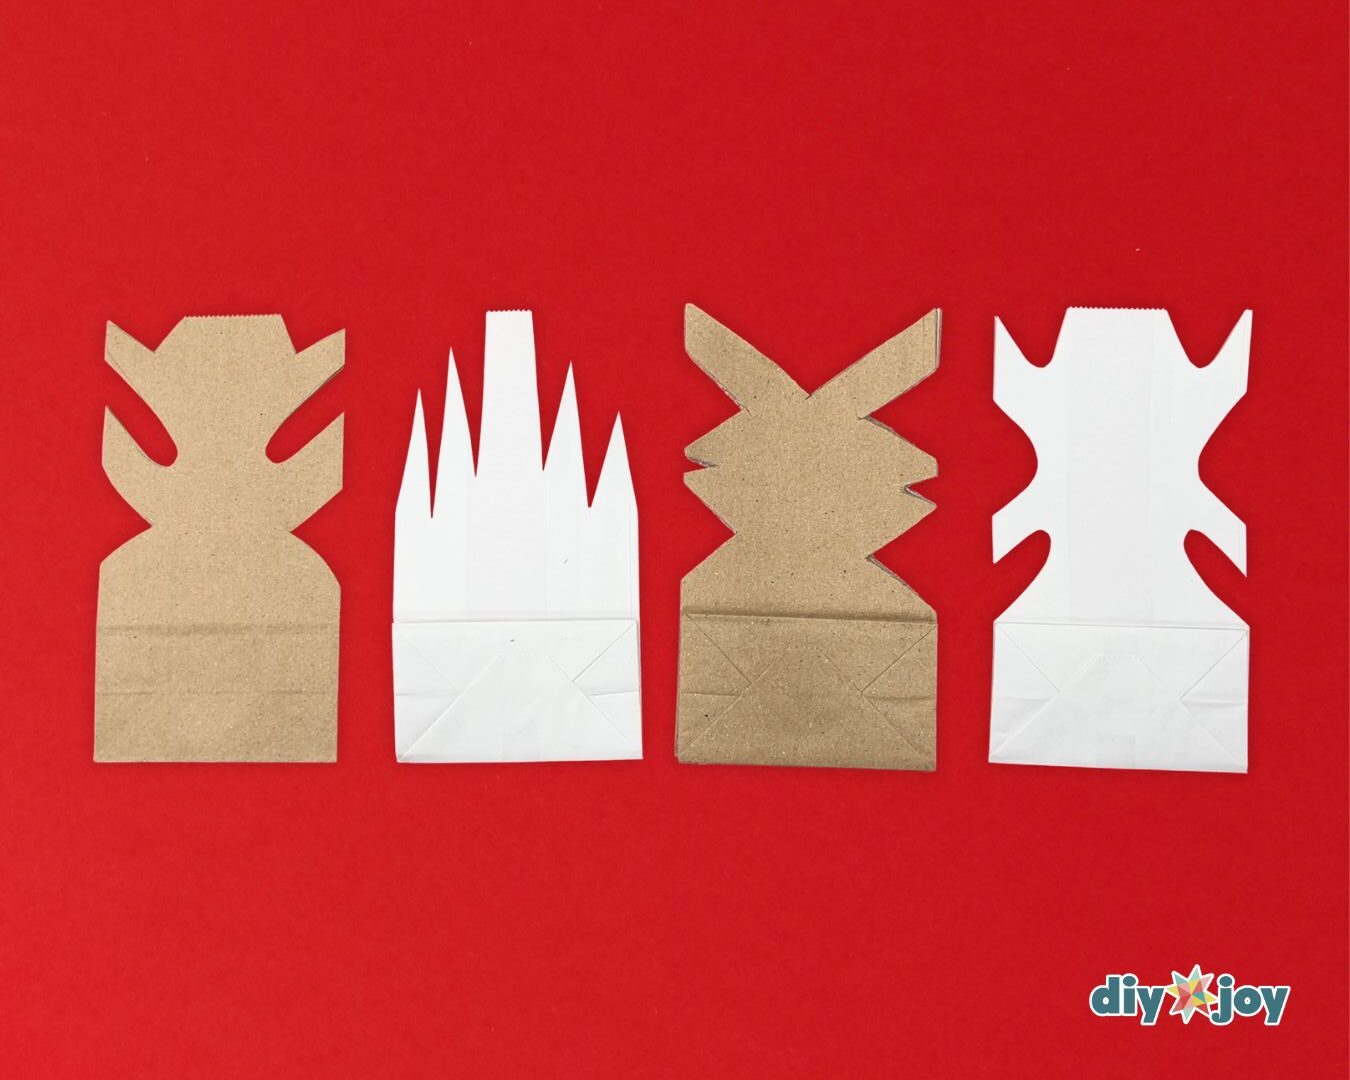
Paper Bag Snowflake Patterns
Here are a few snowflake patterns you can try! The third pattern from the left is the exact one that I used in the tutorial above.
![]()
Crafting Tip
Use a sharp pair of scissors.
More Easy Christmas Crafts to Try


Paper Bag Snowflake Video Tutorial