I love learning new sewing techniques to improve my skills, so I was thrilled when I came across this step by step video tutorial that shows how to sew “stitch in a ditch.” This stitch is visible from both the front and the back, and I really like the way it looks. Learn how to sew this stitch for yourself with this Youtube video lesson.

DIY Sewing Tutorial – Stitch in a Ditch
What You Need:
- Pieces of fabric
- Sewing needle
- Sewing machine
Step 1
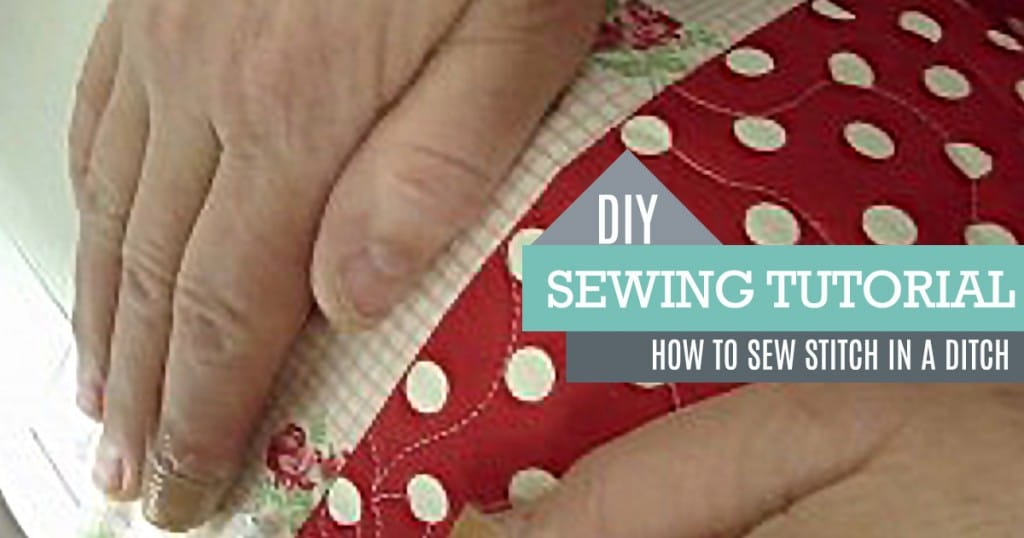
Put your needle right down on the area in between where the two fabrics meet.

Step 2
Ensure they are pressed apart and slowly go right in that ditch.

Step 3
Carefully go along until you reach the end of the fabric. Your stitch will be visible from the front and the
back.


