This small cross-body denim Bag is a DIY gem, it’s so simple to make because it involves only minimal sewing, the rest can be glued with either a hot glue gun, Fabri-Tac, or Liquid Stitch. I decided to make this little Upcycled Denim Crossbody Bag for my niece who is turning 12 this week. I first cut one front pocket out of the jeans, then cut a section at the bottom of the jeans leg and hem area. You leave it attached, unlike most instructions for this type of project. Set the pocket on there as a guide, but the pocket remains sewn on and is an integral part of the design it serves a little compartment to hold change or your keys. The front pocket actually dictates the look of the entire front of your bag. There is no real wrong way to do this denim bag, like with all DIY, this is totally your creation and can be whatever you want.
Materials:
- 1 1/2 to 2-inch Denim Strips (cut from old denim)
- Scissors
- A Sewing Machine
- Thread
- Glue (Fabritac, Hot Glue, or Liquid Stitch)
- A zipper
Directions:
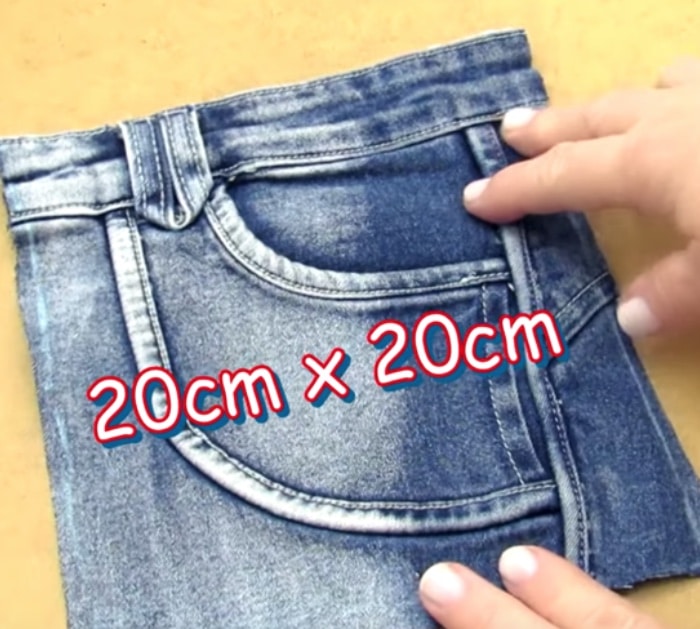
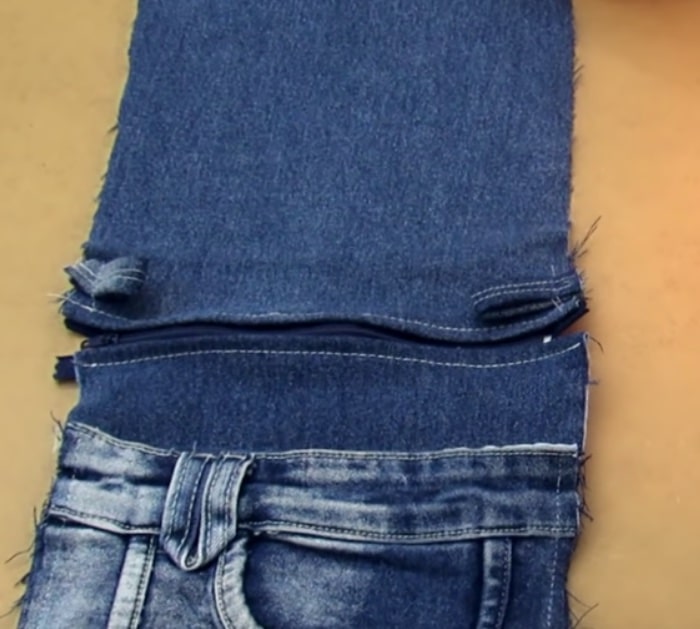
First, cut the front pocket portion of your jeans 20cm x 20cm.
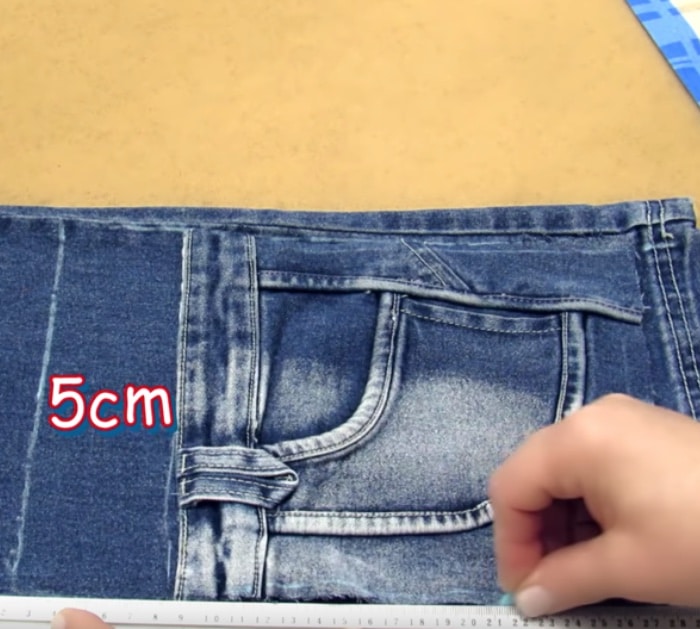
Then use that as a pattern to cut the lower portion of the leg with a 5cm add on length.
Then sew your zipper in like this and attach to little loops to hold your shoulder strap (you could also use belt loops).
Then attach your crossbody strap with simple clips at each end.
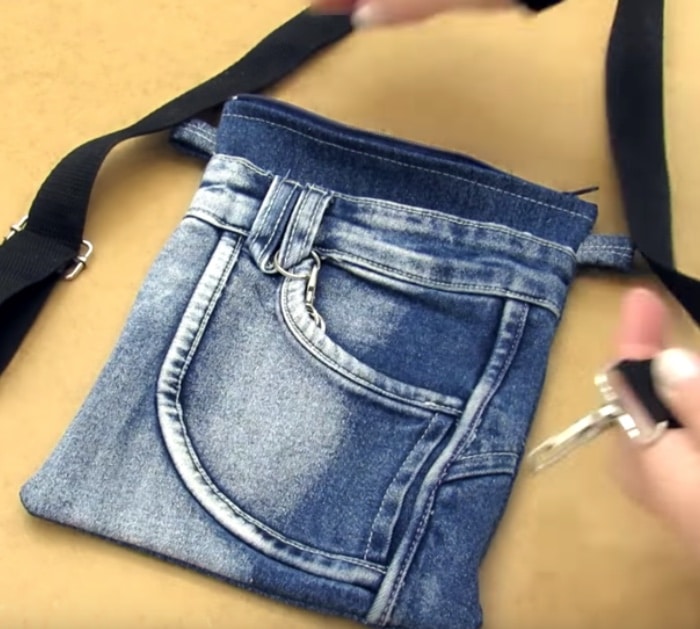
This purse is so cute and only took about 1 hour to make.
How To Make A Recycled Jean Crossbody Bag