This super handy DIY mini ironing board project from TheCraftyGemini on Youtube is great, especially if you’re a frequent traveler and always in need of an iron. What’s more, it’s a no-sew project, and the materials are probably lying around your house already. Cheap, quick, and easy, and this project is super handy! Watch the video tutorial below to learn the step-by-step process.
Materials:
- old wooden puzzle base
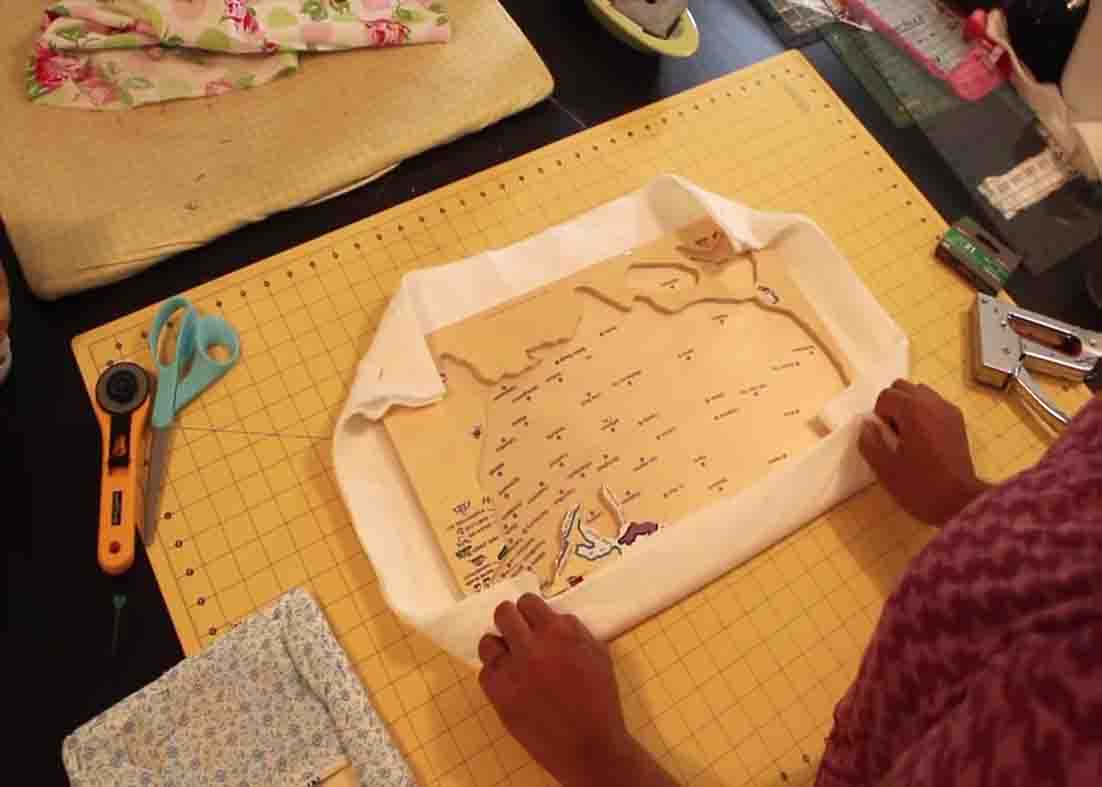
- 2 pcs. of cotton batting
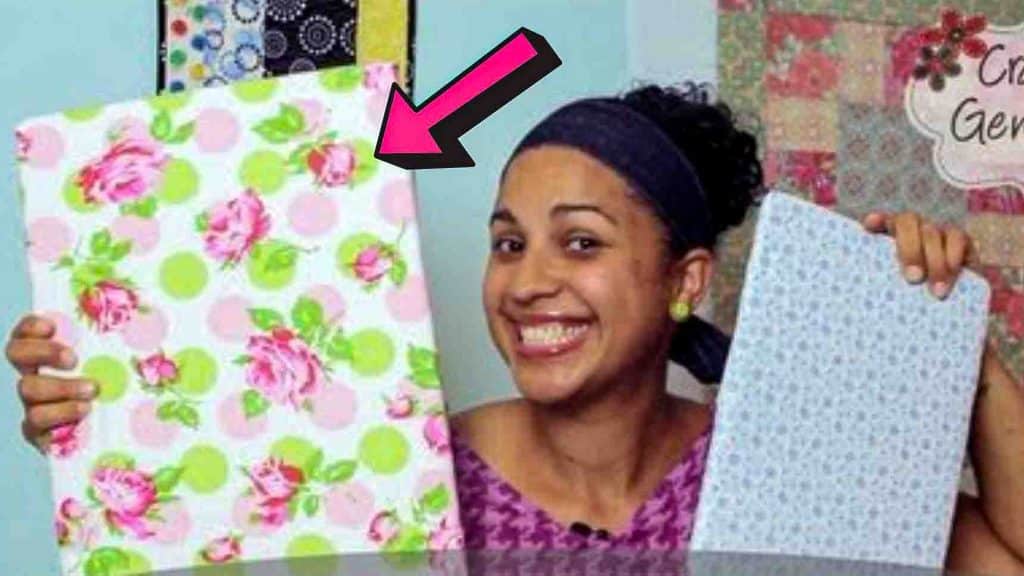
- 100% cotton fabric of your choice
- light duty staple gun and staples
Directions:
Step 1
To start, lay the wooden base down at the center of the batting and the fabric. Next, pull in the corners first and staple them down. After this, fold the edges in, pulling it nicely, then staple it in place. (Staple the center first, then the sides.) Turn the board, and do the same process to the opposite long edge. After this, do the short sides, folding them in, then stapling down.
[social_warfare]
Step 2
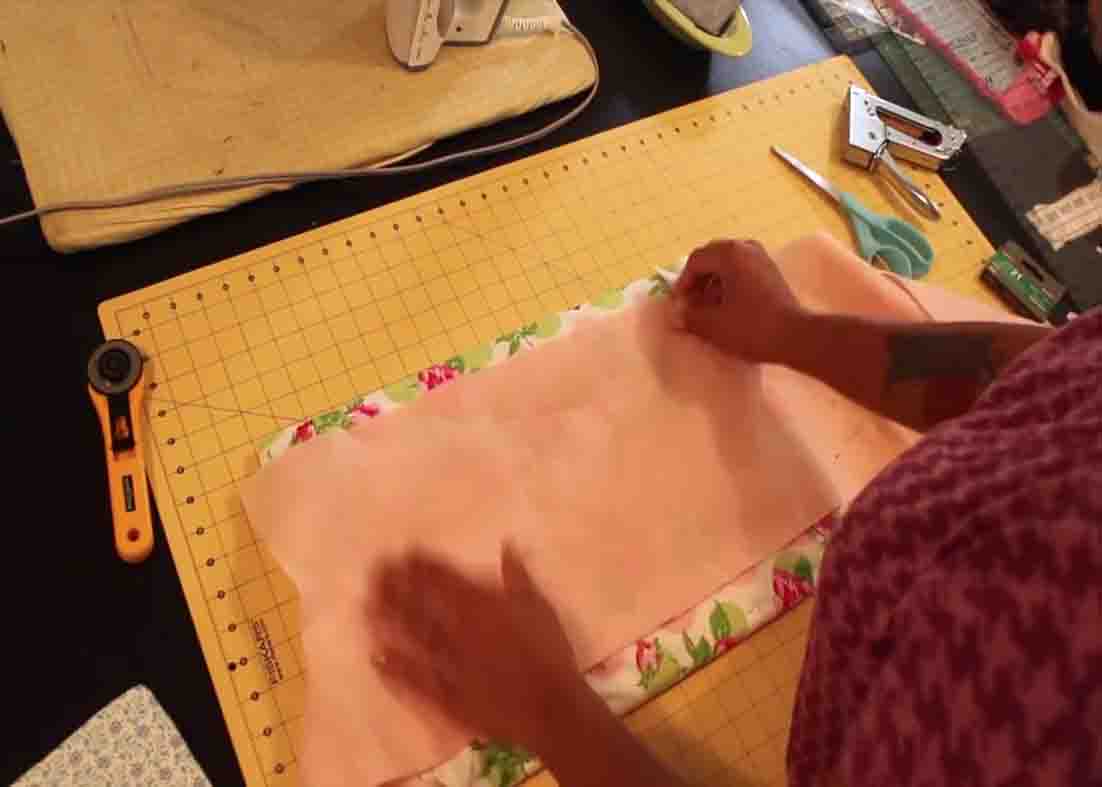
Now, you can either trim down the excess edges or you can just simply leave it. Next, lay the fabric on the right side down, then get the board and lay it on top of the fabric, right side down also. Center it as best as you can. After this, pull the top side first, instead of starting at the corners, then staple it down nicely. After stapling the long sides, do the short sides next. Now, get a piece of felt and cut it to the size of the back of the ironing board that you will cover, then staple it down nicely. Your ironing board is now finished.
No-Sew DIY Mini Ironing Board Tutorial