Kantha quilts stand as a testament to the rich heritage of South Asian textile artistry. Originating from the Bengal region, these vibrant quilts have captivated hearts with their intricate stitching and timeless beauty. If you’ve ever been fascinated by the charm of Kantha quilts and wished to create your own, you’re in luck, as Gathered Makes has the perfect tutorial for you.
RELATED: Jelly Roll Scrap Quilt Tutorial
This step by step tutorial will guide you through the process, empowering you to create something that celebrates tradition and creativity in equal measure. Watch the video tutorial below to learn the full instructions.
Fabric Requirements:
- nine 11″ x 18″ different printed cotton fabrics
- two 31″ x 41″ pieces of solid fabric
- 31″ x 41″ backing fabric
- (click here for the free pattern)
Directions:
Step 1
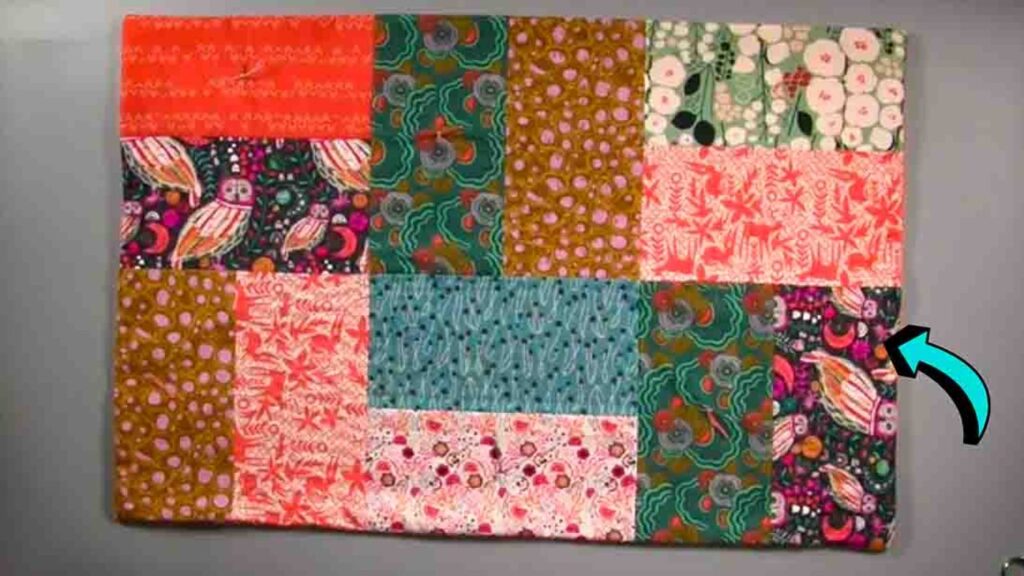
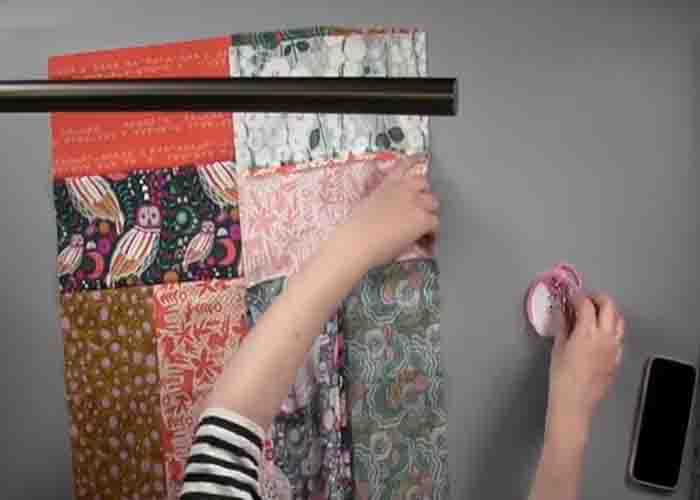
Cut your rectangles, line them right sides together, and pin the long edge. Sew along this long edge, removing the pins as you go, then press the seam open. Stitch two more rectangles, then line them right sides together with your first pair. Pin them together, sew with a 1/4″ seam allowance, then press the seam open. Make more 4 x 4 blocks. Once done, lay the 4 x 4 blocks together, right sides facing. Pin together, sew, then press the seam open. Repeat these steps, joining the 4 x 4 blocks, until you have your desired quilt size.
Step 2
Next, cut two panels of your solid fabric using the patchwork you just made as a guide to the size you need. Line the panels together, then place the patchwork on top, right side up. Add some quilt pins across to hold the quilt layers together. Next, fasten the layers with long running stitches across one of the rectangles in each pair. This is the kantha embroidery. (Make sure to use a contrasting thread color against the fabric.) Once done, remove the safety pins.
Step 3
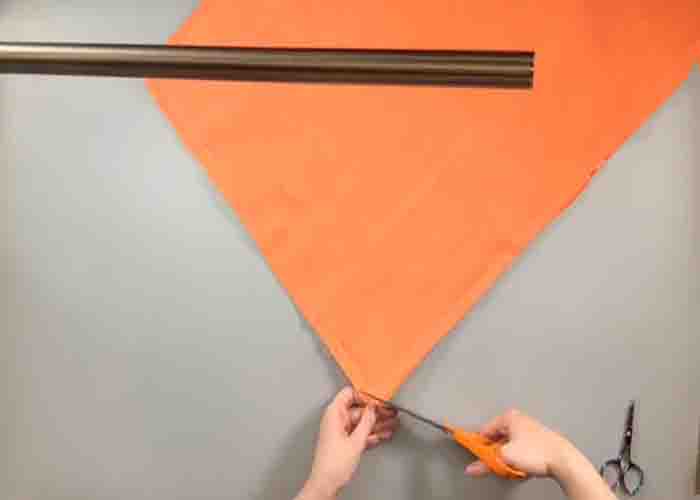
Now, cut the background fabric the same size as your quilt. After this, line the patchwork together with the backing fabric, right sides together. Secure with pins, then sew around the edges with a 1/4″ seam allowance (leave a small gap for later.) Once done, cut the corners, then turn the quilt right side out. Press the quilt nicely, then sew the gap closed. Finally, ecure the backing fabric with a few square knots across the quilt.
How To Make A Kantha Quilt Tutorial