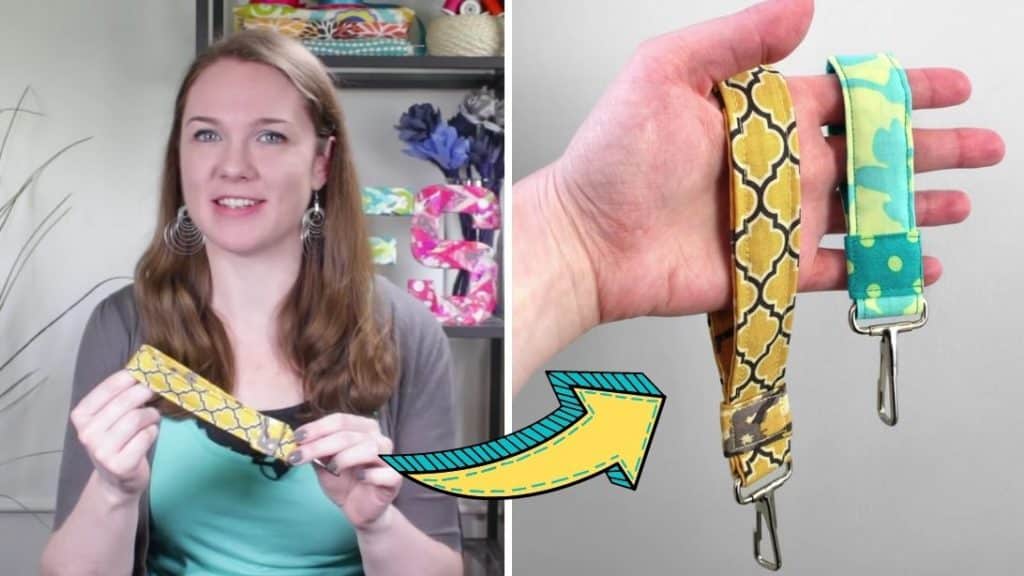
Instead of buying key fobs from the store, try and make one on your own through this video tutorial by OnlineFabricStore on YouTube. You can also sell them if you like and make a profit out of them. They are very easy to sew even for beginners, plus they look incredibly adorable too!
Materials:
- 2 coordinating fabrics
- Medium or heavyweight interfacing or fusible fleece
- Thread
- Pins
- Snap hook
- Safety pin
- Rotary cutter and mat
- Fabric marker
- Ruler
Directions:
Step 1
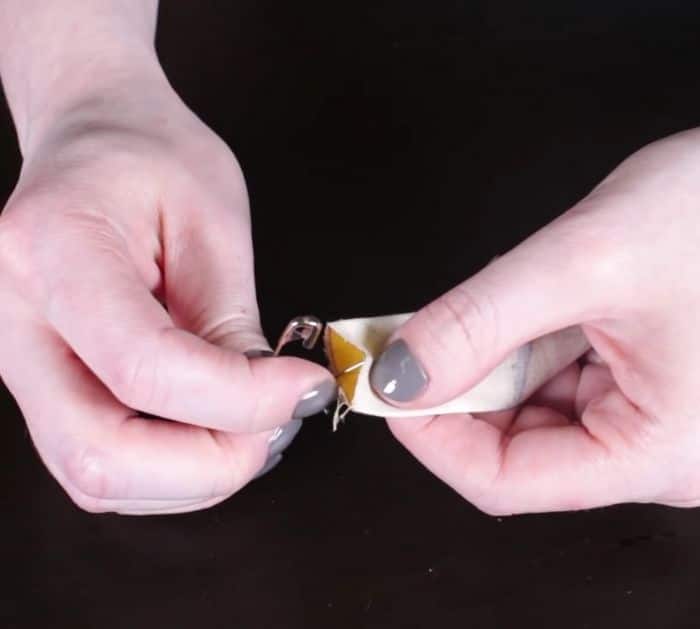
Measure and cut a 3 x 14-inches piece out of each fabric, one will be on the inside and the other for the outside of the key fob. Also cut a 3 x 2½ inches piece of the inner fabric, then cut a piece of interfacing that is ¾ x 13 inches. Fold one of the larger pieces of fabric in half lengthwise with the right sides facing, with ½ inch seam allowance, sew down the long edge, repeat for the other pieces but use a ¼ inch seam allowance for the small piece, press the seams open, then attach a safety pin to the end of the pieces, and use it to help turn the fabric right side out, press them again.

[social_warfare]
Step 2
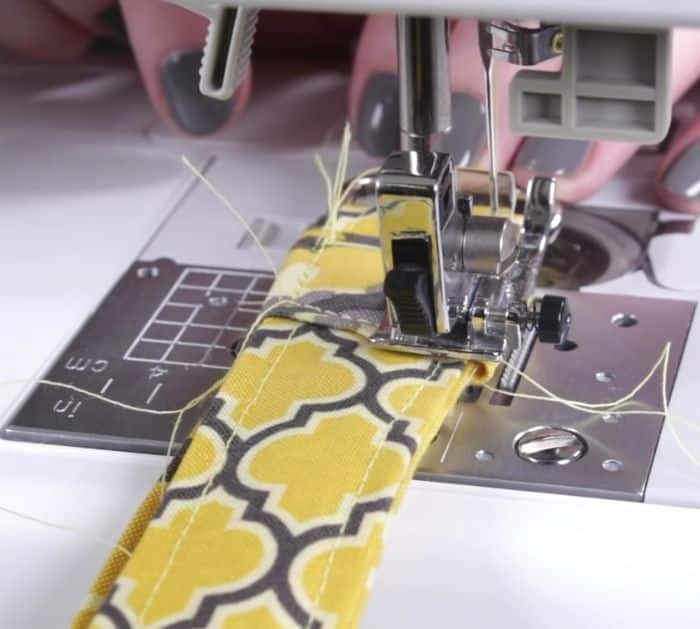
Place the interfacing on the back of one of the long pieces, if you’re using fusible interfacing, iron to attach it. Then, pin the long pieces together with the seam and interfacing sides on the inside, sew down each side with a 1/8 inch seam allowance making sure the edges are lined up as you go. Slide the snap hook onto the strip of fabric so the inner fabric will be on the inside of the loop, overlap the ends about ½ inch, and sew across with a zigzag stitch. Position the seam so it’s about 1 inch up from the bottom when the loop is flattened, take the small piece of fabric and wrap it over the seam, around the back, and tuck in the ends at the side. Sew forward and backward along the edges of the band.

*All these images are credited to OnlineFabricStore via YouTube. Give her channel a visit and subscribe for more!


