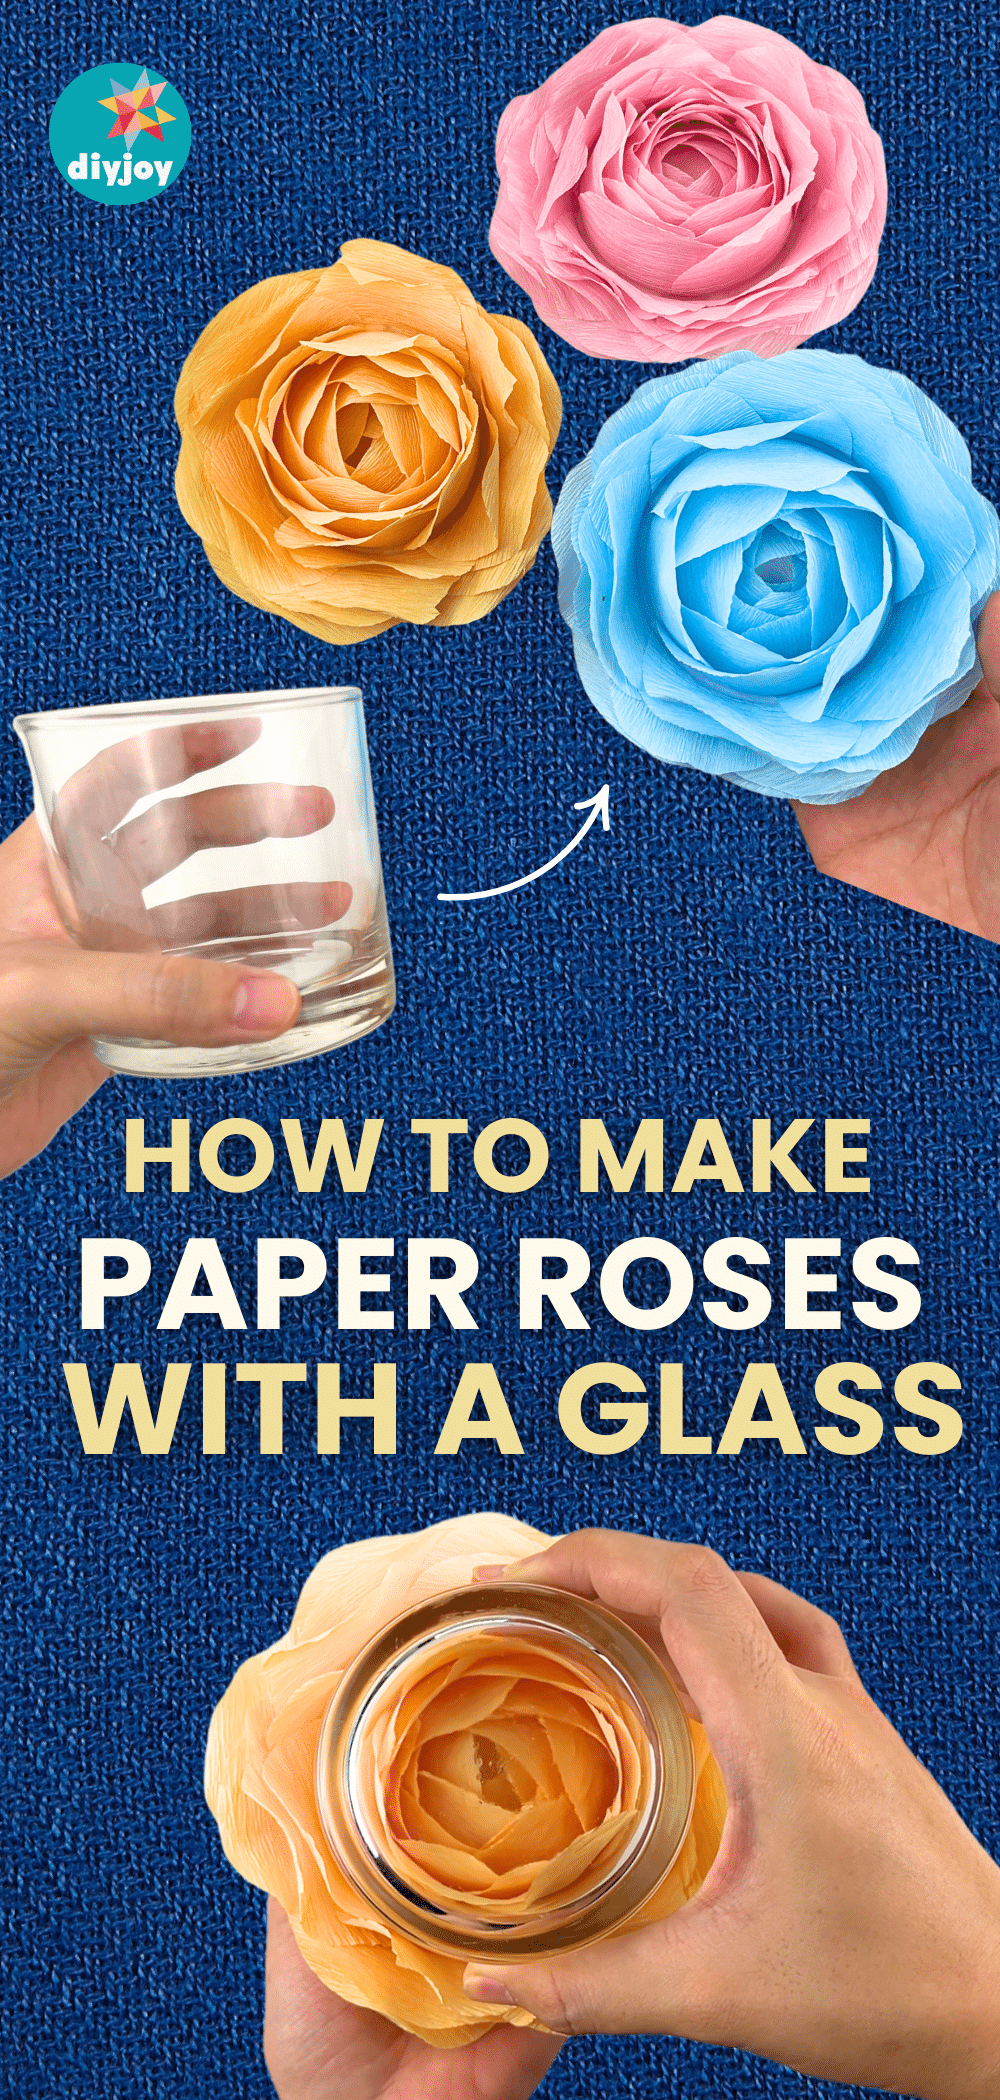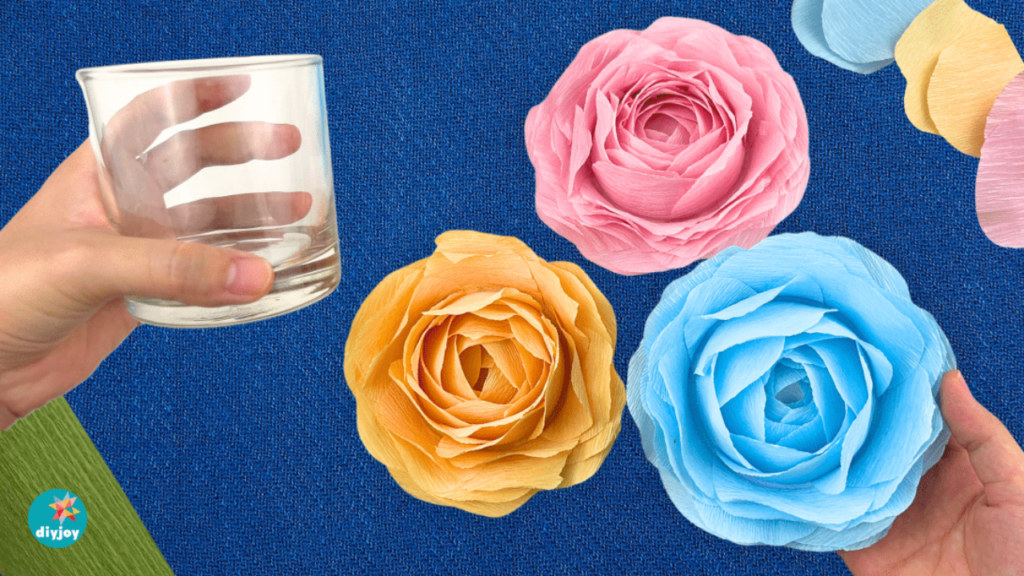
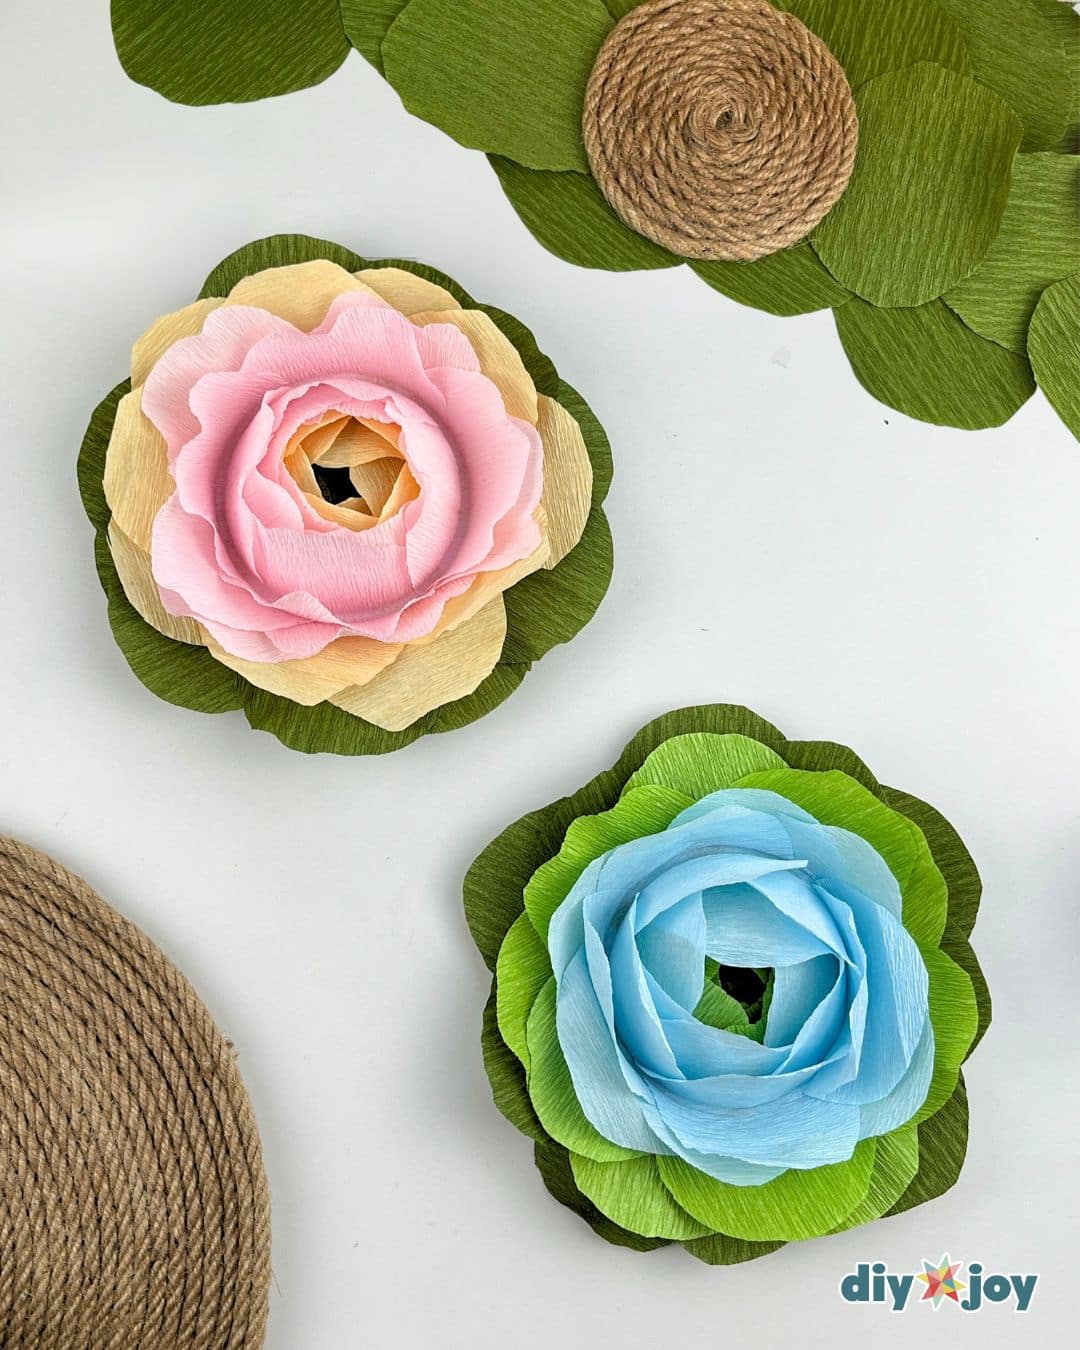
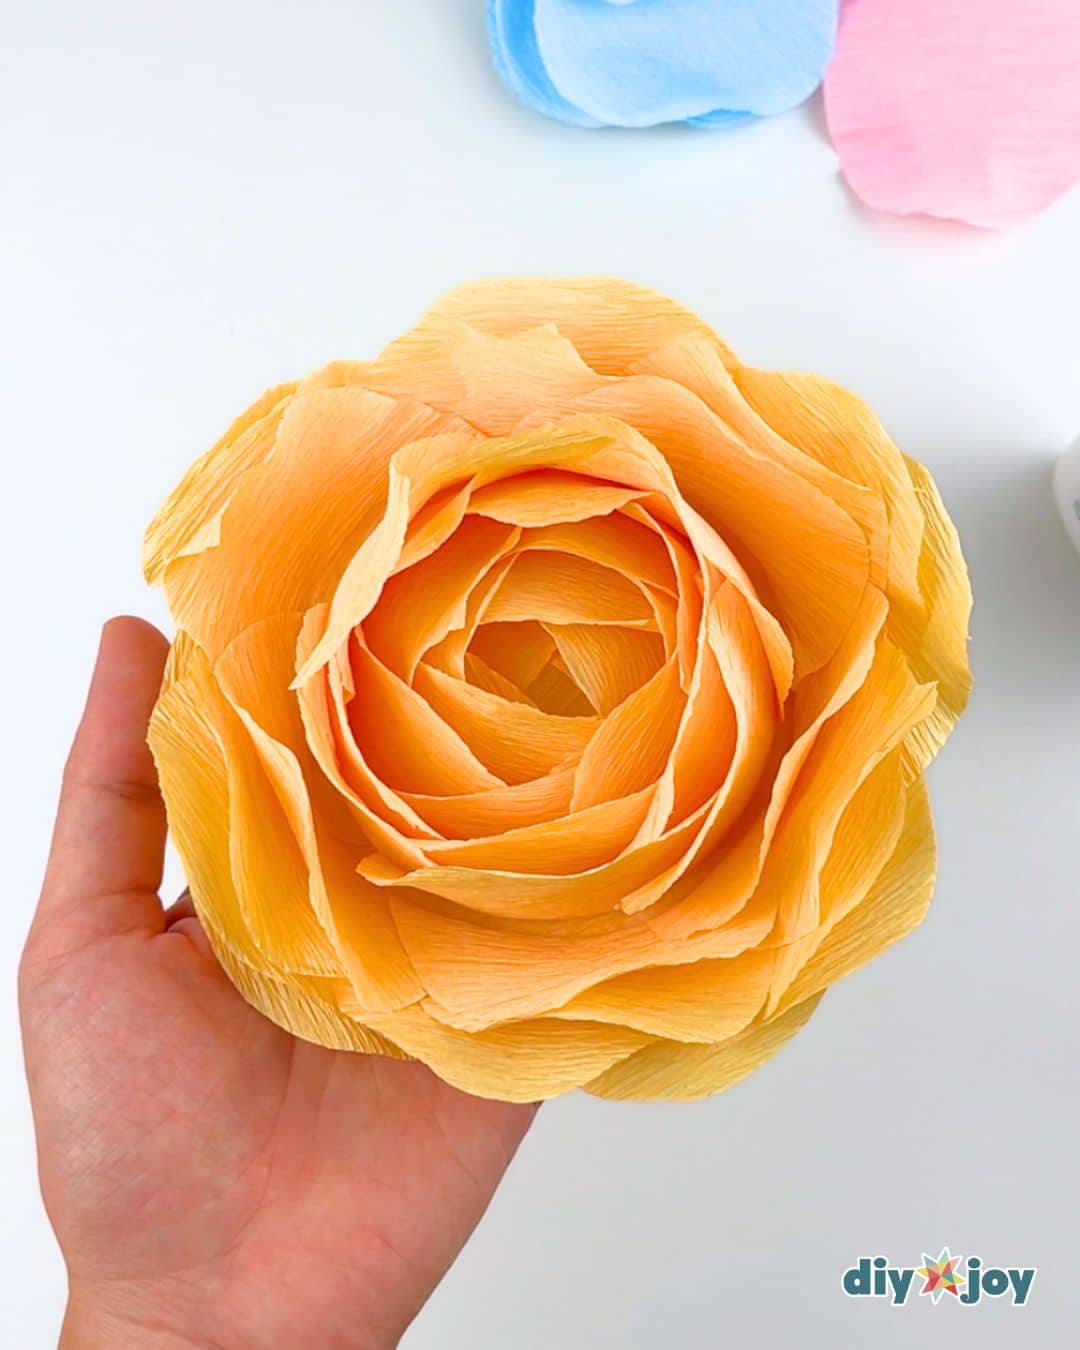
Learn how to make paper roses using a simple drinking glass! This paper rose project is a fun way to create beautiful floral decorations or paper flower bouquets. It’s a beginner-friendly DIY that anyone can enjoy, even the kids, resulting in stunning flowers that you can proudly display.
Here’s another easy paper craft:
Coffee Filter Flowers: A Step-by-Step Guide for Beginners

Have you seen our TikTok & Instagram yet?
Our viral videos are super popular and fun to watch. Here’s the paper flower Tiktok, but the YouTube video is also at the bottom of this post so you can watch the full tutorial. Links below for all our socials. Follow and be the first to see our latest crafts. ⬇️
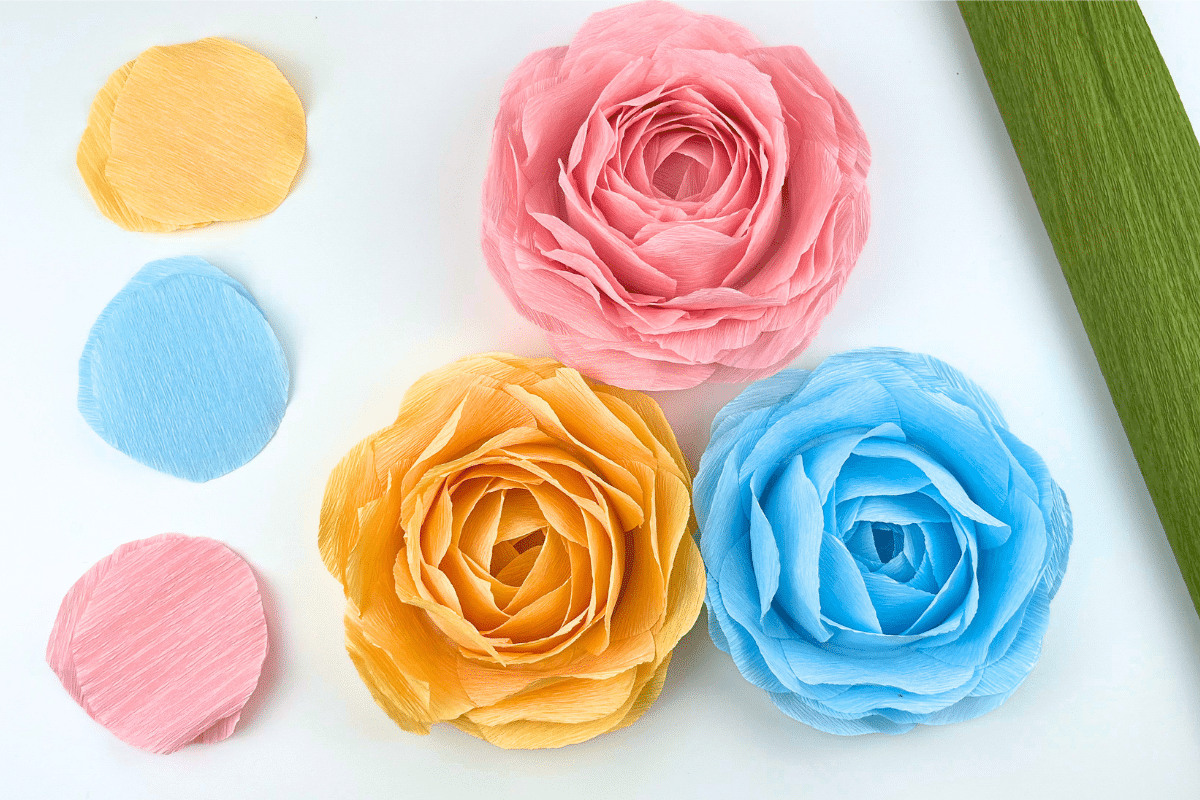
Creating beautiful paper flower roses doesn’t have to be complicated. This quick and easy tutorial will walk you through the steps to create these lovely roses. I promise you, it’s a fun and beginner-friendly paper craft, perfect for everyone. You’ll be amazed at how quickly you can transform crepe paper into gorgeous paper flowers with the help of any everyday glass. Use them as spring decorations or as event decorations for parties, birthdays, bridal showers, baby showers, and weddings.
List of Supplies for the Paper Flowers
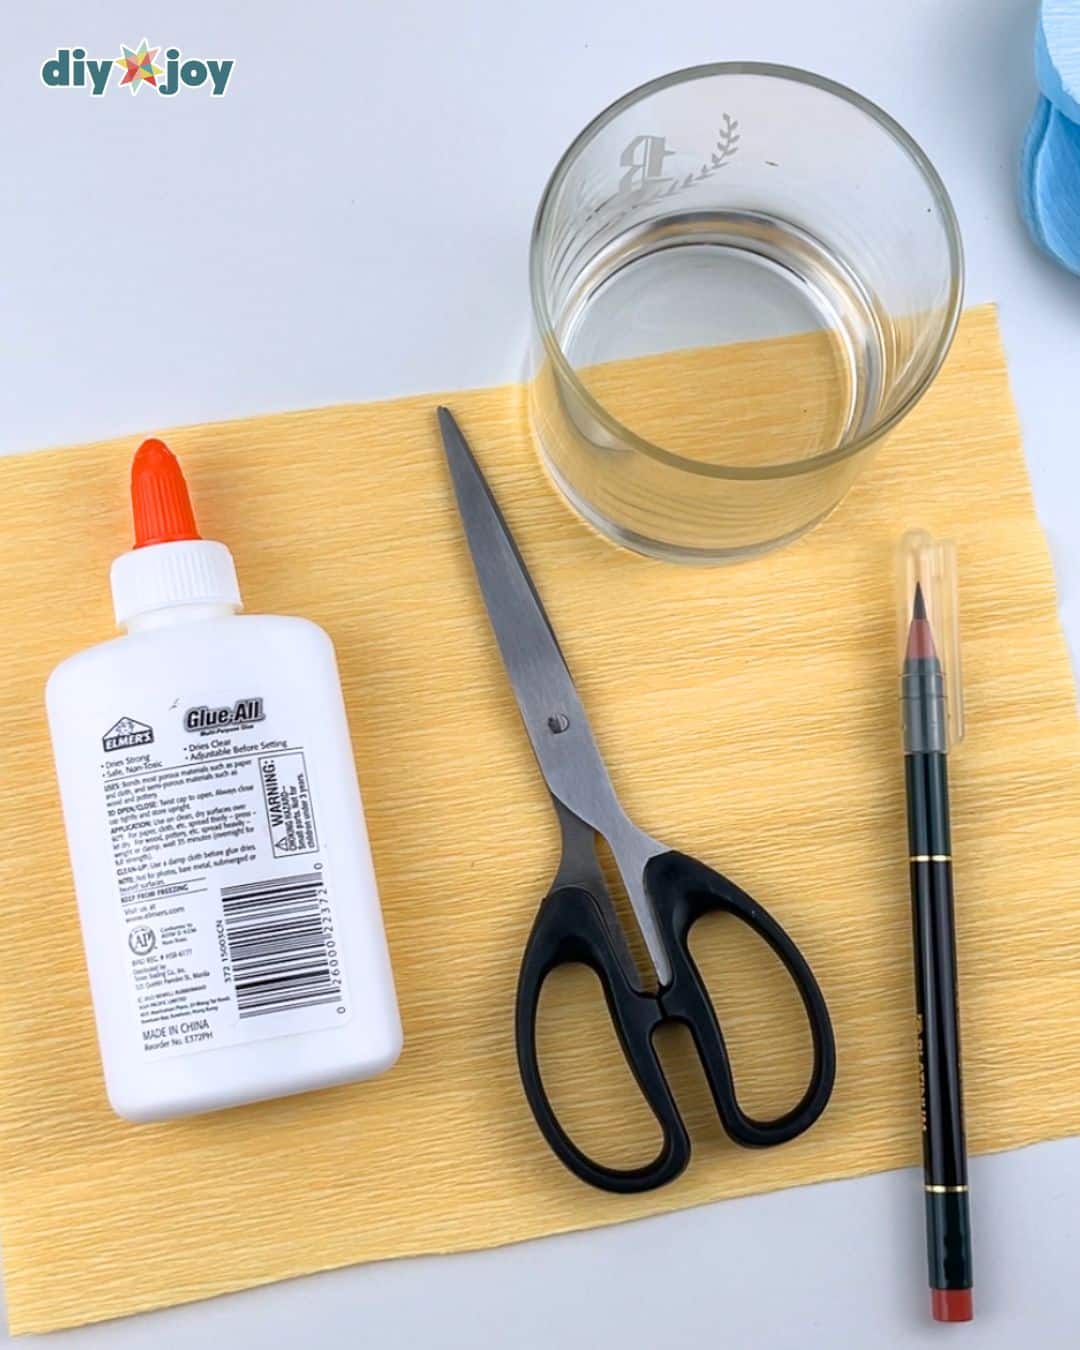
- crepe paper
- glass
- PVA glue
These products are all listed on our DIY JOY Amazon store, so you can order and know exactly what you will get, and when. We do earn a small commission on these links and very much appreciate your support ❤️
Paper Flowers Step-by-Step Instructions
Learn how to make crepe paper roses with this easy tutorial.
Preparing the Paper
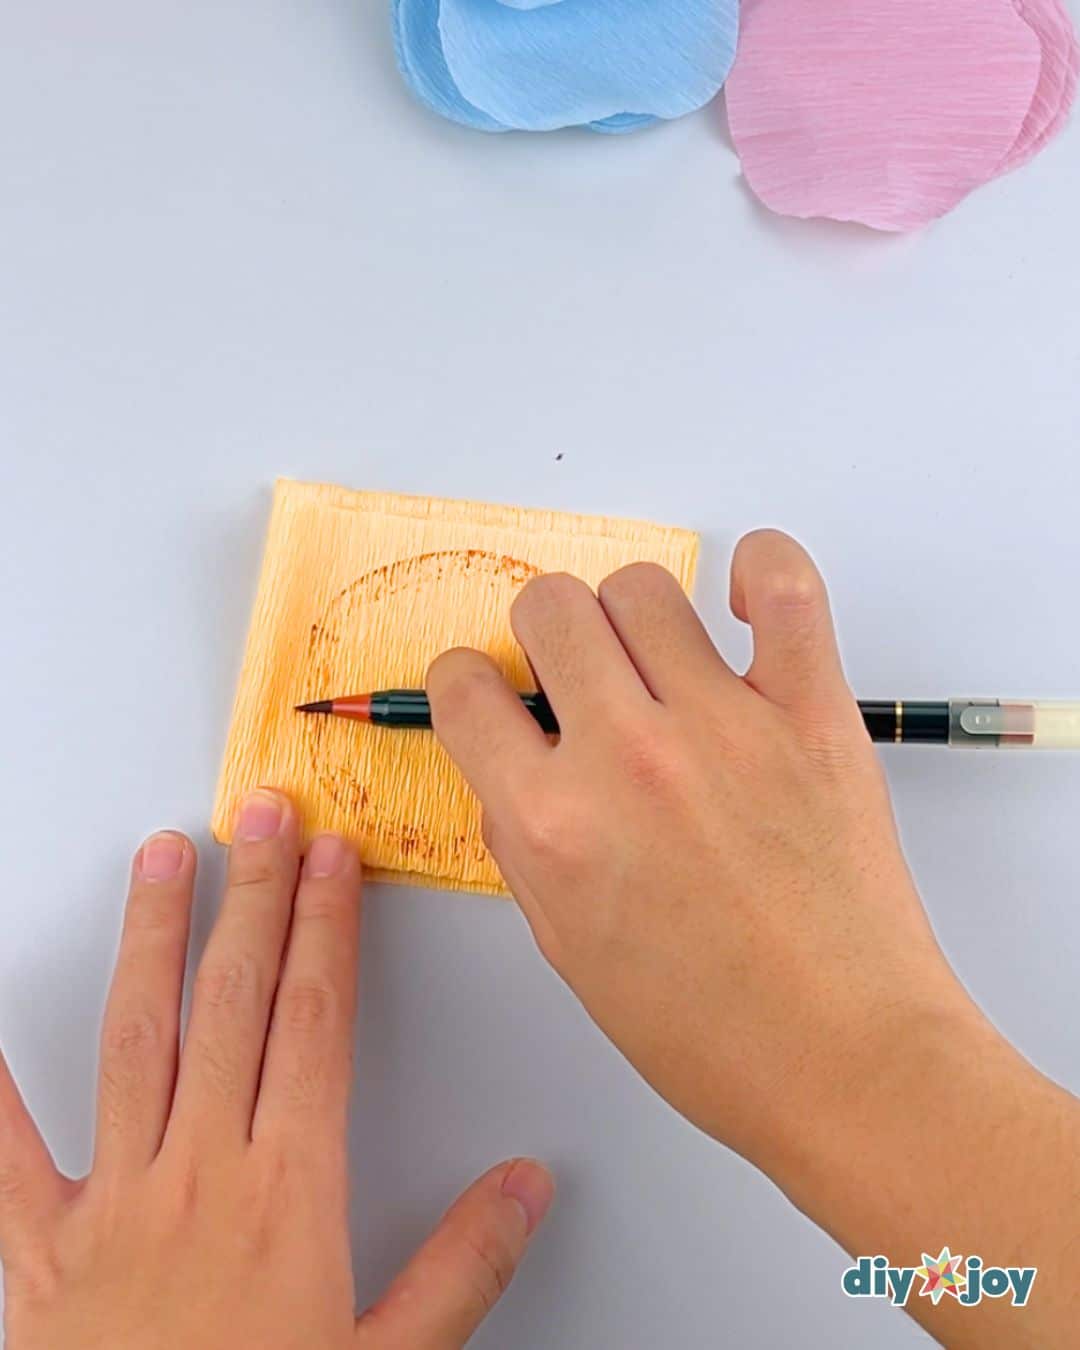
Fold the crepe paper several times, then trace a 1.4-inch circle. Cut out the traces circle carefully with your scissors. Repeat this process to create 29 paper circles.
Shaping the Petals
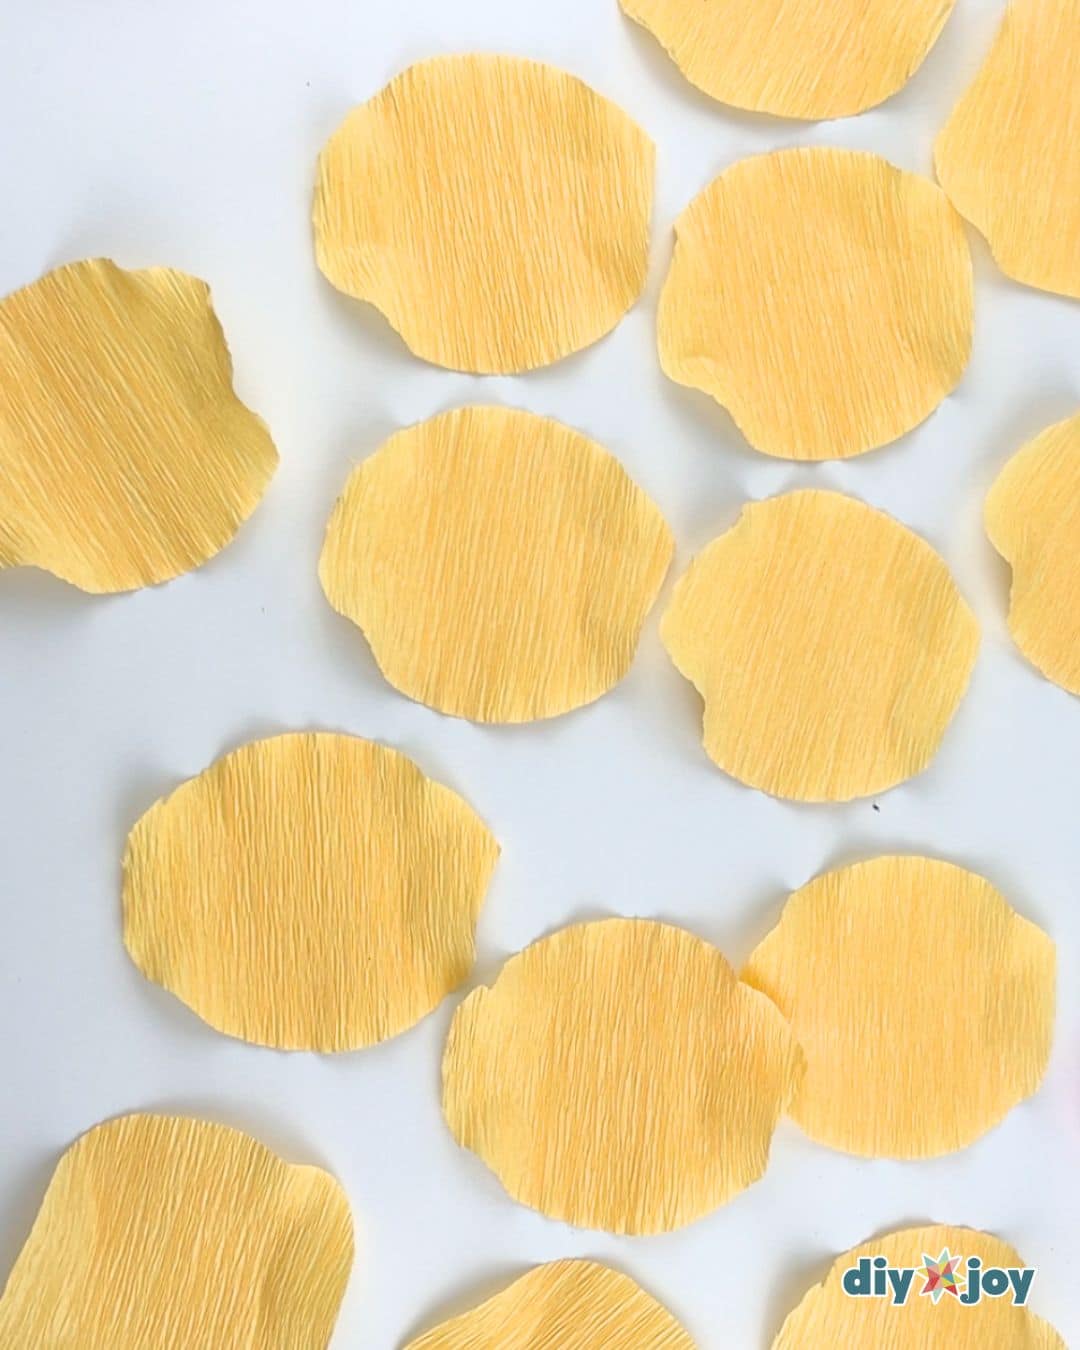
Layer several paper circles on top of each other, then gently pinch the edges at various points around the circumference to create soft curves and give your petals a more natural look.
Forming the Paper Rose
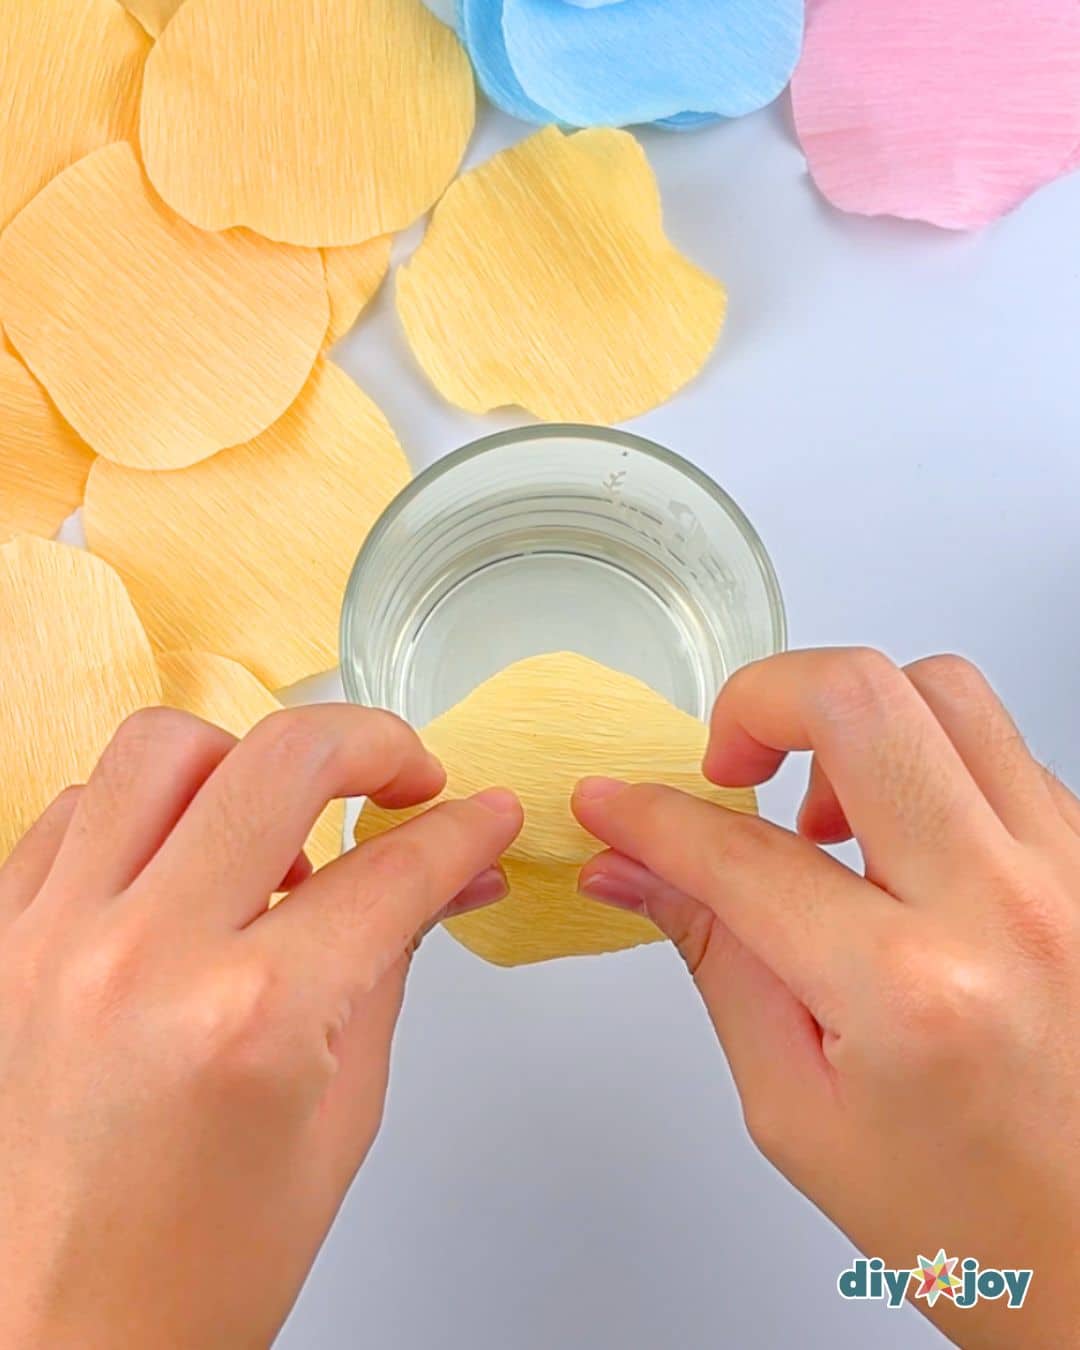
This is where the magic happens. Take one of your cut paper circles, and carefully fold over the rim of the glass. Make sure that the grain of the paper runs horizontally across the glass rim as you fold it over. This will help the paper curve naturally.
Applying Glue
Now, apply glue to one of the edges, then take another piece and fold over the rim, overlapping the first.
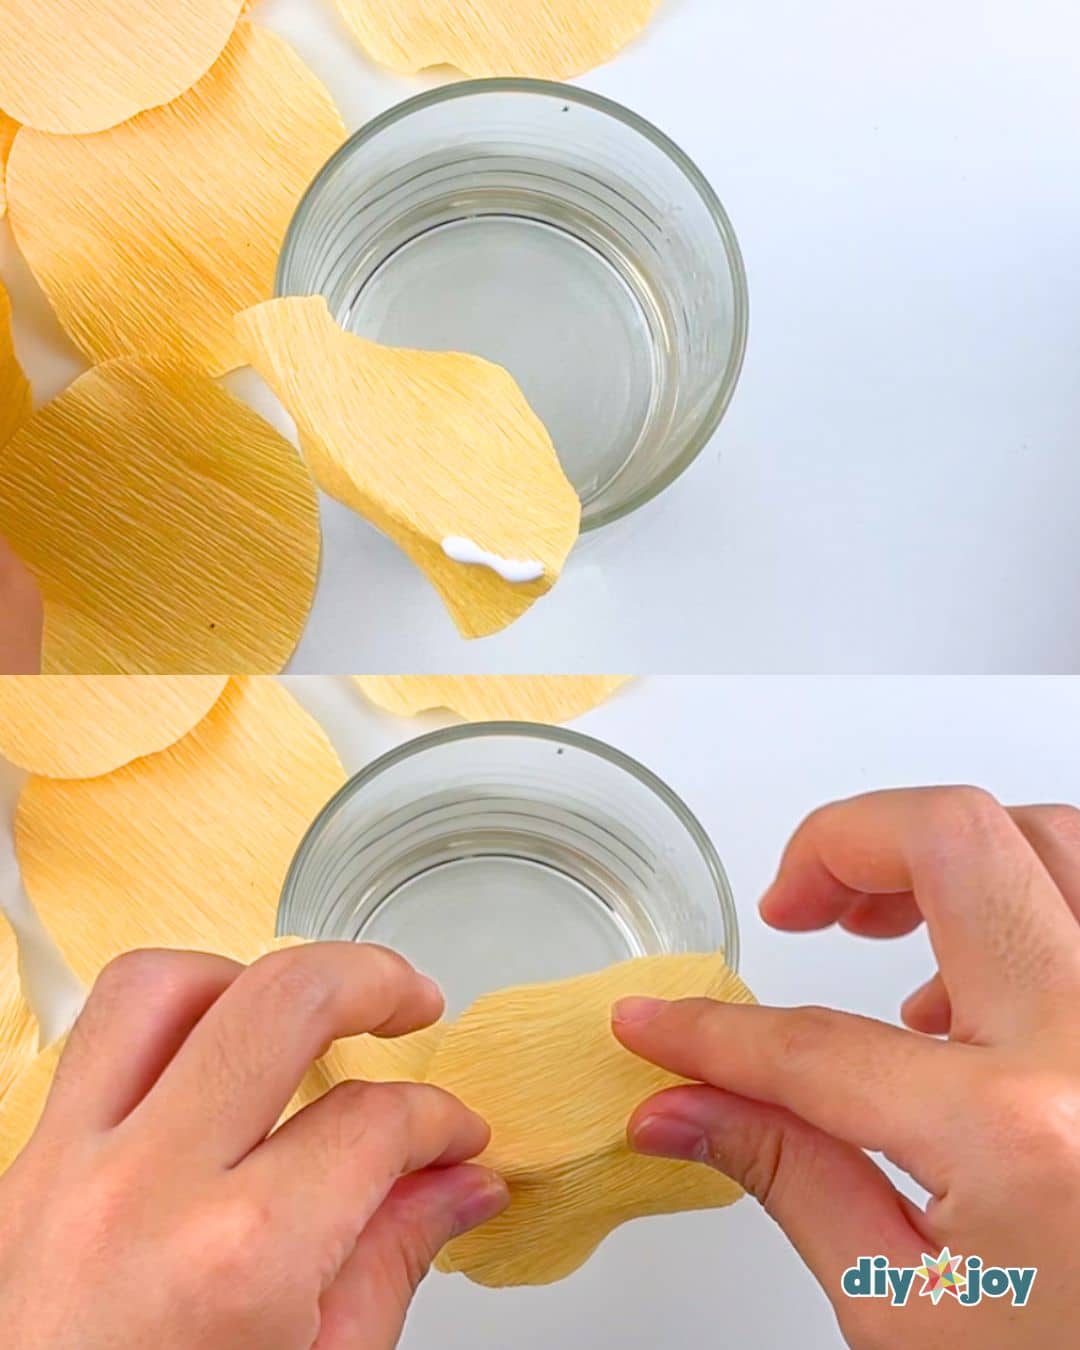
Adding layers
Repeat the process until the entire rim is covered. For the next layers, make sure to place the petals in between the petals of the first layer. Repeat until you only have one circle left.
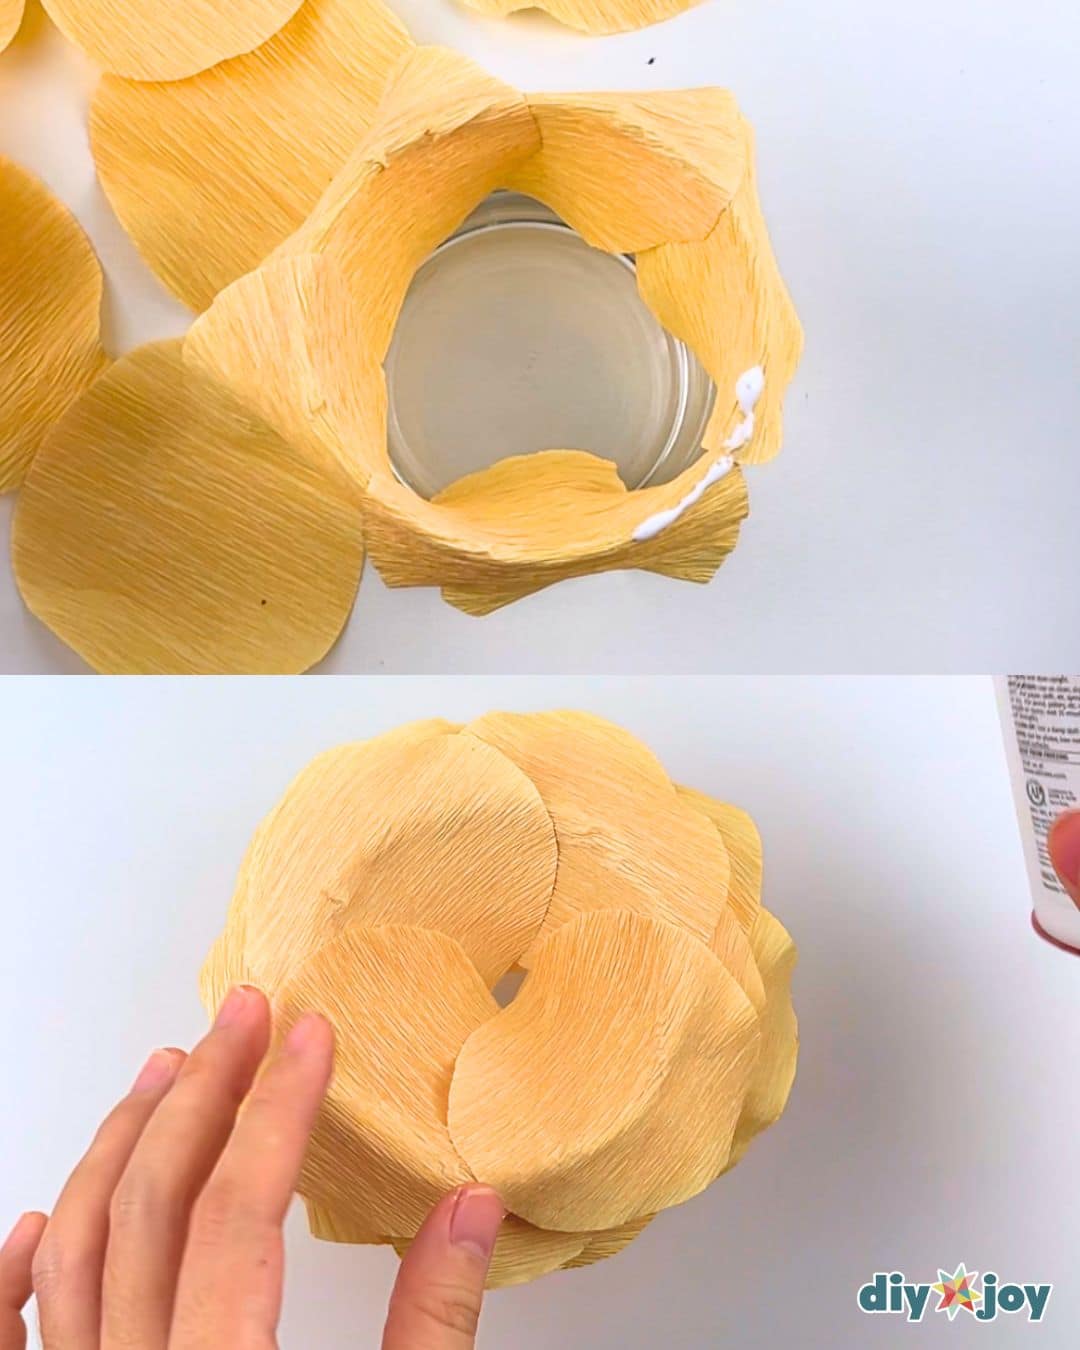
Finishing the Flower
Apply glue to the assembled petals, then place the remaining circle on top, pressing gently to secure.
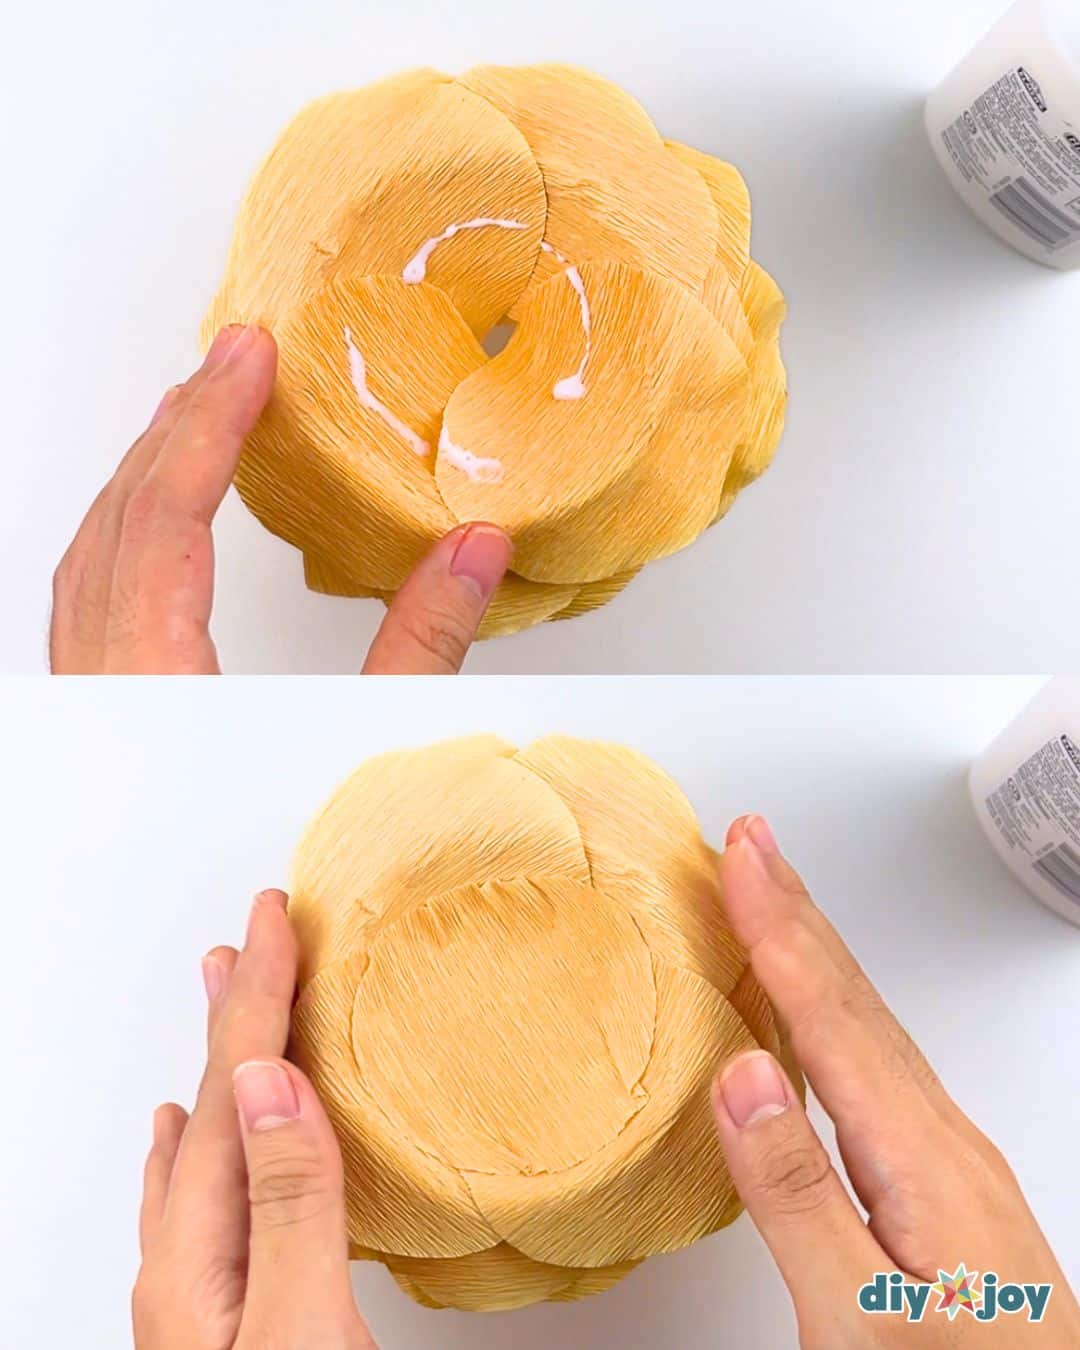
Removing the flower
Turn the glass over and then carefully remove the flower by pulling it gently.
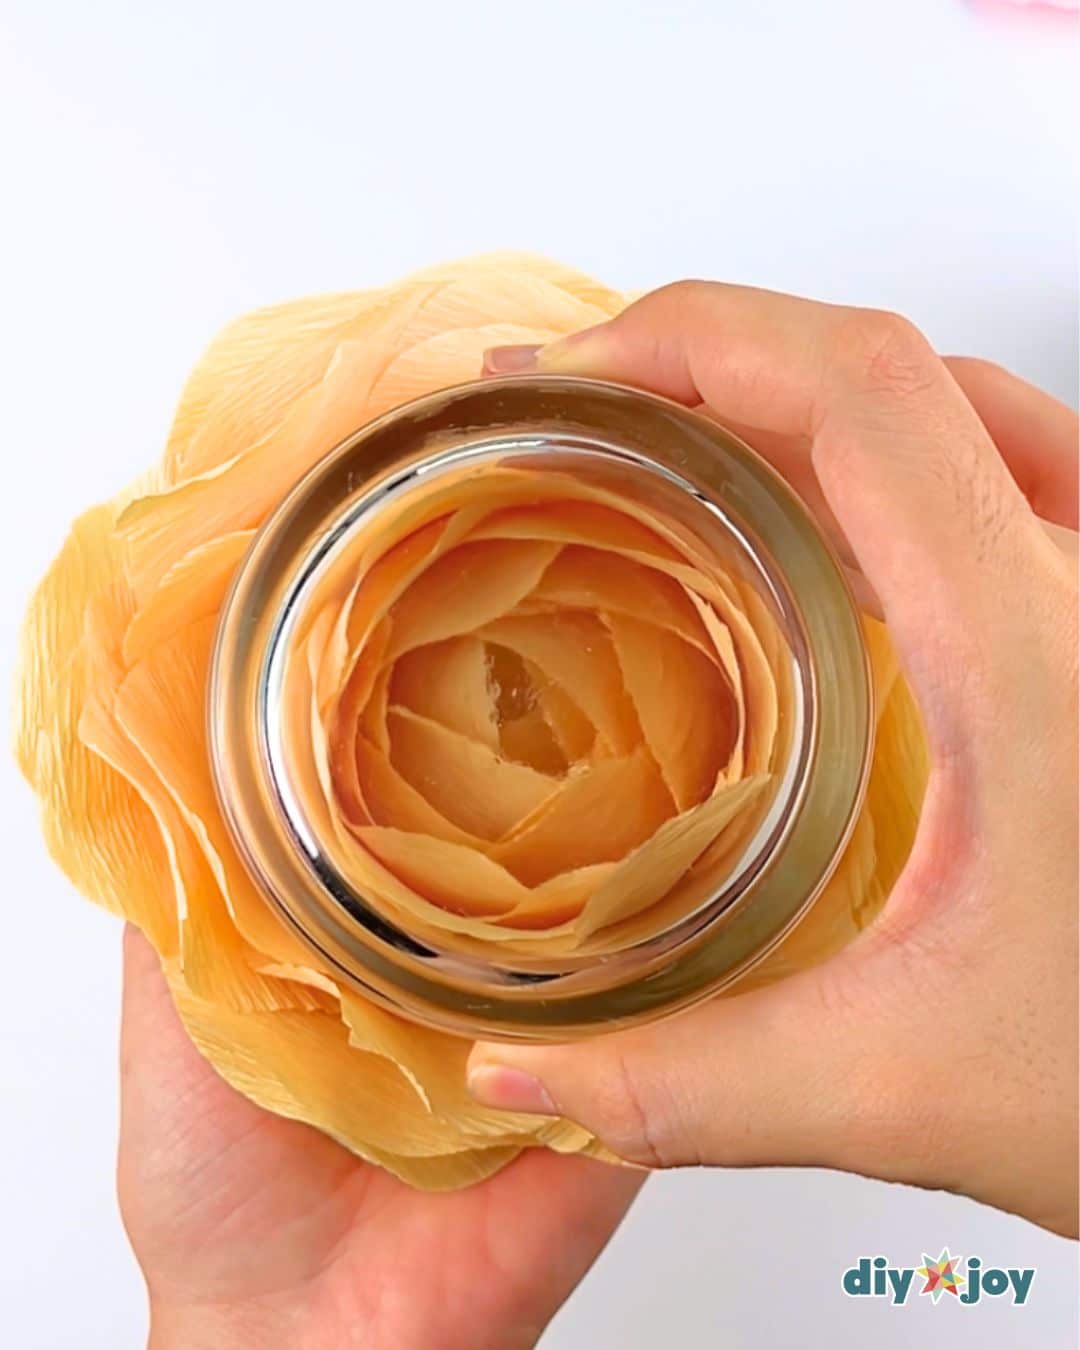
Done
Crafting Tips
- Use sharp scissors.
- Use hot glue for a faster drying time. Be very careful when using it to prevent burns.
Creative Ideas and Variations
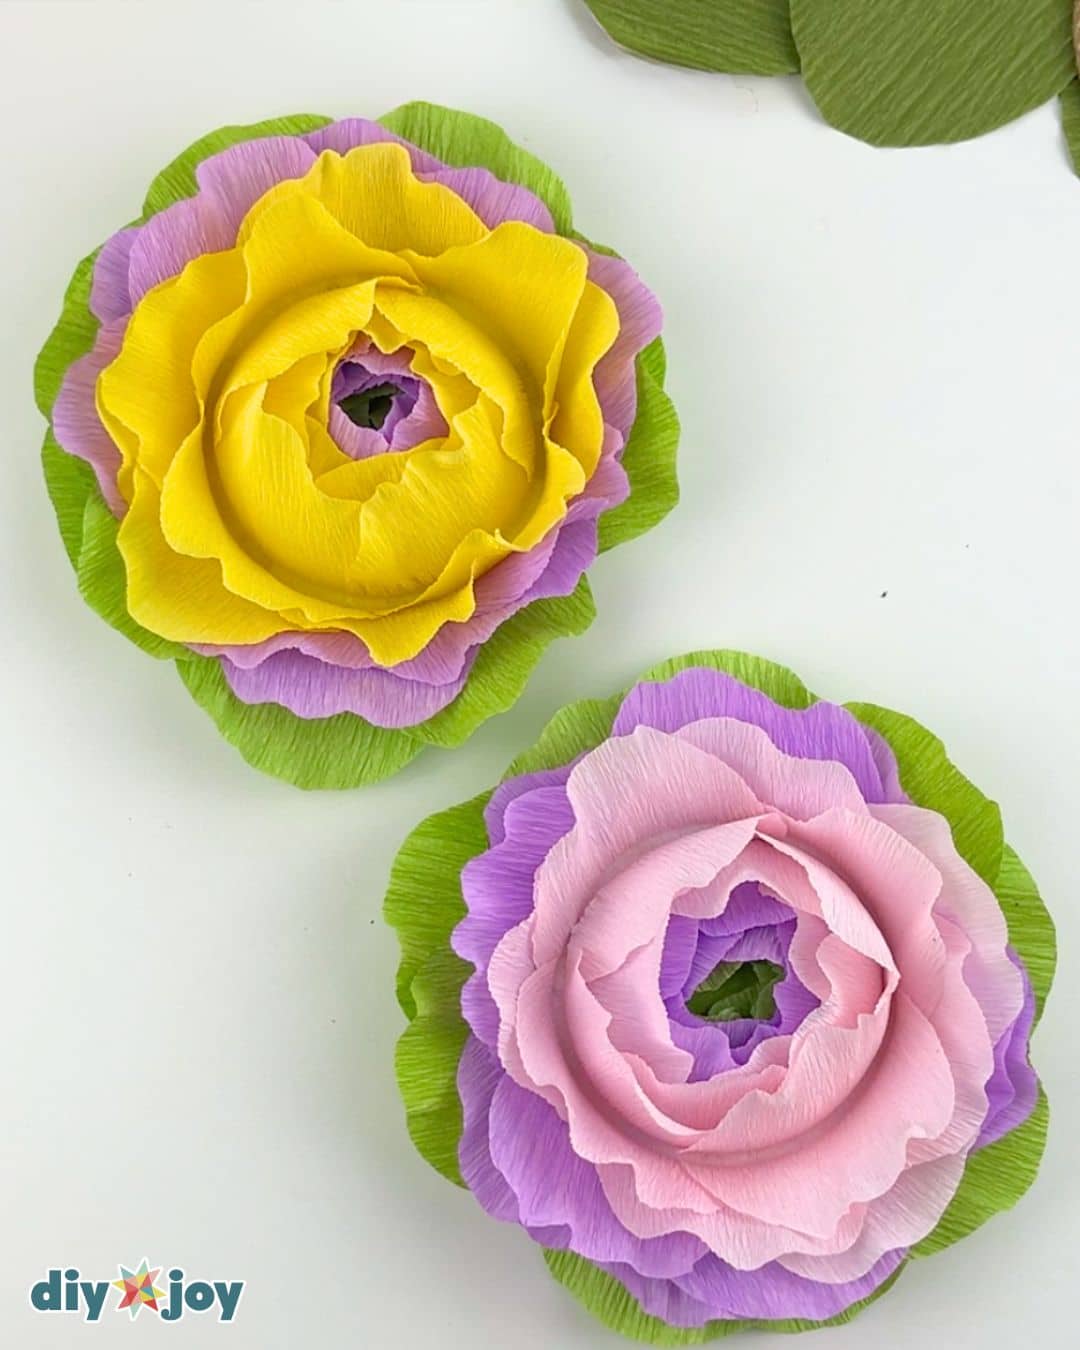
- Experiment with different colors of paper and petal shapes to create a variety of paper flowers.
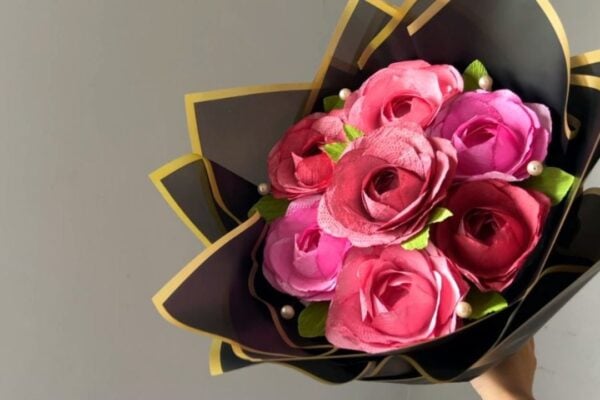
- Bouquet. Make several paper roses in different sizes and colors and arrange them into a paper flower bouquet.
- Add stems. You can use a floral wire or stick.
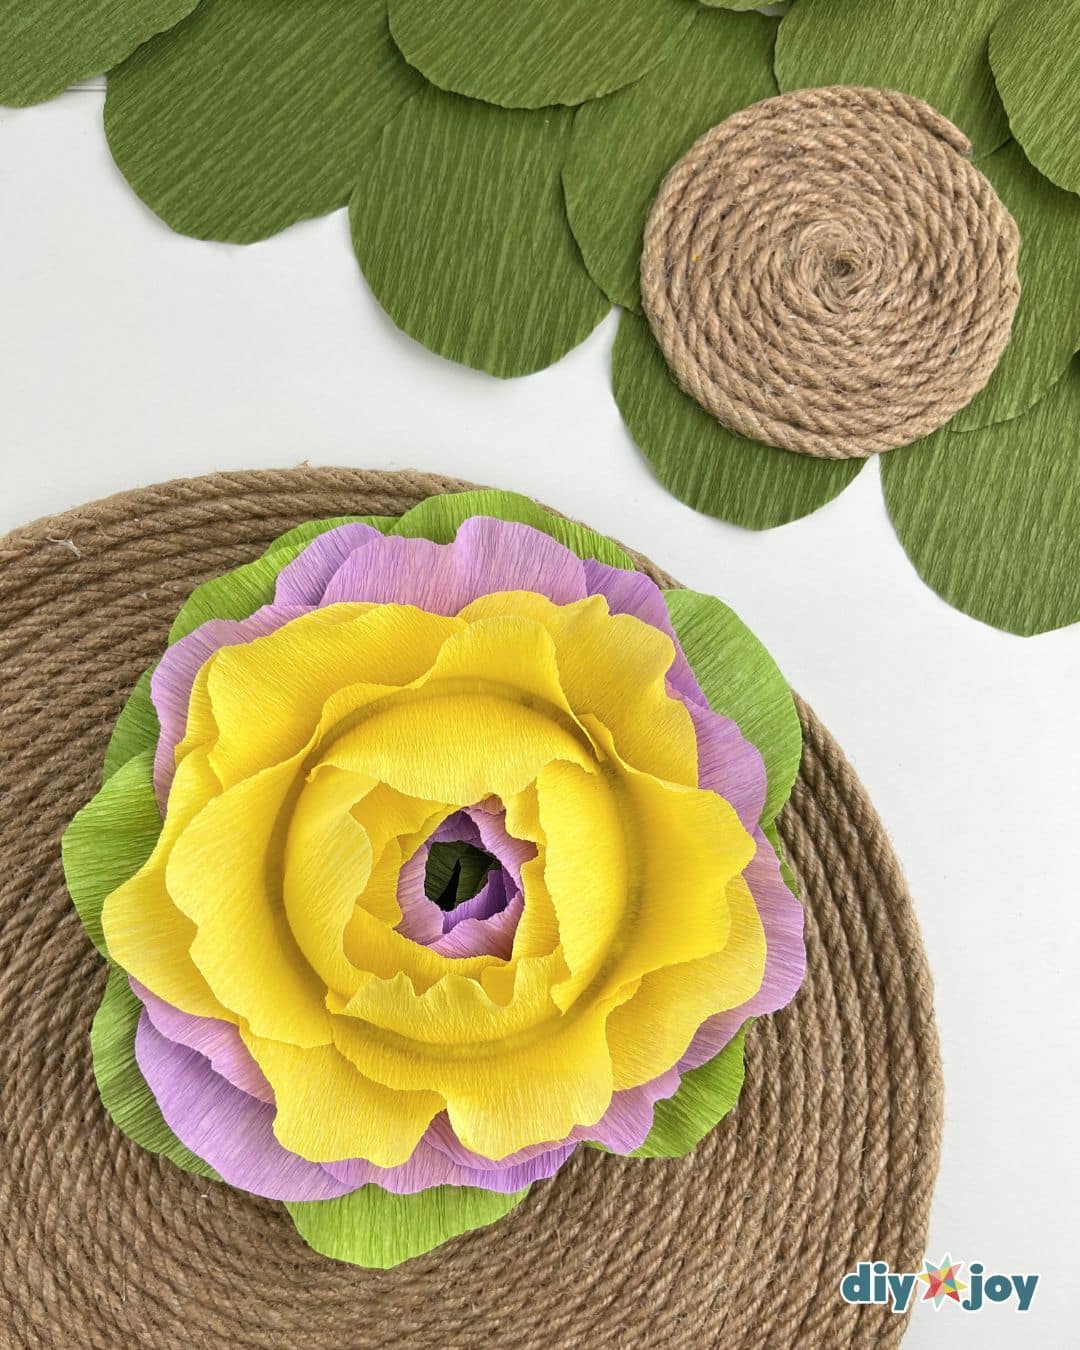
- Add leaves. Simply cut out leaf shapes from green crepe paper and attach them to the base of your paper roses.
- Embellishments. Add small beads or glitter to the petals for some sparkle.
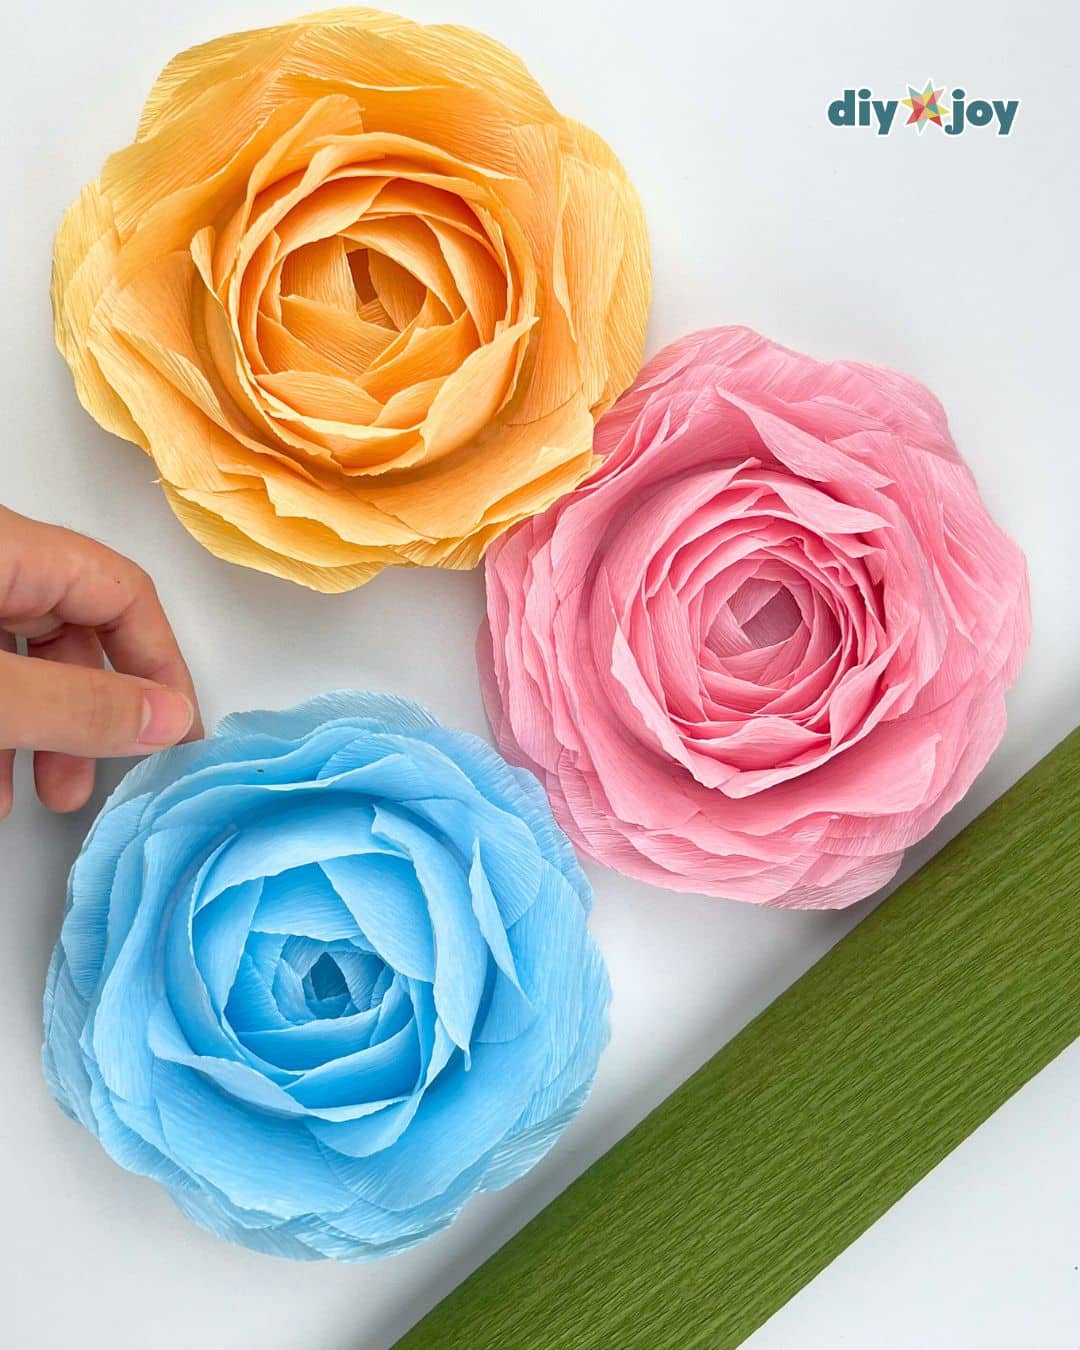
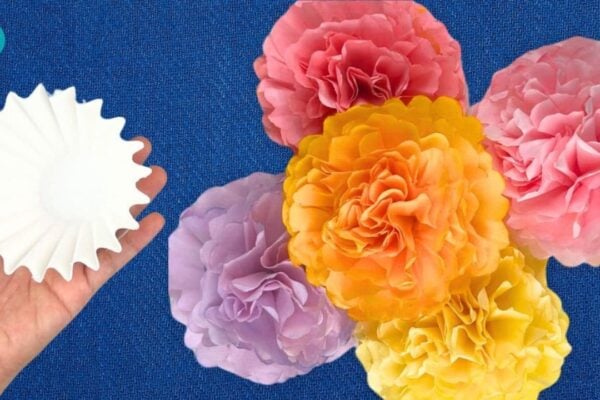
After trying out various crepe paper colors, I came up with these lovely flowers. For this particular design, I oriented the crepe paper perpendicular to the rim. This allows the grain of the paper to stretch out, giving you more control for shaping.
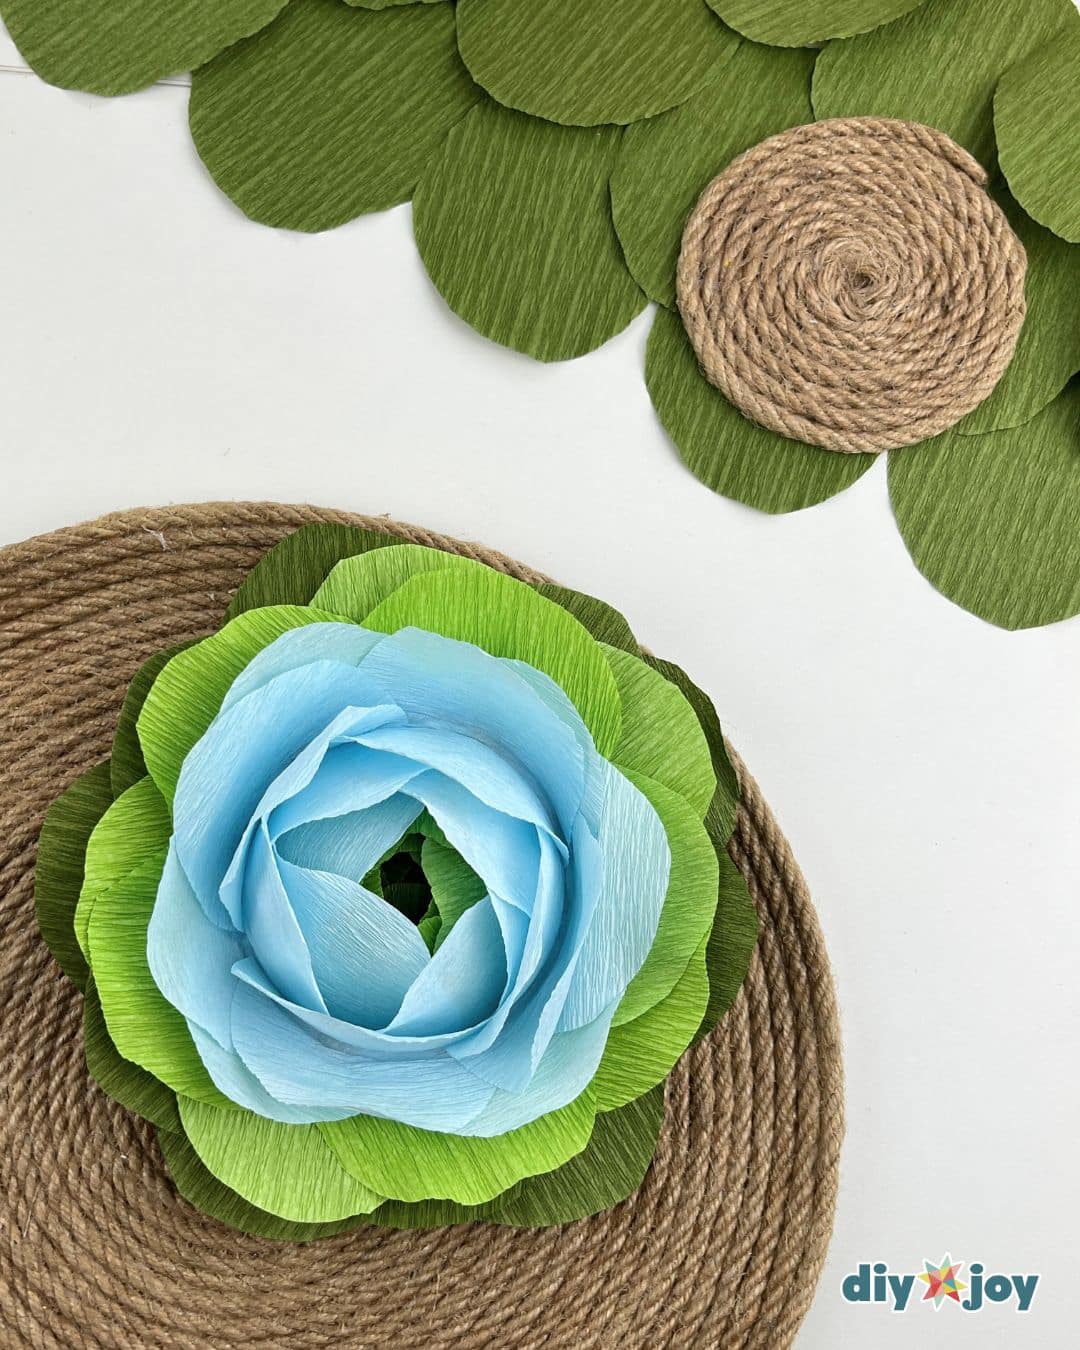
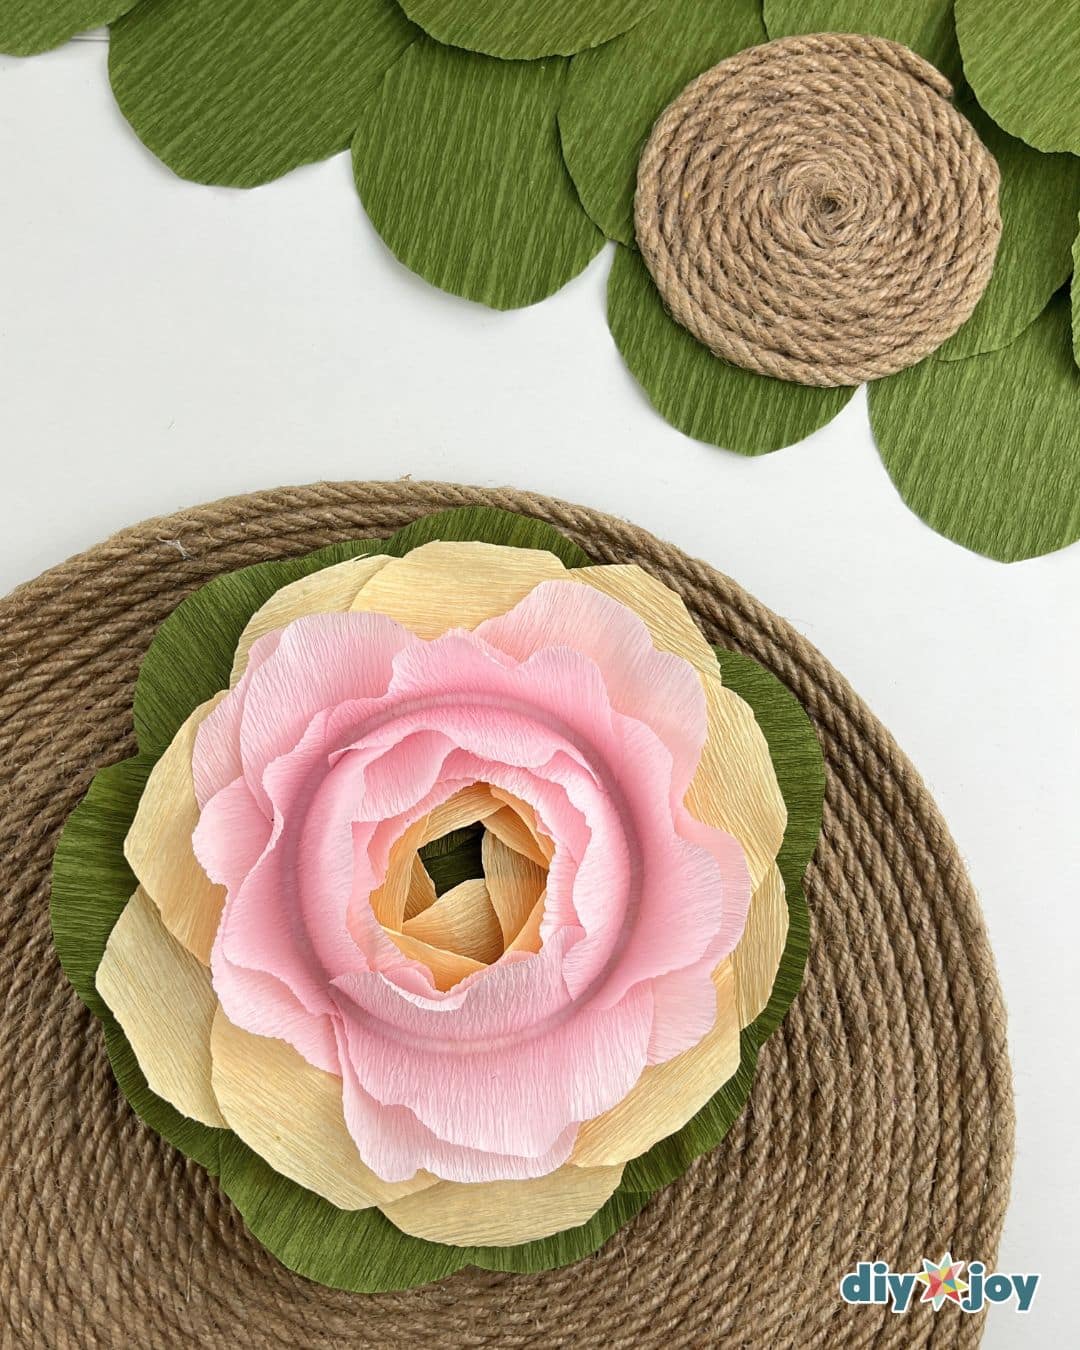
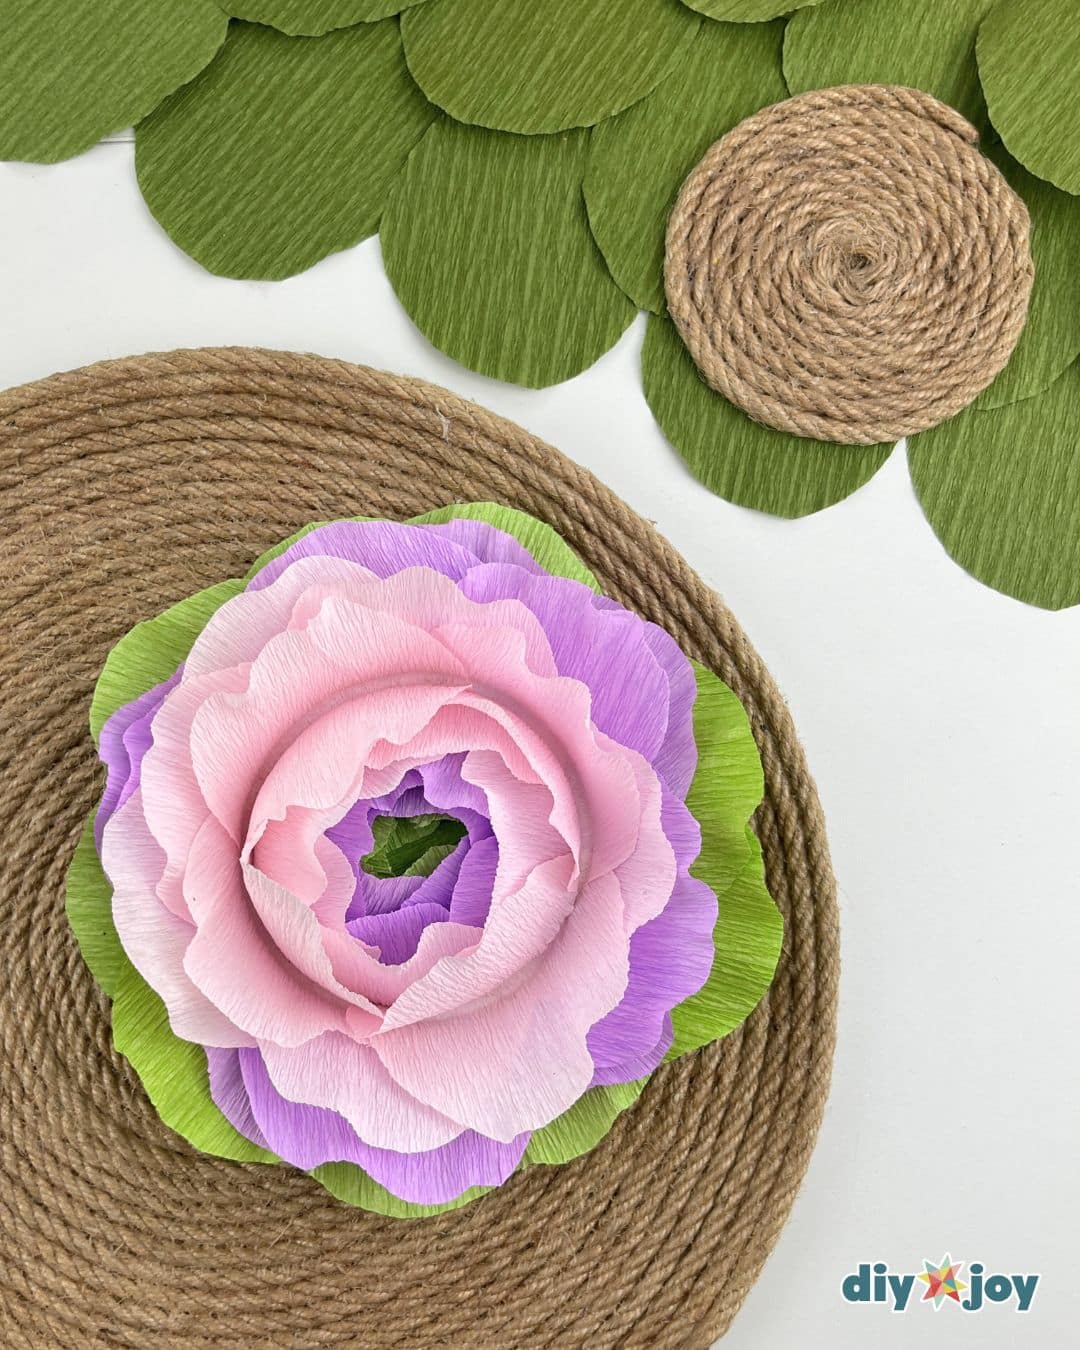
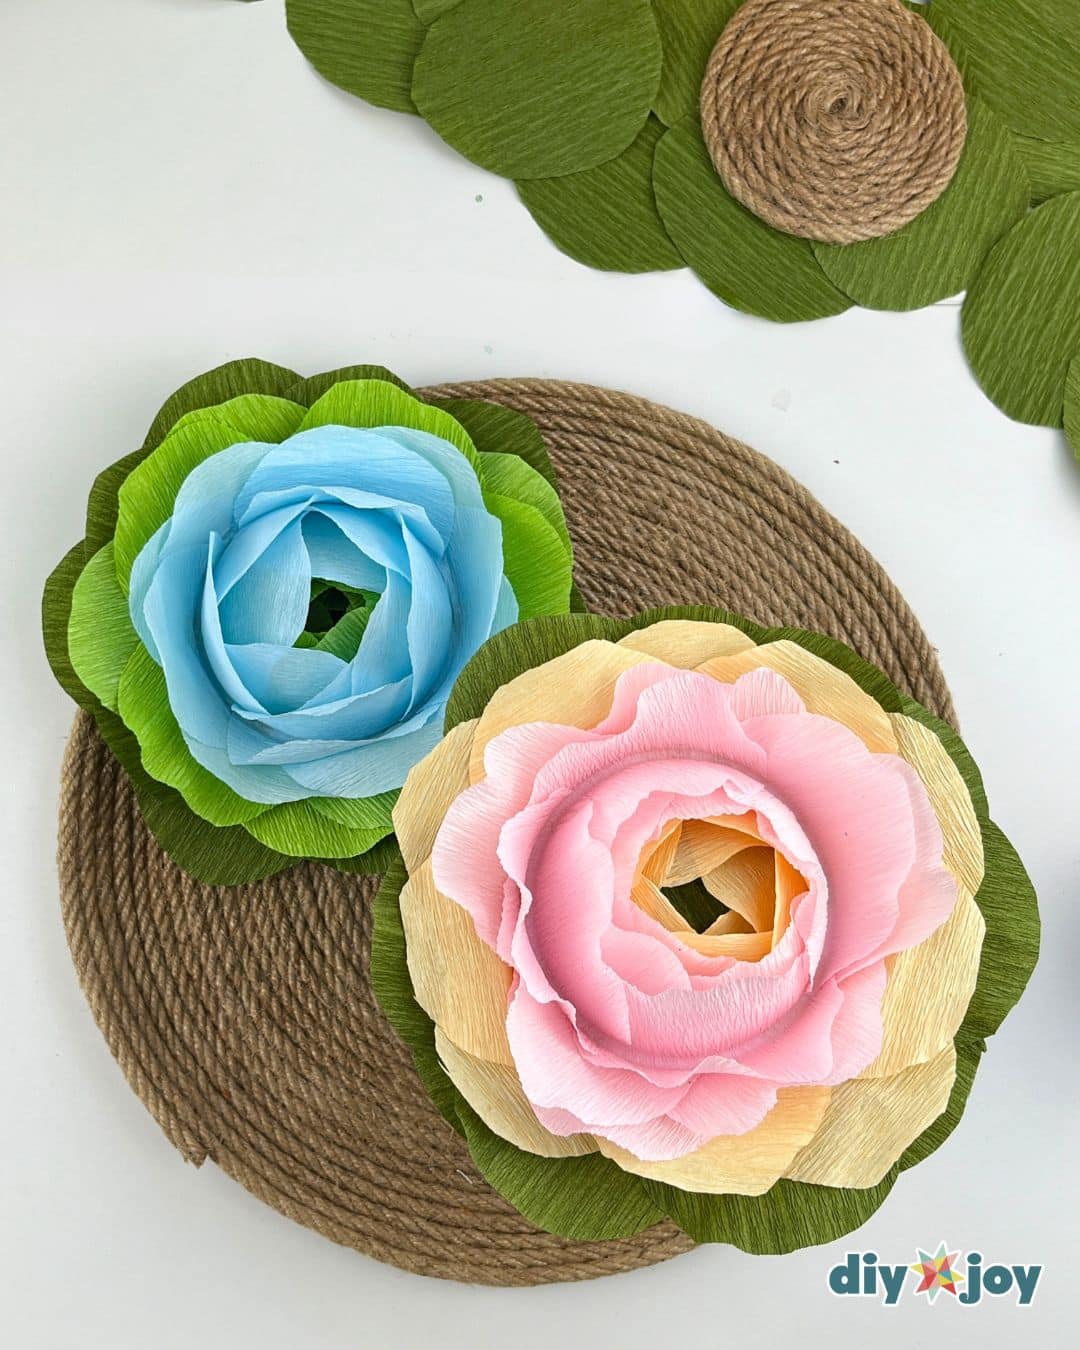
I will explore more variations in the future, so make sure to save this article for later!
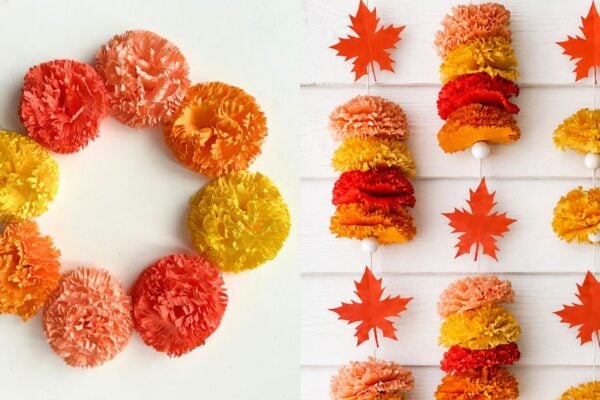
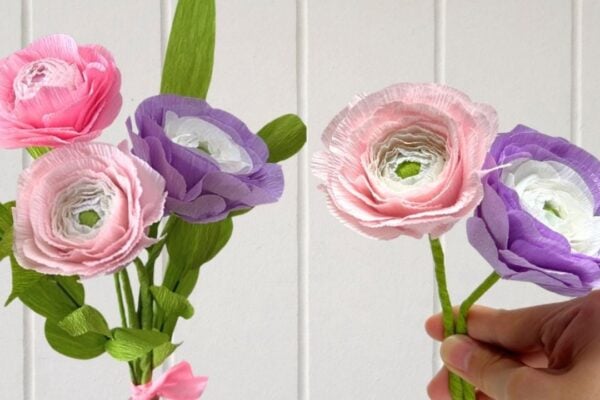
More Paper Flower Tutorials
Paper Flowers
Paper Flowers
Paper Flowers
Crepe Paper Flowers Video Tutorial