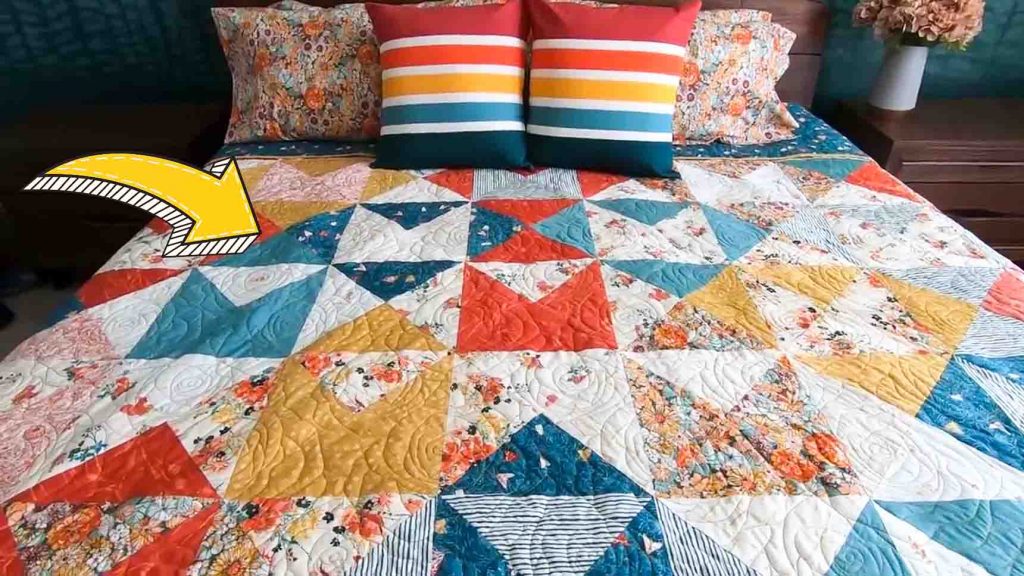
This quilt from Moonkin Stitchery on youtube is truly a fun project you can do, especially for Valentine’s Day. Depending on the size, you can even finish this in just a day – perfect if you’re into quick and easy projects to kill time. What’s more, it only uses fat quarter bundles! Try this beginner-friendly project today by learning the step-by-step instructions in the video tutorial below.
Materials:
- fat quarters
- ruler
- fabric marking tool
- iron, for pressing
- rotary cutter
Directions:
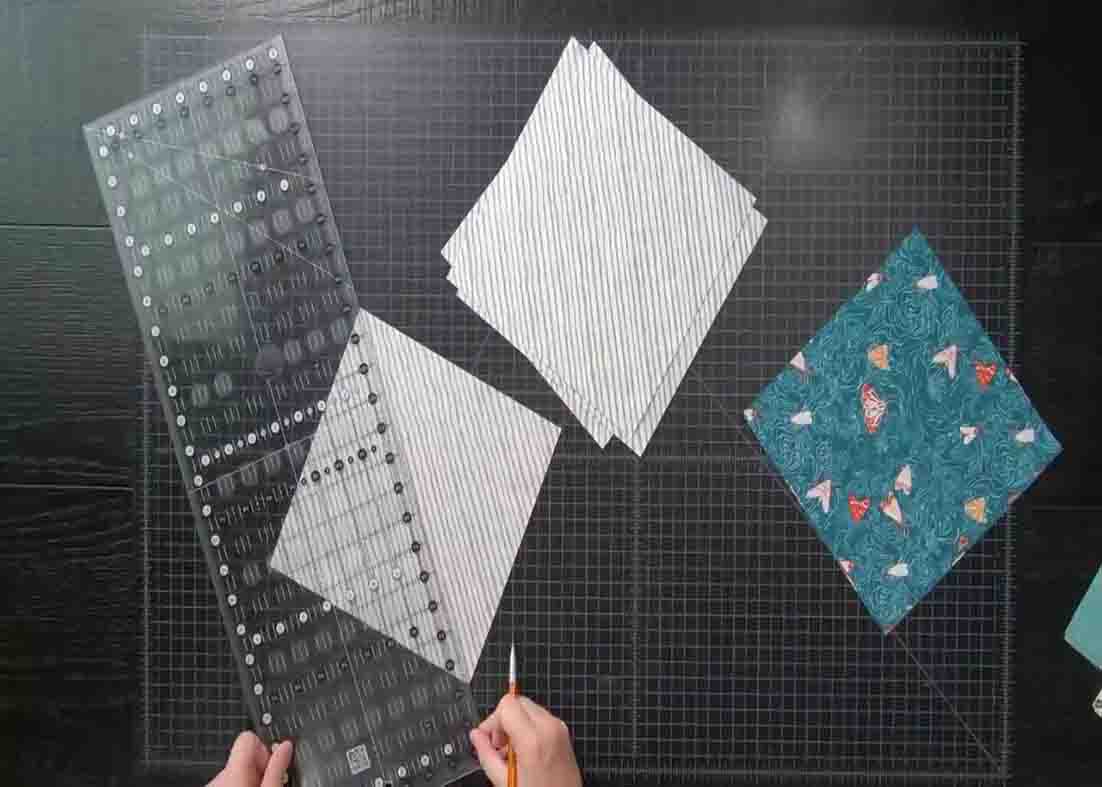
Step 1
First, iron your fat quarters. After this, cut an 18″ square at a time. Once your 18″ square is cut, sub-cut them into 9″ squares. Each fat quarter will yield four 9″ squares, and you will repeat this to all of your fat quarters. Next, select two prints and four 9″ squares from each print. Then, whichever print is lighter on the wrong side of the fabric, draw a 45-degree diagonal line. Once you have drawn the diagonal line, take one of each print and lay the squares directly on top of each other, right sides together, and sew a 1/4″ seam allowance on both sides of the line.
[social_warfare]
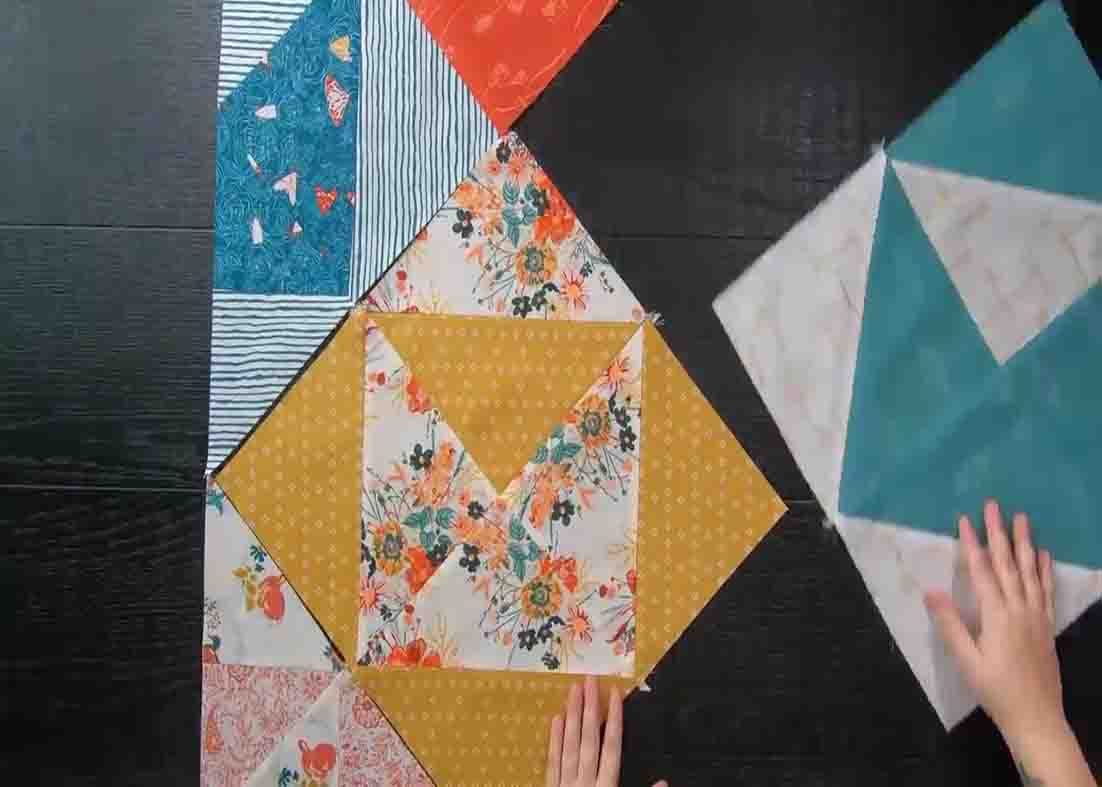
Step 2
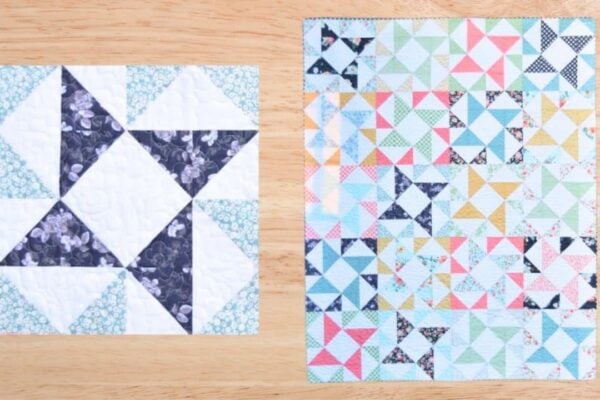
After sewing, cut on the line you just drew, then iron them open. Now, start taking four half-square triangles and place them in two rows, forming your quilt block. Sew your blocks together to complete the envelope quilt block. You will have four more half-square triangles which you can either recreate the same print style block twice or the inverse of the block you just did. Repeat these steps as many times as you have for the amount needed for the quilt size you are making.
Step 3
Next, select a few quilt blocks and cut them in half vertically which will be the left and right sides of the quilt. Then choose a few more quilt blocks and cut them in half horizontally which will be the top and bottom of your quilt. Now, start creating the quilt top. Grab a half block that is cut vertically and a half block that was cut horizontally. Sew them together with a 1/4″ seam allowance. For the next row, start with a half block that was cut vertically followed by two full blocks, and end with a half block that was cut horizontally. Sew all together.
Fat Quarter Love Letter’s Quilt Tutorial