I have seen tons of these online, and they are pretty expensive. So, I searched how to make one and found this $6 farmhouse picket planter DIY by Matthew Peech on Youtube. Yes, it’s that cheap! You can even sell it and earn money. But for me, I’ll be using it to upgrade my outdoor space. Learn the full instructions through the video below.
Materials:
All materials are 5/8″ thick
- leg A – 1 3/4″ x 14″ (4 pieces)
- leg B – 1 3/8″ x 14″ (4 pieces)
- cross board A – 1 3/4″ x 11 1/4″ (4 pieces)
- cross board B – 1 3/4″ x 10 5/8″ (4 pieces)
- back wall – 5 1/2″ x 10 1/2″ (8 pieces)
- middle wall – 1″ x 10 1/2″ (4 pieces)
- long x (A) – 1″ x 14 3/8″ (2 pieces)
- short x (A) – 1″ x 6 13/16″ (4 pieces)
- long x (B) – 1″ x 13 7/8″ (2 pieces)
- short x (B) – 1″ x 6 9/16″ (4 pieces)
- bottom board – 1″ x 13 1/2″ (3 pieces)
- top trim – 1 3/4″ x 16″ (4 pieces)
- 1-inch brad nails
- wood glue
- 1-inch coated deck screws
Note: opening size is 16″ x 16″ and height is 14 5/8″
[social_warfare buttons=”facebook,pinterest,twitter,whatsapp”]
Instructions:
Step 1:
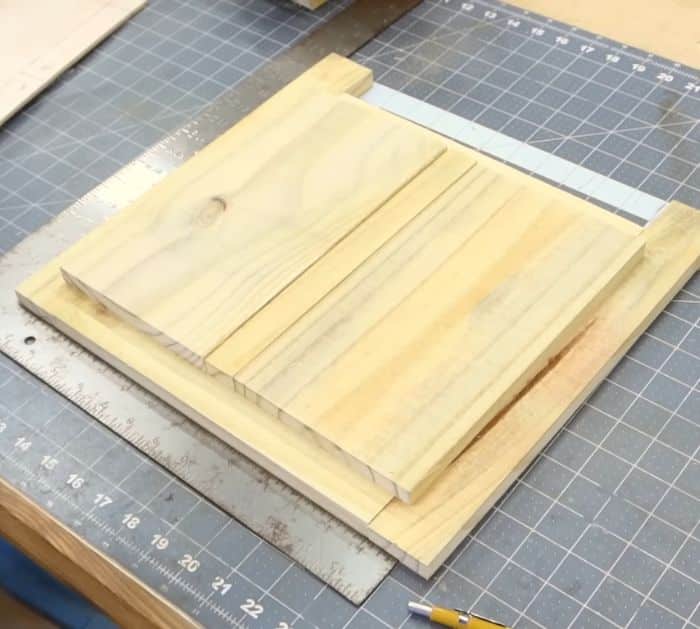
Lay 2 pieces of leg A on the sides and the 2 pieces of cross board A into the center to form a square. The bottom cross board should be placed an inch and a half down from the legs. Next, get two back walls and 1 middle wall and place them on the center top of the square. It should be 1 and 3/8 inches away from the side edges and 1 inch from the top. Secure them together using brad nails.
Step 2:
Measure 1 1/2″ from the bottom and top edge, then draw a line. Next, draw screw placements on the line. Drill the 1-inch coated deck screws on the marks. Your first panel is done. Make two pieces of panel A.
Step 3:
Make panel B. Lay everything out exactly what you did for panel A. The side measurement will be the only thing different as it will measure 11/16 from the outside edge. Tack everything down. Mark half an inch up from the panel, draw a line, and make the screw placements. Once done, attach the screws. Make another panel B for a total of 2.
Step 4:
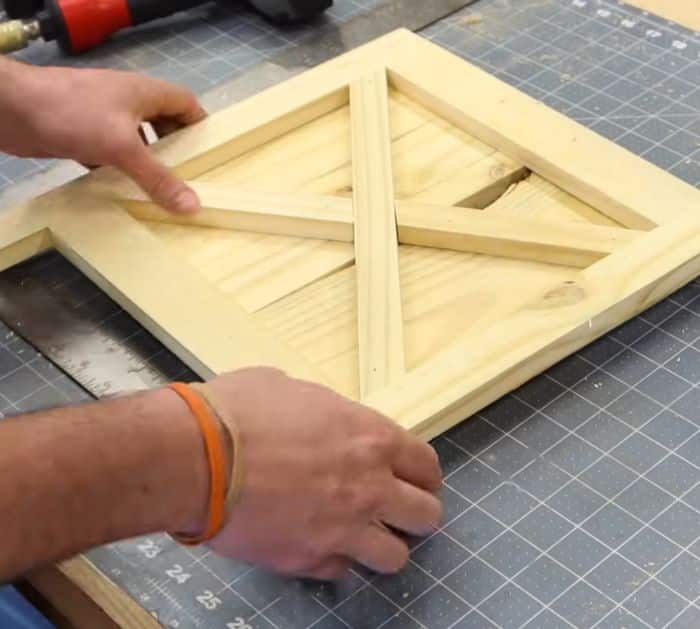
Get one panel A, one long x (A), and two short x (A). Make a 35-degree angle for the long x on both ends. For the two short x, cut one end at a 35-degree angle and the other at a 21-degree angle. Assemble them on panel A and secure them using brad nails. Repeat for the other panel A.
Step 5:
Get one panel B, one long x (B), and two short x (B). Cut the long x at 36 degrees on each end and the short x 36 degrees on one end and 18 degrees on the other. Assemble them on panel B and secure them using brad nails. Repeat for the other panel B.
Step 6:
Assemble the planter. Panel B will sit inside the lip of panel A. Attach them with brad nails first then attach the screws into panel A.
Step 7:
Lay your planter upside down. Place one bottom board in the middle, then the other two 4 inches from the center. Screw them in place.
Step 8:
Cut all top trim at a 45-degree angle on both ends. Attach them to the planter and screw them in place.
Step 9:
Sand everything down and paint them.
$6 farmhouse Picket Planter DIY