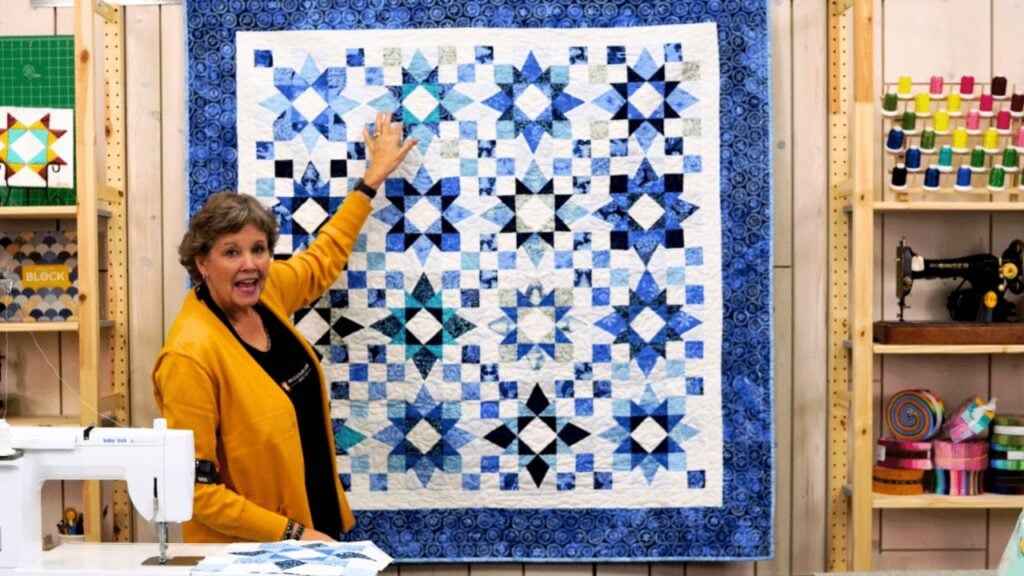
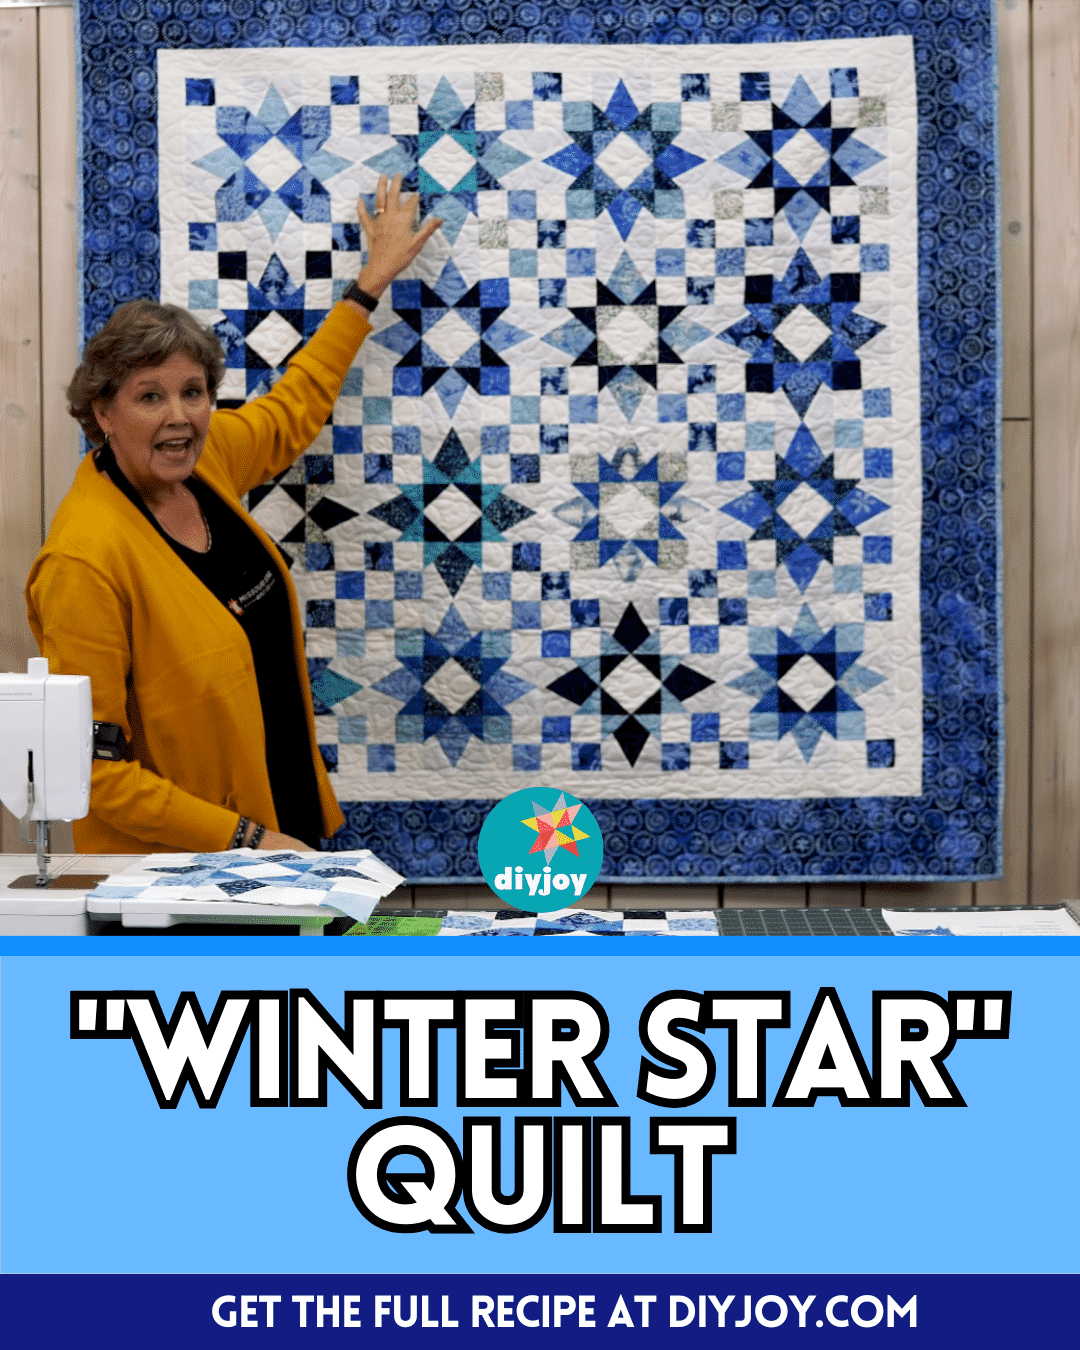
It’s never too late to start your Winter-themed quilt or any quilt at all, you can try this project by Missouri Star on YouTube, and I’m sure you will love it. It’s very easy to piece together and is perfect for both beginners and expert quilters alike.
RELATED: Easy Winter Solstice Quilt Tutorial
If you’re new to quilting as a whole, then this quilt project might be the best one to practice your skills with and this is also a great activity if you want to do something to pass the time. Learn how now by watching the video tutorial below.
Materials for Winter Star Quilt:
- 10″ print squares
- 10″ background squares
- inner border fabric
- binding fabric
- backing fabric
- Marking pen, pencil, or chalk
- Ruler
- Scissors or rotary cutter and a cutting mat
- Fabric pins
- Needle and thread
- Iron, for pressing
- Sewing machine
- Pattern (Click here to download the pattern)
How to Make a Winter Star Quilt:
Step 1
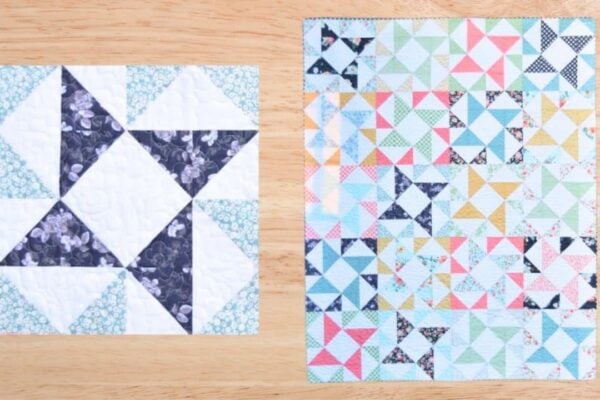
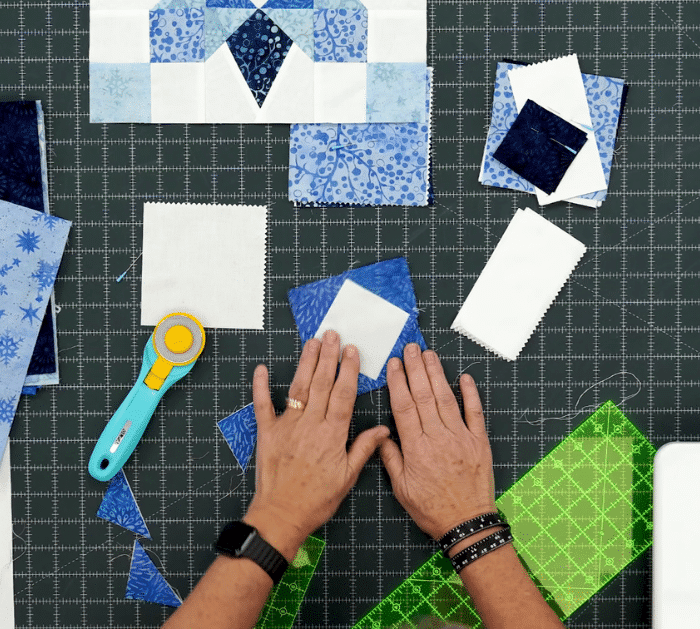
Cut the fabrics according to the pattern instructions, then place a small background square at the center, and put a print square on opposite diagonal corners making sure the right sides of the fabrics are facing. Stitch across the print square, then trim off the excess, press the fabric open, and do the same steps for the remaining corners.
Step 2
Next, line up the 5-inch print background square with their right sides facing, then sew down both sides and cut them in half. Press the seams toward the darker side, then make another set, and lay them together with their right sides facing and fabric colors opposite from each other. Stitch them down both sides, then cut them in half across the seams, and press them open.
Step 3
For the next block unit, place the large print square at the center and line up the background strips as shown in the video, and stitch them together. Repeat the same on the other side, then press the fabric open, and trim off the excess. Place the dark square on the corner of the print side, then sew diagonally, trim, press open, and repeat on the other side.
Step 4
Make more pieces of each quilt block, then once everything is ready, arrange the block units together making sure to refer to the pattern as a guide, and proceed to stitching. Start sewing per row, then the rows to each other, and press the seams as you go. Make more blocks, then piece them together, and add the inner border, binding, backing, and quilt however you want.

*All image credit belongs to Missouri Star via YouTube. Follow and subscribe to her channel for more!
How to Make a “Winter Star” Quilt