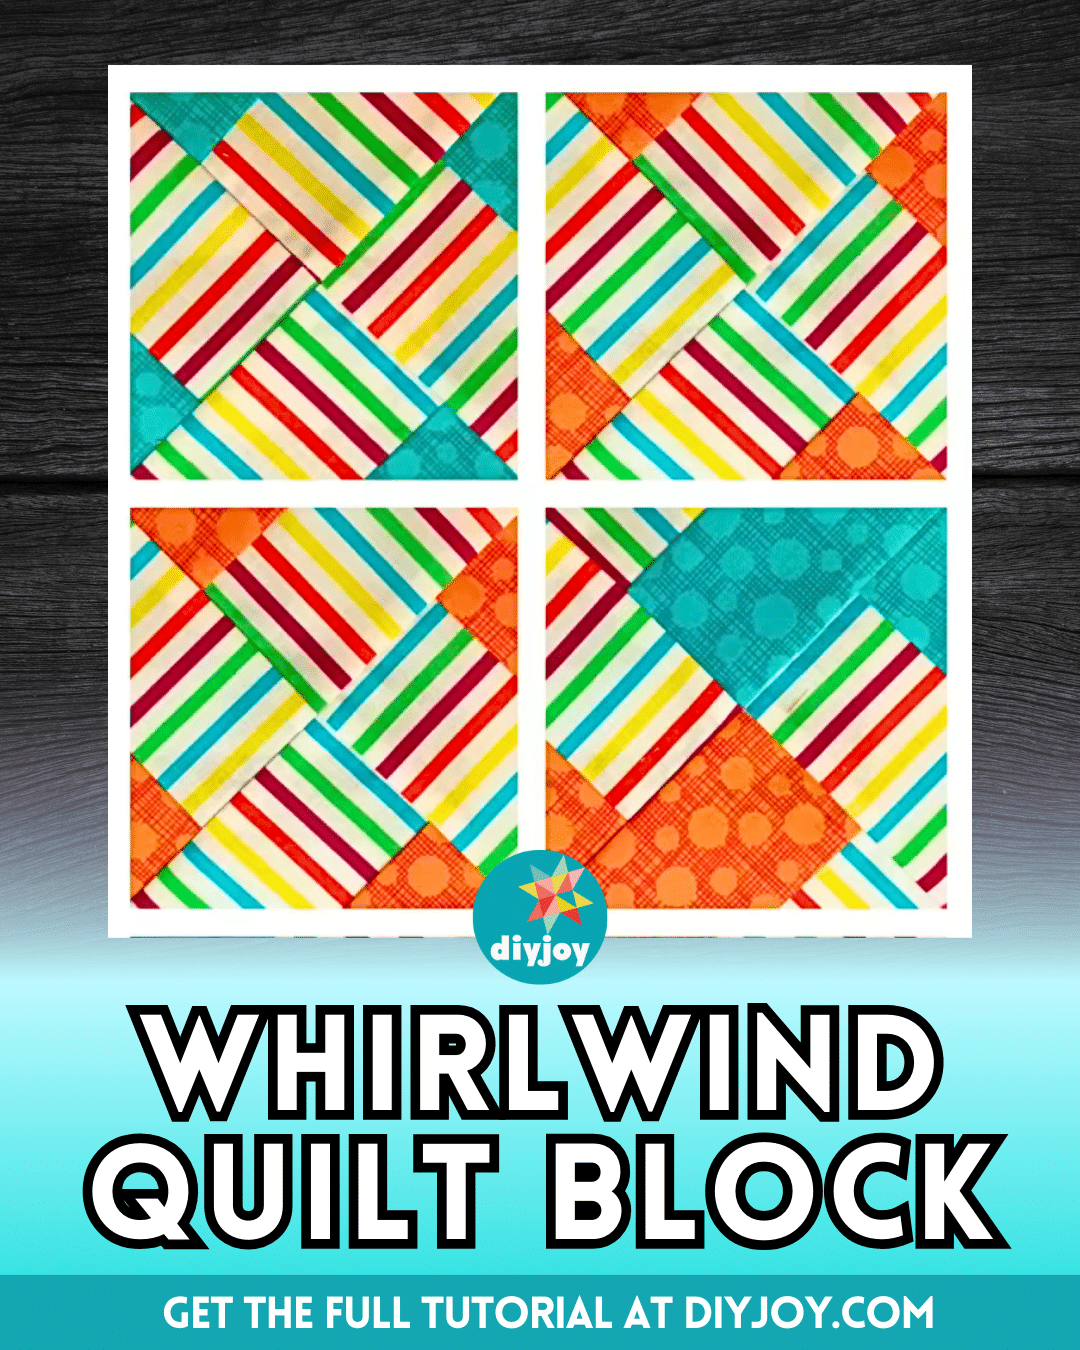
Easy Whirlwind Quilt Block Tutorial
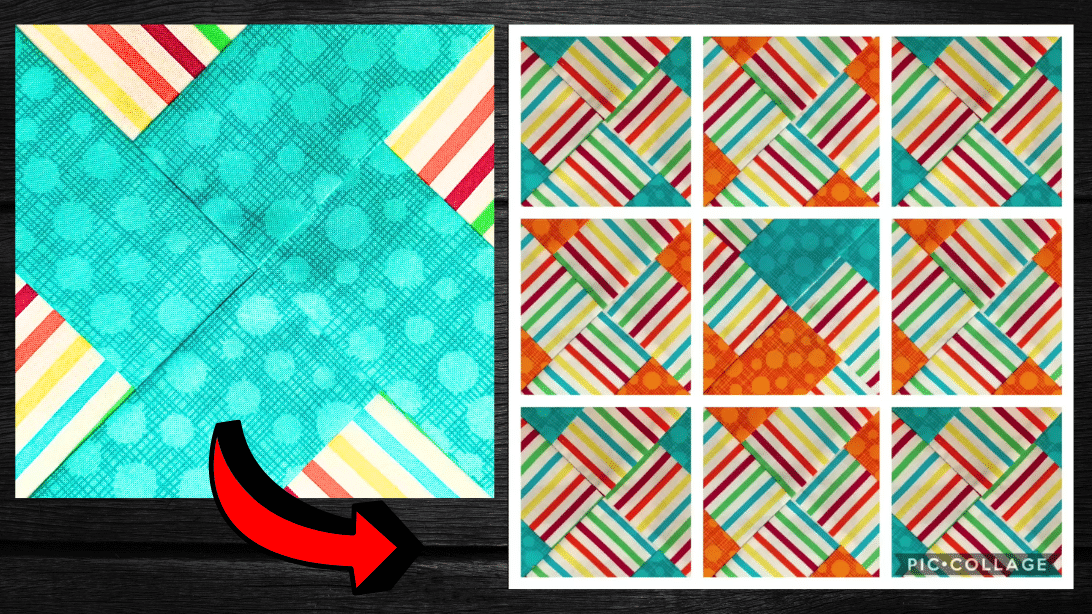
Image credit: Teresa DownUnder via YouTube
This quilt block is one of the first quilts that I’ve ever tried and is probably one of my favorites, too. What I love about this quilt block is how simple and easy it is to make, and it doesn’t have complicated steps which is perfect for beginners.
RELATED: Easy Windmill Quilt Block Tutorial for Beginners
You can also try this with different combinations of fabric and finish a block within just a few minutes. This is a great project to pass the time, and I’m sure that even expert quilts will love this making this. Learn how now with the video tutorial by Teresa DownUnder on YouTube.
Materials for Whirlwind Quilt Block:
- 2 contrasting fabric, at 2.5″ wide
- Ruler
- Scissors or rotary cutter and a cutting mat
- Fabric pins
- Needle and thread
- Iron, for pressing
- Sewing machine
How to Make a Whirlwind Quilt Block:
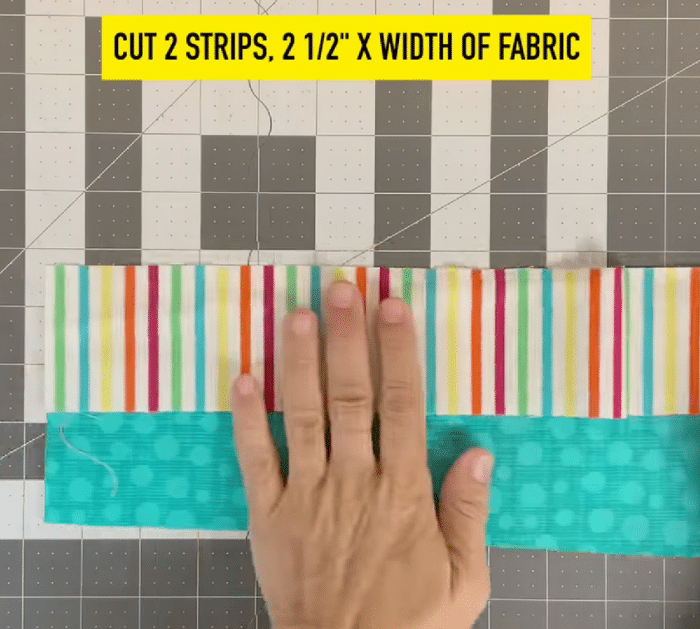
Step 1
Get 2 contrasting fabric strips, then stack them with their right sides facing, and pin them in place. Stitch them with ¼ inch seam allowance, then press the seams open, and cut the strip set into 4½-inch squares, you should get at least 9 squares.
Step 2
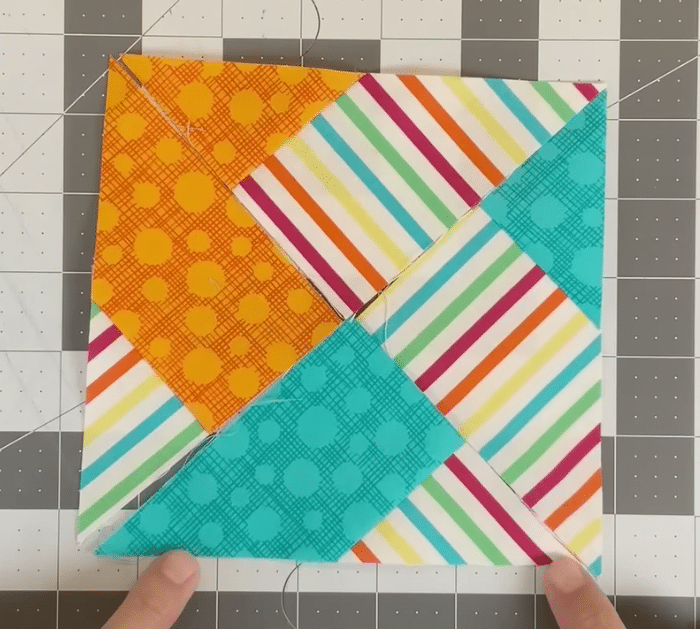
Cut each square diagonally opposite of the seams, then assemble 4 units together to form the whirlwind as demonstrated in the video. You can also try making different pairs of strips, then mix and match them however you want.
Step 3
Stitch them together one at a time, then make sure to nest the seams, and once done, unpick the seam along the seam allowance. Press the block nice and flat, then trim it to 5½ inches, then do the same for the rest, and put the blocks together. Finish your quilt however you want.
*All these images are credited to Teresa DownUnder via YouTube. Give her channel a visit and subscribe for more!
