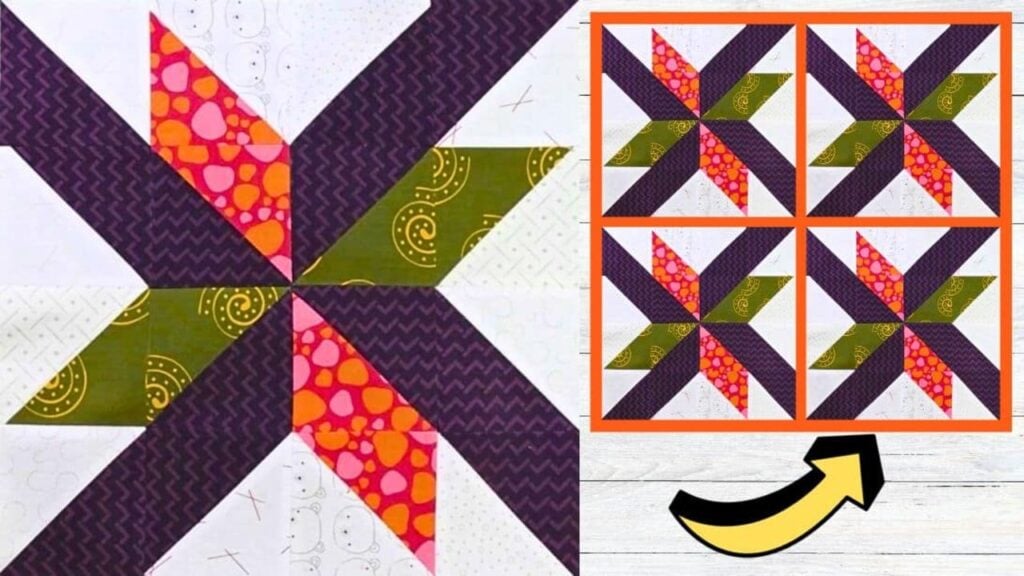
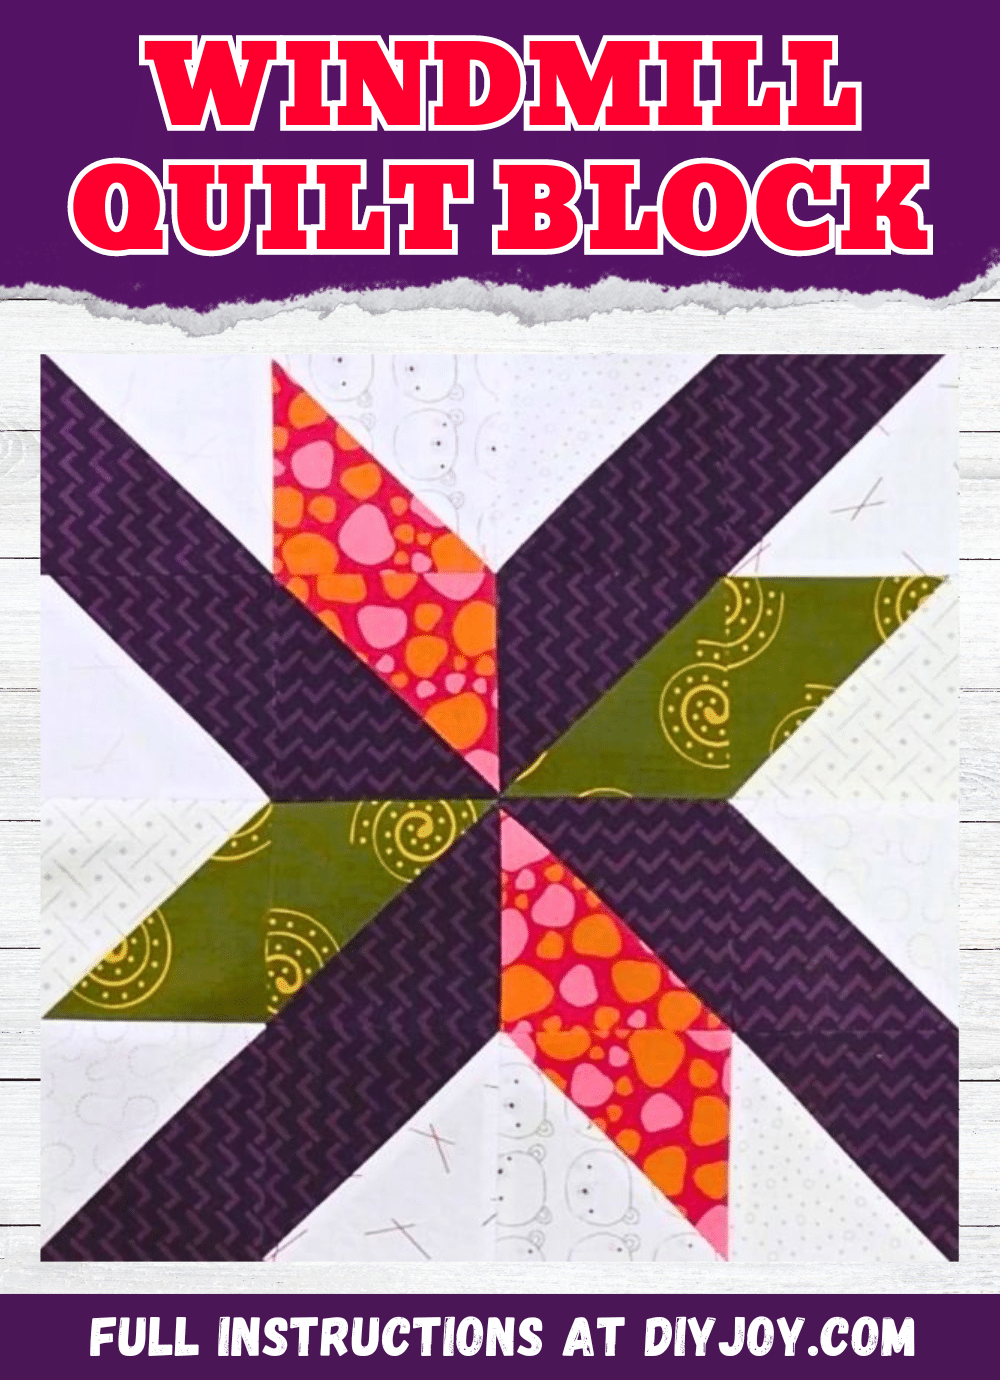
Out of all the quilt blocks that I’ve seen and tried, this is yet another favorite of mine, it’s super easy to piece together and is a great project to use leftover fabrics as well. This colorful windmill quilt block by Carol Thelen on YouTube is fun and enjoyable to make, I’m sure even beginners will find this quilt block easy, too.
Materials:
- Low-volume print fabric, for the background
- Dark print fabric
- Accent fabric #1
- Accent fabric #2
- Marking pen, pencil, or chalk
- Ruler
- Needle and thread
- Scissors or rotary cutter and a cutting mat
- Iron, for pressing
- Sewing machine
- Pattern (Click here to download the pattern)
Directions:
Step 1
Download and print the pattern, then cut all of the fabric to size according to what the pattern requires. Take 4 of the background squares and 4 of the dark squares, pair them together, then pair an accent and dark square together, and pair the other accent and dark square together. Take the remaining background squares and accent squares, then pair them as well, and turn each pair into half-square triangles.
Step 2
To make the half-square triangles, draw a diagonal line on the wrong side of the lighter fabric from corner to corner, then lay the squares together with their right sides facing, and stitch on both sides of the line. Cut them in half along the line, then press the seam open, and cut off the nubs.

[social_warfare]
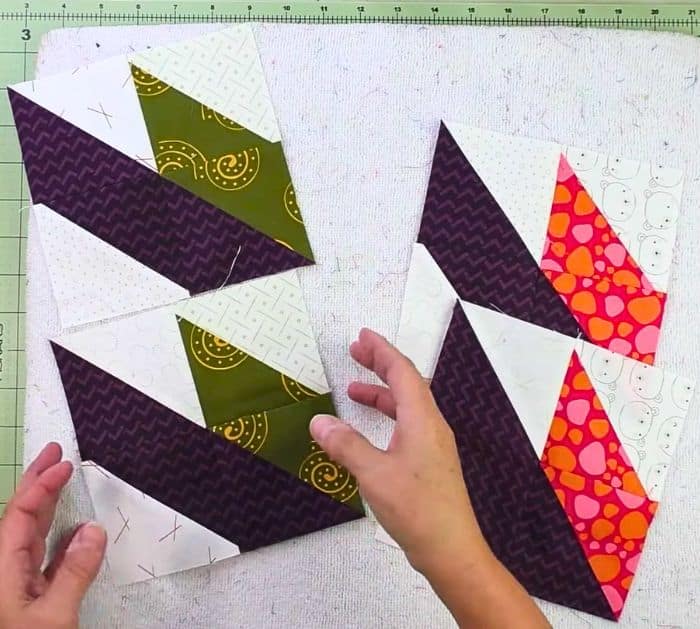
Step 3
Next, lay the half-square triangles together to make 2 kinds of block units making sure to refer to the diagram, then stitch the upper rows and bottom rows together, press the seam open, and stitch the rows to each other pressing the seams open as well.
Step 4
Repeat the same process with the remaining half-square triangles, then assemble the block units together into a larger block, and stitch the upper and bottom rows together. Make sure to press the seams open, then stitch the rows to each other, and press the seams open.
*All these images are credited to Carol Thelen via YouTube. Give her channel a visit and subscribe for more!
Easy Windmill Quilt Block Tutorial for Beginners


