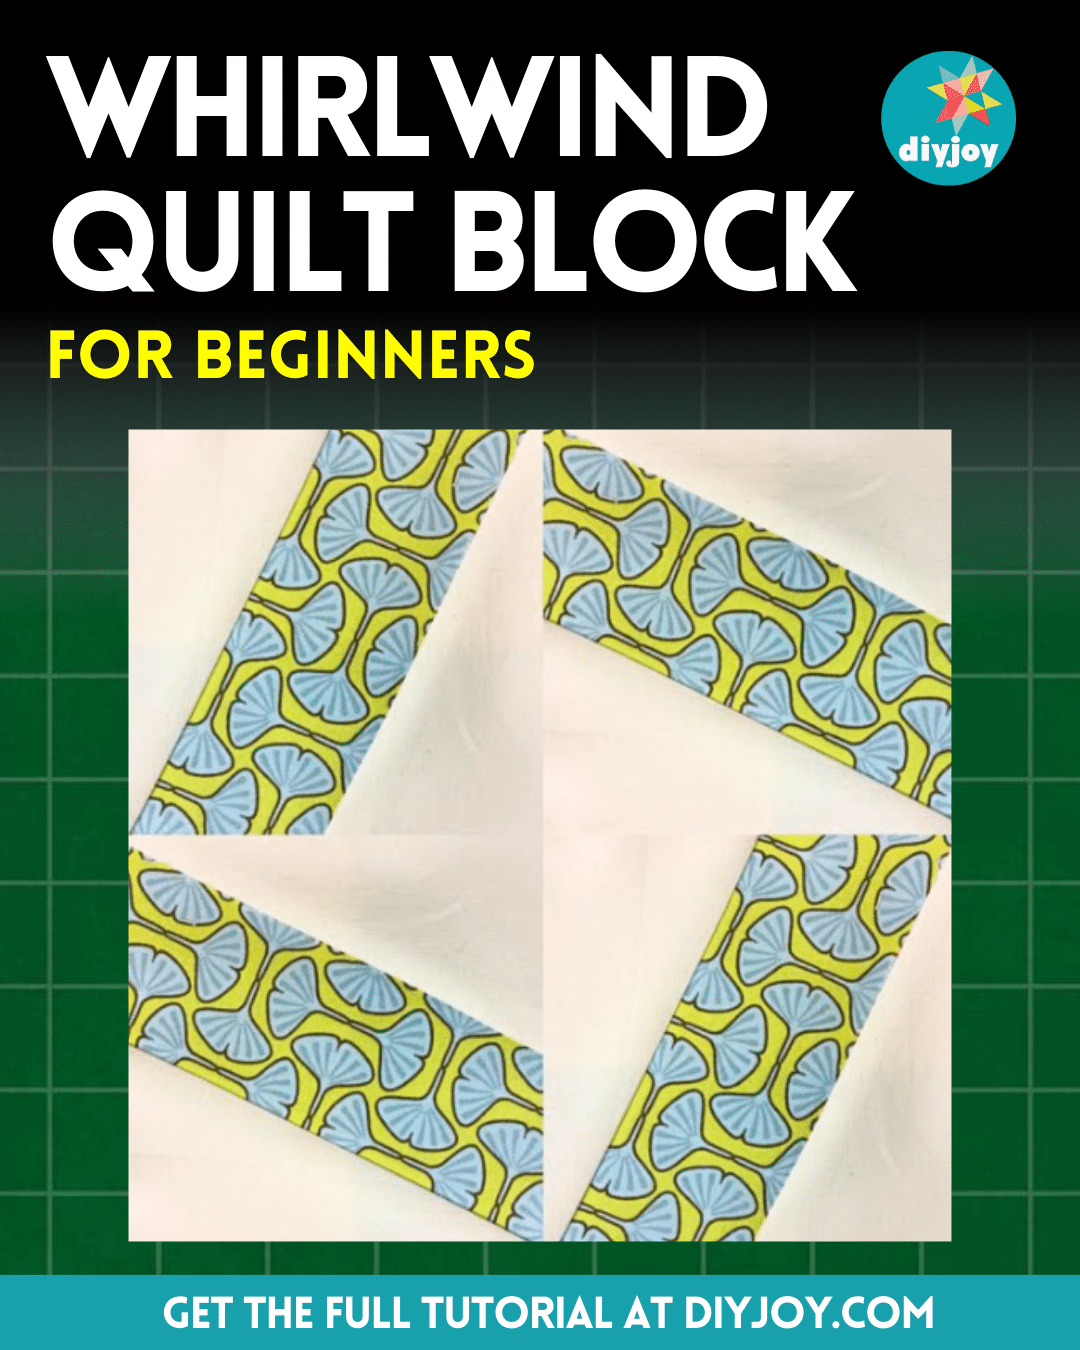
Easy Whirlwind Quilt Block for Beginners

Image credit: Teresa DownUnder via YouTube
When I was still new to quilting, I would always make projects with a simple pattern and use only a few fabrics just like this whirlwind quilt block by Teresa DownUnder on YouTube. This quilt block also uses a paper piecing technique which is very easy even for beginners.
RELATED: Easy Whirlwind Quilt Block Tutorial
So if you’re looking for a project to jumpstart your quilting journey, then check out this simple but pretty whirlwind quilt block, and give it a try, I’m sure you won’t regret it. Proceed to read the step-by-step instructions below and make sure to watch the video tutorial as well for more details.
Materials for Whirlwind Quilt Block:
- Print fabric
- Background fabric
- Ruler
- Fabric pins
- Scissors or rotary cutter and a cutting mat
- Needle and thread
- Iron, for pressing
- Sewing machine
- Pattern (Click here to download the pattern)
How to Make Whirlwind Quilt Block:
Step 1
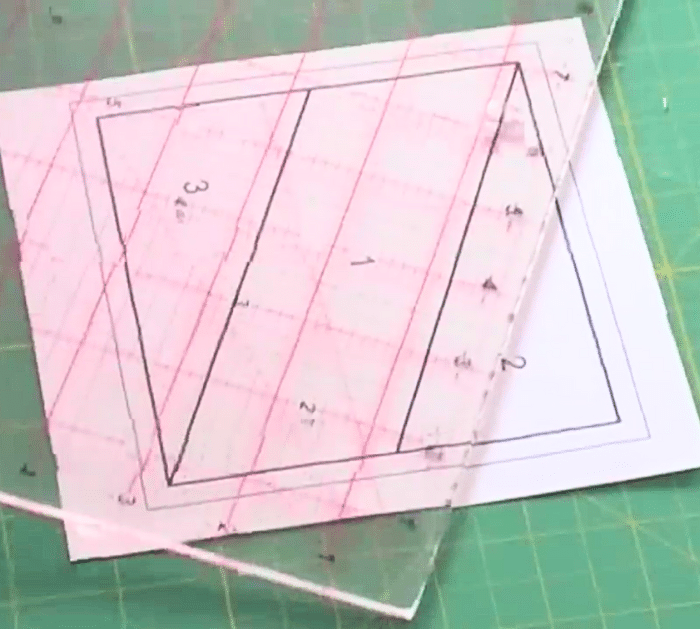
Print out the pattern and roughly cut it out, then place the ruler on the pattern, and measure each piece making sure that the fabric covers the whole area and add at least ¼ inch allowance around it.
Step 2
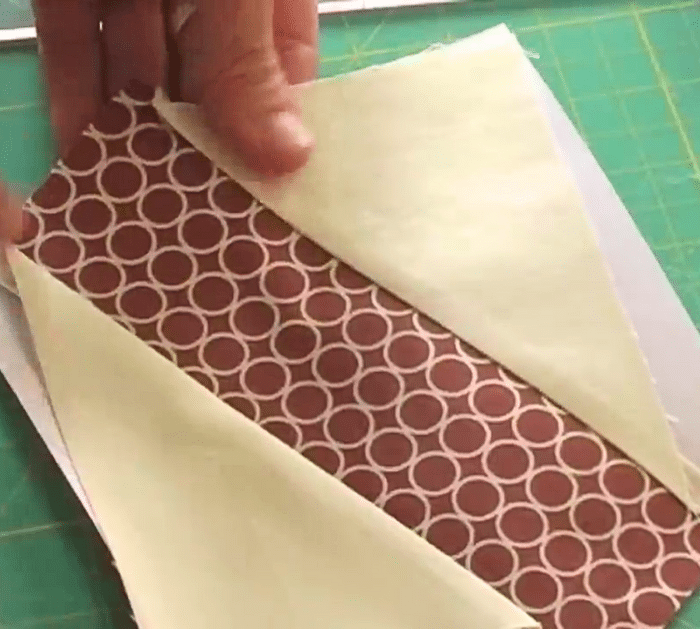
Use a piece of cardboard to fold along each line, then turn the pattern over, and place fabric number 1 on top of piece number 1 at the back of the pattern with its right side up, making sure the entire area is covered.
Step 3
Pin the fabric in place and trim off the excess fabric leaving ¼ inch seam allowance, then repeat on the other side, and add piece number 2 on top of piece 1 with their right sides facing and edges aligned, pin them in place.
Step 4
Turn the pattern over and stitch the piece 1 and 2 together along the line, then press them nicely, and stitch piece number 3 using the same process. Trim all around the pattern, then make more sets of this block, and put them together.
*All these images are credited to Teresa DownUnder via YouTube. Give her channel a visit and subscribe for more!
Easy Whirlwind Quilt Block for Beginners

")


