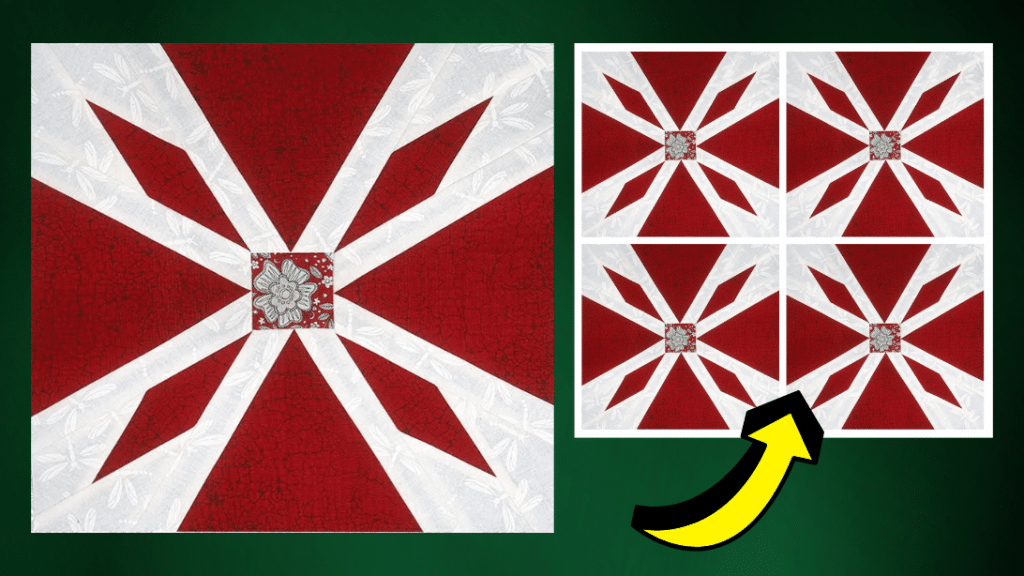
Paper piecing is such a brilliant technique that makes quilting easier and simpler to understand, especially for beginner quilters. There are a lot of projects that you can find online and try making at home, but one of my favorites recently is this one by Dclutter Quilting on YouTube.
RELATED: How to Make a Peppermint Quilt Block
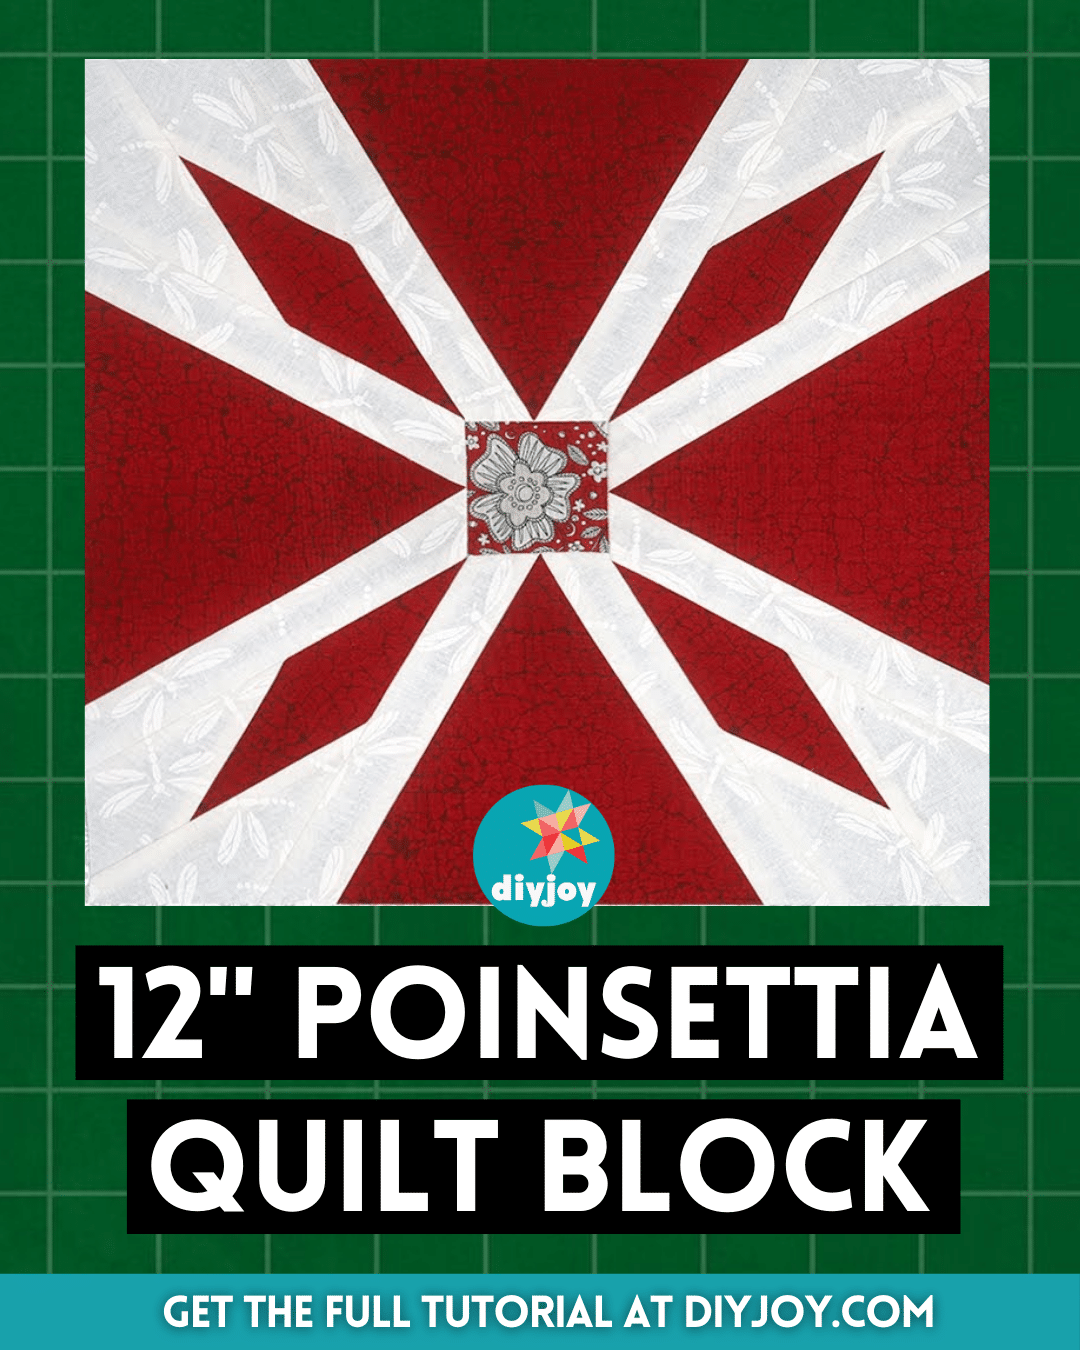
This poinsettia quilt block is the perfect Christmas project idea, it has a finished size of 12″, and you can use this design for your table topper, table runner, or other quilt projects you want. Follow the instructions written down below and watch the video tutorial for more details.
Materials for Poinsettia Quilt Block:
- Red and white fabric
- Fabric glue
- Marking pen, pencil, or chalk
- Ruler
- Scissors or rotary cutter and a cutting mat
- Fabric pins
- Needle and thread
- Iron, for pressing
- Sewing machine
- Pattern (Click here to download the pattern)
How to Make Poinsettia Quilt Block:
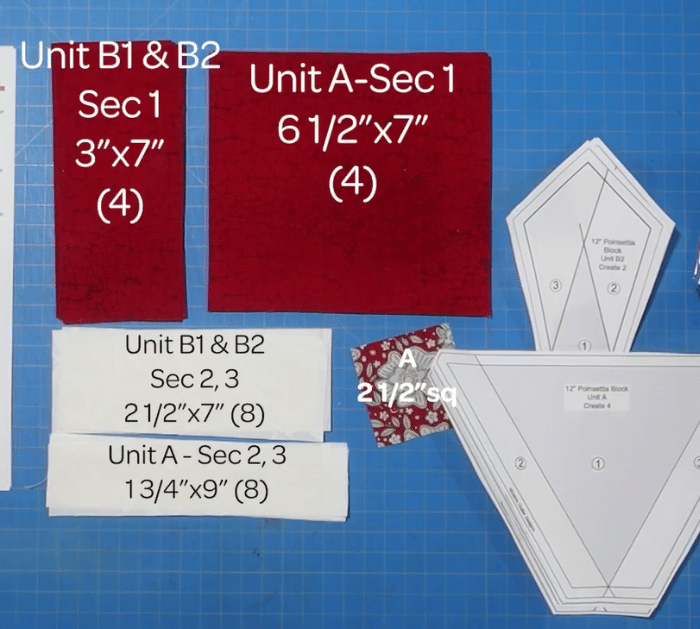
Step 1
Download and print the pattern, then cut the fabrics to size, and cut out the template pieces. Fold along the lines using a ruler or any straight-edged object, then get the large red square, and glue the template piece to the wrong side of the fabric.
Step 2
Repeat the same steps with the rest of the large squares, then fold over section 2 of the paper, and cut away the excess fabric with ¼ inch seam allowance.
Step 3
Once done, add the other white strip to the other side of the red fabric using the same steps, then press them nicely, and set them aside.
Step 4
For the next unit, glue the template to the wrong side of the red fabric, then fold the side, trim away the excess, and stitch the white strip to that side.
Step 5
Repeat the same step to the other side of the red fabric, then piece the remaining red and white fabrics, and press them nicely. Assemble everything as shown in the video, then stitch them per section and then the sections to each other, and press the seams nicely as you go.
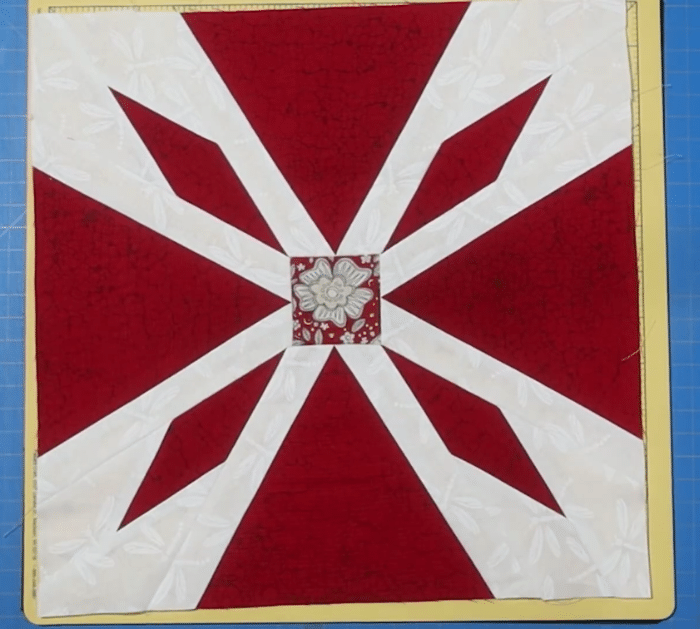
*All these amazing images are thanks to Dclutter Quilting via YouTube. Do visit her channel to see more videos like this!
